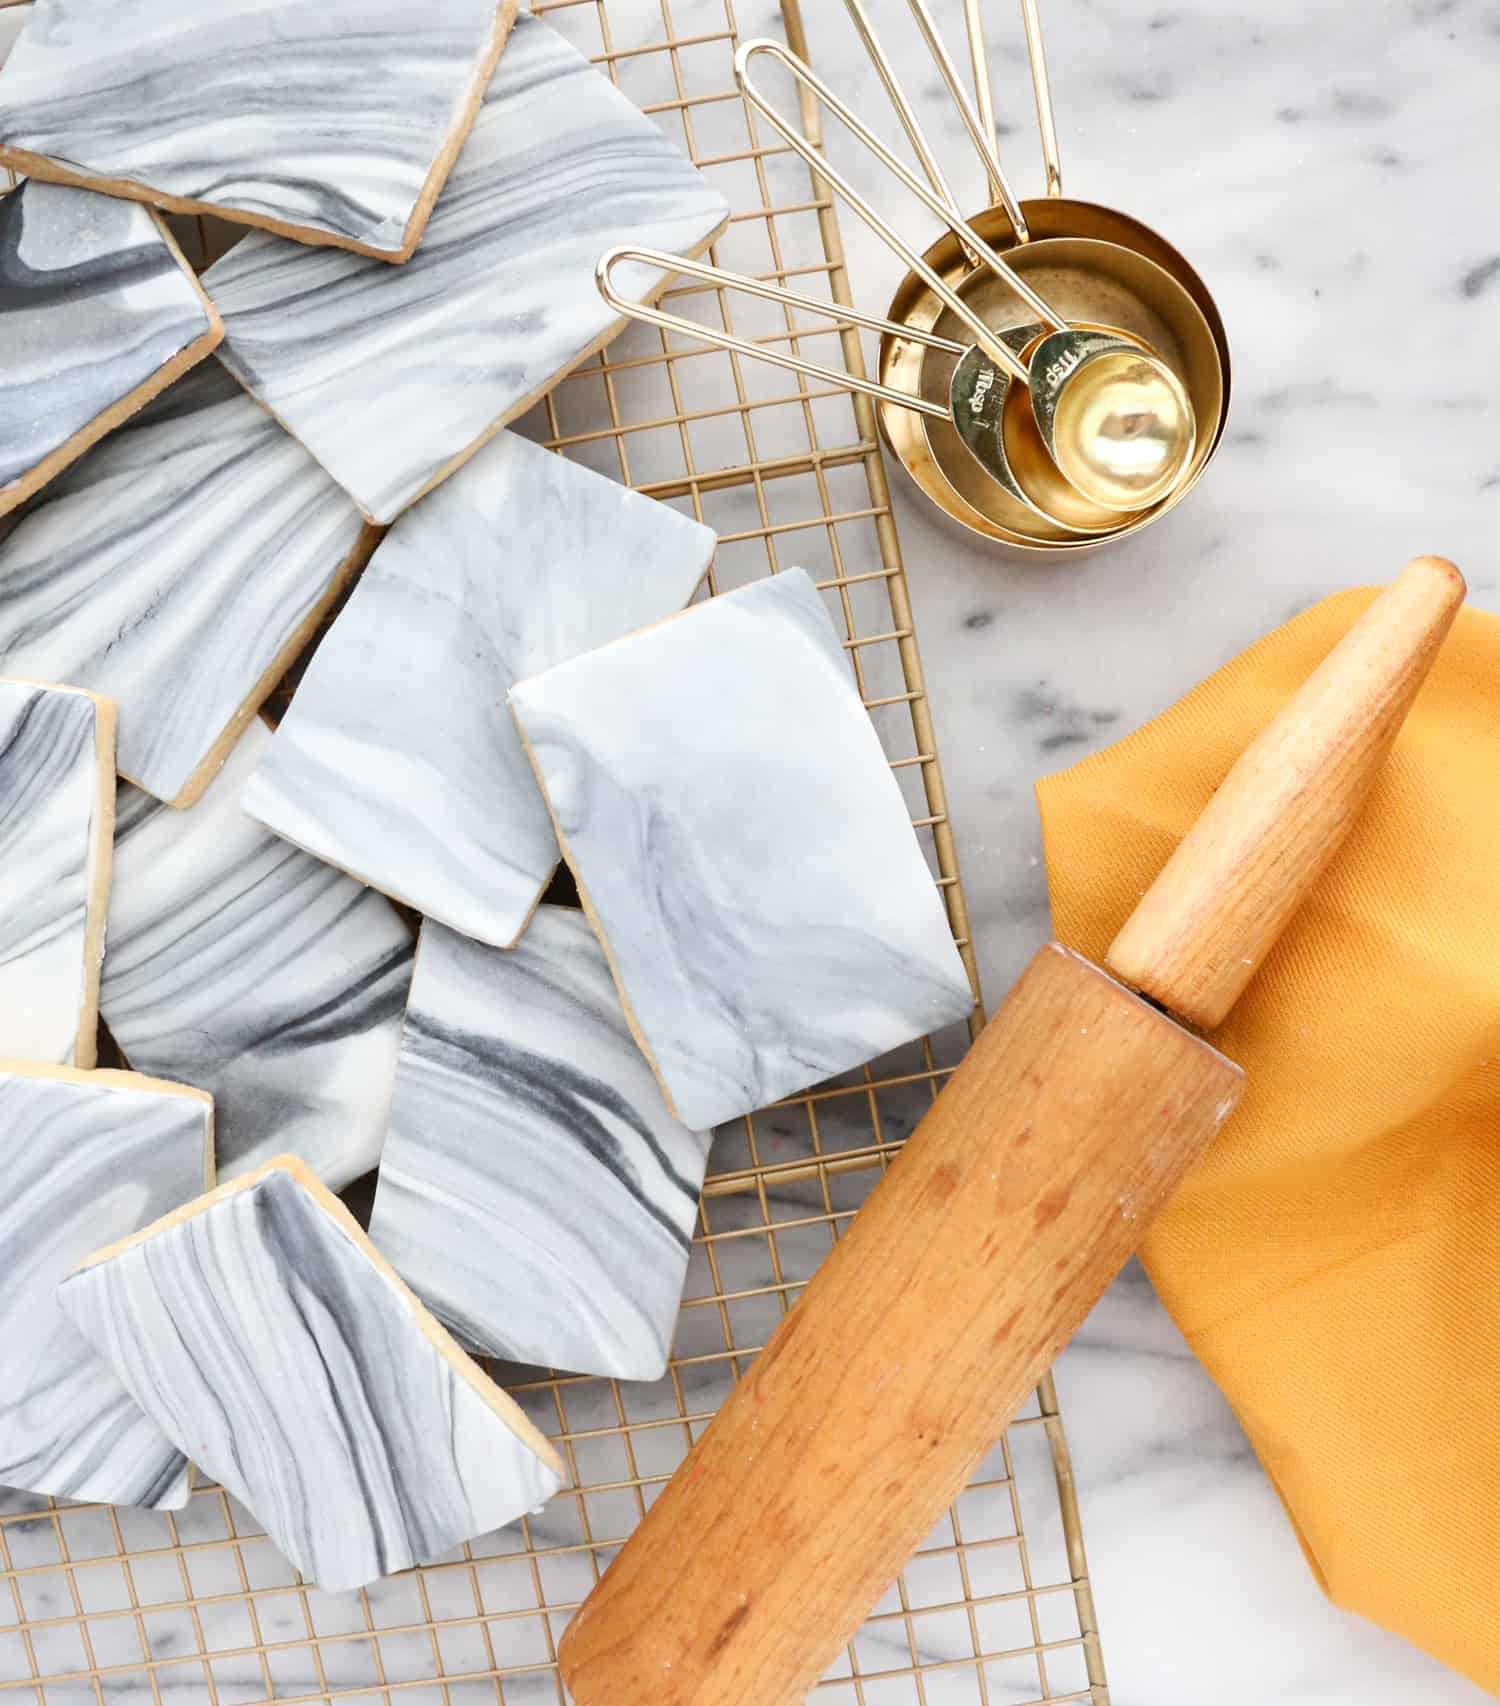
 There is something about fall that gets me into the baking mood. I love to make everything from cinnamon rolls, to cookies, to pumpkin bread. These DIY marble tile cookies are a fun and tasty way to bring both my passions (home decor and baking) into one cute little edible package. Plus, how perfect would these be to bring to a housewarming party or make for your friend who is obsessed with interior design?
 Needed:
-sugar cookies in a rectangle shape (use your favorite recipe and a rectangle cookie cutter)
-fondant in black, gray, and white
–royal icing
-rectangle cookie cutter
-rolling pin
 Step 1: Roll the fondant out into log shapes. You want a large white log with two small, thin black and gray logs. In the photo below, I didn’t use enough white fondant, so I would recommend doubling or even tripling the amount of white compared to the black and gray.
 Step 2: Begin by twisting the fondant together like clay or playdough to create a twisted colored log. Bend the clay in half and repeat 3-4 times with the twisting and bending process until you start to see a nice blending of the colors. If the fondant starts to get sticky, use a bit of corn starch to reduce the tackiness.

 Step 3: Once you get a nice color marbling started, roll out your fondant on a corn starch dusted surface until it is about 1/8″ thick.
 Step 4: Use the rectangle cookie cutter you used for the cookie cutouts to cut out the fondant into rectangles. Then spread a bit of royal icing on a cookie and transfer the fondant on top of the icing. Use your fingers to gently push the fondant to the edge of the cookie to completely cover the surface with the marbled fondant. Repeat with all your cookies for a whole tray of marble tiles!

 I love the DIY marble tile cookies as is and they look super cute all lined up like a tile backsplash. But if you want to go extra, try topping the cookies with dried fruit, nuts, and slice of pear or apple to resemble cheese before serving for the cutest edible “cheese board” cookies ever! Now that is fun and tasty! xo. Kara


10 Comments
I’ve never made fondant before but it’s actually one of the top things on my recipe list. This just about tops every single fondant recipe I’ve read. The marble looks so beautiful! 🙂
Charmaine Ng | Architecture & Lifestyle Blog
http://charmainenyw.com
Star/Moon shapes would look so pretty!
Wooooah, this is probably the most “real” looking marble DIY I’ve ever seen! It’s so convincing. And the face that they’re edible is a great bonus. 😉
You could use one in a gingerbread house as a little marble coffee table!
– Mike
Wow, these look amazing – that 1000x easier looking than I thought it would be. What a great idea to easily make some normal biscuits extra special. I totally agree with you about getting the itch to bake at this time of year and I can’t wait to give this a go next time! Thanks for the tutorial!
Holly from The Art of Being Holly xo
Wow, I’ve never thought about that! Those tiles look amazing and so precious!
https://www.makeandmess.com/
That is a really cool idea!
I just got a cookie with marble fondant from a baby shower, but they used purple and gray with white, added flecks of edible gold foil, and used hexagon shaped cookies! It was so pretty!
These look gorgeous and delicious. I’ve never made cookies with fondant – how is the flavor in combo with the cookies? I always worry fondant is either flavorless or too sweet. I also like to bake around this time, making pumpkin pie and banana bread this week!
Eva | http://www.shessobright.com
Nice writing. You have earned a subscriber.
Do also check out my blog.
https://techoye.com/best-cheap-wordpress-hosting-beginners/
Wow such an amazing idea.