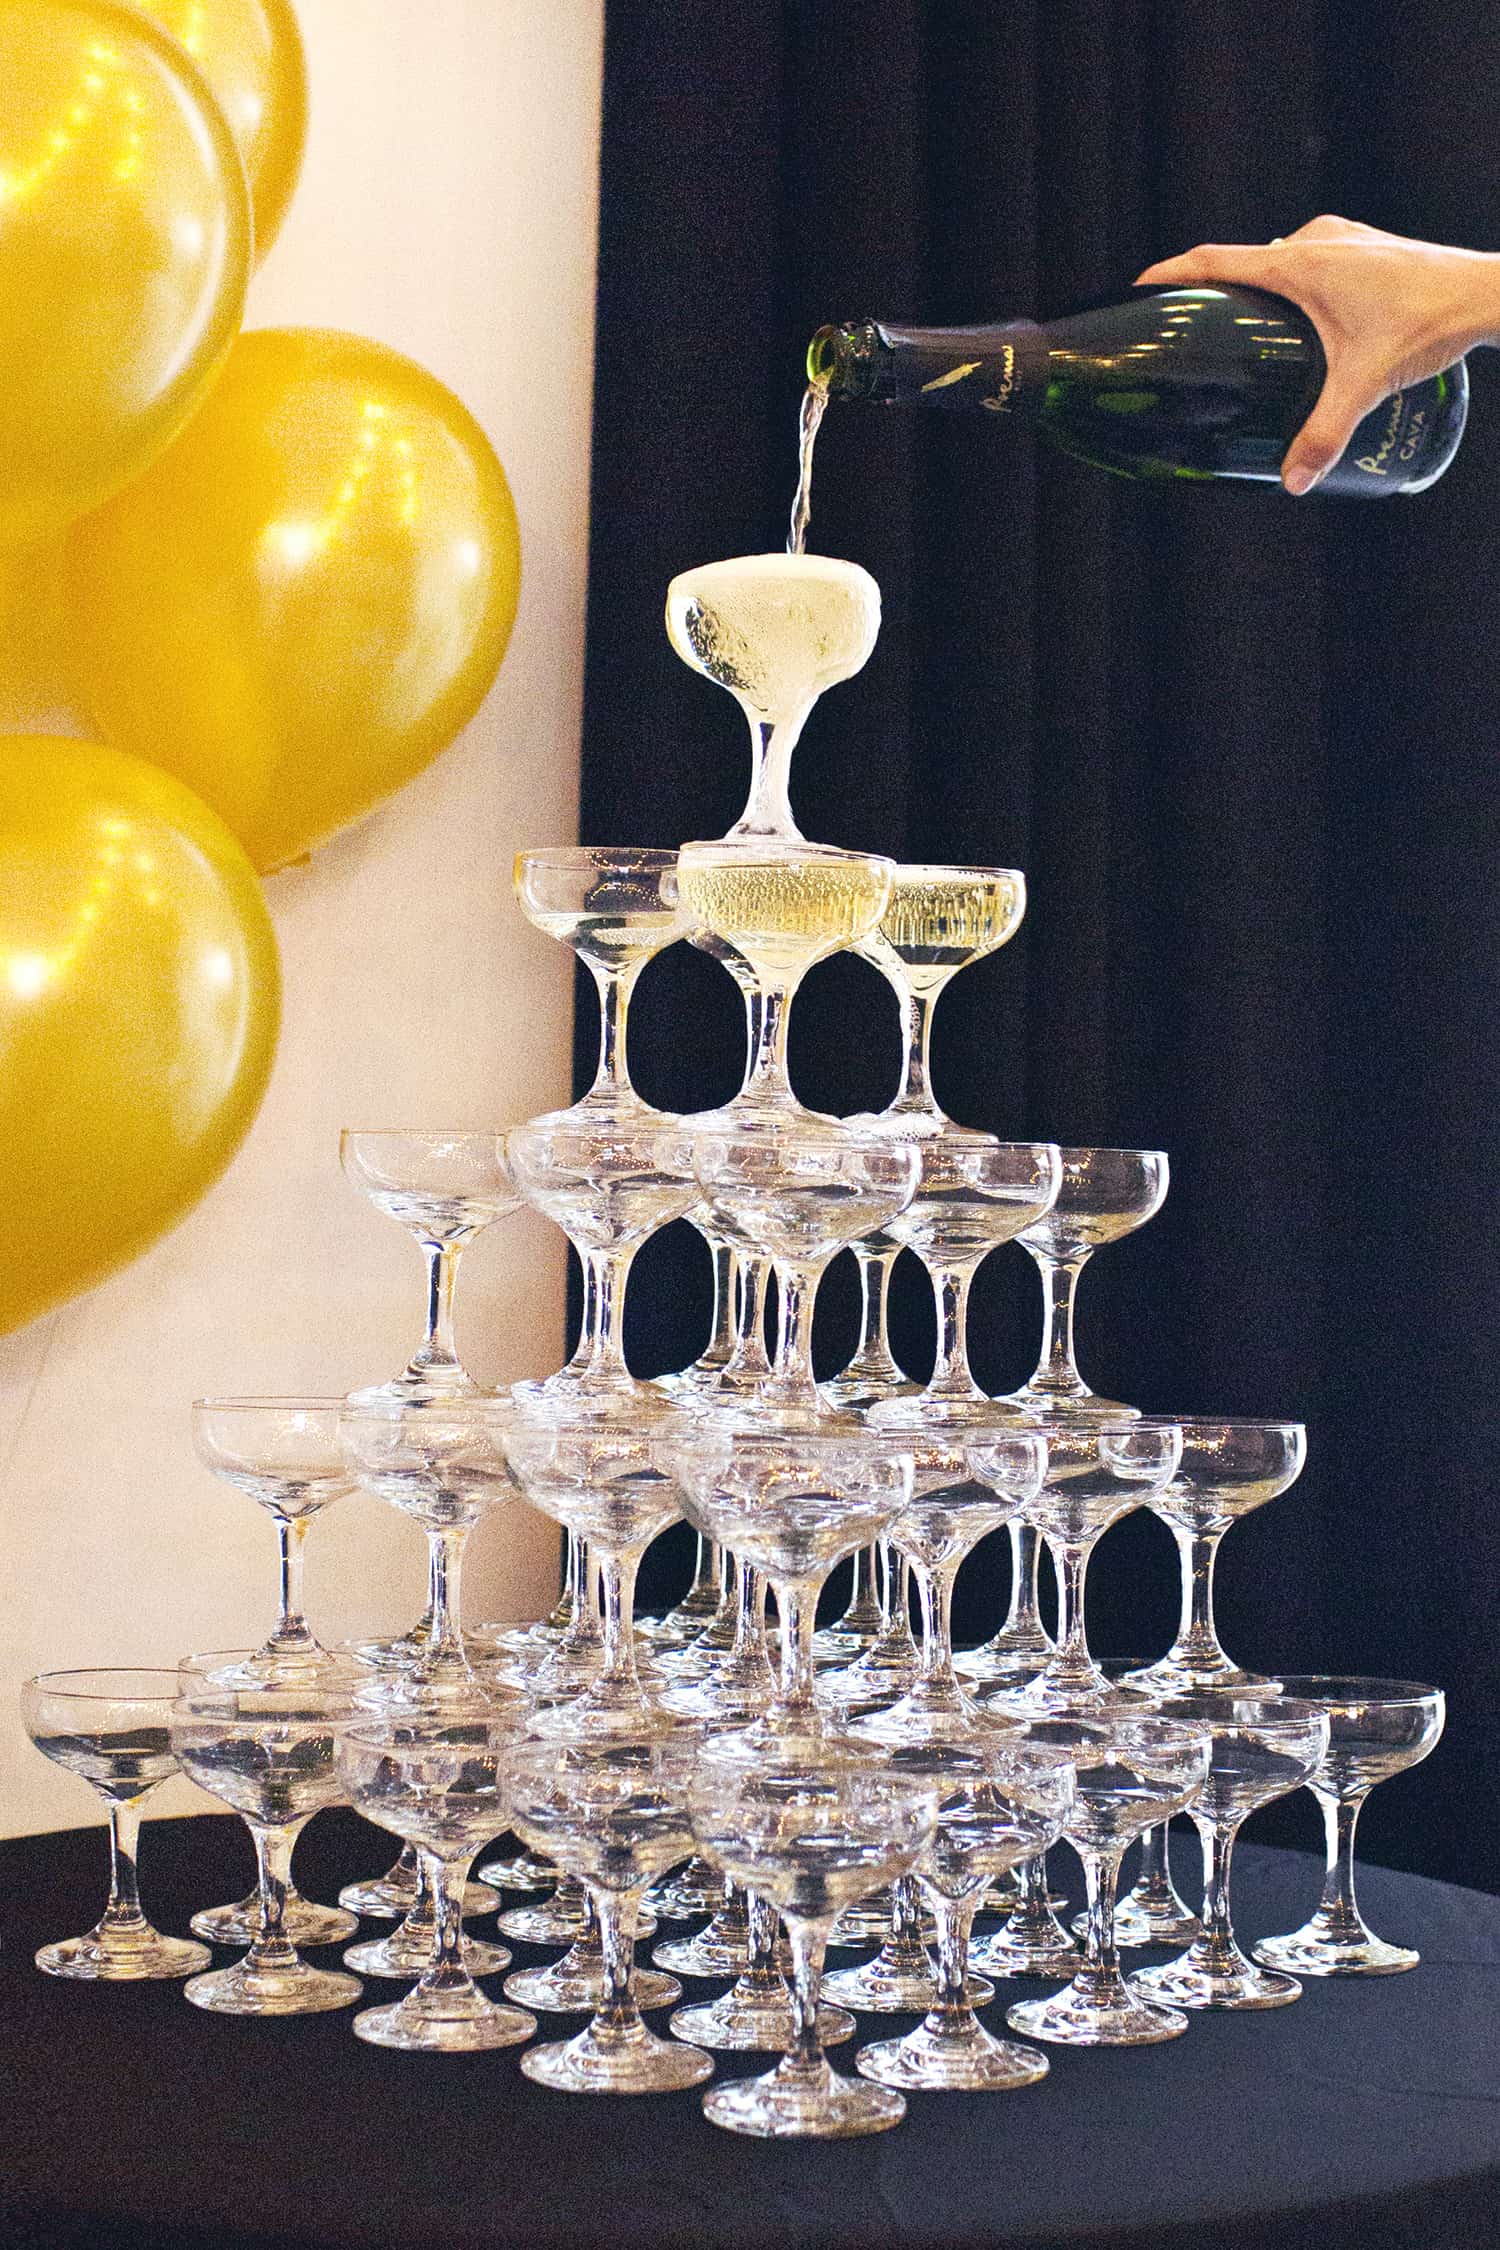
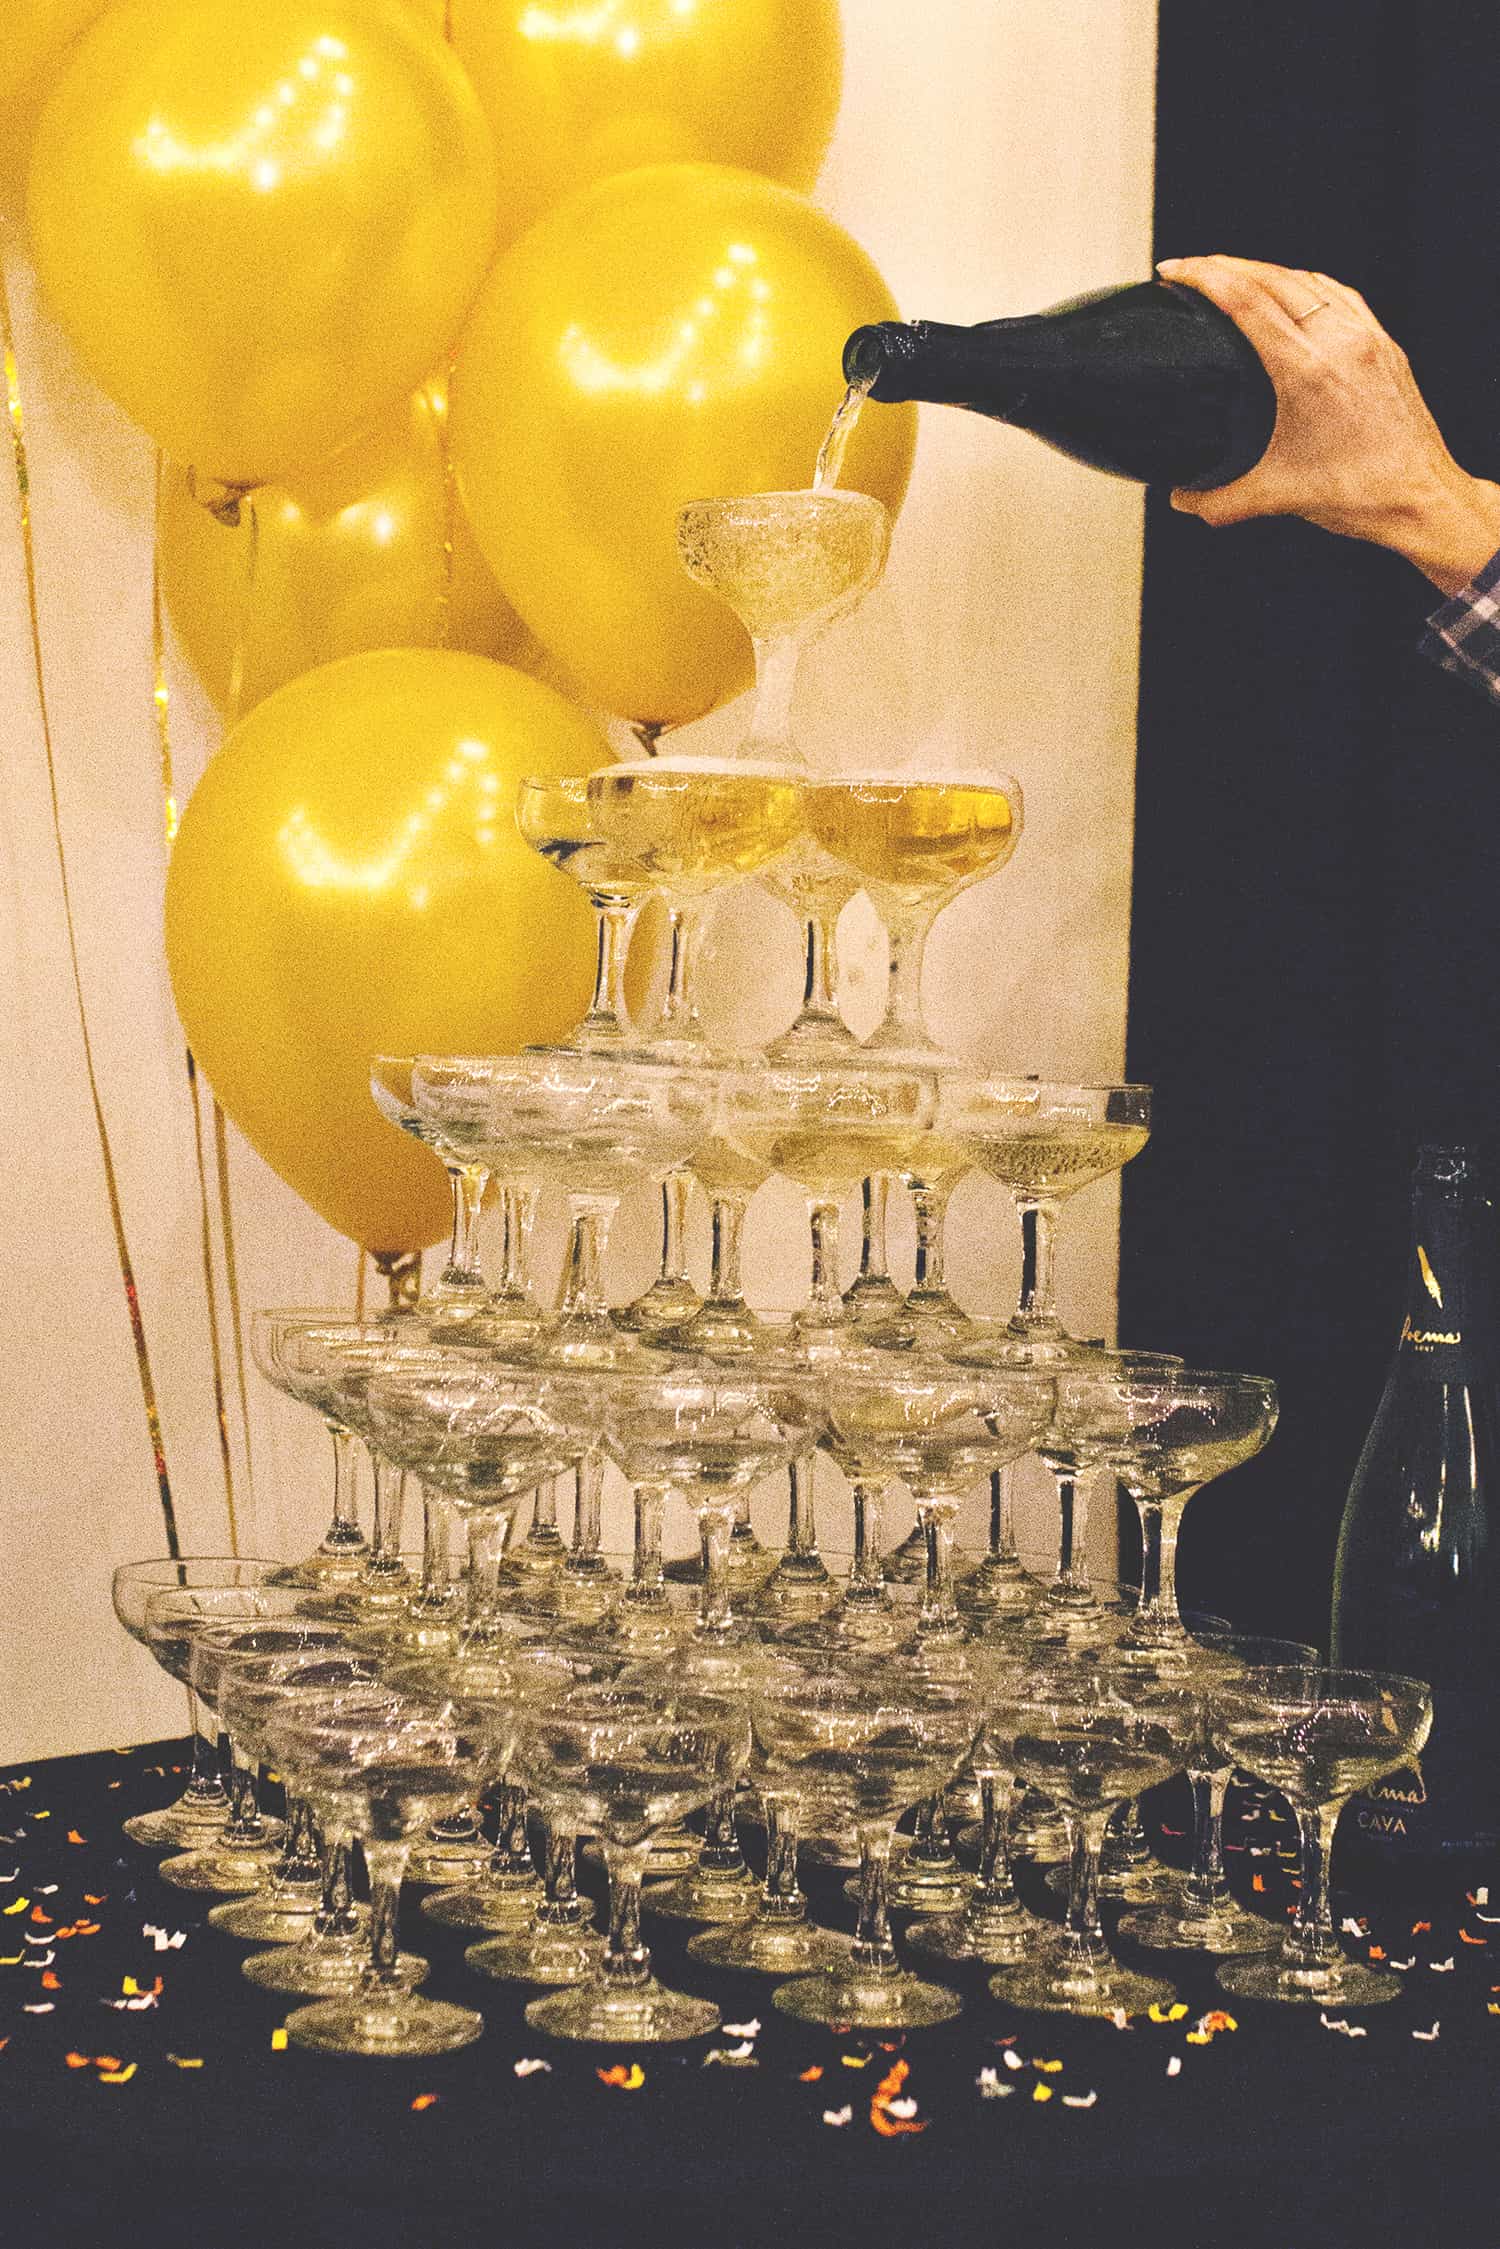
We’ve all seen that part of a movie or TV show where there’s a super fancy party going on, and you know it’s a super fancy party because they have a champagne tower for their guests.
A literal tower of champagne with what looks like the cast of Downton Abbey pouring the champagne into the top glass.
The funny thing about the champagne tower feat is that is has such a mysterious and fancy air about it, but you can do it for any party that you have—no British butler required!
How to Make a Champagne Tower:
Step one: The first step is to figure out how many tiers tall you want your tower to be. You have 1 glass on the top (1×1=1) and then 4 on the next tier below it (2×2=4).
Then 9 on the next tier (3×3=9), 16 on the tier below that (4×4=16), and then 25 on the tier below that (5×5=25).
Keep adding tiers that are one number bigger (multiplied by itself) until you get to the final number of glasses you need or the tier height that you were envisioning.
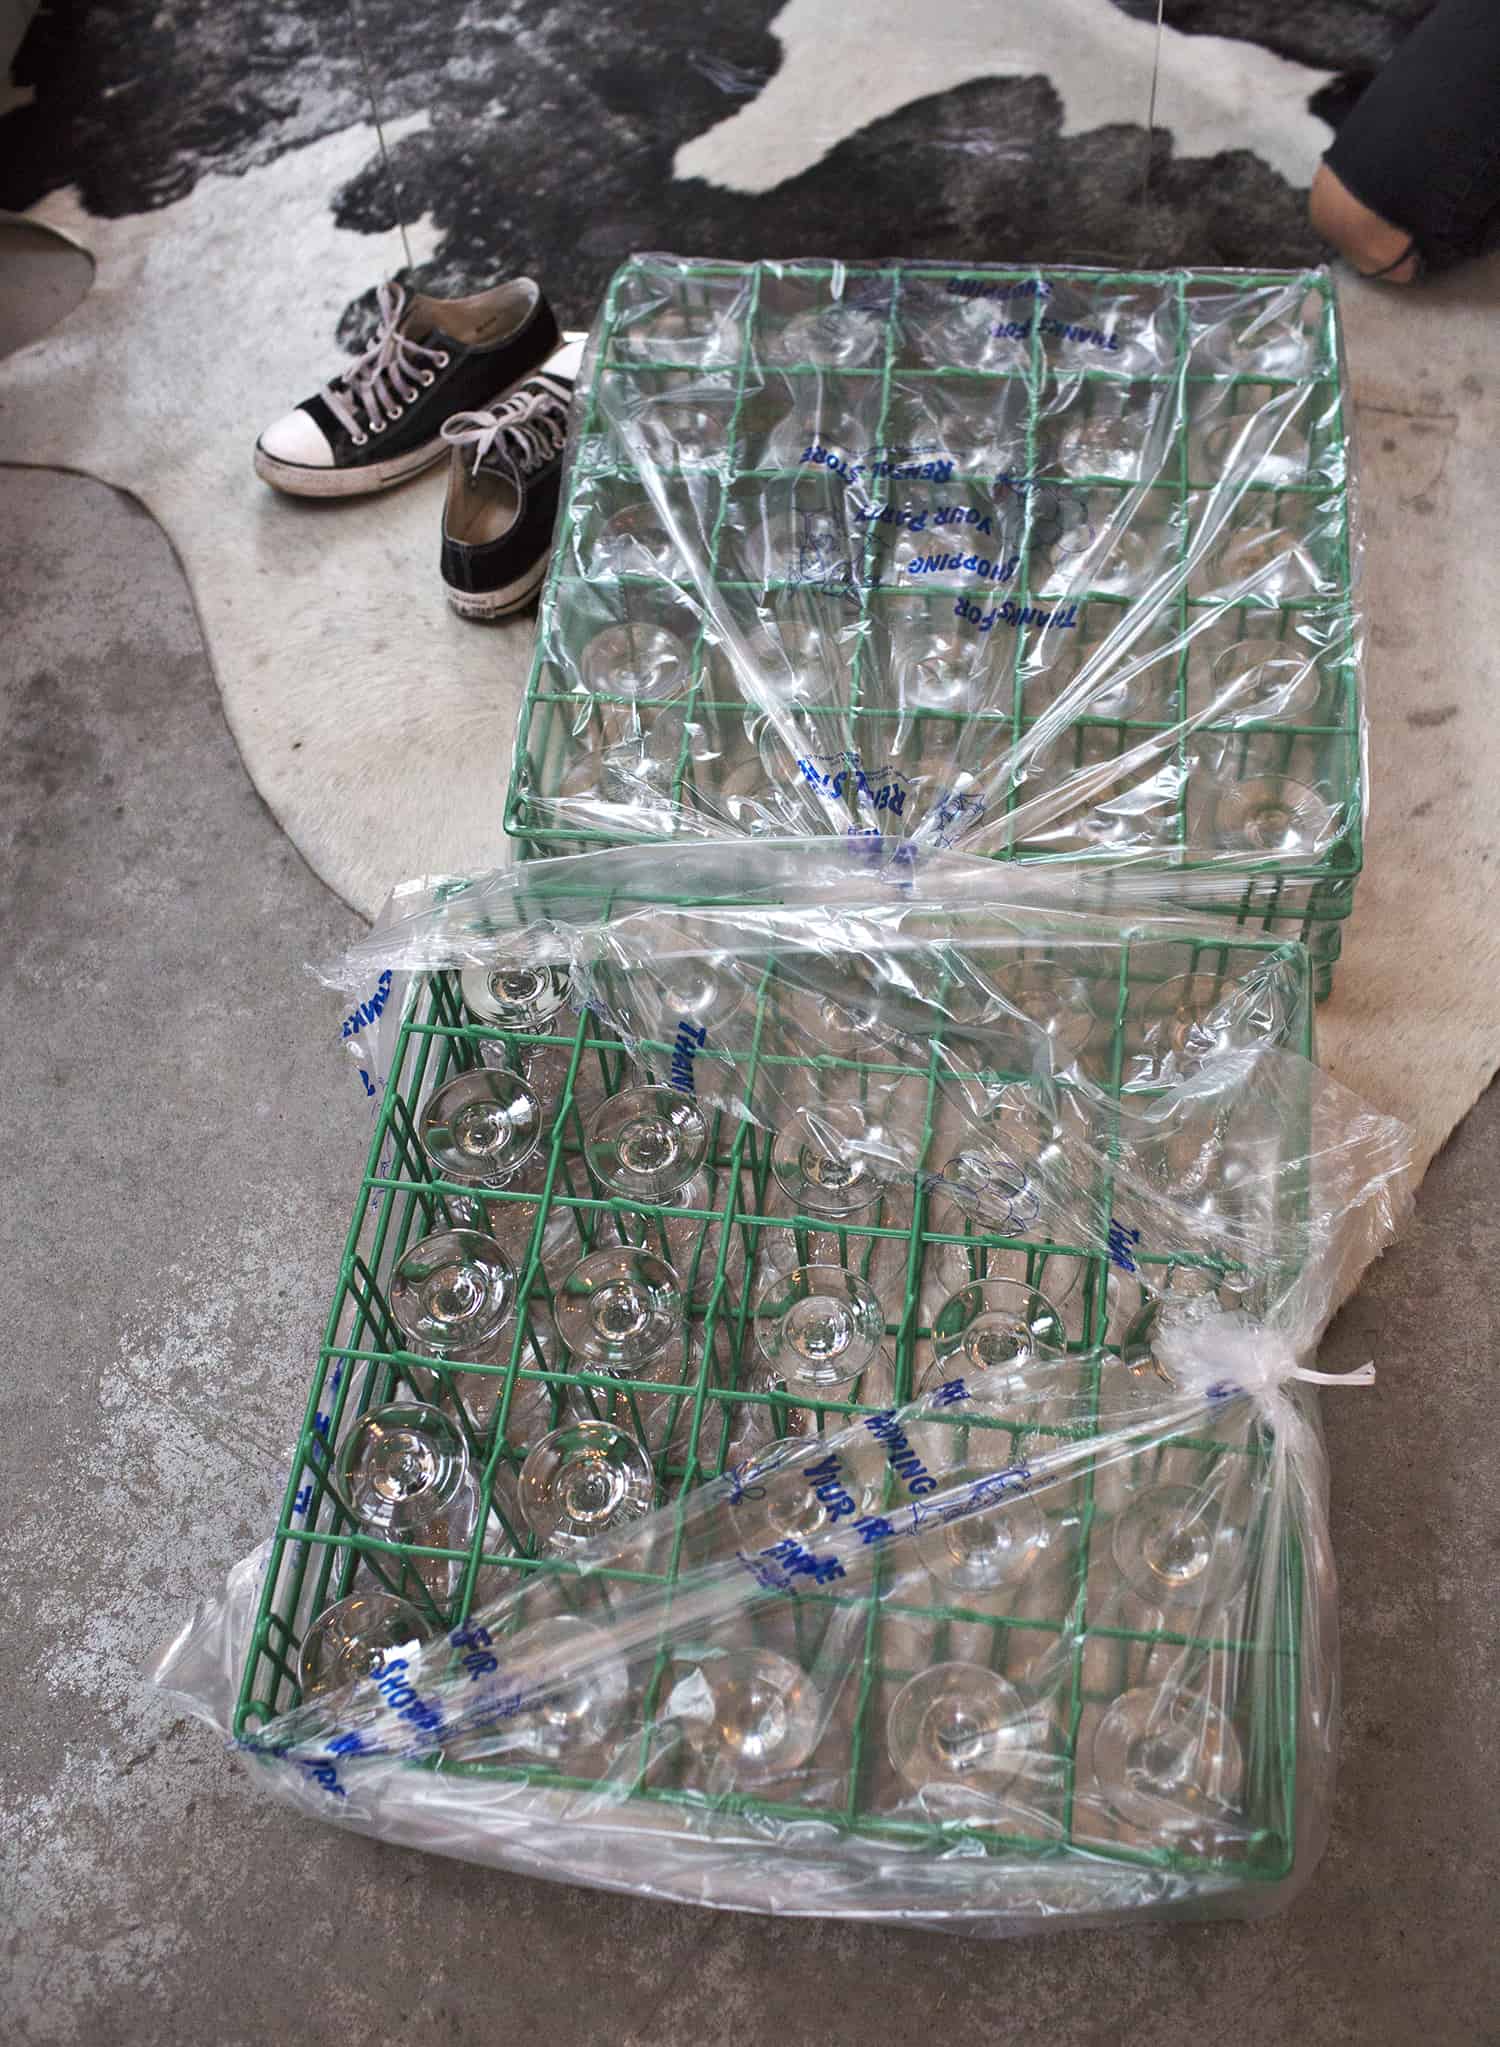
Step two: Once you know how many tiers you want and have done the math on how many glasses you need, you’ll most likely want to rent real glasses in that amount. Or, you can also buy these to use if you don’t want to rent real ones.
Just make sure that you get the “coupe” style of champagne glasses, the shorter wider glasses, rather than the “flutes” which are tall skinny glasses and can’t be stacked.
I have actually made a successful tower out of both rented glass and plastic glasses, but I did find that the rented glasses we had were actually 3-4 various heights that were slightly different.
That’s not a big deal at all if you’re using them on tables for a dinner party, but we had to carefully sift through the glasses to try and find ones that were similar heights for each tier, and that was super annoying.
It seems like maybe that rental company had glasses from a few different brands mixed together, so maybe ask when you rent real glasses if all the coupes are exactly the same from the same brand, and you won’t have that problem.
With the plastic glasses, you just need to be very careful attaching the cup part of the glass to the stem and make sure that you are attaching them as level as possible. Otherwise, you’ll have a similar problem where all the glasses are crooked and you won’t have a very sturdy tower.
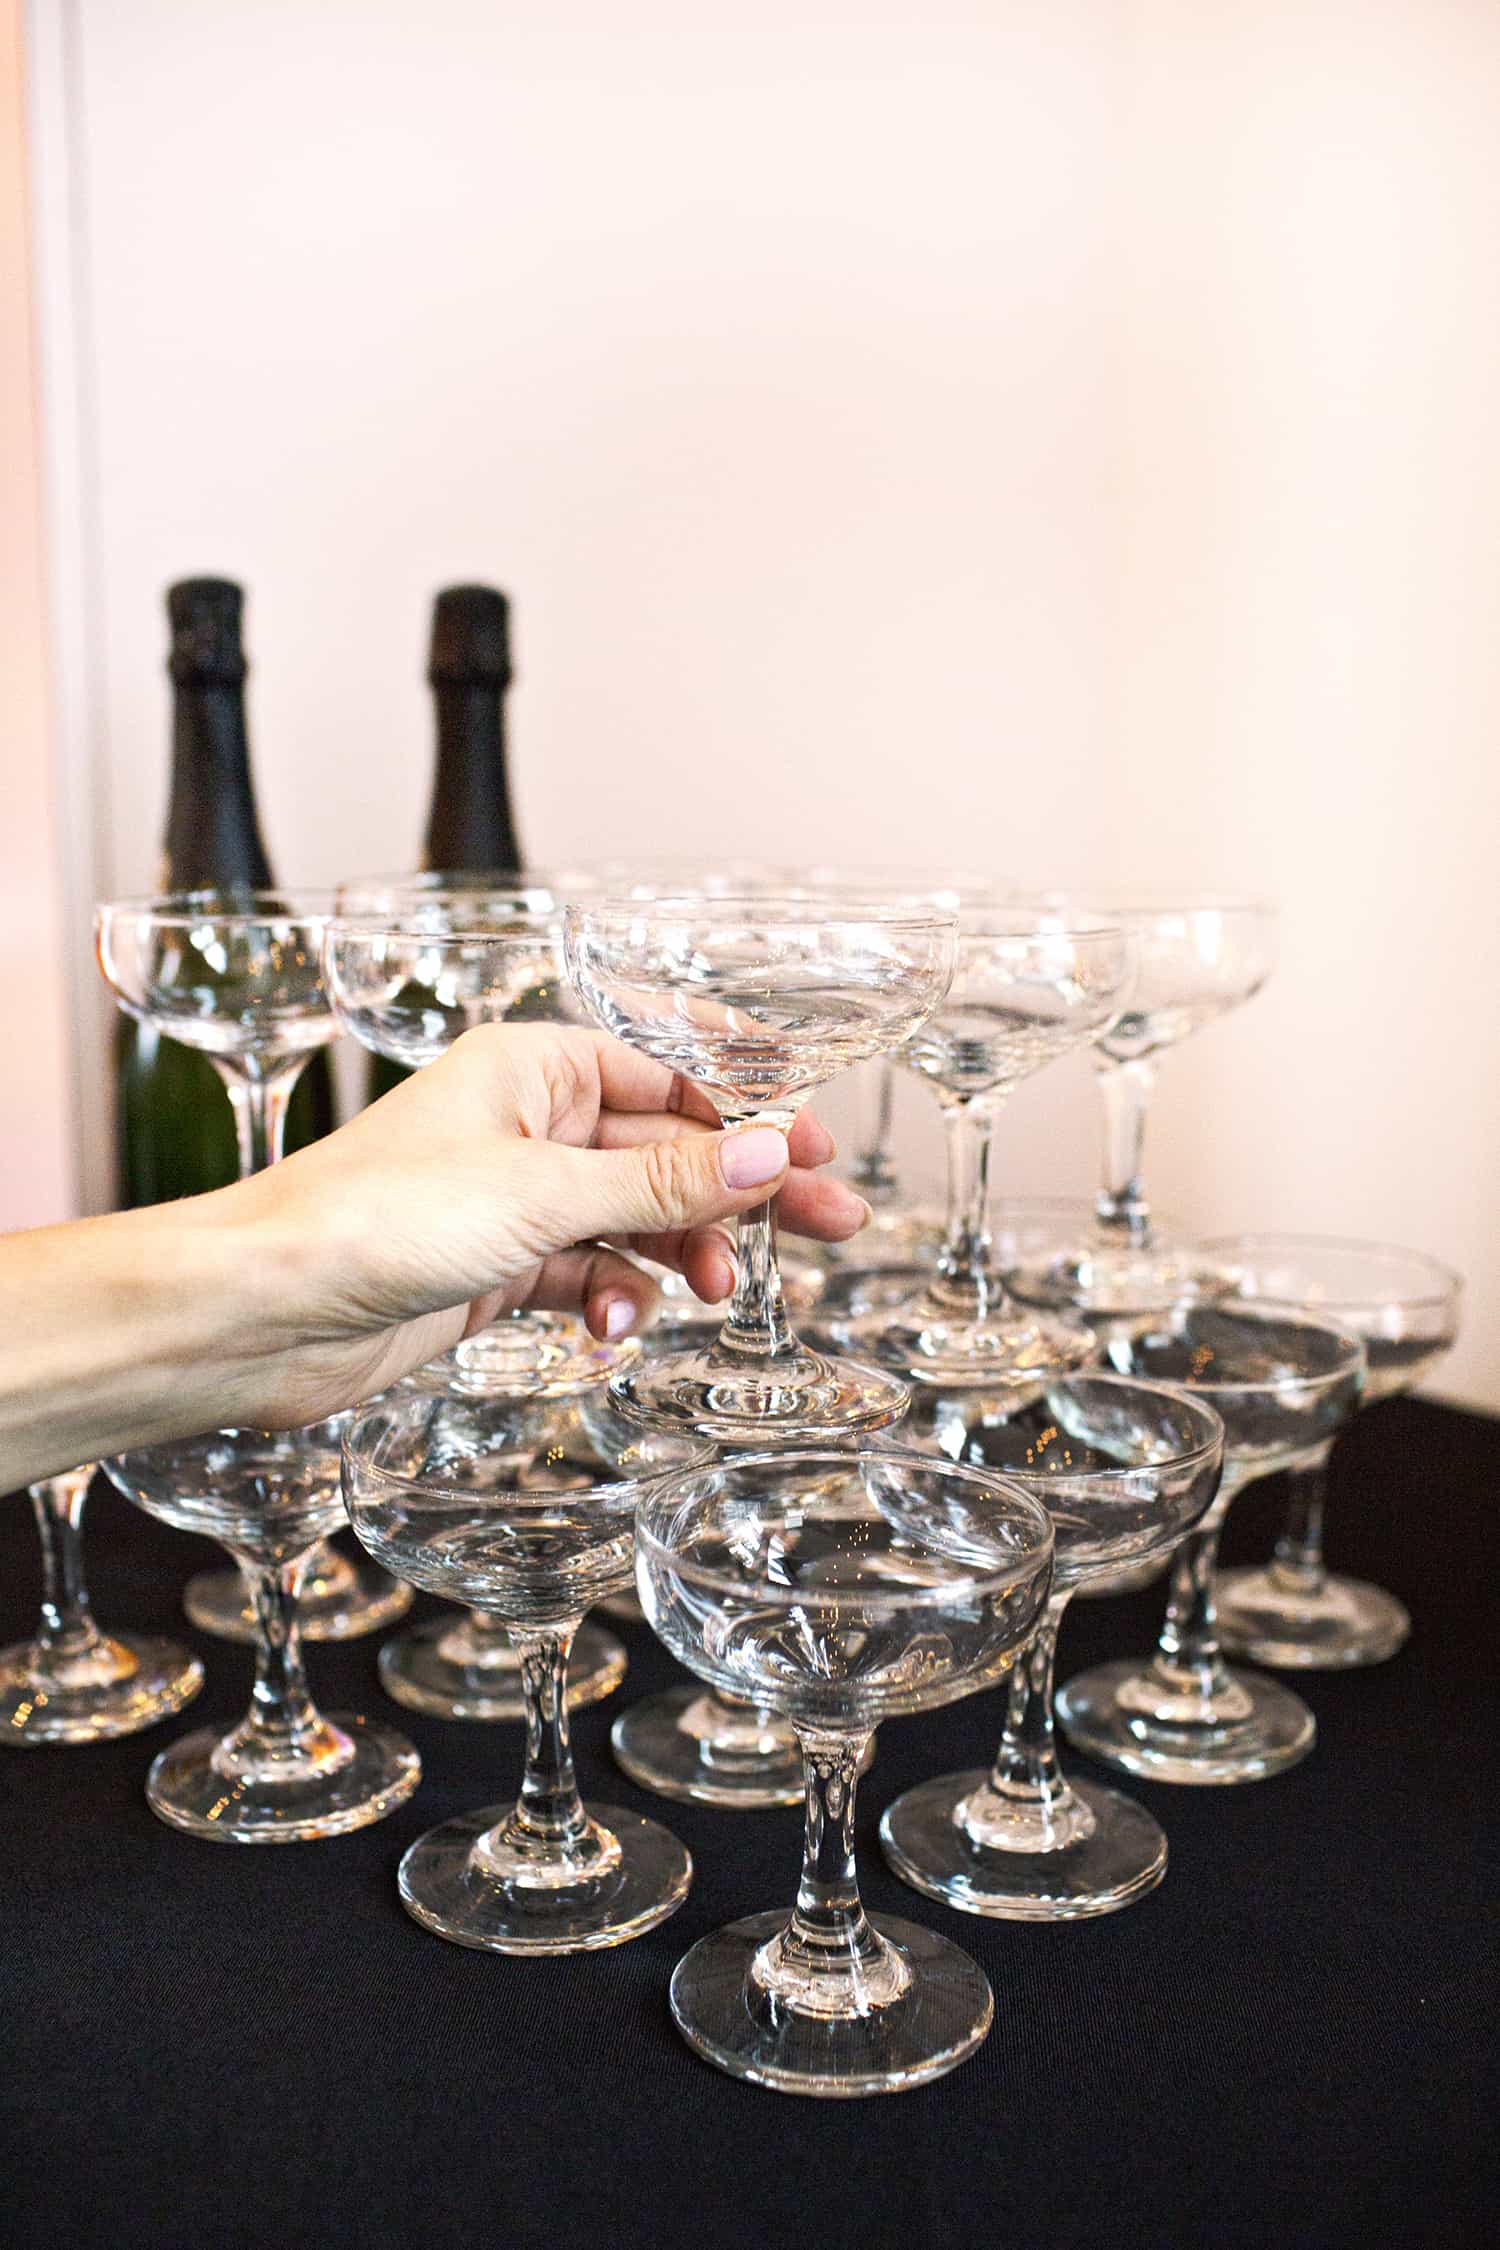
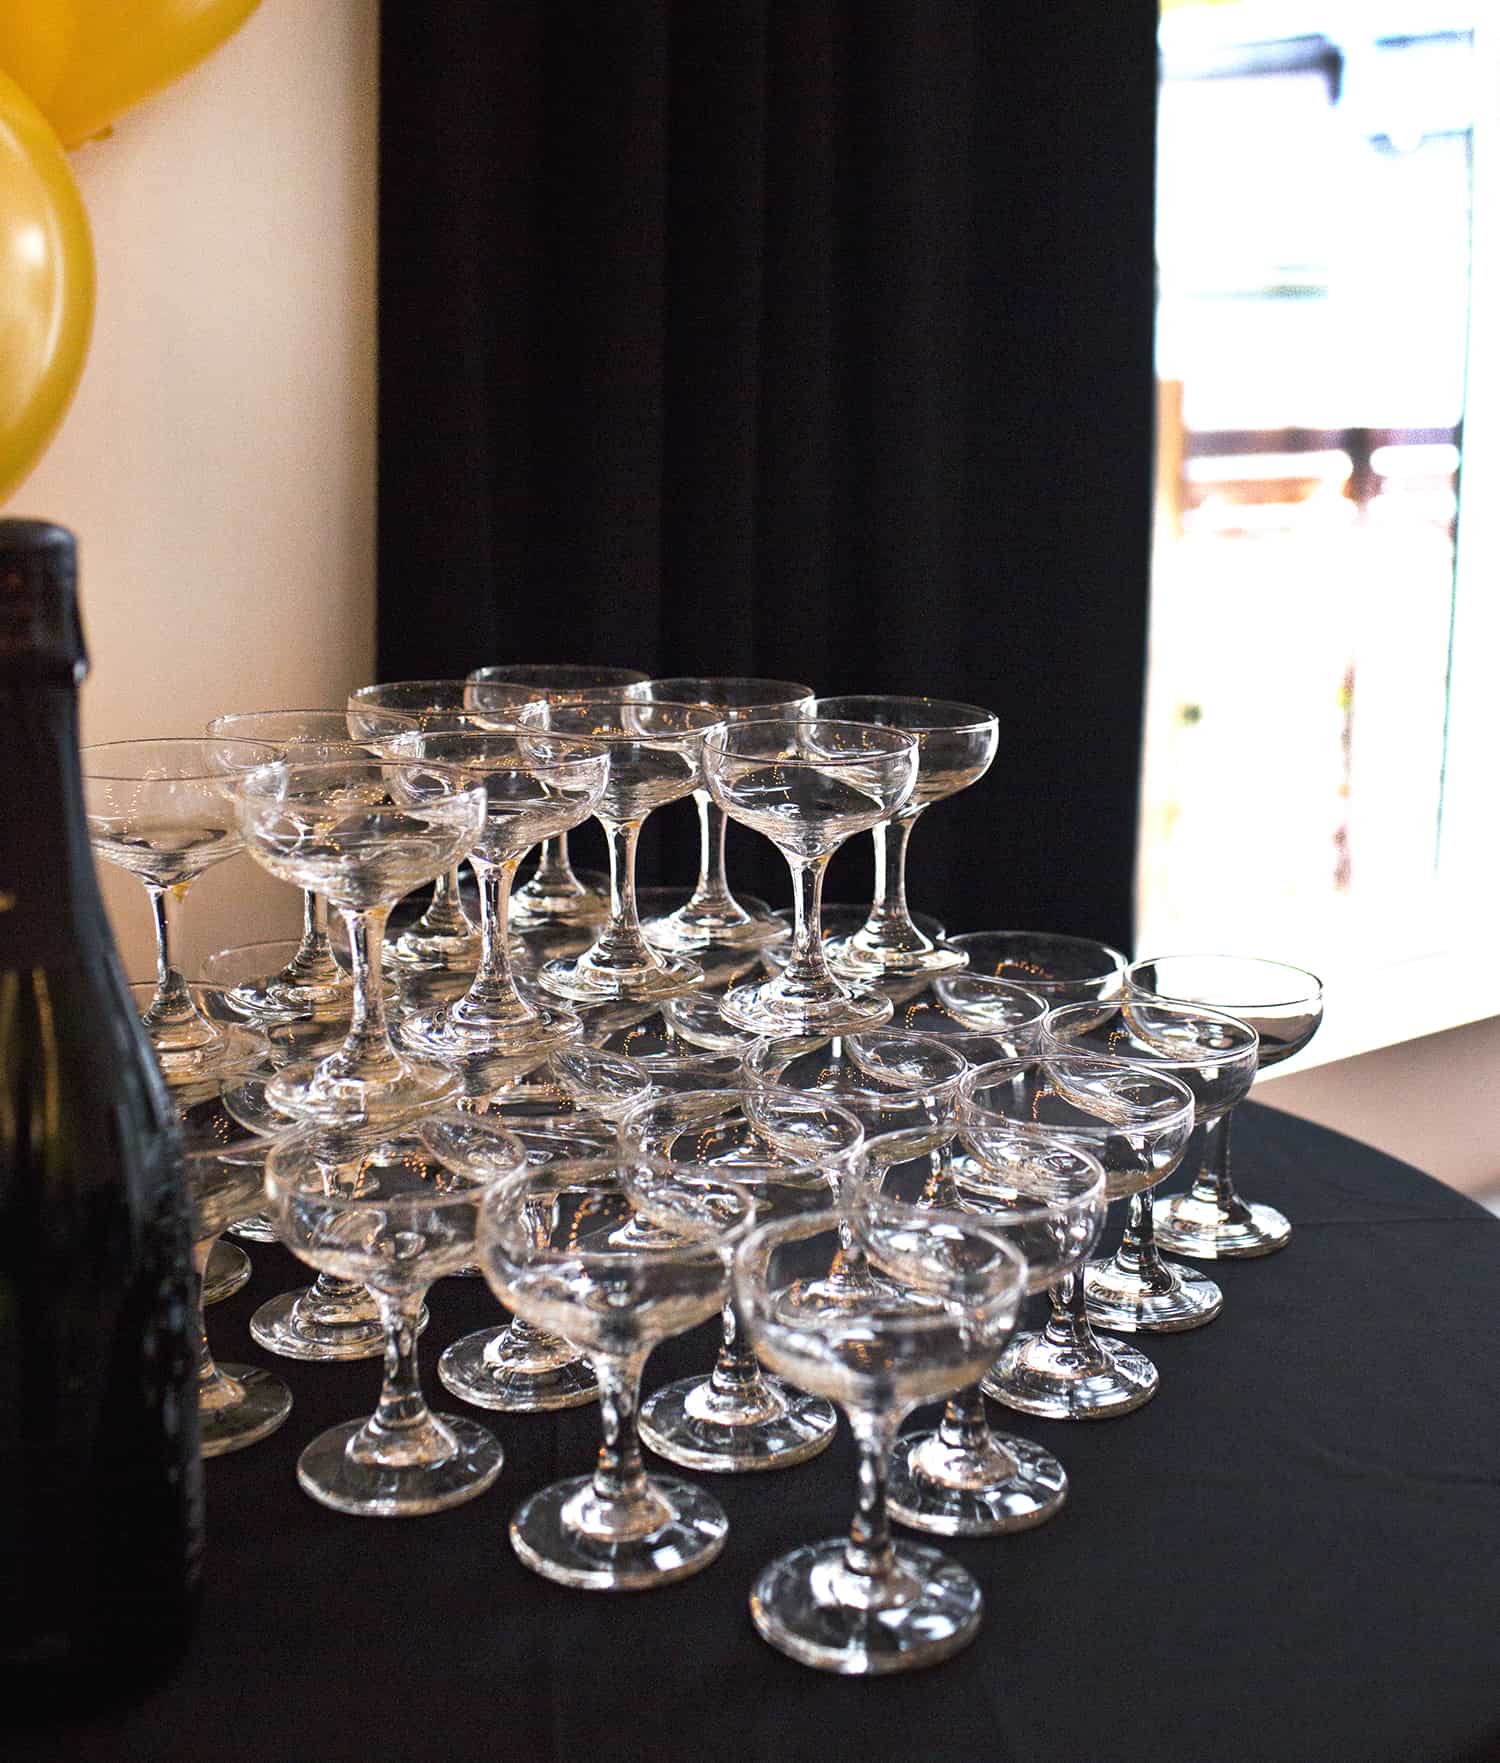
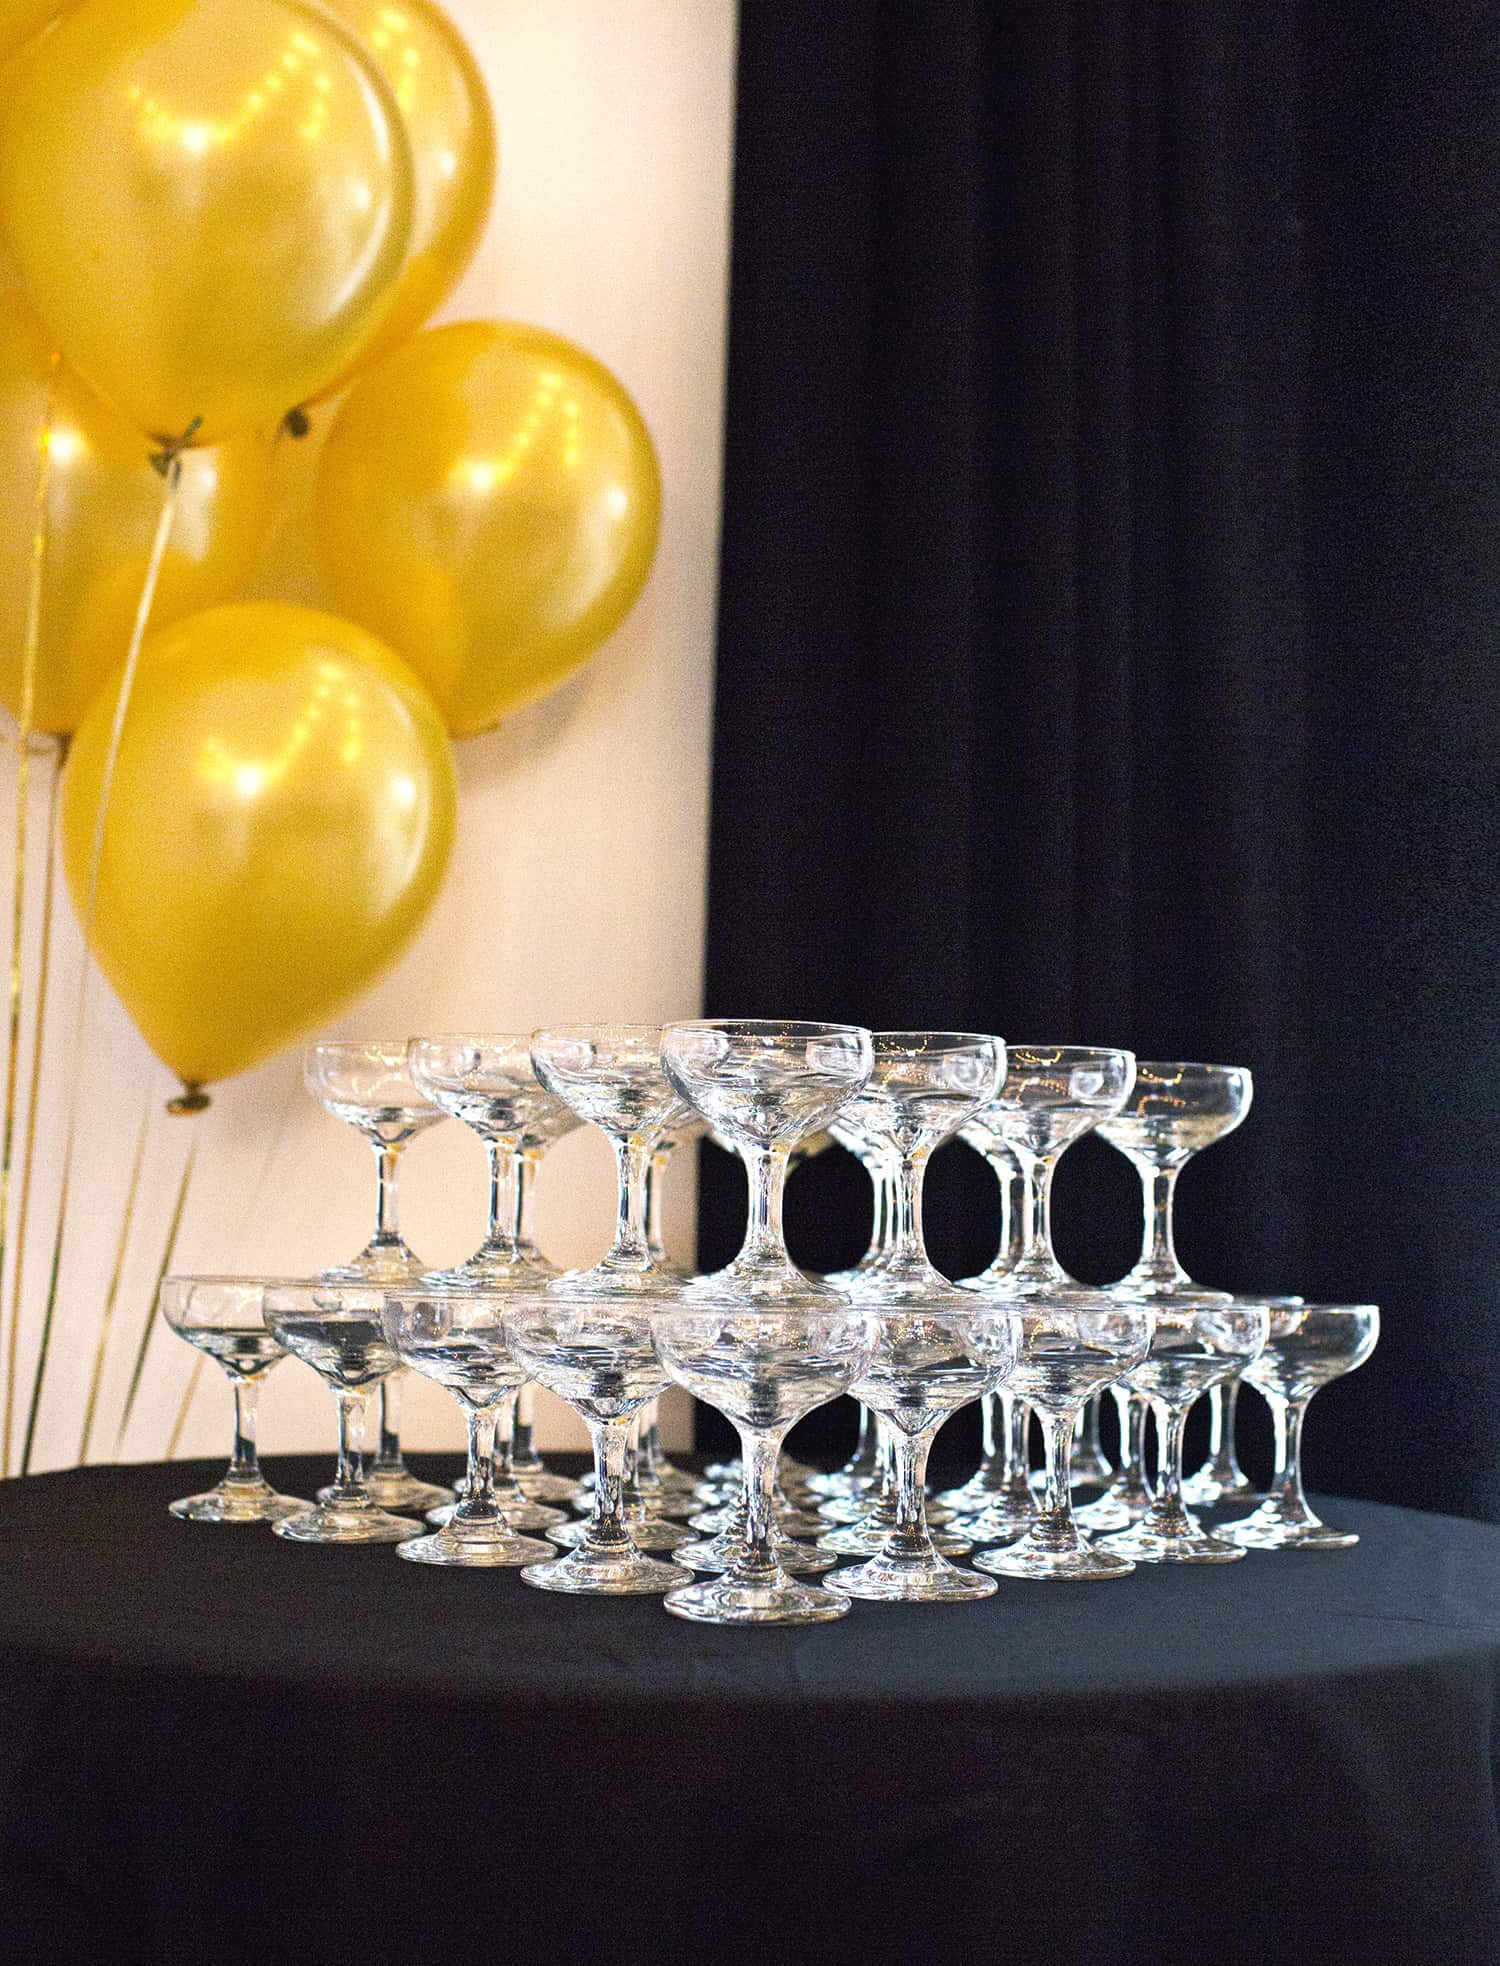
Step three: To make your tower, start by arranging your bottom tier on a sturdy table (not one that’s wiggly or in a spot that would be bumped easily!) in a square with each glass touching all the glasses that surround it.
Then, start your next layer by placing the base of your second tier glasses directly in the center of where 4 of your bottom glasses come together. You should be able to look down at the base of your second tier glass and see a diamond shape (created by the 4 bottom tier cup edges) centered in the base.
Step four: Build your smaller layer on top of the larger layer below, trying to see that diamond shape in the base of each glass. Try to get the second tier to be as close to each other as possible, with the sides touching if you can.
Once you are done with your second layer, keep building up and up until you have just one glass on top!
How to Pour the Champagne:
You can either leave all the glasses empty and pour the champagne into the top glass so that it eventually overflows and spills all the way down the tower (filling the glasses as it goes down) or you can build the tower with the glasses mostly full already.
Leave the top one empty so that you’ll still get to fill the top glass and see it overflow all the way down the tiers, but it will all happen a lot faster.
If you’ve ever seen a large tower being filled from the top that started out with empty glasses, it can take a pretty long time to fill them all, so you may start to lose guests’ attention by the time you are pouring in the third or fourth bottle.
How Much Champagne Will You Need?
Add up how many glasses you have multiplied by how many ounces the glasses hold, and that will tell you how many ounces of champagne you’ll need.
Be sure to check the ounces on the bottles that you’re wanting to get to make sure you have enough.
Now that you have your tower and enough champagne, pick the moment you want to debut your tower skills. Maybe after a short welcome speech or a toast in honor of the party occasion? And then, fill that tower from the top!
You may need a chair to stand on while pouring if you’re a shortie like me, or just ask your 6’3″ friend to do the honors …
It’s always a party highlight when a champagne tower is present, so if you’re looking for extra fun at your next event, this may be the perfect thing! xo. Laura







11 Comments
Omg I love this idea!!!! We are totally doing this at our holiday party.
I was unaware that I needed a tutorial to do this or that I even needed to do this. Thank you for letting me know, lol. I’m about to do this for every special occasion. I see it all the time but usually it’s already poured. I think the fun is in seeing it “in action”. Thanks for sharing!
I’ve always wanted to try this! I see it in so many movies.
xo, Sam
www.coastalcuriosity.com
So Fun I’d love to see the video Does it make a mess at the end? Cheers!
I’m guessing a smaller coupe glass would be preferable?
This is so fancy, I love the idea! I would be so scared to break the glasses…
https://www.makeandmess.com/
Such a glam look – perfect to up the decor game at any party! 🙂 ❤️
Charmaine Ng | Architecture & Lifestyle Blog
http://charmainenyw.com
I like the look of these but have always wondered if the stems get sticky and leave people with sticky fingers. Though, to be fair, I don’t know if that would stop me from wanting a glass of champagne from the tower.
I don’t remember the stem on the one I took being sticky but it may happen. Like you said though, I think it’s all worth it 🙂
Laura
So cute! Does the table underneath get messy or does it stay in the glasses?
Depending on your pouring skills you may get a little on the table, but it shouldn’t be completely soaked. You could always get a large tray and put that underneath if you wanted to!
Laura