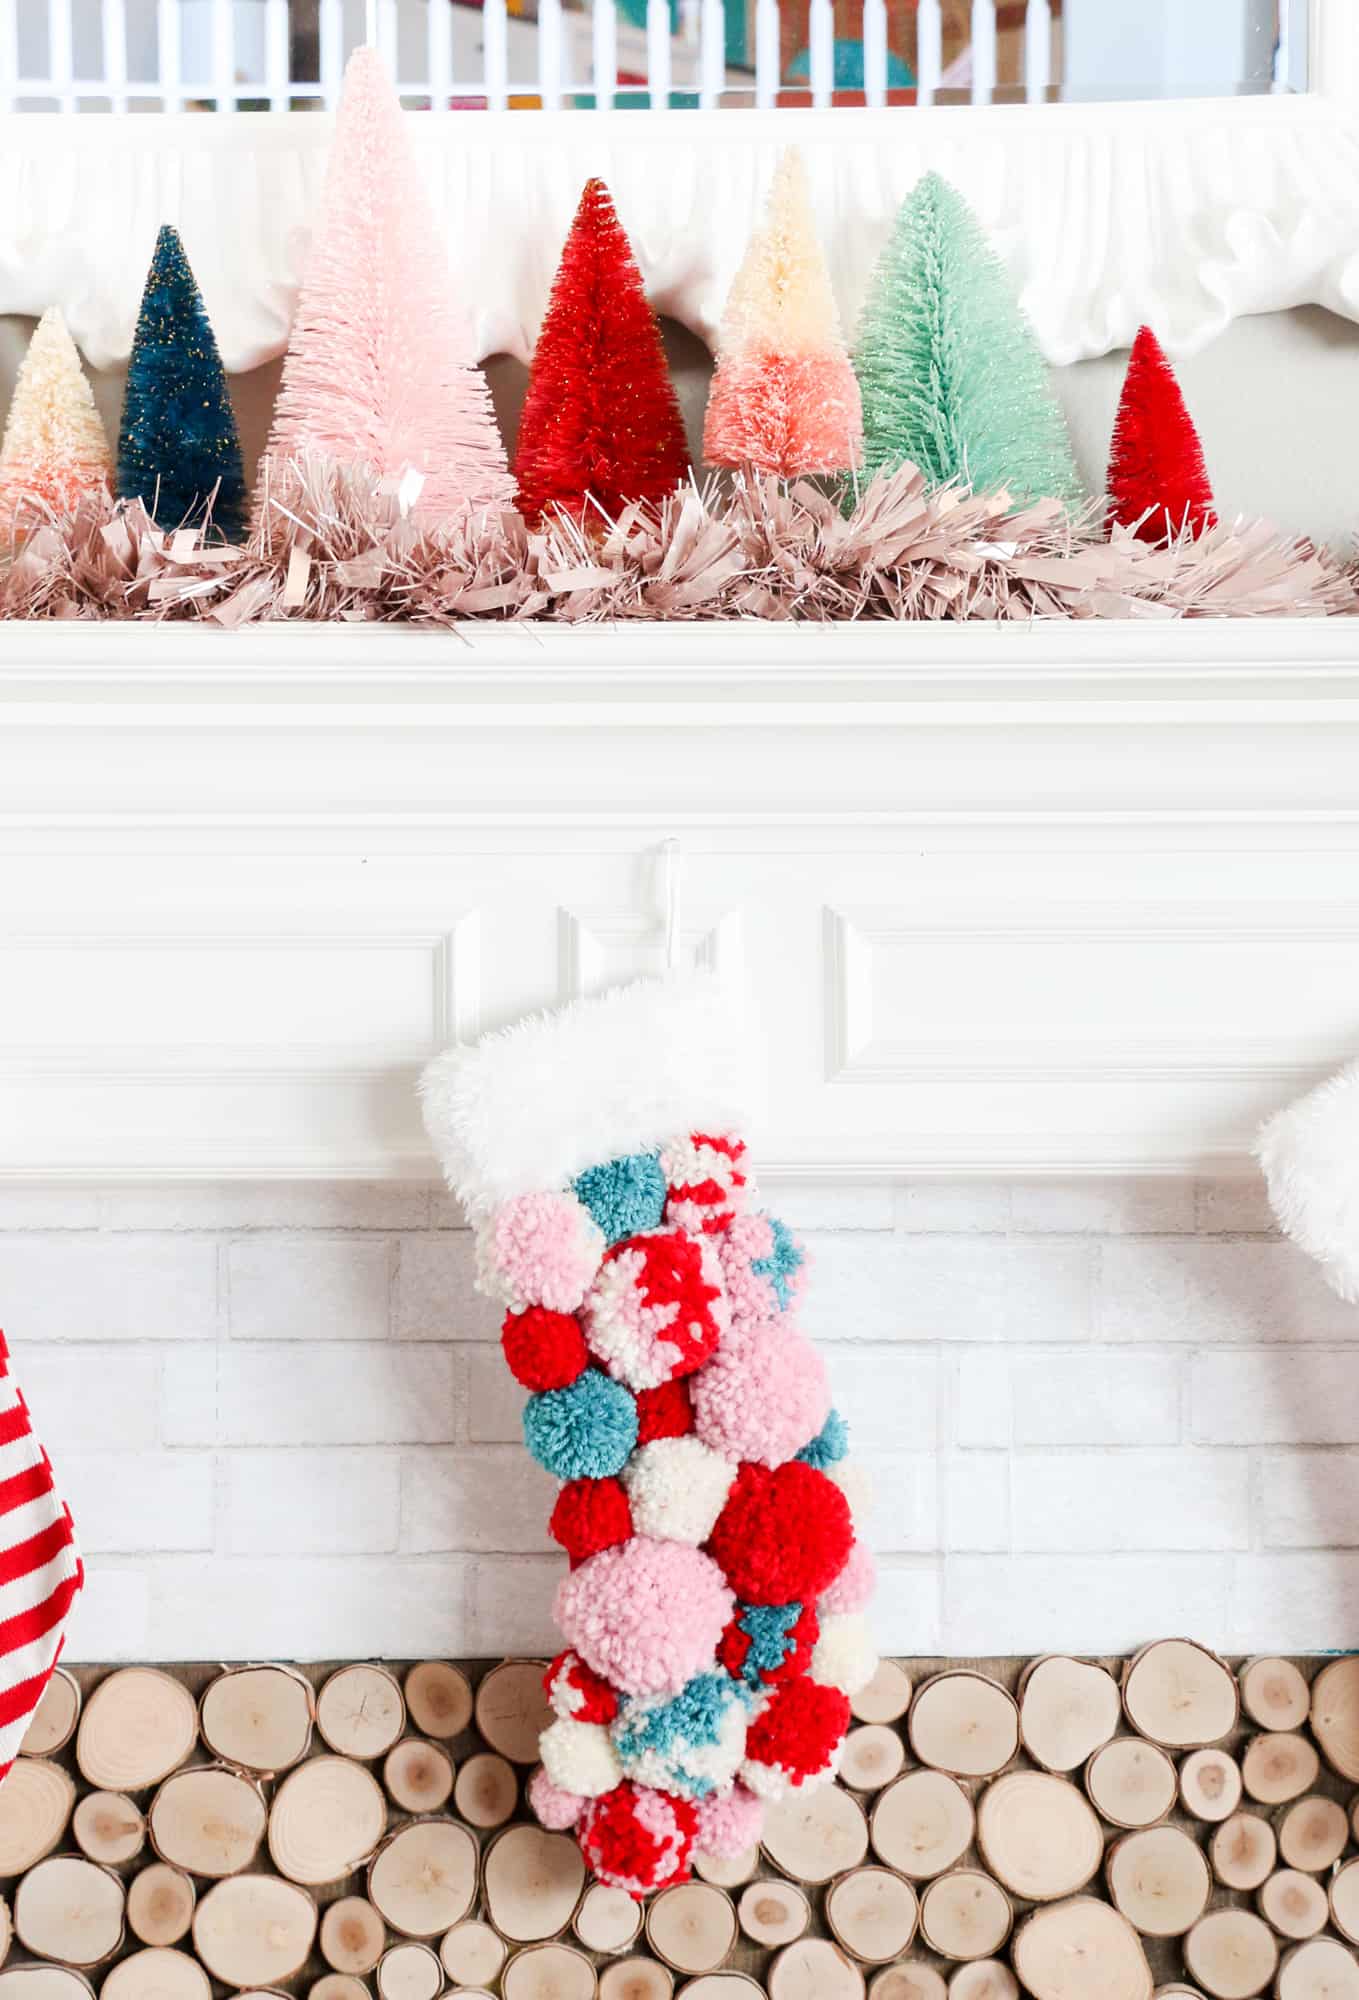
 The holidays are here and it is my favorite time of year! One of my favorite things to do during the holiday season is to make things for our home that will last through the years as the kids get older. Mementoes that we can pull out year after year. Those handmade pieces are a big part of the season for me. This year, I am making our stockings. Fluffy pom pom stockings, to be exact. I love the fun texture of these stockings and that they can be customized to any holiday color scheme. I went with one of my favorite holiday color palettes of red, turquoise, white, and pink. But you can make them in your favorite!
 Materials:
-chunky yarn (I love using wool roving, but any medium to thick yarn works well)
–pom pom makers in a few sizes (I used small, medium, and large)
-scissors
-needle and thread
-stocking base (I found these at the dollar store)

Step 1: Begin by making all the pom poms! If you have never used a pom pom maker before, it is relatively simple. Just open the two side pieces and wrap the yarn around each side. Then close the arms and snip the yarn around the outer edge of the pom pom maker. Cut a piece of 6″ yarn and tie it around the side of the pom pom maker as tight as you can in a knot. Then open the arms and pull the two sides apart to release your pom pom.


 Step 2: Repeat to make enough pom poms to cover your stocking. You may want to lay out the pom poms on the stocking as you go so that you can judge the sizes and colors you need. For the multicolor pom poms, just wrap the yarn in chunks of color instead of just one color when creating your pom poms.
 Step 3: Once all your pom poms are made, it is time to attach them to the stocking. To do this, use a needle and thread to sew up through the center of the pom pom and over around the side of the pom pom and through the stocking. Repeat several times around all the pom pom sides to really secure it onto the stocking. Repeat with all the pom poms. You can also add permanent fabric glue to the pom poms to give them an extra hold. Once you have attached all your pom poms, use fabric glue to glue the pom pom sides together. This way when you hang the stockings the pom poms hold together instead of gaping apart. Once the glue is dry, your stocking is ready to hang.


 This project is a labor of love since the pom poms take a while to make—especially if you are making one for every family member. But it is a fun family project if your kids are old enough (my 9-year-old LOVES making pom poms) and makes for a fun family crafting activity. What handmade holiday items are on your list this year? xo. Kara


13 Comments
Ahh, so fluffy! I love the DIY!! 🙂
Charmaine Ng | Architecture & Lifestyle Blog
http://charmainenyw.com
These are adorable, but what I really want to know about is that fireplace insert – I’m dying to do that with mine! Do you have any type of tutorial/sources for that??
Yes! I have a tutorial for it on my blog.
https://akailochiclife.com/2018/09/diy-faux-wood-log-fireplace-screen.html
These are adorable!
Deb @ https://tiger-mint.com
I love it!!! Also, I looked high and low for a blush garland to no avail! Where, oh, where did you find yours?
I found it at hobby lobby!
I LOVE all things pom pom! Definitely trying this out as a white elephant gift holder!
I LOVE these colors!! Could you possible share the brand/colors of the yarns you used?
Unfortunately I don’t know exactly what colors or brands of yarn they were, but I know that I found them all at Joann stores.
Also, where is the red and white blanket in the bottom right from?!
It was from Target a few years ago.
Just wanted to leave a note that I spent last week making this!! The pom poms are time consuming but they’re also very therapeutic to make! It took a while but it looks great! What a fun DIY, and it brings such a fun color palette to the room!
This is brilliant! I know exactly who I can make one for!!!