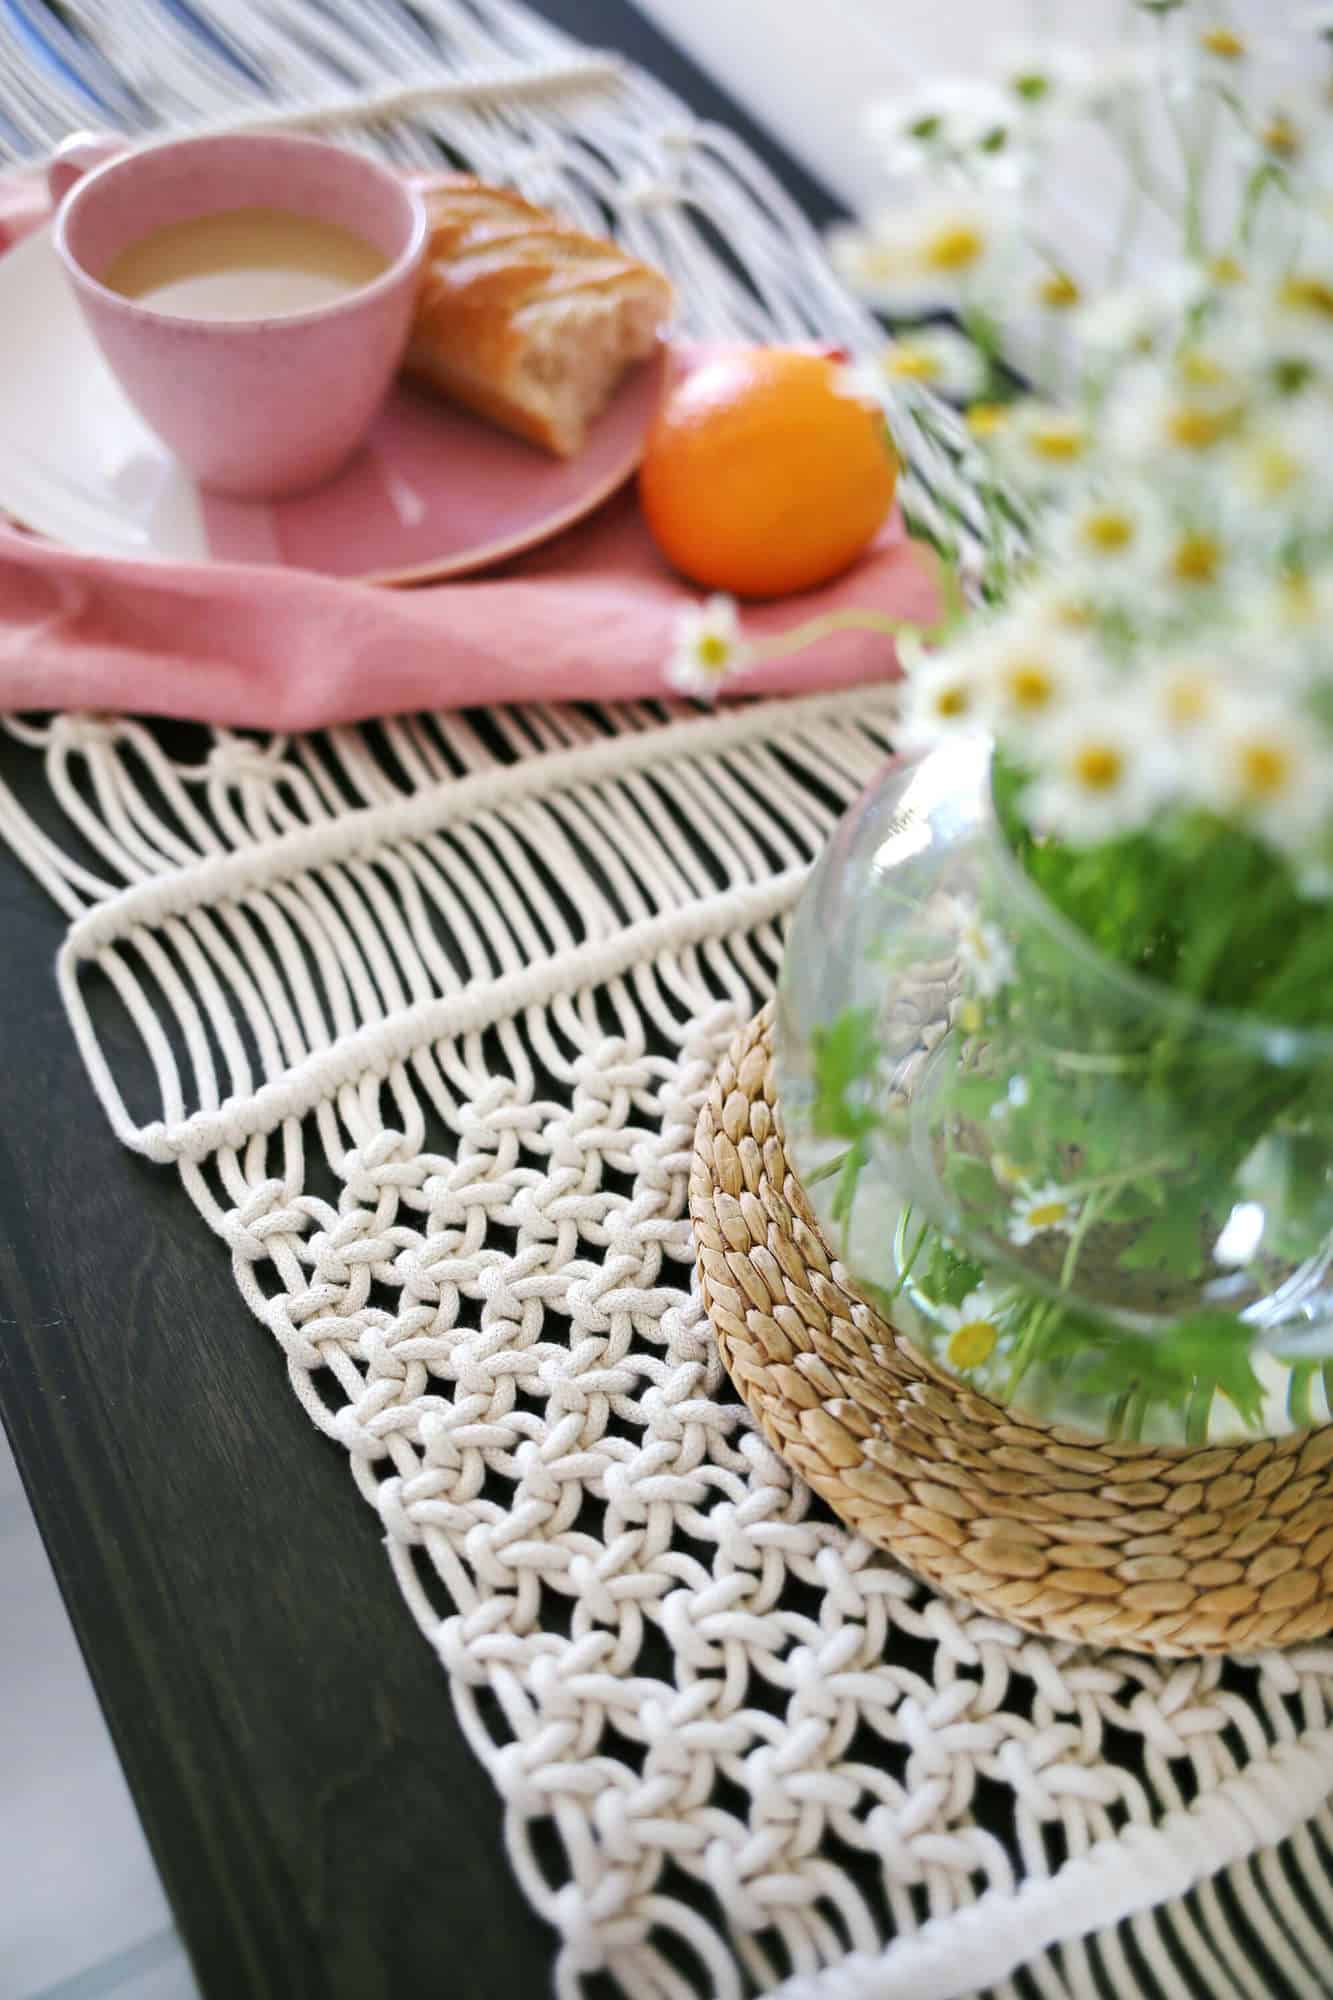
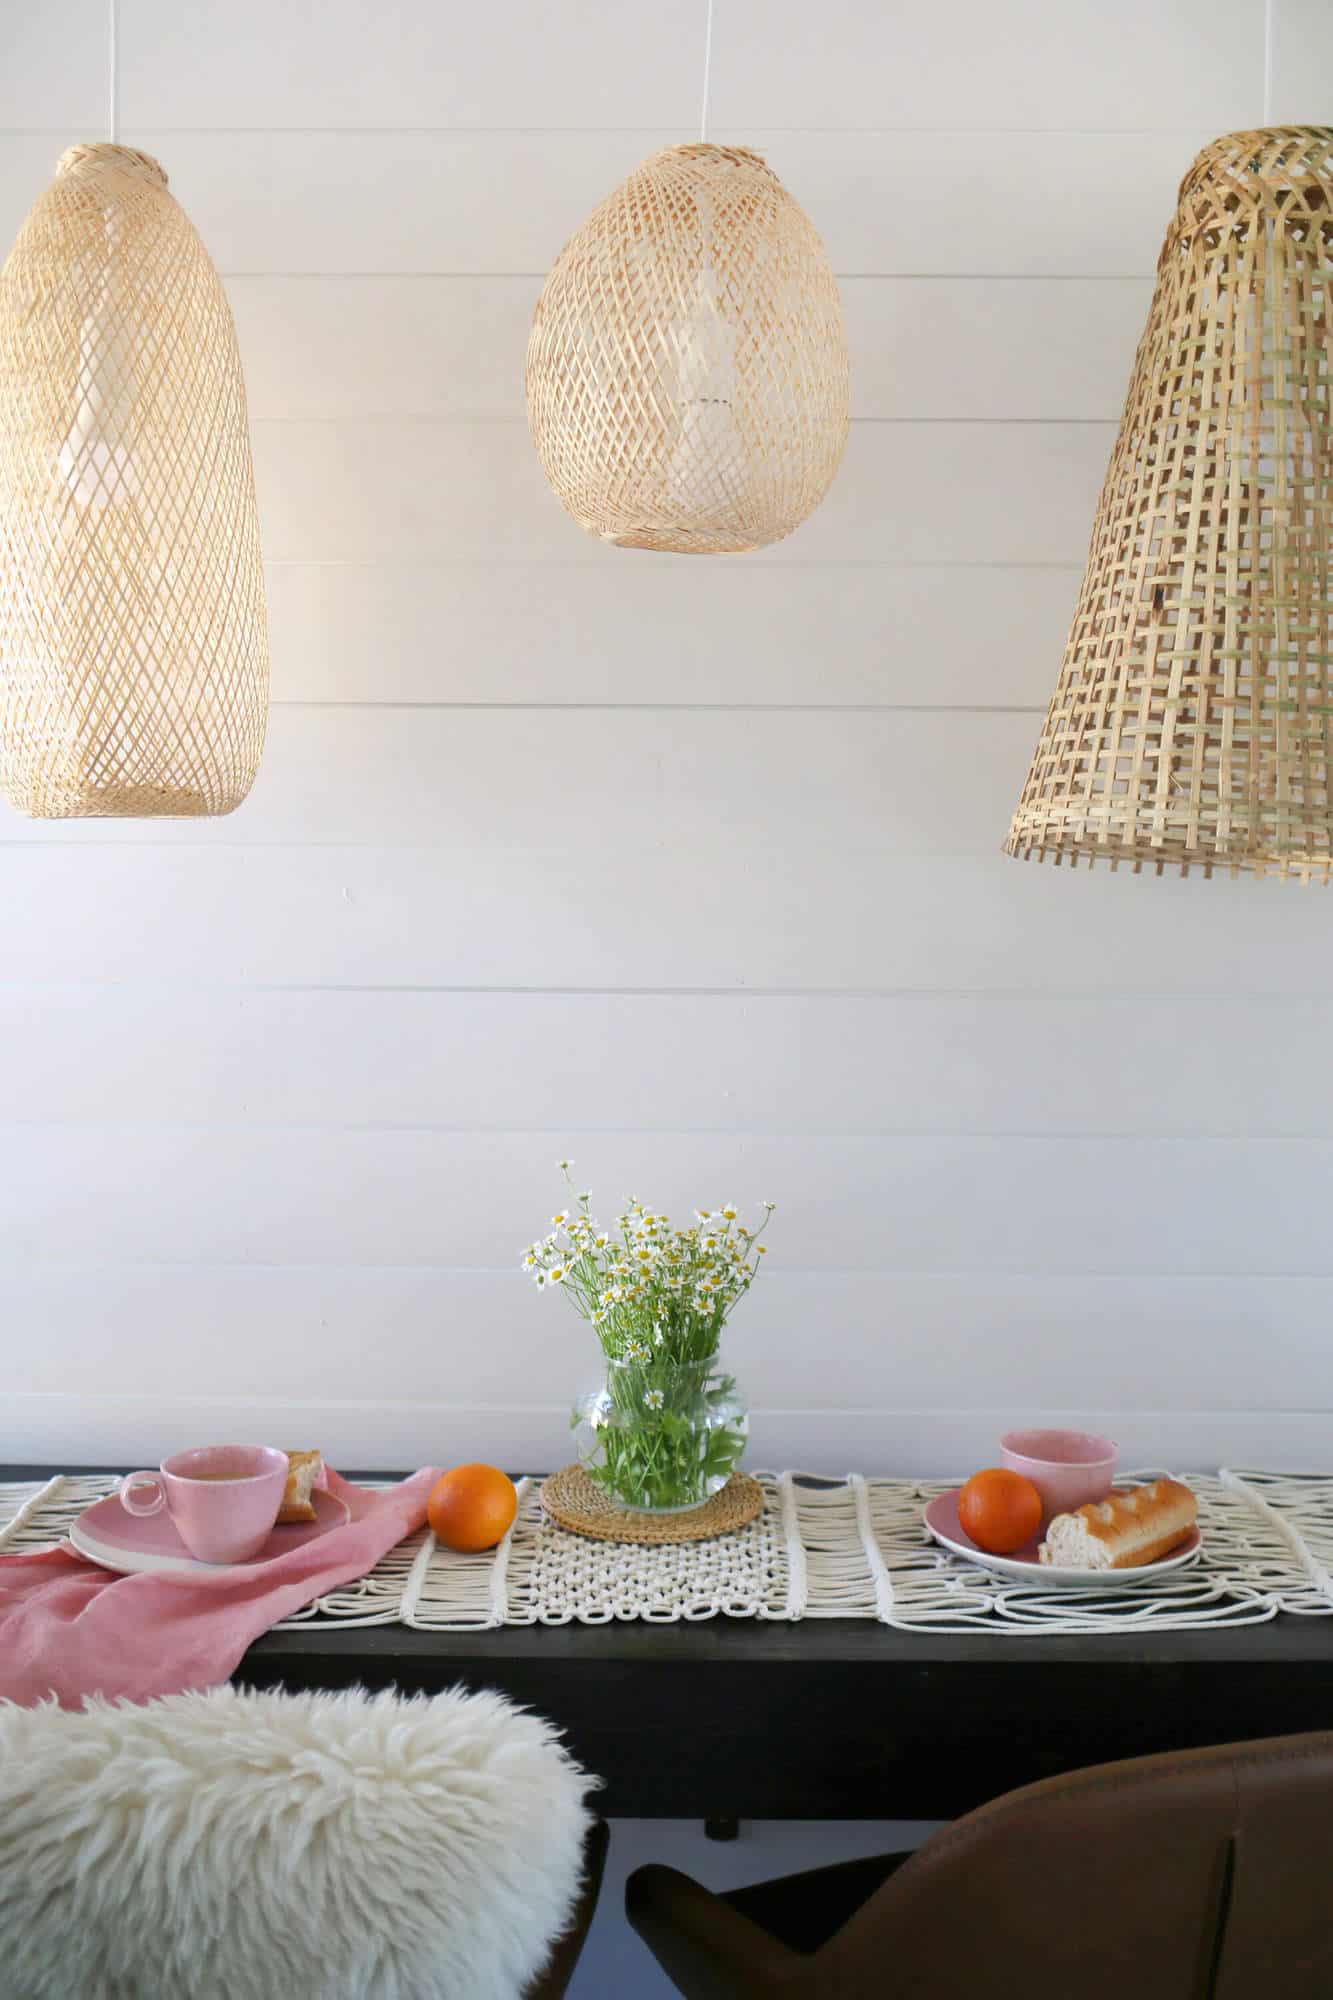
 When I’m decorating any space, I think in terms of layers that coordinate and contrast. Whether it’s color, texture, or size, those three elements can make a room feel less basic. My fourth guideline is versatility! This macrame table runner checks all of the boxes and made this compact breakfast nook even more special with its simple but interesting design.
All you need to know are three simple knots and you’ve got a layer of charm that works in any season. Once you’re familiar with the knots shared here, you can customize your own table runner to fit the length of your own table or completely change it up and create a macrame wall hanging!
 Supplies:
-12″ wooden dowel
–22 strands of 16′ cotton rope measuring 3mm
–over the door hooks
-2′ of cotton twine for dowel hanger
-scissors
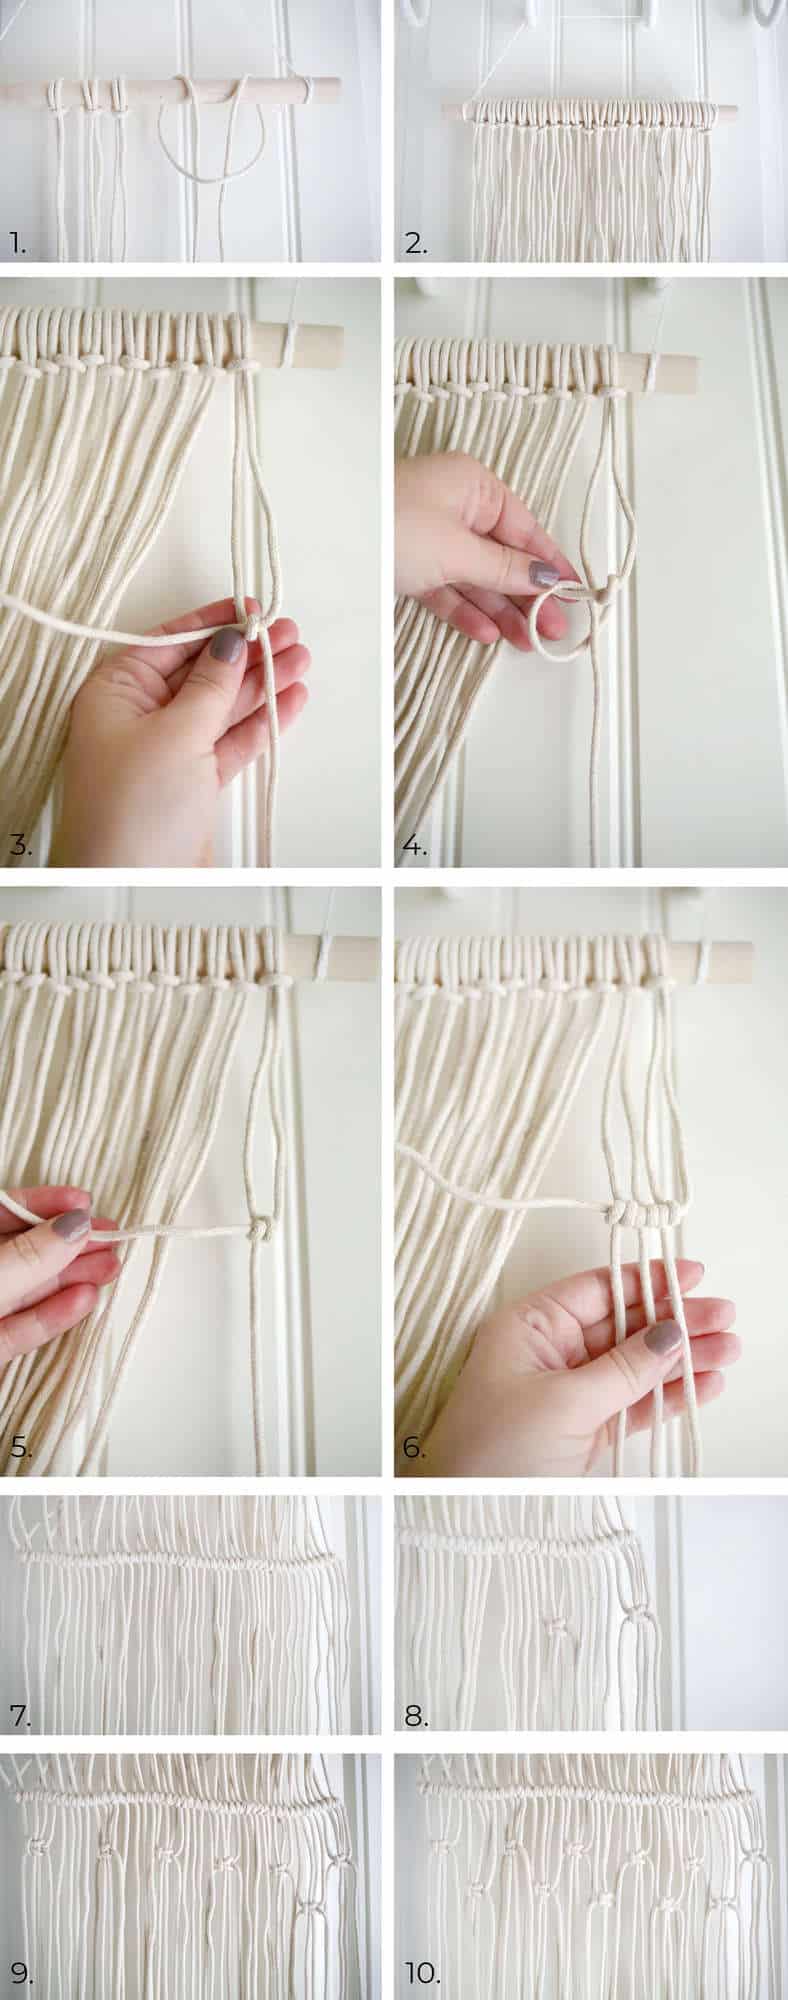 Step One: Tie cotton twine to each end of your dowel and hang it from your over the door hooks. Fold your first 16′ strand of rope in half and create a lark’s head knot over your dowel. See this post for even more detailed steps.
Step Two: Continue adding each 16′ strand of rope using a lark’s head knot until you have 22 total. This will give you 44 strands to work with.
Step Three: Pull the outer right rope across the front of all the other ropes (to the left) and drape the end on your door hook. This is going to be the base for the next row of knots called a half-hitch that will create a horizontal row. Use the second rope from the right side to tie a single knot around the rope you just draped across so that it’s about 6″ below the dowel.
Step Four: Use the same strand to tie a second knot over the base strand. This is called a half-hitch knot.
Step Five: Make sure they are even and consistent.
Step Six: Repeat with the second, third, and fourth rope from the outside and tie another half-hitch knot so that it’s snug, etc. You’ll start to see the pattern. This is a horizontal half-hitch.
Step Seven: Continue tying consecutive ropes in a single knot all the way across. You don’t want this to be so tight that it pulls the width in at the edges.
Step Eight: Starting from the right again, use the outer four strands and create a square knot about 1.5″ below your horizontal line of knots. To get more details on a square knot, check out this macrame stocking post.
Skip the next four strands (five through eight) and tie another square knot using strands nine through 12. Continue skipping four, tying four until you get all the way across.
Step Nine: Starting on the right side again, use the four strands you skipped (five through eight) and tie a square knot about 3″ below the dowel.
Step Ten: Keep tying the skipped sets of four strands in square knots until you finish that row.
 Step Eleven: Pull the outer two strands on the right side off to the side. Then use strands three through six to create another square knot about 11″ below the horizontal row of knots in step seven. Then use the next four strands to create another square knot about 1.5″ above the last square knot.
Step Twelve: Continue all the way across as shown.You won’t do anything with the last two strands.
Step Thirteen: Starting from the right side again, create another row of horizontal half-hitch knots by repeating steps three through seven.
Step Fourteen: Starting from the left side, use that same base strand of rope and create another horizontal half-hitch row of knots about 2.5″ below the last one. You’ll be working from the left to the right on this one.
Step Fifteen: Starting on the left side, create a row of square knots without skipping any strands that rests about 1″ below that horizontal line of knots. Then create a second row of square knots by skipping the first two strands on the left before tying another full row of square knots. This is called an alternating square knot. You don’t want much space in between these rows so you can pull them tightly together as you add each square knot.
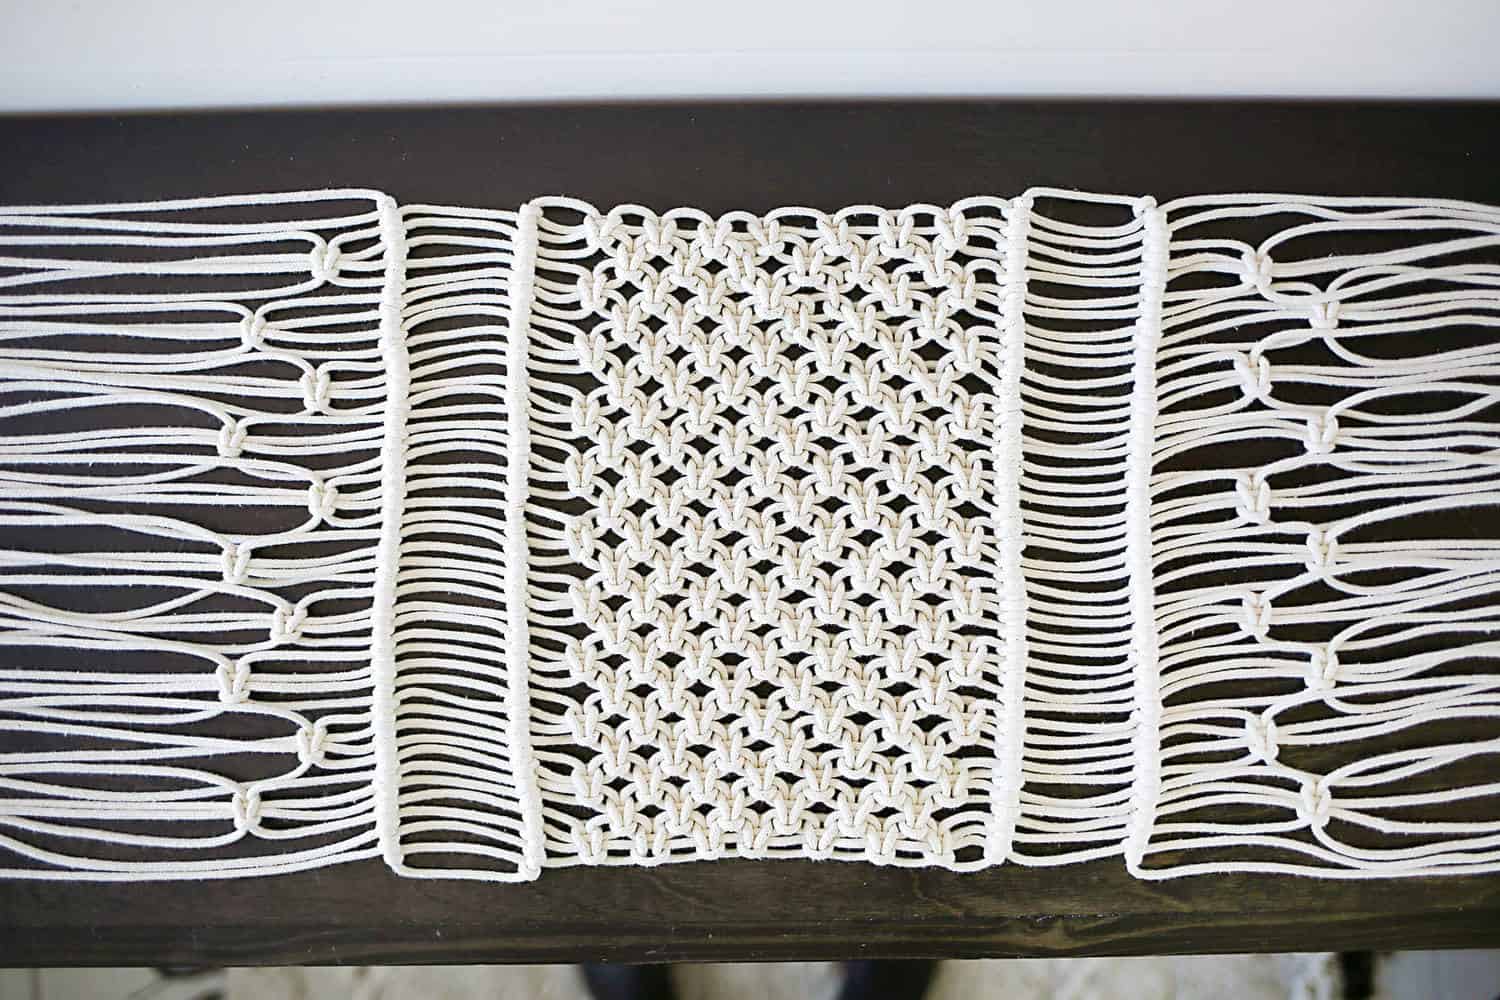
Step Sixteen: Keep going until you have about 13 rows of alternating square knots total. This section is the center of your table runner so everything else from this point is going to mirror what you already wove above.
Step Seventeen: Add another horizontal half-hitch row of knots starting from the outer left side and working your way to the right.
Step Eighteen: Move down about 2.5″ and use the same base rope to create another horizontal half-hitch row of knots that move from the right to the left.
Step Nineteen: For this section, skip the outer two strands of rope on the right and then tie a square knot using strands three through six. Skip strands seven through 10 and use strands 11 through 14 to tie another square knot. Repeat so that you’re skipping every four strands. You’ll have six strands left on the left side.
Skip rows one and two on the left side and tie strands three through six into a square knot about 1.5″ below that last row of square knots. Then skip the next four strands and finish off the pattern for that second row of square knots. This will leave you with six extra strands on the right side.
Step Twenty: Measure down 11″ from the last row of horizontal knots and tie a square knot using the outer four strands on the right side. Then tie the next four into a square knot about 1.5″ above the last knot.
 Step Twenty-One: Repeat all the way across.
 Step Twenty-Two: Finally, tie one last row of horizontal half-hitch knots about 1.5″ below the row of alternating square knots. Trim up the ends to be as long as you’d like, making note of how long they are on the opposite end. Remove the cotton twine from your dowel and slip all of the lark’s head knots off gently. Then cut the center of the lark’s head knot loop and trim up the ends.
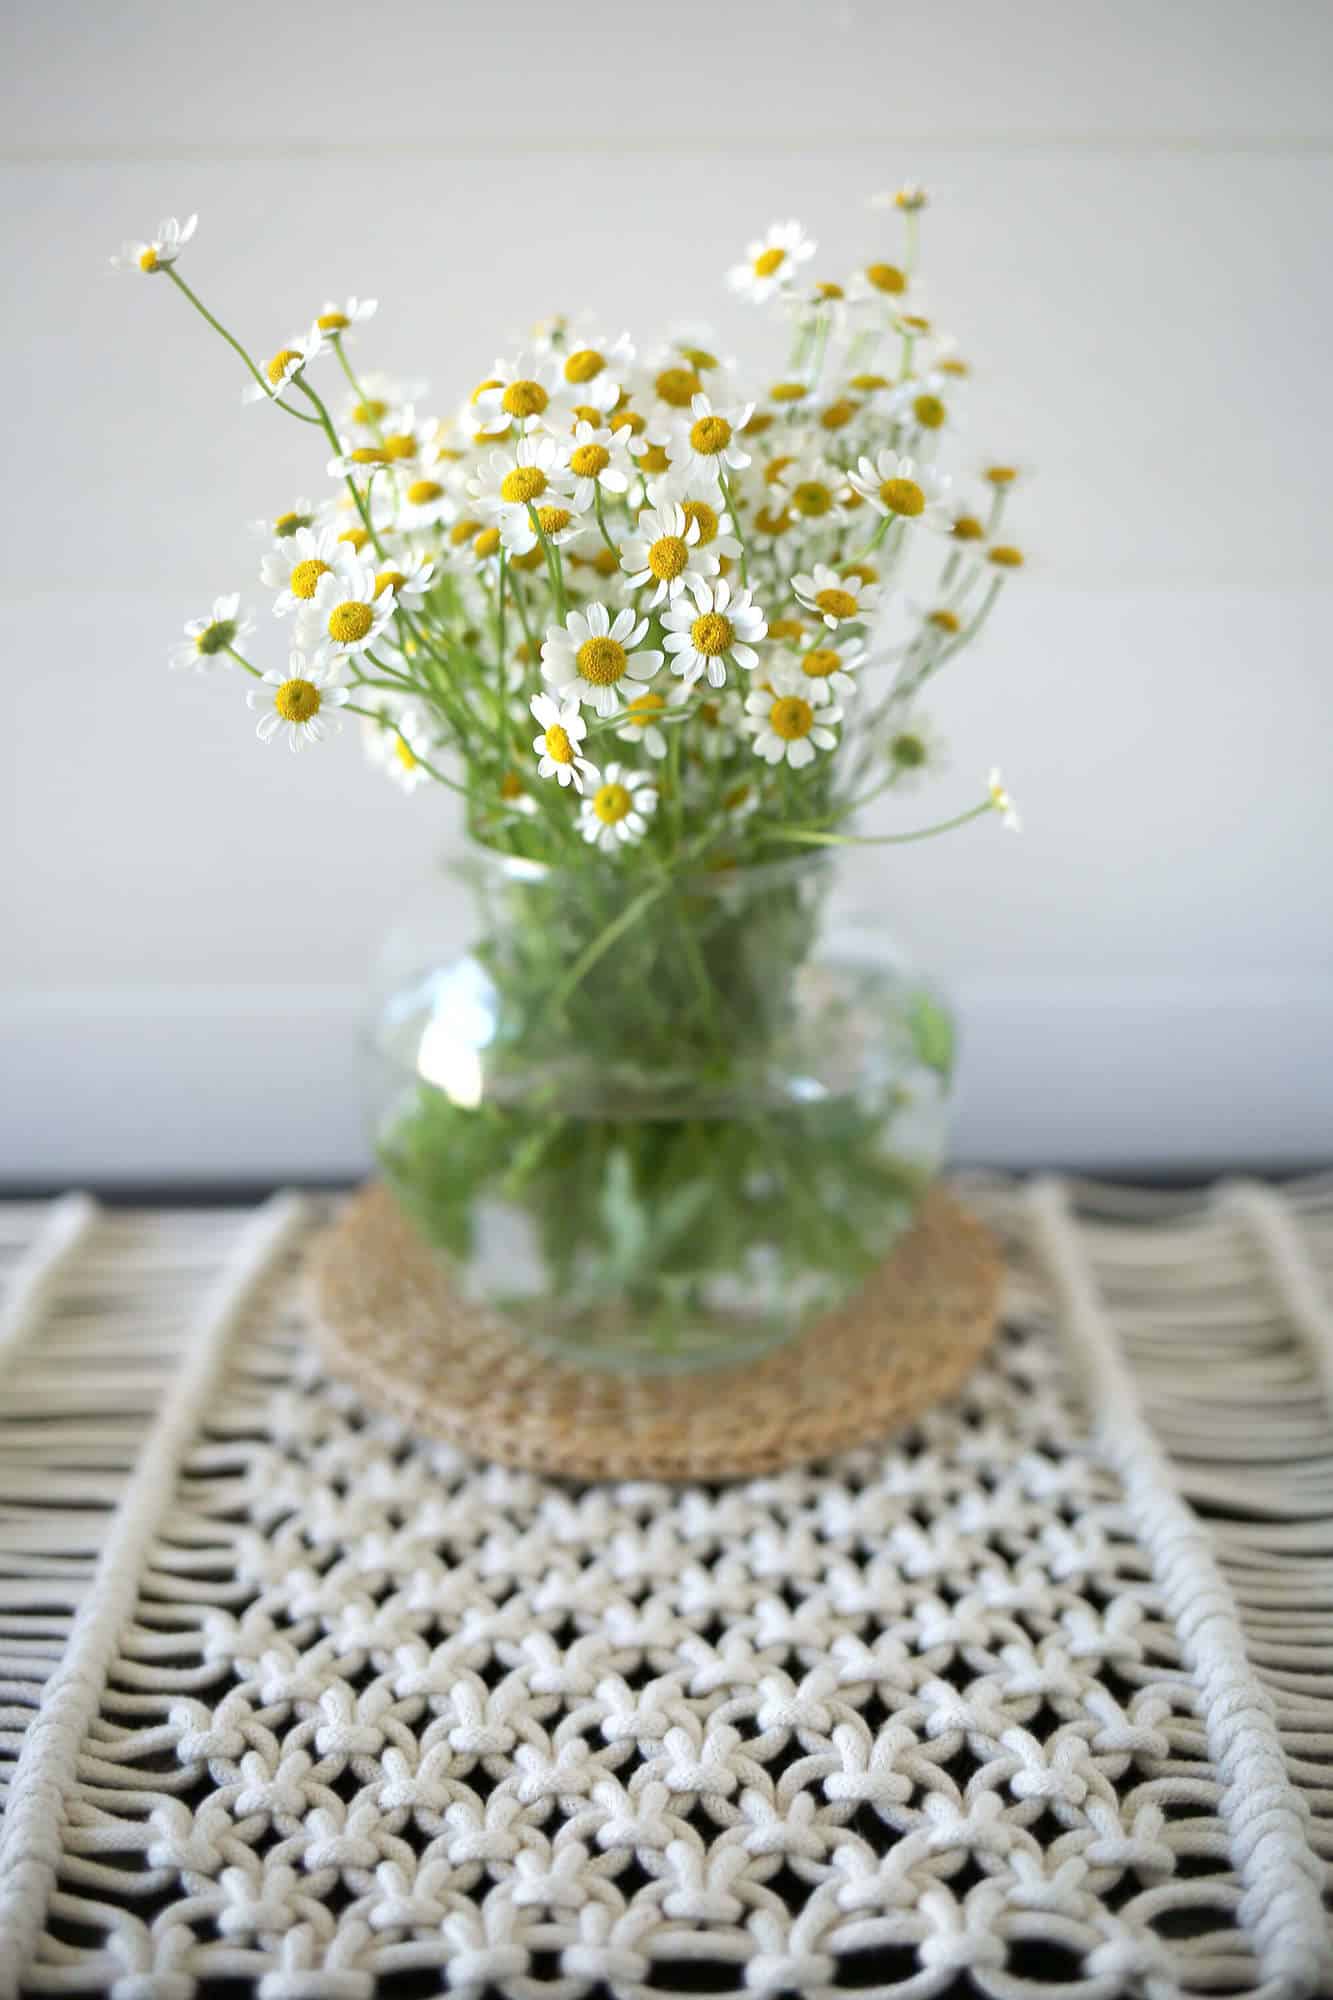 Now you’re ready to set a very charming table!
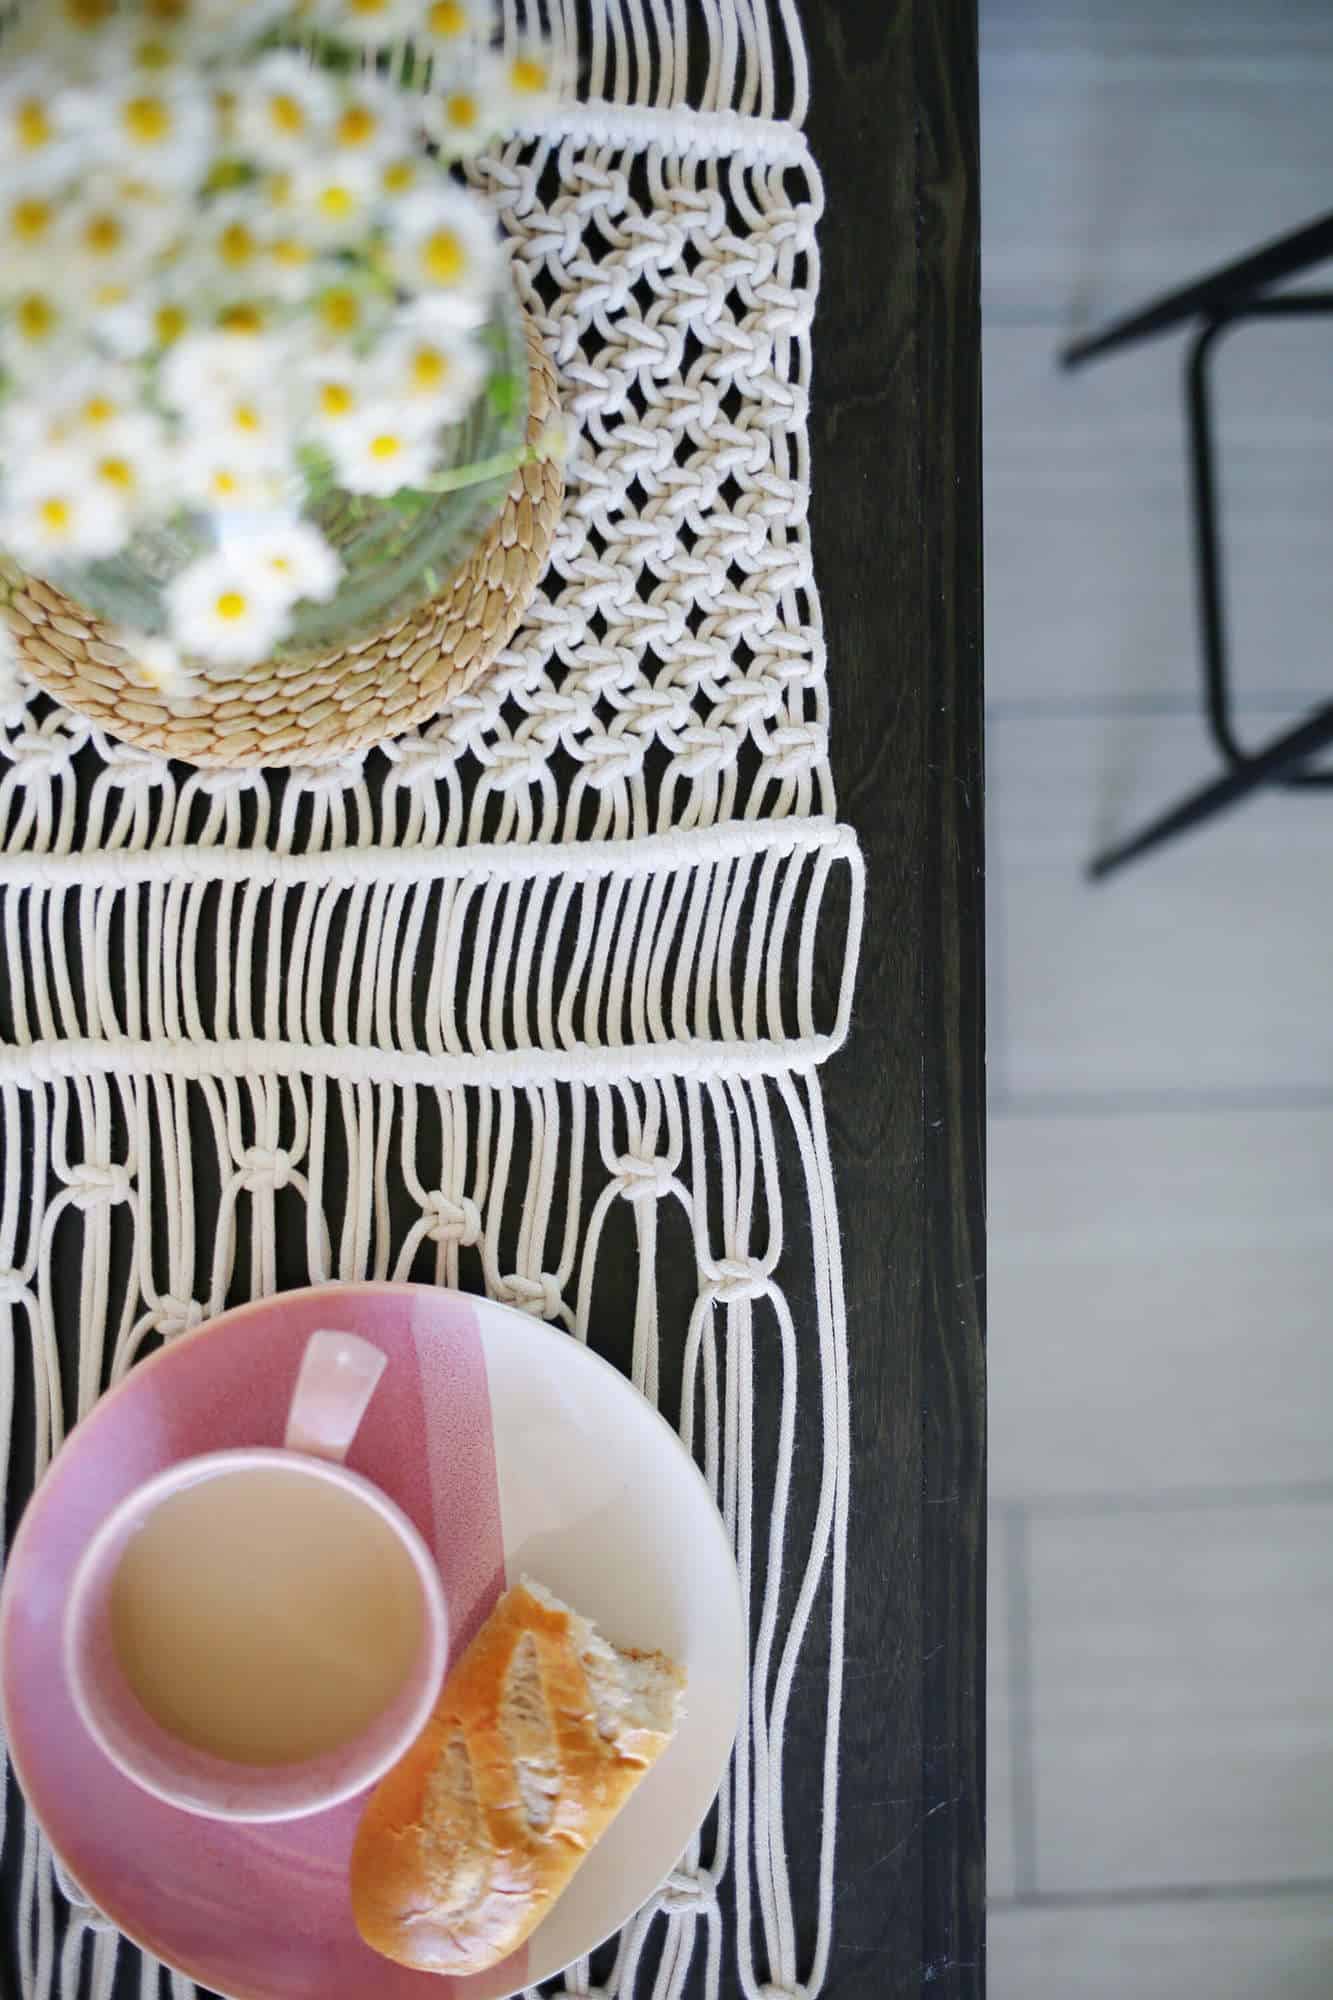
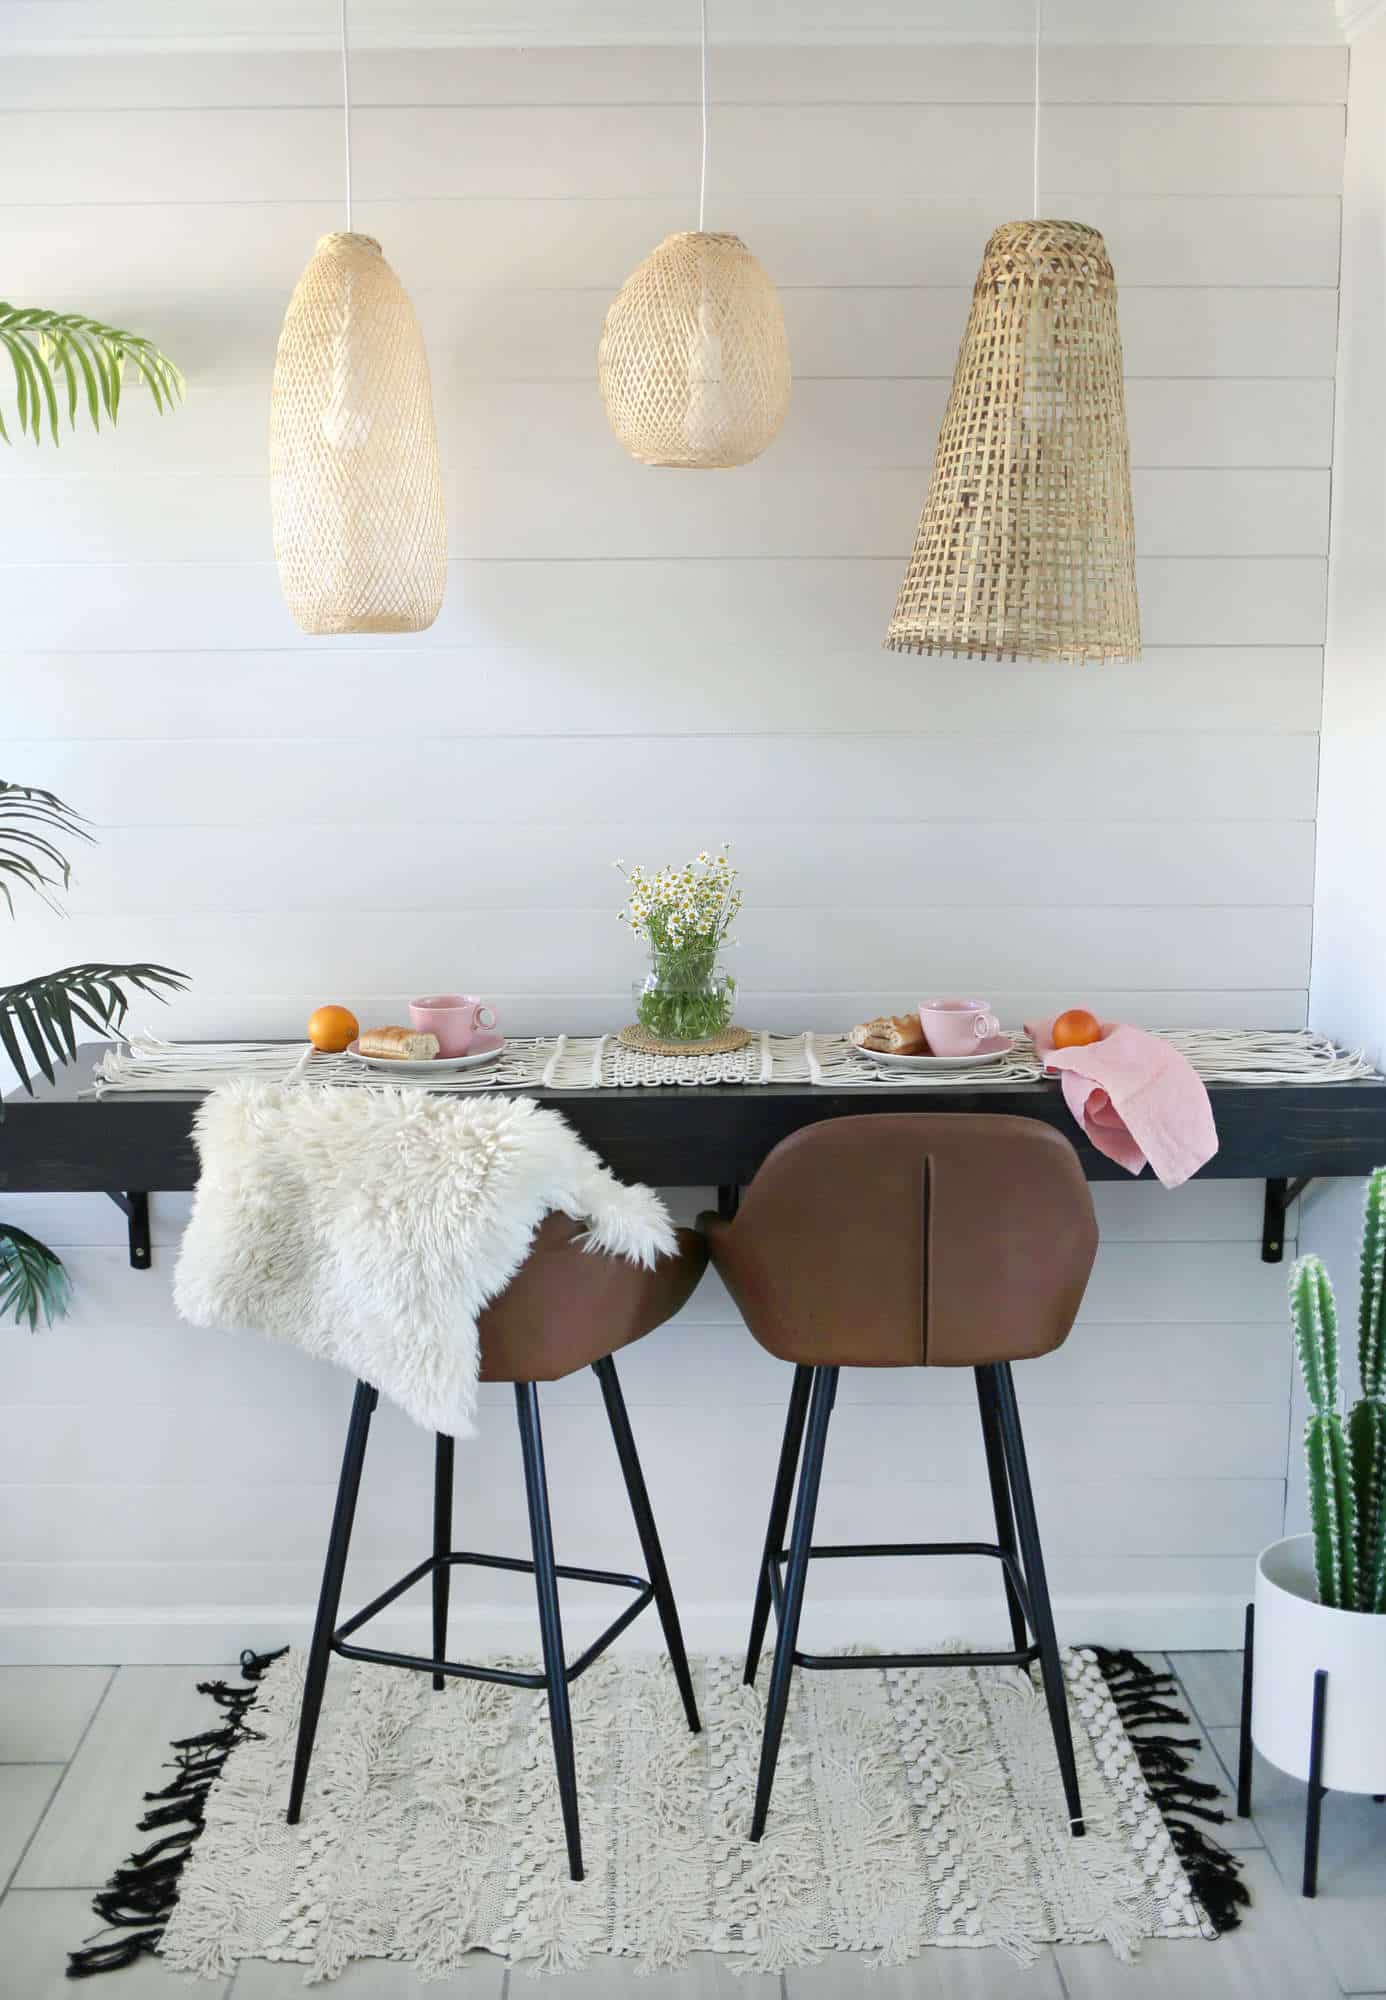 The center of your table runner is the ideal spot for a centerpiece, so layer on a trivet and find some fresh flowers to help anchor your eye. You can even use it as its own giant placemat on a breakfast bar to make sure your kitchen is looking its best! You can also use the three simple knots you learned, the lark’s head knot, the half-hitch knot, and the square knot to create a variety of textured wall hanging designs! – Rachel
Need something with a little more color? Try these beautiful 3mm and 5mm dyed ropes from Modern Macrame.




15 Comments
What a gorgeous table runner. So classy and minimalist! Wish I had a long table for one! ❤️
Charmaine Ng | Architecture & Lifestyle Blog
http://charmainenyw.com
This looks very cool! Is it a bit doable for a total beginner?
Donna,
Yes! I still consider myself a bit of a beginner regarding macrame so you can totally do this! -Rachel
Gorgeous! I’ve never done macrame but you make it seem simple enough that I feel like I could make something lovely!
Ali, Totally! If I can do it, you can do it! -Rachel
I just dived in head first and bought a big spool of macrame yarn! Can’t wait to make this, if I can!
Oh yay! I can’t wait to see what you make!
The throw rug is a perfect compliment to the runner!
This is beautiful! About how long did the runner end up being? Trying to scale it for our giant table….
Can you share the final dimensions? I want to make one for a 9×4 foot table. I noticed someone else asked the same question but didn’t see the answer. Thanks so much.
I started making this and decided halfway through (while working vertically from my curtain rod) that it would make an awesome planter instead!! It looks AMAZING! I am so inspired to fill the rest of my windowsill with macrame planters. Thanks so much for the tutorial! Even though it didn’t reach the same end result, I’m so in love with it and the possibilities for future projects and I have you to thank for that 🙂 check it out on my Instagram @hannaelizabeth
I made this beautiful runner and it came out gorgeous. Thank you for your very easy to follow step by step instructions.
For those asking the dimensions came out to 12” wide to 60” long.
One of my strands ran out before my runner was complete. I’m sure I did something wrong along the way. But I just attached another strand to it and you can’t even tell once the runner is on the table. Fun project!
Do you have any hanging tables
How long does something like this take to make?
can you tell me where your stools are from please