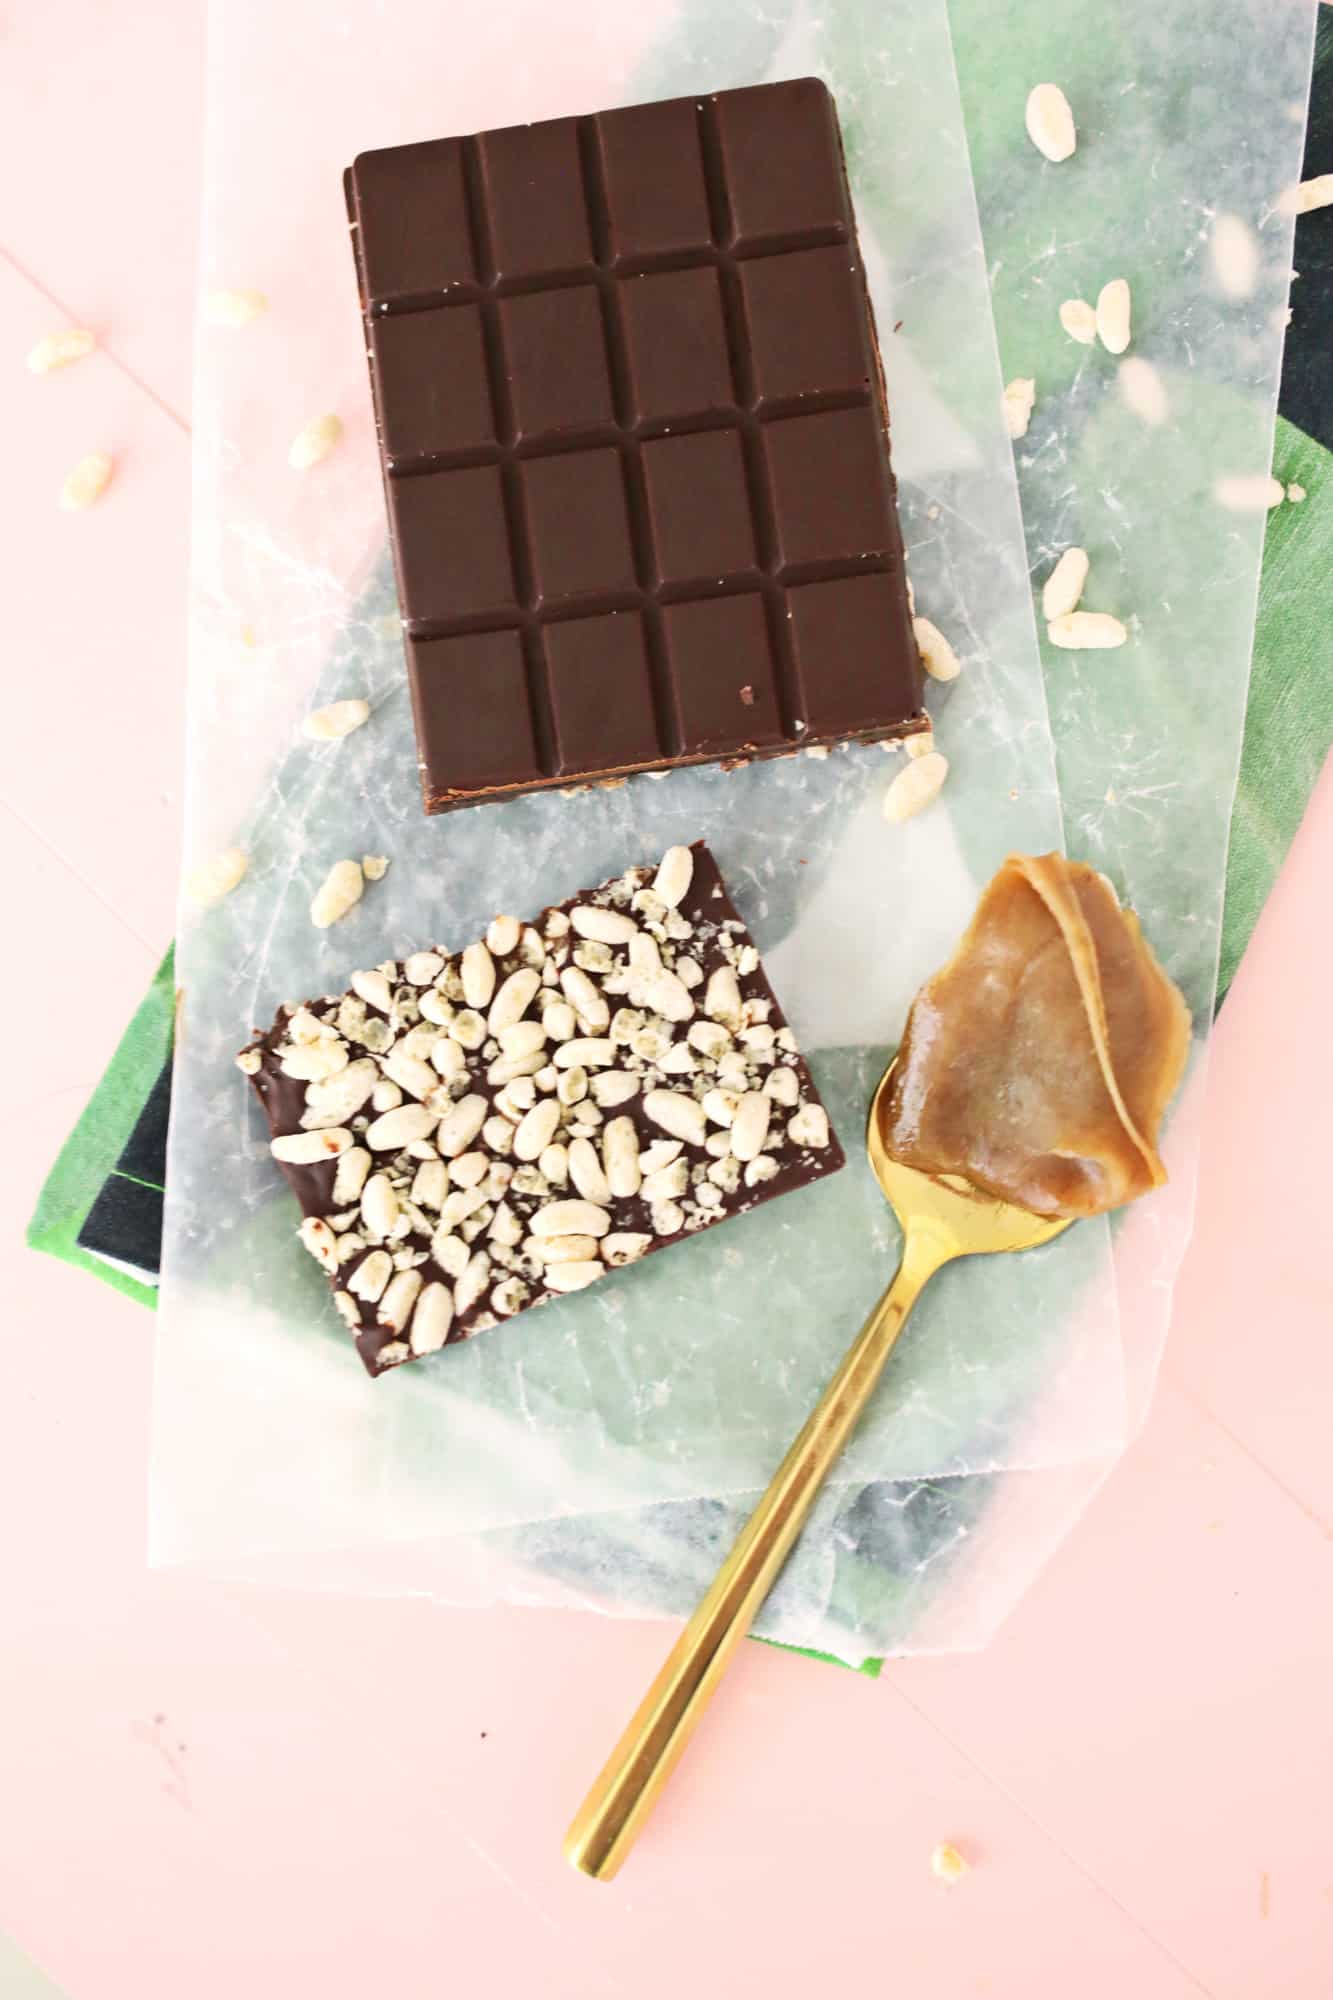
 I’m all about that chocolate life. I learned pretty early on in my relationship with my husband that we have to get different snacks when we go to the movies because he’s a sweet tart/lemon head kind of person and I’m a “it has to have chocolate or make it go away” person. Crunch bars were always one of my favorite treats and since we do dairy-free and vegan eating most of the time, I thought it would be fun to make a crunch bar with some caramel inside as well for an extra yummy treat.
2/3 cup non-dairy chocolate chips (I like to use these semi-sweet ones)
The caramel (recipe slightly adapted from Fork and Beans):
1/2 cup coconut milk (either full or low fat works)
1/4 cup brown sugar
3 tablespoons vegan butter
2 tablespoons maple syrup
1/2 teaspoon vanilla extract
The crunch:
Rice crisp cereal (I like to use this brand)
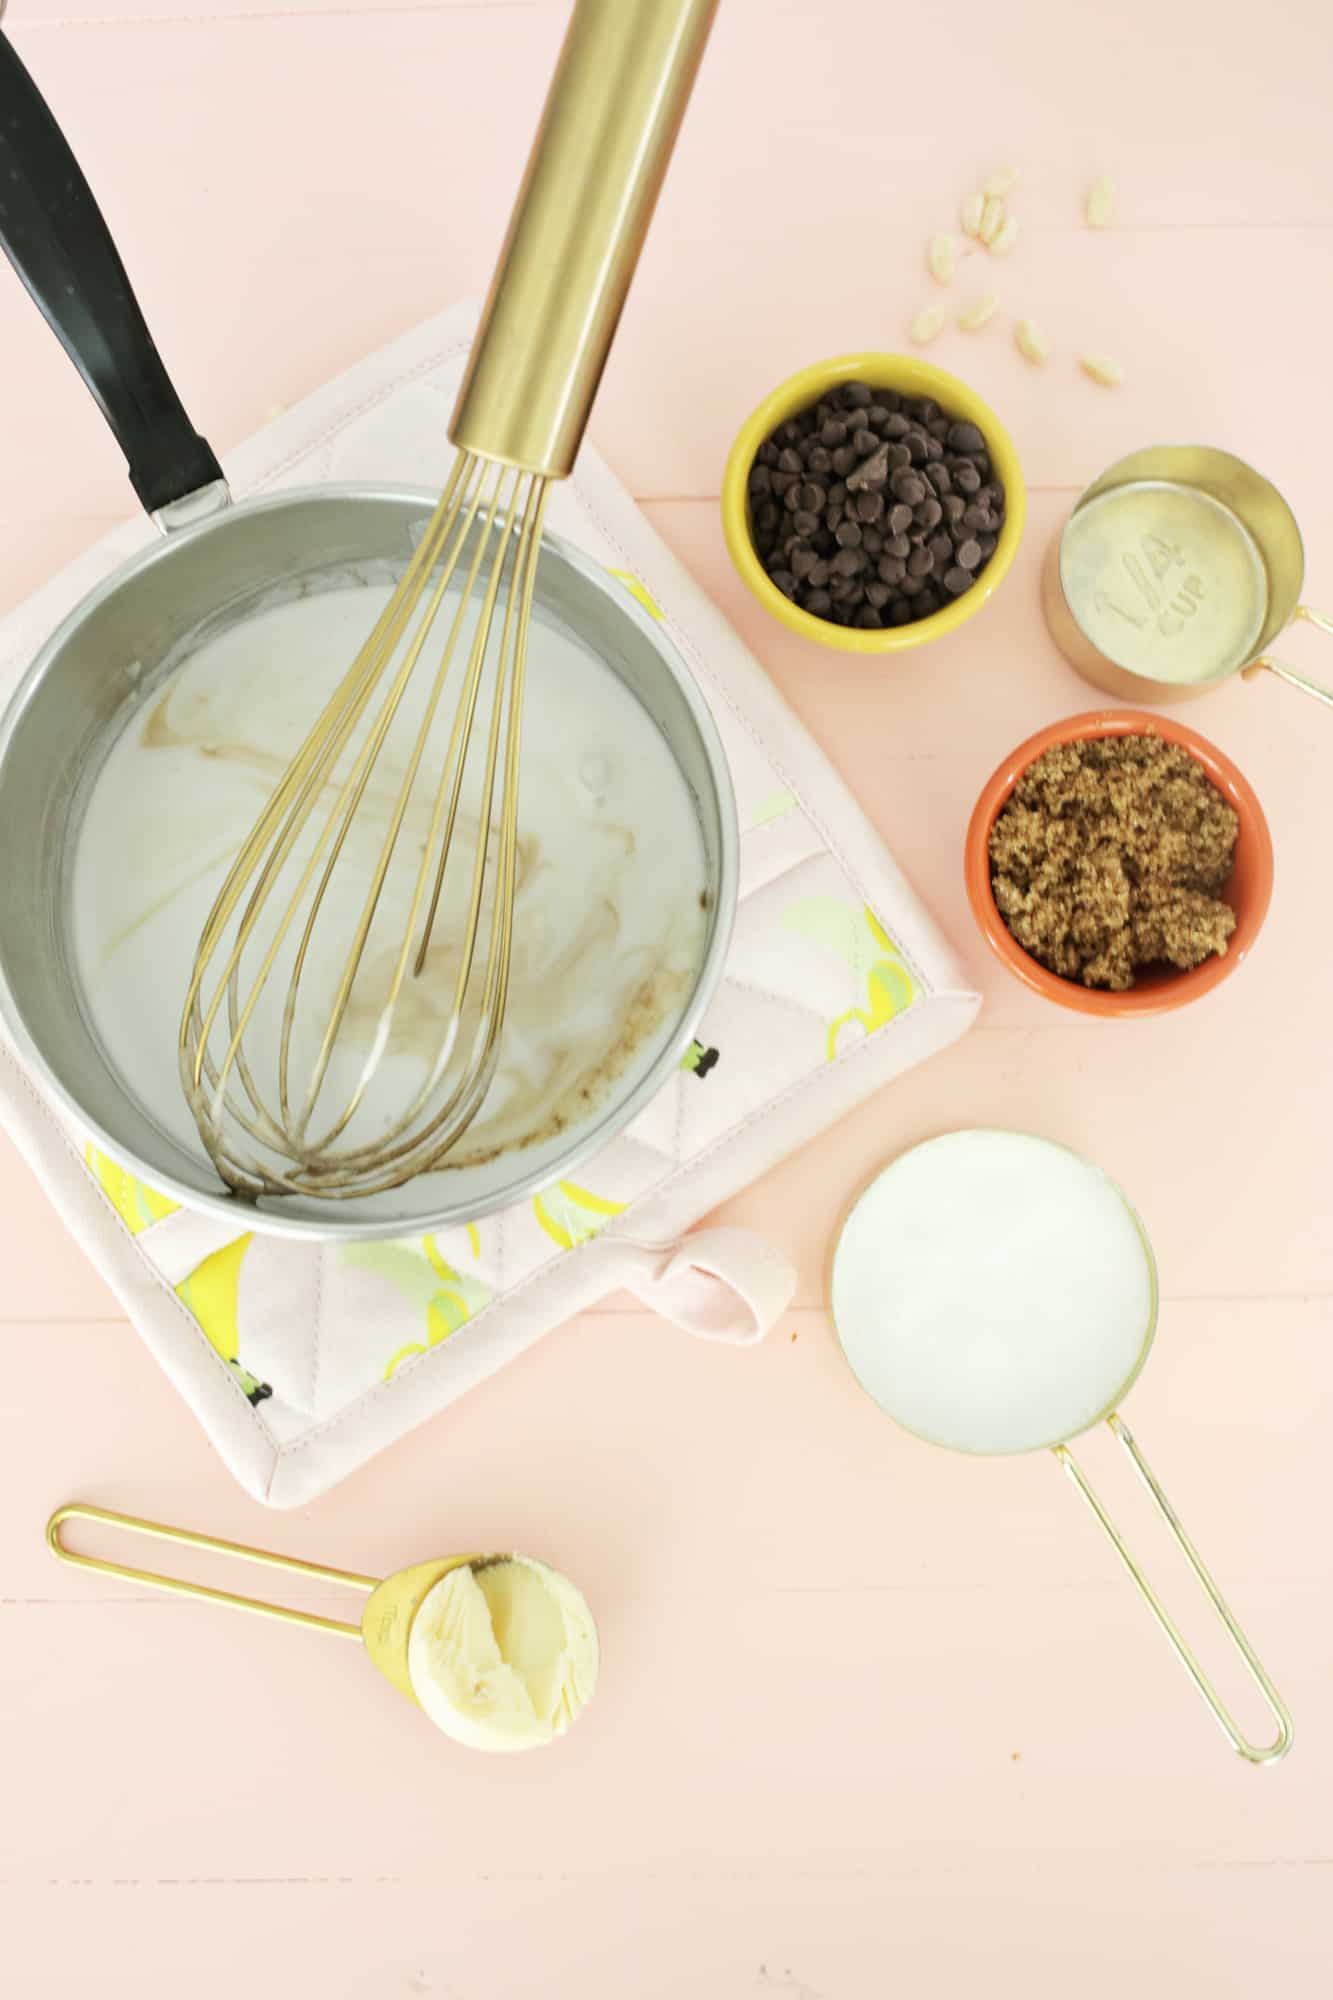
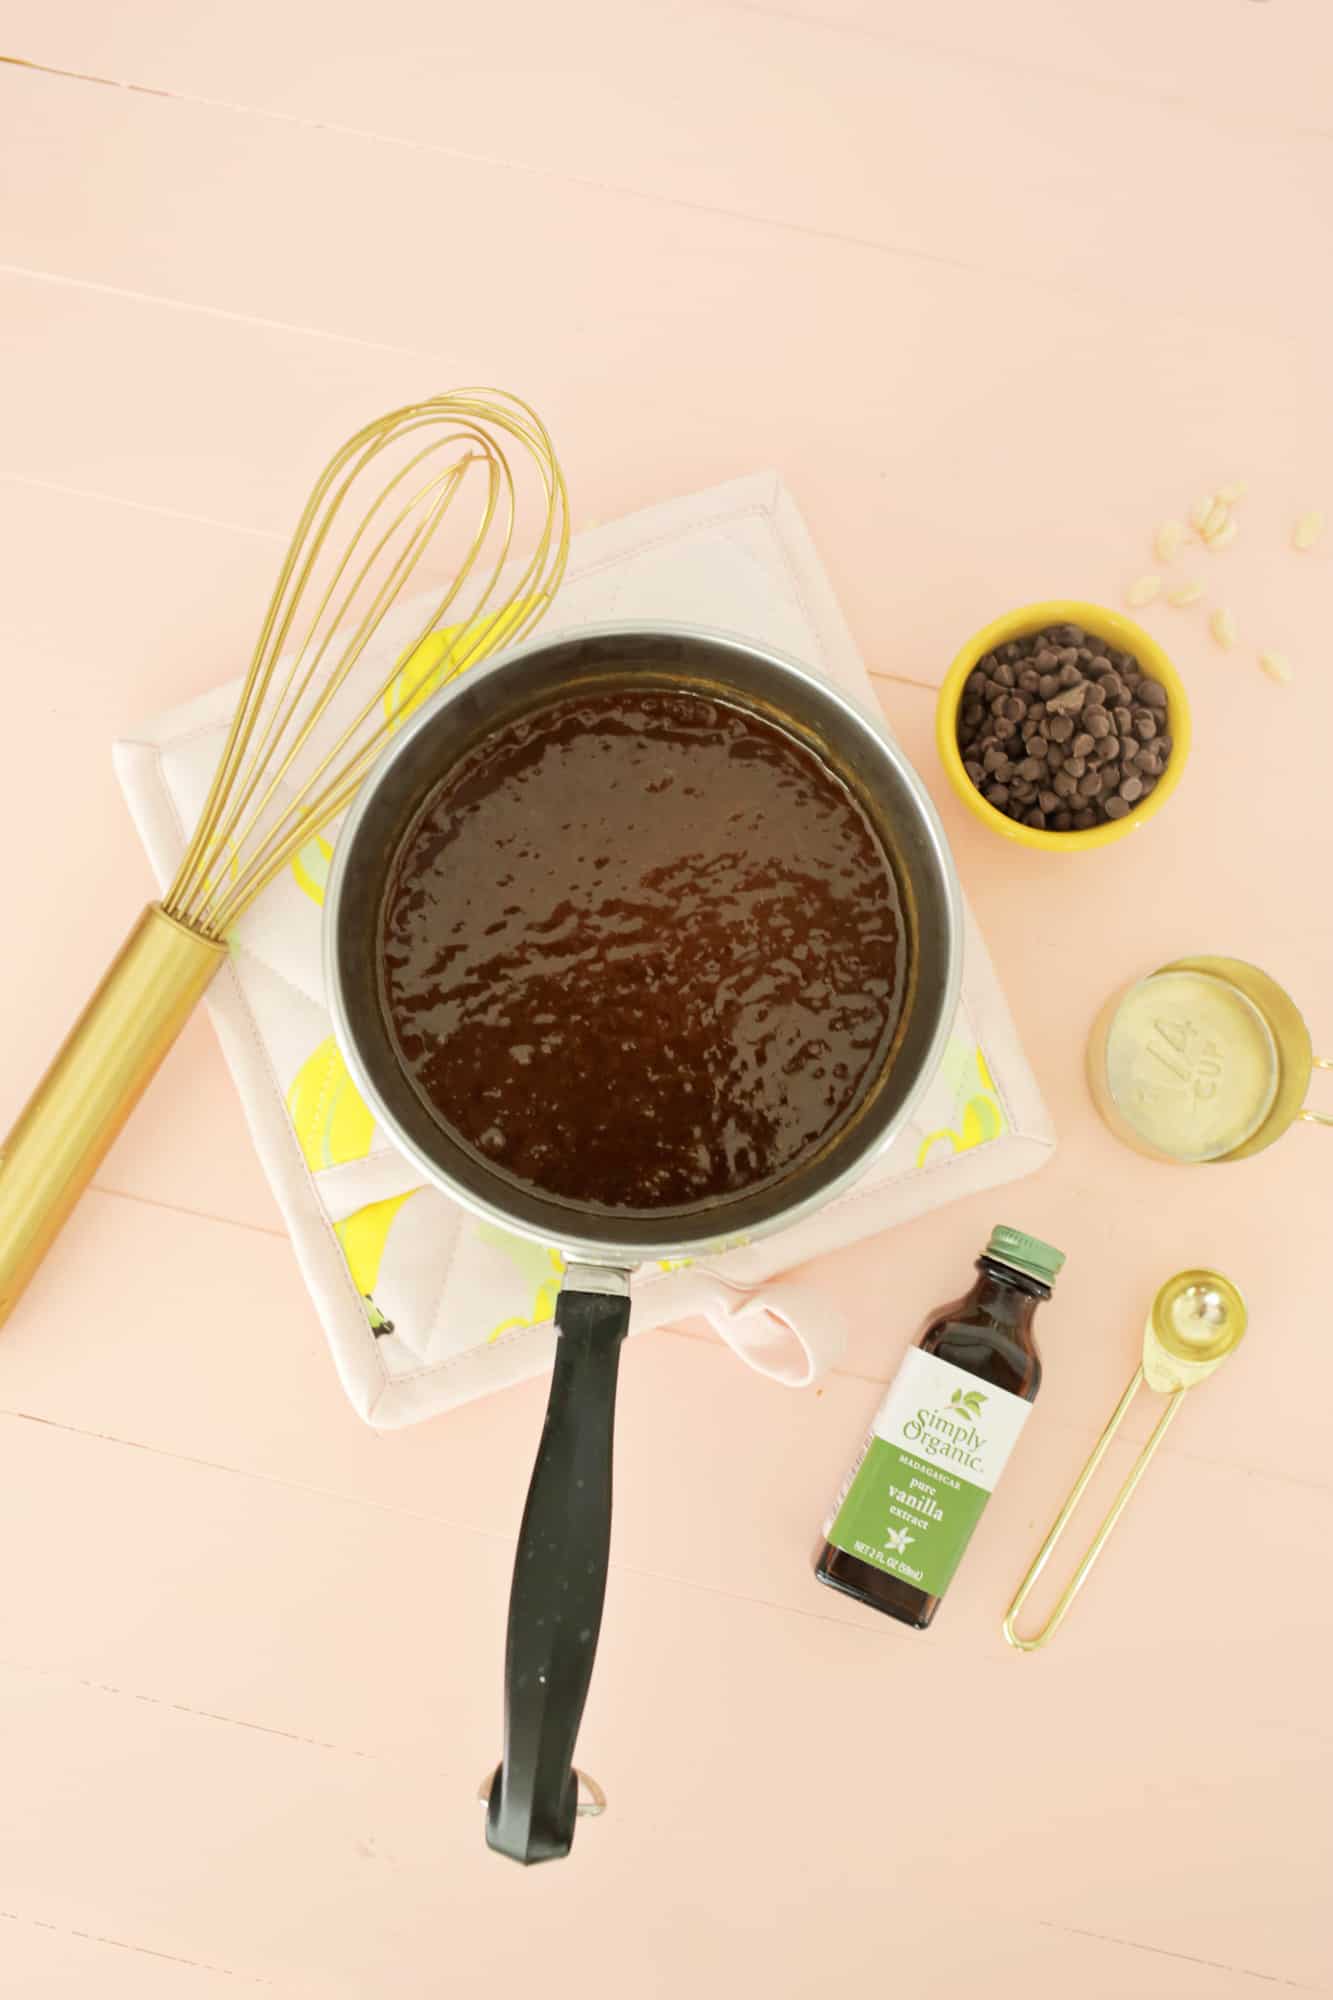 First, you’ll want to make the caramel for your chocolate bar since that takes the longest time to set. Put all your caramel ingredients (except for the vanilla extract) into a small pot over medium heat and stir to combine them while the pot heats up and starts to boil. Once the pot is boiling, insert a candy thermometer and leave the pot alone (do not stir!) until the temperature reaches 250°. It will take a little bit for the temperature to get up that high, so just keep checking back in. But once the temperature reaches the 220-230° range, it will go up pretty quickly after that, so just stand near the pot. Once it reaches 250°, take the caramel off the stove and stir in your vanilla extract.
 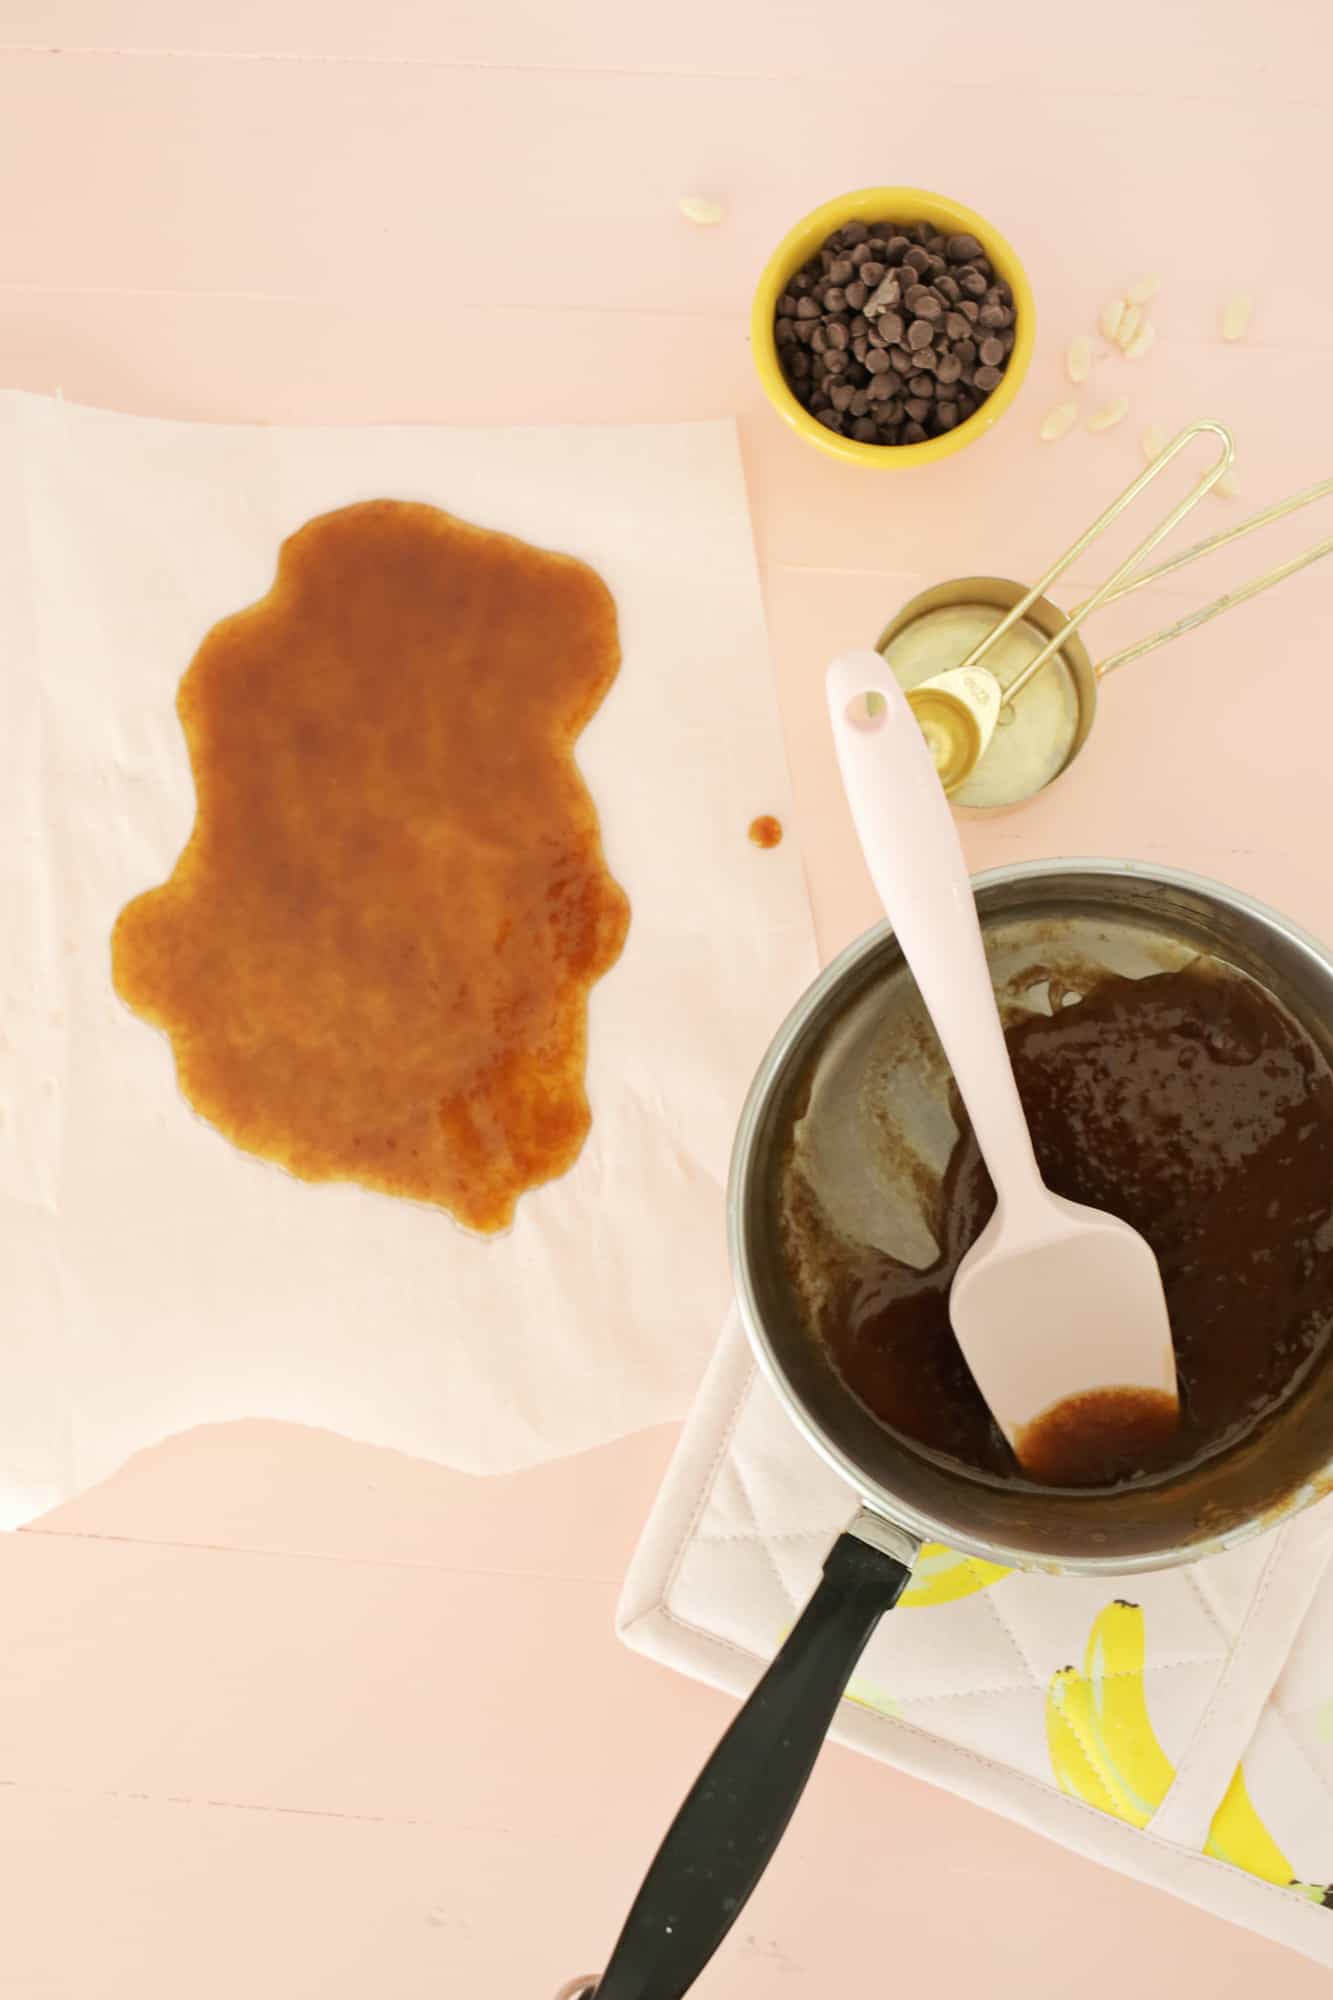 Give the caramel a few minutes to cool, and while it’s cooling, put some oil (I used refined coconut oil) on a piece of parchment paper and spread your caramel over an area that’s big enough to cover your chocolate bar mold. Place your caramel in the fridge for a few hours until set.
While the caramel is setting, use a double boiler or a glass bowl over a pot of simmering water to melt half of your chocolate chips (1/3 cup) and spread them into the bottom of a chocolate bar mold (or a very small bread loaf pan would work too). You want to just cover the bottom of the mold, so make sure to leave room for the rest of your layers.

When your caramel is set, take it out of the fridge and use a pizza cutter to cut the caramel into a rectangle that’s slightly smaller than your chocolate bar mold. Place it caramel side down onto your chocolate bar and peel off the oiled paper so it’s sitting on top of your chocolate layer. If for some reason your caramel doesn’t come off the paper like it should (sometimes making caramel can be finicky), you can always scrape it off and use an oiled spatula to kind of spread it out over the chocolate. It may not be as pretty, but will still taste good!
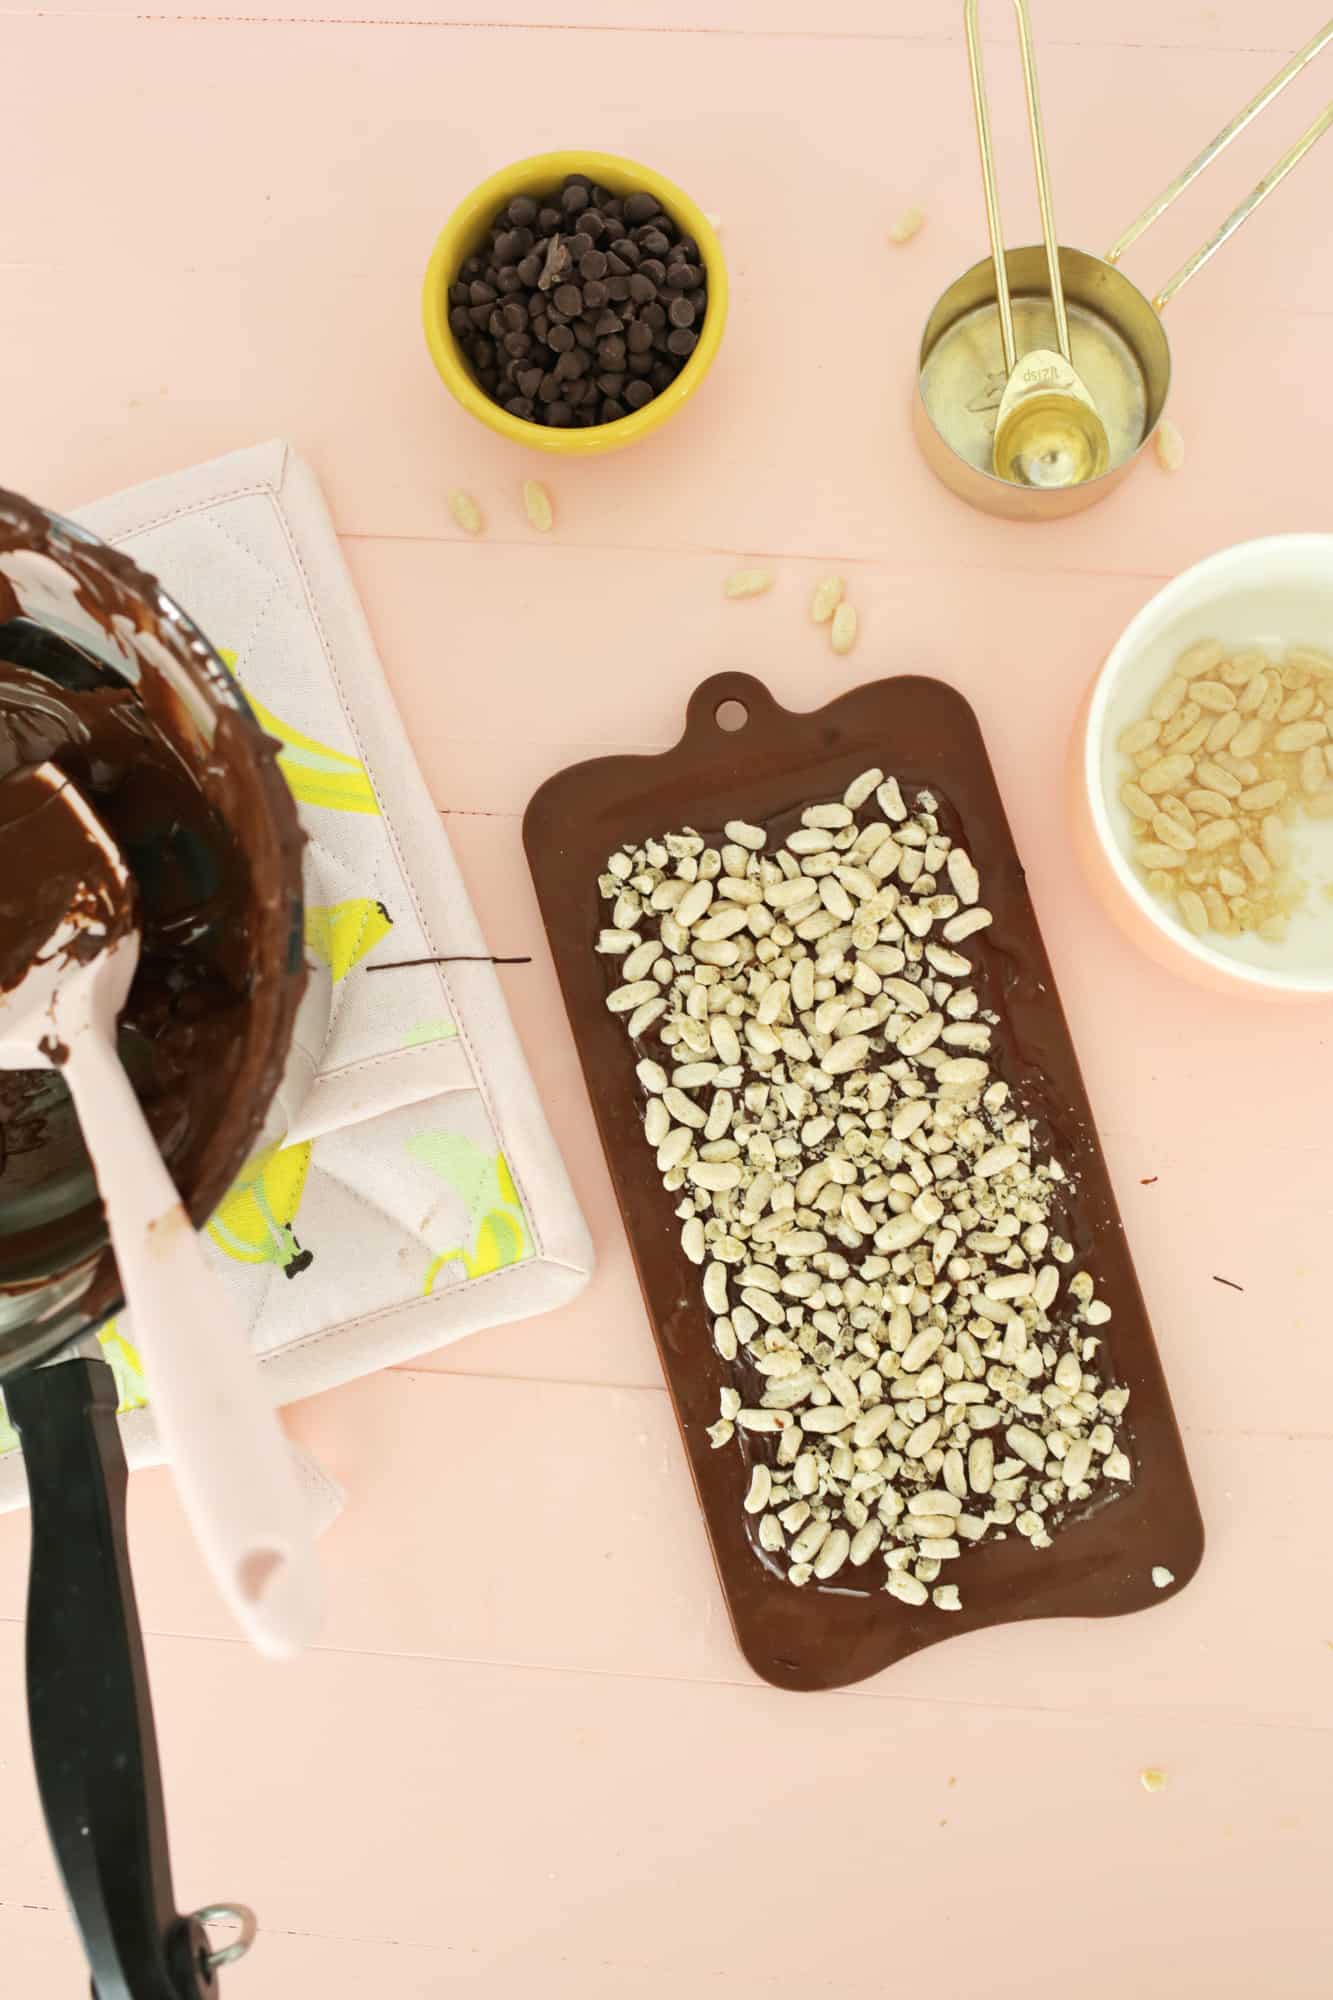 Once your caramel is in place, melt the other 1/3 cup of your chocolate and spread it over the top of the caramel layer. Give your rice crisp cereal a few chops with a knife to break up the cereal a bit and then spread them out over the chocolate and push them down into the chocolate with the back of a spoon.
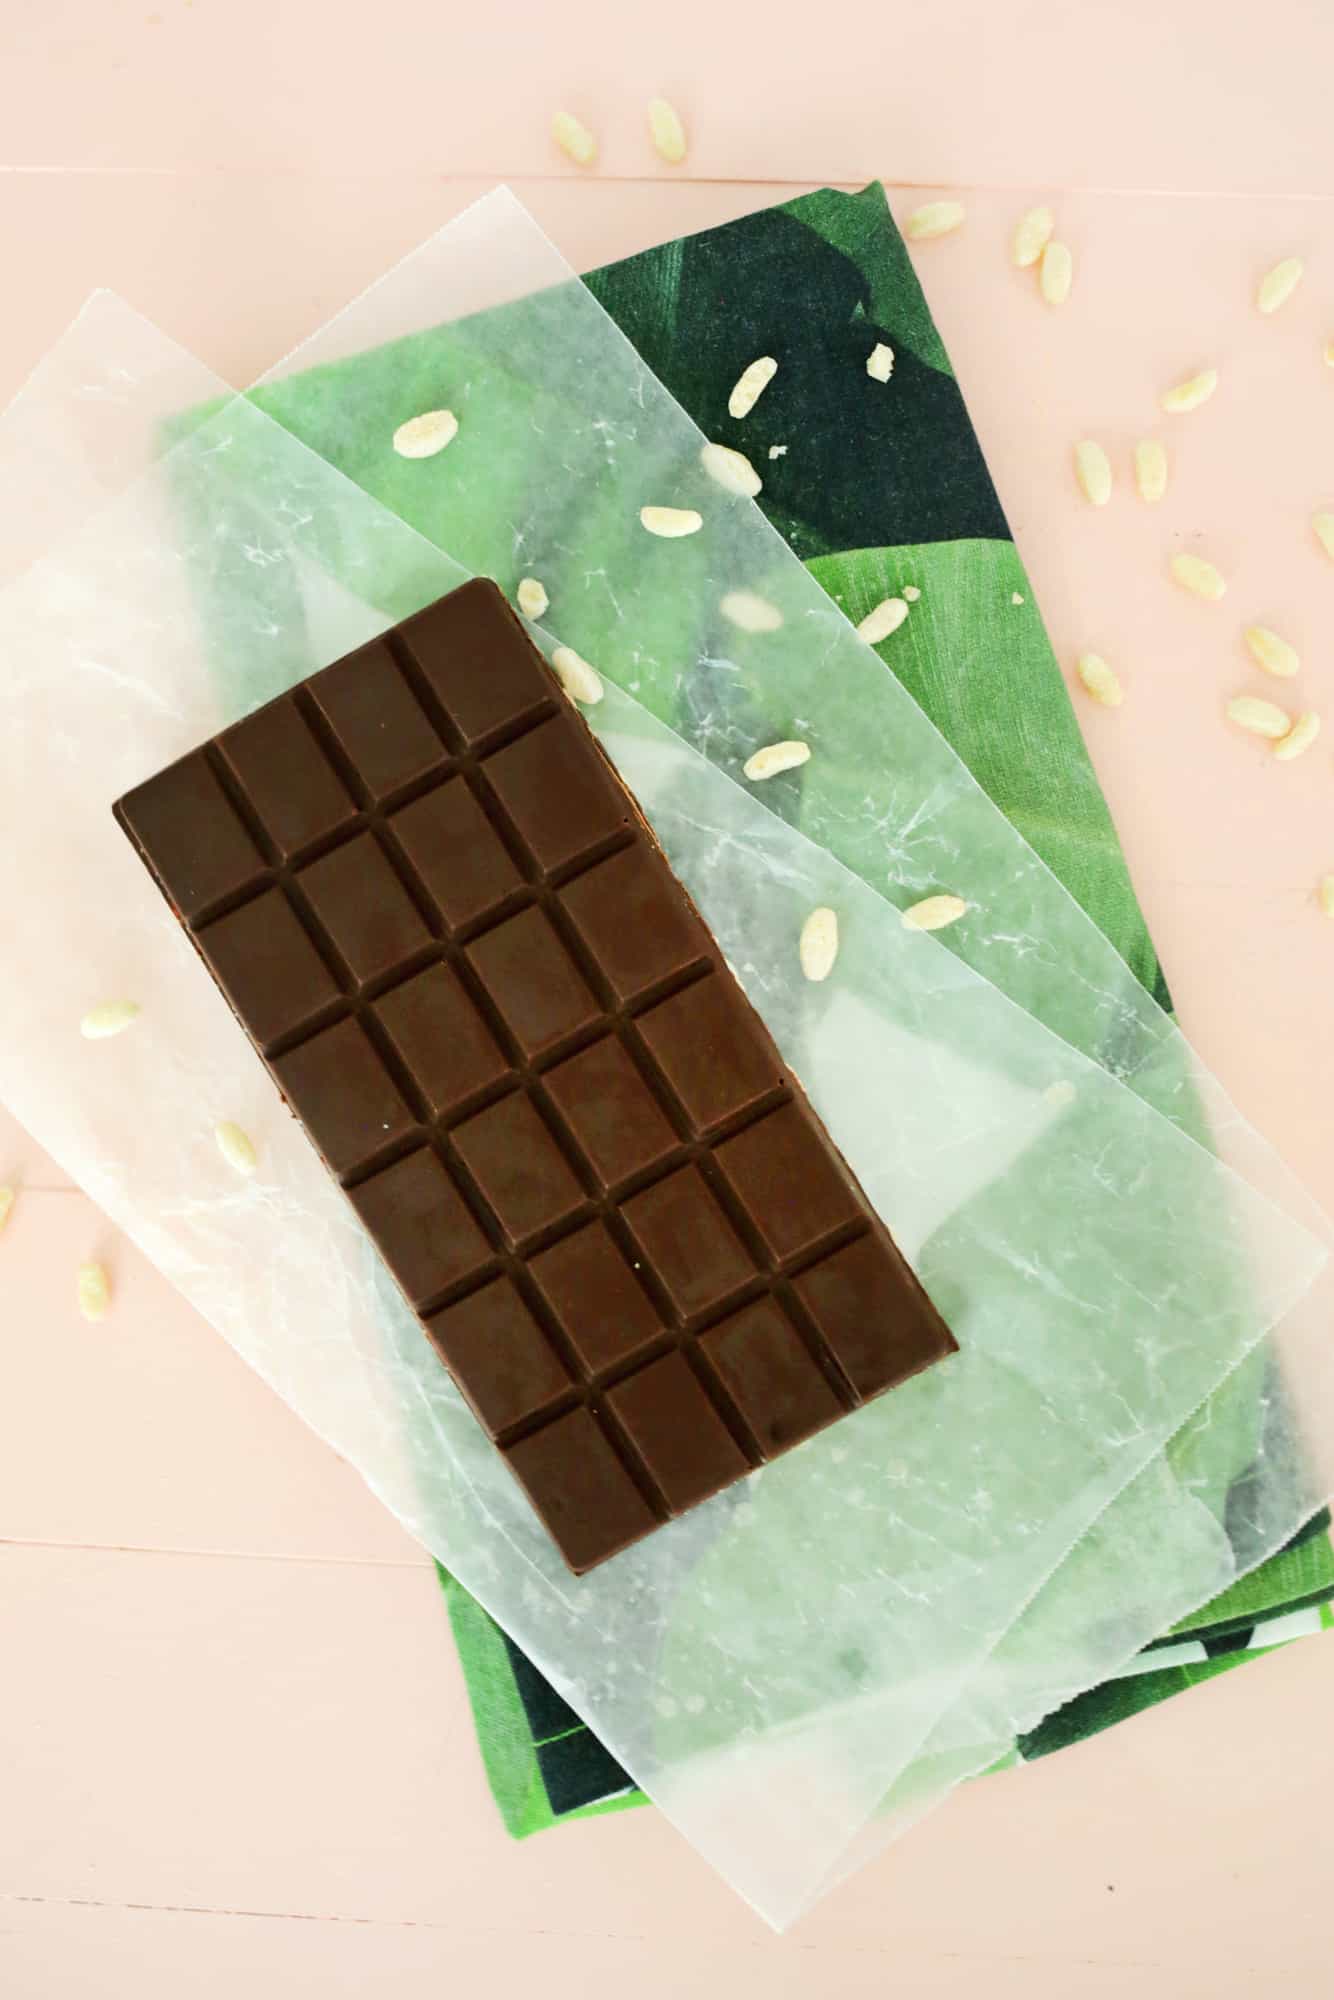 Place your bar in the fridge to fully set, pop your candy out of its mold and your yummy treat is ready to eat! You’ll want to store any uneaten parts of the candy bar in the fridge, wrapped in wax paper.
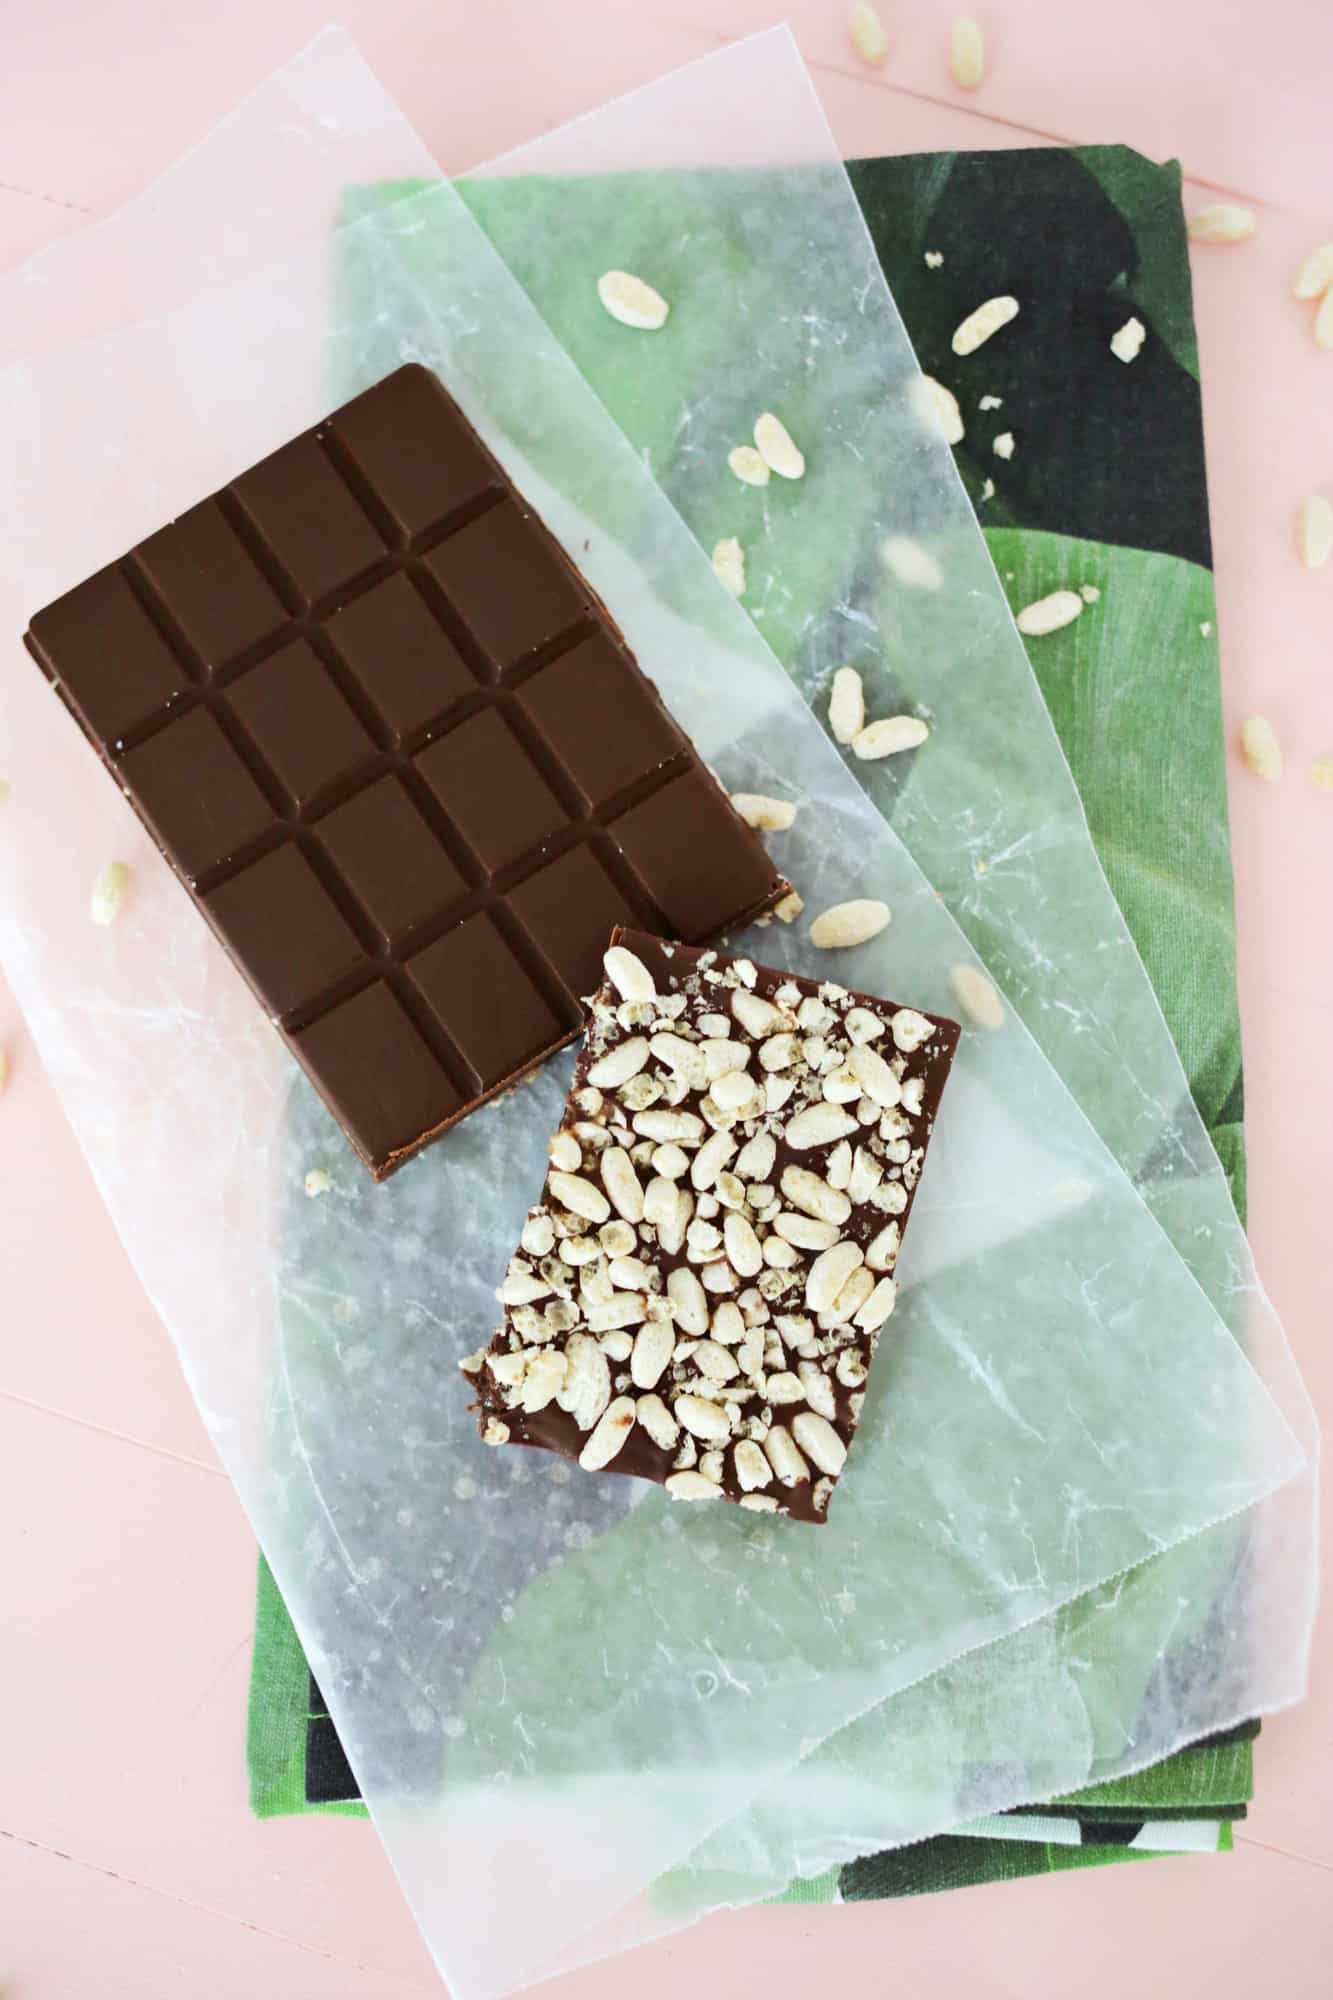
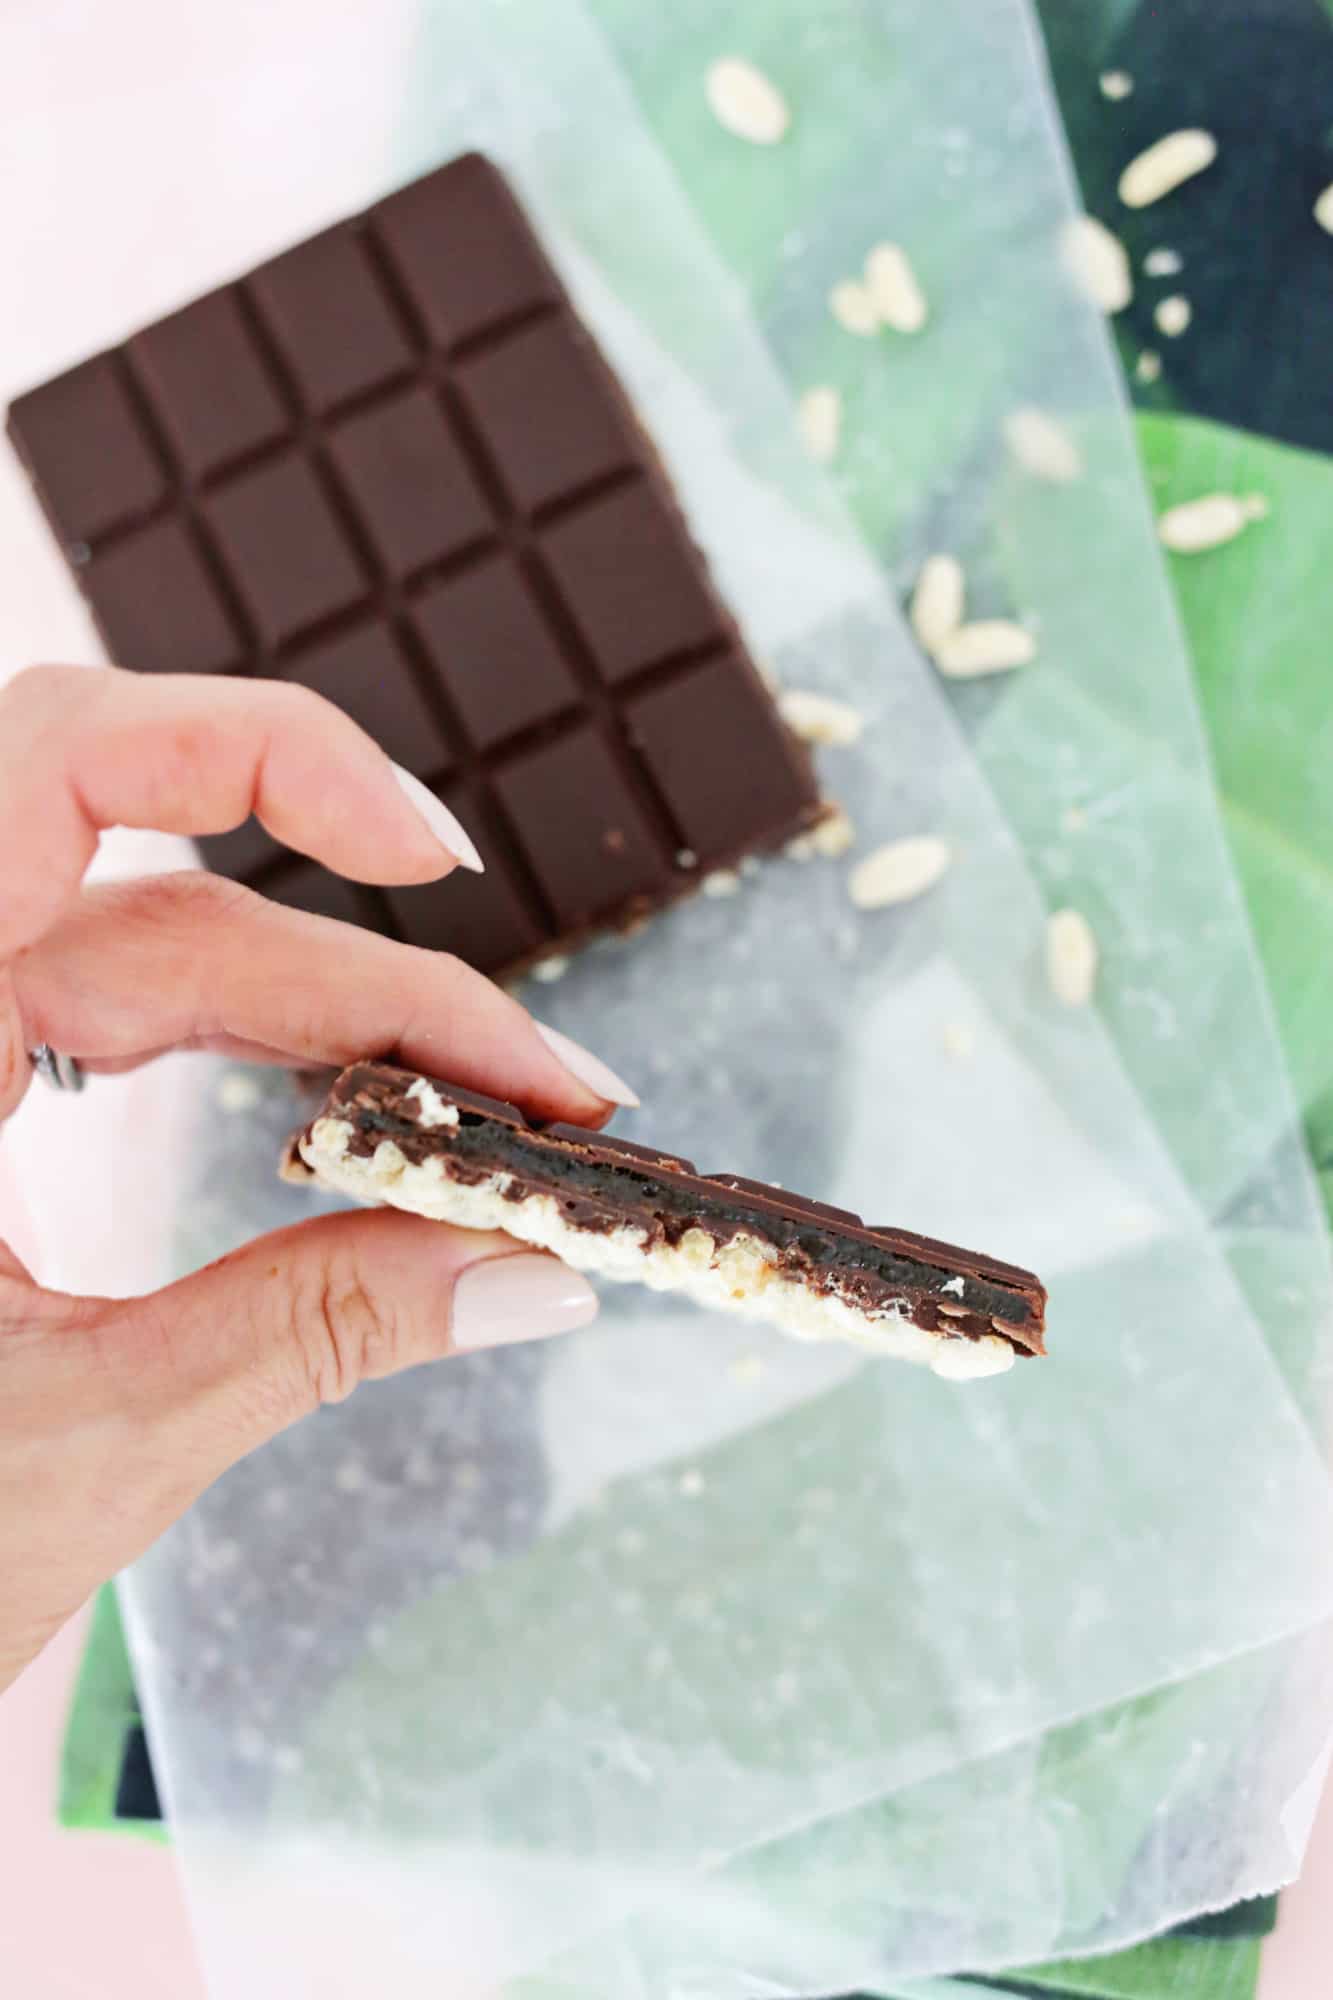
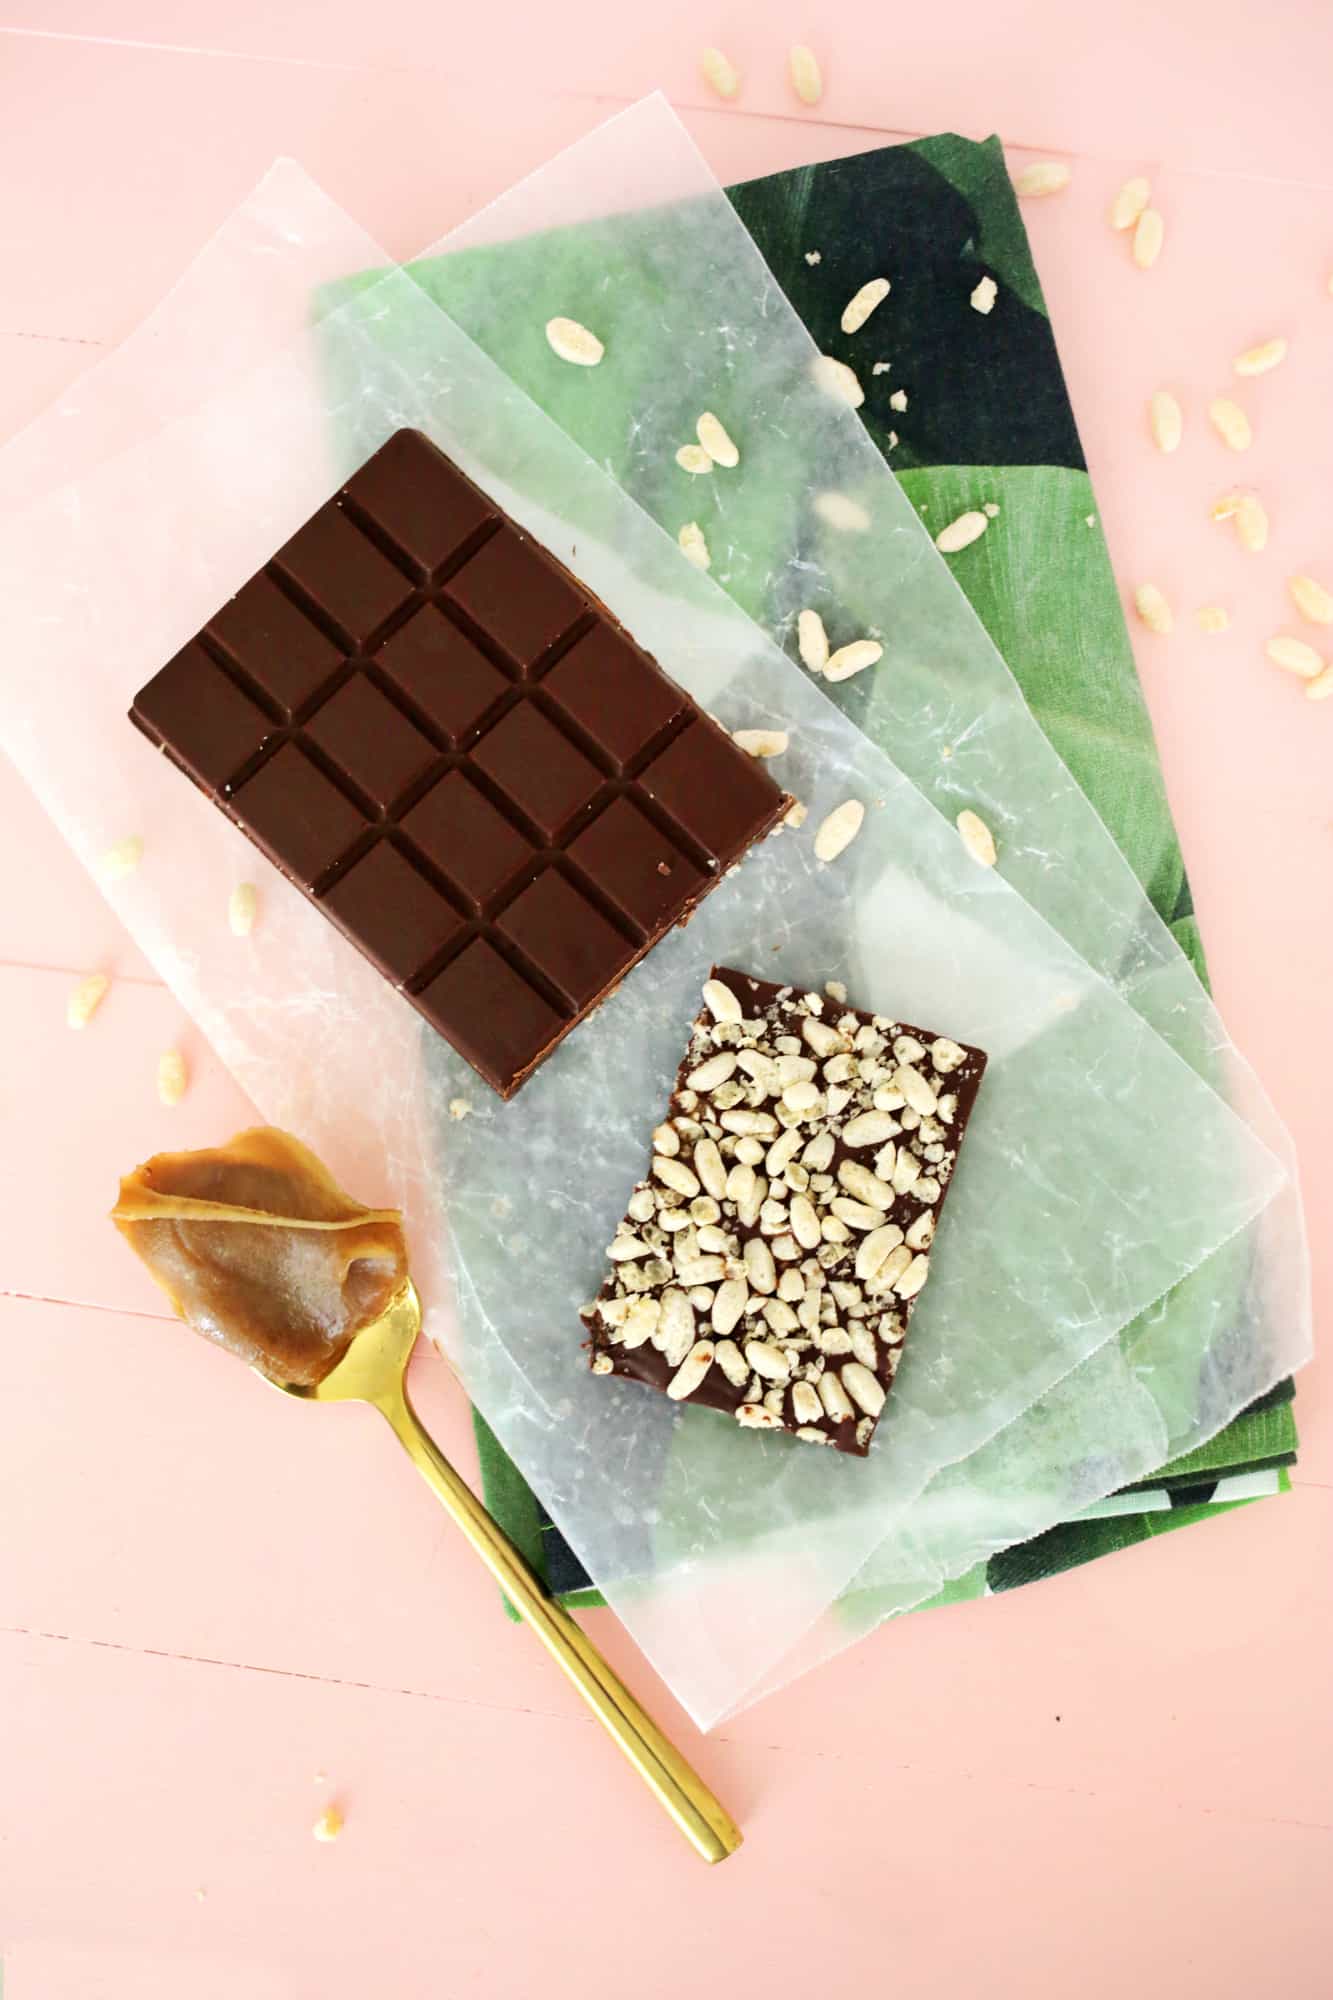 How delicious does that look?! I was so proud of myself that I could make my own candy bar that totally looks like I bought it in the store and tastes amazing too. I’m one of those weird people that can have a candy bar lasting for days or even weeks because I just break off one square at a time when the chocolate craving hits (usually after dinner for me), so a rich gooey candy bar like this is perfect to satisfy my sweet tooth when the craving hits. And if you love to have your candy bars in the freezer like I do, then go for it! Frozen caramel and chocolate are what my dreams are made of … xo. Laura
Non-Dairy Caramel Crunch Bar
Ingredients
For the chocolate:
- 2/3 cup non-dairy chocolate chips I like to use semi-sweet ones
The caramel:
- 1/2 cup coconut milk either full or low fat works
- 1/4 cup brown sugar
- 3 tablespoons vegan butter
- 2 tablespoons maple syrup
- 1/2 teaspoon vanilla extract
The crunch:
- rice crisp cereal
Instructions
-
First, you’ll want to make the caramel for your chocolate bar since that takes the longest time to set. Put all your caramel ingredients (except for the vanilla extract) into a small pot over medium heat and stir to combine them while the pot heats up and starts to boil. Once the pot is boiling, insert a candy thermometer and leave the pot alone (do not stir!) until the temperature reaches 250°. It will take a little bit for the temperature to get up that high, so just keep checking back in. But once the temperature reaches the 220-230° range, it will go up pretty quickly after that, so just stand near the pot. Once it reaches 250°, take the caramel off the stove and stir in your vanilla extract.
-
Give the caramel a few minutes to cool, and while it’s cooling, put some oil (I used refined coconut oil) on a piece of parchment paper and spread your caramel over an area that big enough to cover your chocolate bar mold. Place your caramel in the fridge for a few hours until set.
-
While the caramel is setting, use a double boiler or a glass bowl over a pot of simmering water to melt half of your chocolate chips (1/3 cup) and spread them into the bottom of a chocolate bar mold (or a very small bread loaf pan would work too). You want to just cover the bottom of the mold, so make sure to leave room for the rest of your layers.
-
When your caramel is set, take it out of the fridge and use a pizza cutter to cut the caramel into a rectangle that’s slightly smaller than your chocolate bar mold. Place it caramel side down onto your chocolate bar and peel off the oiled paper so it’s sitting on top of your chocolate layer. If for some reason your caramel doesn’t come off the paper like it should (sometimes making caramel can be finicky), you can always scrape it off and use an oiled spatula to kind of spread it out over the chocolate. It may not be as pretty, but will still taste good!
-
Once your caramel is in place, melt the other 1/3 cup of your chocolate and spread it over top of the caramel layer. Give your rice crisp cereal a few chops with a knife to break up the cereal a bit and then spread them out over the chocolate and push them down into the chocolate with the back of a spoon.
-
Place your bar in the fridge to fully set, pop your candy out of its mold and your yummy treat is ready to eat! You’ll want to store any uneaten parts of the candy bar in the fridge, wrapped in wax paper.




9 Comments
This looks delicious! Going to try making this. 🙂
Charmaine Ng | Architecture & Lifestyle Blog
http://charmainenyw.com
That seems delicious! I’m a huge fan of chocolate, I don’t go a day without having some form of it, whether it’s in cereal or cookies, I eat it all the time and I’ve been trying to find a dairy-free chocolate bar but they’re all so expensive, I might as well just do my own. I love caramel as well so this seems absolutely perfect, definitely gonna try it. Instead of the rice crispies, I think I might add peanuts and try to make a deconstructed snickers bar, it was my favourite before I decided to go vegan.
Oh my, that looks so good! We’re trying to go towards using non-dairy products because we think my youngest might have a milk protein sensitivity and this would be a perfect treat occasionally.
Can I make this using regular chocolate?
Yep!
Laura
This is brilliant!
Delicious! What is that banana leaf looking thing you have in the background under the chocolate bar?
It’s a napkin from CB2 🙂
Laura
Thanks for sharing this! Cannot wait to try this asap.
-Kate
https://daysofkate.com/