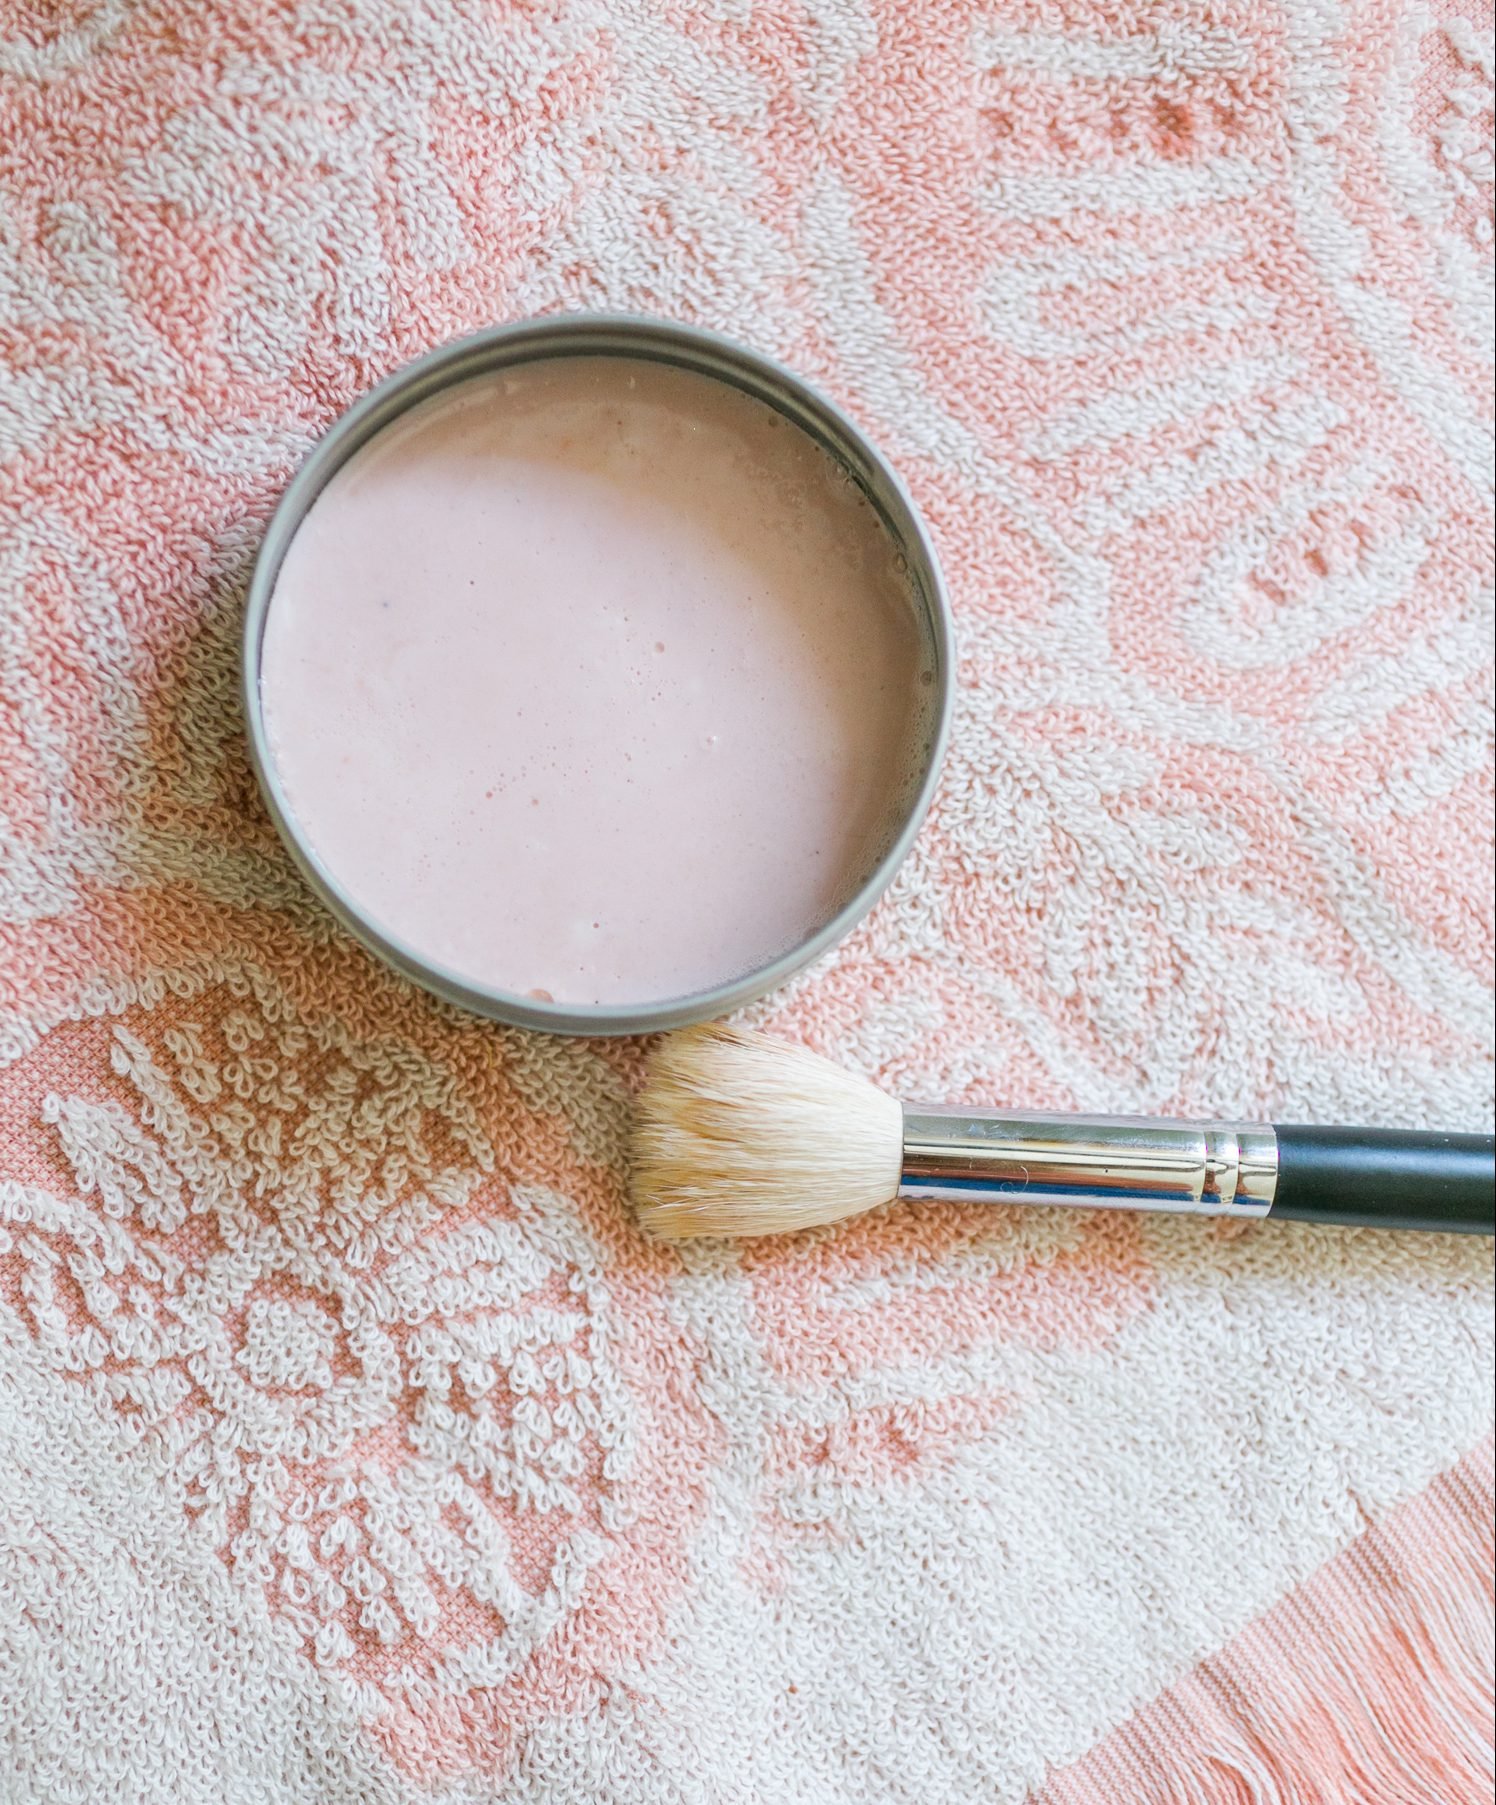
 One of my favorite beauty items of all time is the solid brush cleaner. Something about it makes it so much easier to clean brushes and beauty sponges (like a Beauty Blender). I think that it’s because you can kind of “scrub” the brush into the little container and you don’t have to worry about liquid cleaner washing off before the brush is actually clean. It’s just so easy to swirl your brush or sponge around the tin!
Today, I’m going to show you how to make a clean version of these super popular cleansers.
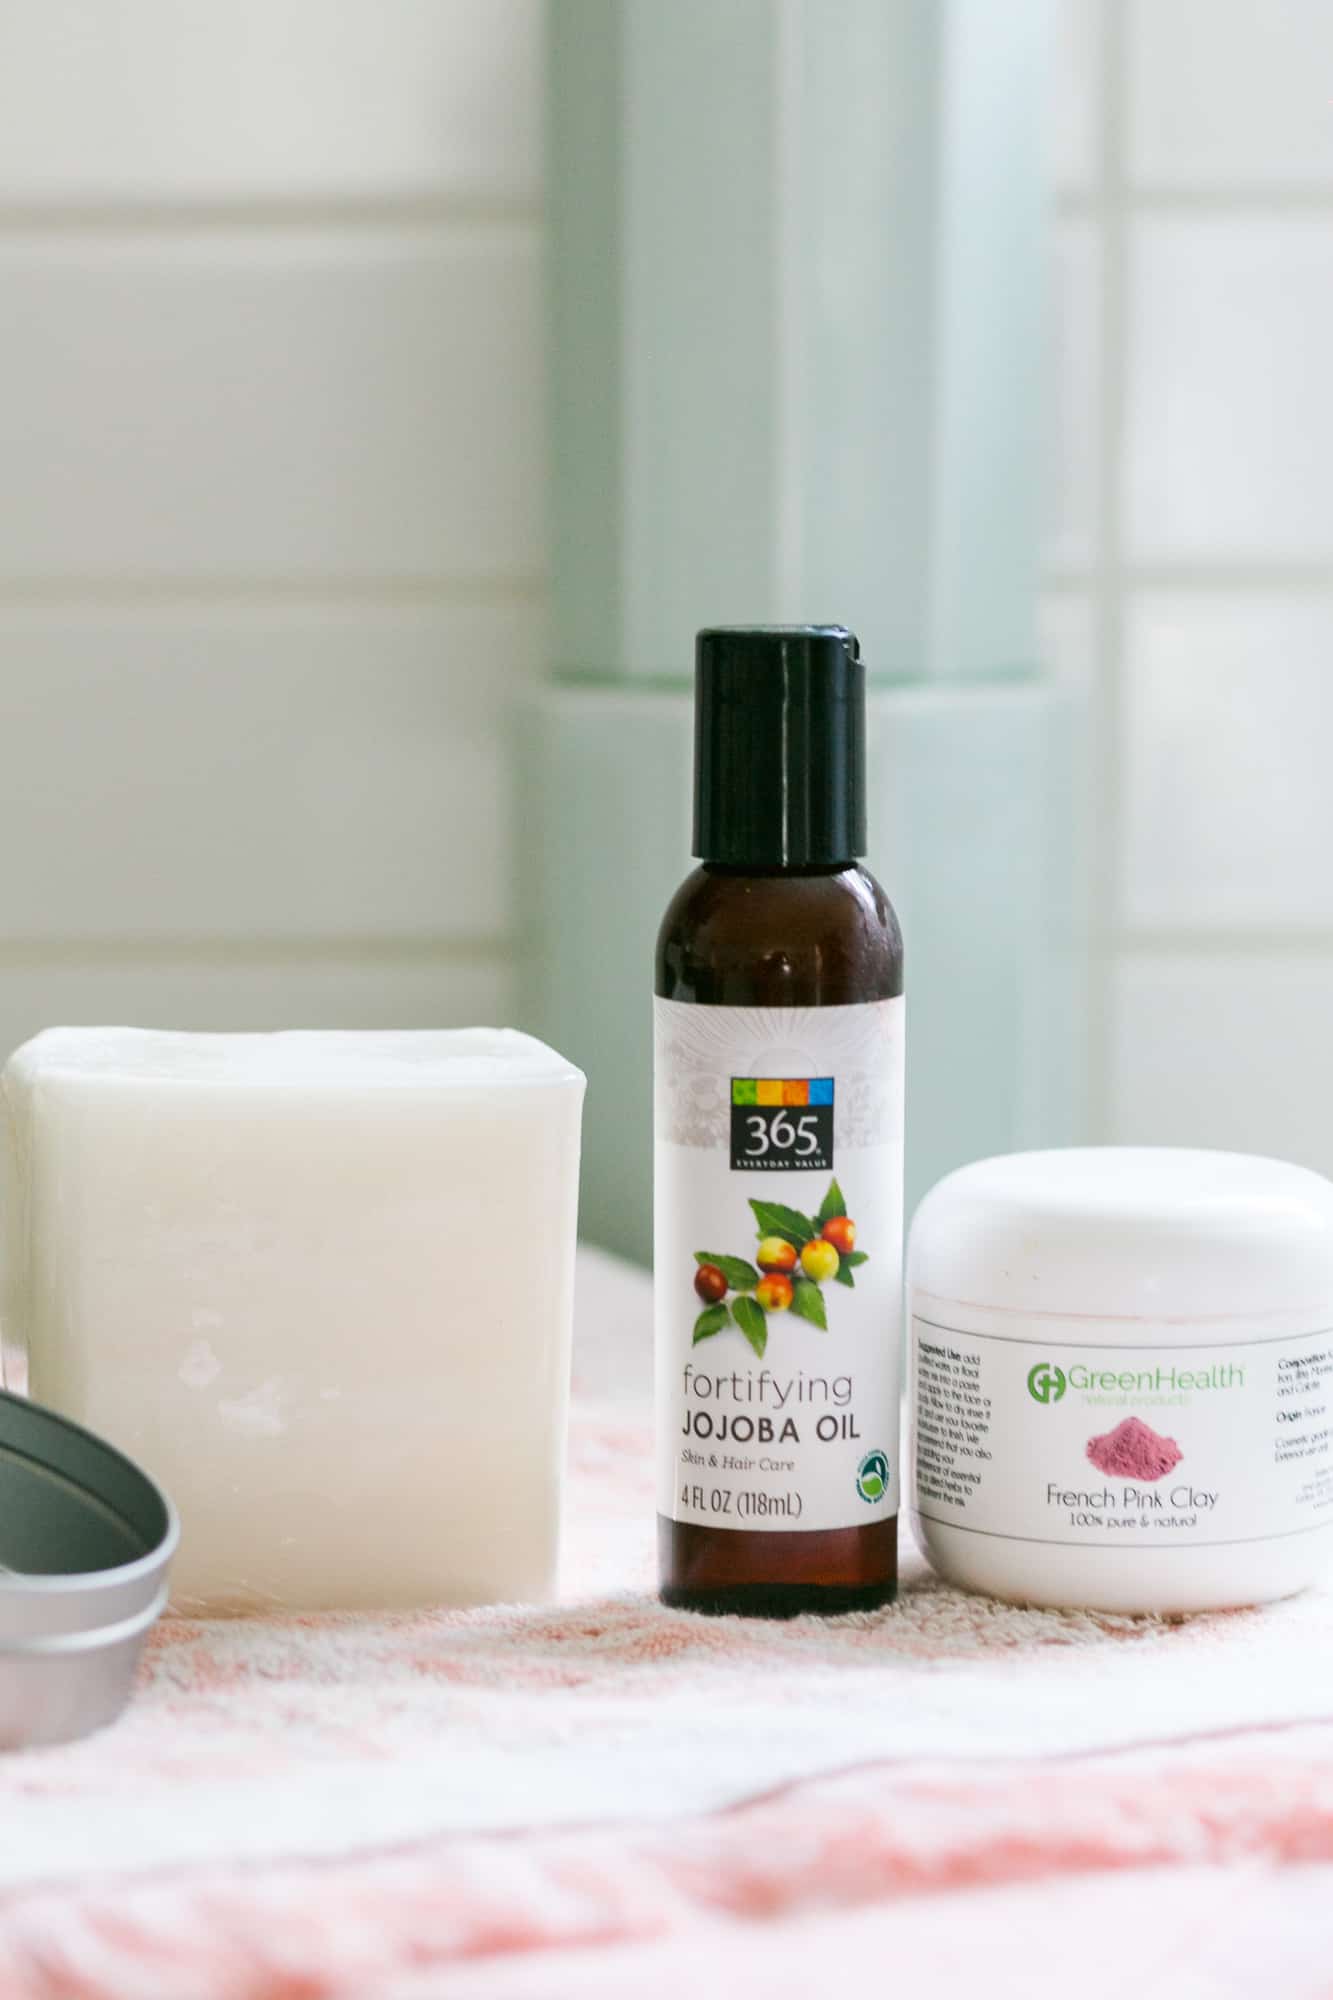 Here’s what you’ll need:
-4 ounces shallow tin (I got mine at The Container Store)
-Melt and pour soap (I got mine here)
-Essential oils with anti bacterial/antifungal properties, I used rosemary and peppermint
–Pink clay (optional, to make it a little prettier)
–Jojoba oil
 First, you’re going to measure out 1 teaspoon of pink clay into a small dish.
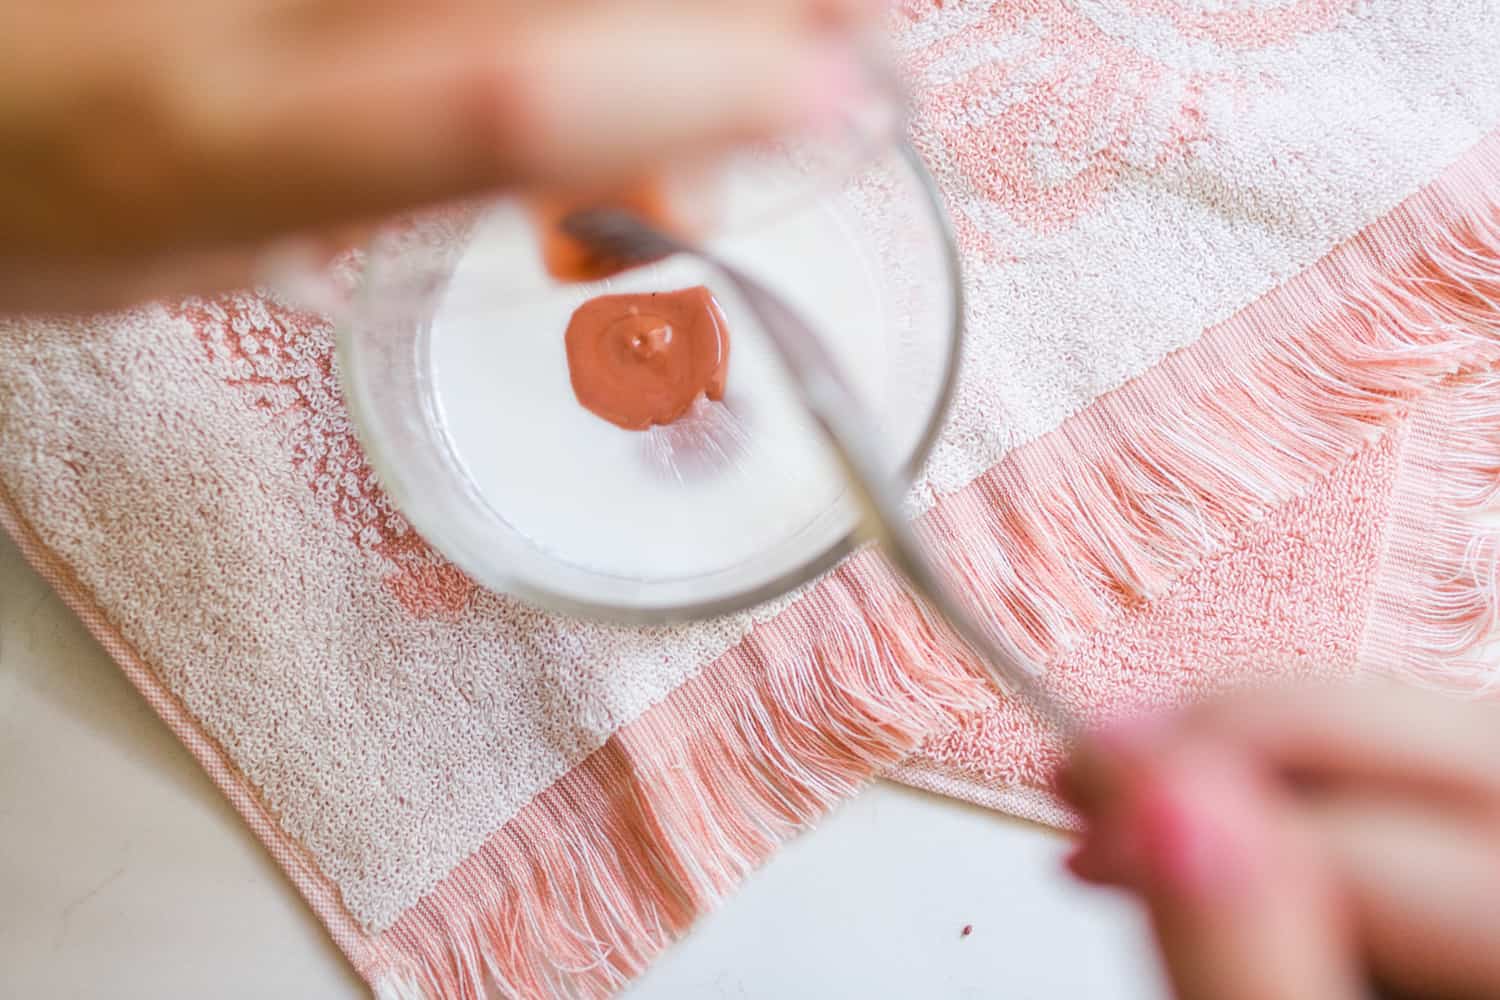
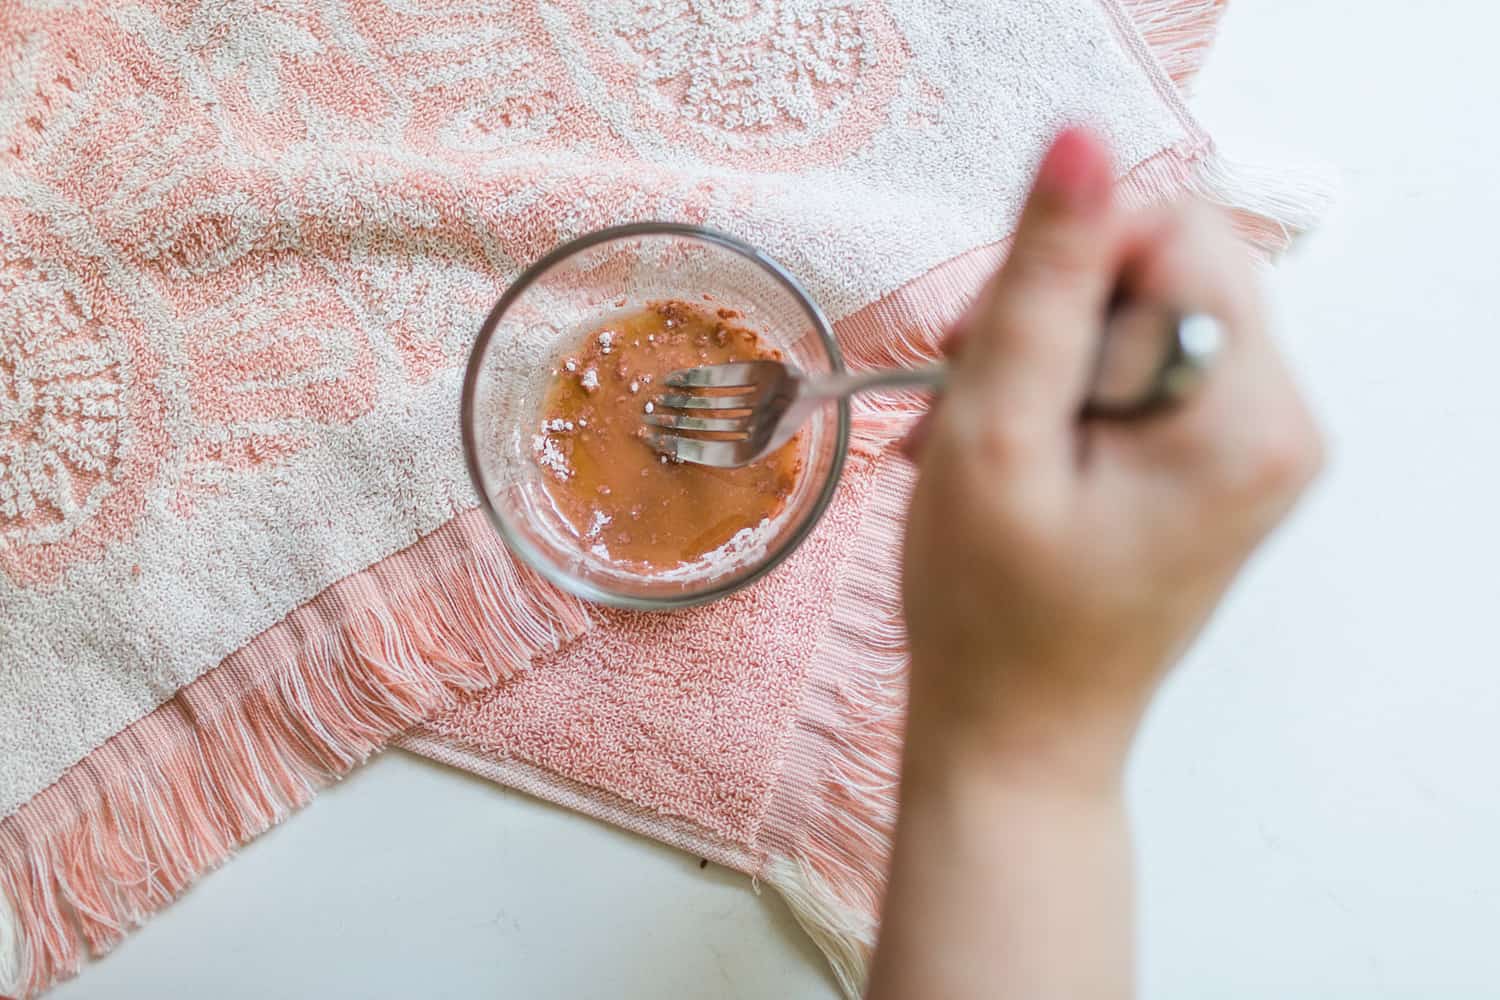 Then, add your 1 tablespoon of jojoba oil and mix together until completely smooth.
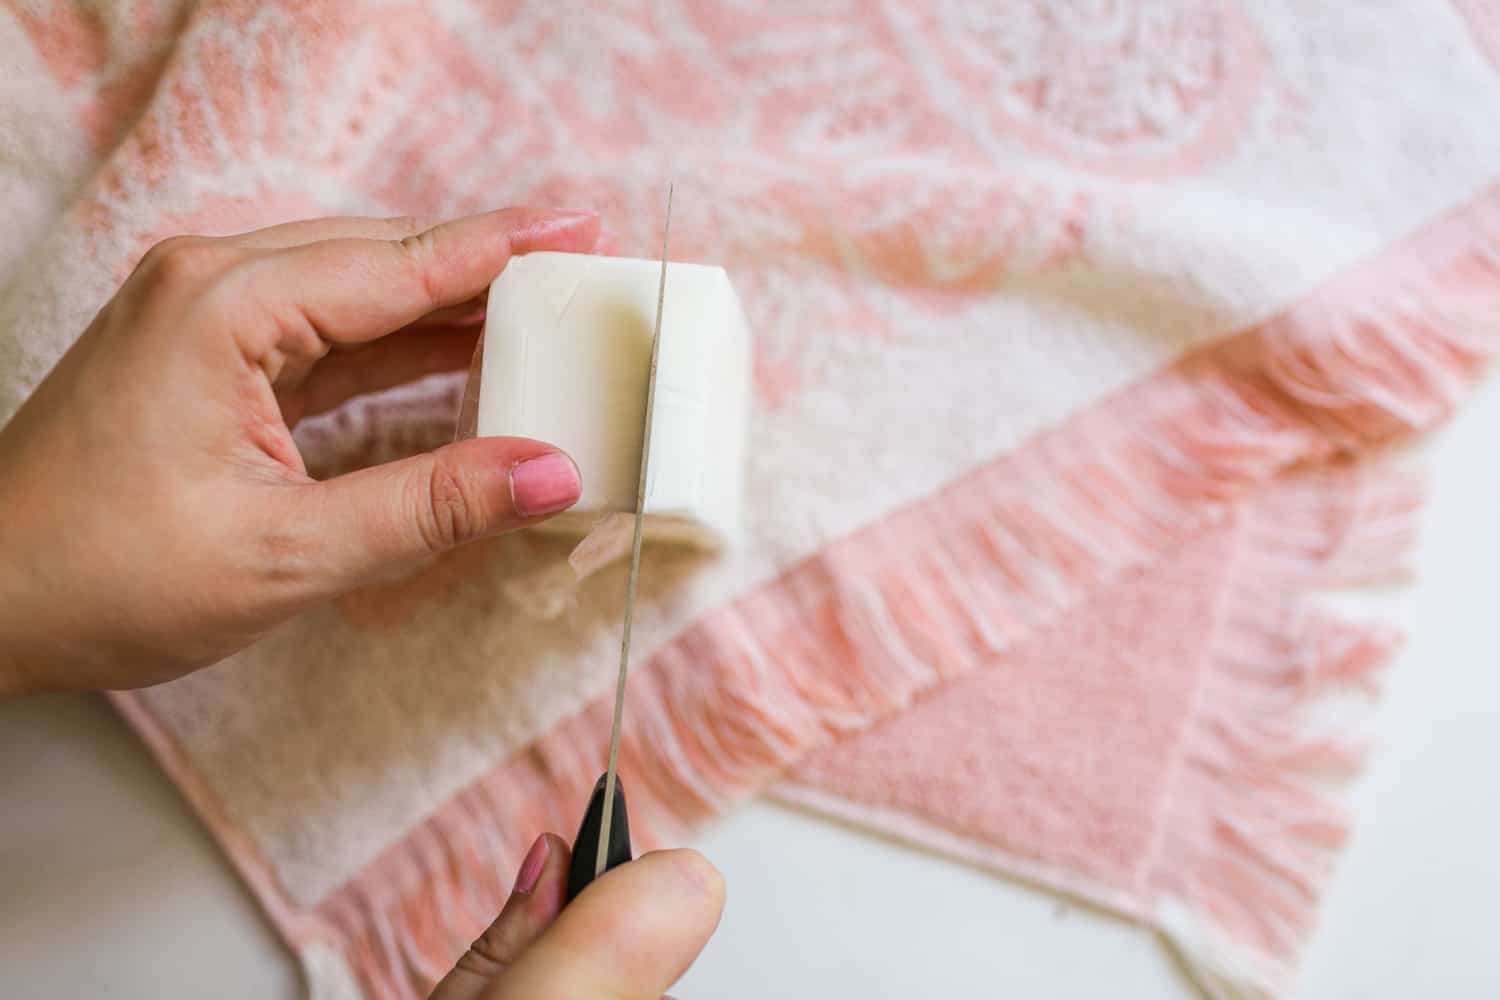 Cut about 2 ounces off of your soap block, and put it in the microwave for 30 seconds—this should melt it all the way, but if not, just keep going in 10-second increments until it’s fully melted.
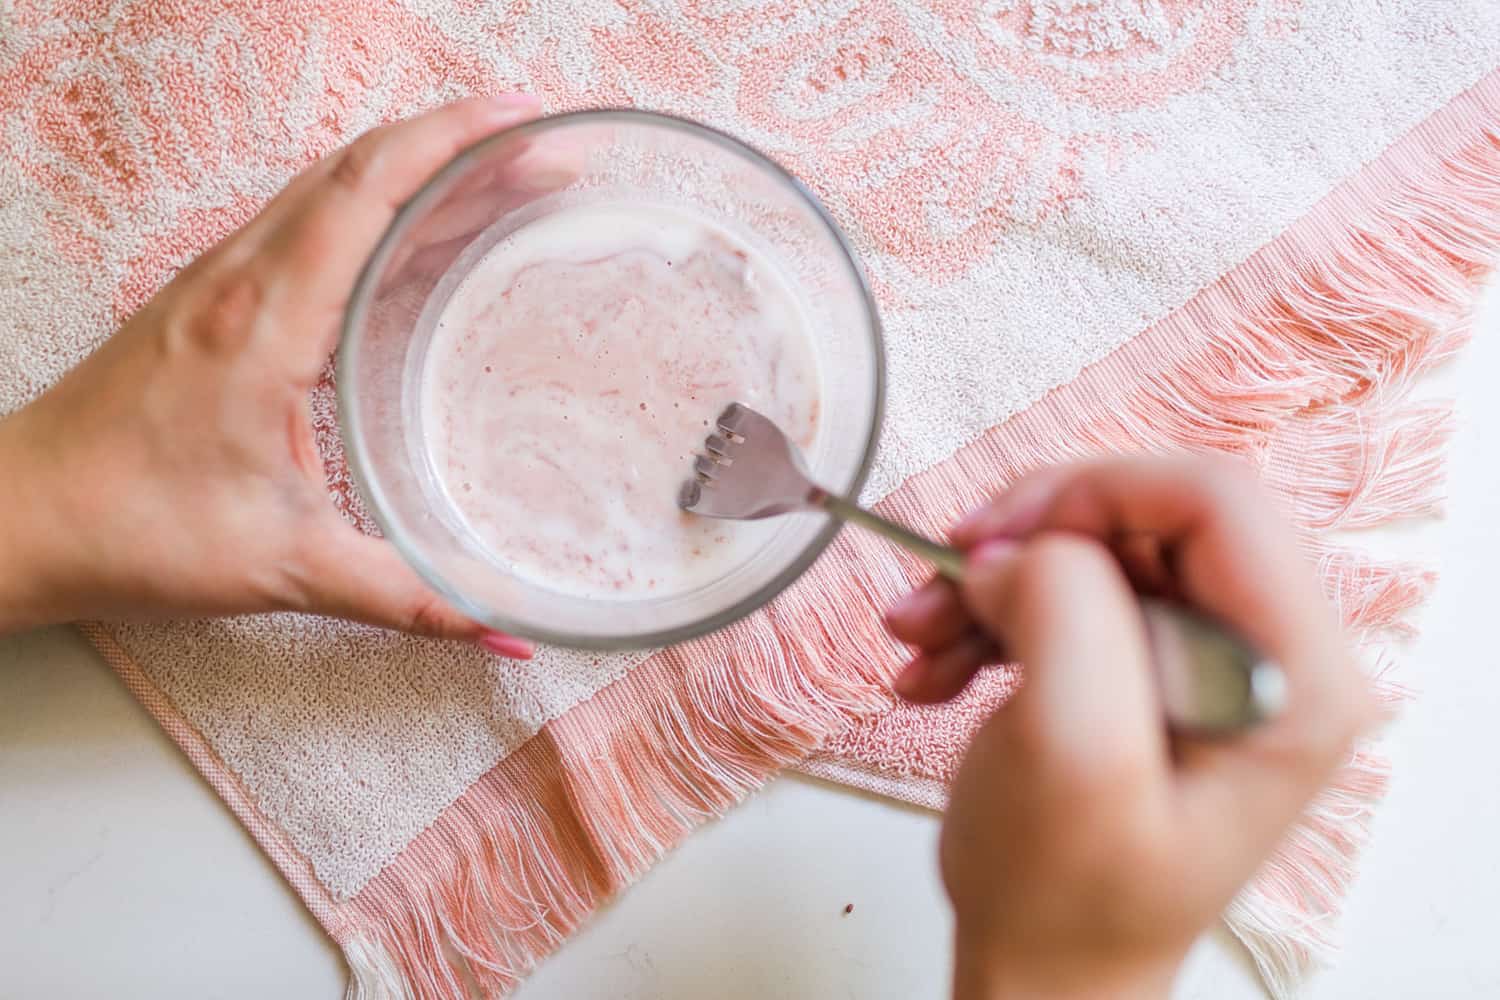 Pour your clay/jojoba oil mixture into your melted soap and stir until completely incorporated.
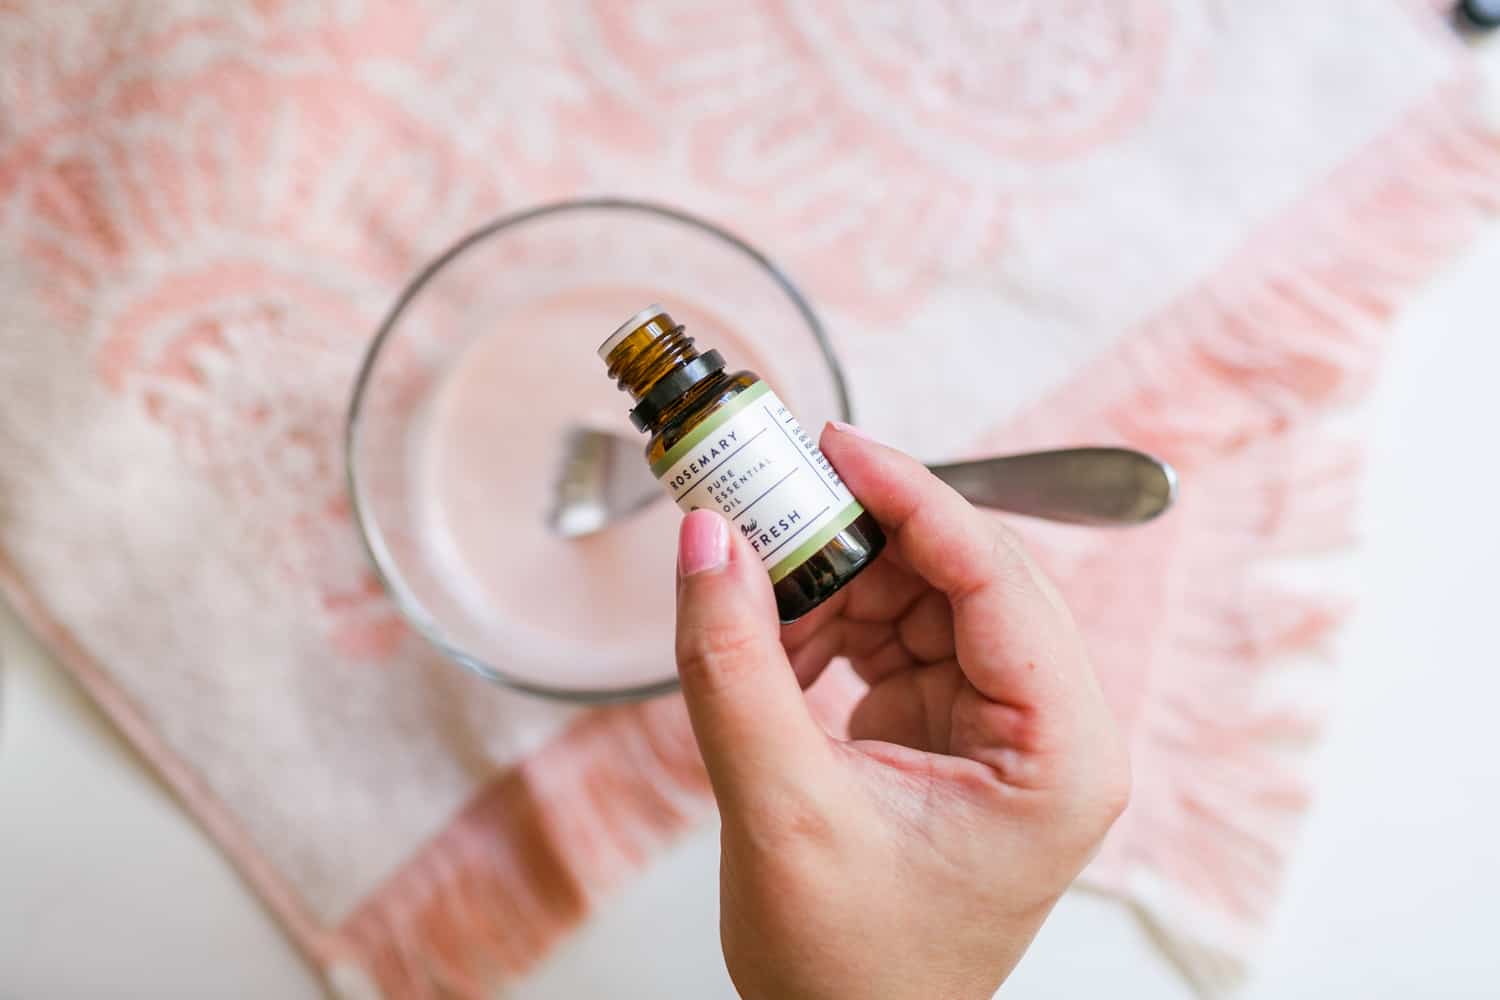 I added 4 drops of rosemary oil and 4 drops of peppermint oil to the mixture for some extra bacteria-fighting power. Another plus, it smells SO nice! You could really do any blend of oils here that you’d like for the sake of scent, but I’d recommend using no more than 10-12 drops total.
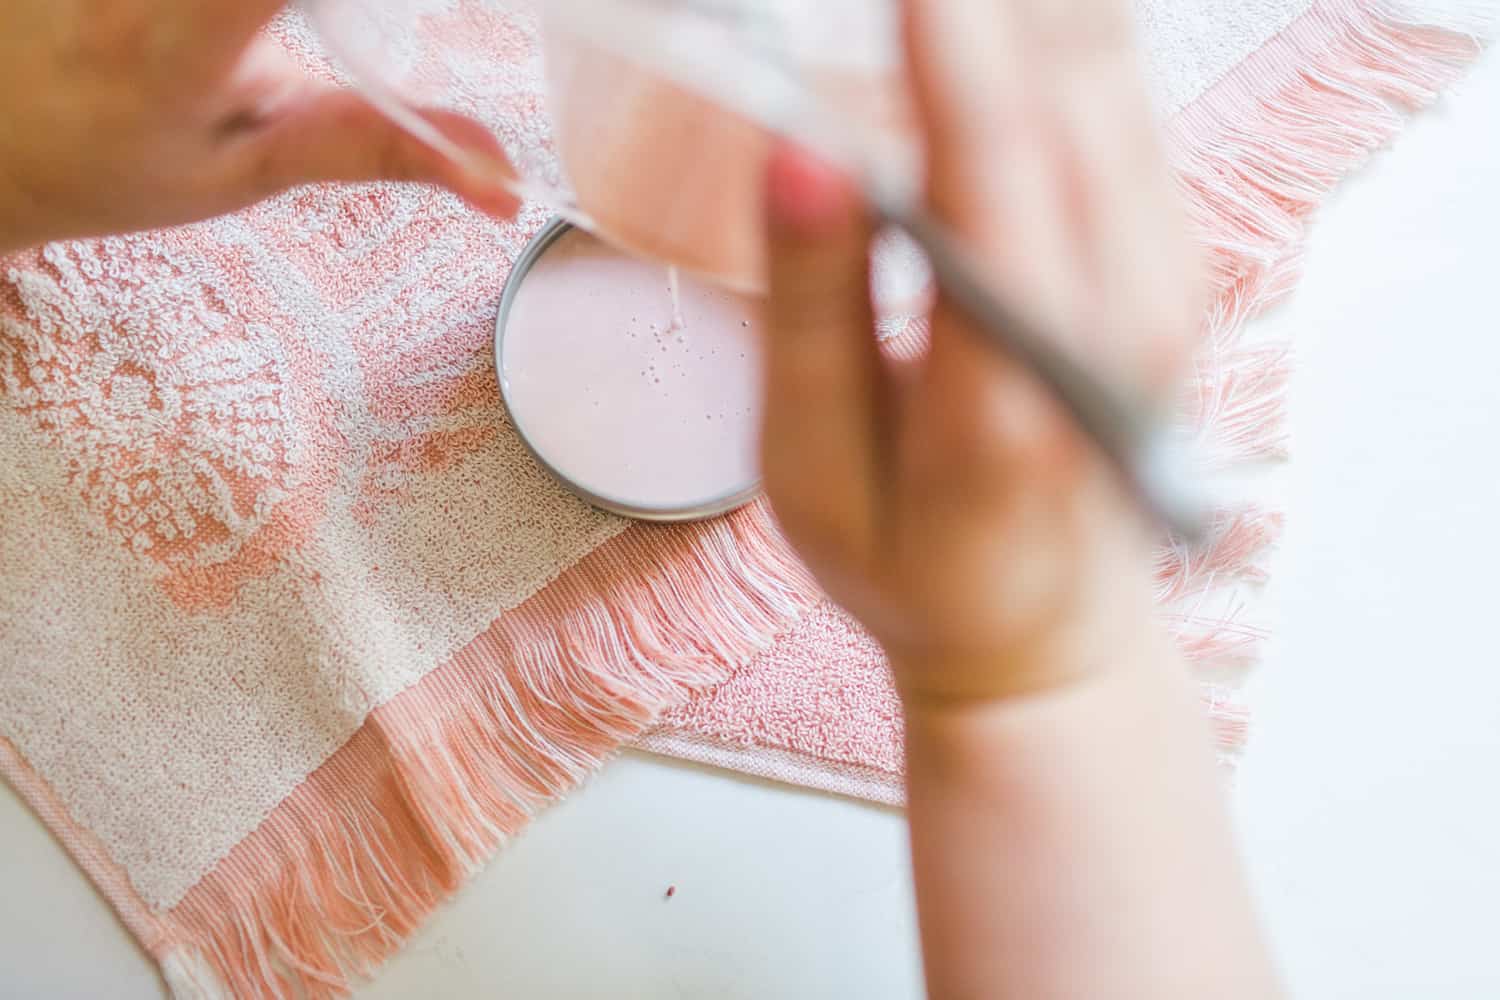 Pour the mixture into your tin, and let it set until completely cooled. I popped mine into the refrigerator for a few minutes and it sped up the process.
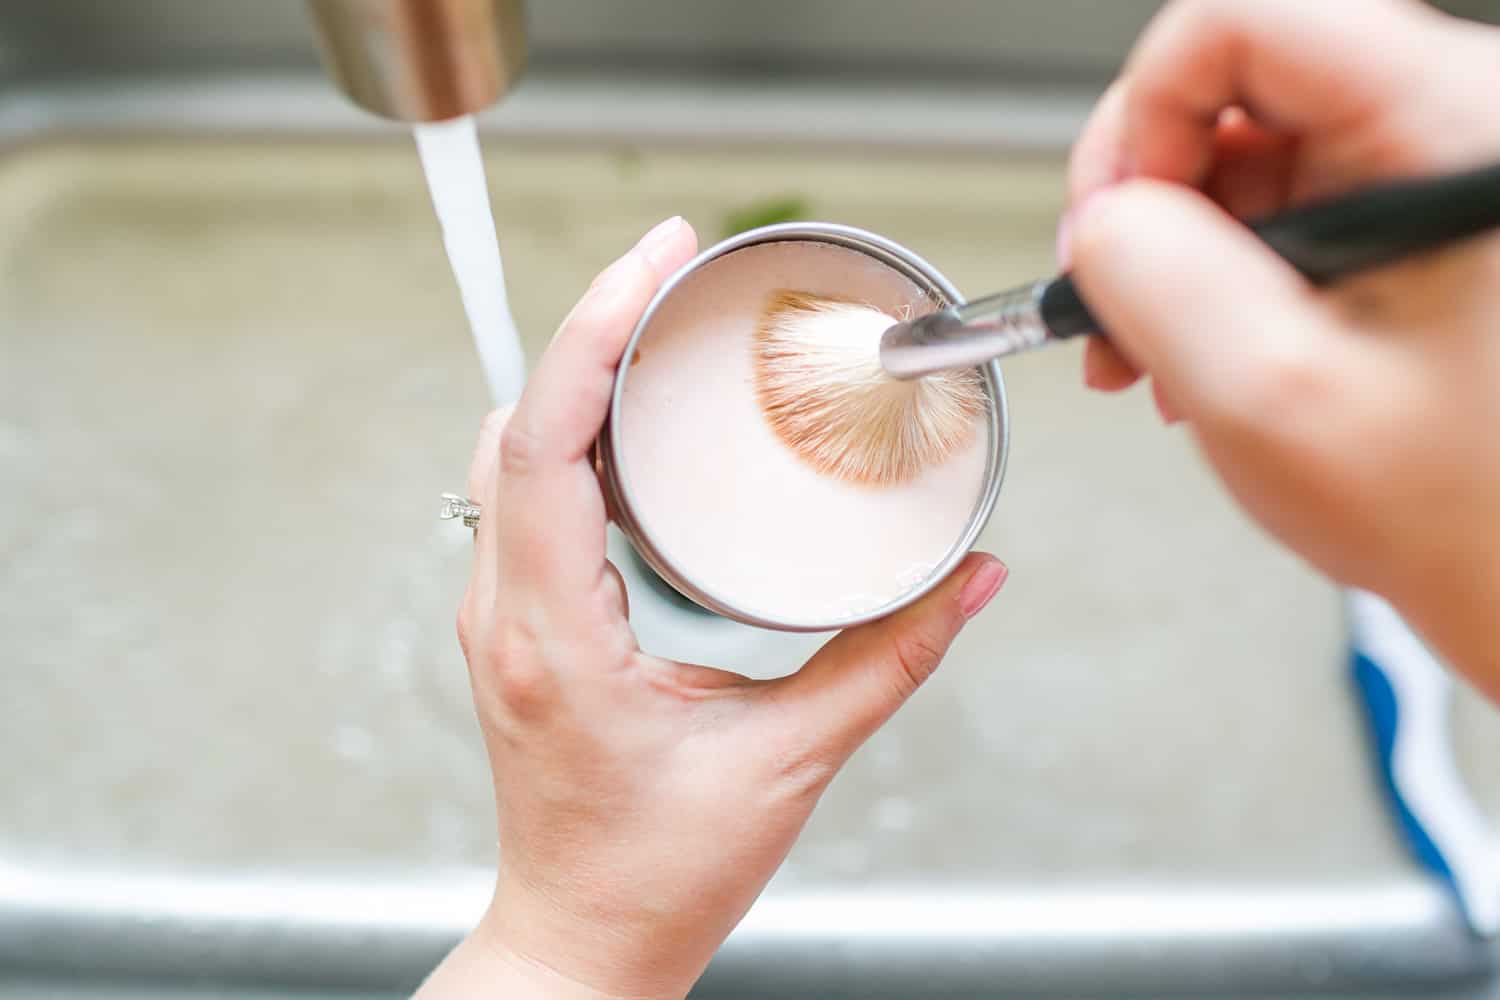 Add a little bit of water to your tin, and swirl your brush or blender around in the soap—you’ll see color start to come off immediately and it’s really satisfying! I usually rinse the brush out after swirling the soap around, and go for round 2 to make sure it’s completely clean. For a blender, you might need to do this a few times. Make sure your soap is rinsed and clear of any excess makeup before letting it dry. I always make sure it’s completely dry before putting the lid on!
Cleaning your tools is SO important—it’s much better for your skin and your makeup will look better! You could make a few of these at a time to save for later, or they make a really unique and inexpensive gift.
xo Keely



11 Comments
Thanks for the tutorial! I’ve never tried a solid cleaner for my brushes before – it sounds intriguing! ❤️✨
Charmaine Ng | Architecture & Lifestyle Blog
http://charmainenyw.com
This brings back fond memories of taking a painting glass in high school and using solid soap. Thanks!
I love this!! I have solid cleaners for paintbrushes but I never thought about it for makeup brushes. The real question is… how often should you clean your brushes?
I usually clean mine once a week — especially anything relating to foundation or concealer. I wash my Beauty Blender after every use. 🙂
Wow! That’s an amazing idea! Thank you!
Is this cleaner good for both synthetic and natural makeup brushes???
Yes, it is!
Thanks so much for sharing this! Definitely need to try it out soon.
-Kate
https://daysofkate.com/
I love this idea and that it’s a natural option! Thanks for sharing.
Can diatomaceous earth be substituted for the clay?
I love this idea and just made a few. I just opened it up after letting them dry for a few days and the oil rose to the top. Has that happened to you?