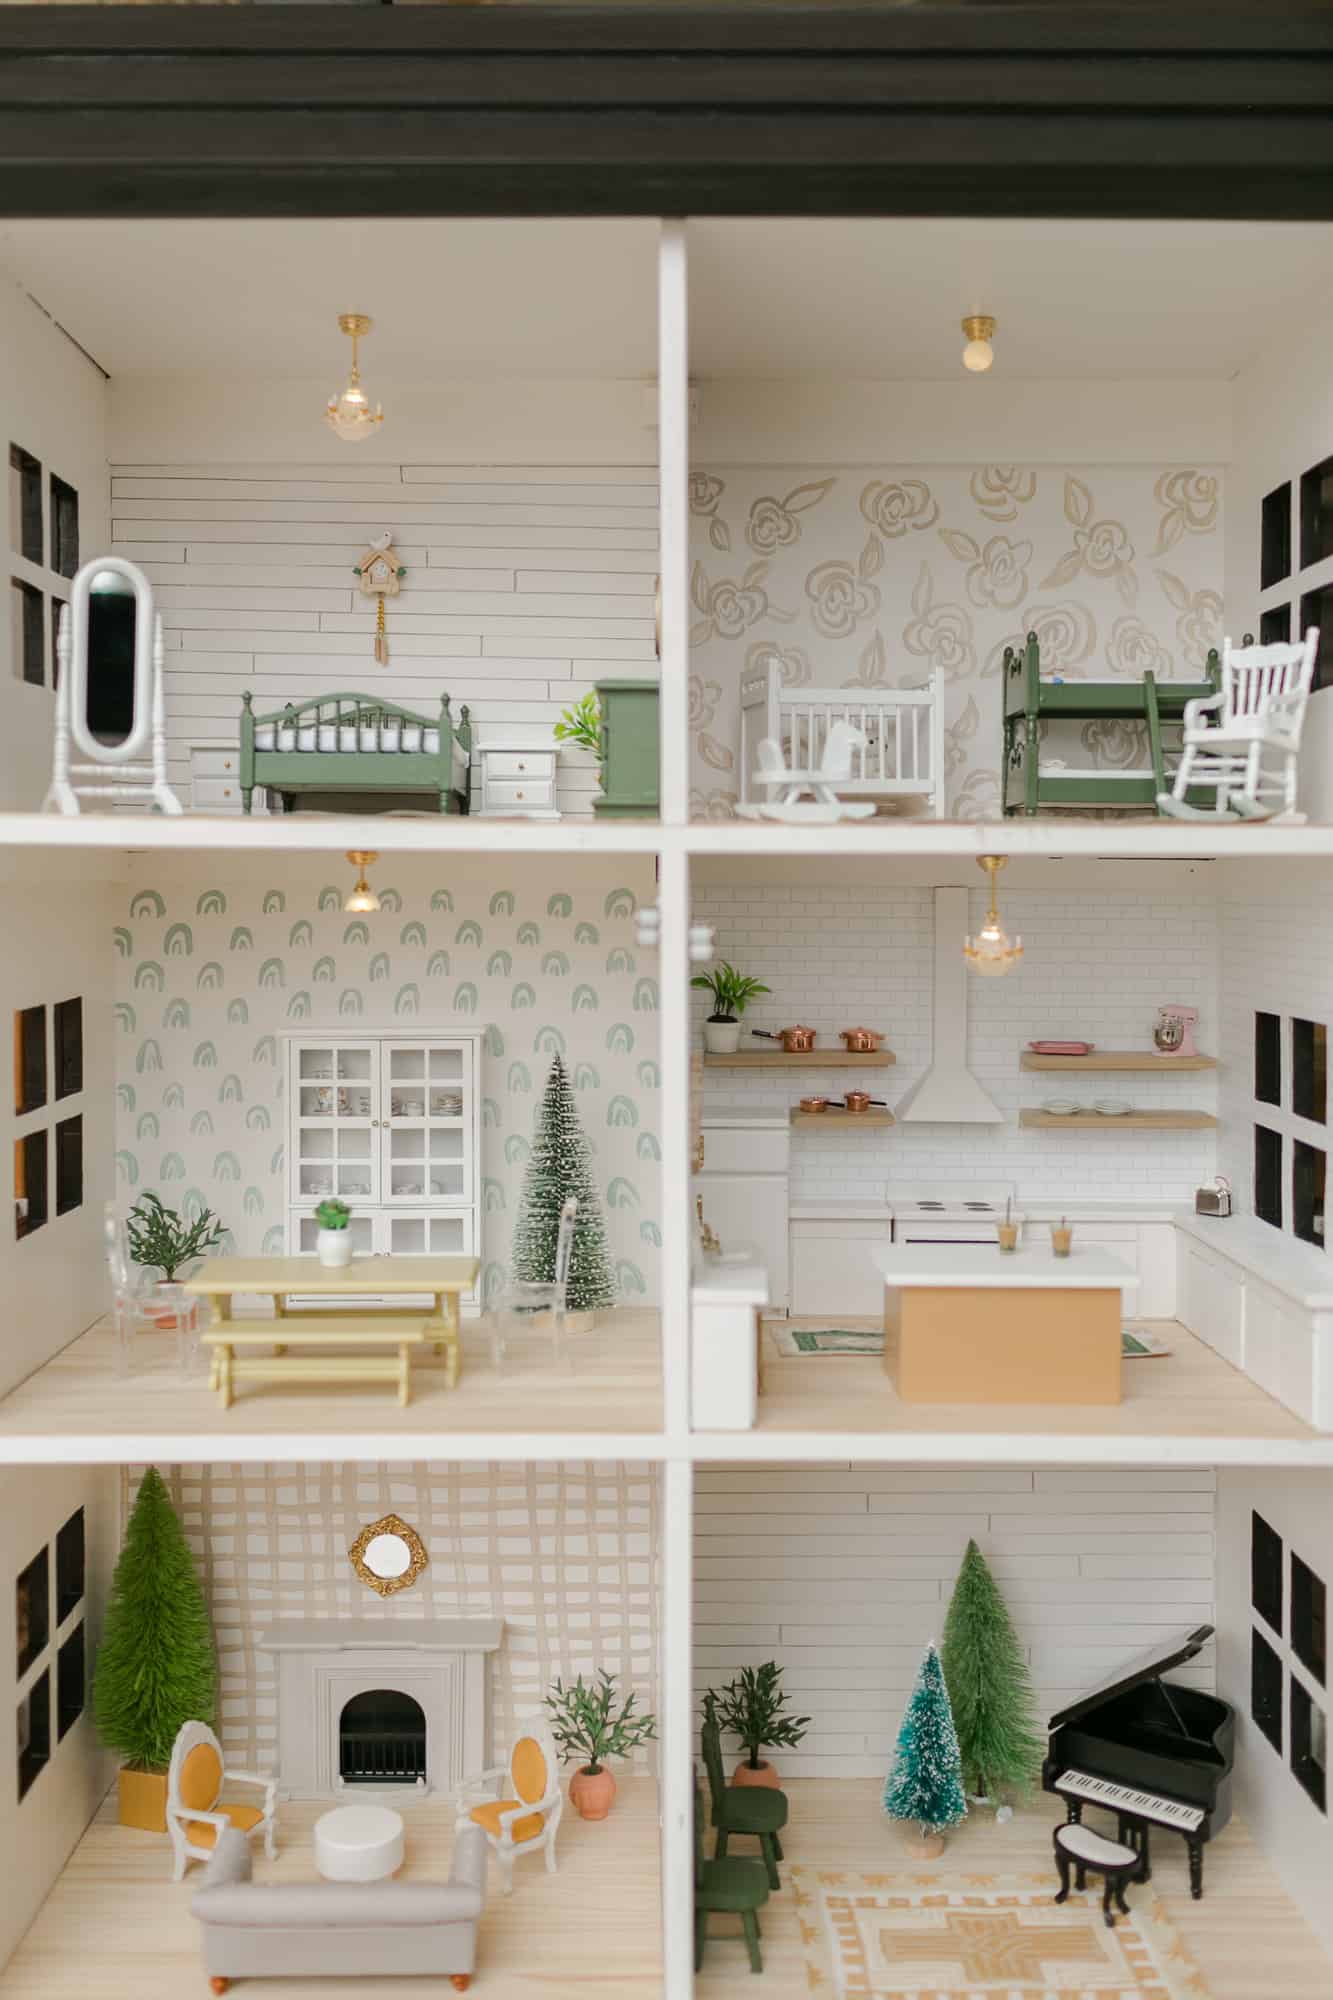
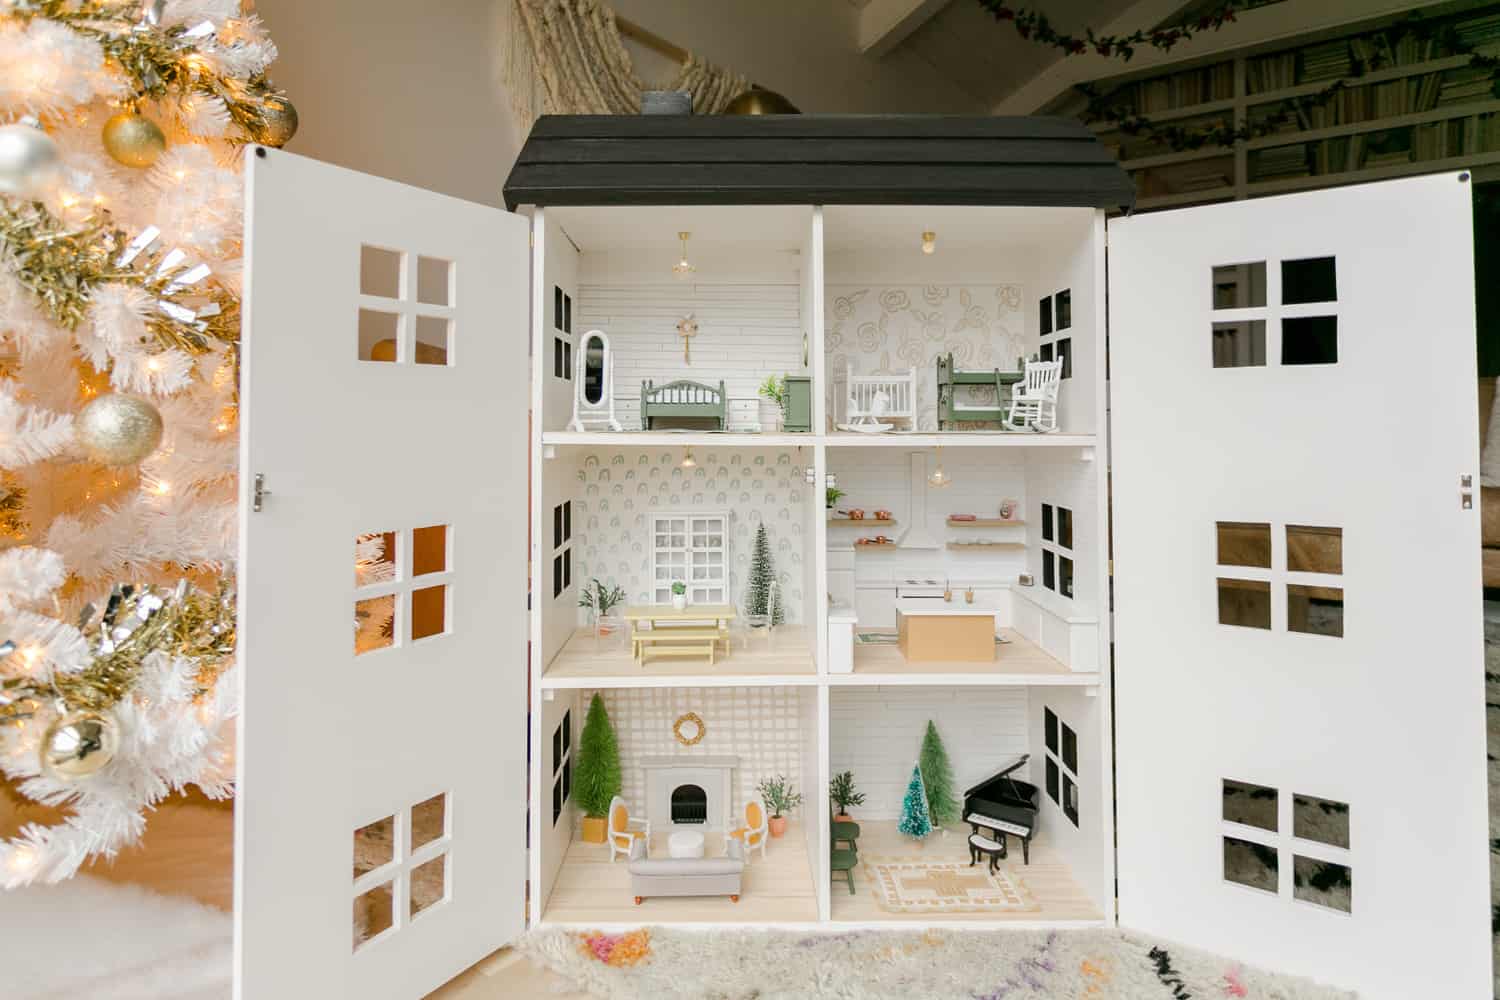
 WOOHOO! Today is the reveal day for our DIY dollhouse! My favorite DIY project of all time. I am so excited to take you on a little tour!!
In case you missed it, part one (where we teach you to build it) is here. In this post, I will share some details for how we DIY’d the rooms and links to the little bits and pieces we purchased online. I am saying *we* a lot because Collin and I worked on this project together. If you listen to the podcast, you now know him by his official nickname, “some-guy-named-Collin” haha!
I will confess to you upfront that this dollhouse is just as much a gift to me as it is to Nova and Marigold, because the joy I’ve had making it has been so magical! And I cannot wait to spend hours playing with them … and eventually, when they are ready, help them to make their own DIY dollhouse renovations.
Life does not get better than this.
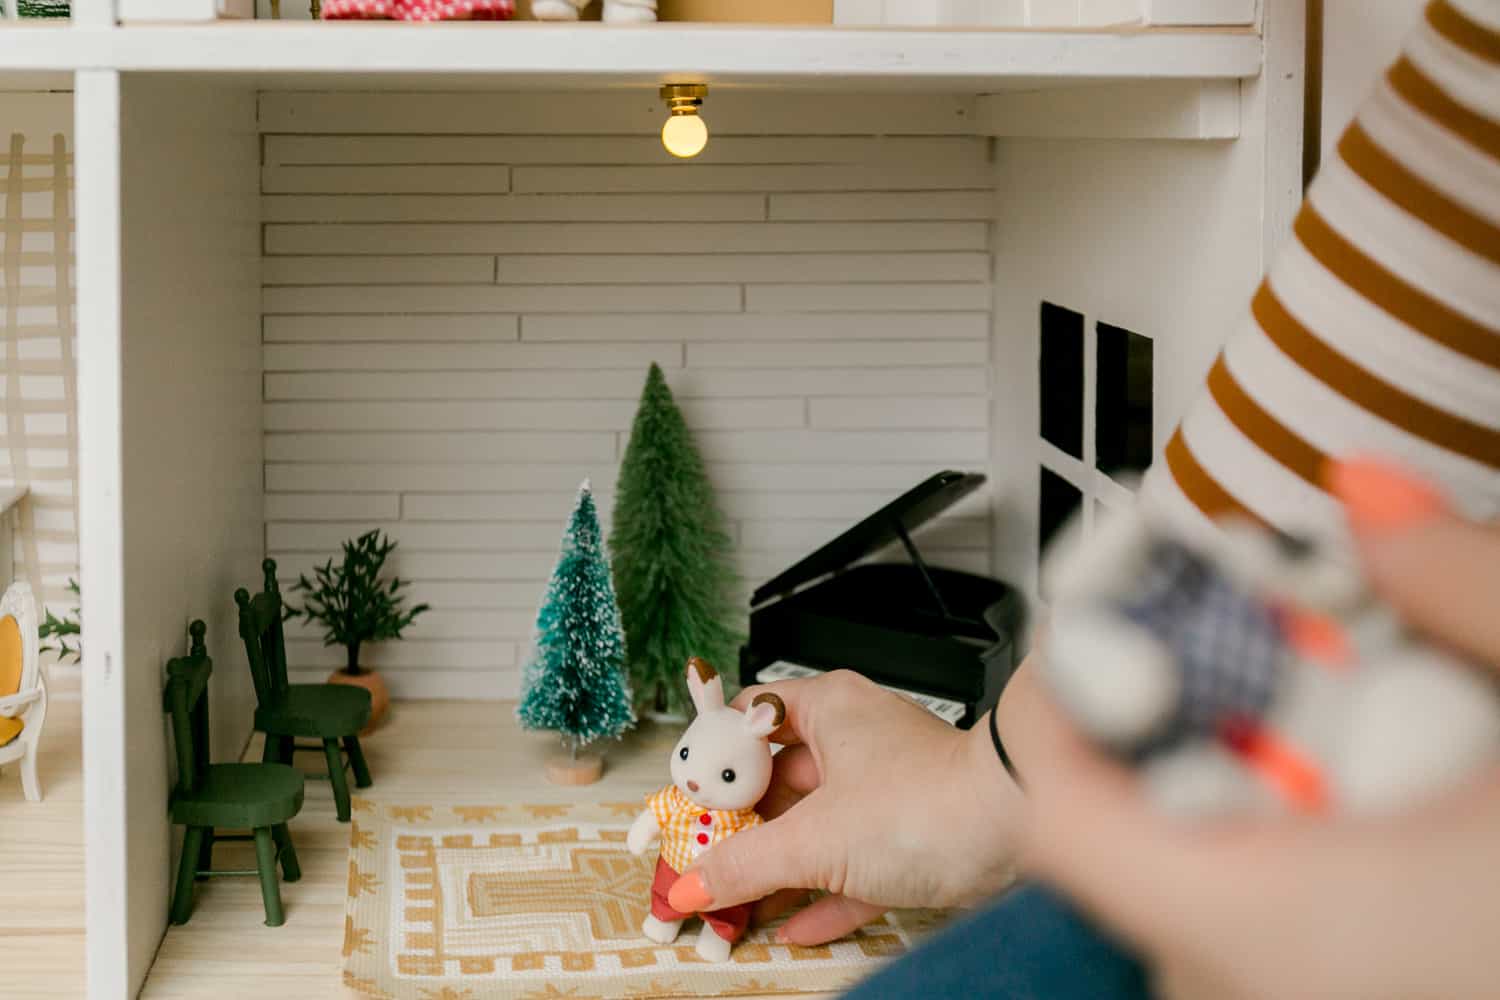
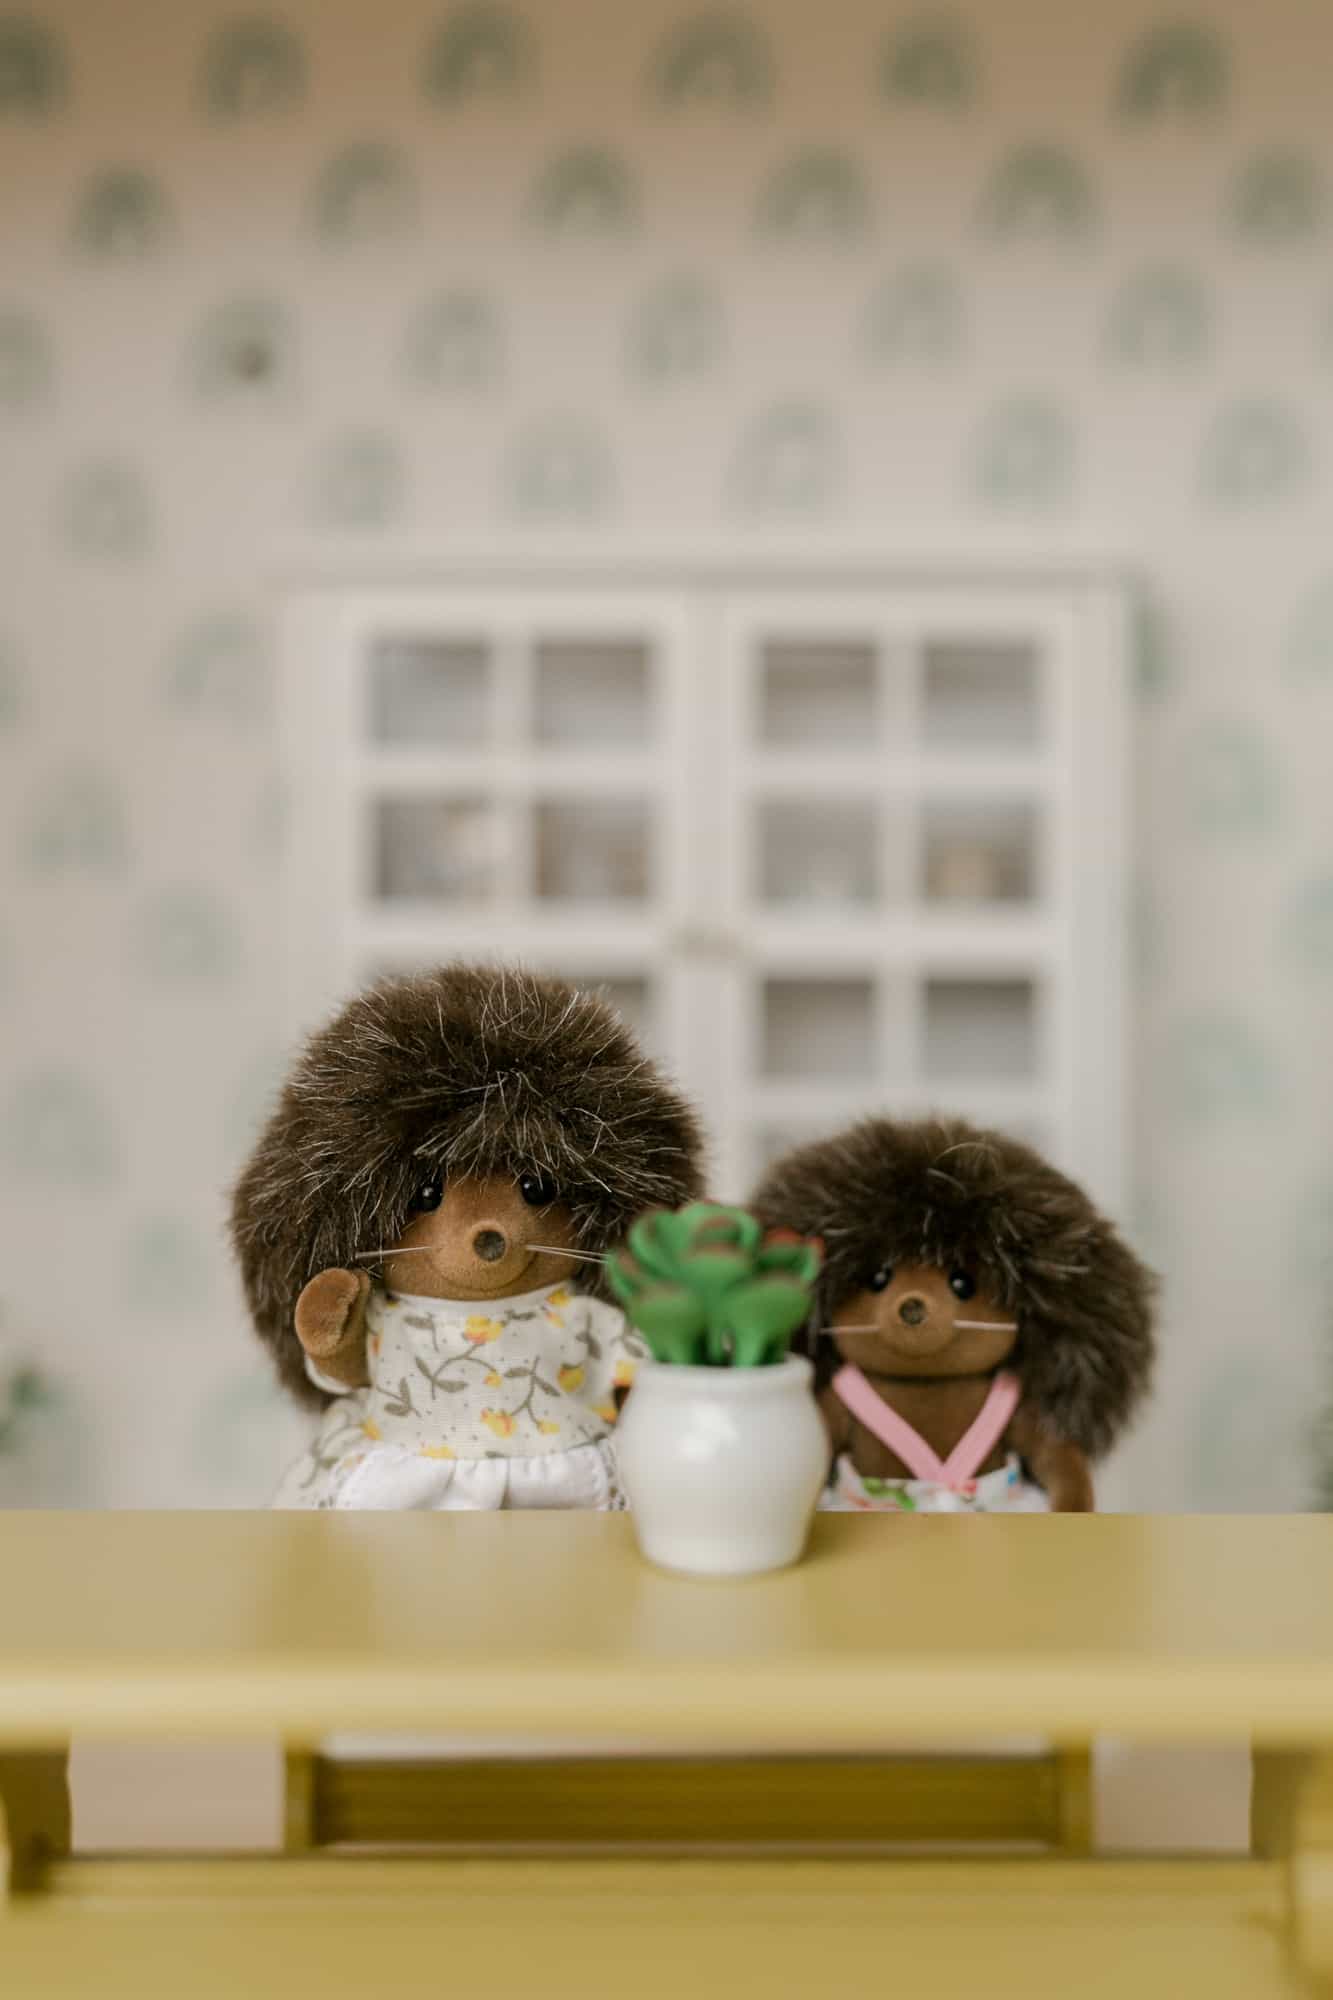
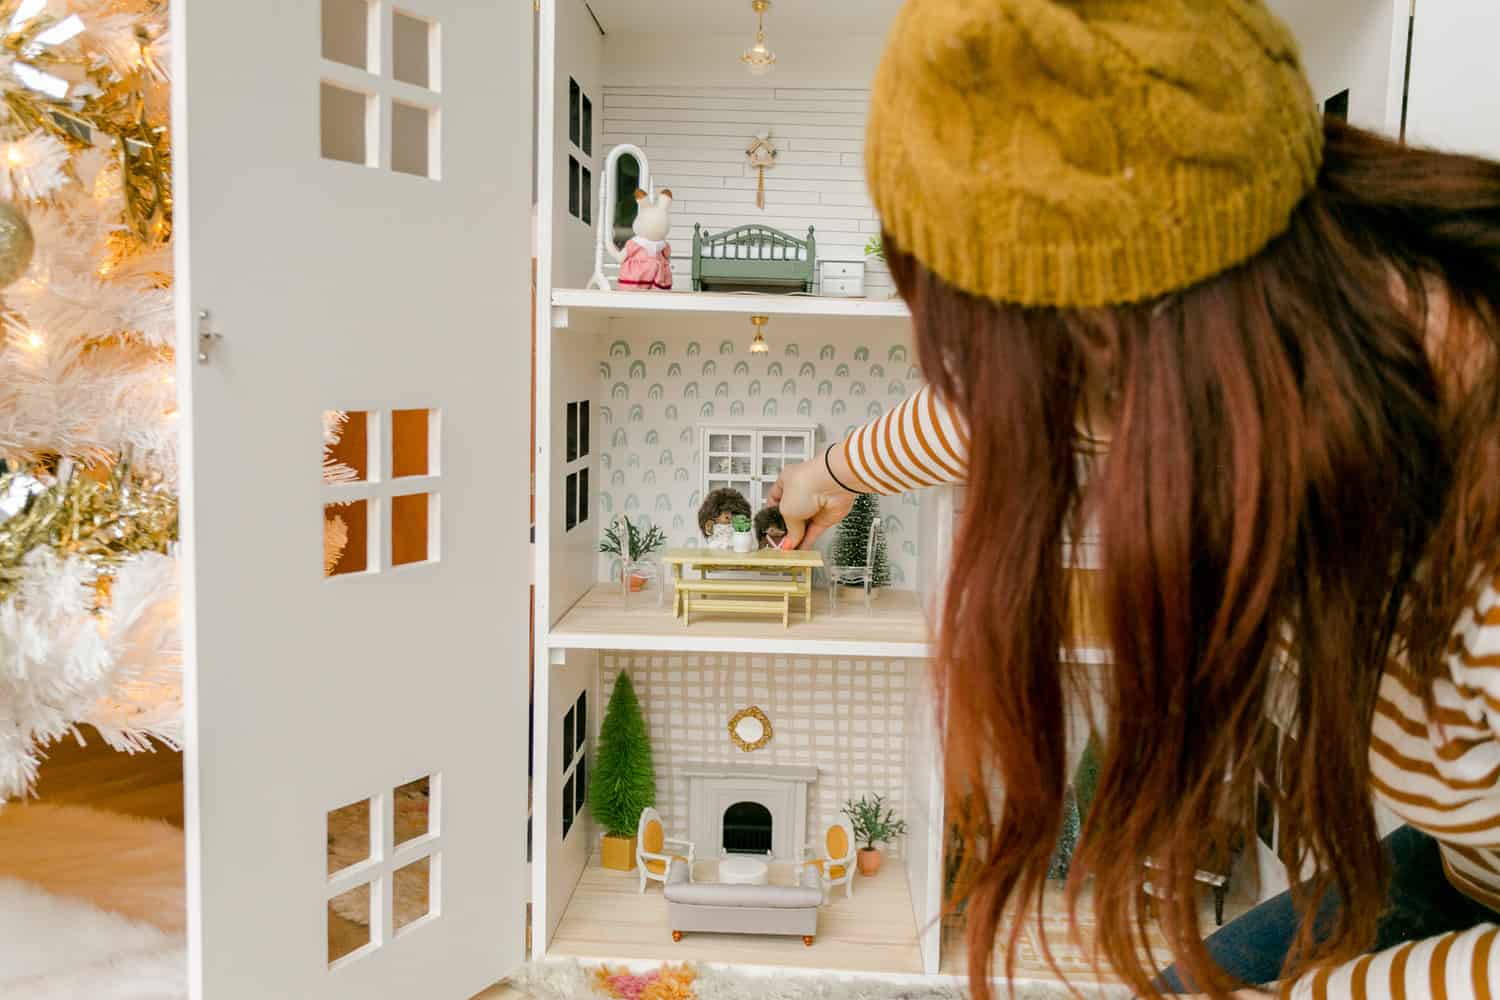 We decided to do the rooms at 1/12 scale. This is the most common size for dollhouses and I really recommend sticking to it unless you are trying to make a house specifically for Barbie or Blythe (or any bigger dolls). This house perfectly fits dolls like this, but they’re not my favorite so I decided to make our home for Calico Critters. It’s our only ongoing toy collection and we play with them quite a bit, so it just makes sense. A few of my favorite critters are the rabbit family, elephant family, panda family and hedgehog family.
For Christmas this year, she is getting the alpaca and monkey family. See!! There are way too many for us to collect.
 ** SPARKS JOY **
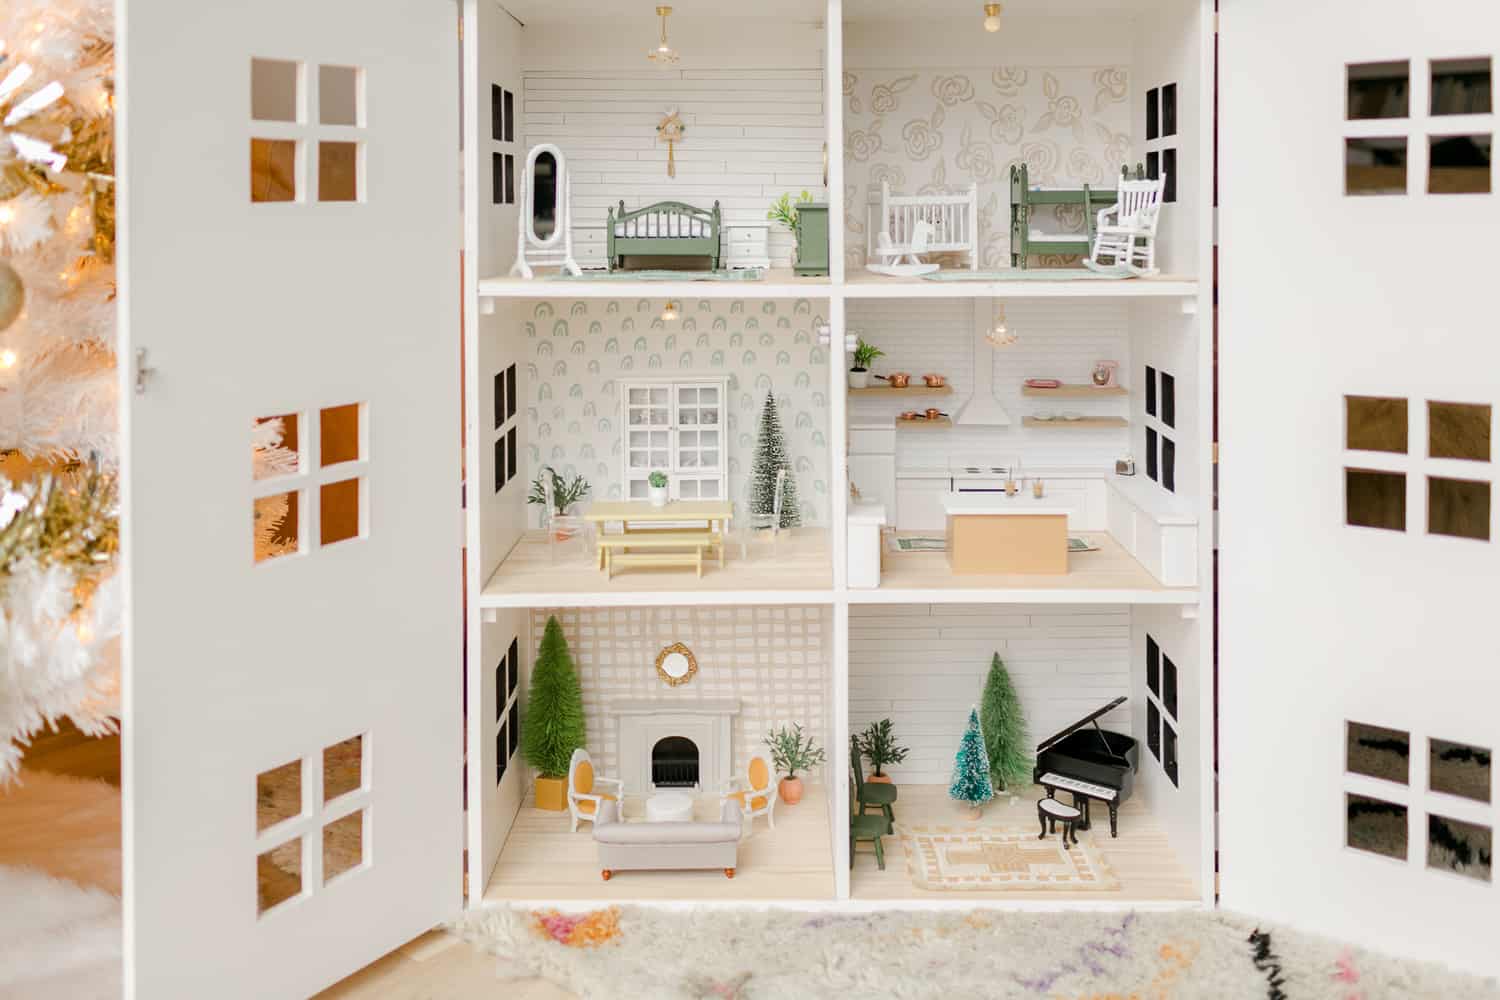
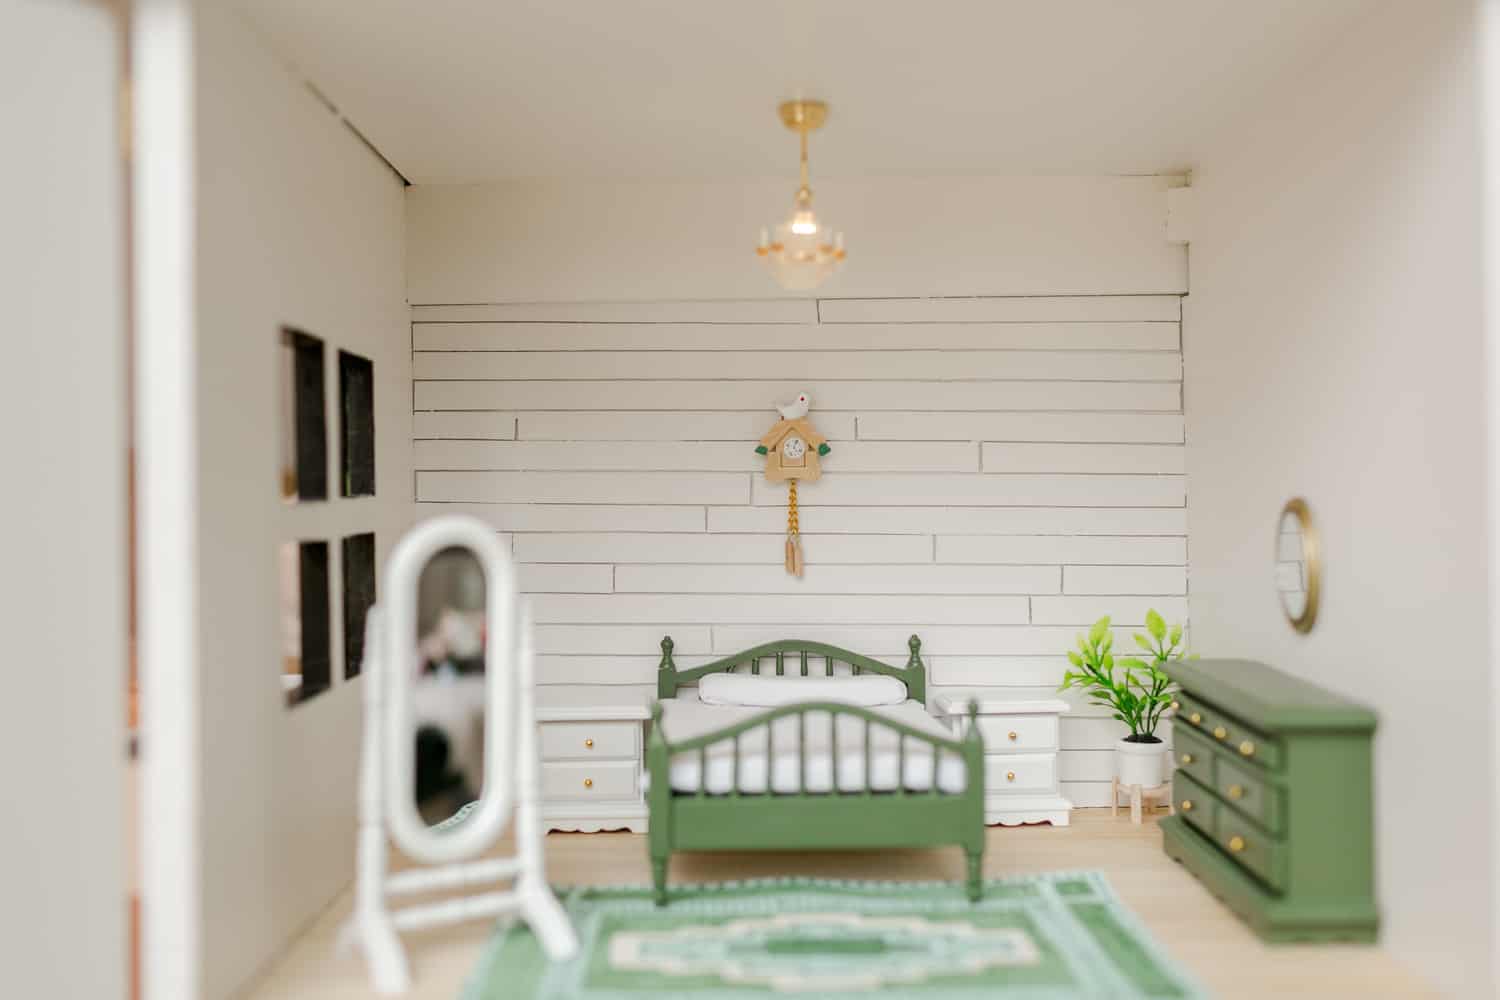 We used this bedroom set (some pieces are painted green). The tiny cuckoo clock is so cute, right?!
Please note Collin’s DIY shiplap wall. It’s made of balsa wood (which is really thin wood you can cut with scissors or an exacto knife—perfect for this type of crafting).
Also, please note, from day one I knew I wanted to add working lights to the rooms … it just seemed SO magical to me. I ended using a couple packs of these. The tiny chandelier is my favorite.
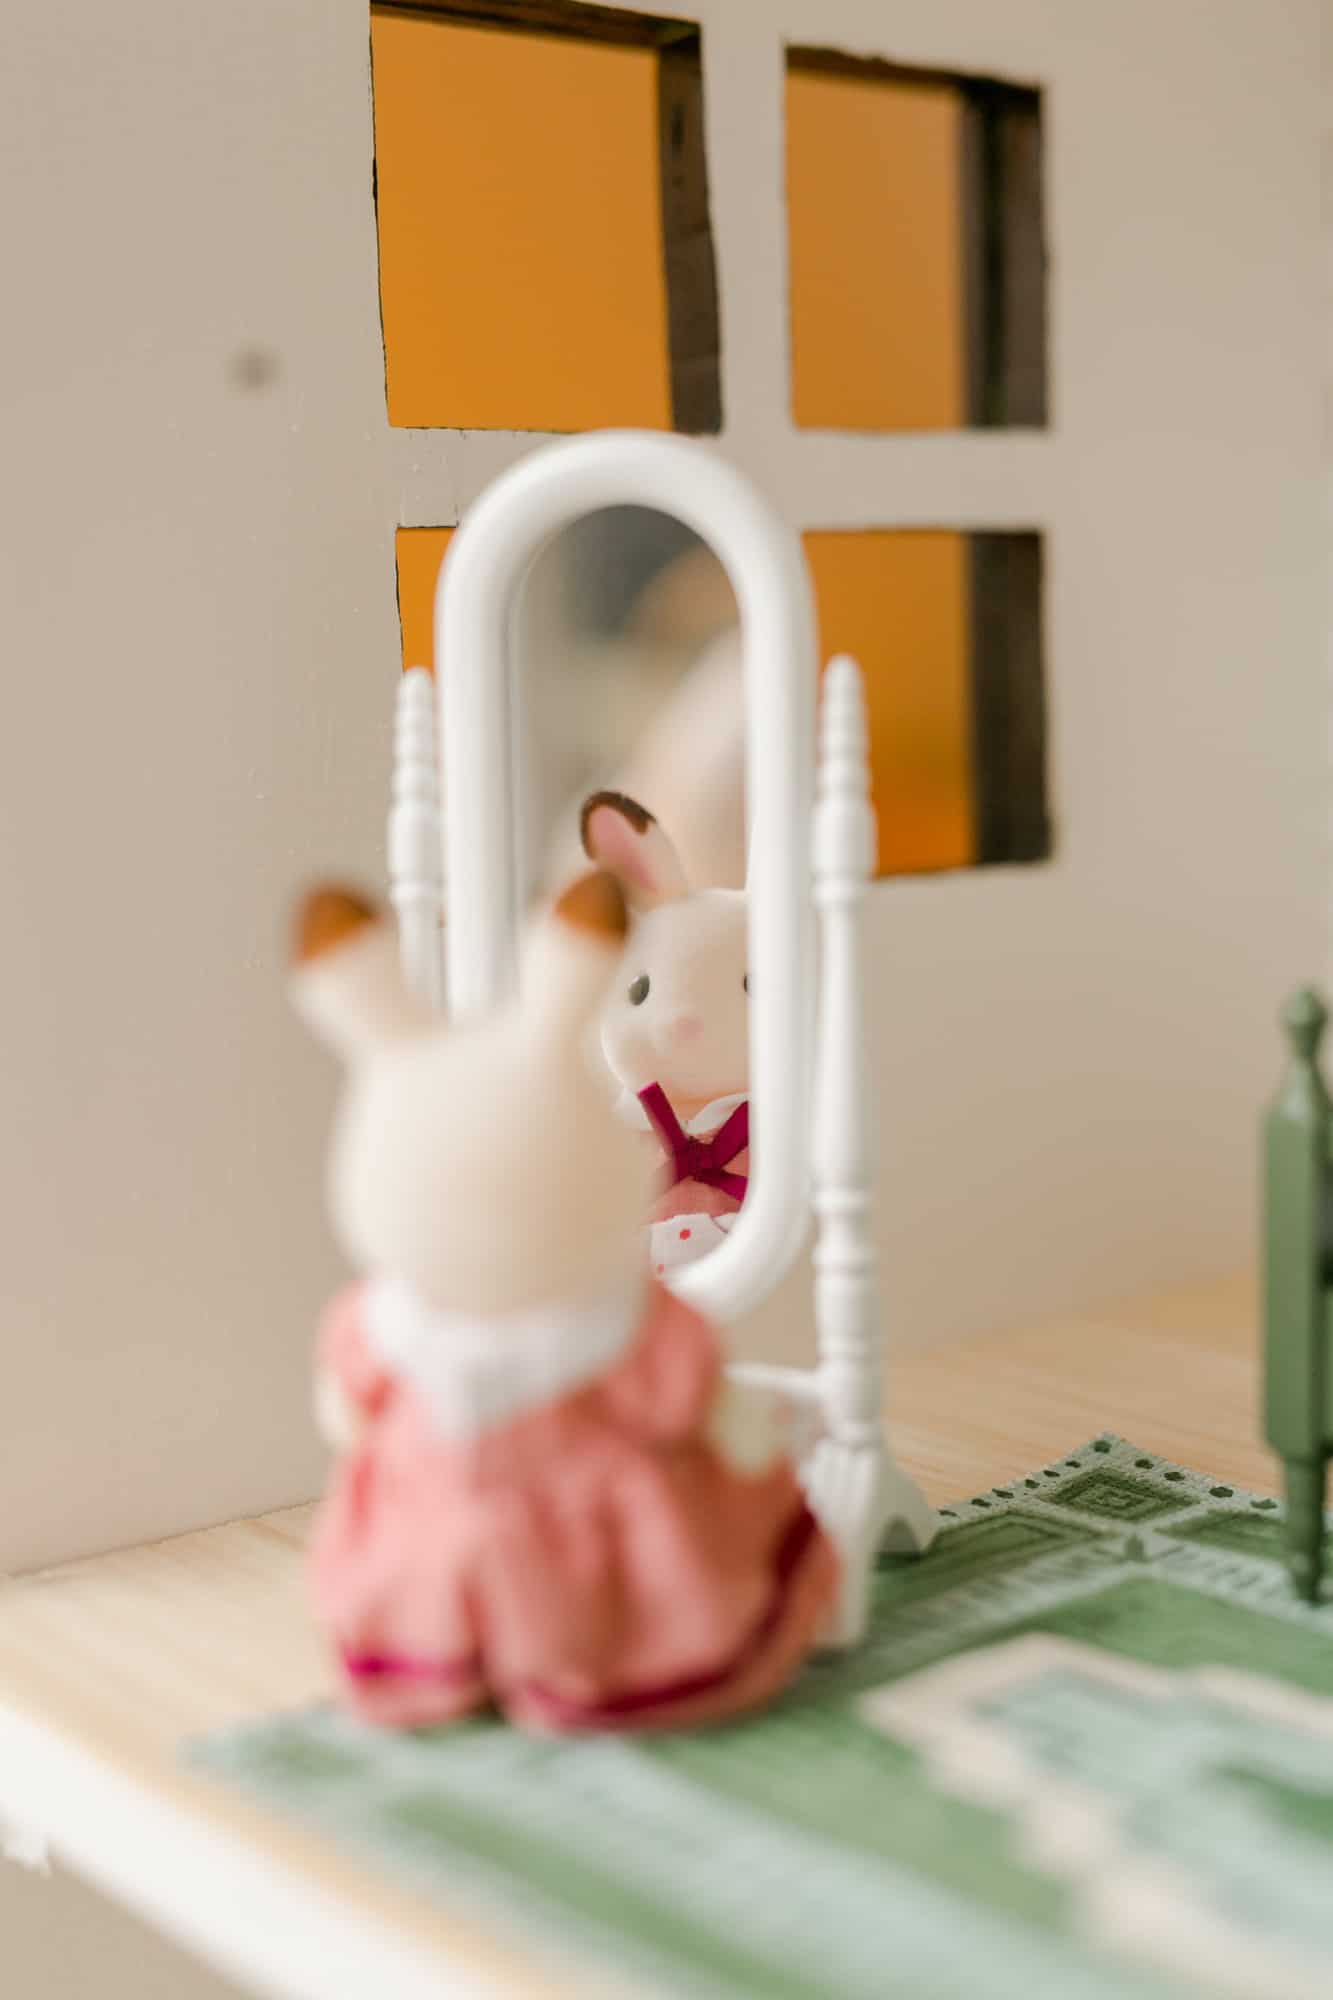
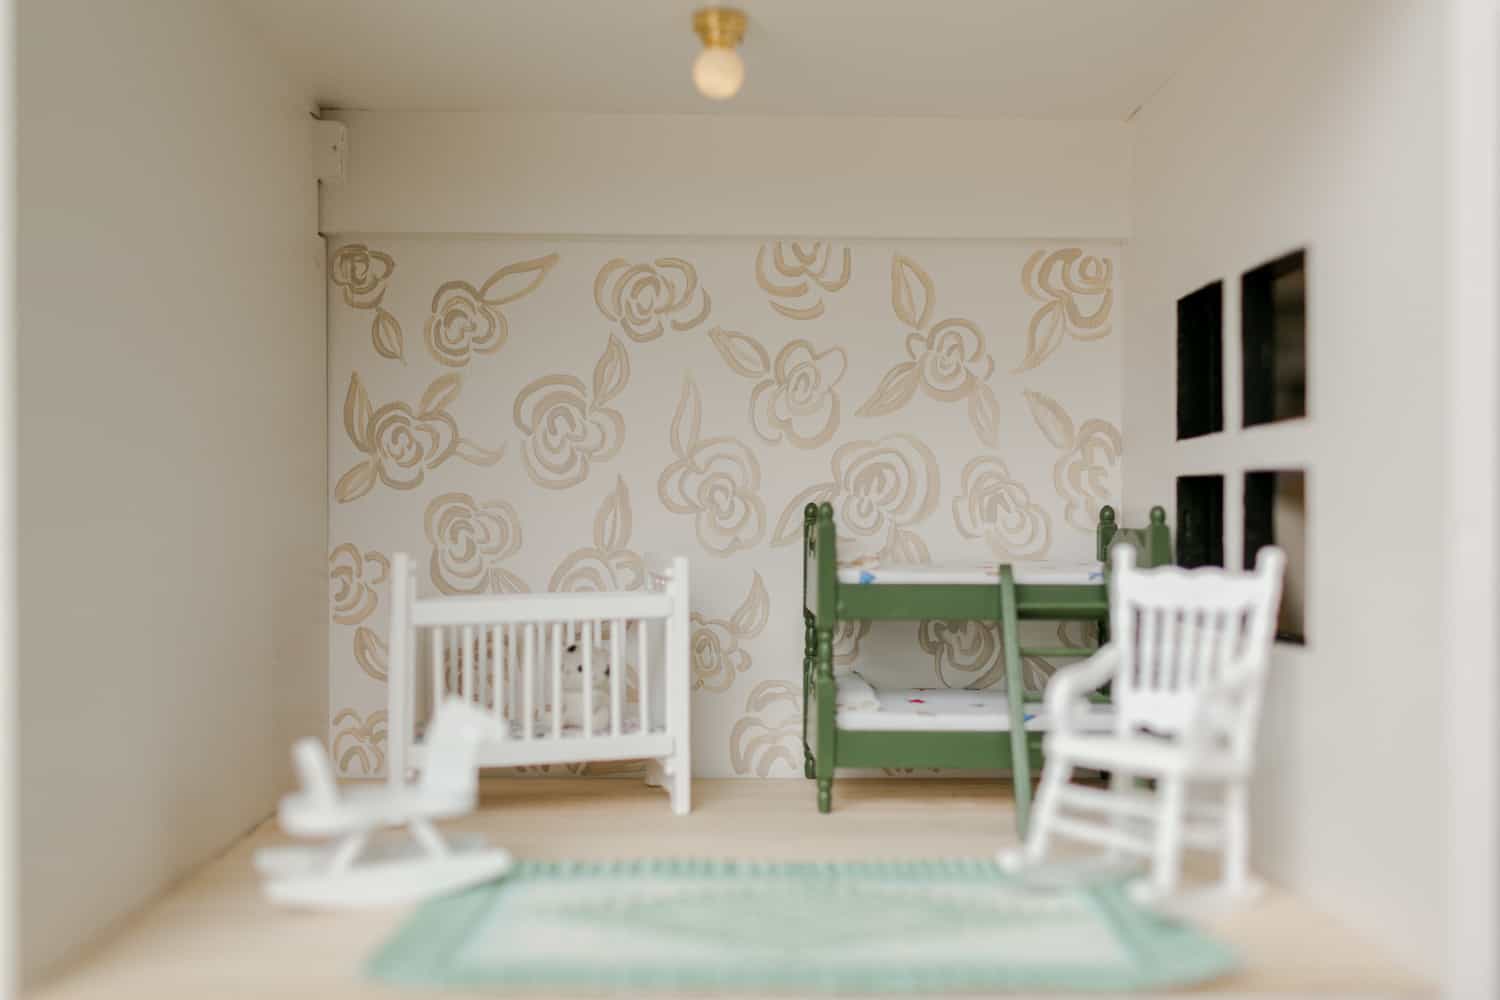 Here’s the second bedroom. I hand painted the flower mural. For this room, I used this bunk bed and this set. I also hand painted the rug (I’ll share more about that below!).
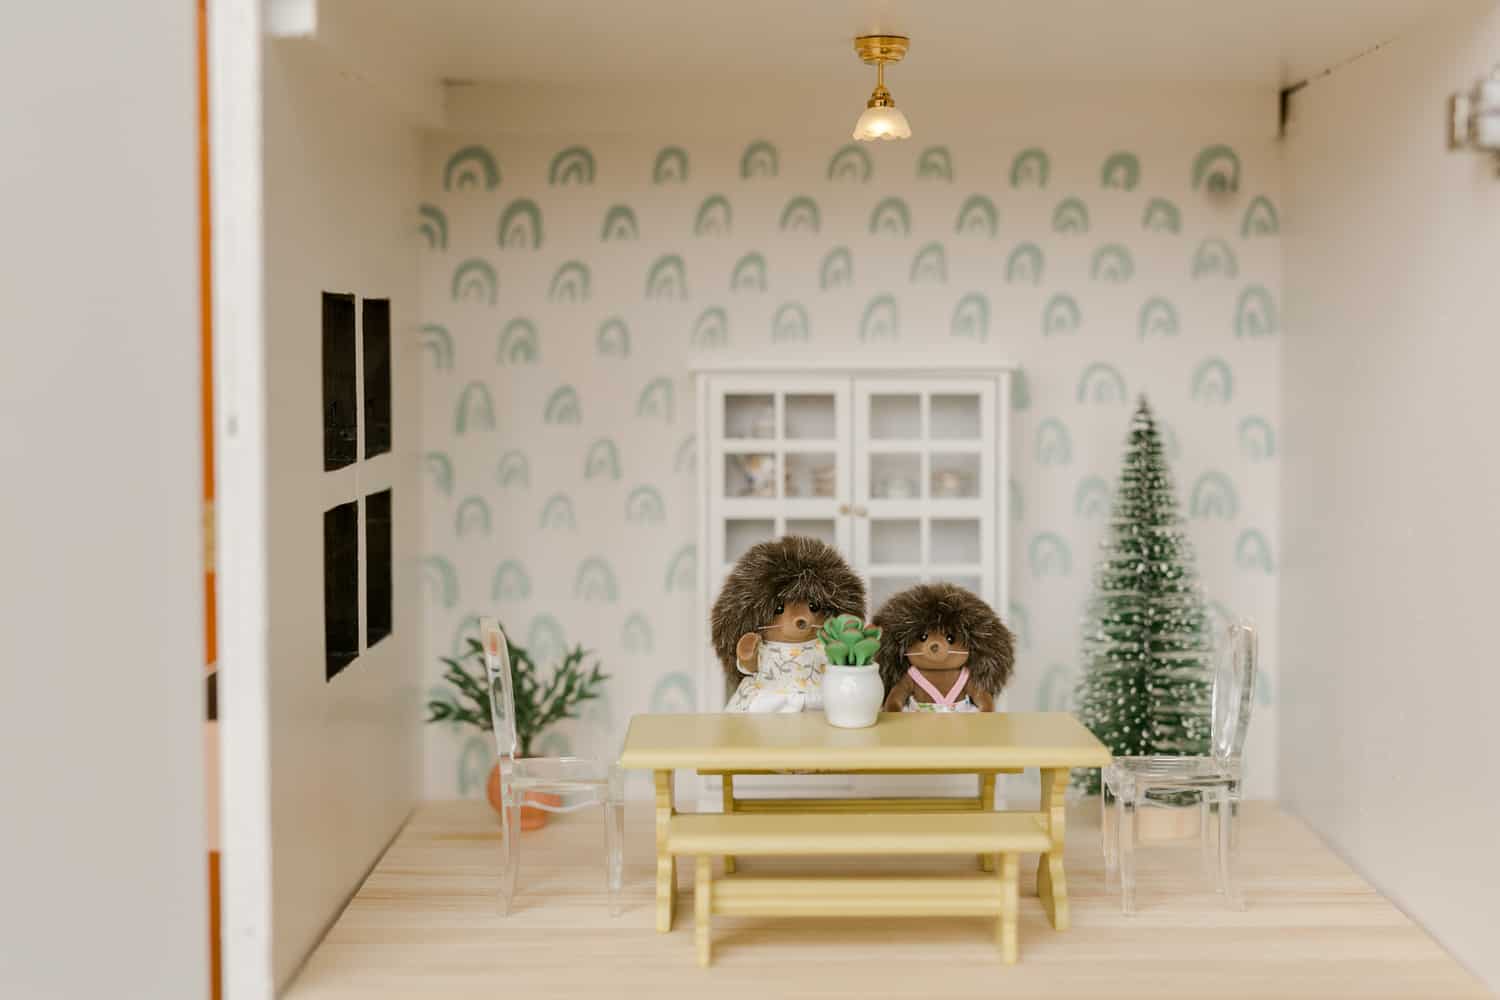
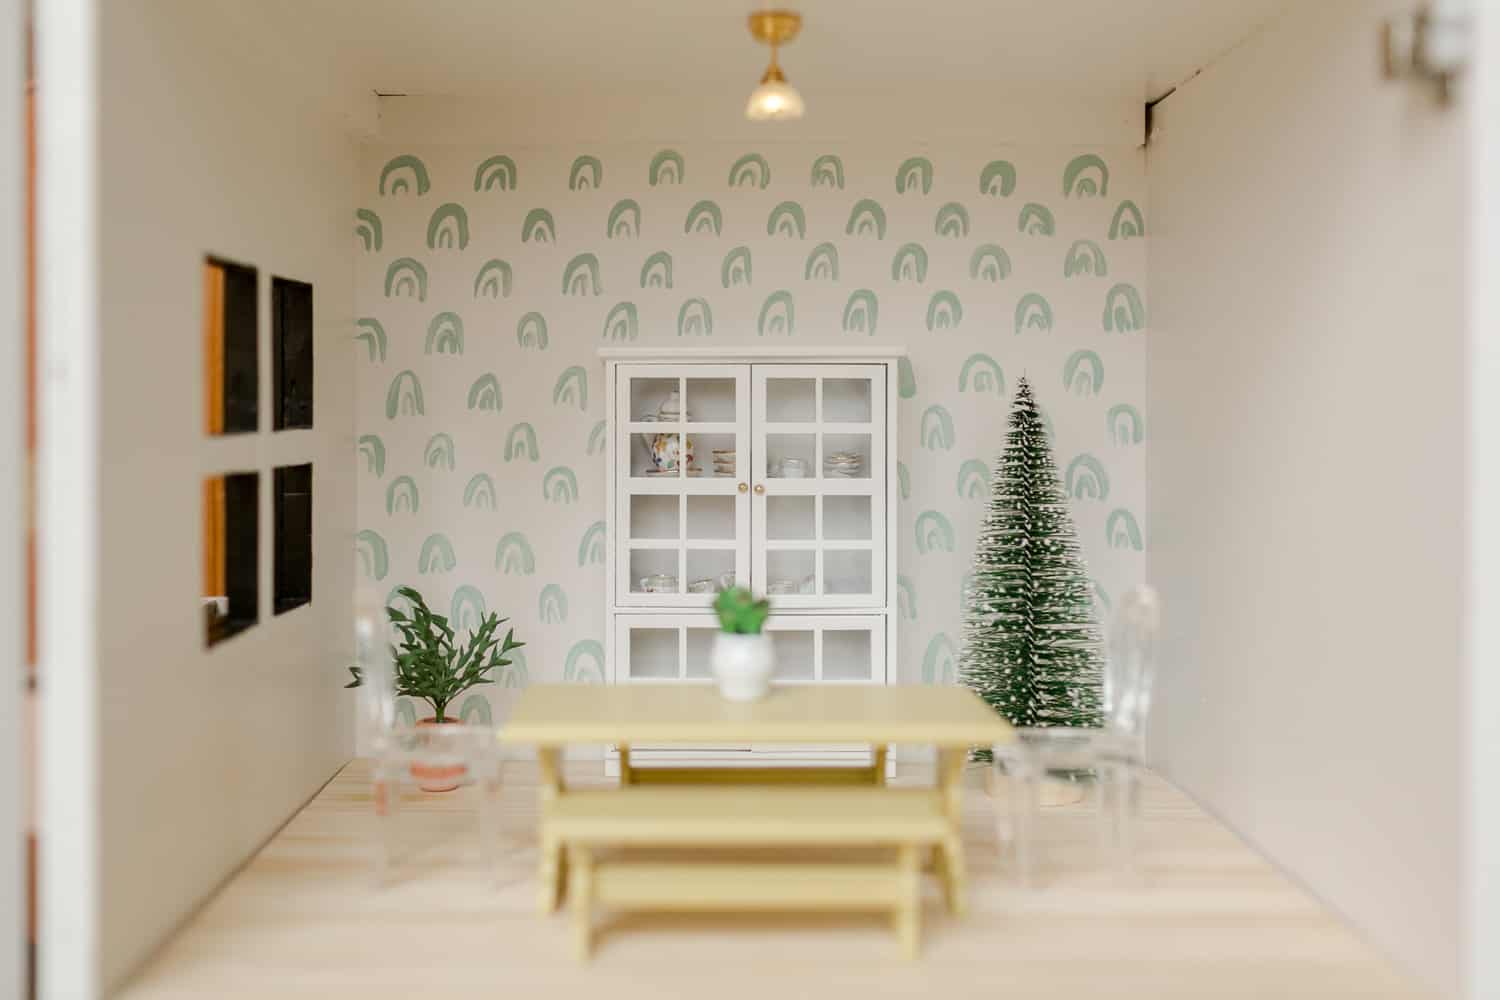 The dining room makes me SO happy! Again, the mural is hand painted.The china cabinet is this one, this is the dining room table (we painted it yellow), and I got these teeny lucite chairs from Etsy … I love them so much!
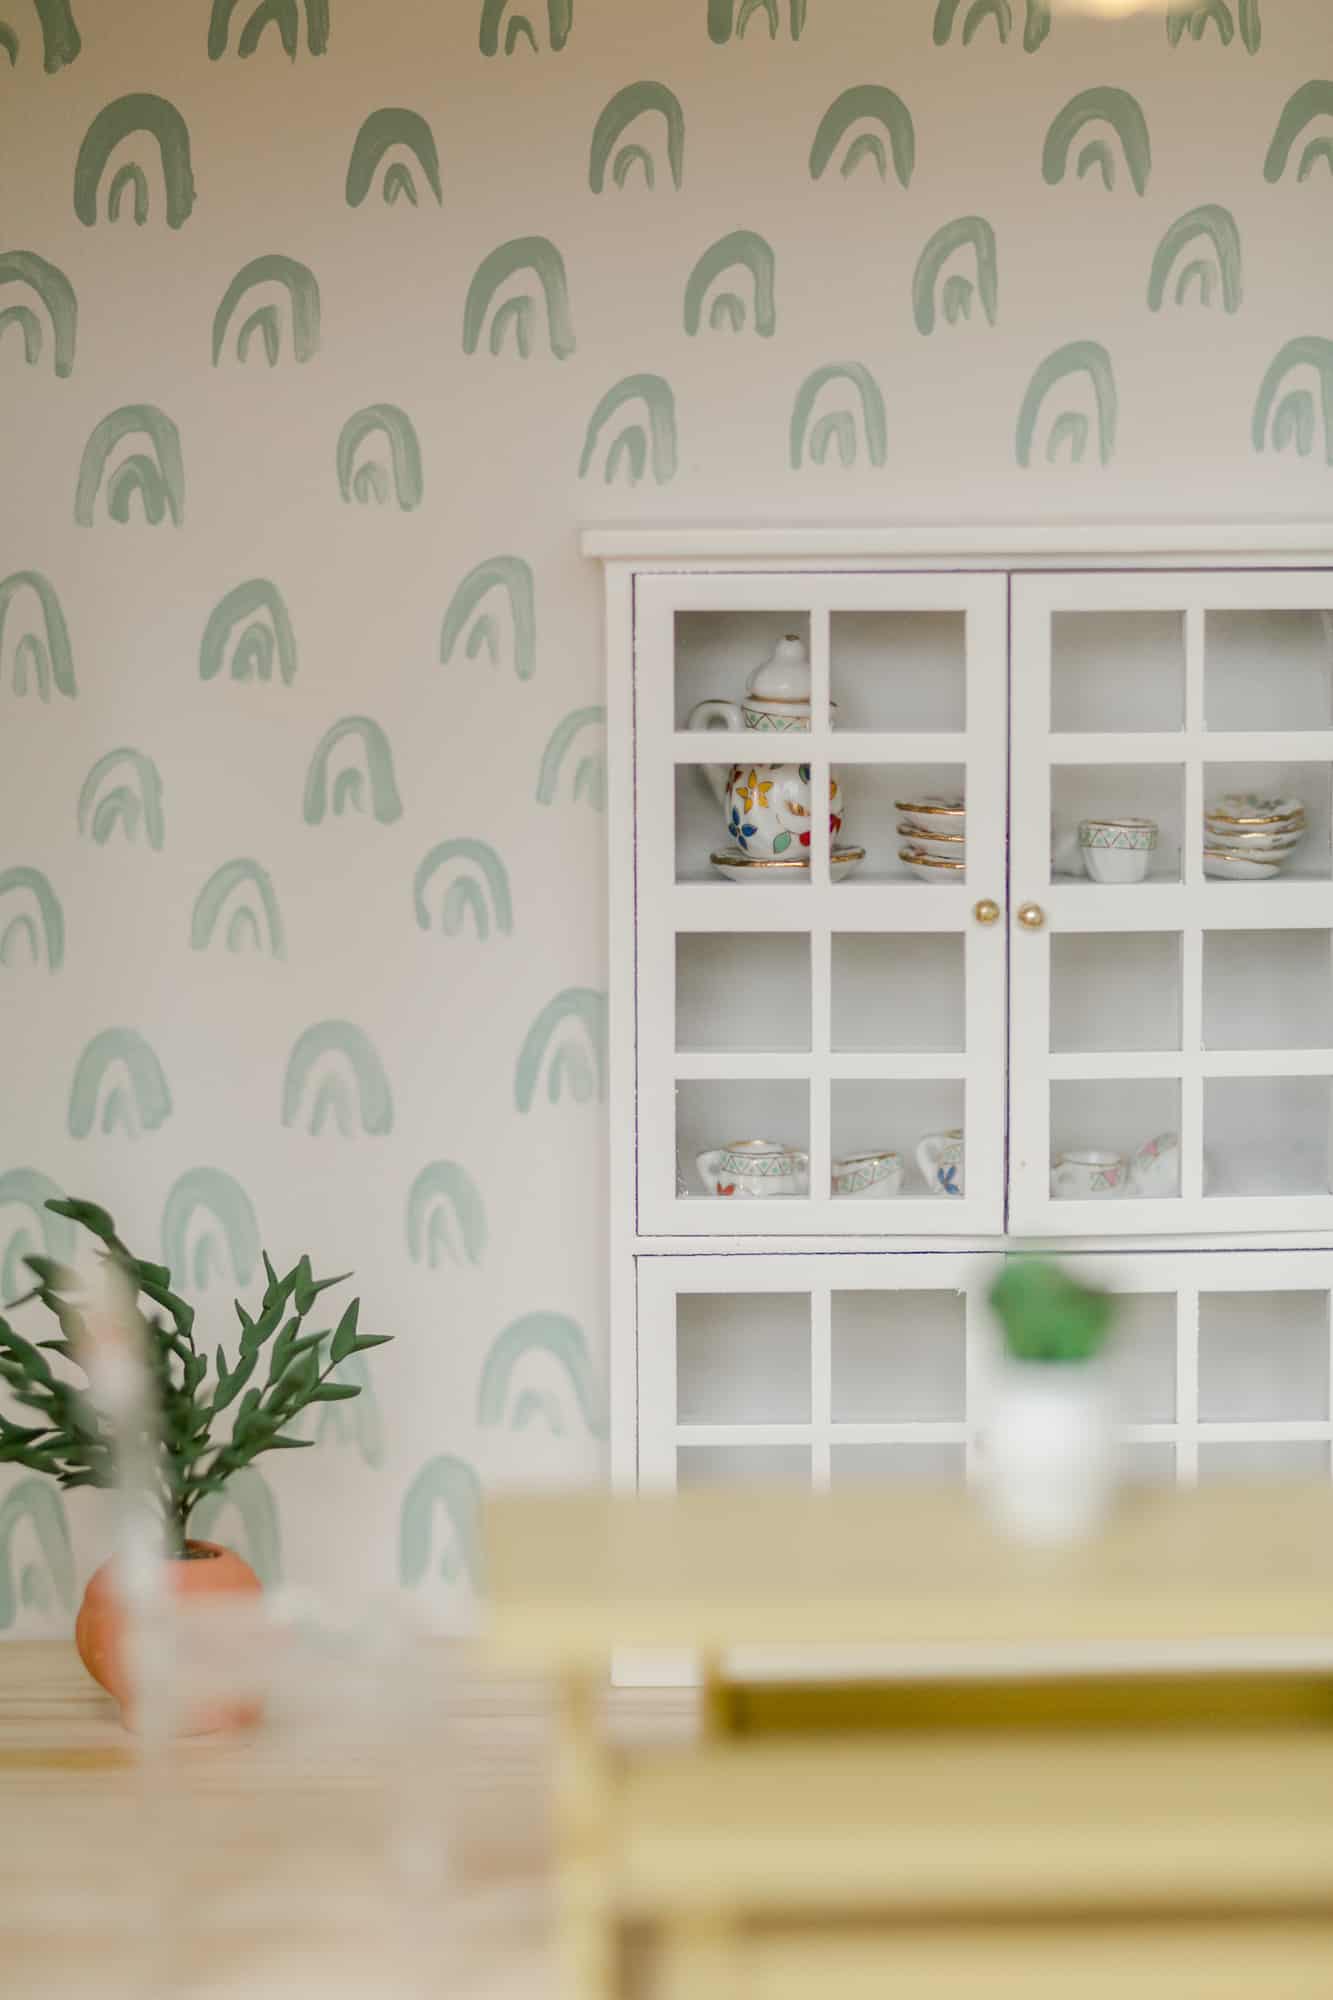
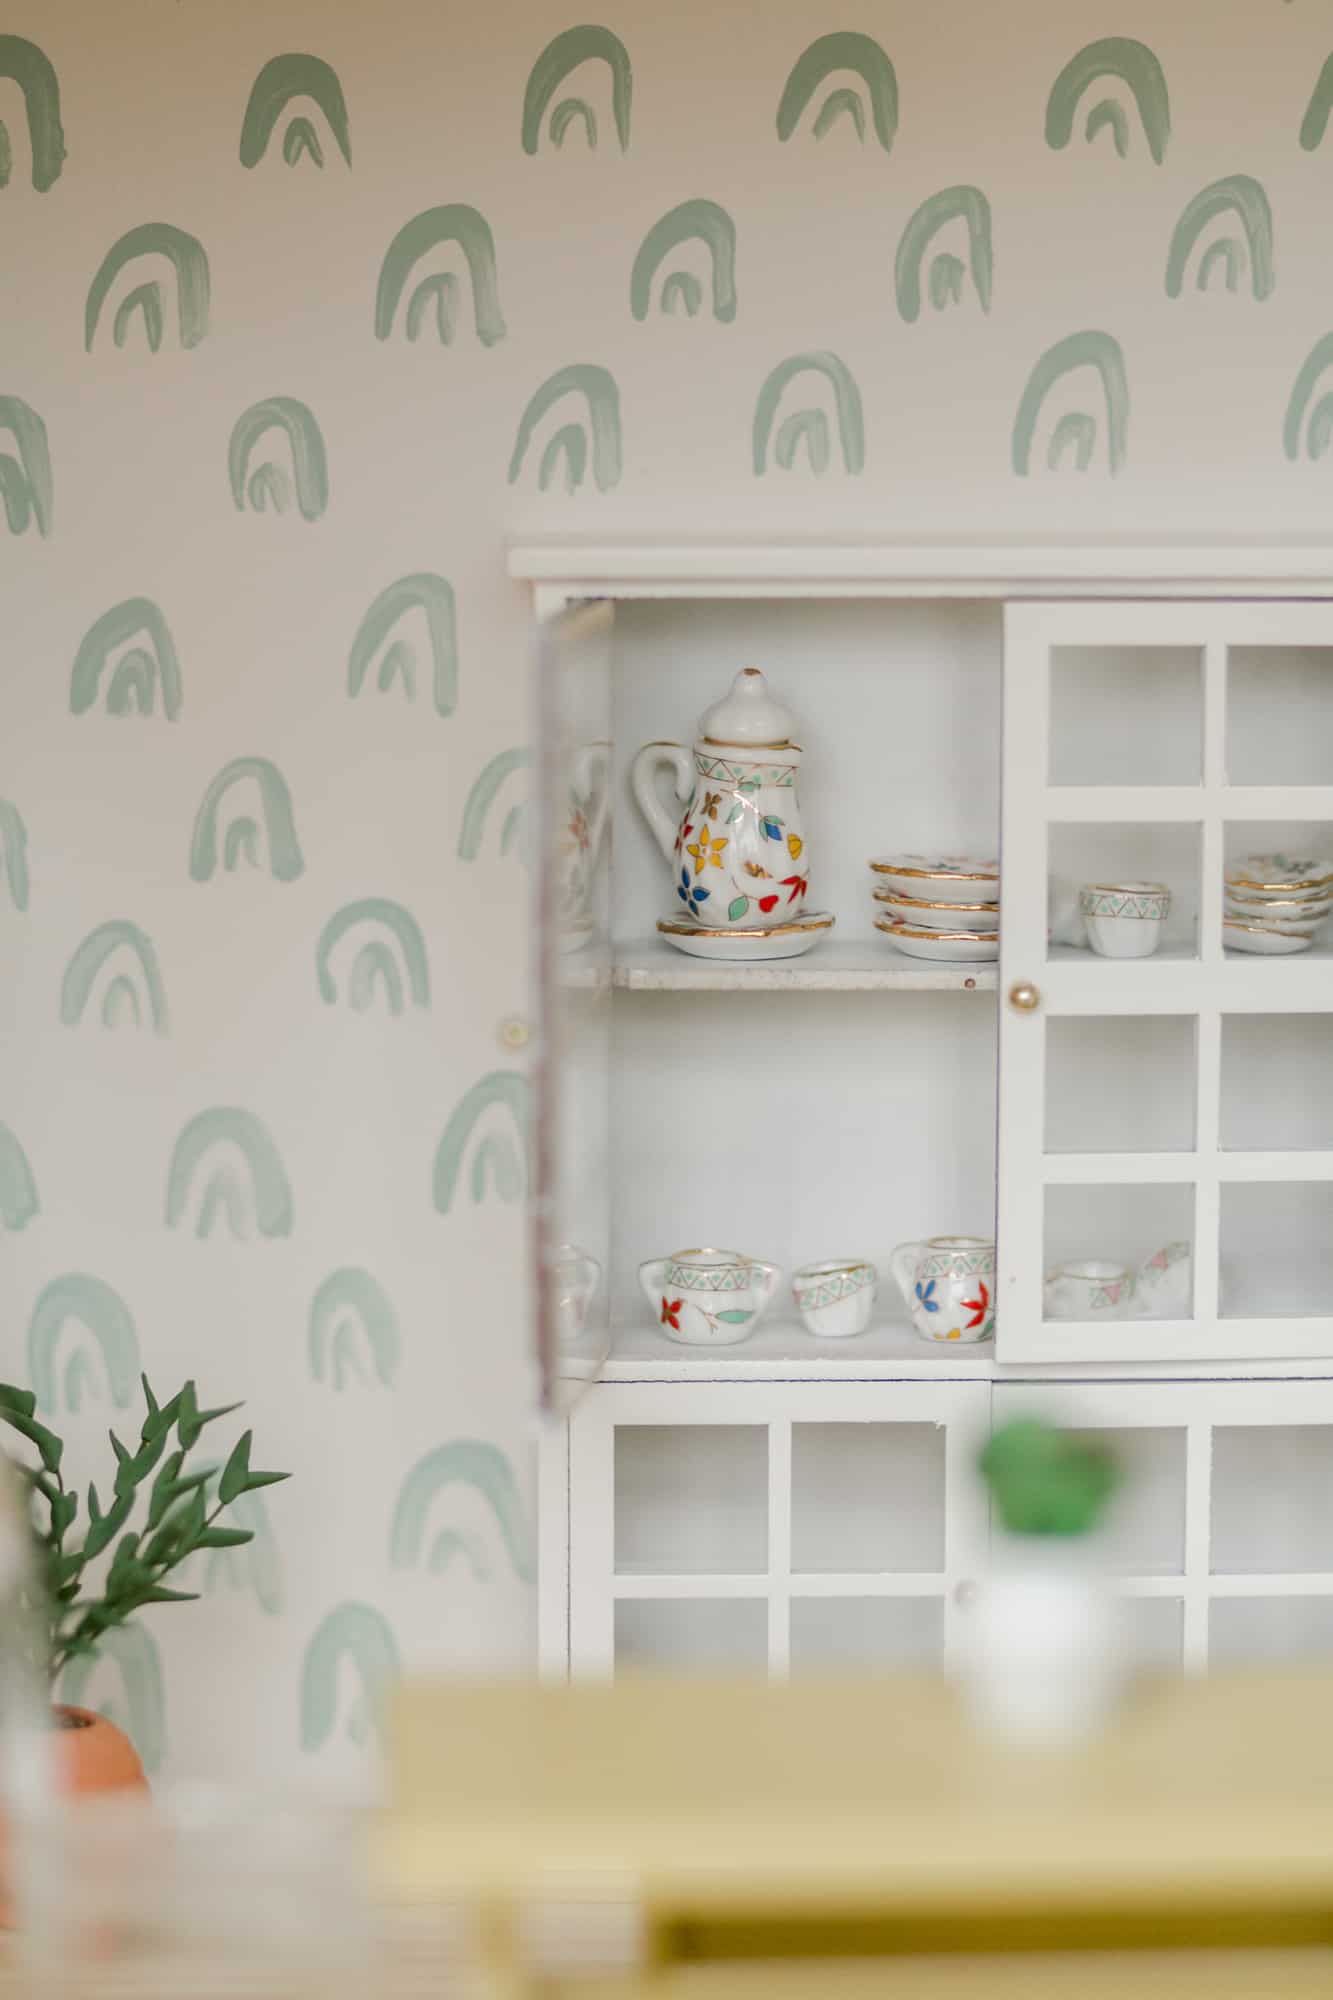 This sweet little china set makes my heart so happy. I spent way too much time comparing all the different options. :))
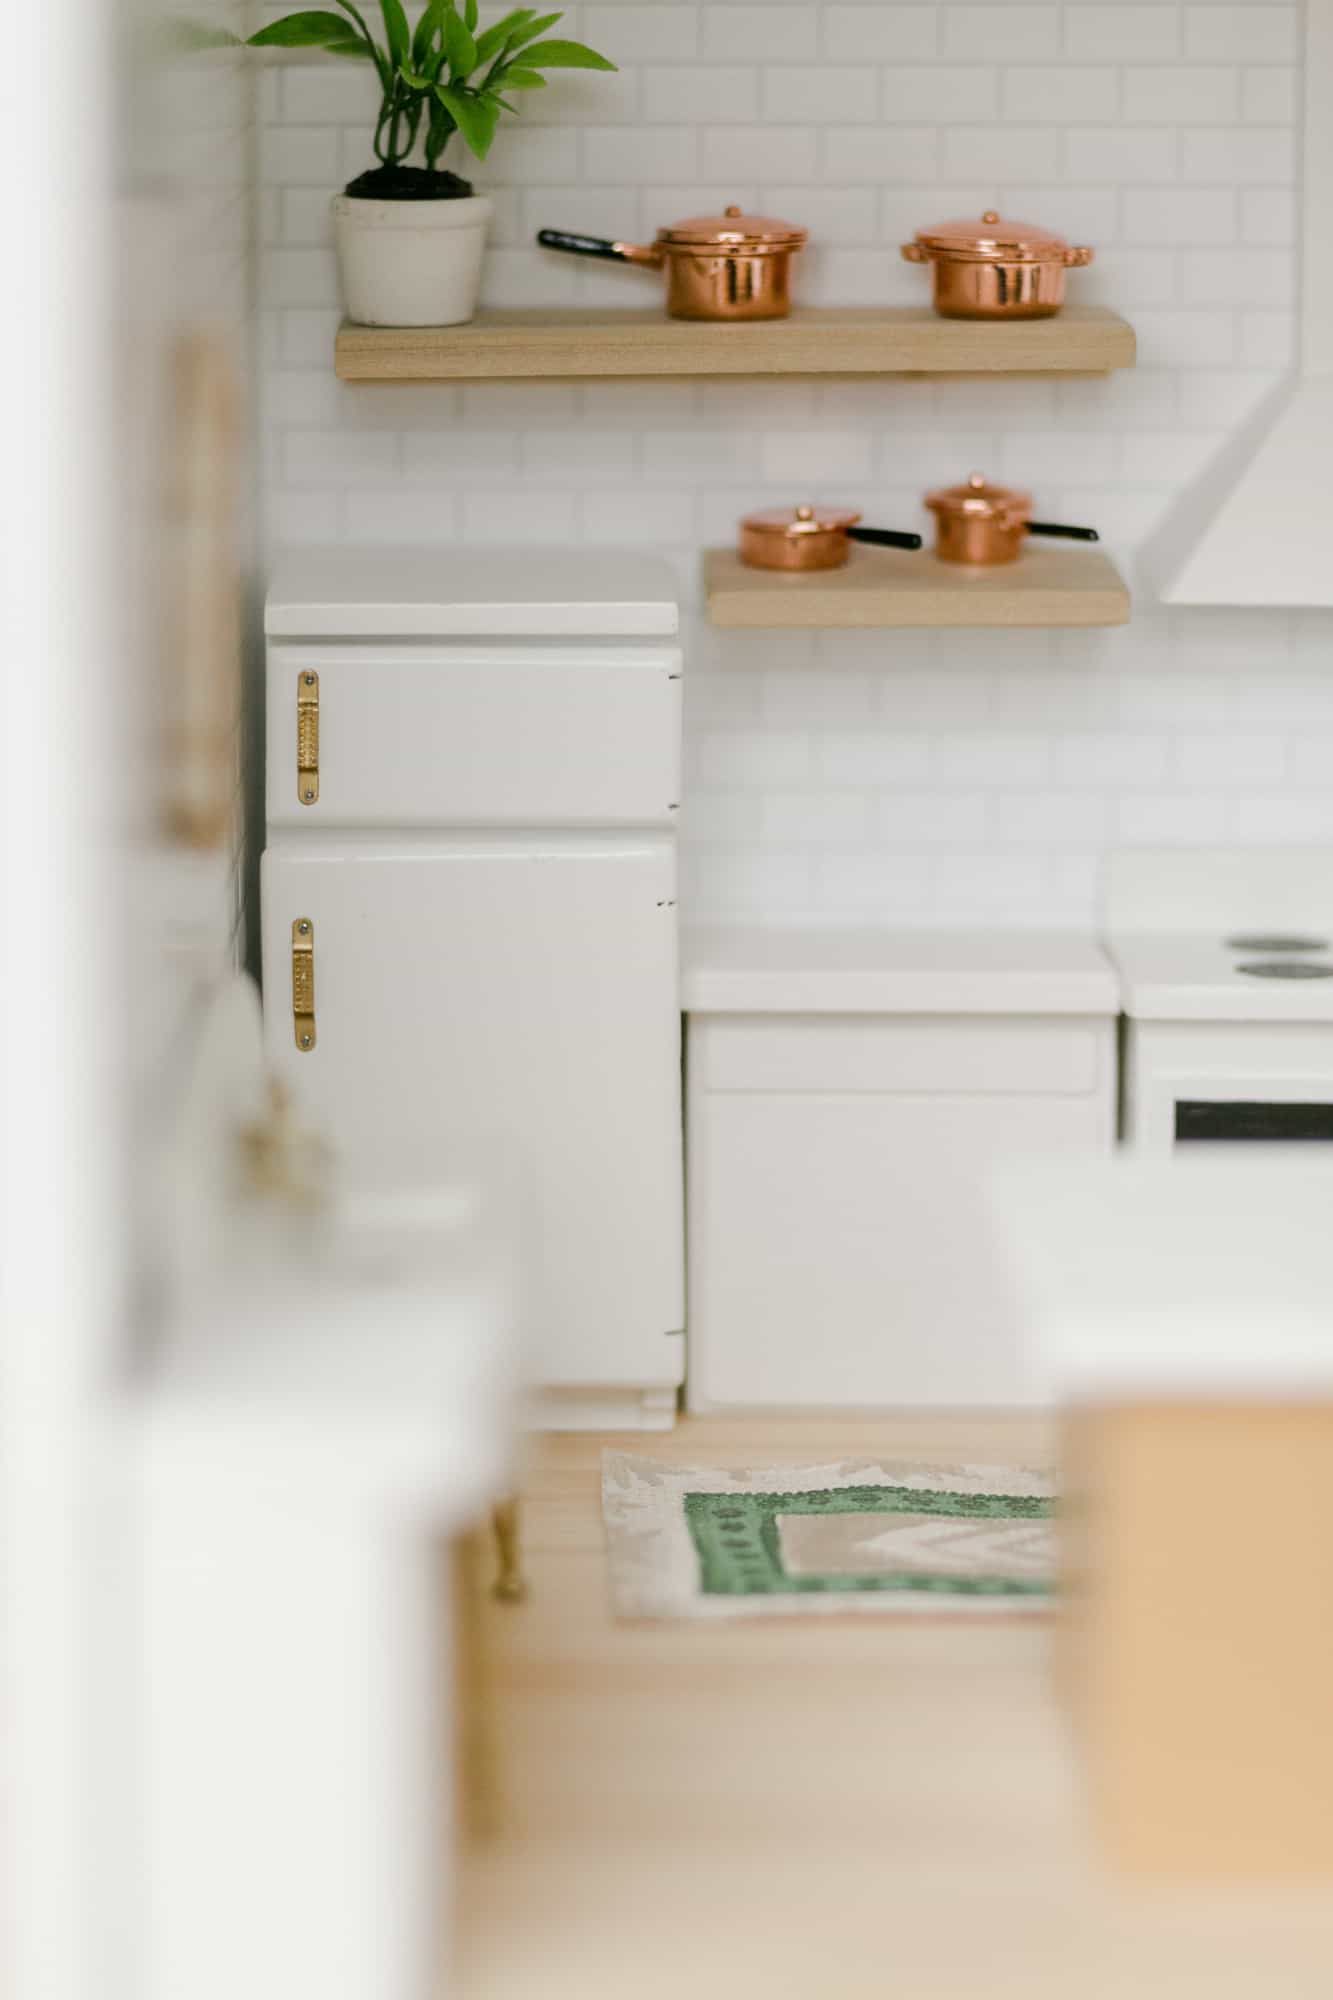
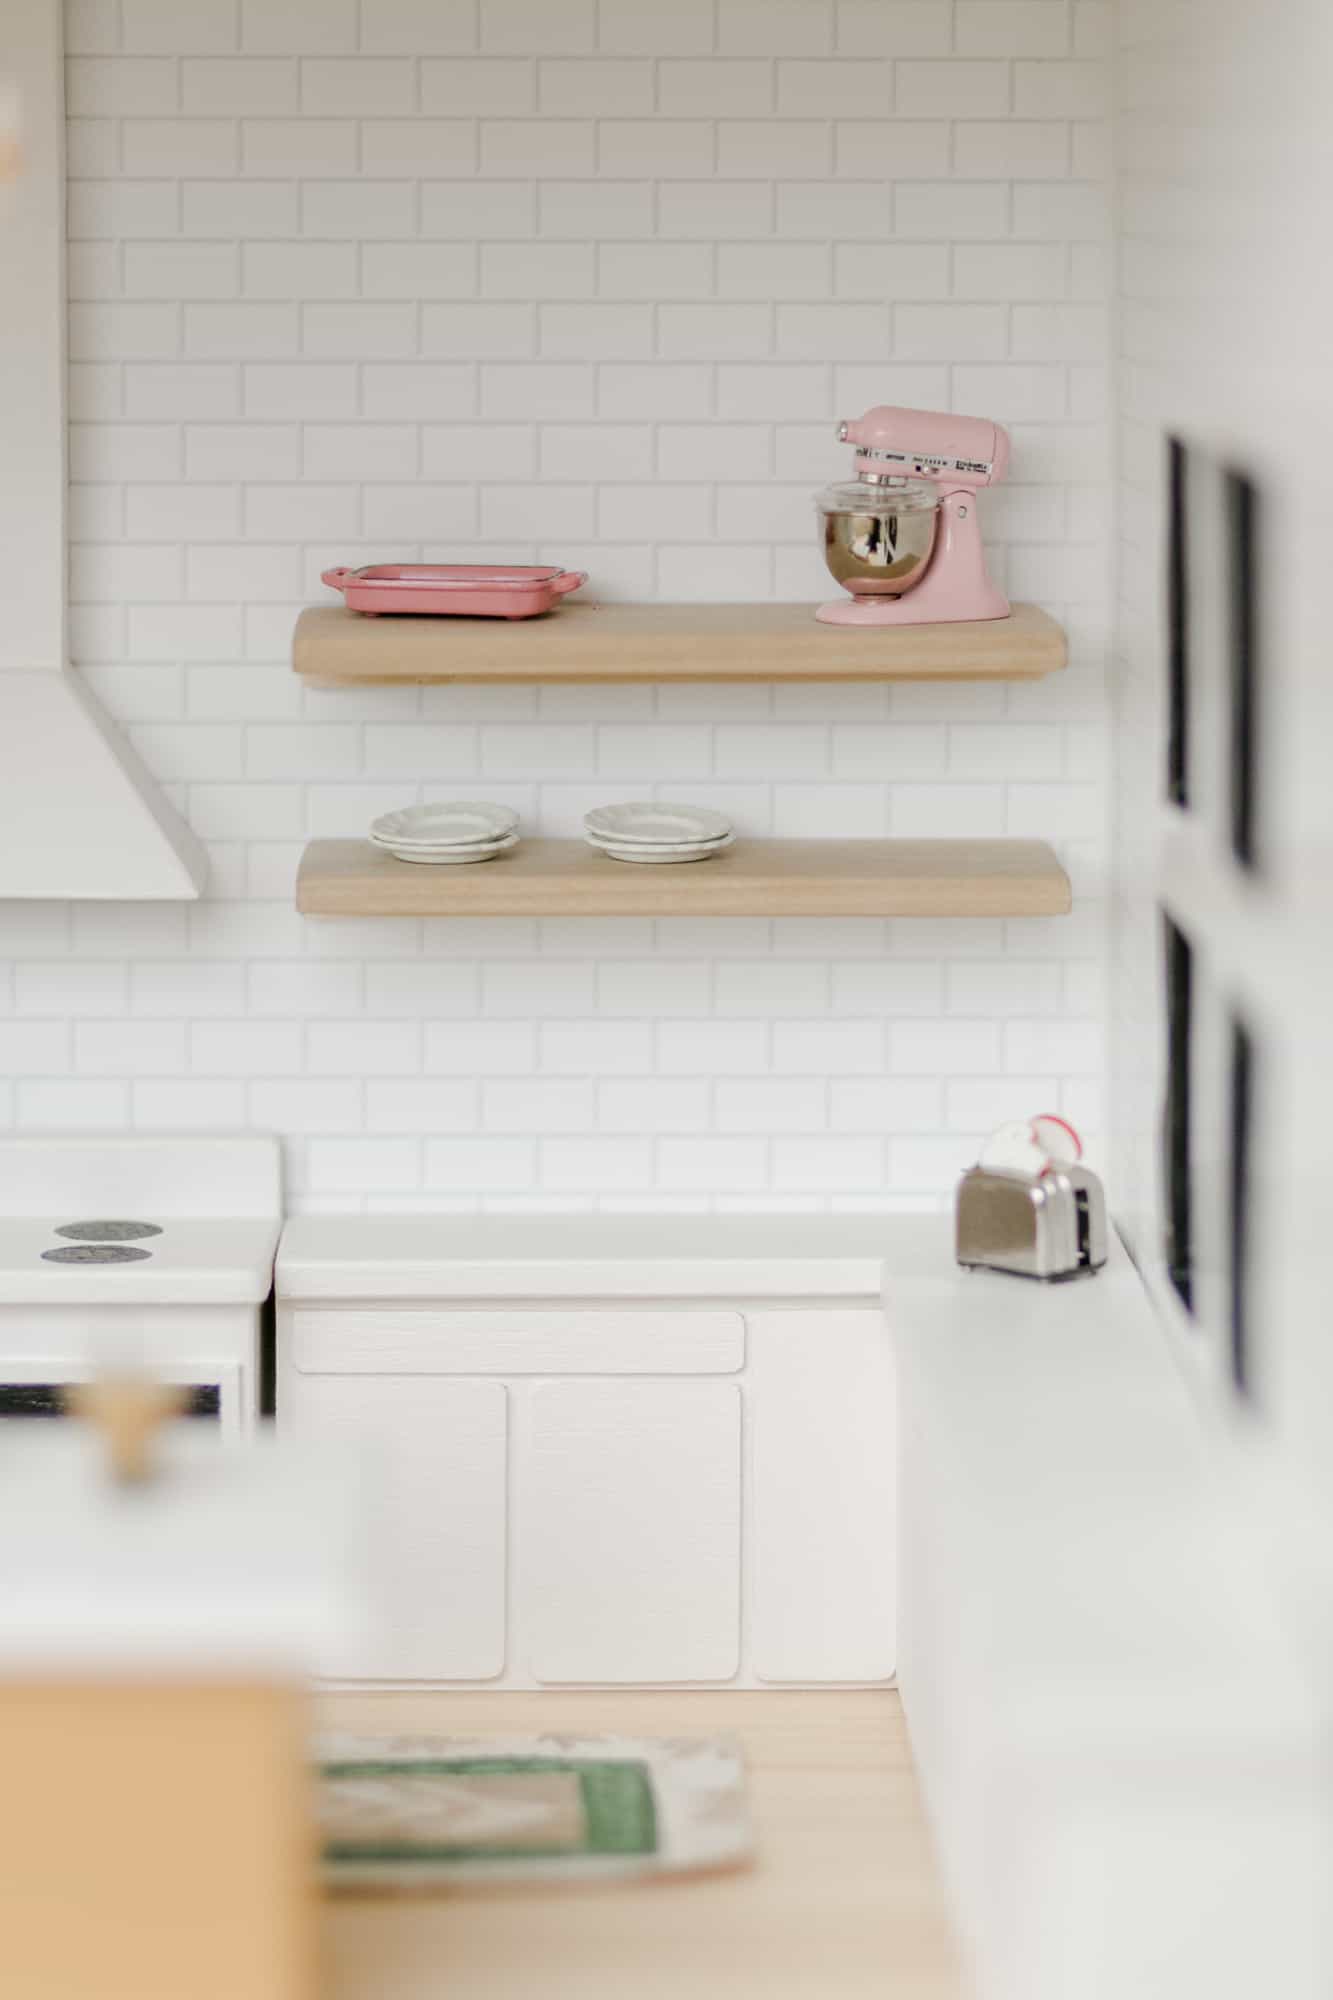
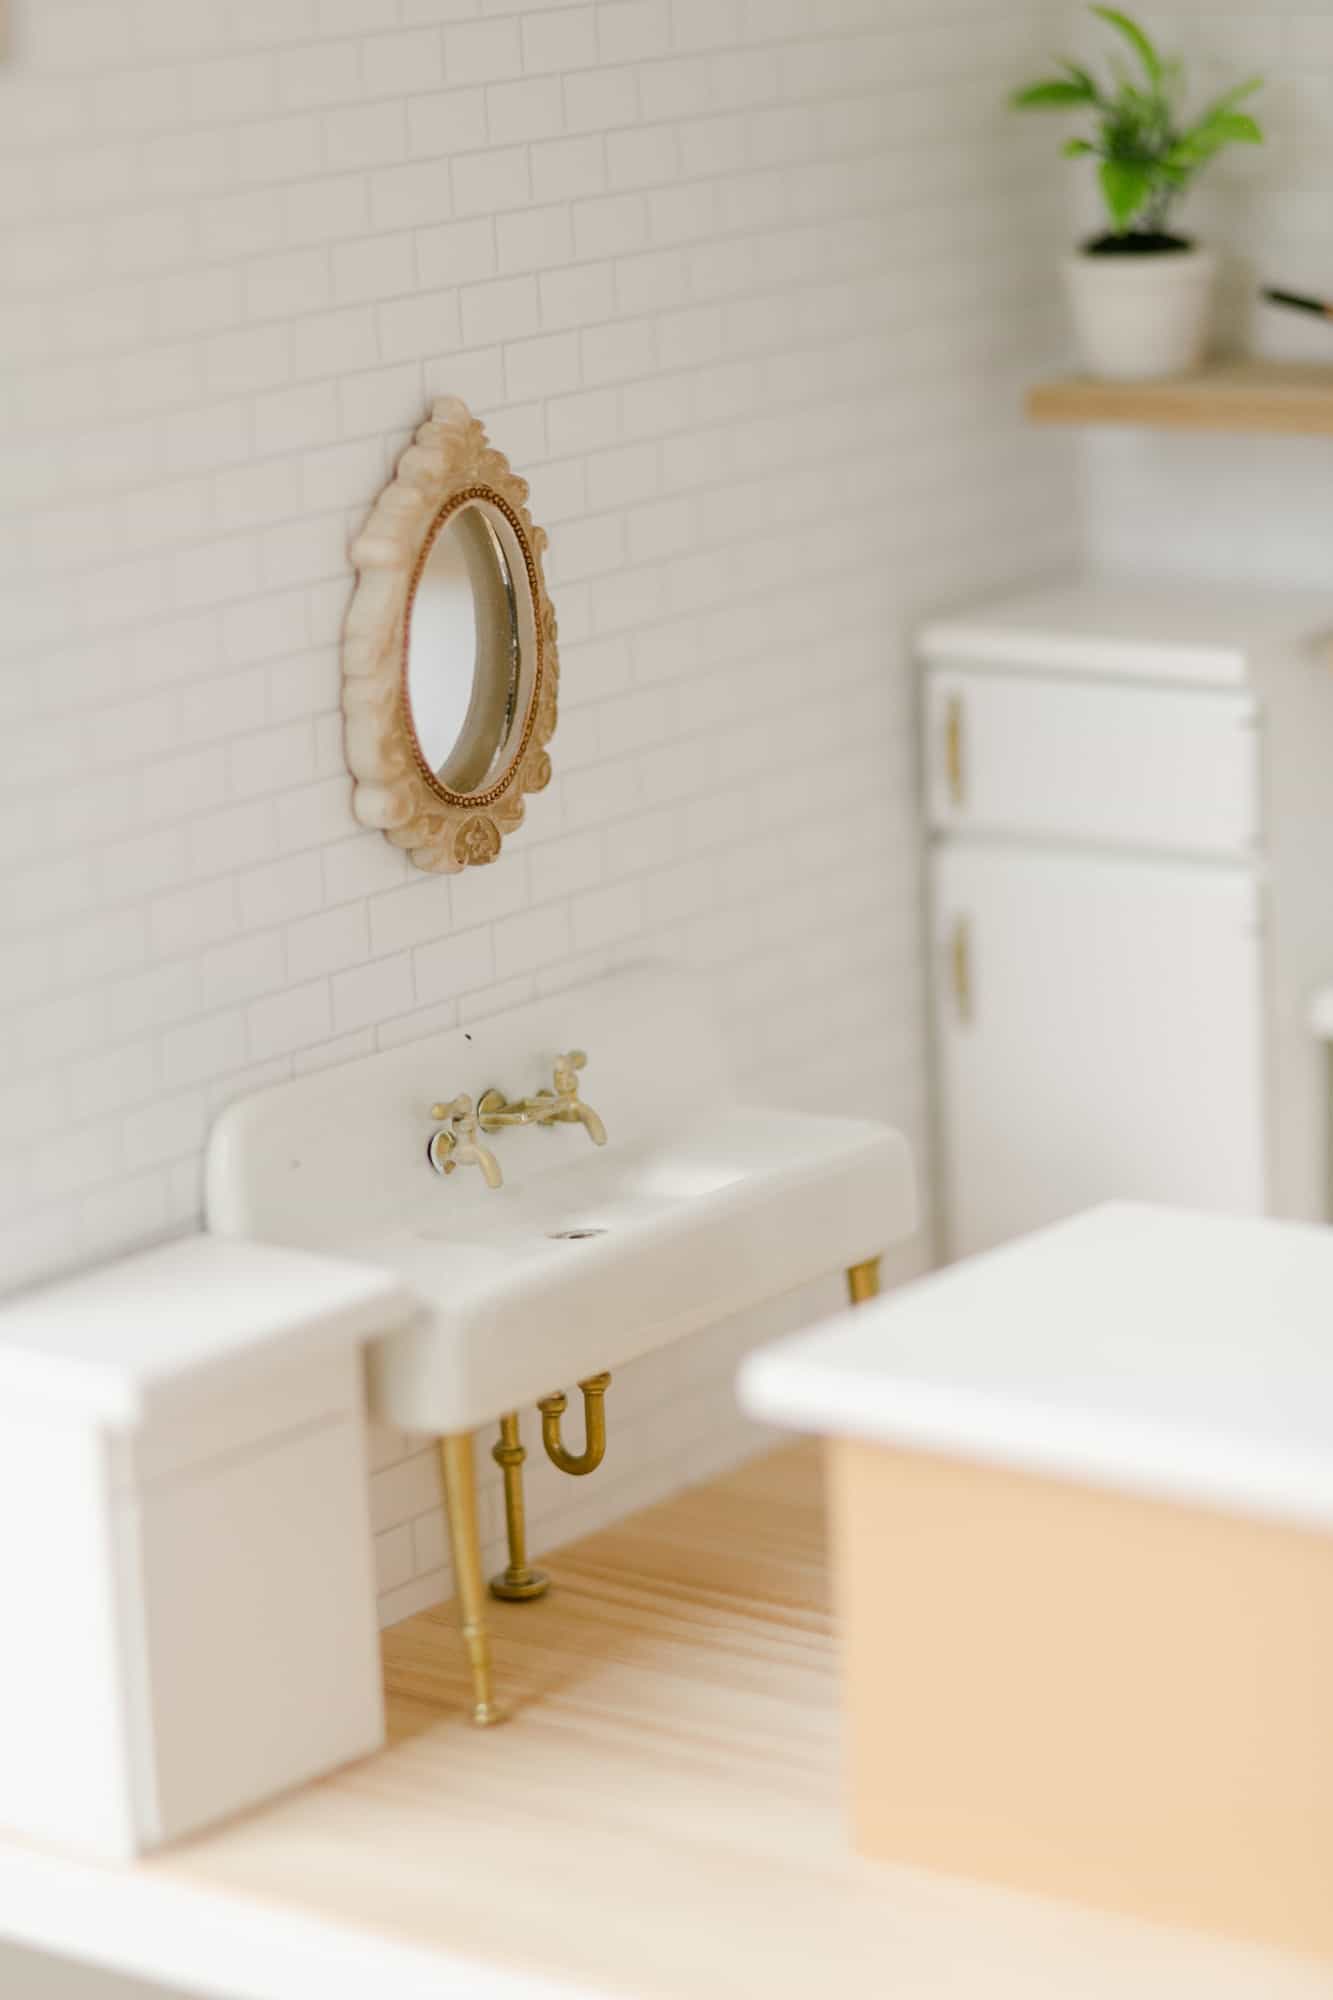
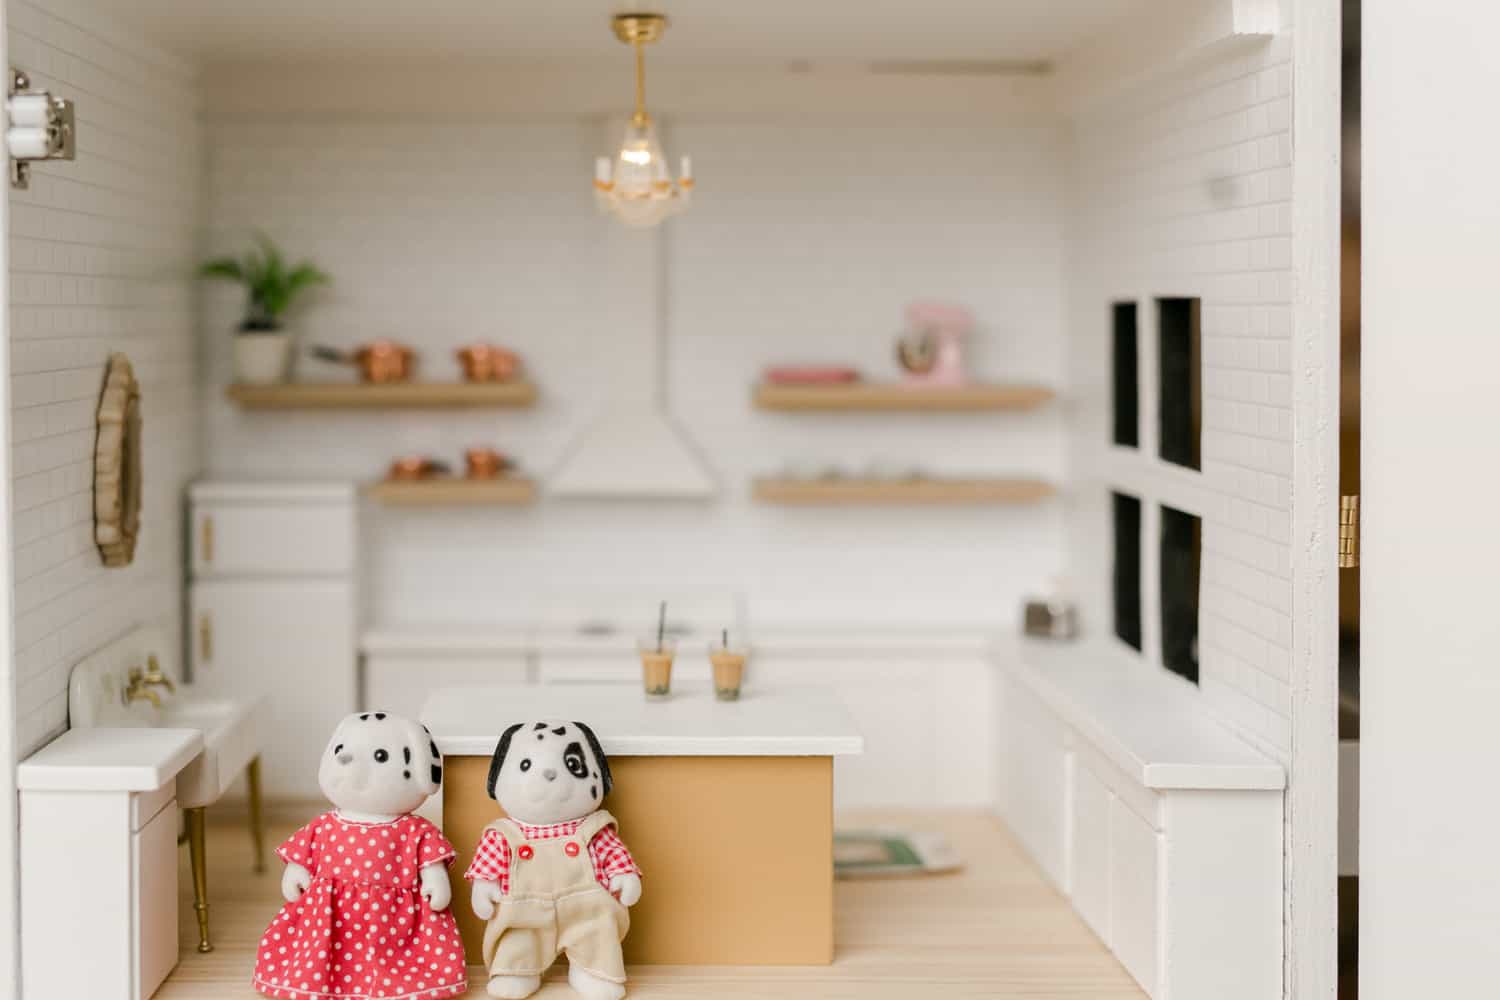
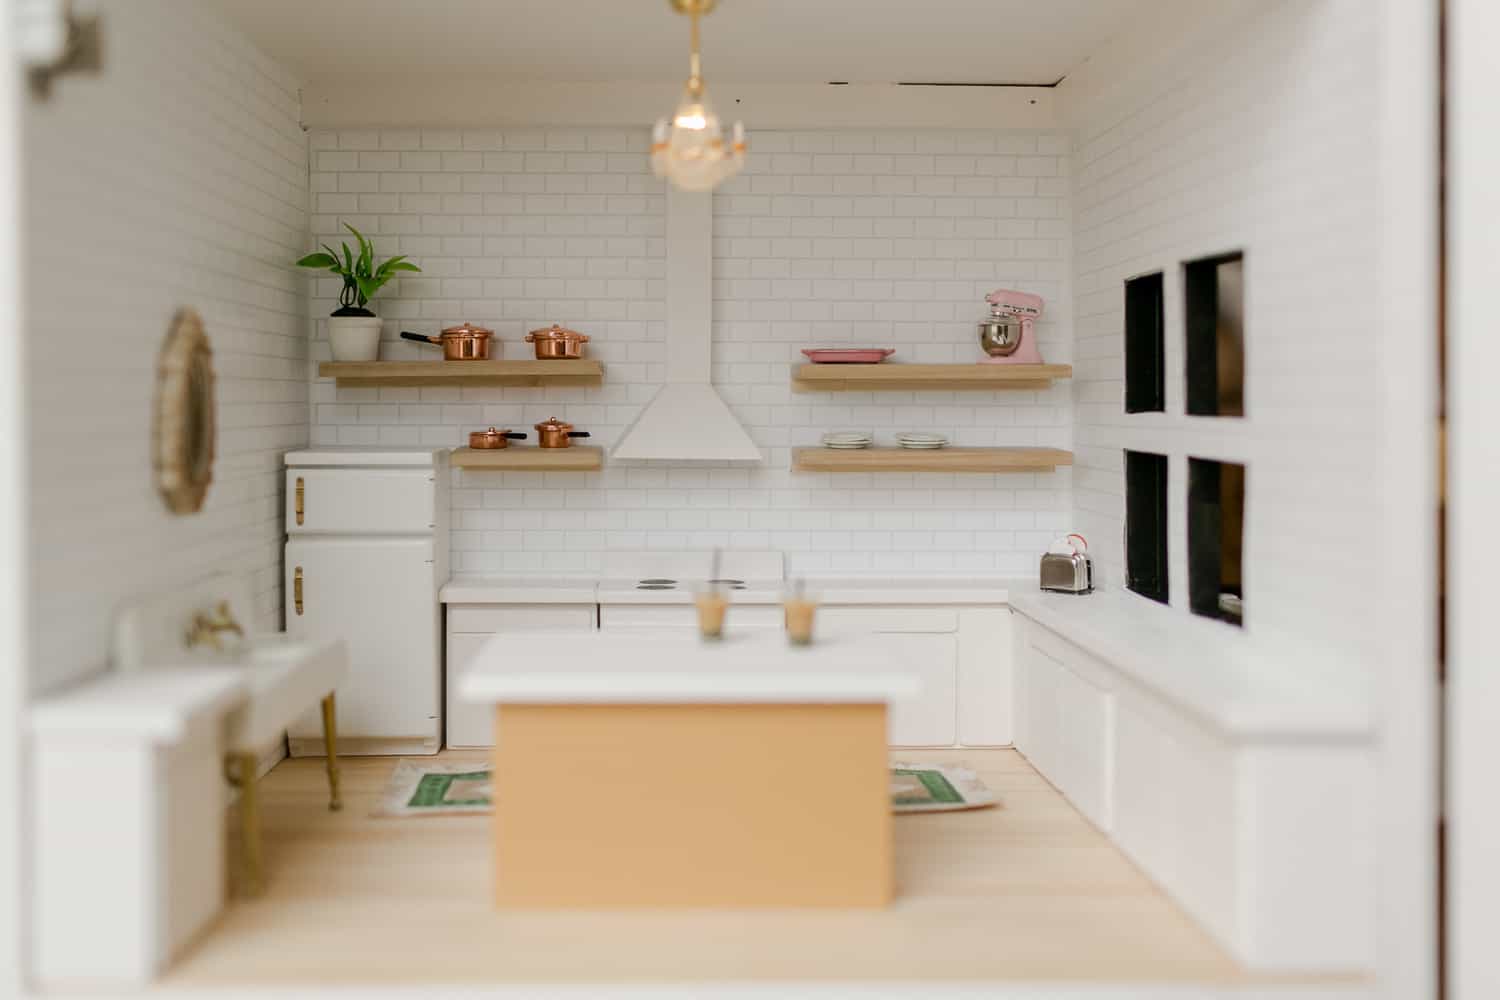 Now to the best room … the kitchen!!!! I’m so obsessed with it! I’ll link to all the stuff we purchased. Then Collin filled in the design with “custom” cabinets, an island, shelves and the adorable vent hood. Here are the links to the fridge, sink, subway tile (we used three sheets), bubble tea, copper pot set, toaster and pink KitchenAid mixer (it really tilts and is so detailed—I can’t handle it!).
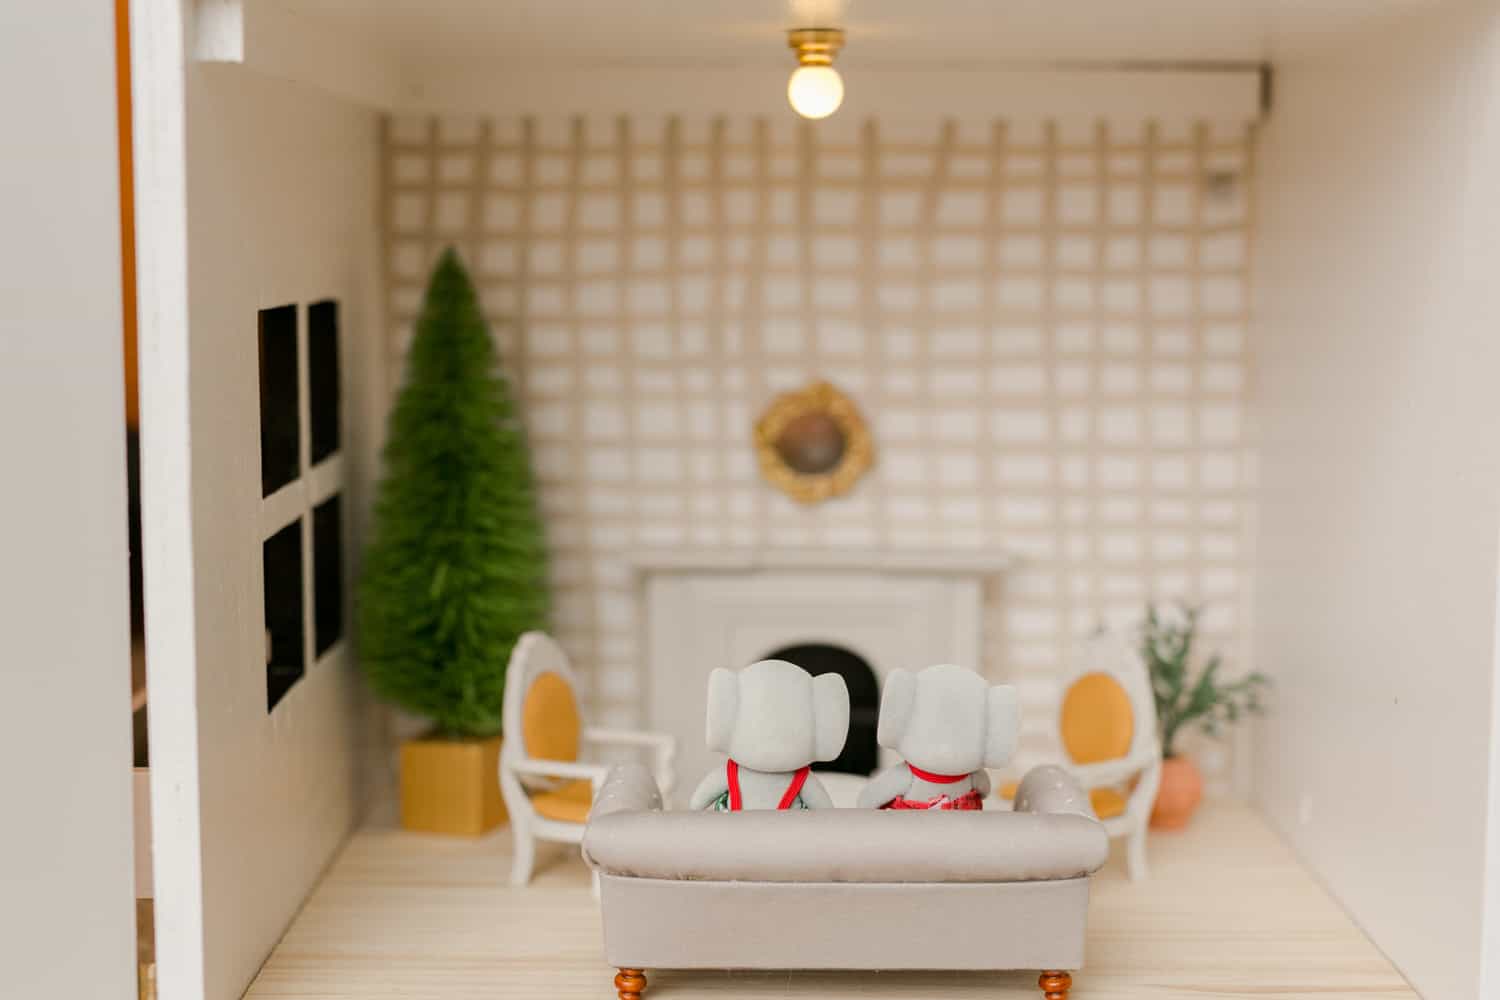
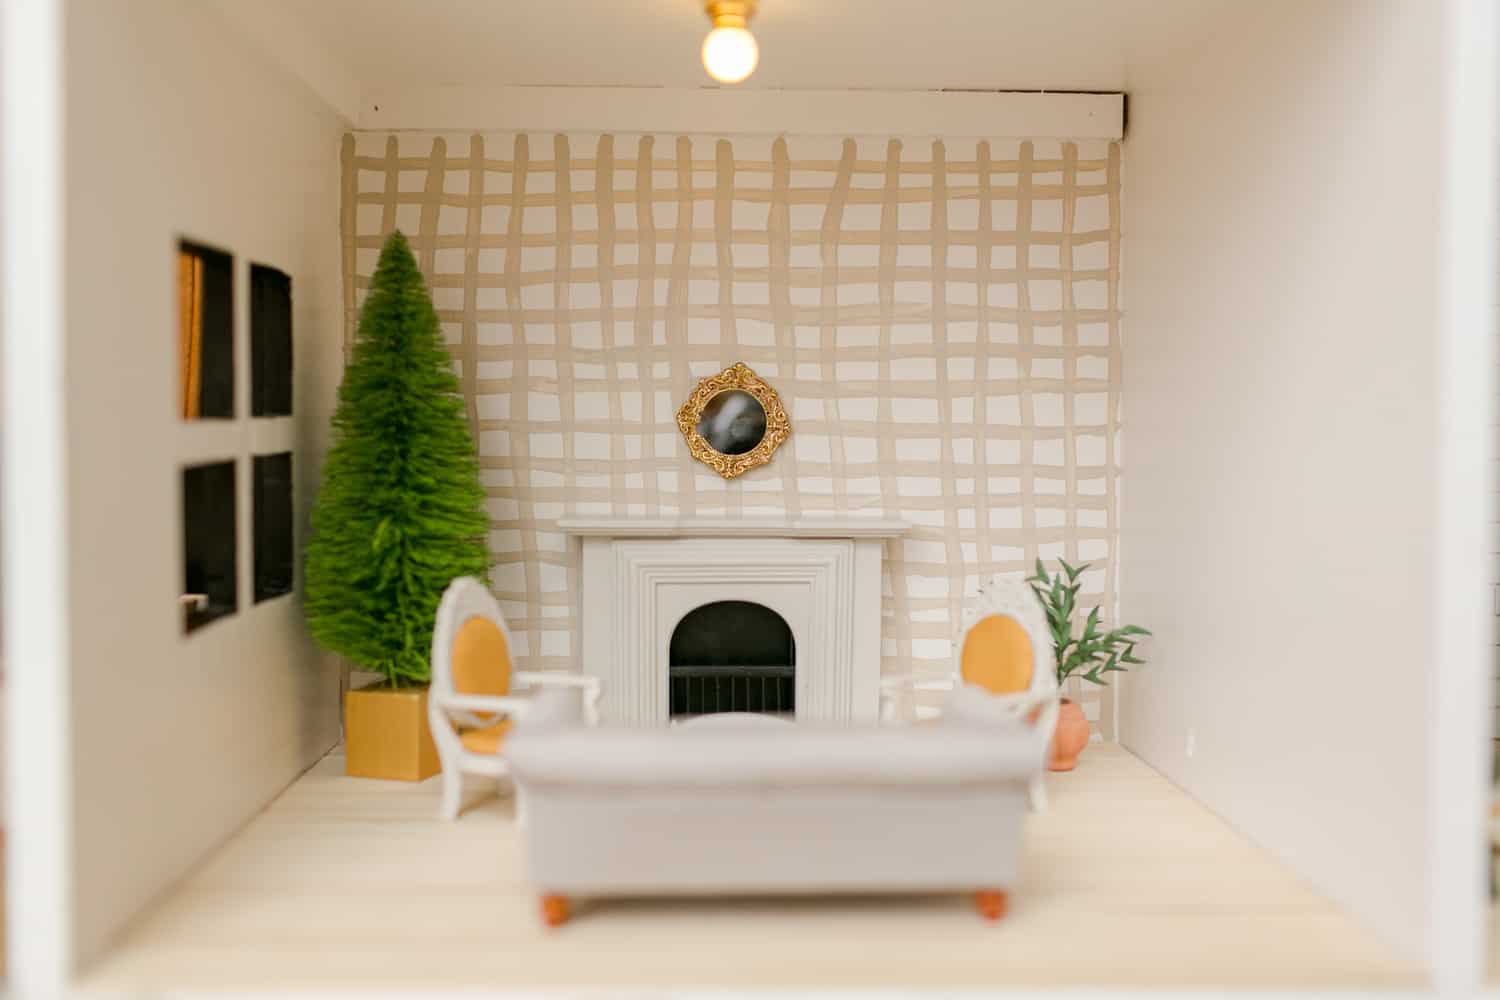 The living room! Sofa, chair set (we painted and reupholstered these) and fireplace (similar). The mural is hand-painted.
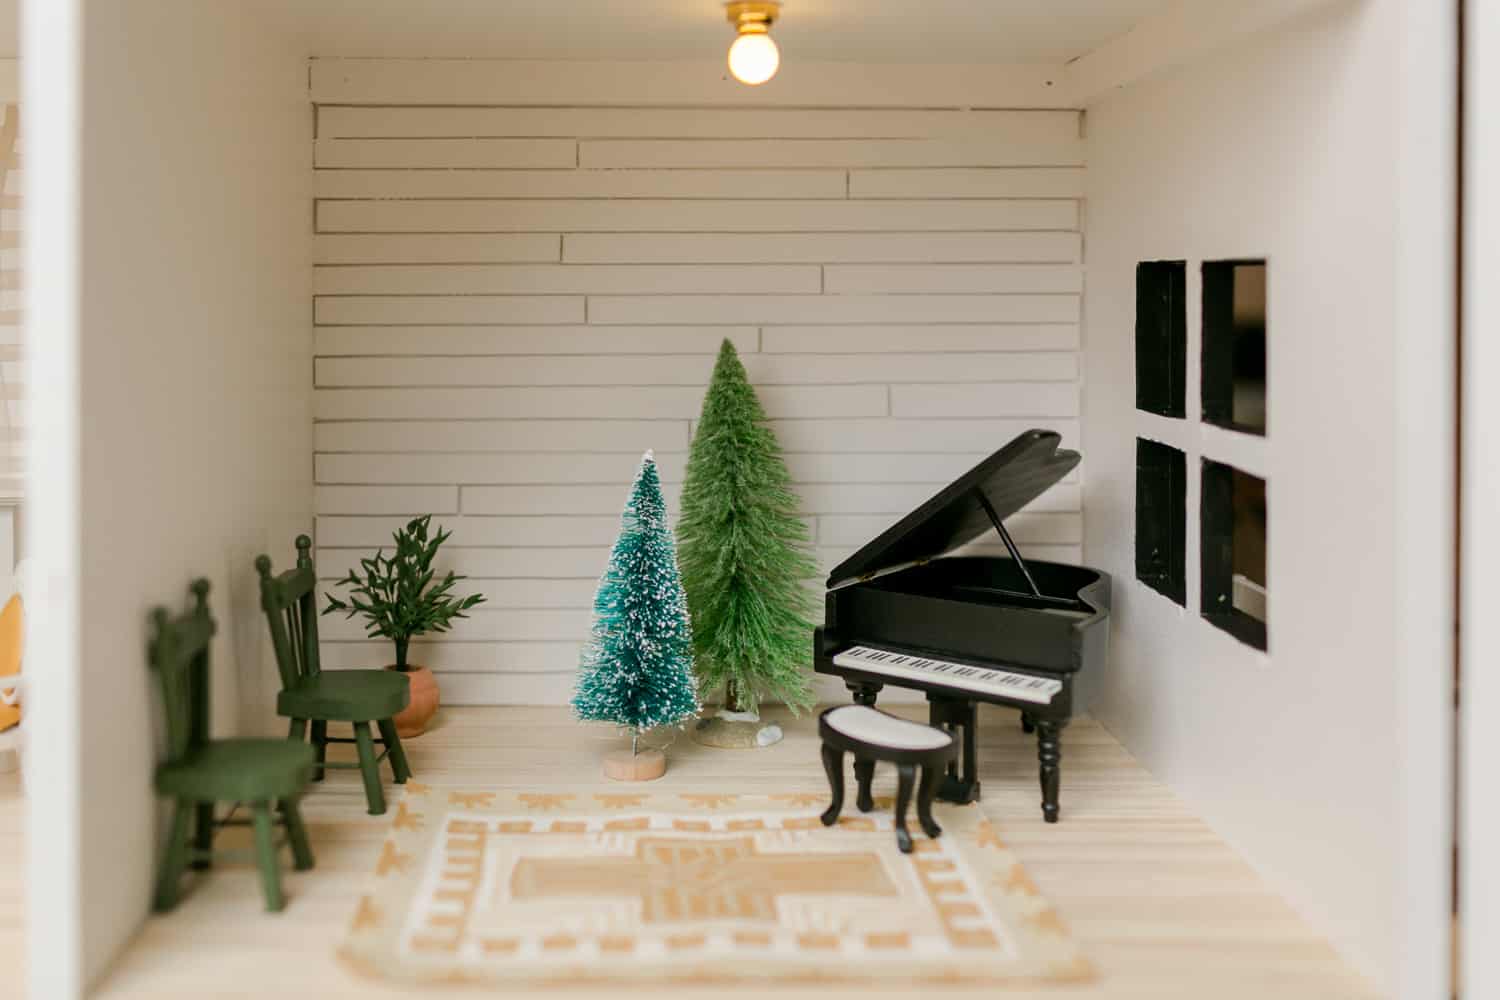 Last, but not least, our dollhouse wouldn’t be complete without a piano!
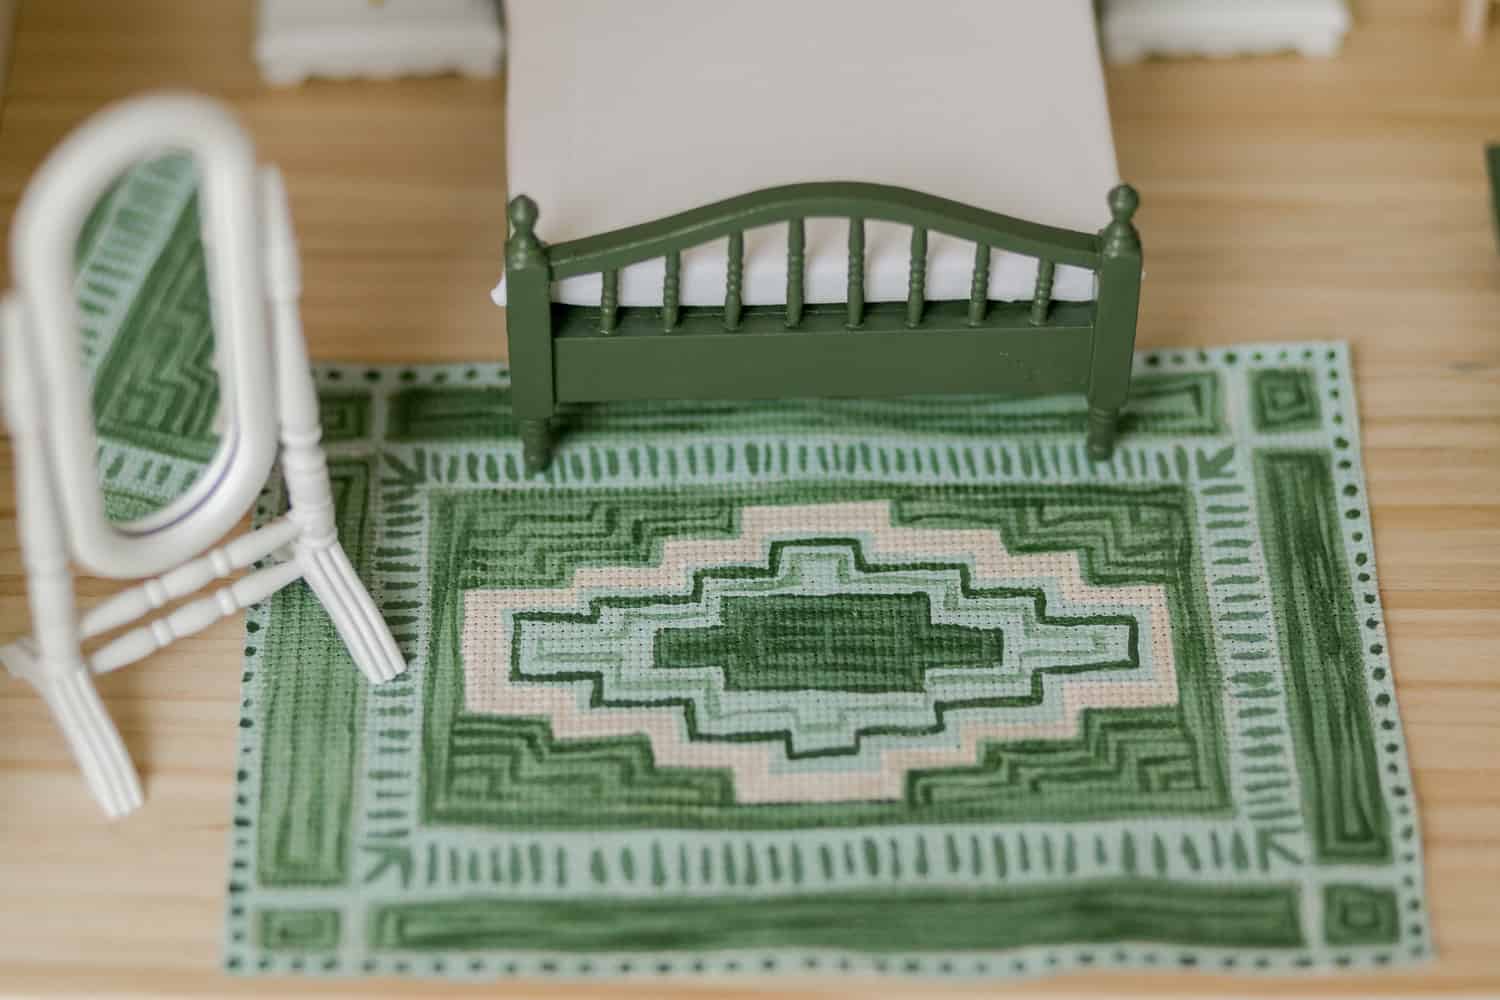
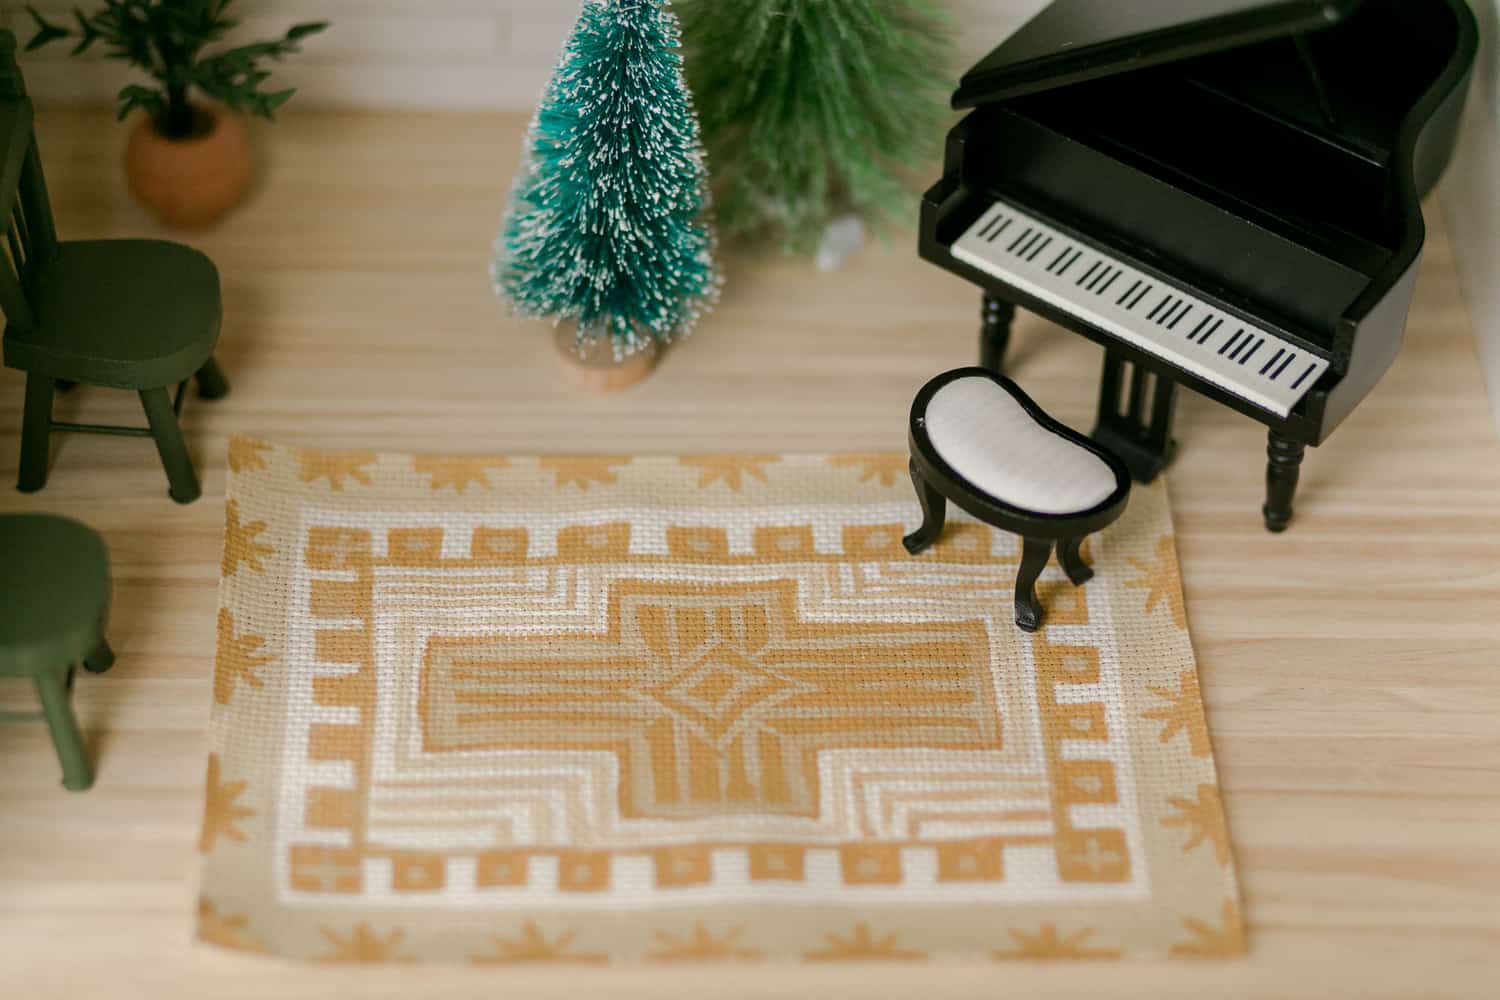
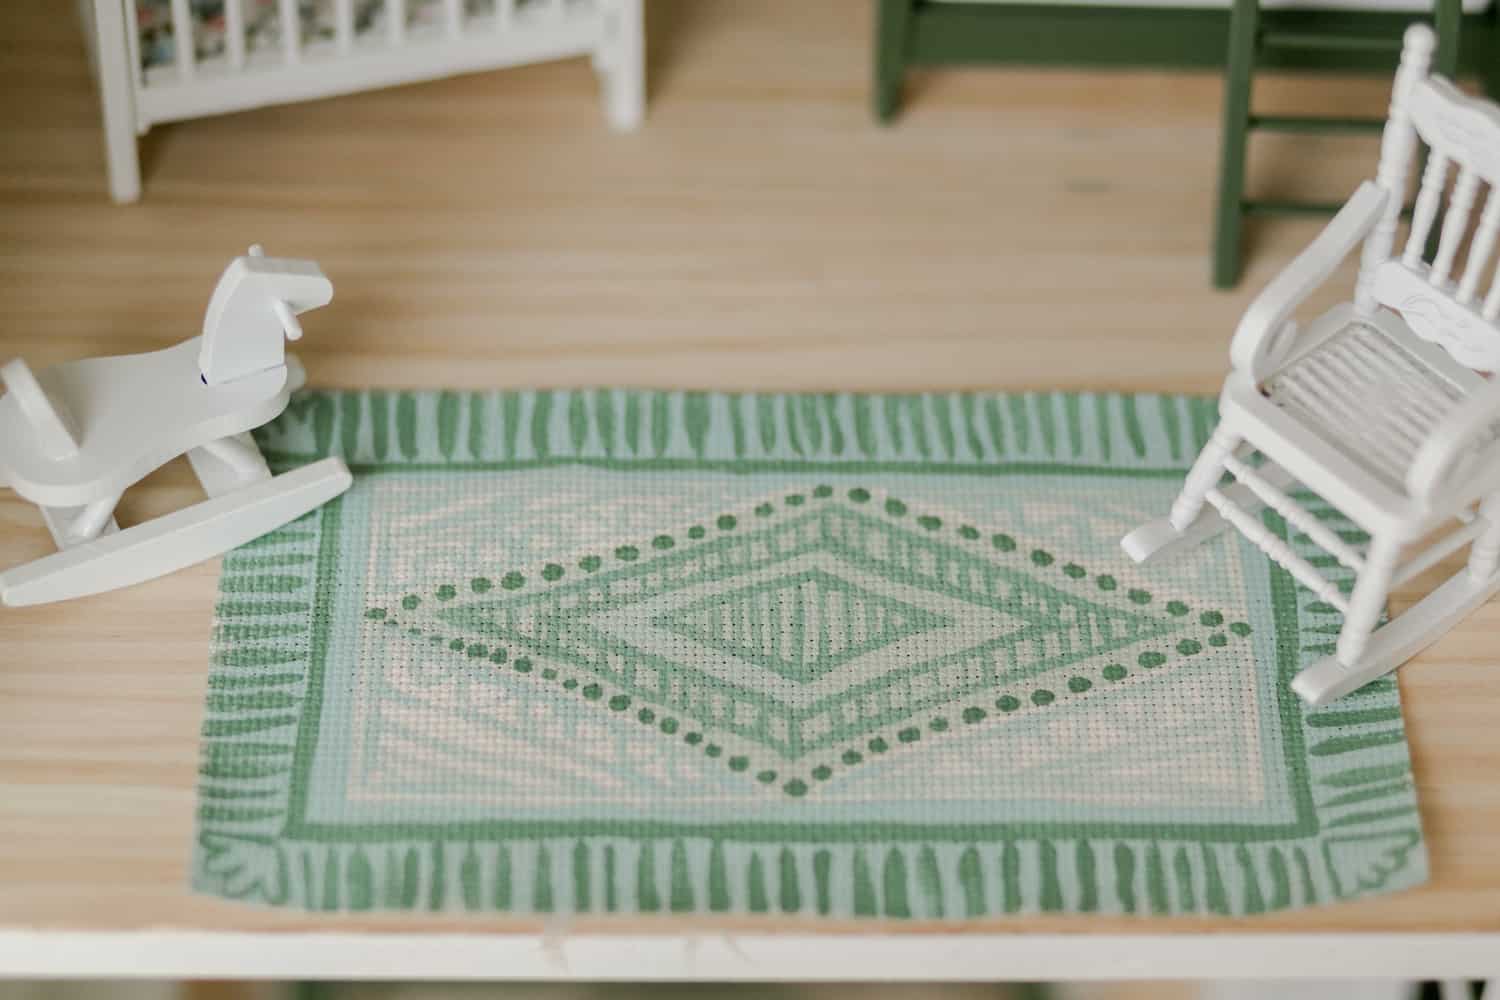 I made a few little DIY rugs. I tried my best to channel inspiration from my favorite rugs, which are vintage Turkish rugs. It was a TON of fun and very relaxing.
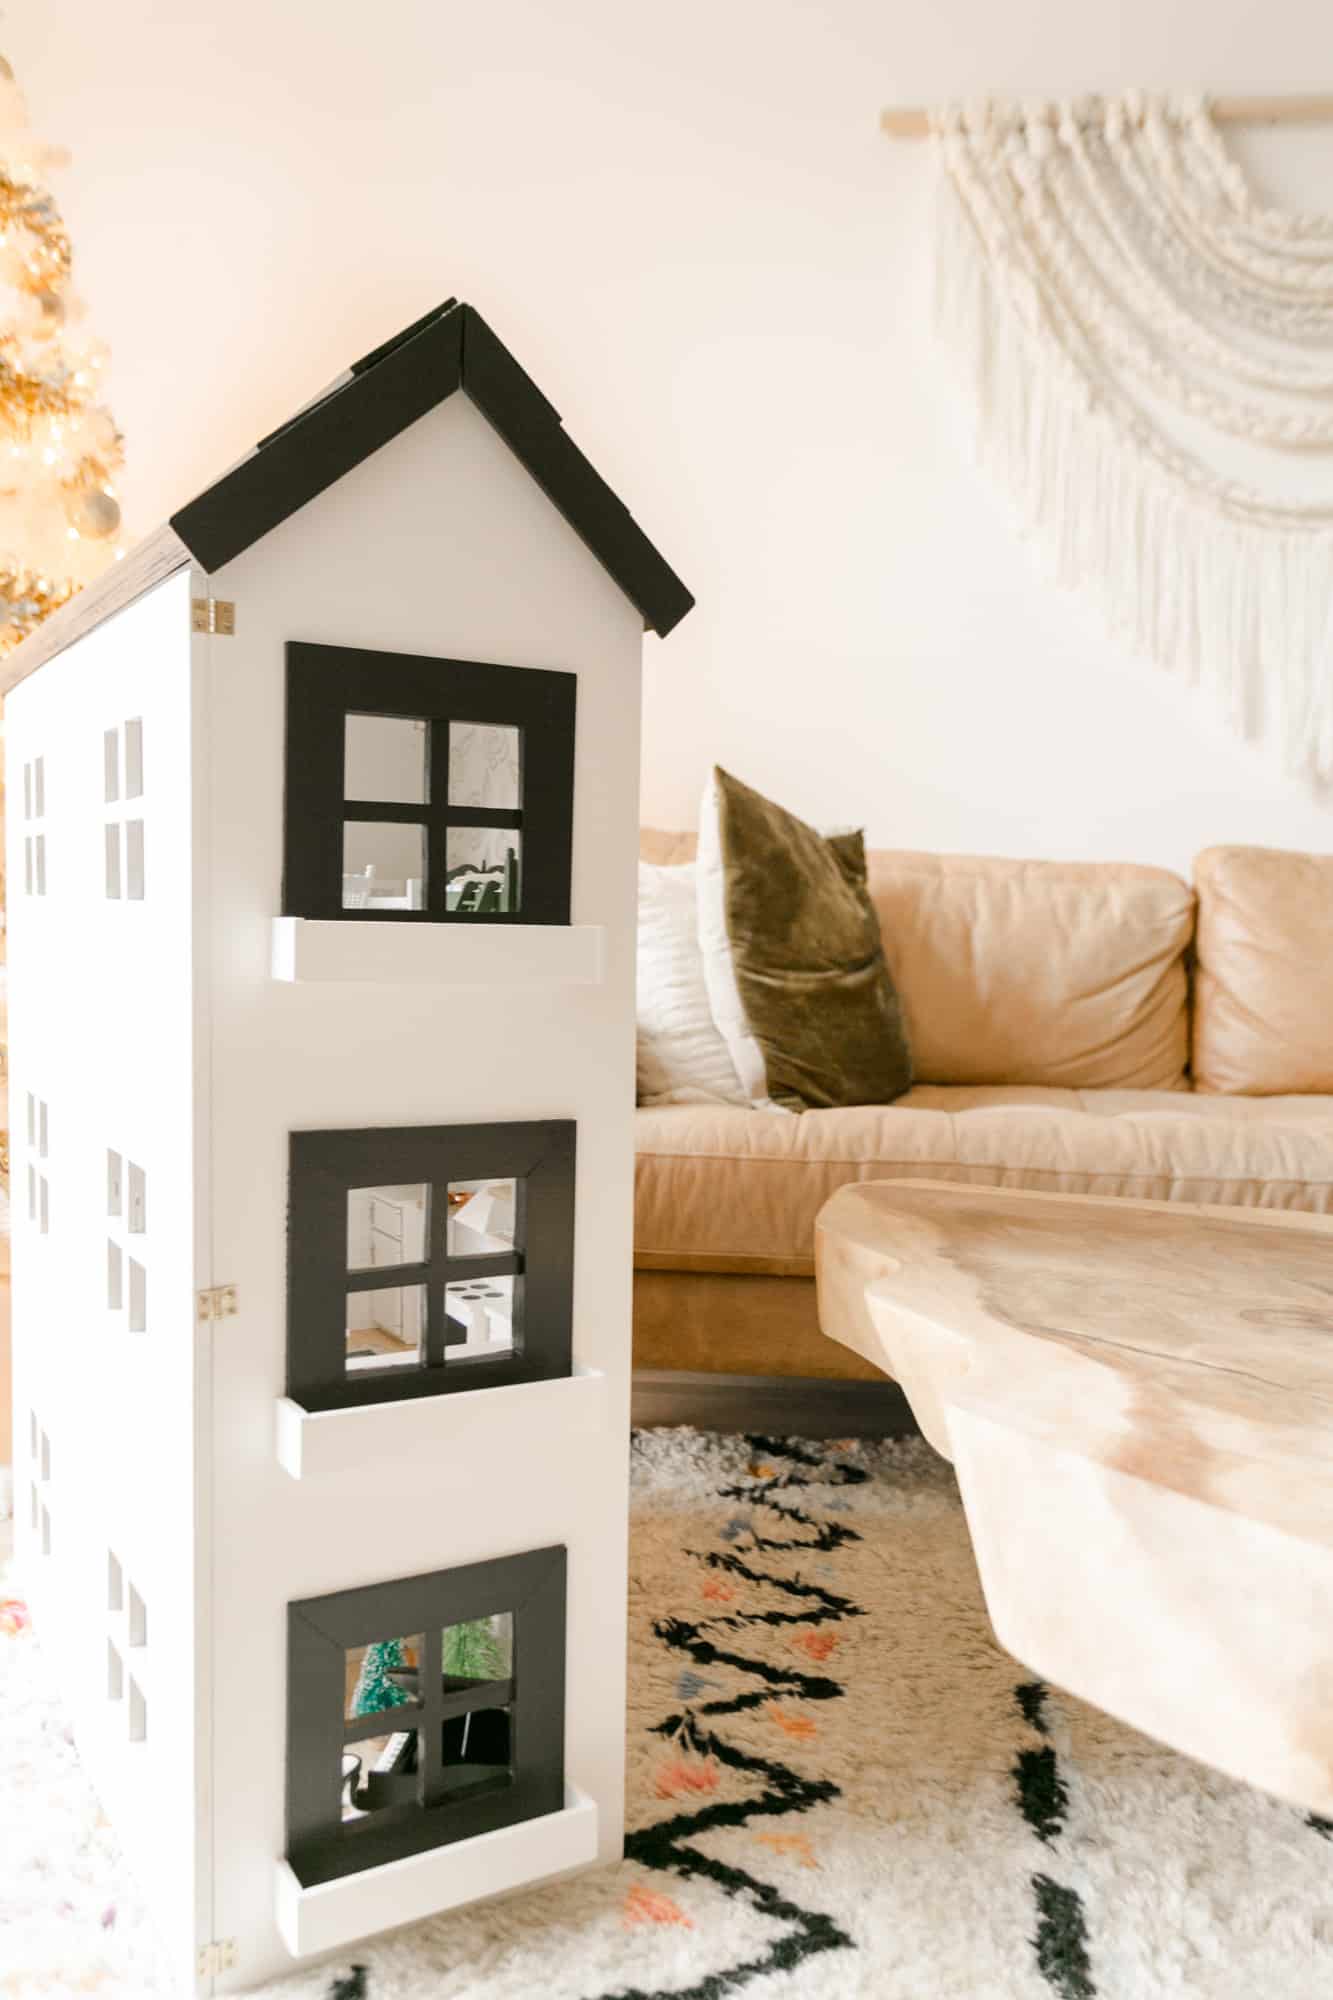
 Here’s a few photos of the exterior and you can see here how the doors open and close (inspired by Mary Poppins!).
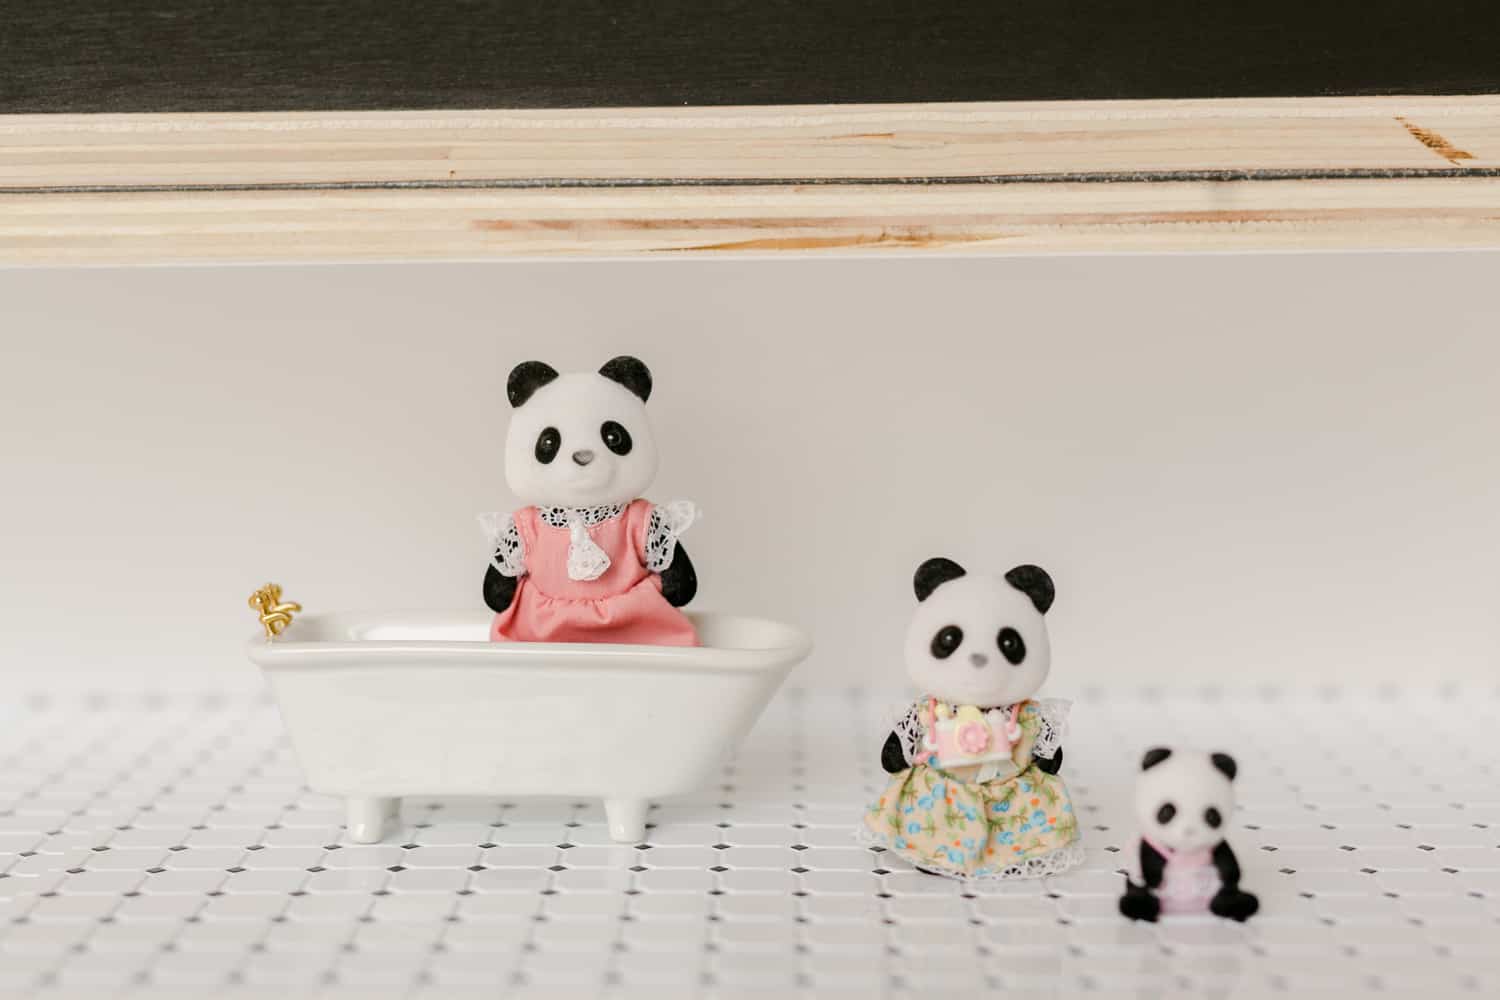 Oops, I forgot to show you—there’s a little bathroom hidden in the roof! 🙂
  Thanks so much for reading!!! I cannot wait until Christmas morning! And I am excited for years of making memories together playing with this dollhouse.
If you’re interested in making a dollhouse, I highly recommend it. It’s such a dream DIY. If you have any questions, let’s chat in the comments. xx- Elsie




45 Comments
You and Collin did an amazing job!! So cute!!
Laura
I love it! Especially because I’m also into planning a renovation for our doll house that my father in law build 40 years ago. May I ask, how did you solve the electric? Is it with cables and power plugs? Or battery? I would love to hear your recommendations, as I would need to do an installation on top of the walls. And I was hesitating using batteries for different reasons.
Anneka
Hi! The lights are led and they each have a battery and their own teeny switch.
It’s so perfect, Elsie. I’m dying over those hand-painted murals!
This is amazing! So perfect!
Charmaine Ng | Architecture & Lifestyle Blog
http://charmainenyw.com
This is so special. You all did a wonderful job. I have an old dollhouse from my childhood that I never decorated and you’ve inspired me to dig it out of my parents basement.
I love it so much!!! I hope to see videos of the girls playing with it! I am curious, are there more photos of the roof bathroom?
Hi! This is just so magical I absolutely love it!
Could you explain how you painted the back statement walls in the rooms? Did the back wall come off, Or did you put on “wallpaper”? Gorgeous gorgeous job!!!
Hi! No, I just stuck my hand in there and painted it. XO!
Absolutely adorable. Great job Collin & Elsie. 🙂
Thank you for sharing this beautiful dollhouse with us! Two questions: what kind of material did you use for the rugs? (It looked textured in a previous post.) And, what items, if any, did you glue down or secure?
Hi! I used cross stitch fabric (perfect subtle texture). XX!
Oooooh my gosh, Elsie. You have outdone yourself!! This is magical!! The girls will be so excited. 🙂 ♥
Hi! ADORABLE! I only wish I’d seen this sooner for inspiration ???? I’ve been working on my daughters dollhouse for the last 3 months as a surprise Xmas gift. What type of materials did you use for the rugs- type of fabric and paint?
I love all of this so much!! I am planning on making my daughter a doll house for her 4th birthday. This is so inspiring and I appreciate the links too!
Wow! You are right in that this is the cutest DIY Dollhouse ever! So many amazing details! And I am just tickled to see “who” was moving around inside! Adorable! Happy Holidays to you and yours! Thank you for a year of sharing Goodness!
can you please share what you used for the rugs – i know you spoke about them in IG stories but would love a link! thank you and Merry Christmas – this project is the very heart of MAGIC.
Hi! I used cross stitch fabric and I hand painted it with acrylic craft paint.
XX!
THANK YOU!! merry christmas!!!
Amazing! Your daughters will love it! My parents gifted me with a dollhouse when I was around 8 or 9 and I will never forget how happy and excited I was when I first saw it waiting for me on Christmas morning. I was obsessed with it and had so much fun shopping for miniatures with my mother over the next several years (this was before the internet). My mother made some really special needlepoint rugs for a few of the rooms – so special. Enjoy!
What a beautiful incredible labor of love!!!
I have a boy and a boy on the way ???? I would love to make and play with a dollhouse like this! Truly beautiful! This will be so fun to add to over time too and decorate for holidays!
I love it!! It’s also way nicer than my real house! =D hehe!!
Best dollhouse ever! Do you have an estimate for the approx total cost of the project?
Hi! I honestly lost track, but I’d say 300-400. XX!
Adorable…All my kids are adults but I think I’d make this for me lol!!!!
I am currently working on a dollhouse for Christmas too so I love this for inspiration. We are making over the dollhouse I got when I was kid (taking out the 80s wallpaper etc) that my mom got when she was a kid (turns out there’s 60s wall paneling under the wall paper) that was built by her dad. It’s at a bigger scale than yours so we’re having a harder time finding furniture and stuff so we just went with princess doll and furniture sets from the Disney store and I think it’s going to be great. Hopefully one day my daughter will tear out our ship lap and tile floors and remake it with 2040s style!
Love this! I have a dollhouse I purchased in 2007 that i’ve slowly worked on during holiday breaks. This is totally inspiring me to make some of the bigger to dos happen! Would love to know more about how you guys did the lighting! :o)
This is seriously amazing!! An heirloom your girls will treasure and pass on for sure! The love you put into it really shows. Way to go mama! PS – I LOVE the little animal dolls!
I just want to order a bunch of adorable of accessories for my niece’s doll house now!!!
This dollhouse is a dream! I think this is my favorite post of yours!
Obviously not counting all of the hard work, do you have an approximate dollar value of the materials and all of the items for this dollhouse?
Genius! Can I come over and play with it?? 🙂
would love to see your girls reaction Christmas morning!
Will you show the girls’ reactions when they see it for the first time?!?? 🙂
Hi! I will try to make a video 🙂
thank you! exited to see their reactions 🙂
One of my favorite posts EVER!!!! I absolutely loved my childhood dollhouse…
Wow, you did fantastic! I love the color scheme and I also love how some of the rooms and furniture riff on the rooms you have done. I have thoroughly enjoyed living vicariously through this project! Those little critters are too cute!
OMG, this is so amazing!! My inner 8 year old is swooning!! (The tiny china!!) Your girls will LOVE it, and those little Calico Critters are beyond perfect in the house. It’s like a Richard Scarry book come to life!
That kitchen is so lovely! It reminds me of those Tiny Kitchen videos on YouTube, which, if you haven’t seen them, are mesmerizing. Great job Elsie + some guy named Collin! 🙂
This is so beautiful. I have always dreamed of a dollhouse. Maybe I can have my son help me make one!
Elsie this is absolutely gorgeous ???? Nova and Marigold are going to be so so excited when they see it. What a priceless gift to give your girls, you are all going to create so many memories playing with it as will their children as I’m sure it will become a family heirloom. Merry Christmas to you all ????
It’s fantastic! I started one a few years ago and have never gotten back to it. I really should, if not for any other reason that to get the box of “stuff” I’ve saved to convert for it out of the way. Pinned of course!
Wow, this is so amazing! I LOVE miniature stuff, and the mini-Kitchen Aid machine must be my favourite!
Love this!! You did an amazing job. Will you share what you used as the flooring?