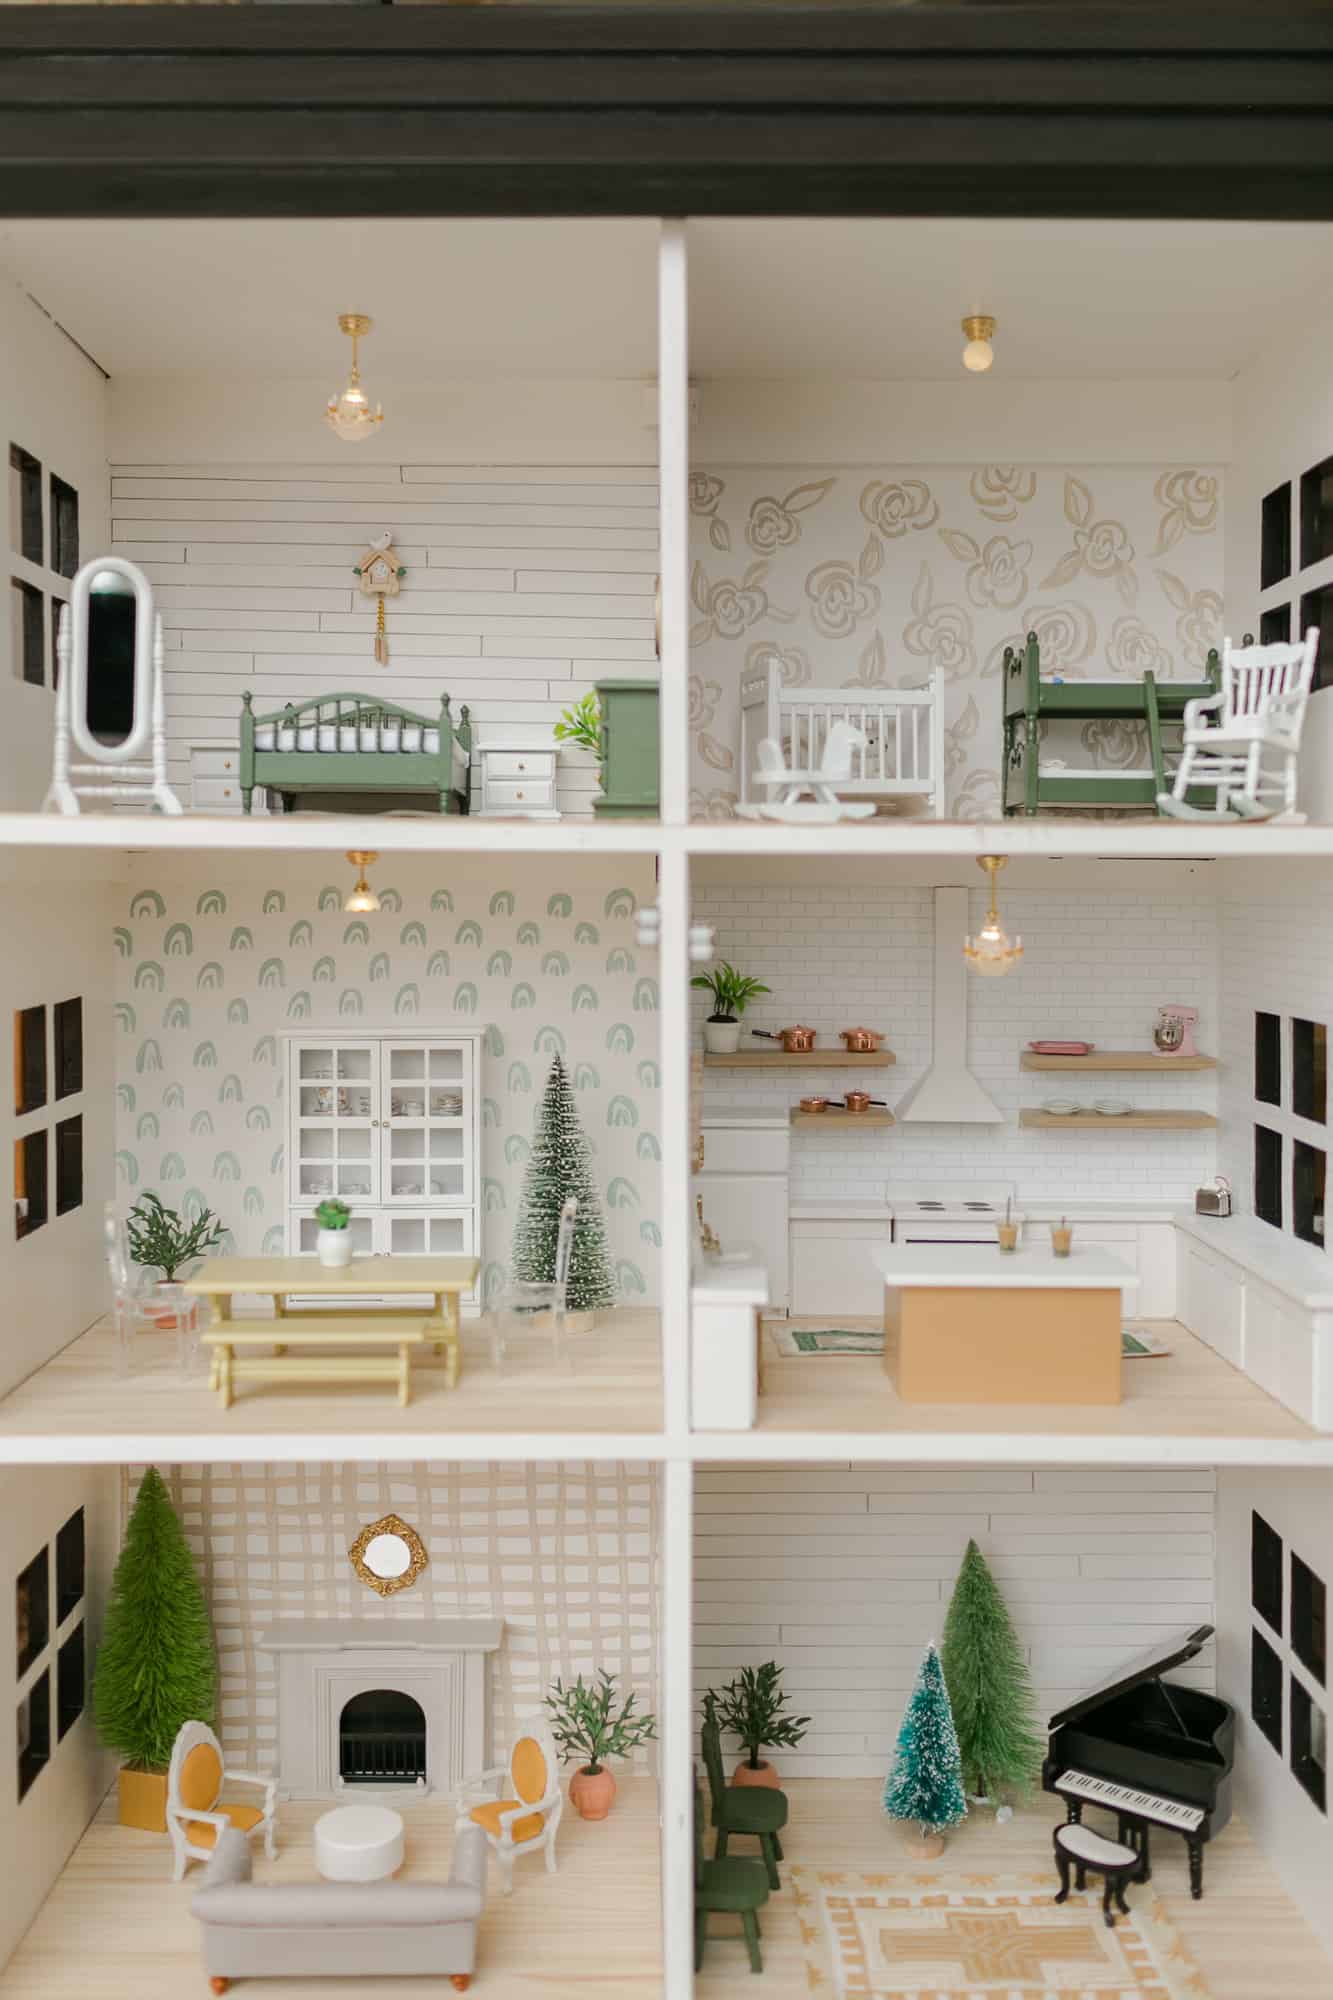
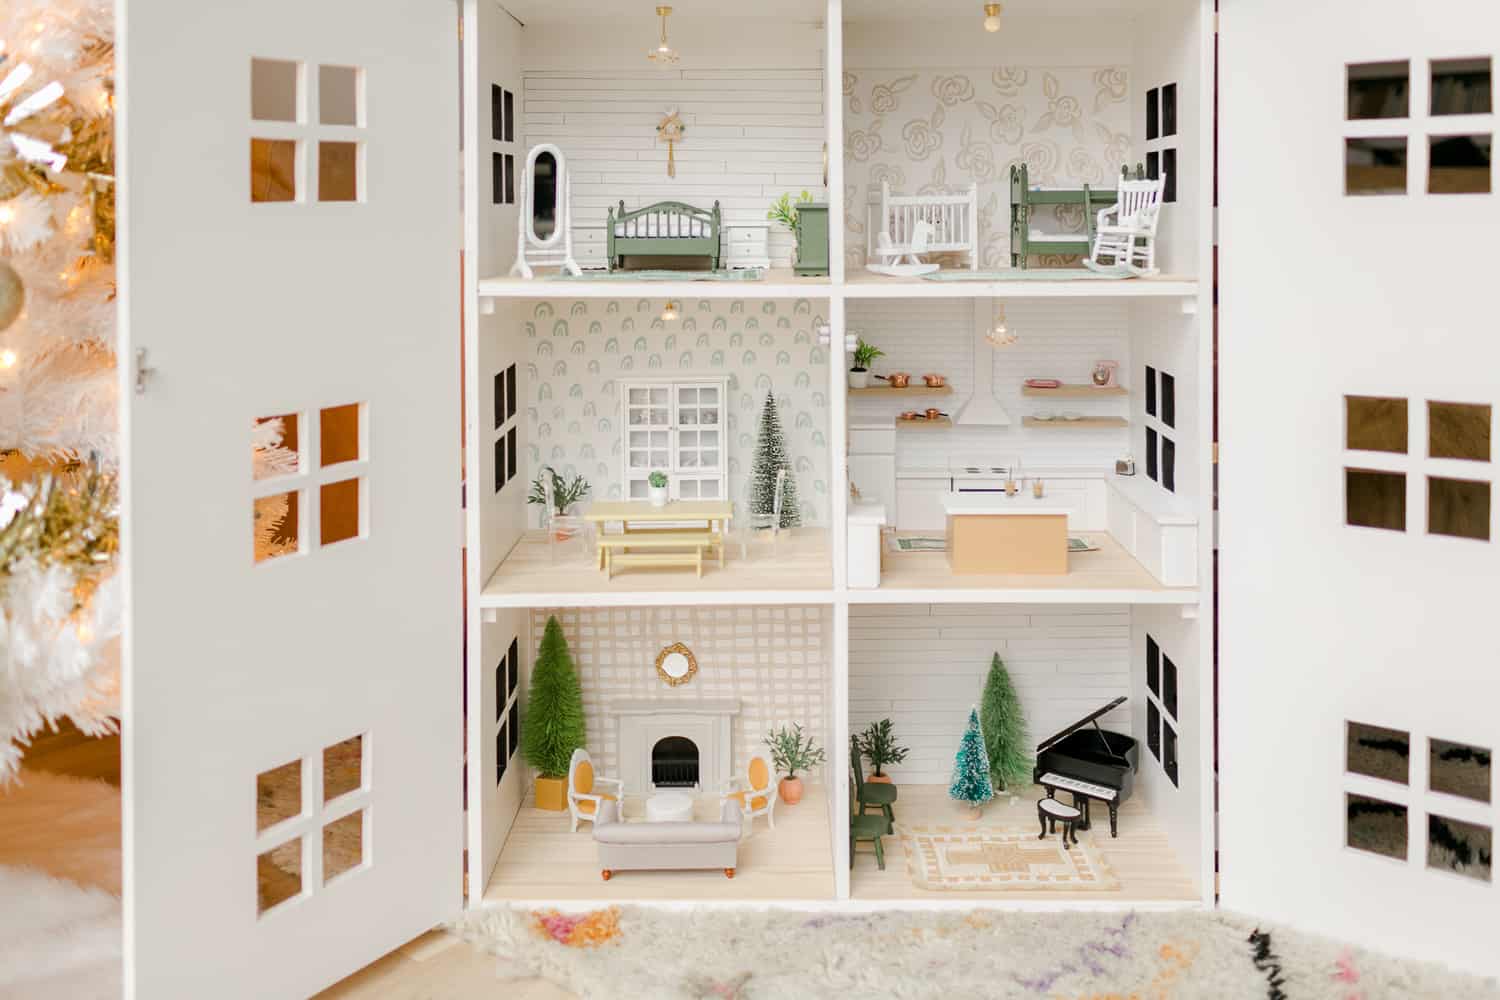
 WOOHOO! Today is the reveal day for our DIY dollhouse! My favorite DIY project of all time. I am so excited to take you on a little tour!!
In case you missed it, part one (where we teach you to build it) is here. In this post, I will share some details for how we DIY’d the rooms and links to the little bits and pieces we purchased online. I am saying *we* a lot because Collin and I worked on this project together. If you listen to the podcast, you now know him by his official nickname, “some-guy-named-Collin” haha!
I will confess to you upfront that this dollhouse is just as much a gift to me as it is to Nova and Marigold, because the joy I’ve had making it has been so magical! And I cannot wait to spend hours playing with them … and eventually, when they are ready, help them to make their own DIY dollhouse renovations.
Life does not get better than this.
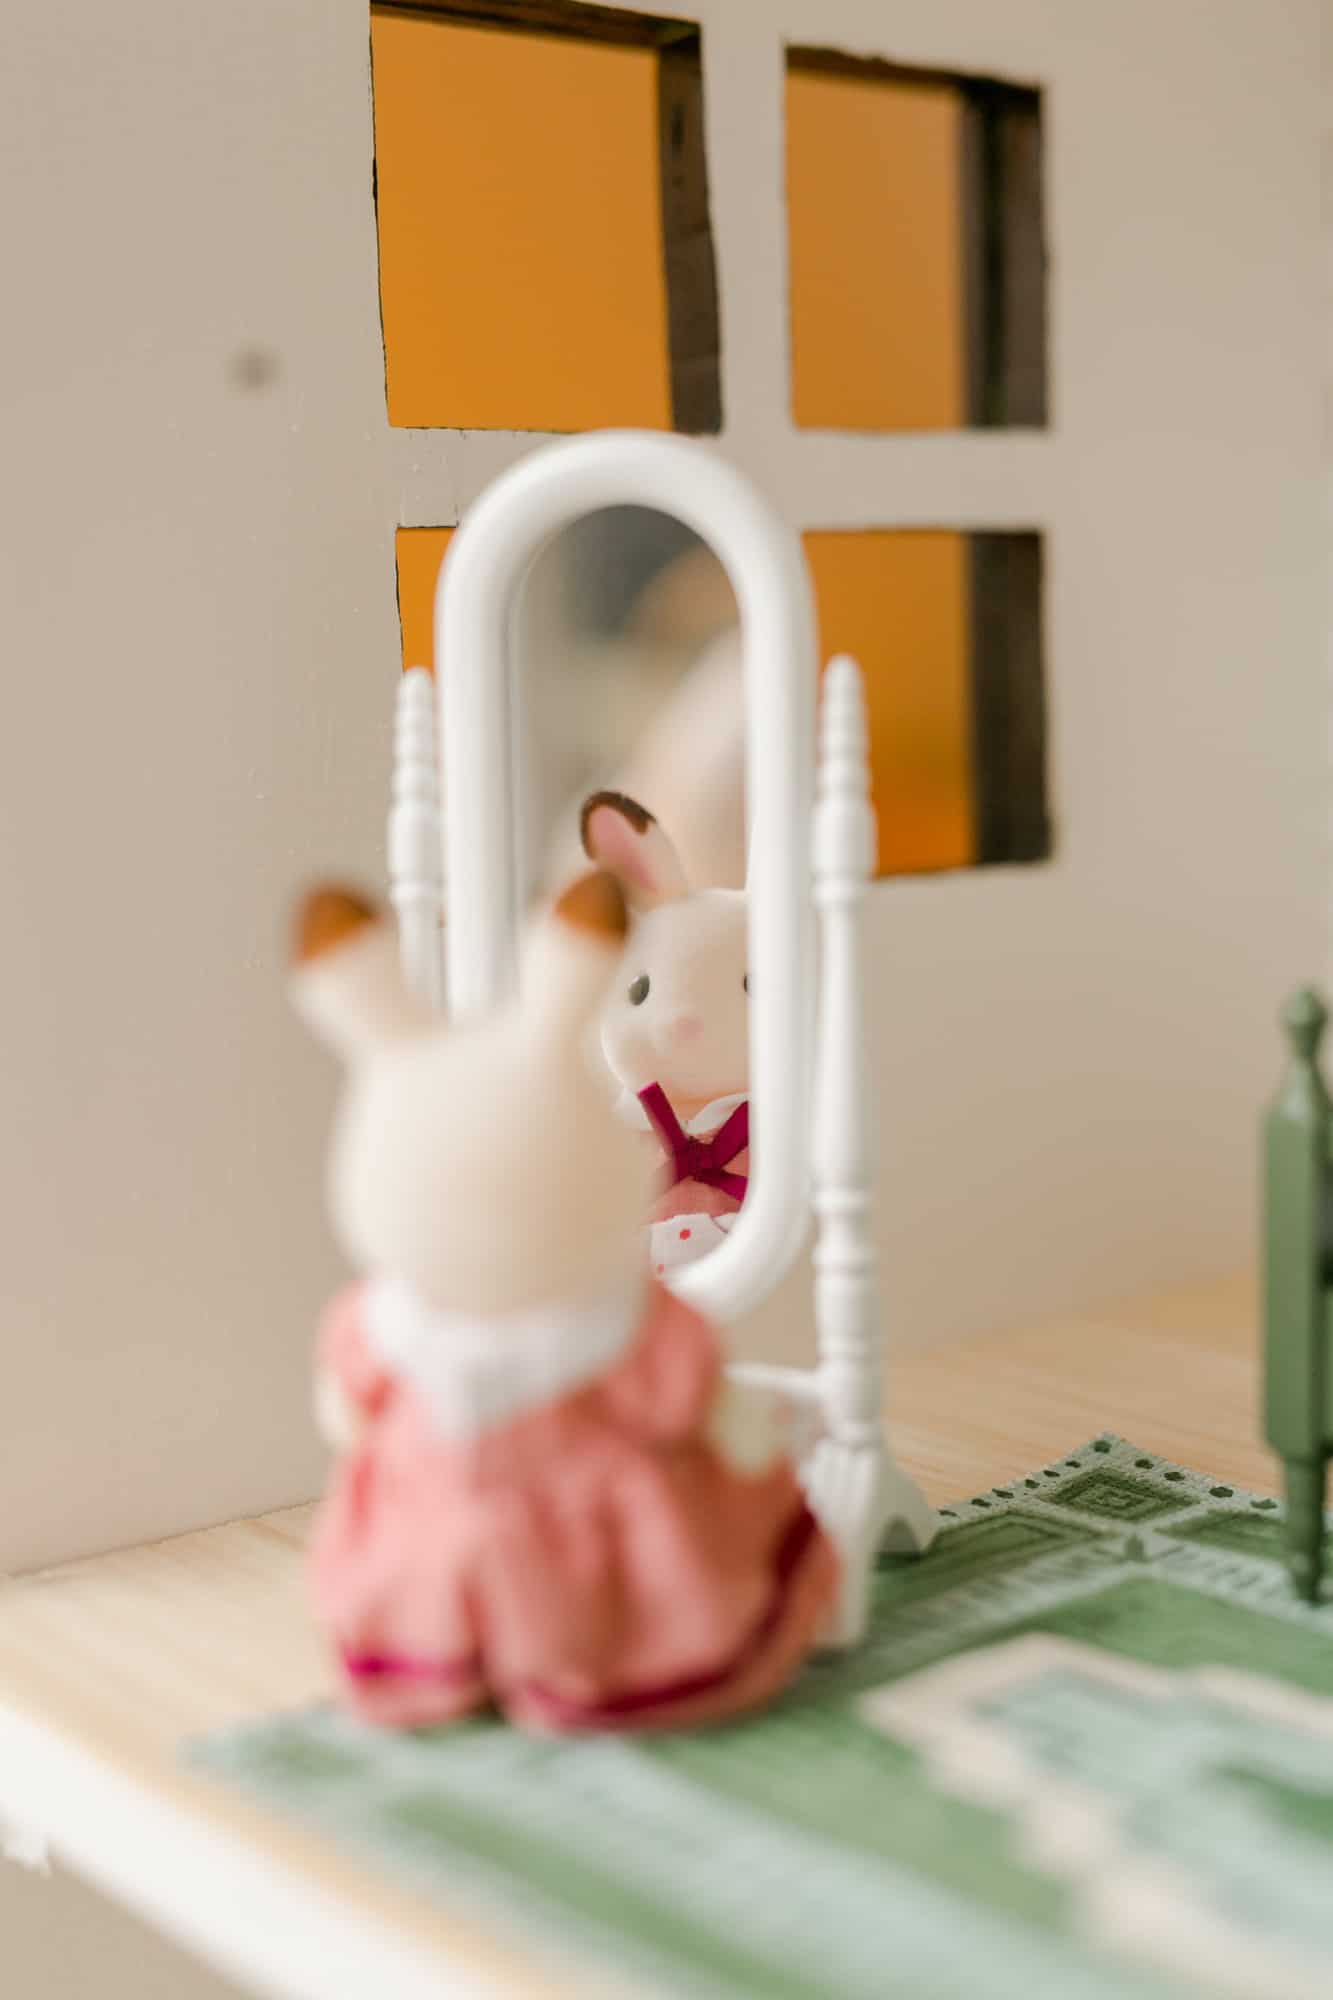
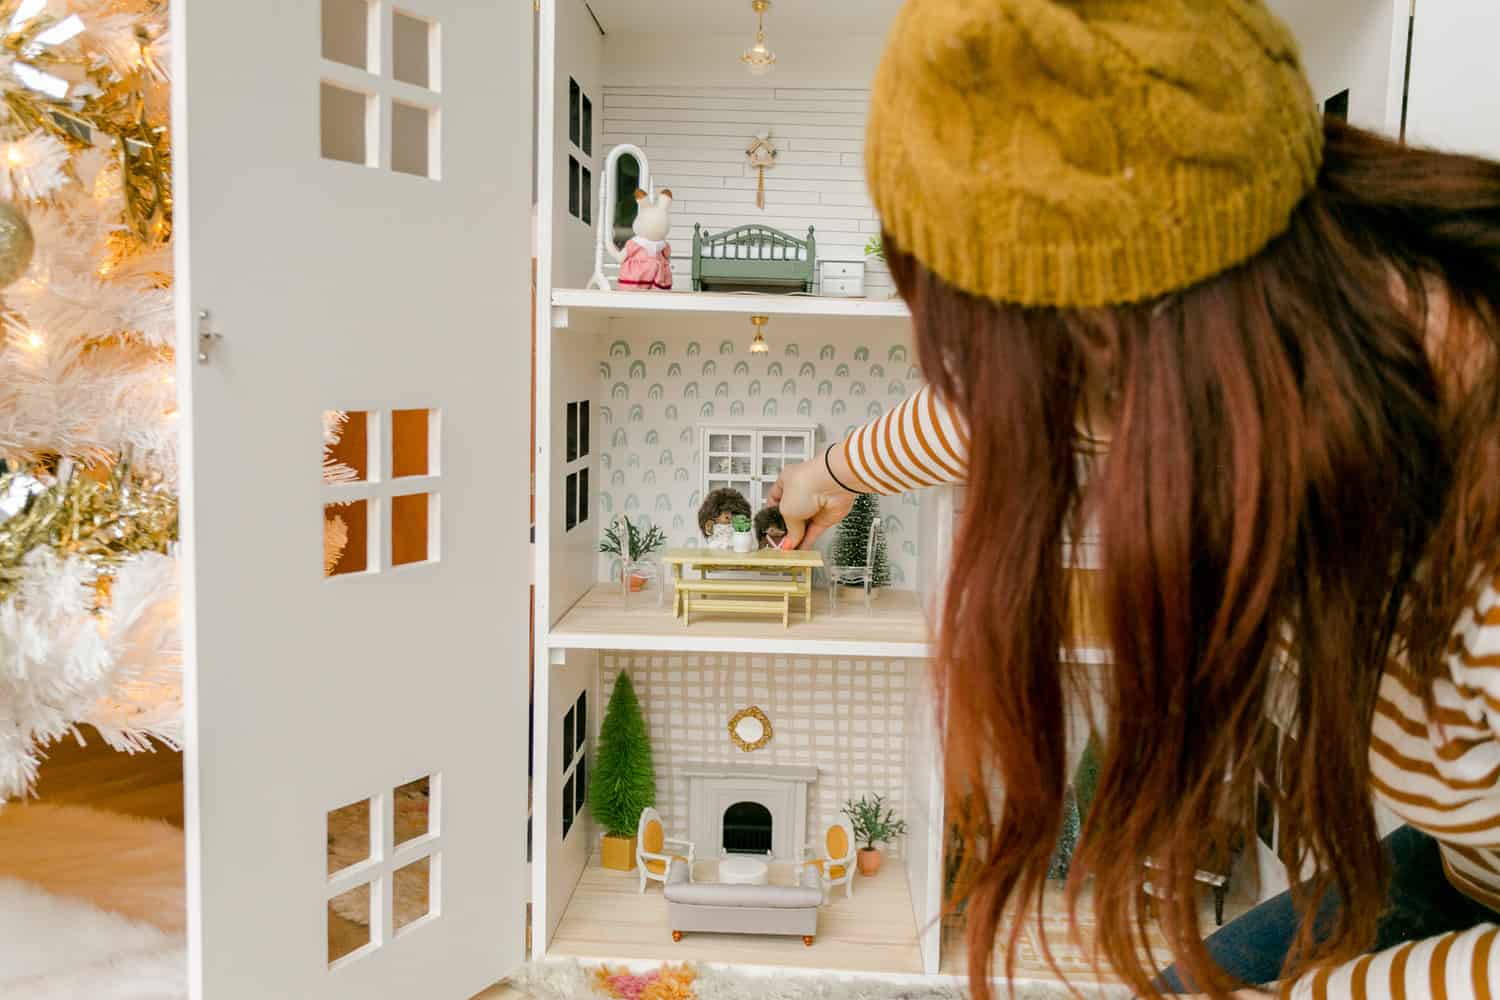 We decided to do the rooms at 1/12 scale. This is the most common size for dollhouses and I really recommend sticking to it unless you are trying to make a house specifically for Barbie or Blythe (or any bigger dolls). This house perfectly fits dolls like this, but they’re not my favorite so I decided to make our home for Calico Critters. It’s our only ongoing toy collection and we play with them quite a bit, so it just makes sense. A few of my favorite critters are the rabbit family, elephant family, panda family and hedgehog family.
For Christmas this year, she is getting the alpaca and monkey family. See!! There are way too many for us to collect.
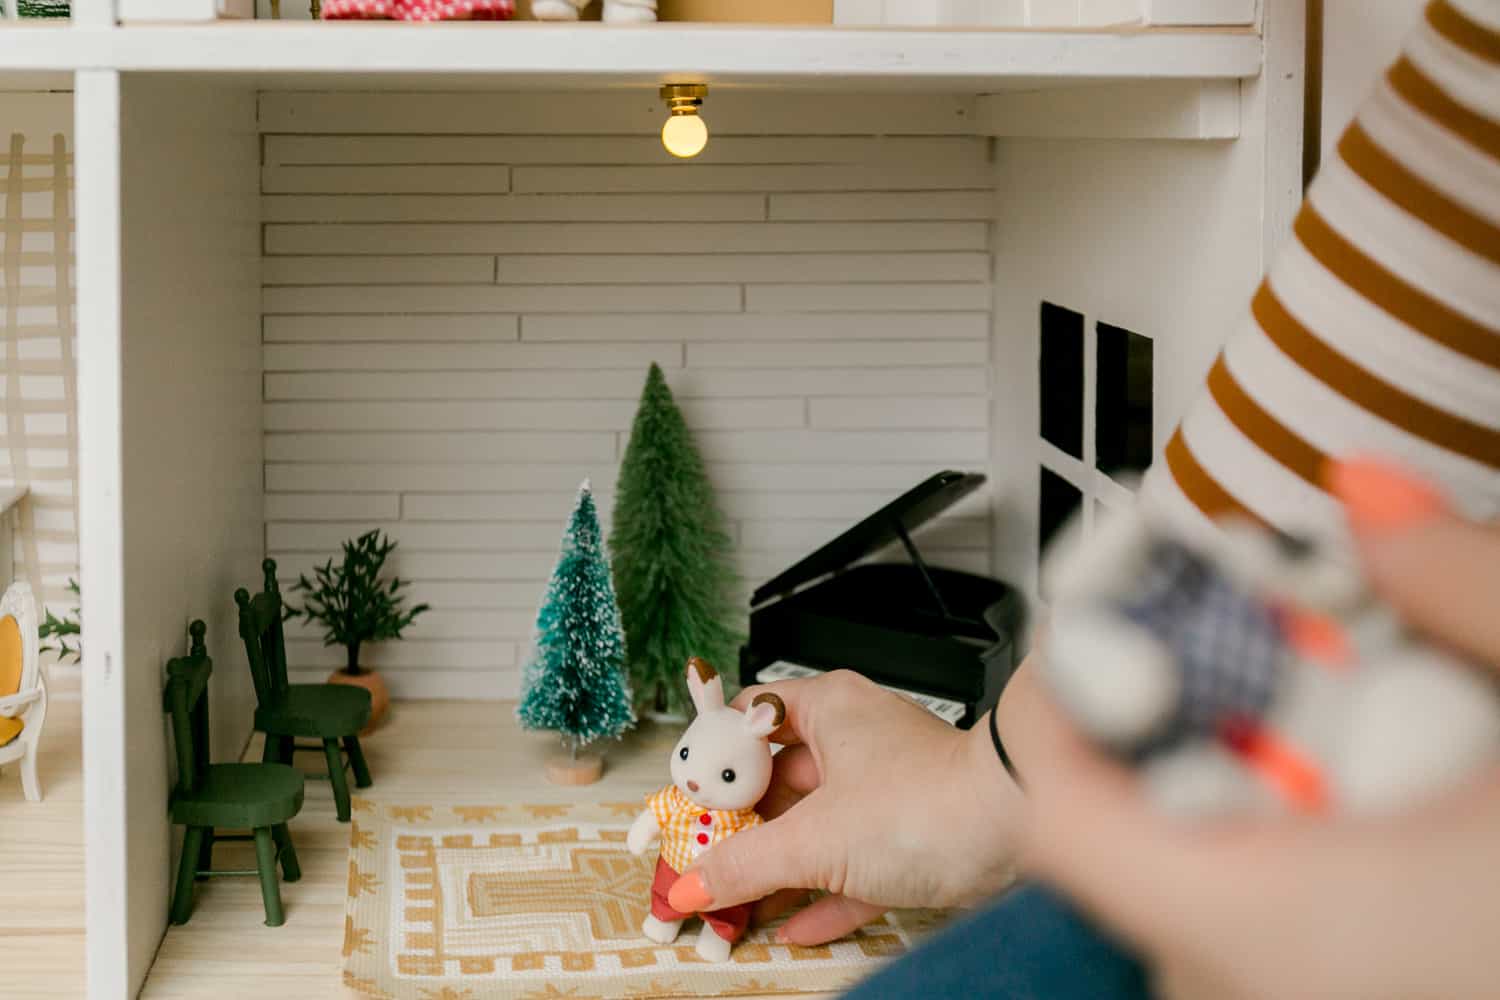 ** SPARKS JOY **
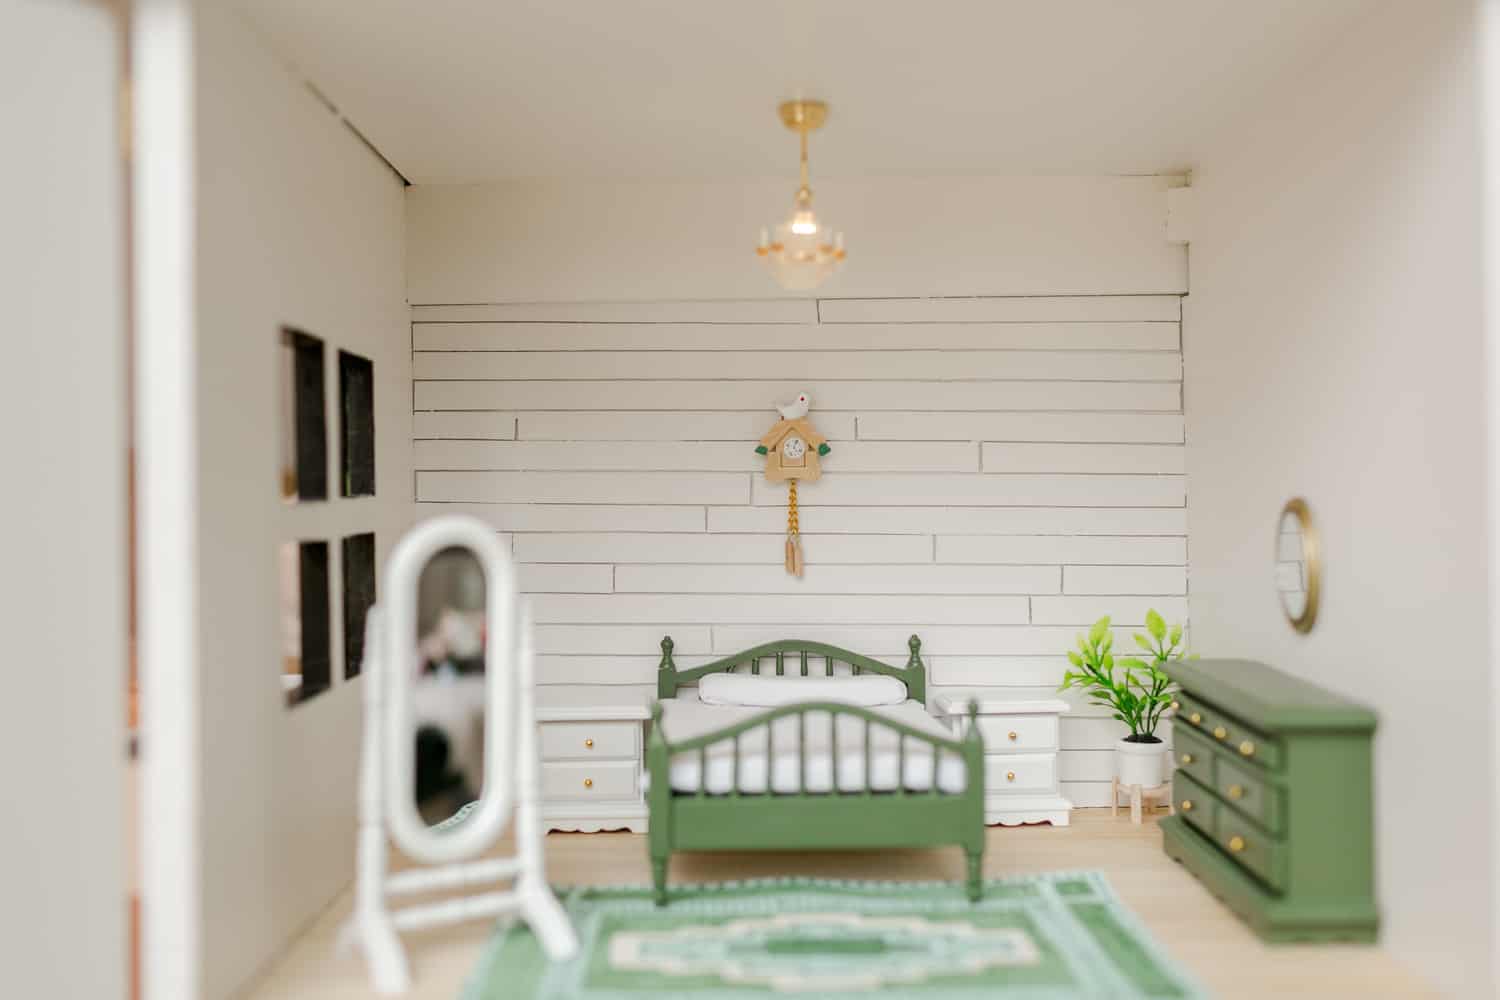 We used this bedroom set (some pieces are painted green). The tiny cuckoo clock is so cute, right?!
Please note Collin’s DIY shiplap wall. It’s made of balsa wood (which is really thin wood you can cut with scissors or an exacto knife—perfect for this type of crafting).
Also, please note, from day one I knew I wanted to add working lights to the rooms … it just seemed SO magical to me. I ended using a couple packs of these. The tiny chandelier is my favorite.
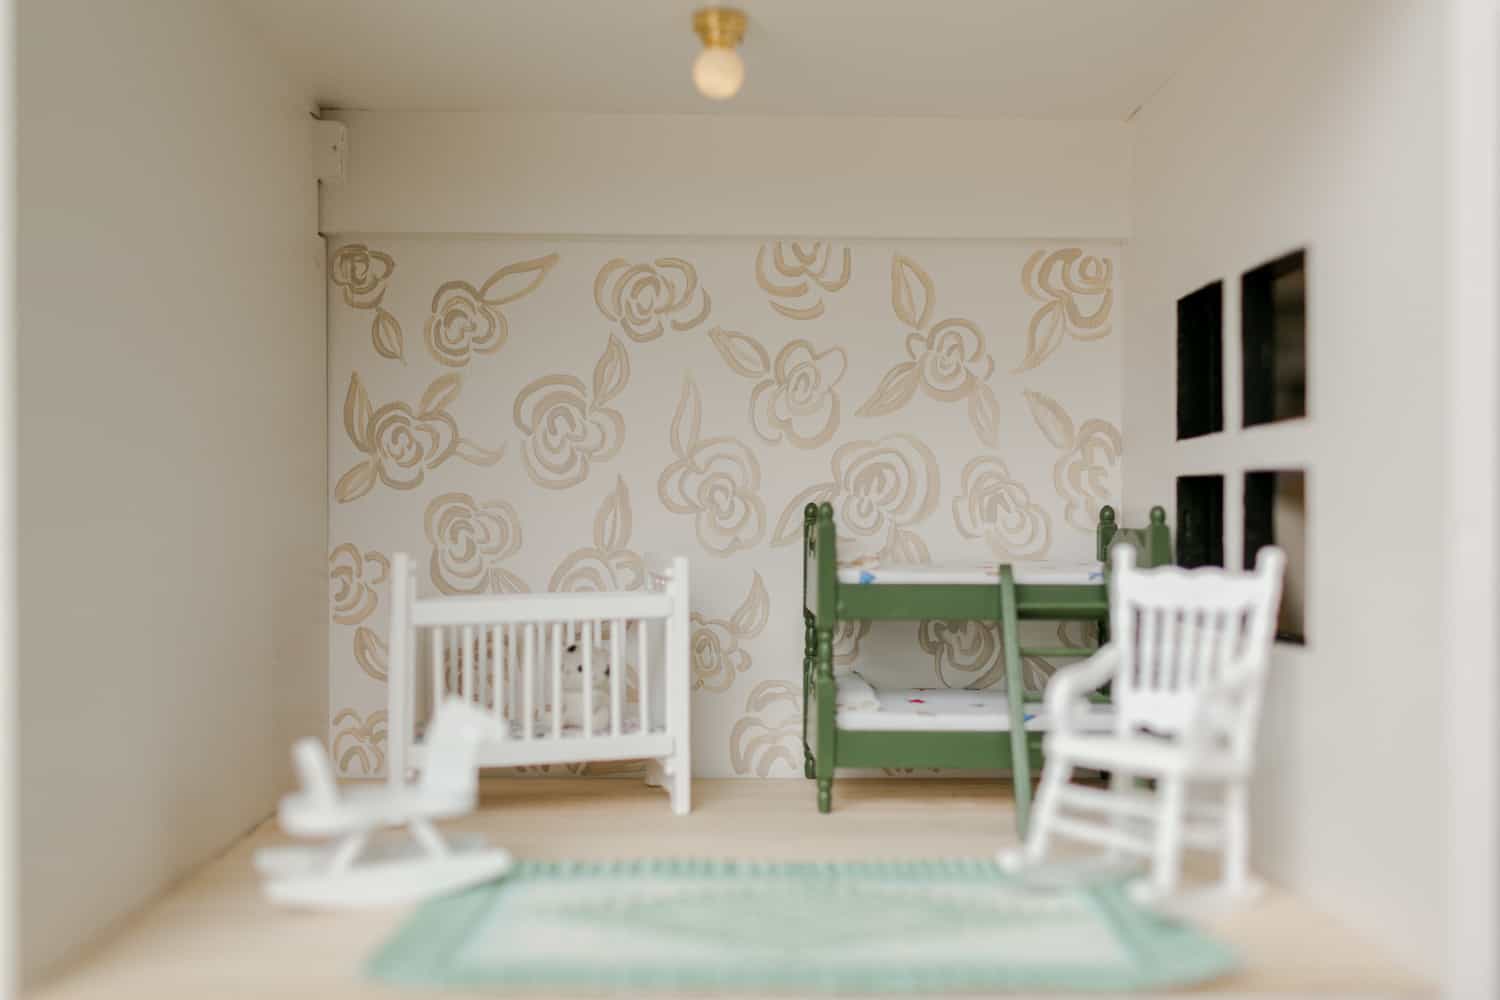 Here’s the second bedroom. I hand painted the flower mural. For this room, I used this bunk bed and this set. I also hand painted the rug (I’ll share more about that below!).
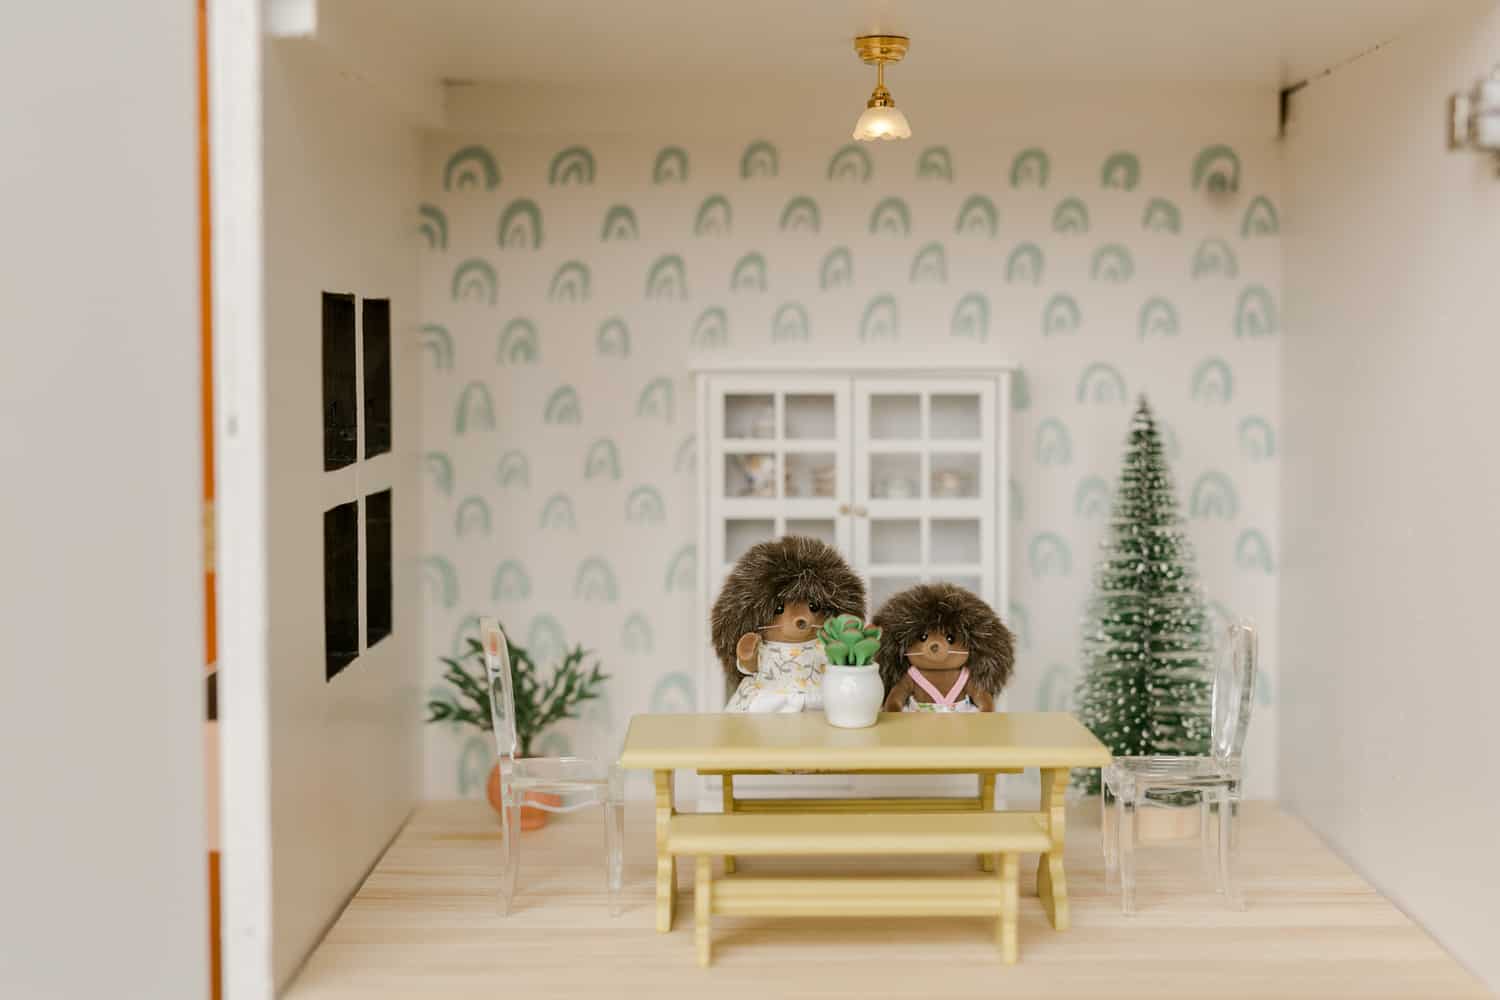
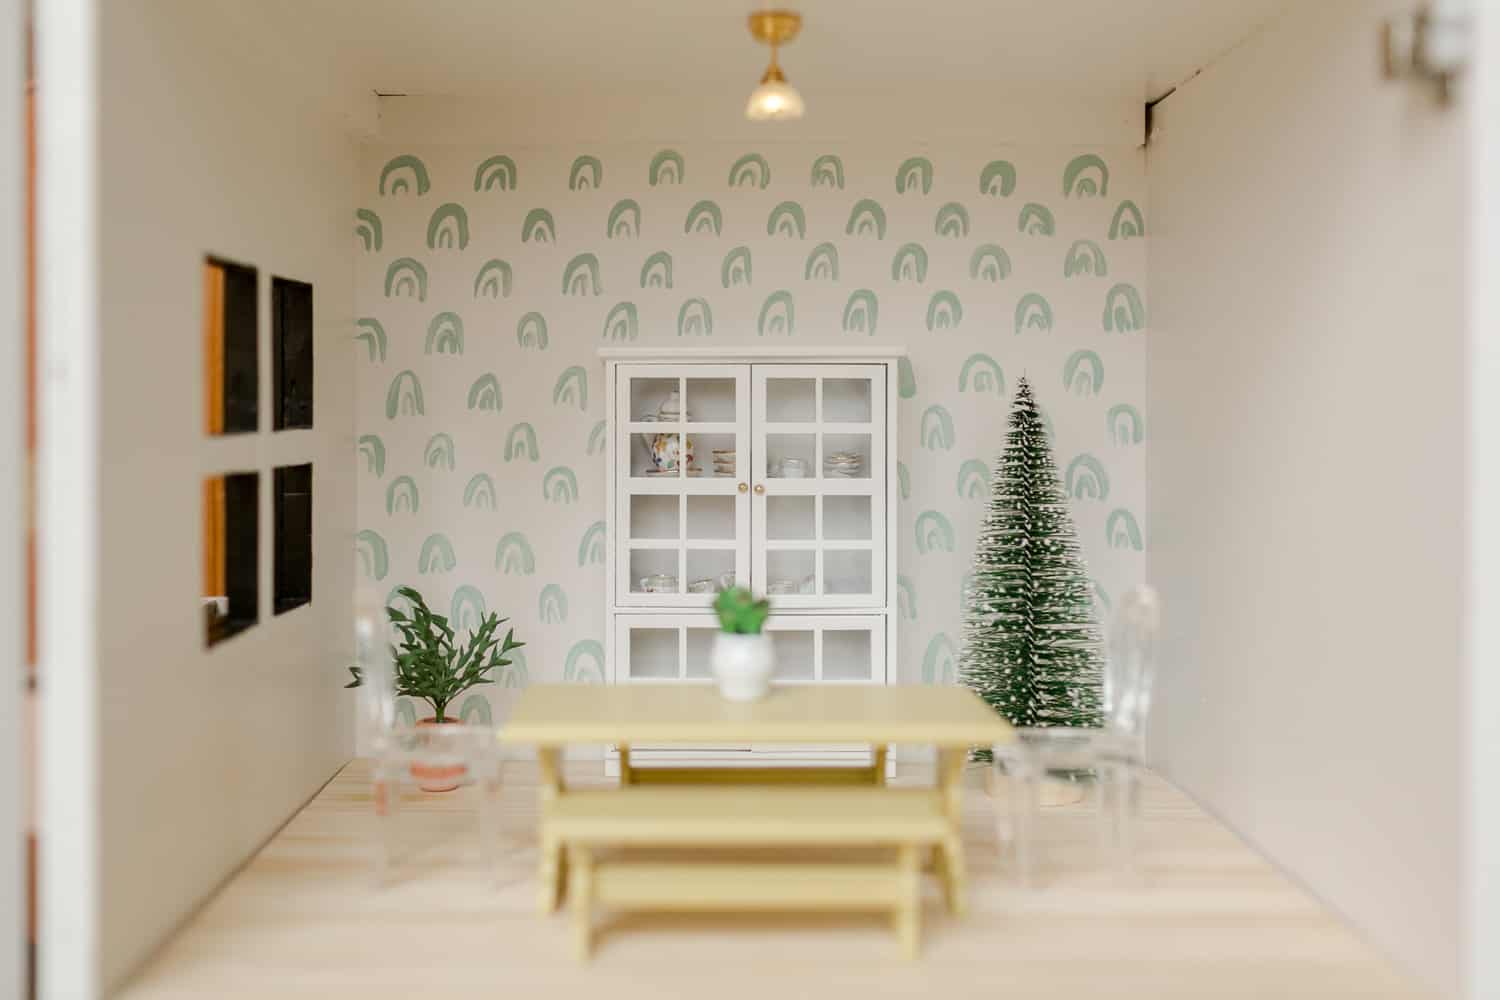 The dining room makes me SO happy! Again, the mural is hand painted.The china cabinet is this one, this is the dining room table (we painted it yellow), and I got these teeny lucite chairs from Etsy … I love them so much!
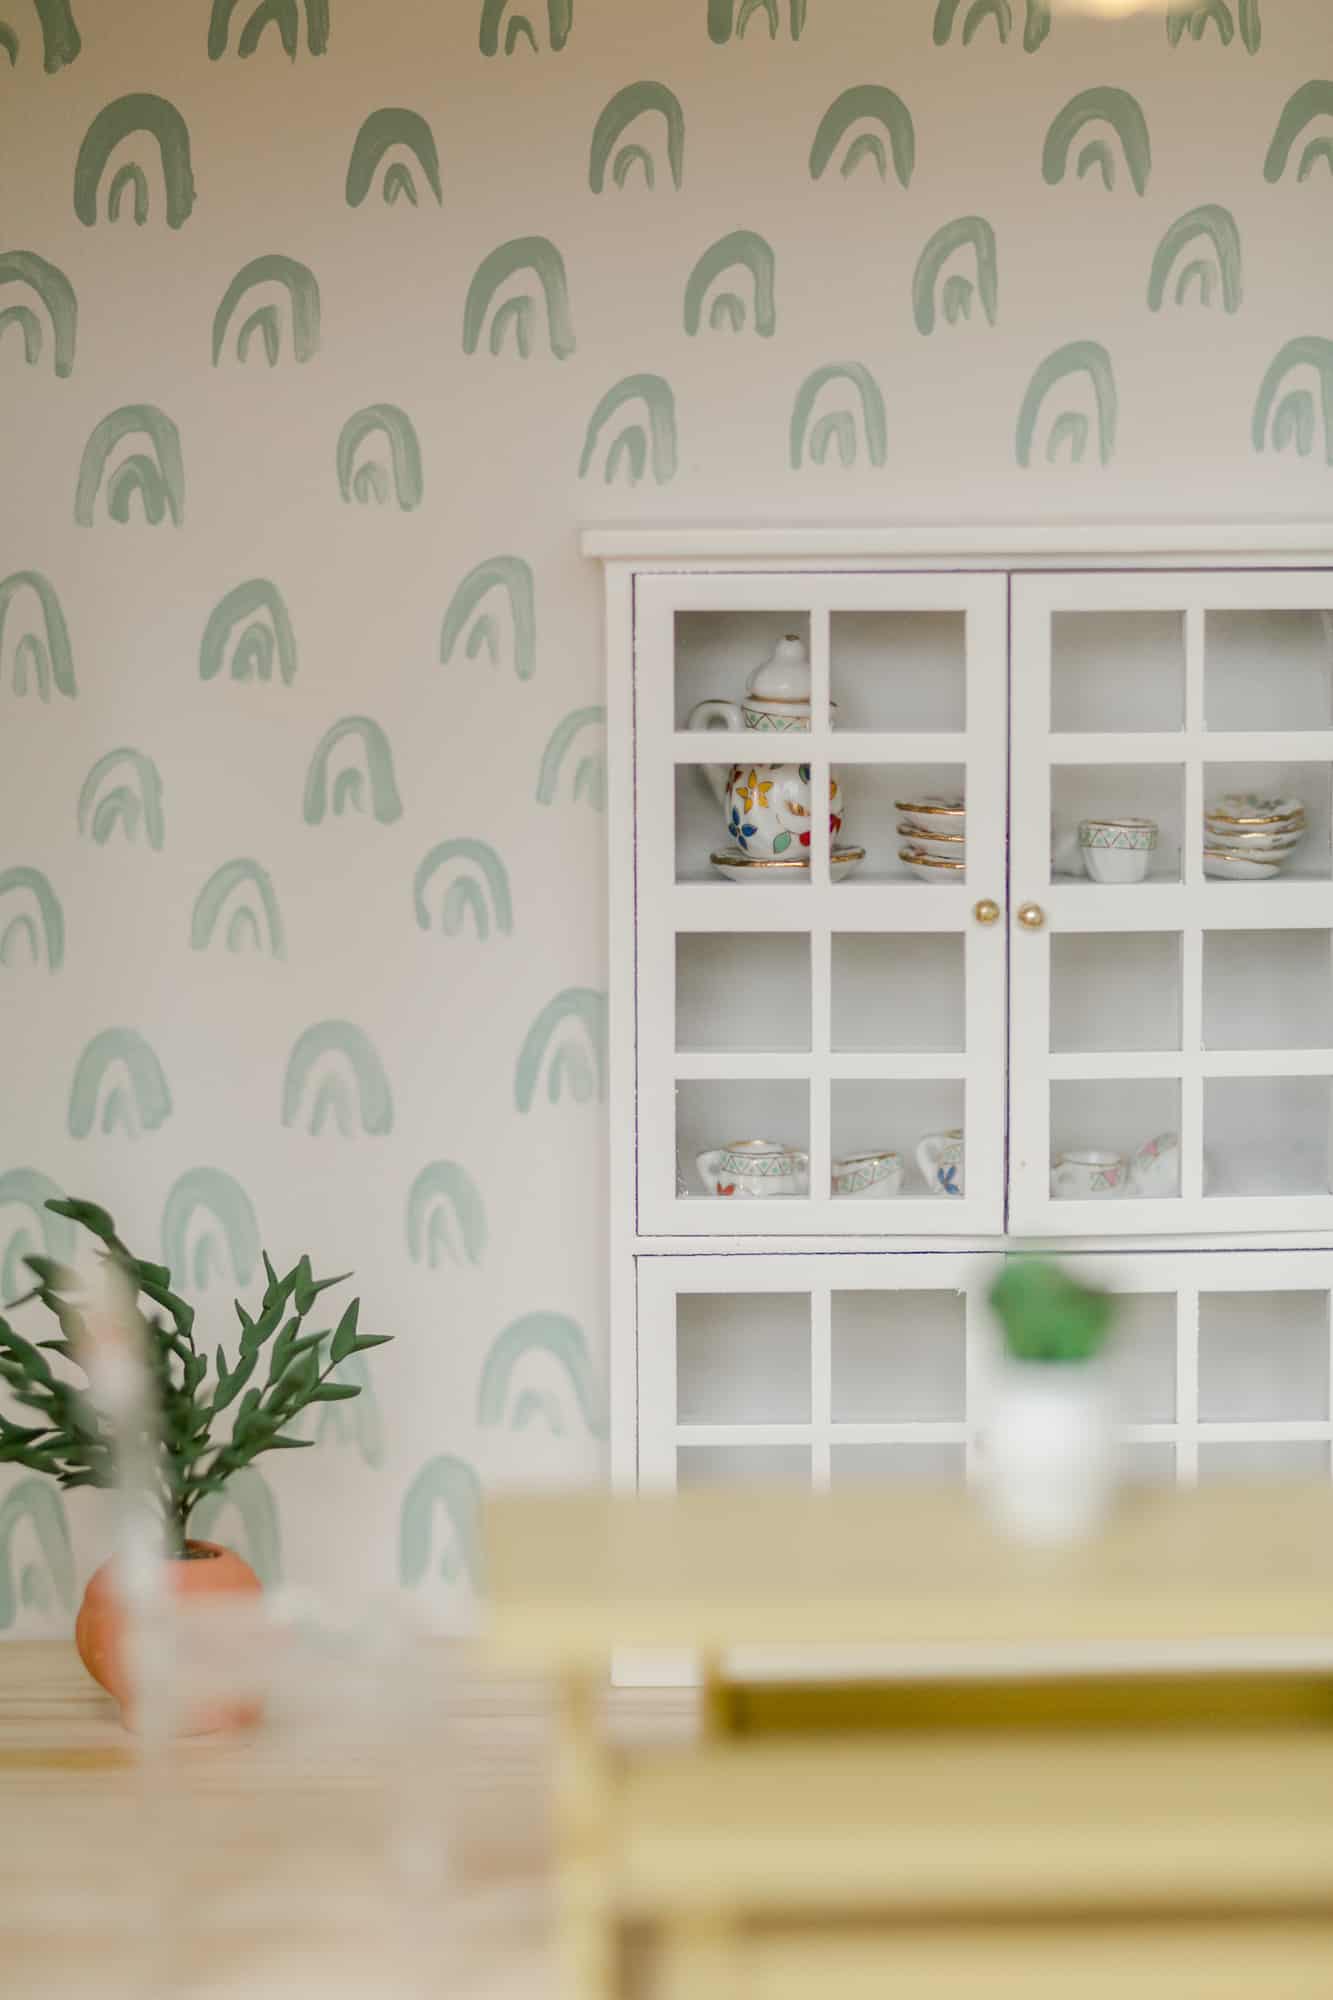
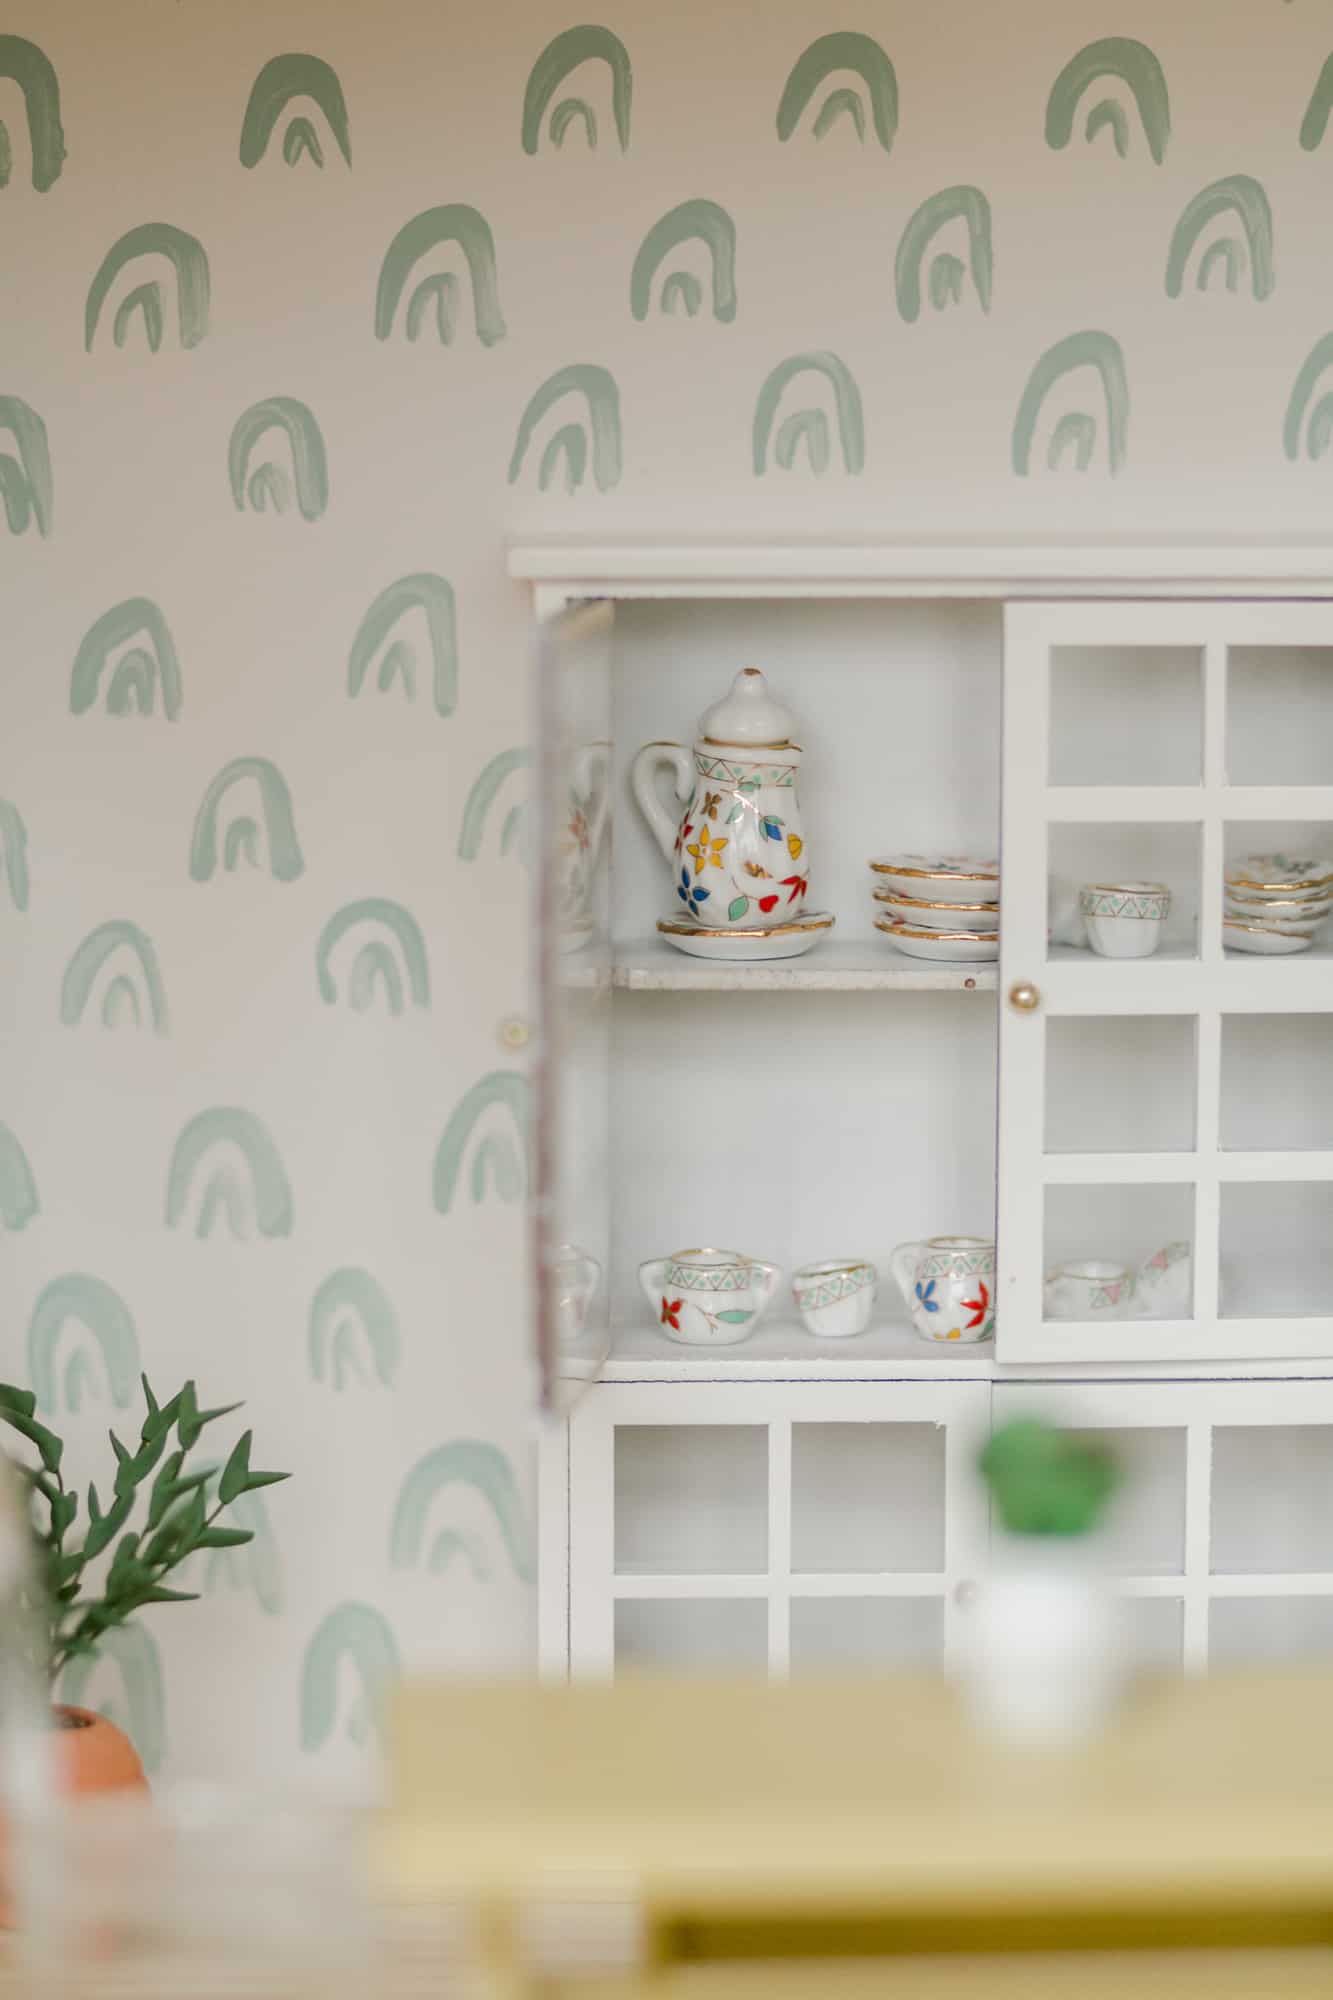 This sweet little china set makes my heart so happy. I spent way too much time comparing all the different options. :))
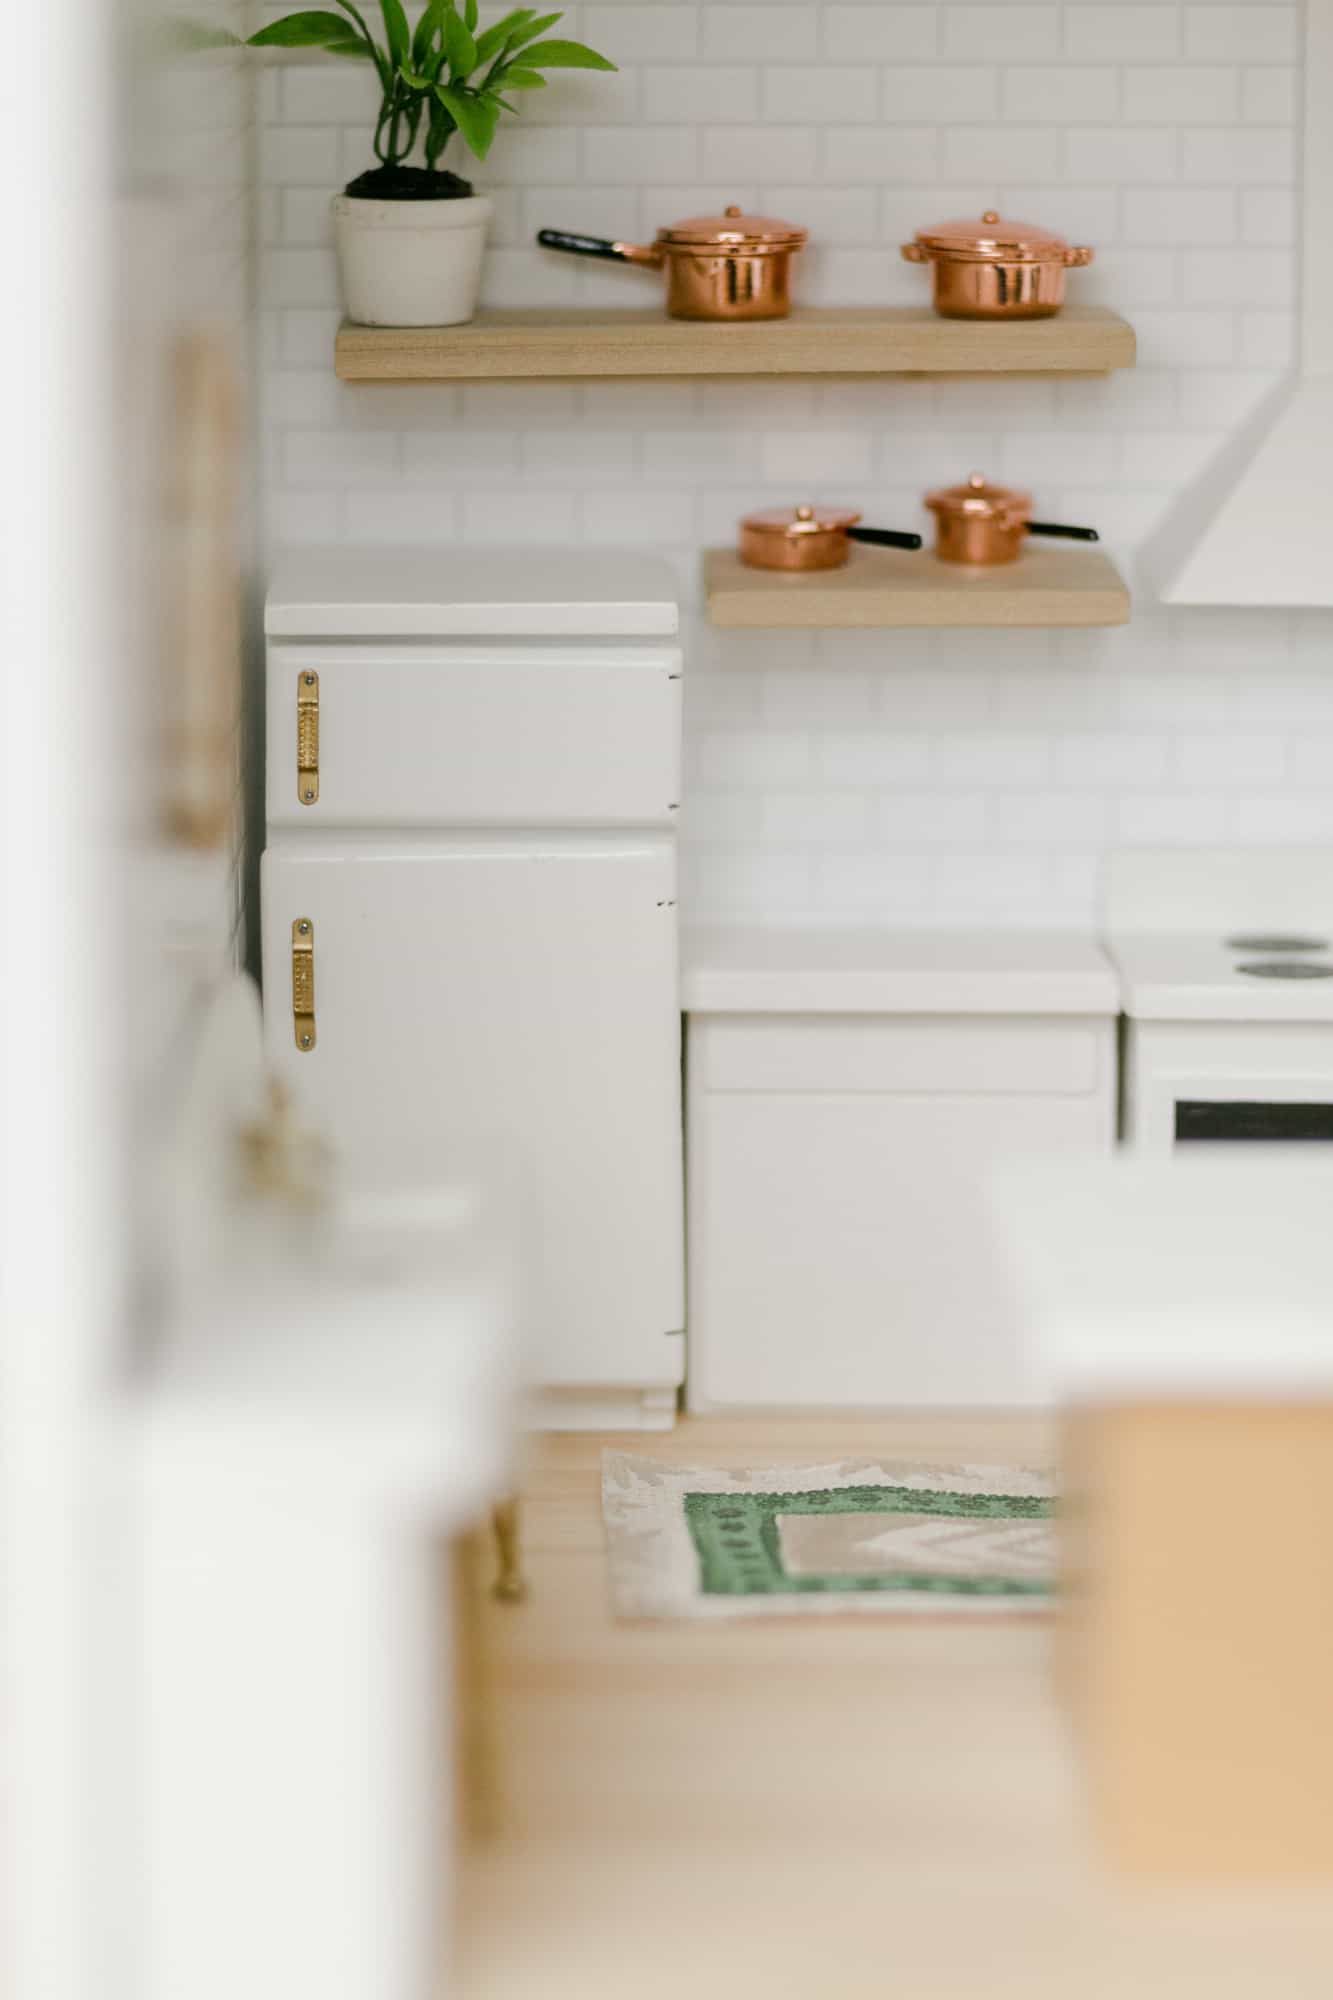
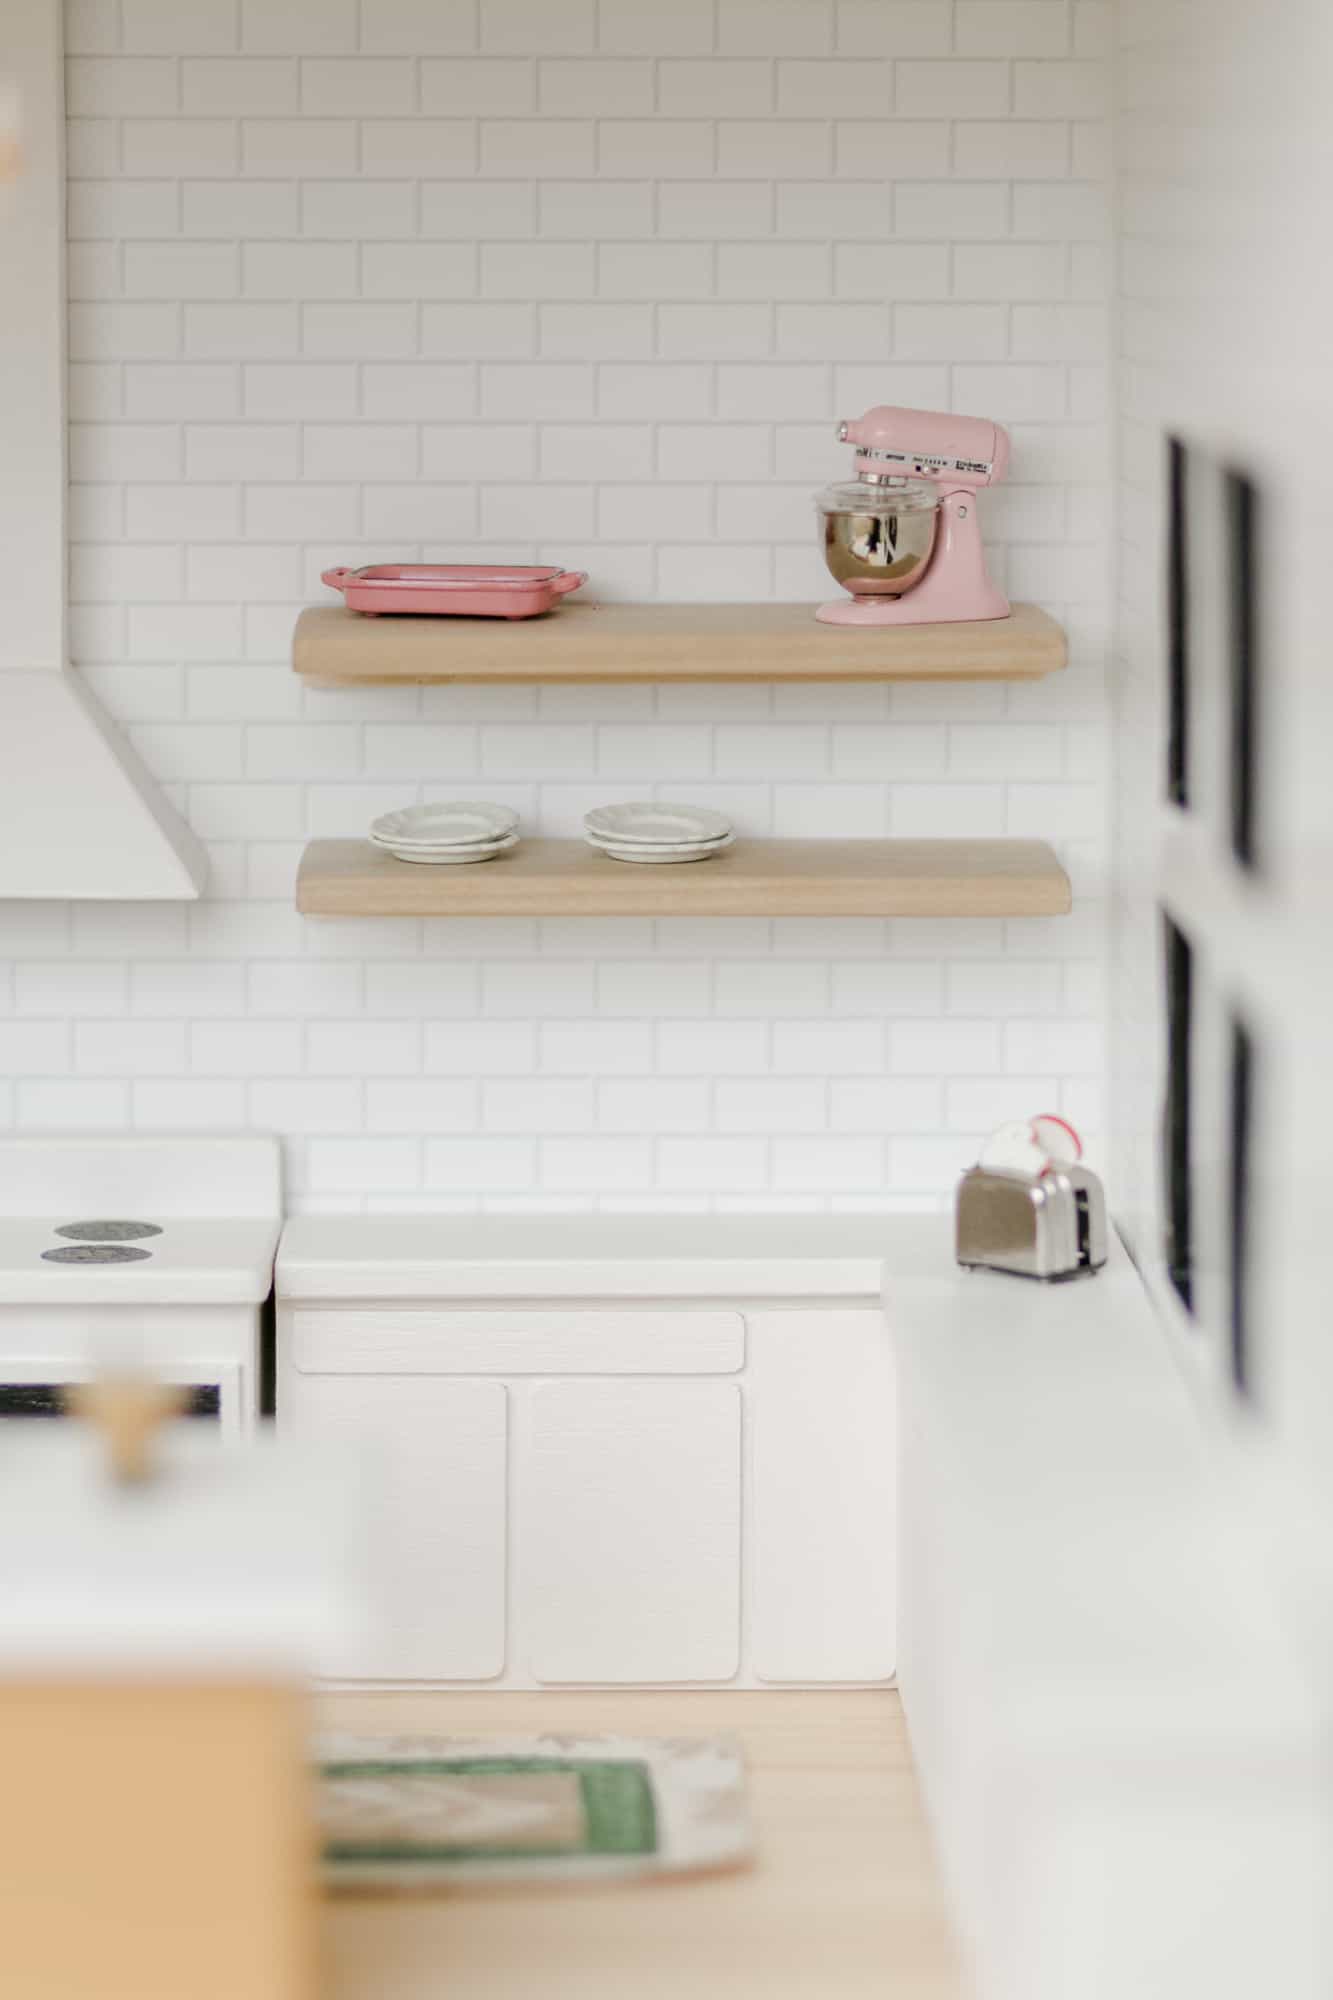
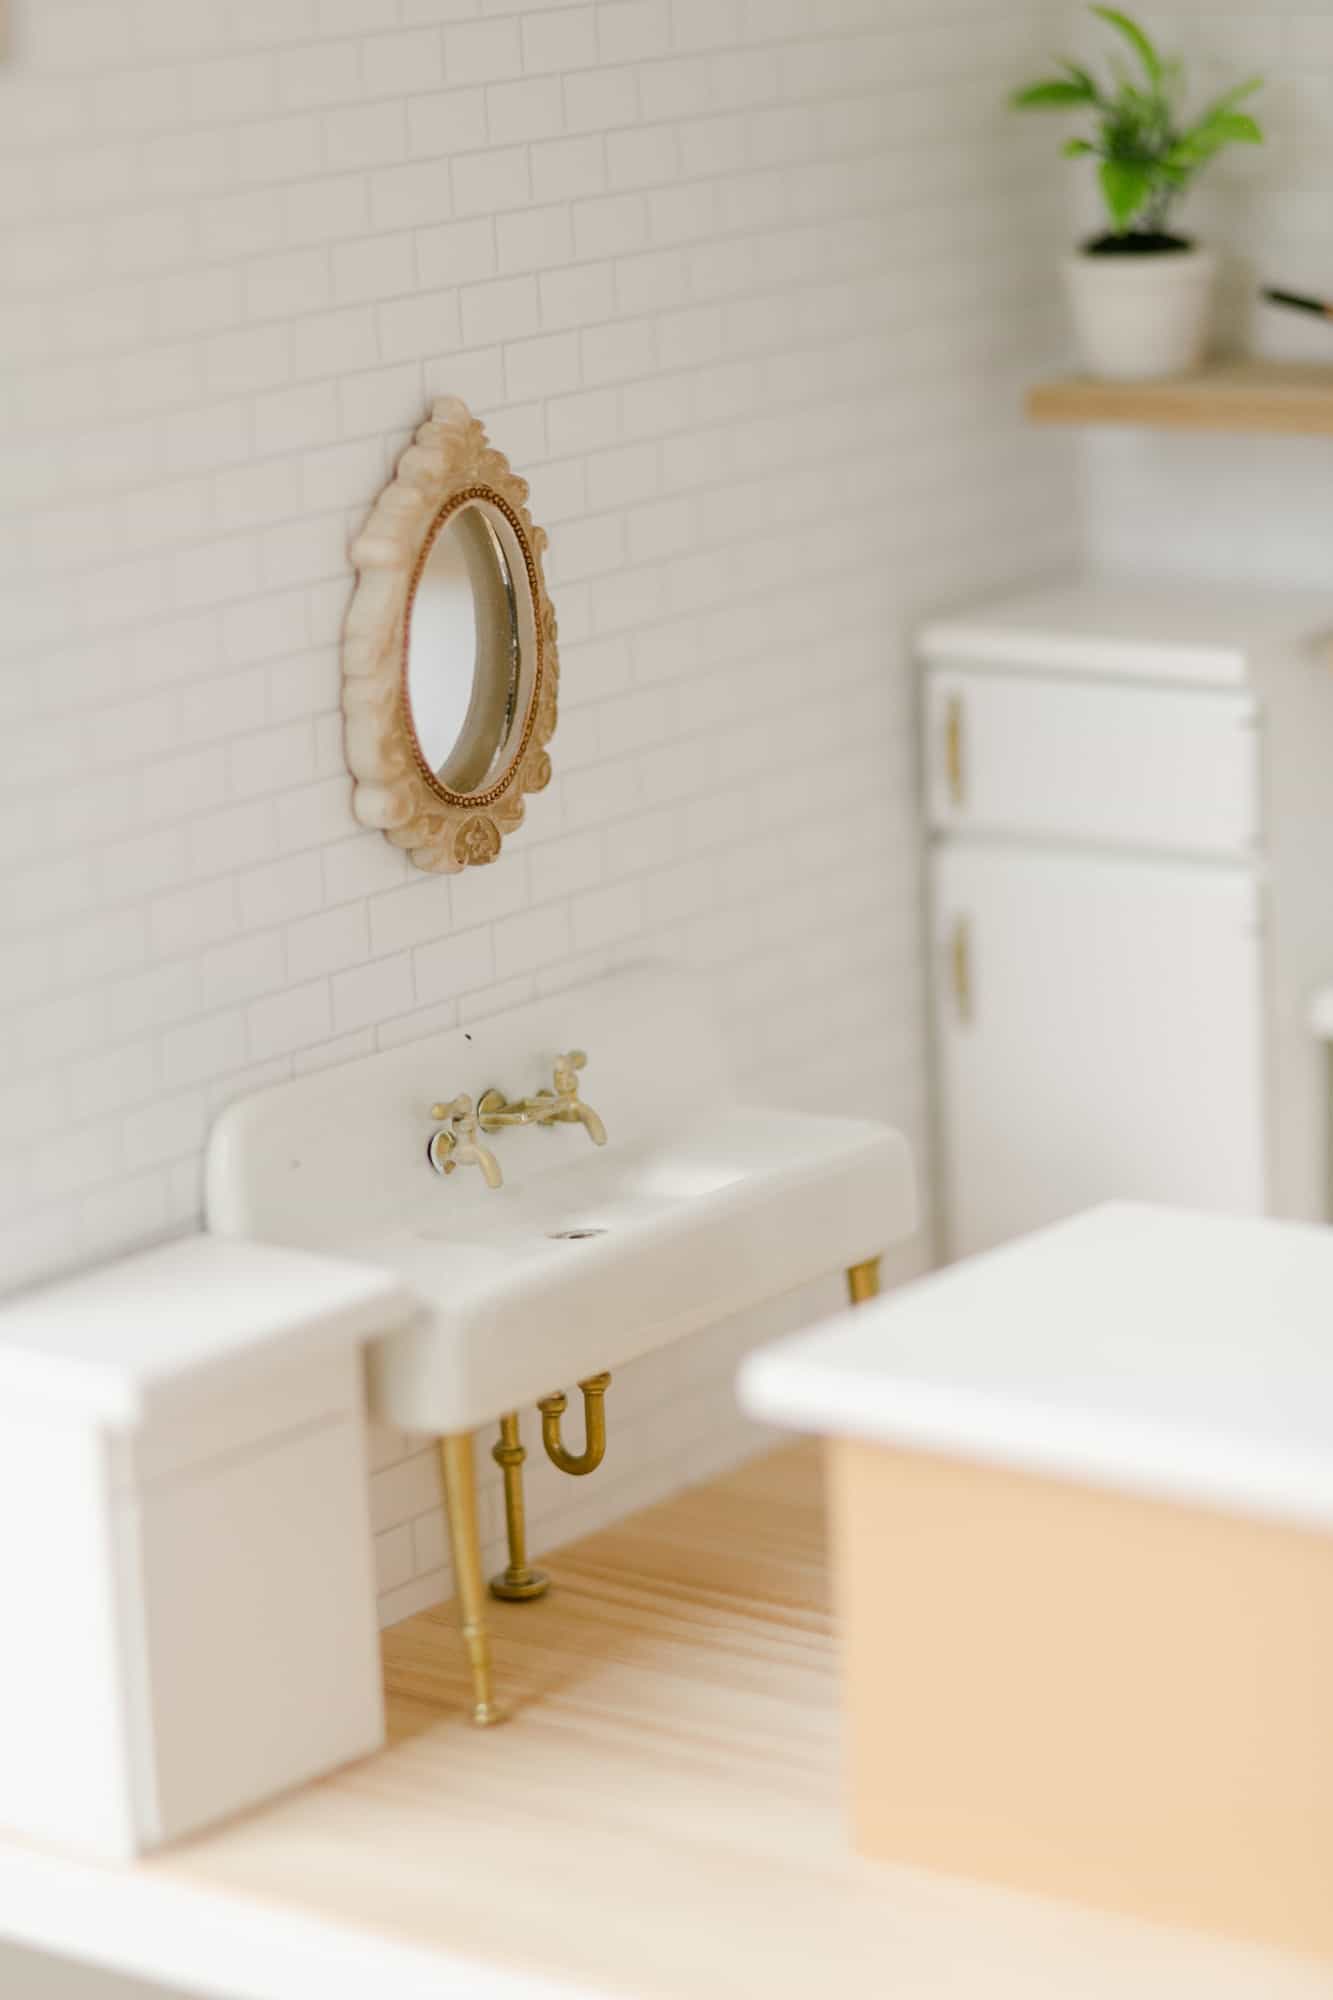
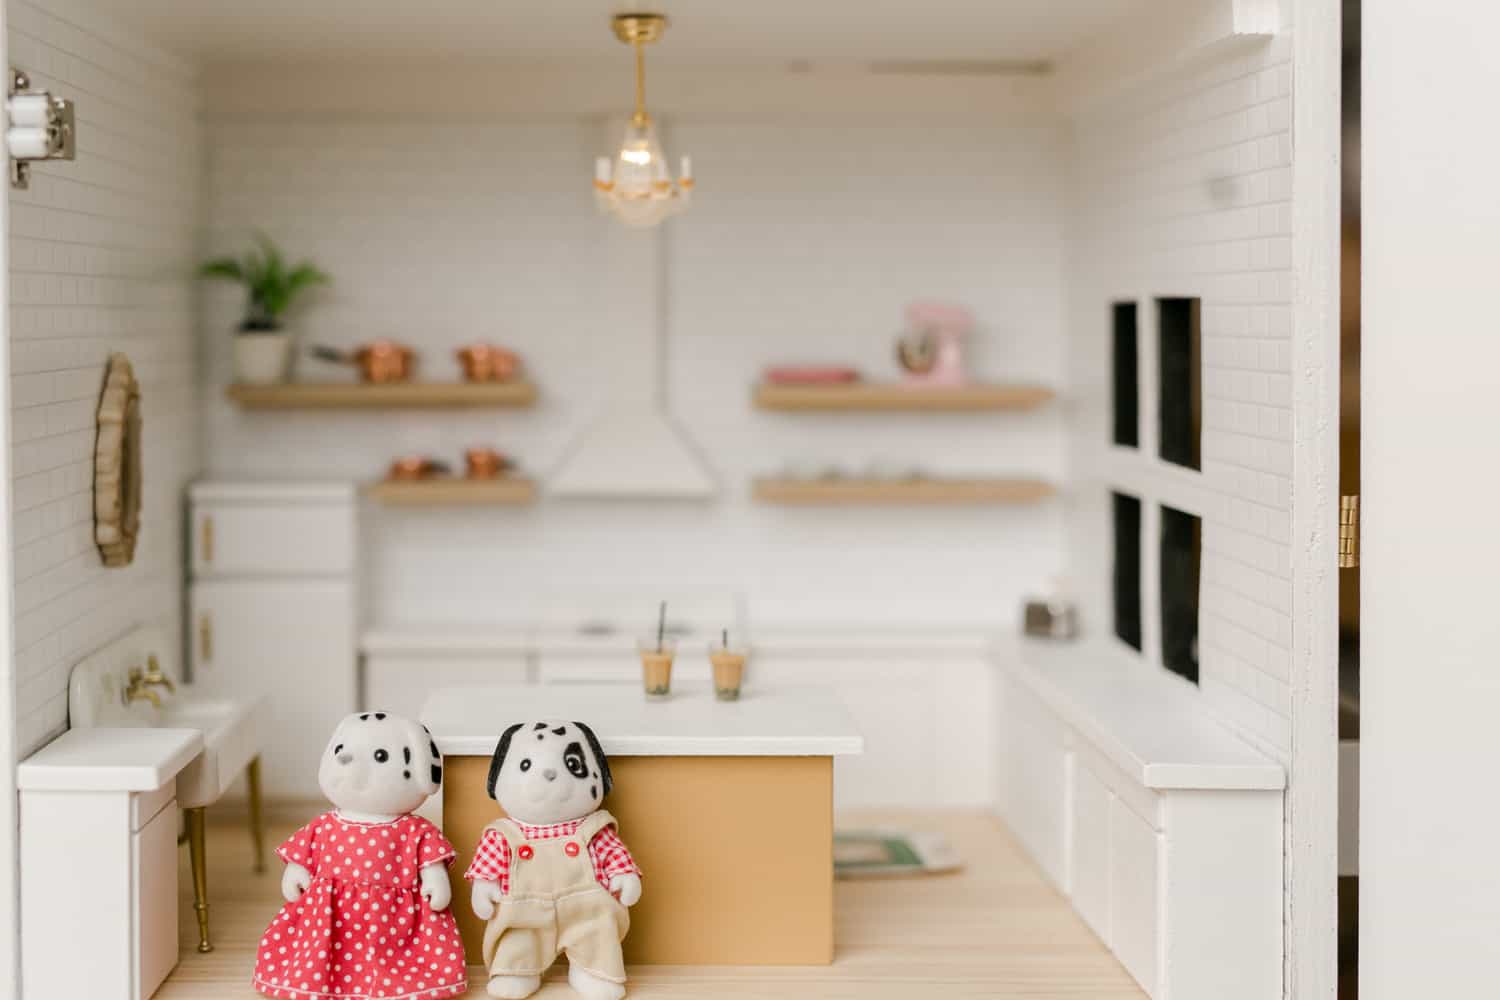
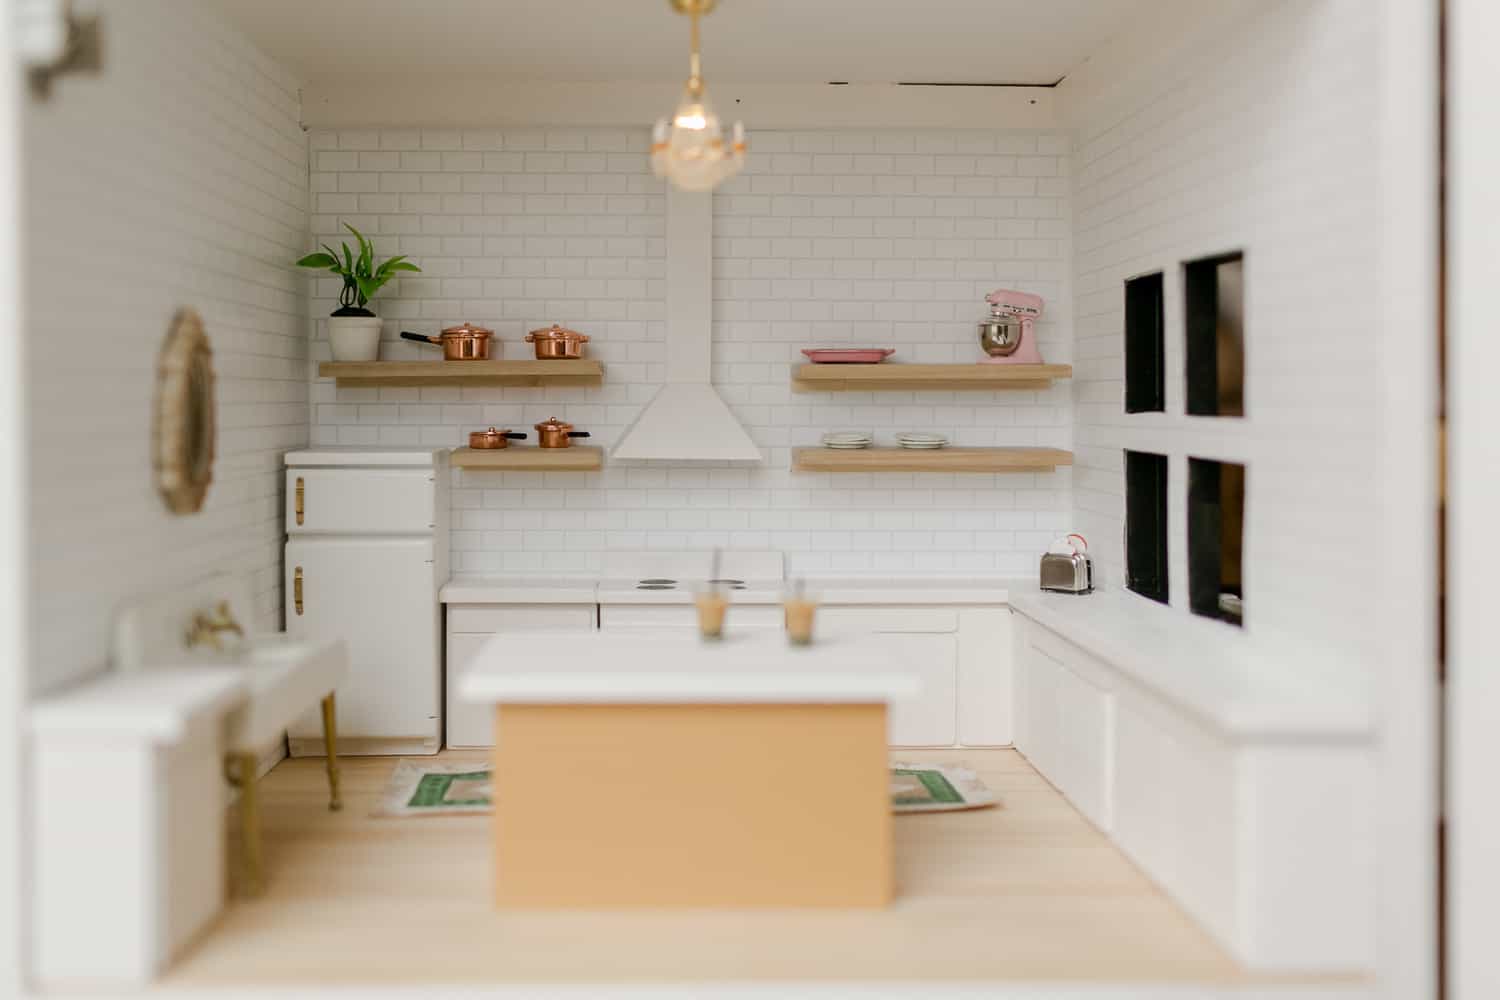 Now to the best room … the kitchen!!!! I’m so obsessed with it! I’ll link to all the stuff we purchased. Then Collin filled in the design with “custom” cabinets, an island, shelves and the adorable vent hood. Here are the links to the fridge, sink, subway tile (we used three sheets), bubble tea, copper pot set, toaster and pink KitchenAid mixer (it really tilts and is so detailed—I can’t handle it!).
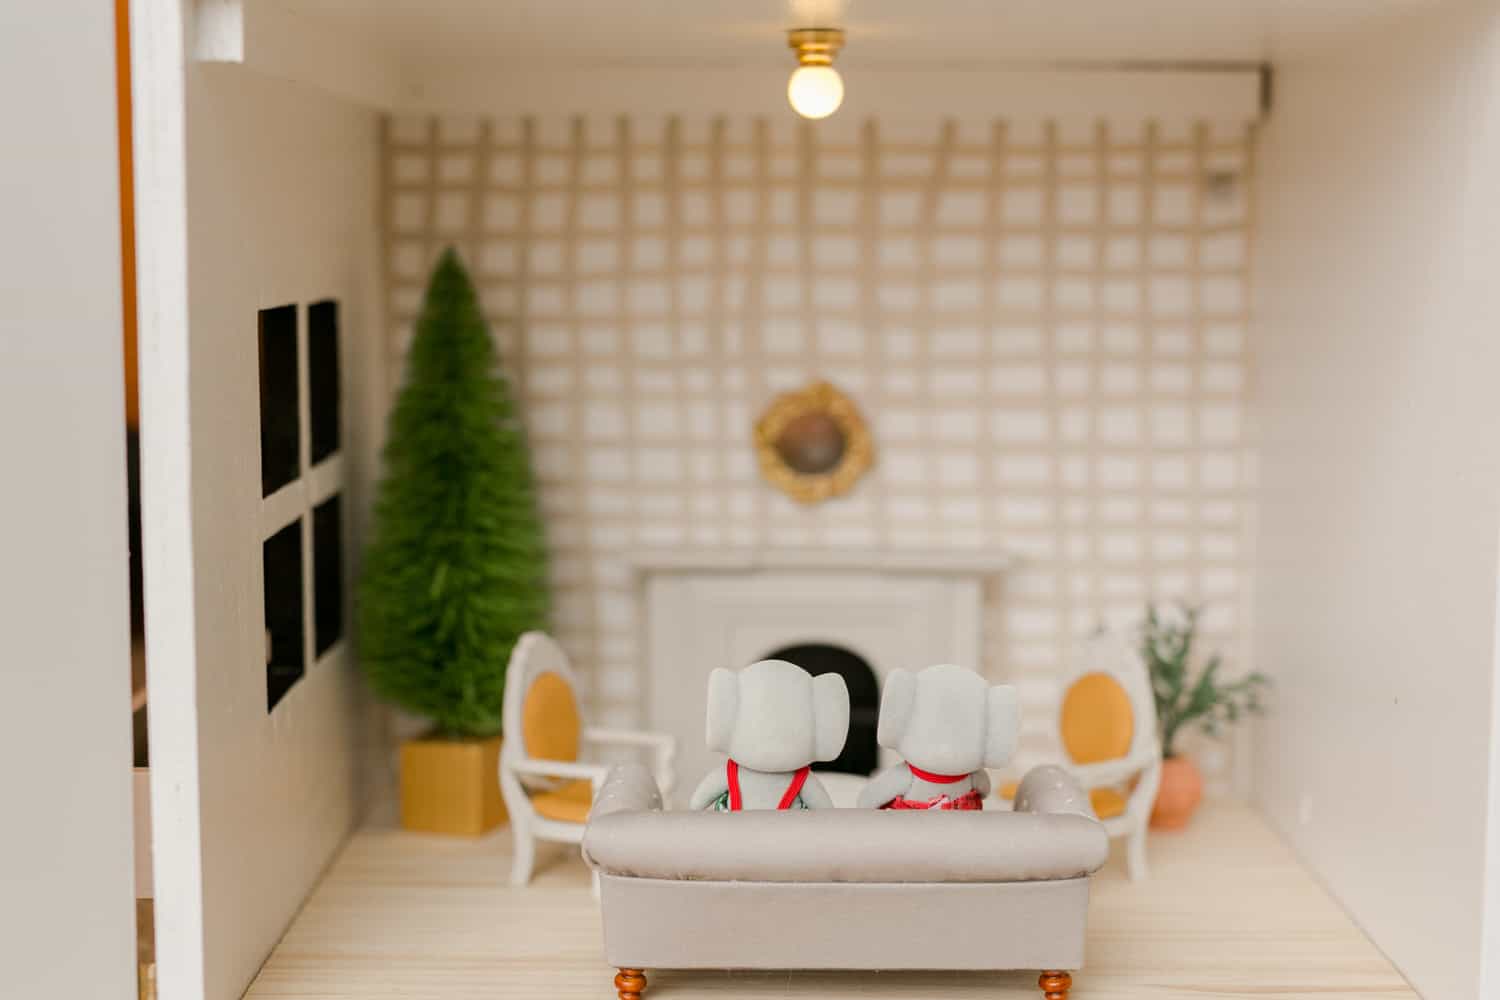
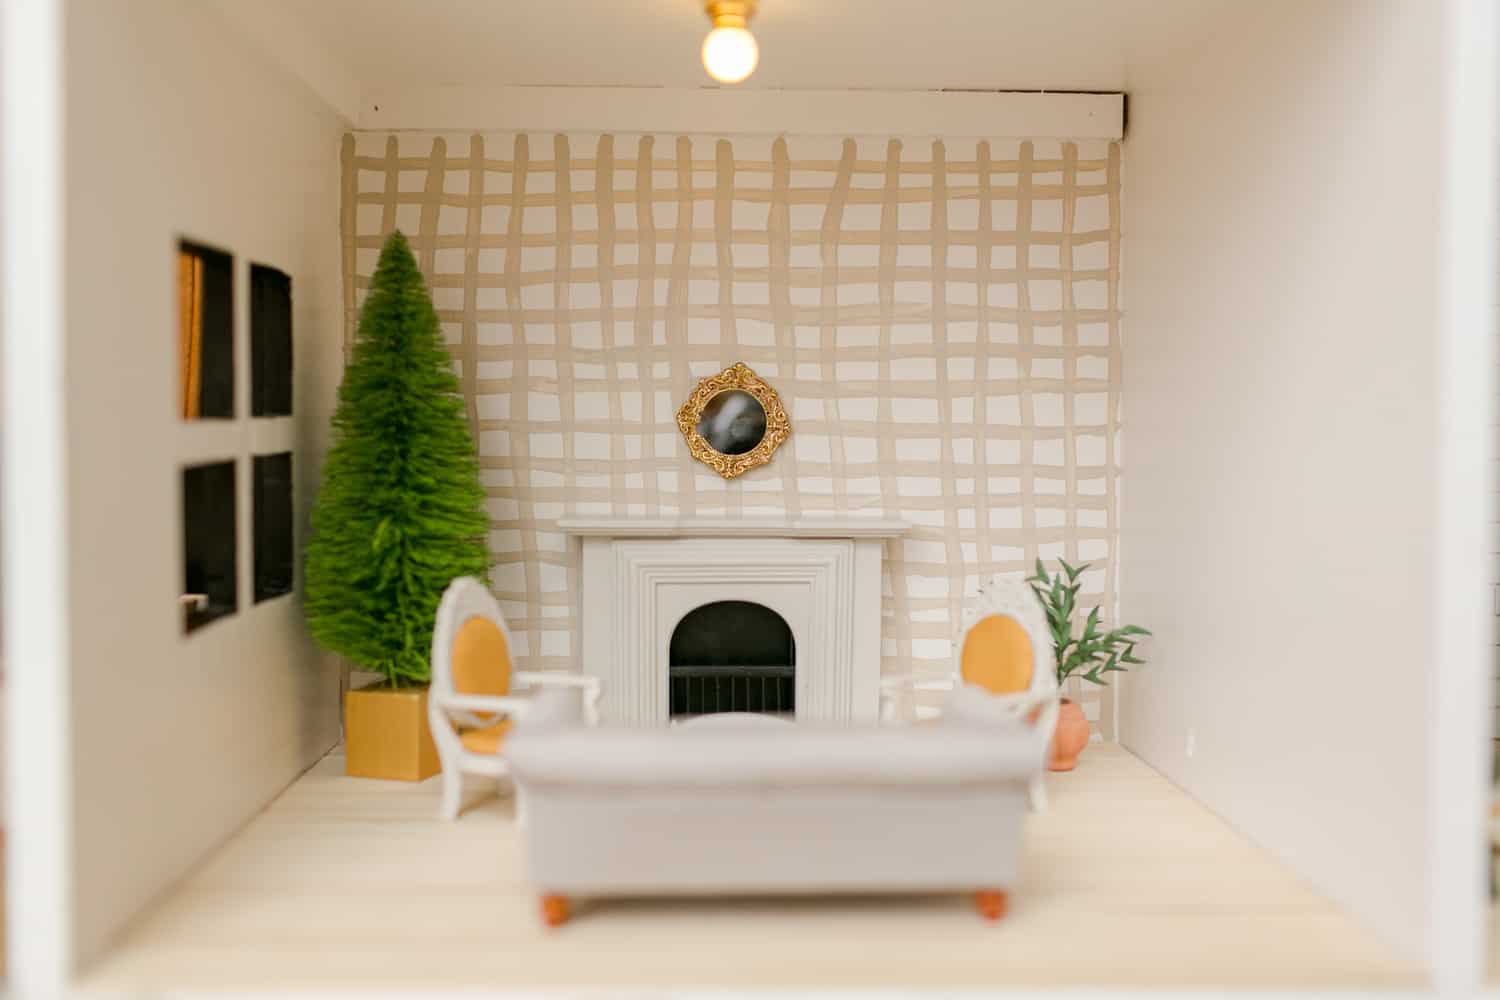 The living room! Sofa, chair set (we painted and reupholstered these) and fireplace (similar). The mural is hand-painted.
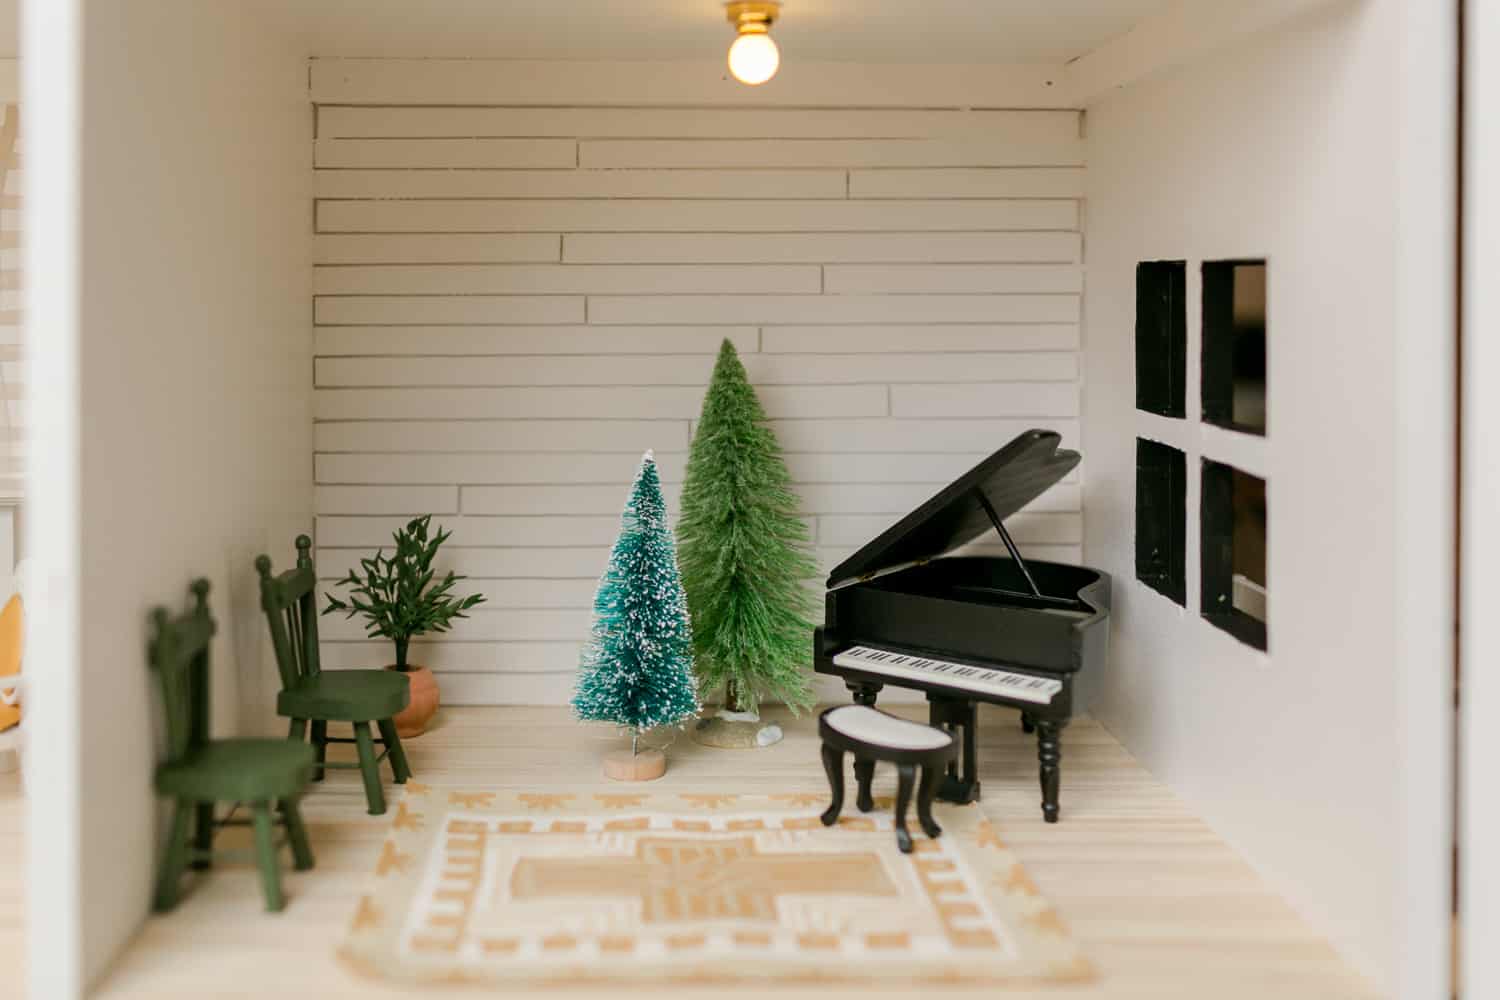 Last, but not least, our dollhouse wouldn’t be complete without a piano!
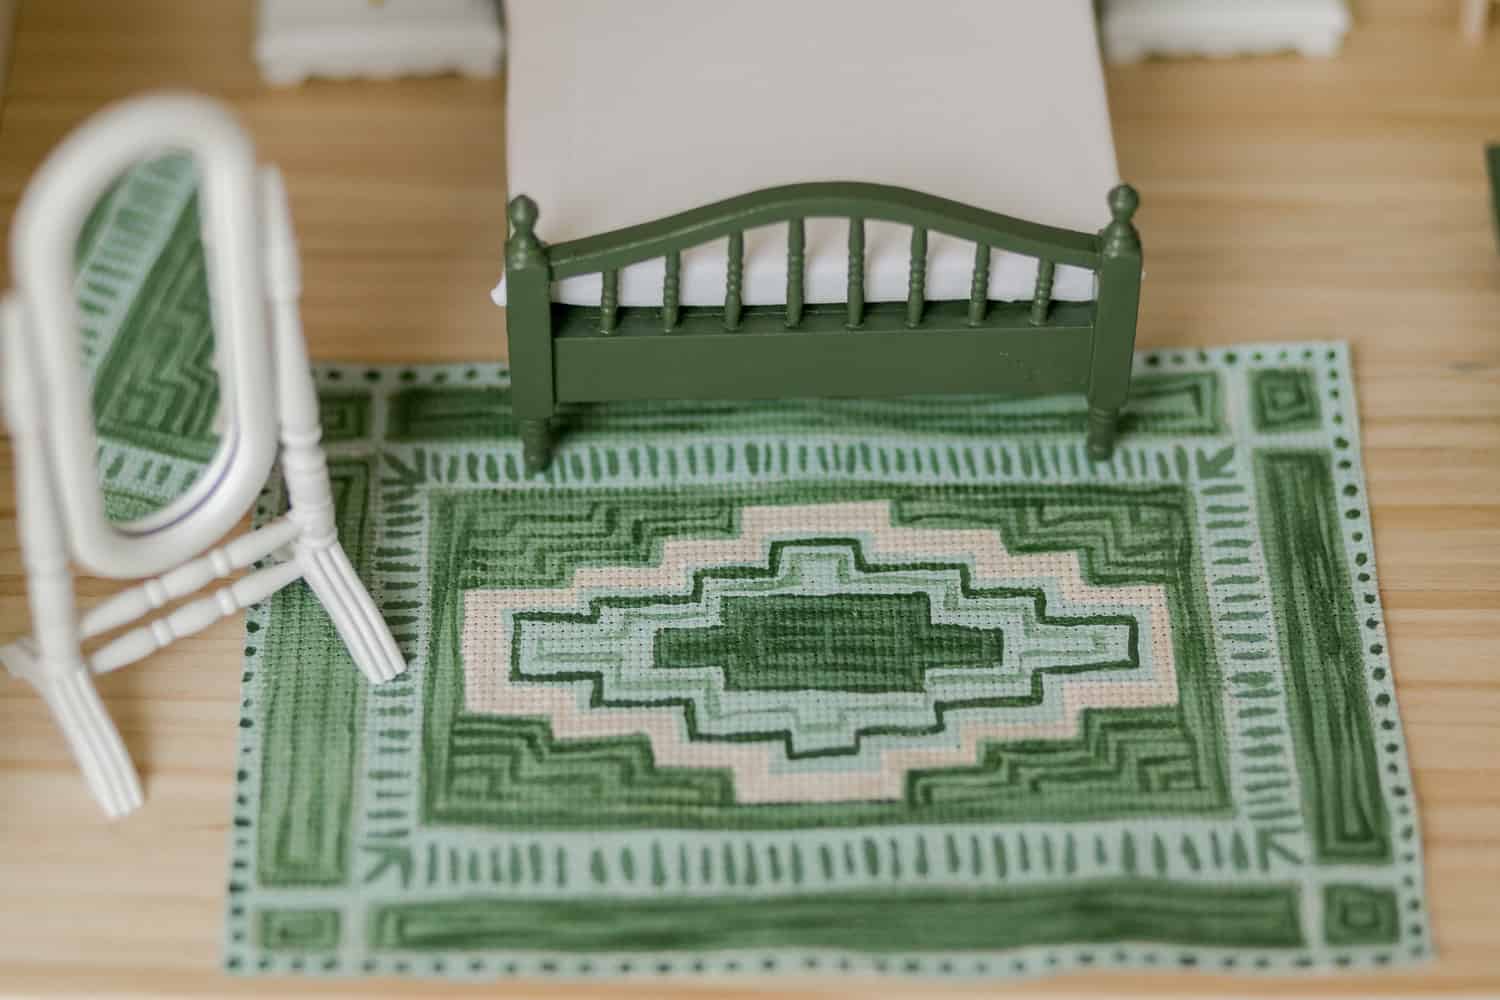
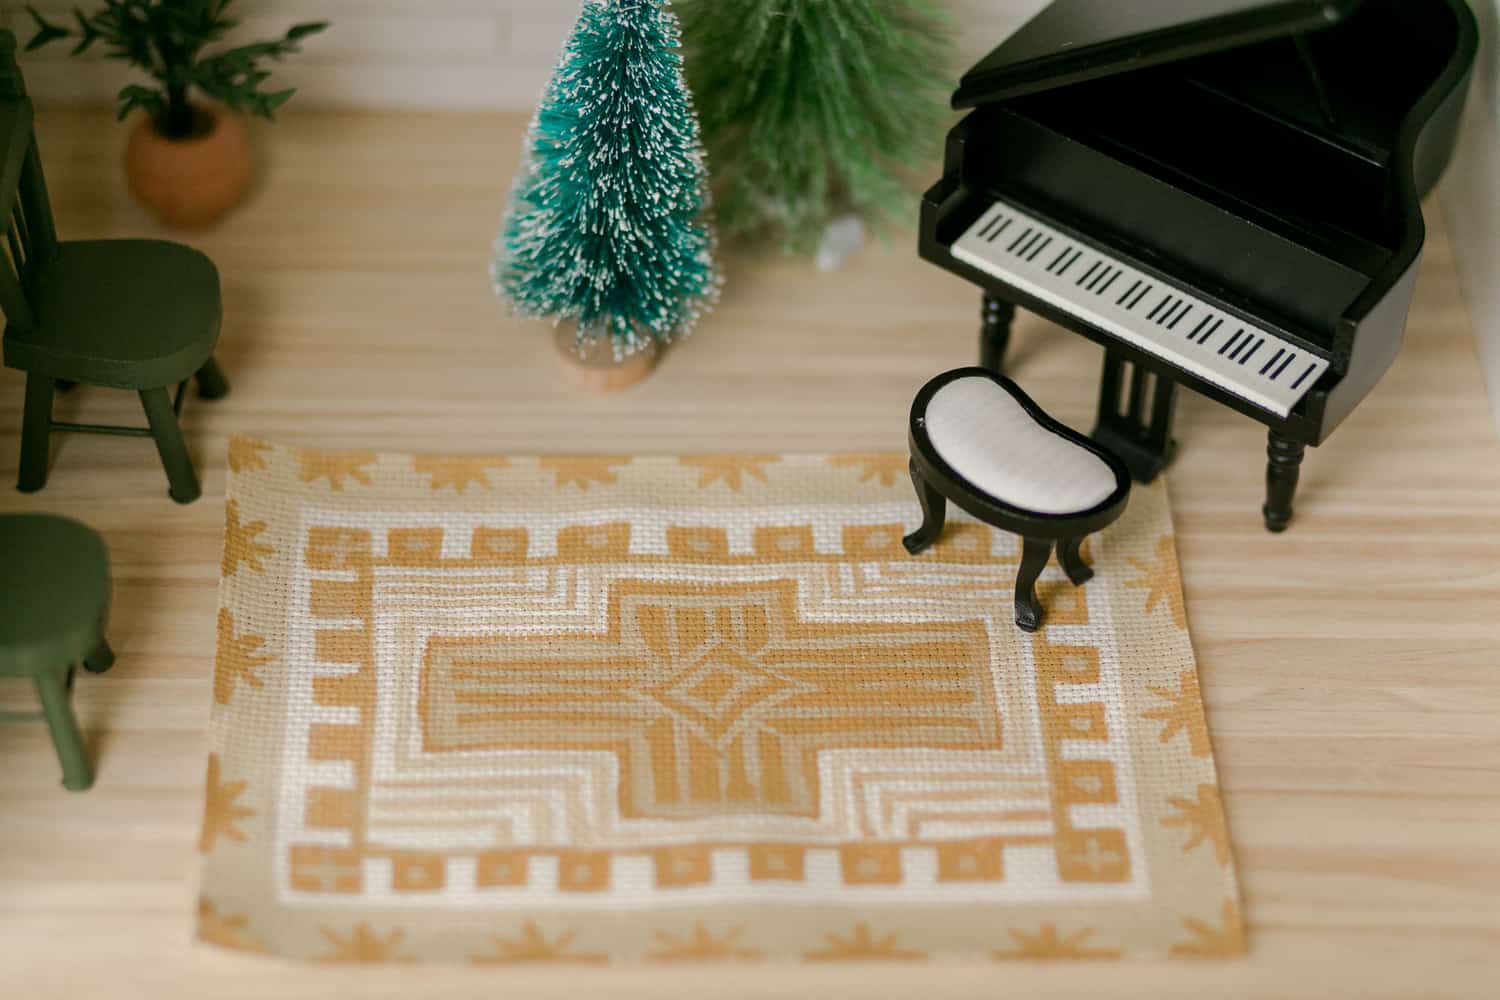
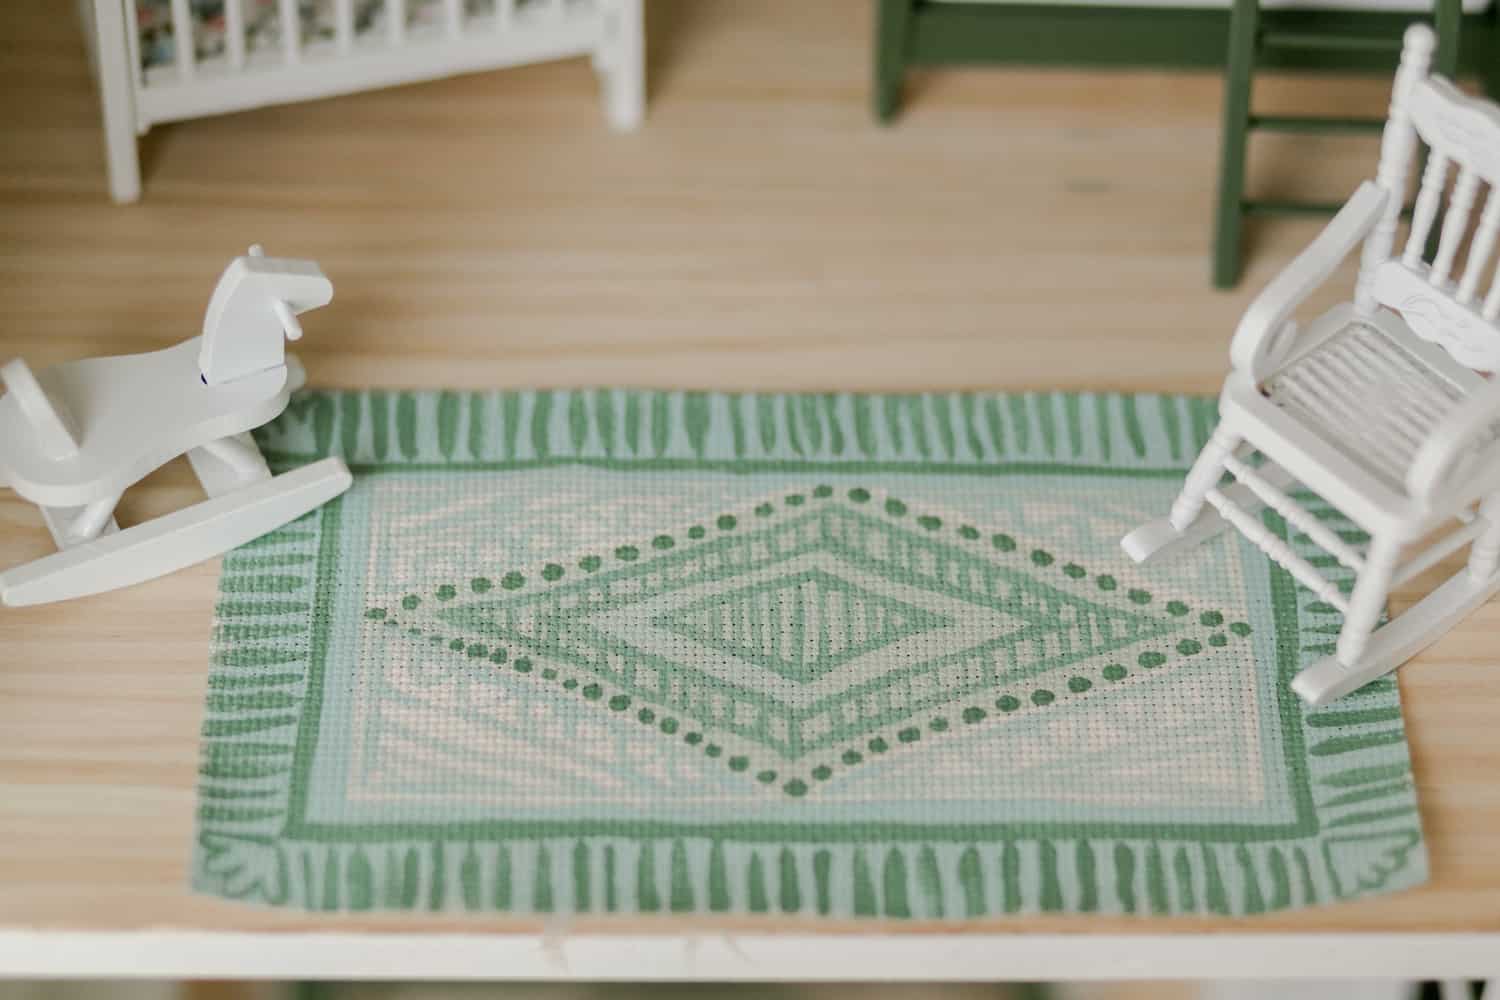 I made a few little DIY rugs. I tried my best to channel inspiration from my favorite rugs, which are vintage Turkish rugs. It was a TON of fun and very relaxing.
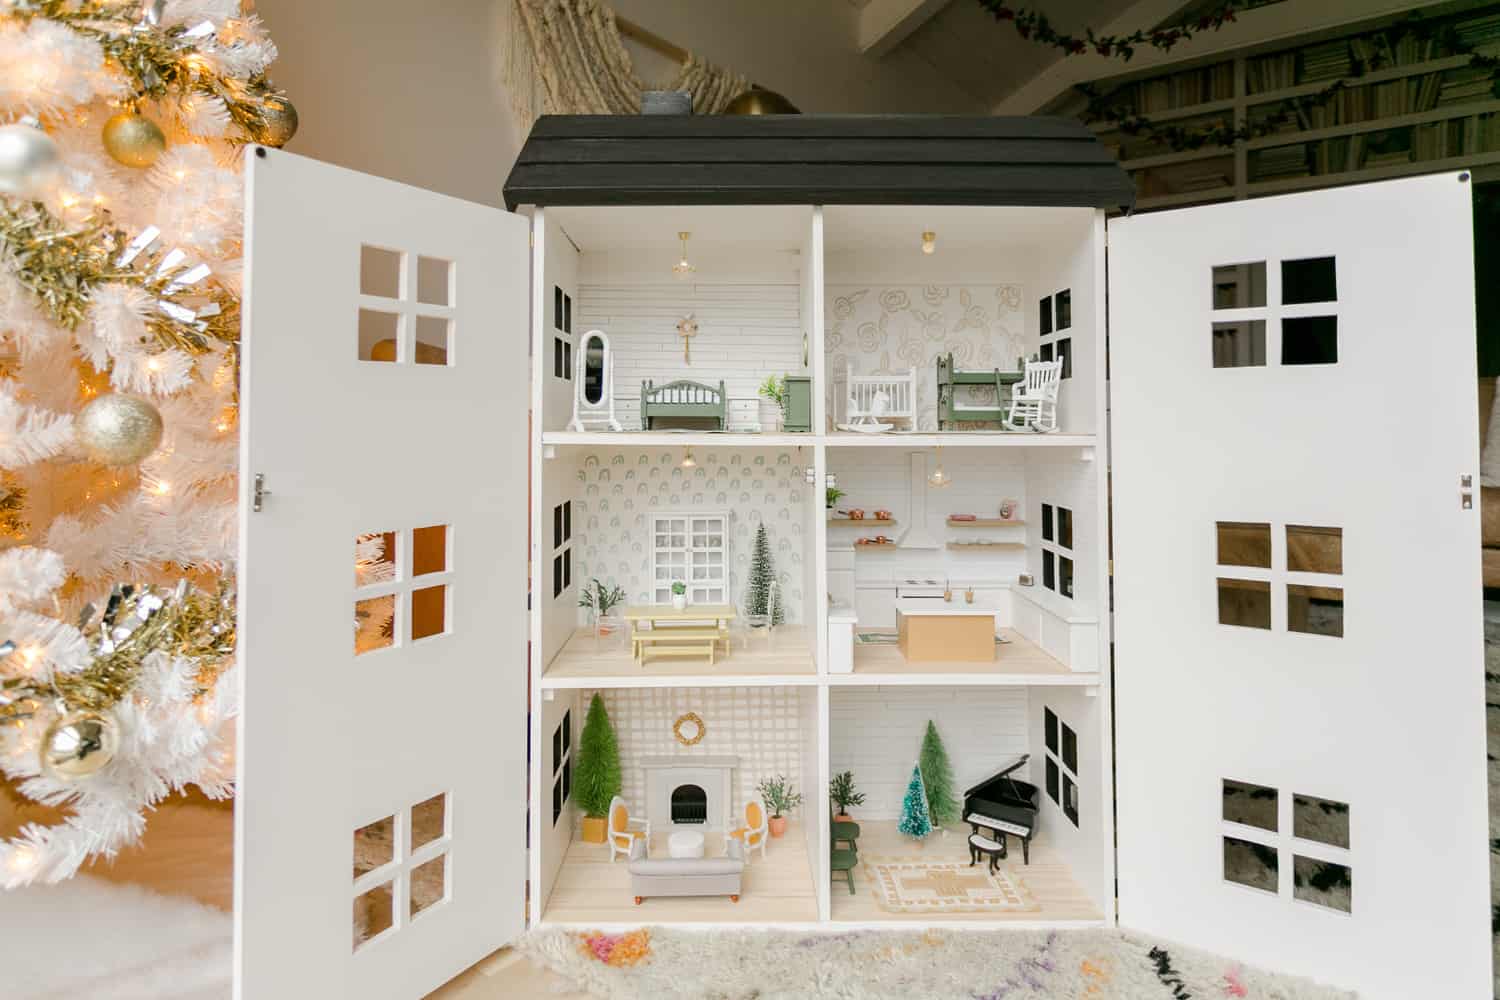
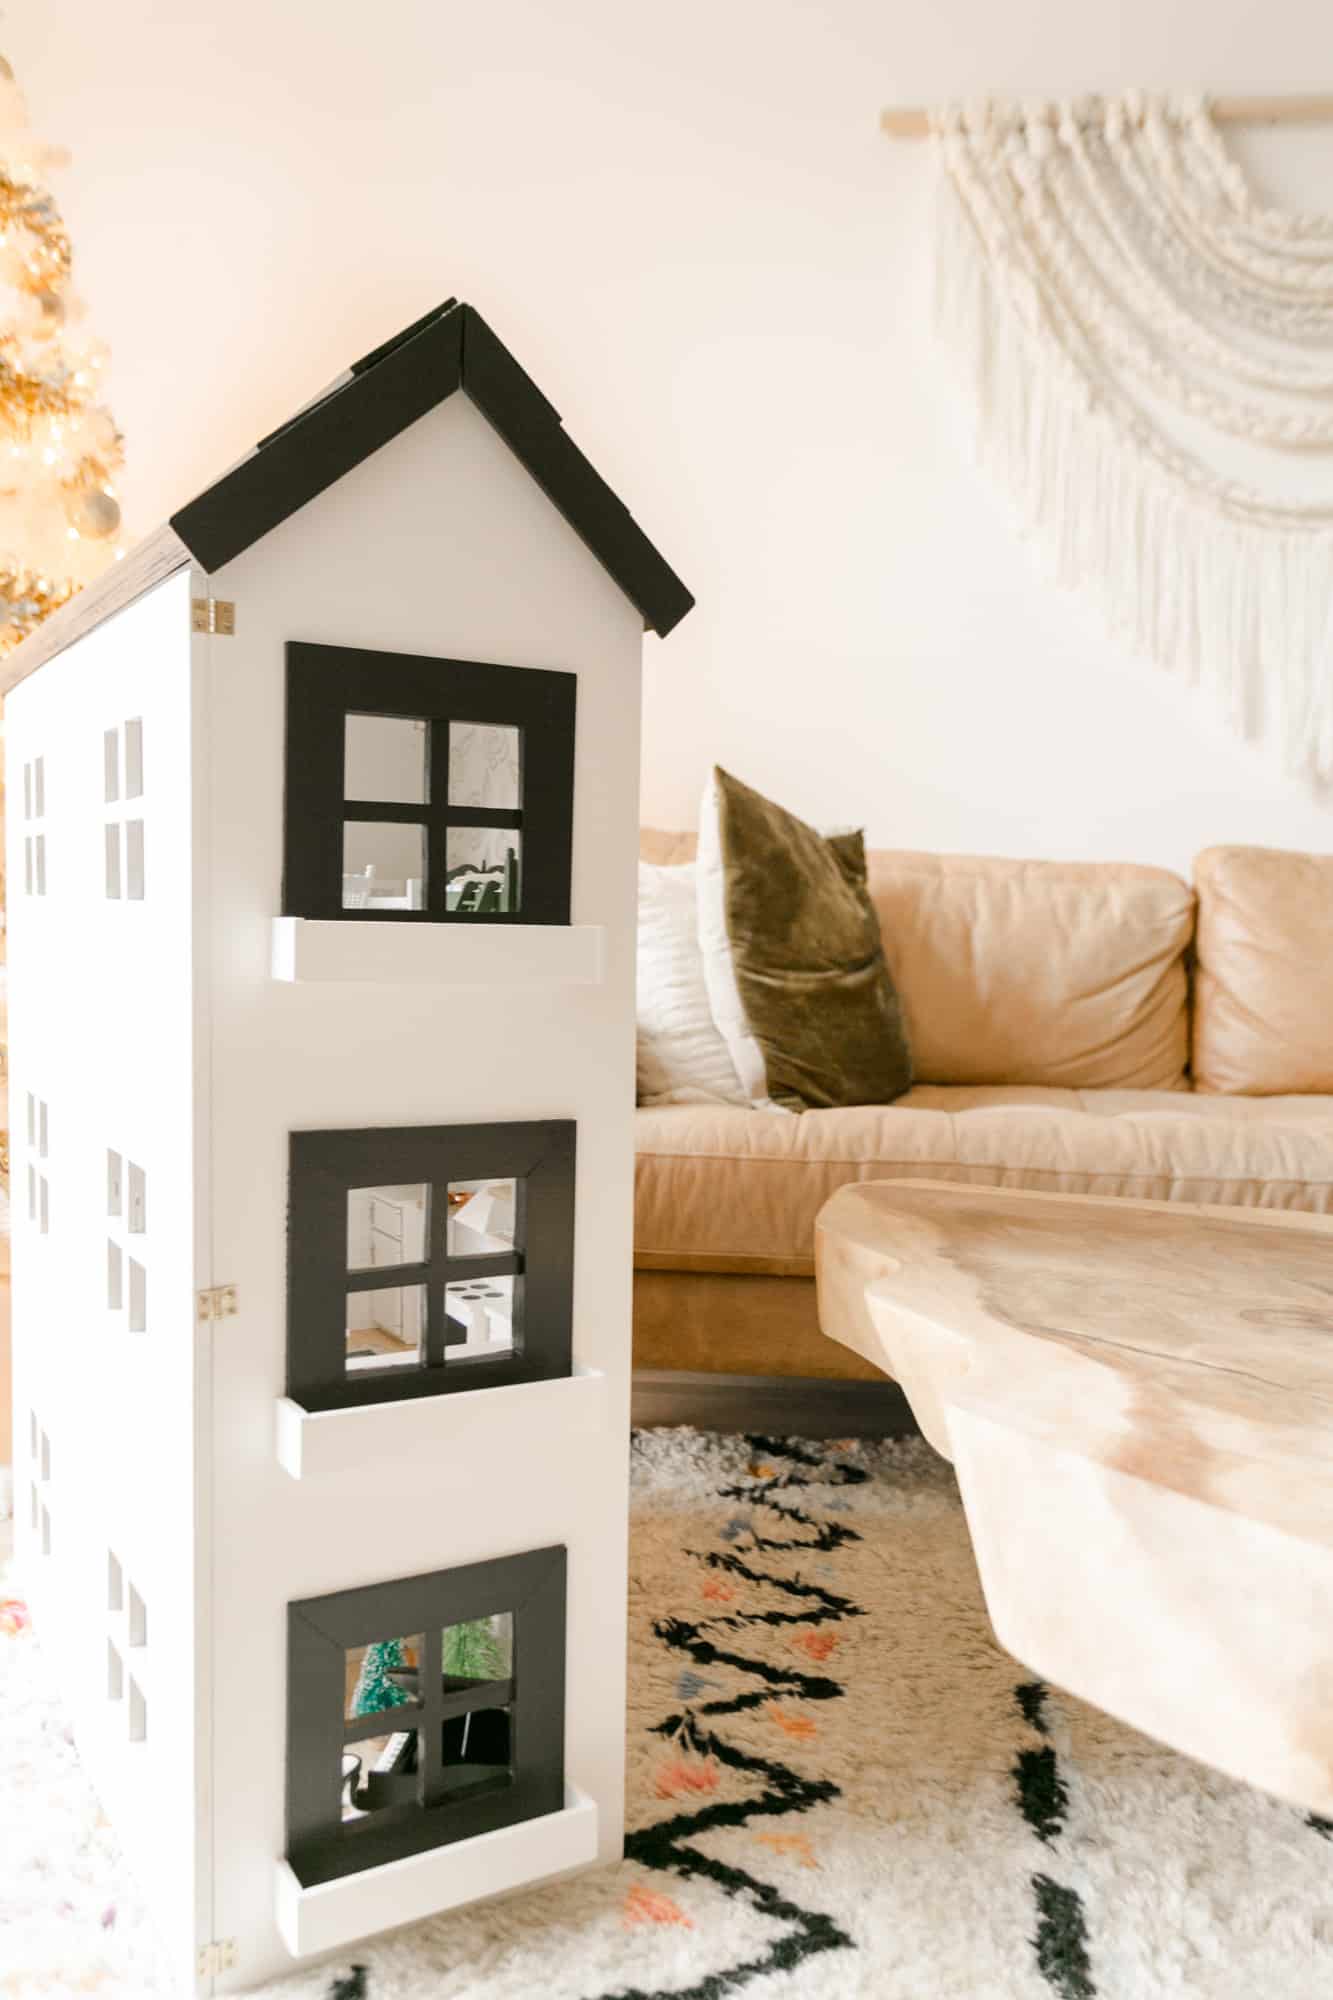
 Here’s a few photos of the exterior and you can see here how the doors open and close (inspired by Mary Poppins!).
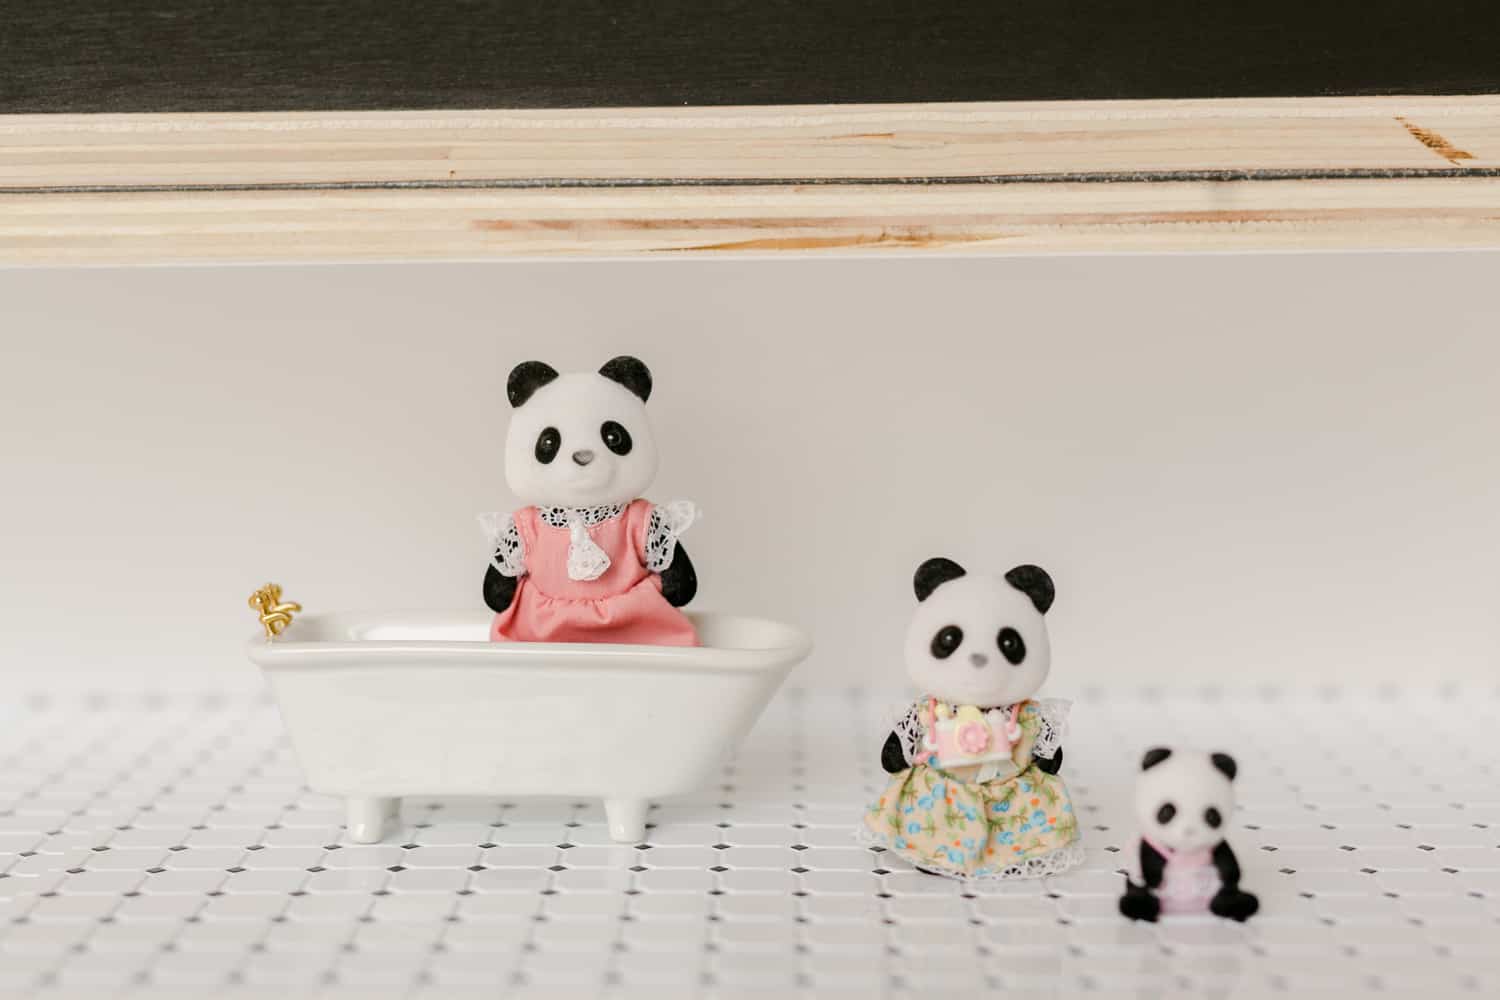 Oops, I forgot to show you—there’s a little bathroom hidden in the roof! 🙂
 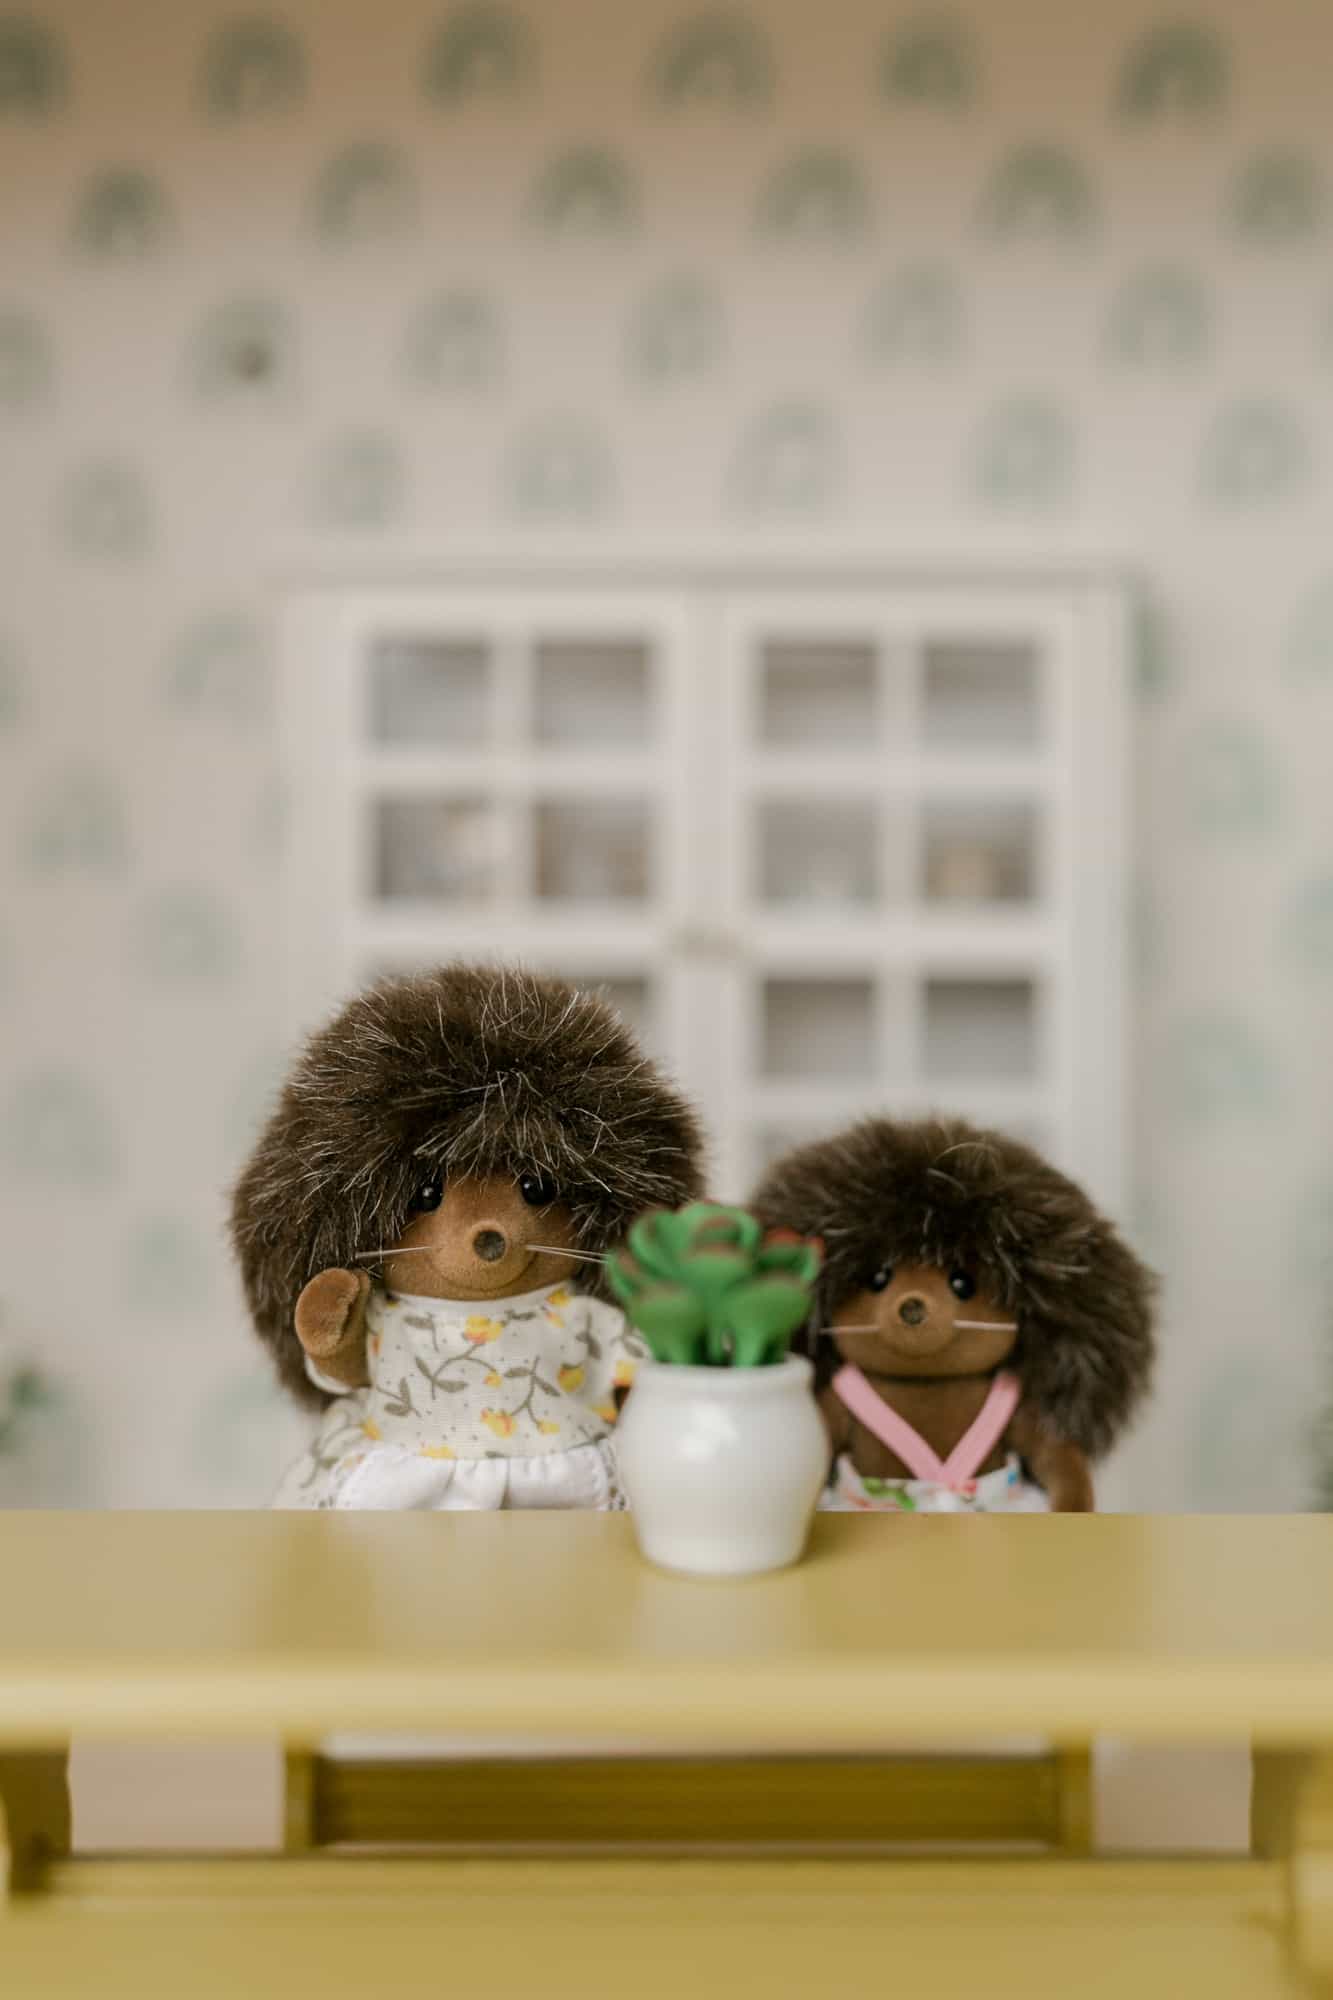 Thanks so much for reading!!! I cannot wait until Christmas morning! And I am excited for years of making memories together playing with this dollhouse.
If you’re interested in making a dollhouse, I highly recommend it. It’s such a dream DIY. If you have any questions, let’s chat in the comments. xx- Elsie
Credits//Author: Elsie Larson. Project Assistant: Collin DuPree. Photography: Amber Ulmer. Photos edited with A Color Story Desktop.
45 Comments | leave a comment
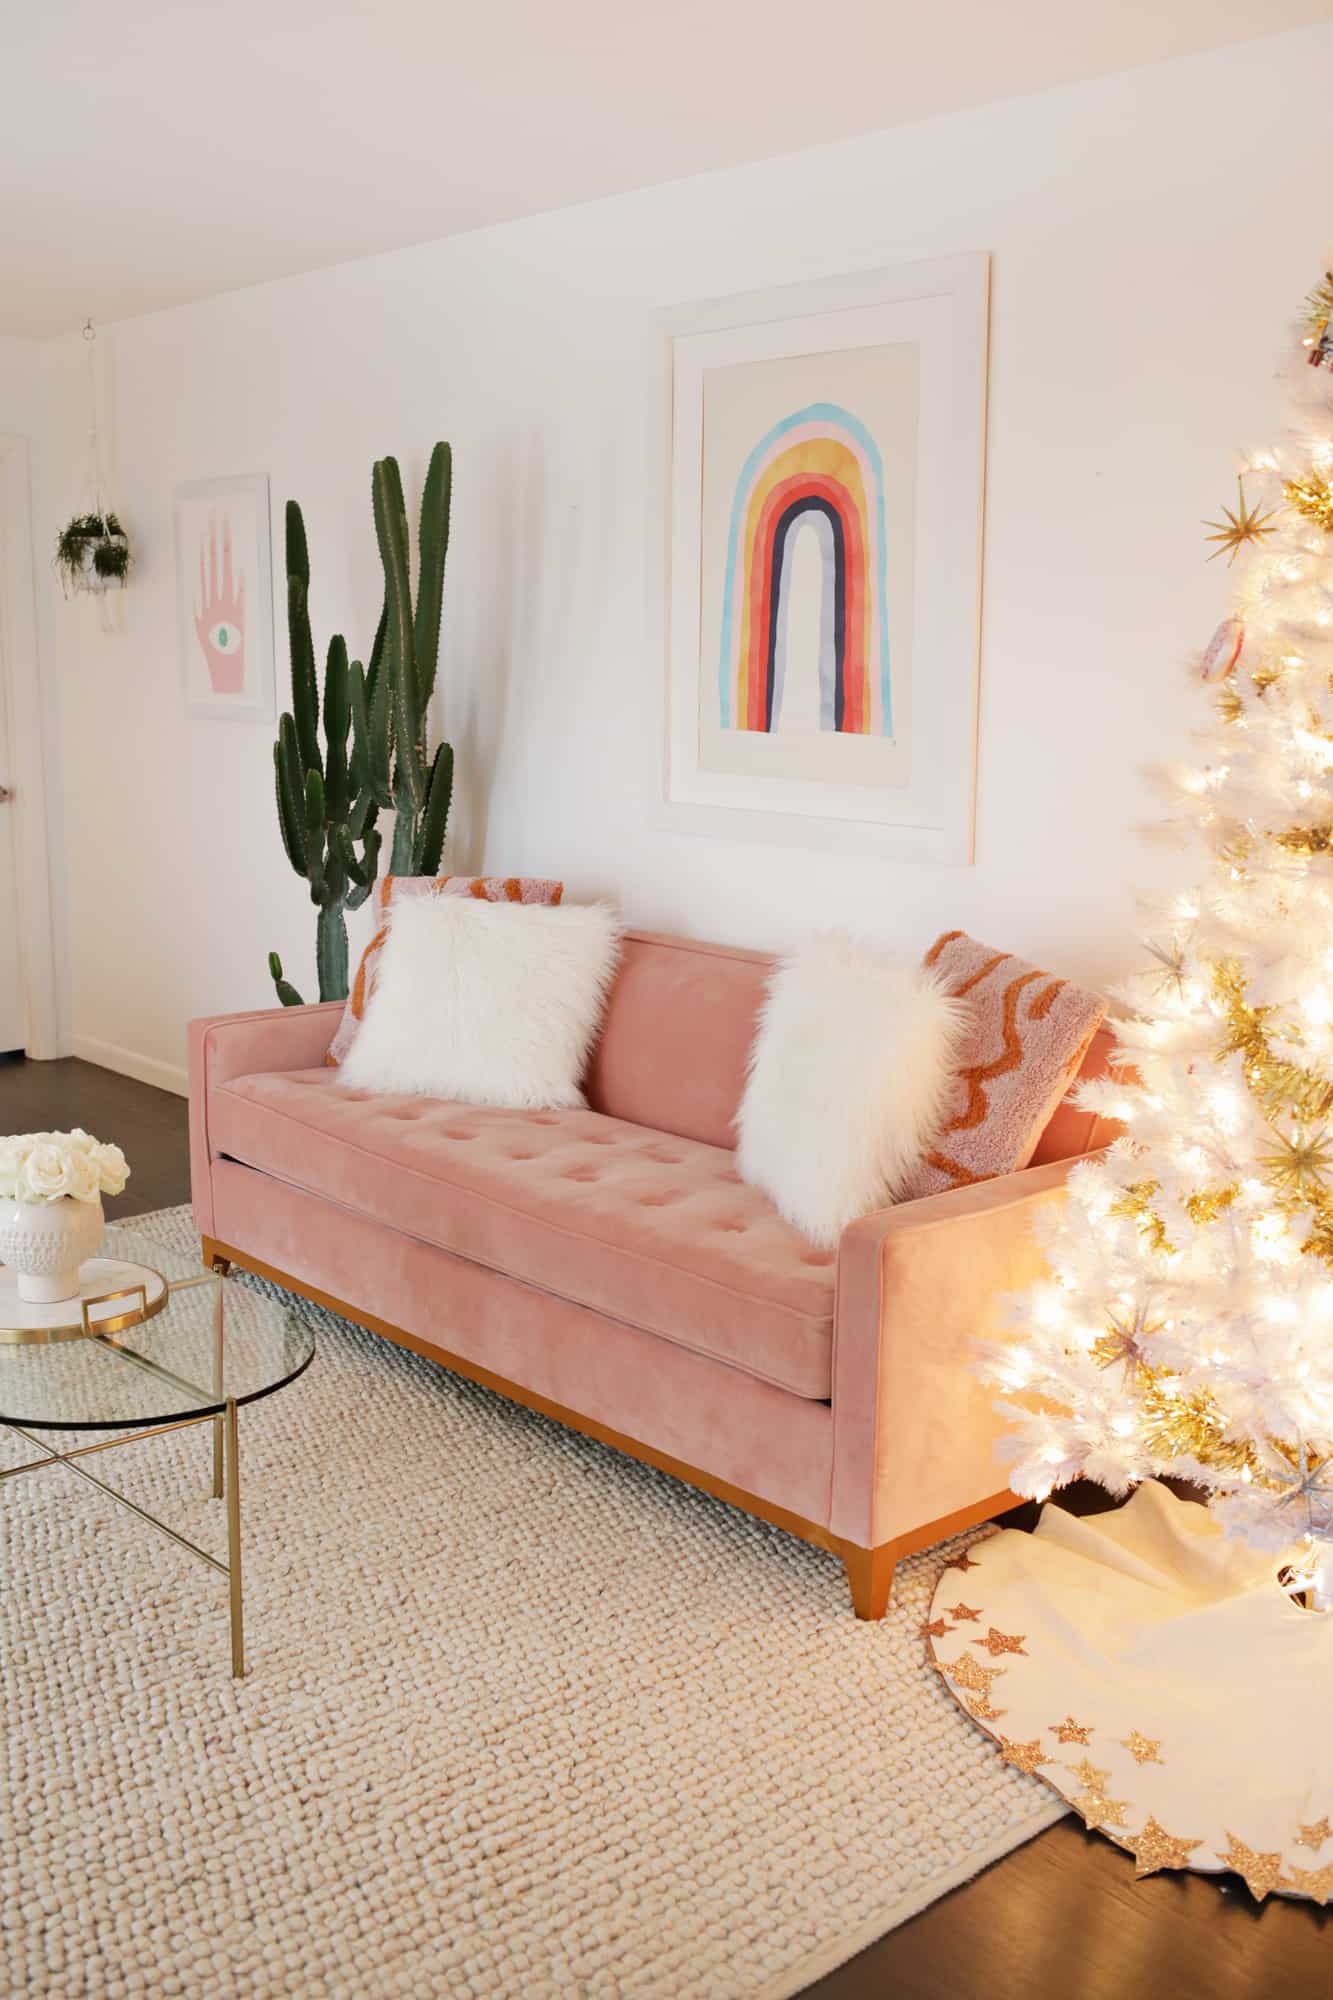
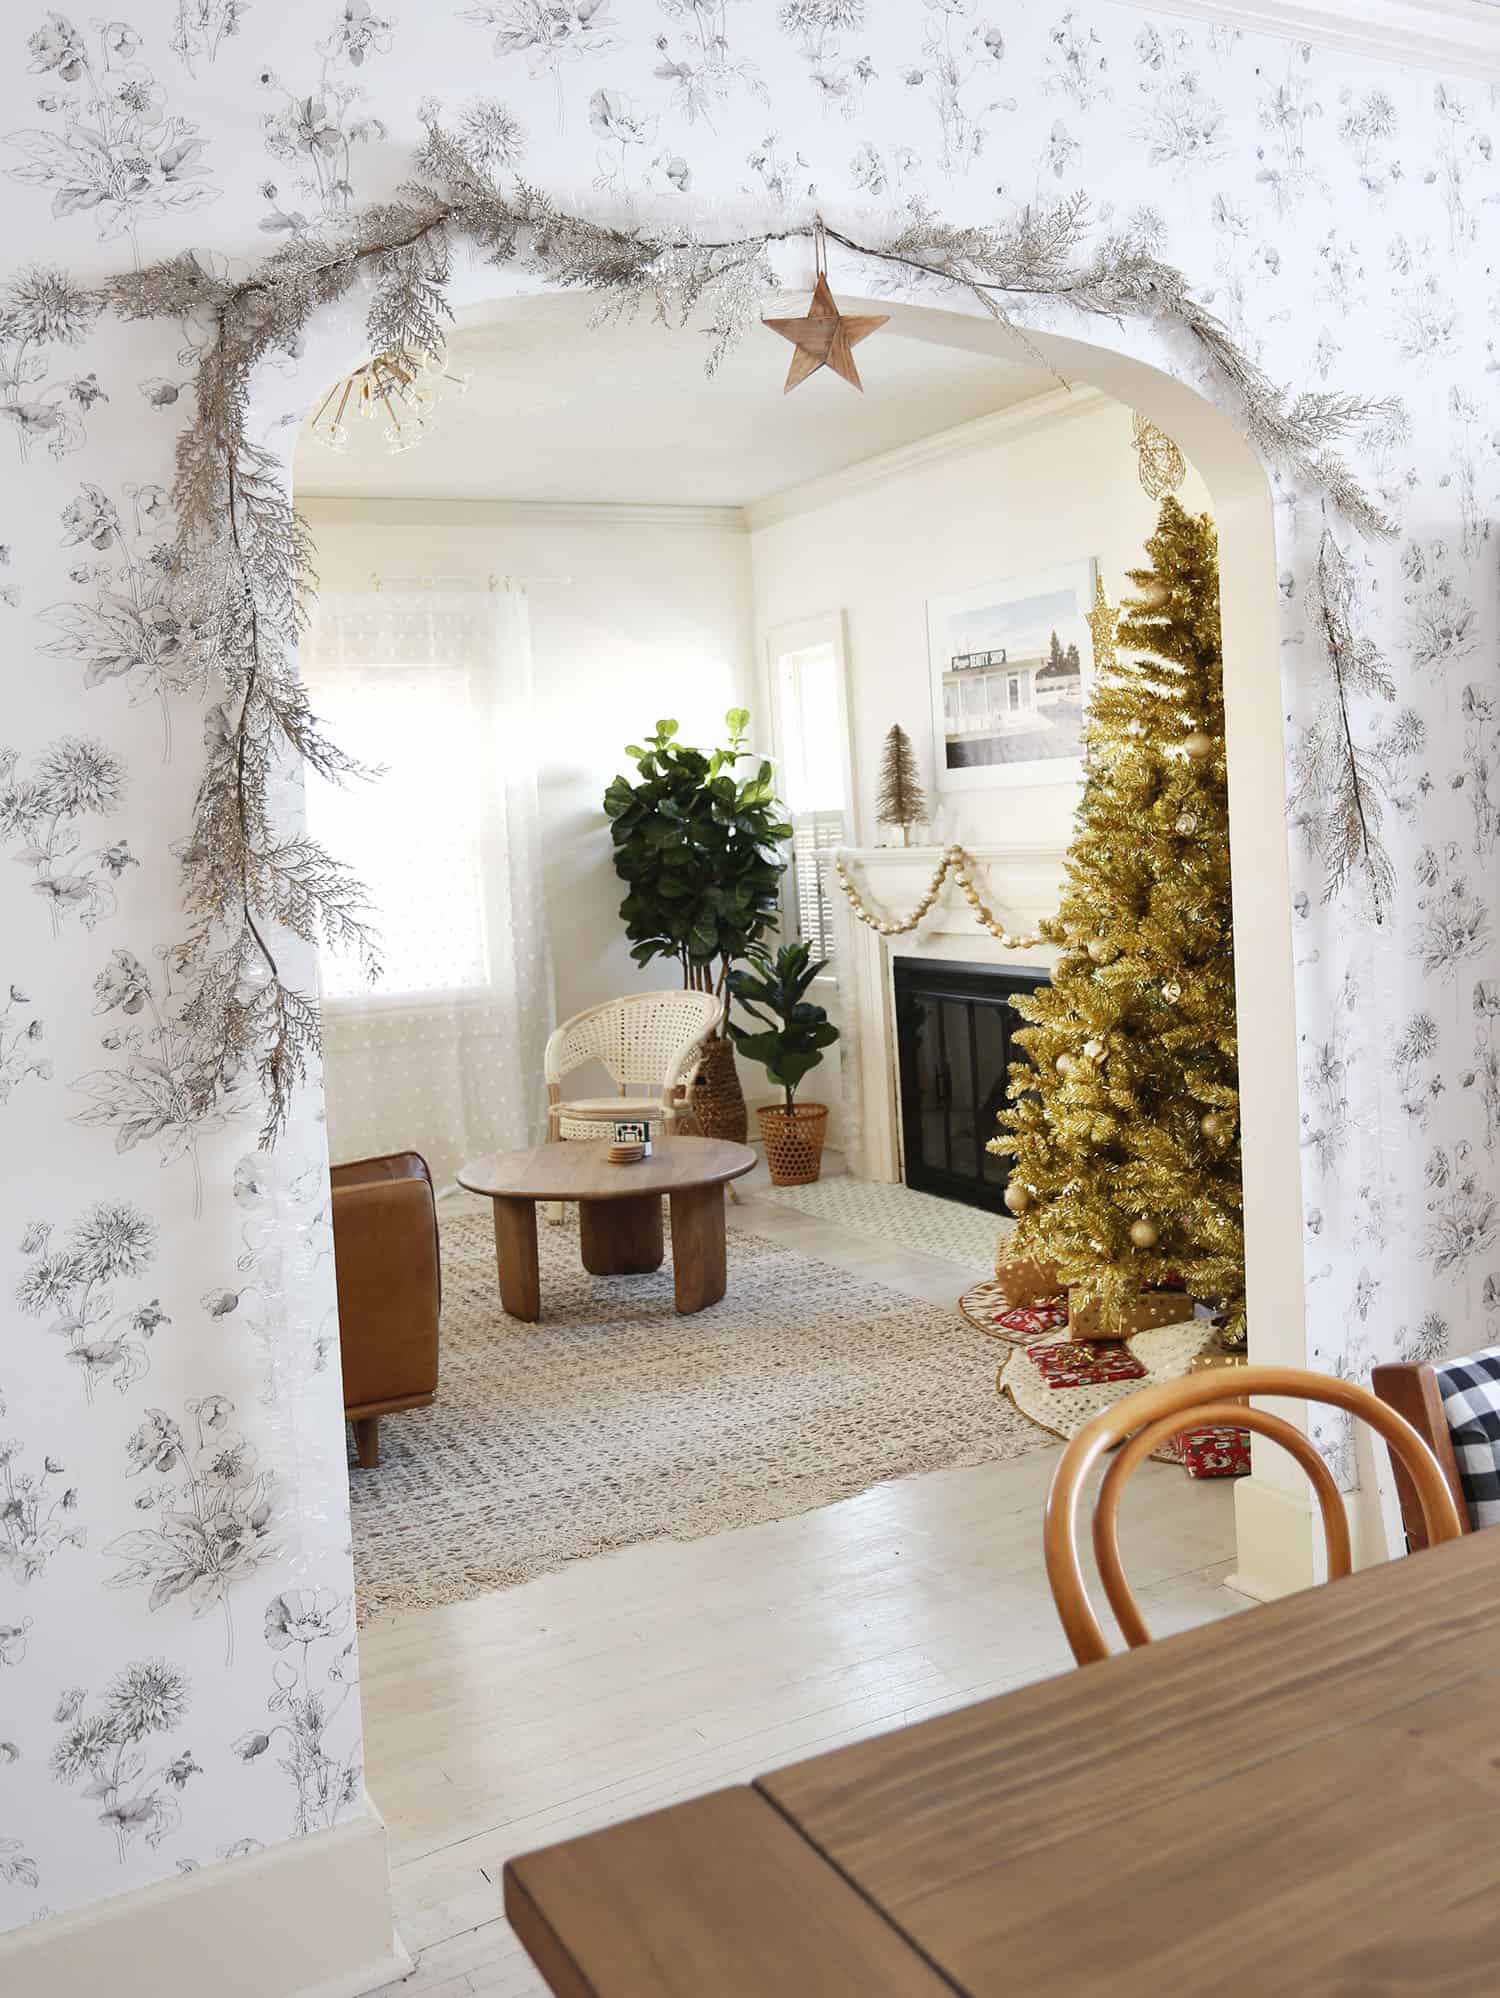 Hi friends, Emma here. With the Larson family traveling to Missouri this weekend to spend Christmas near family, I thought I’d give you a little, mini-tour of how I tried to make their holiday house here in Missouri really festive for them. Her daughters know that Santa is going to visiting this house (wink, wink), so I knew it needed to feel festive. If you saw Elsie’s tour of her house at Christmas then you know those girls are used to things being VERY festive. I don’t think I achieved quite that level, but I did love the idea of decorating for them and also then keeping all these decorations for this house in the future. 🙂
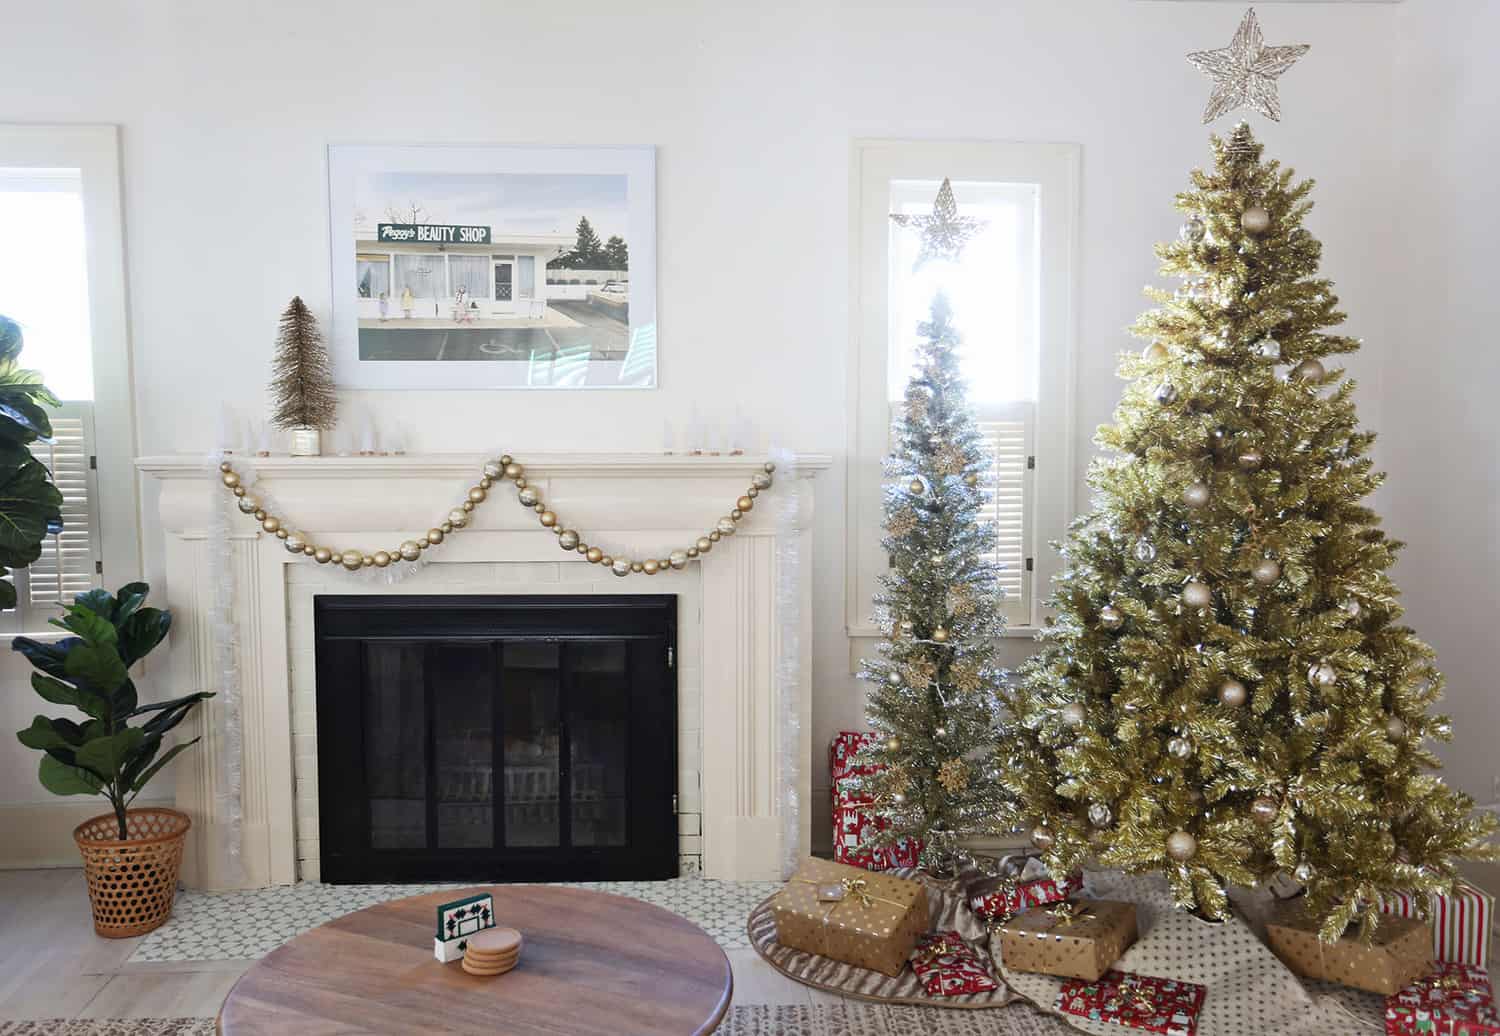
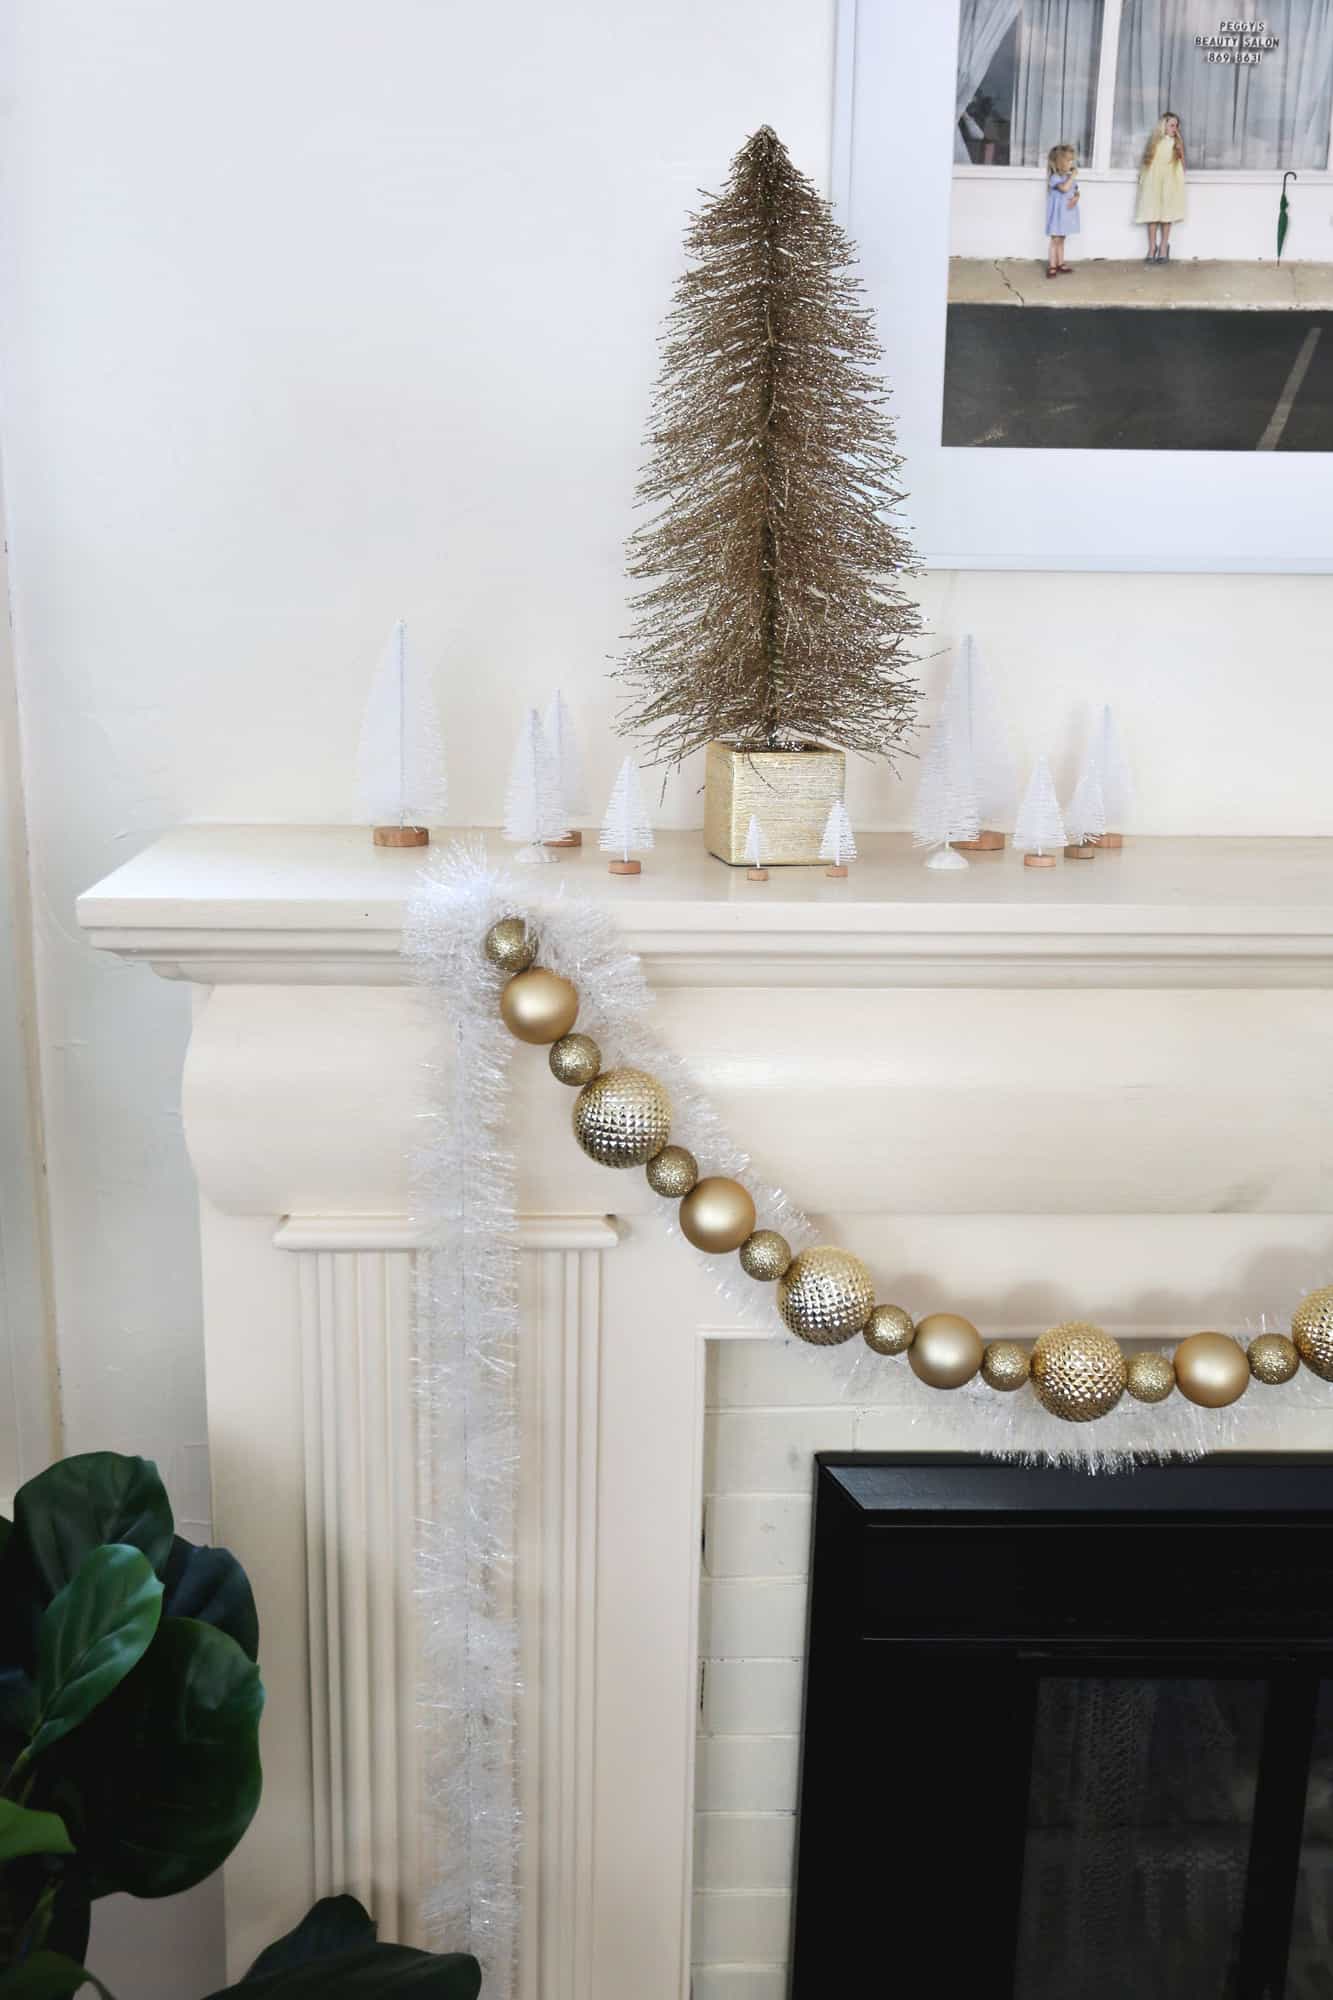
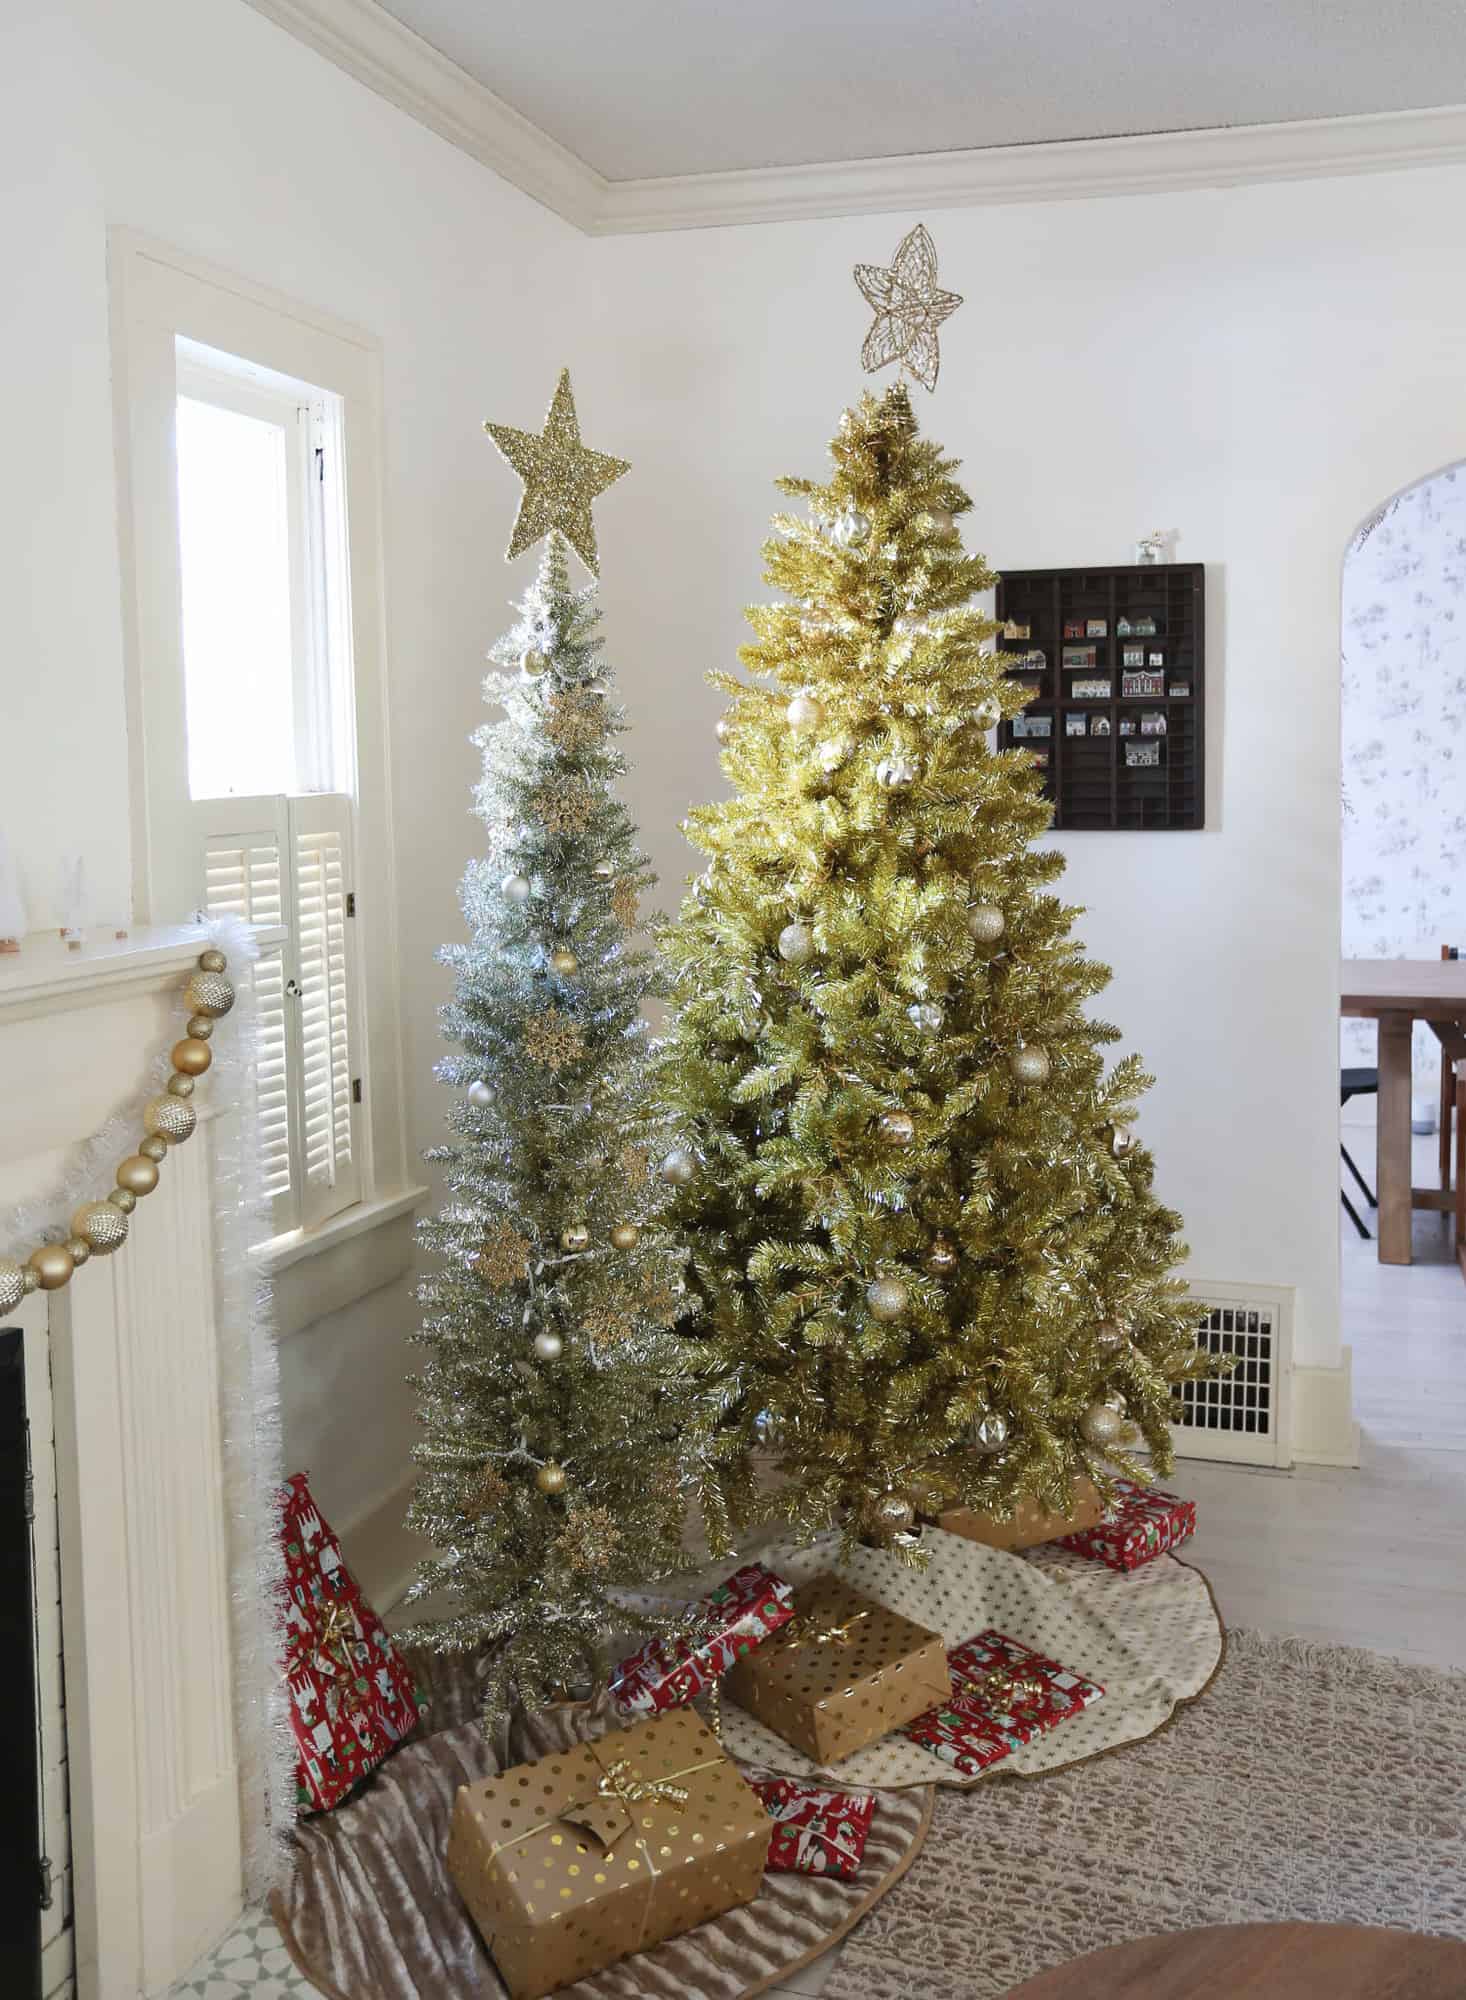 In the front living room, there are two trees—one gold and a smaller champagne tree. I love the look of them together next to the mantel.
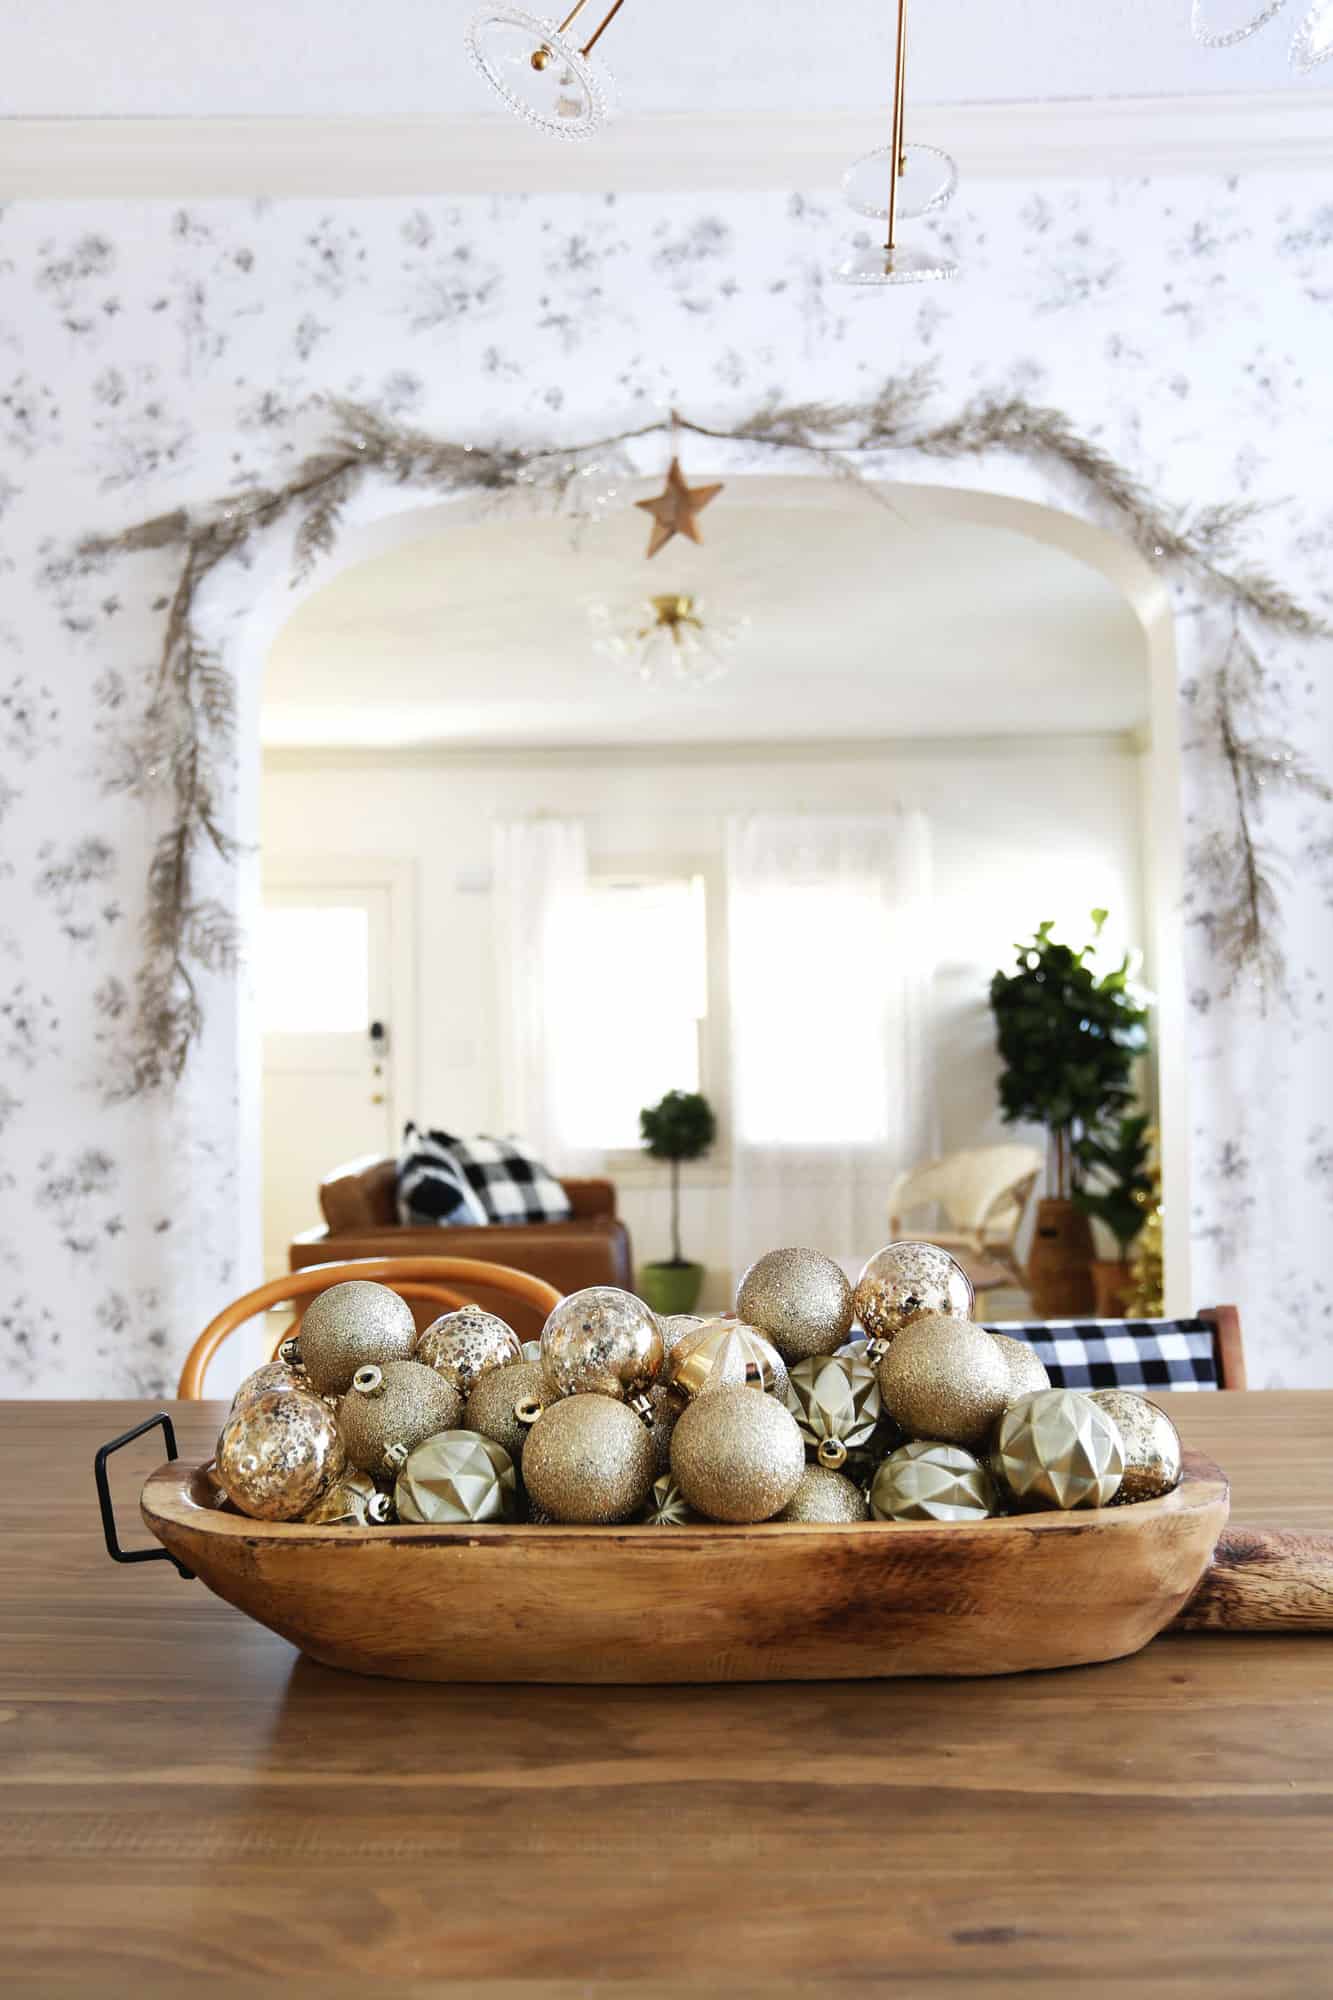
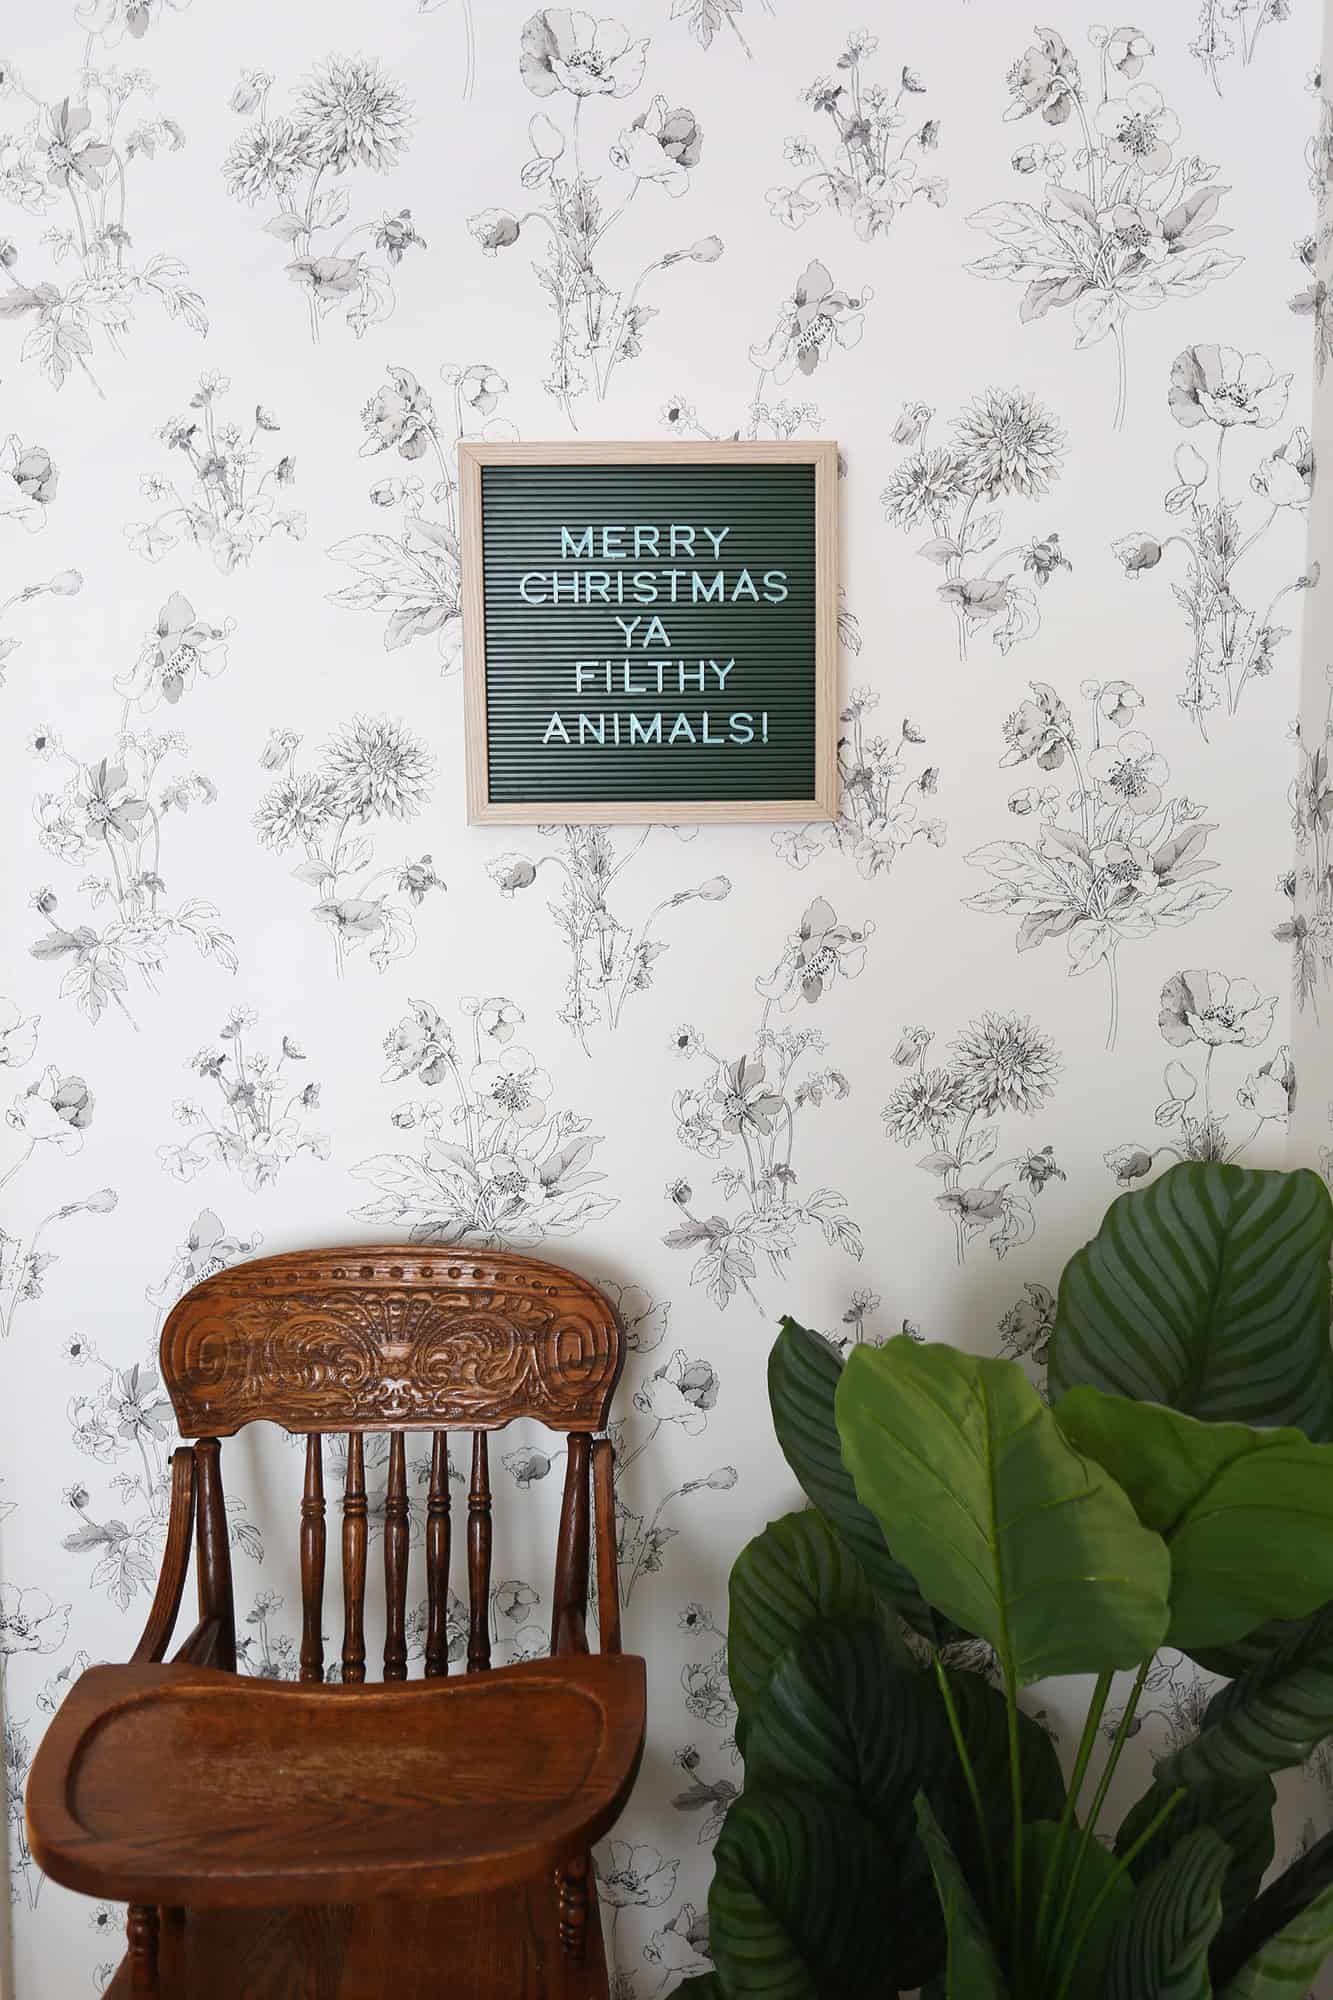 In the dining room, I updated the letter board and then I bought too many gold ornaments, so I decided to make a little centerpiece out of them.
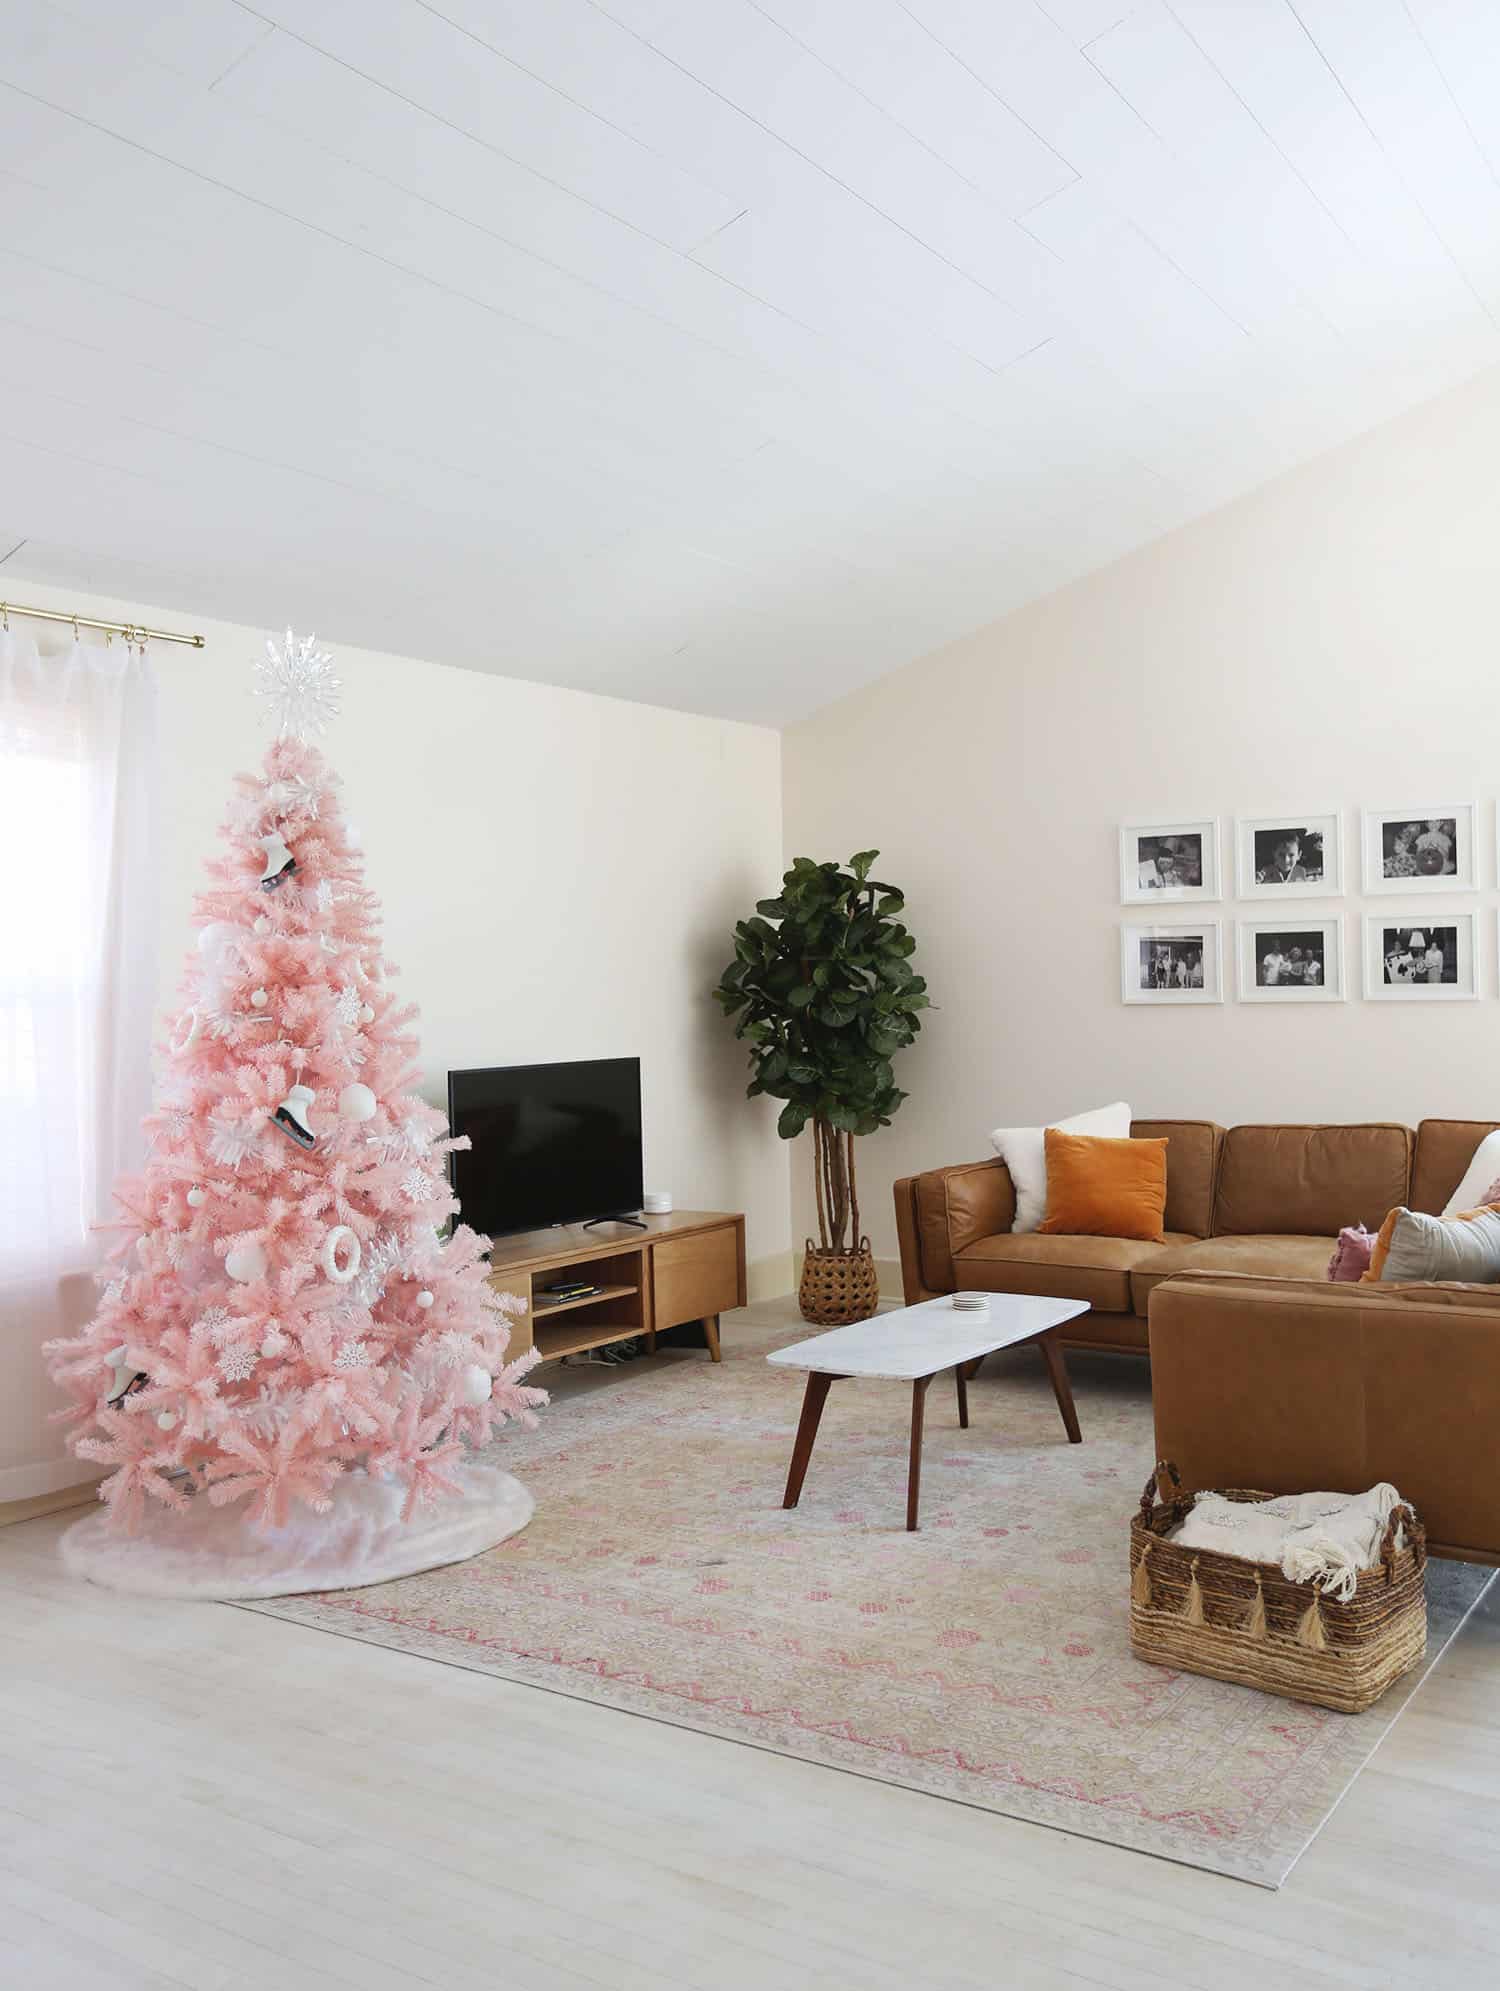
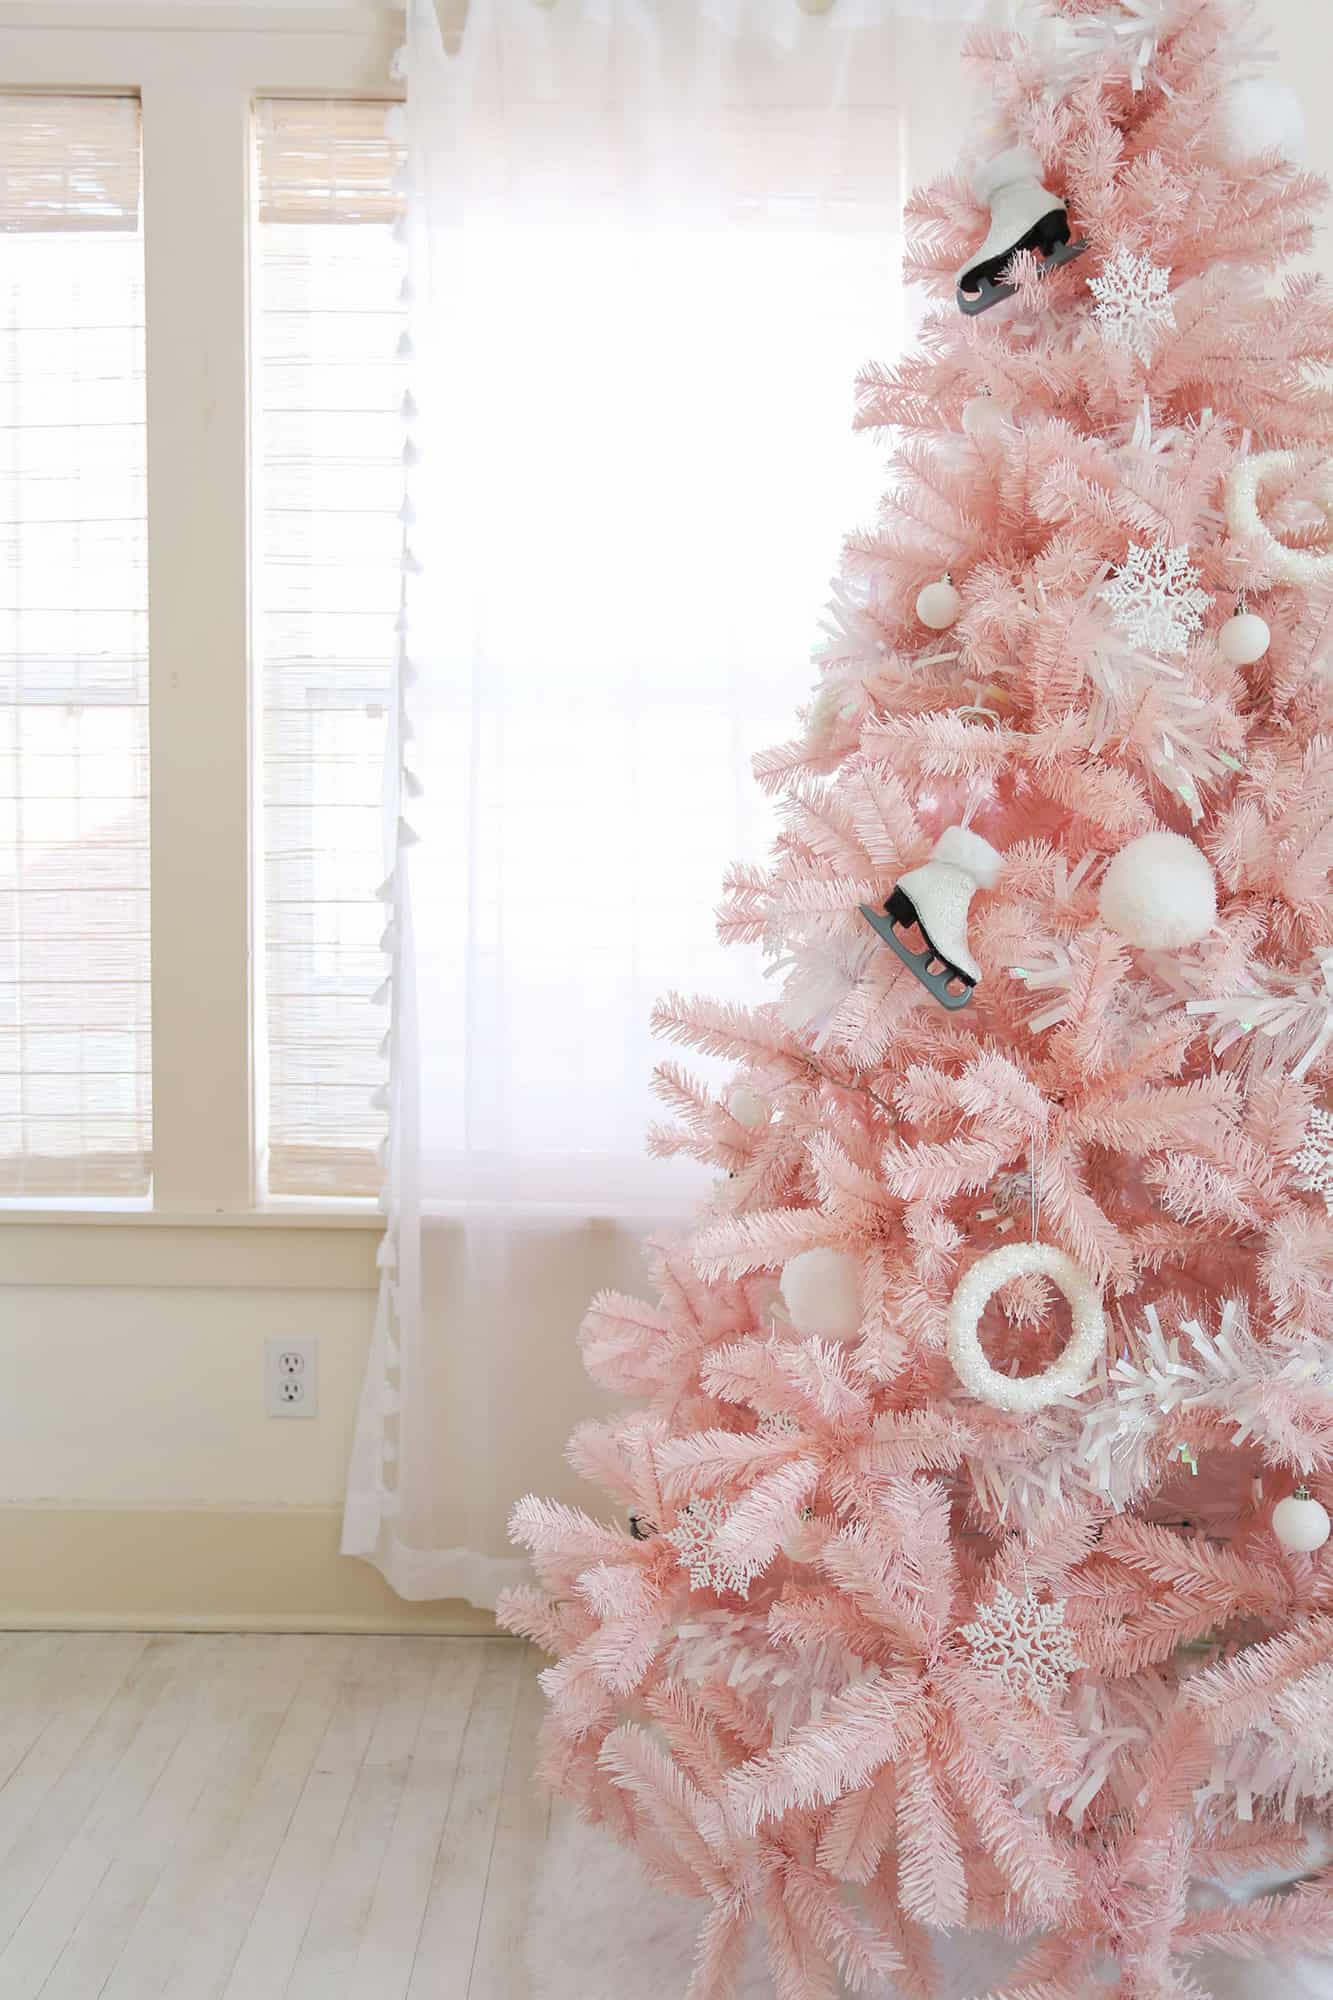
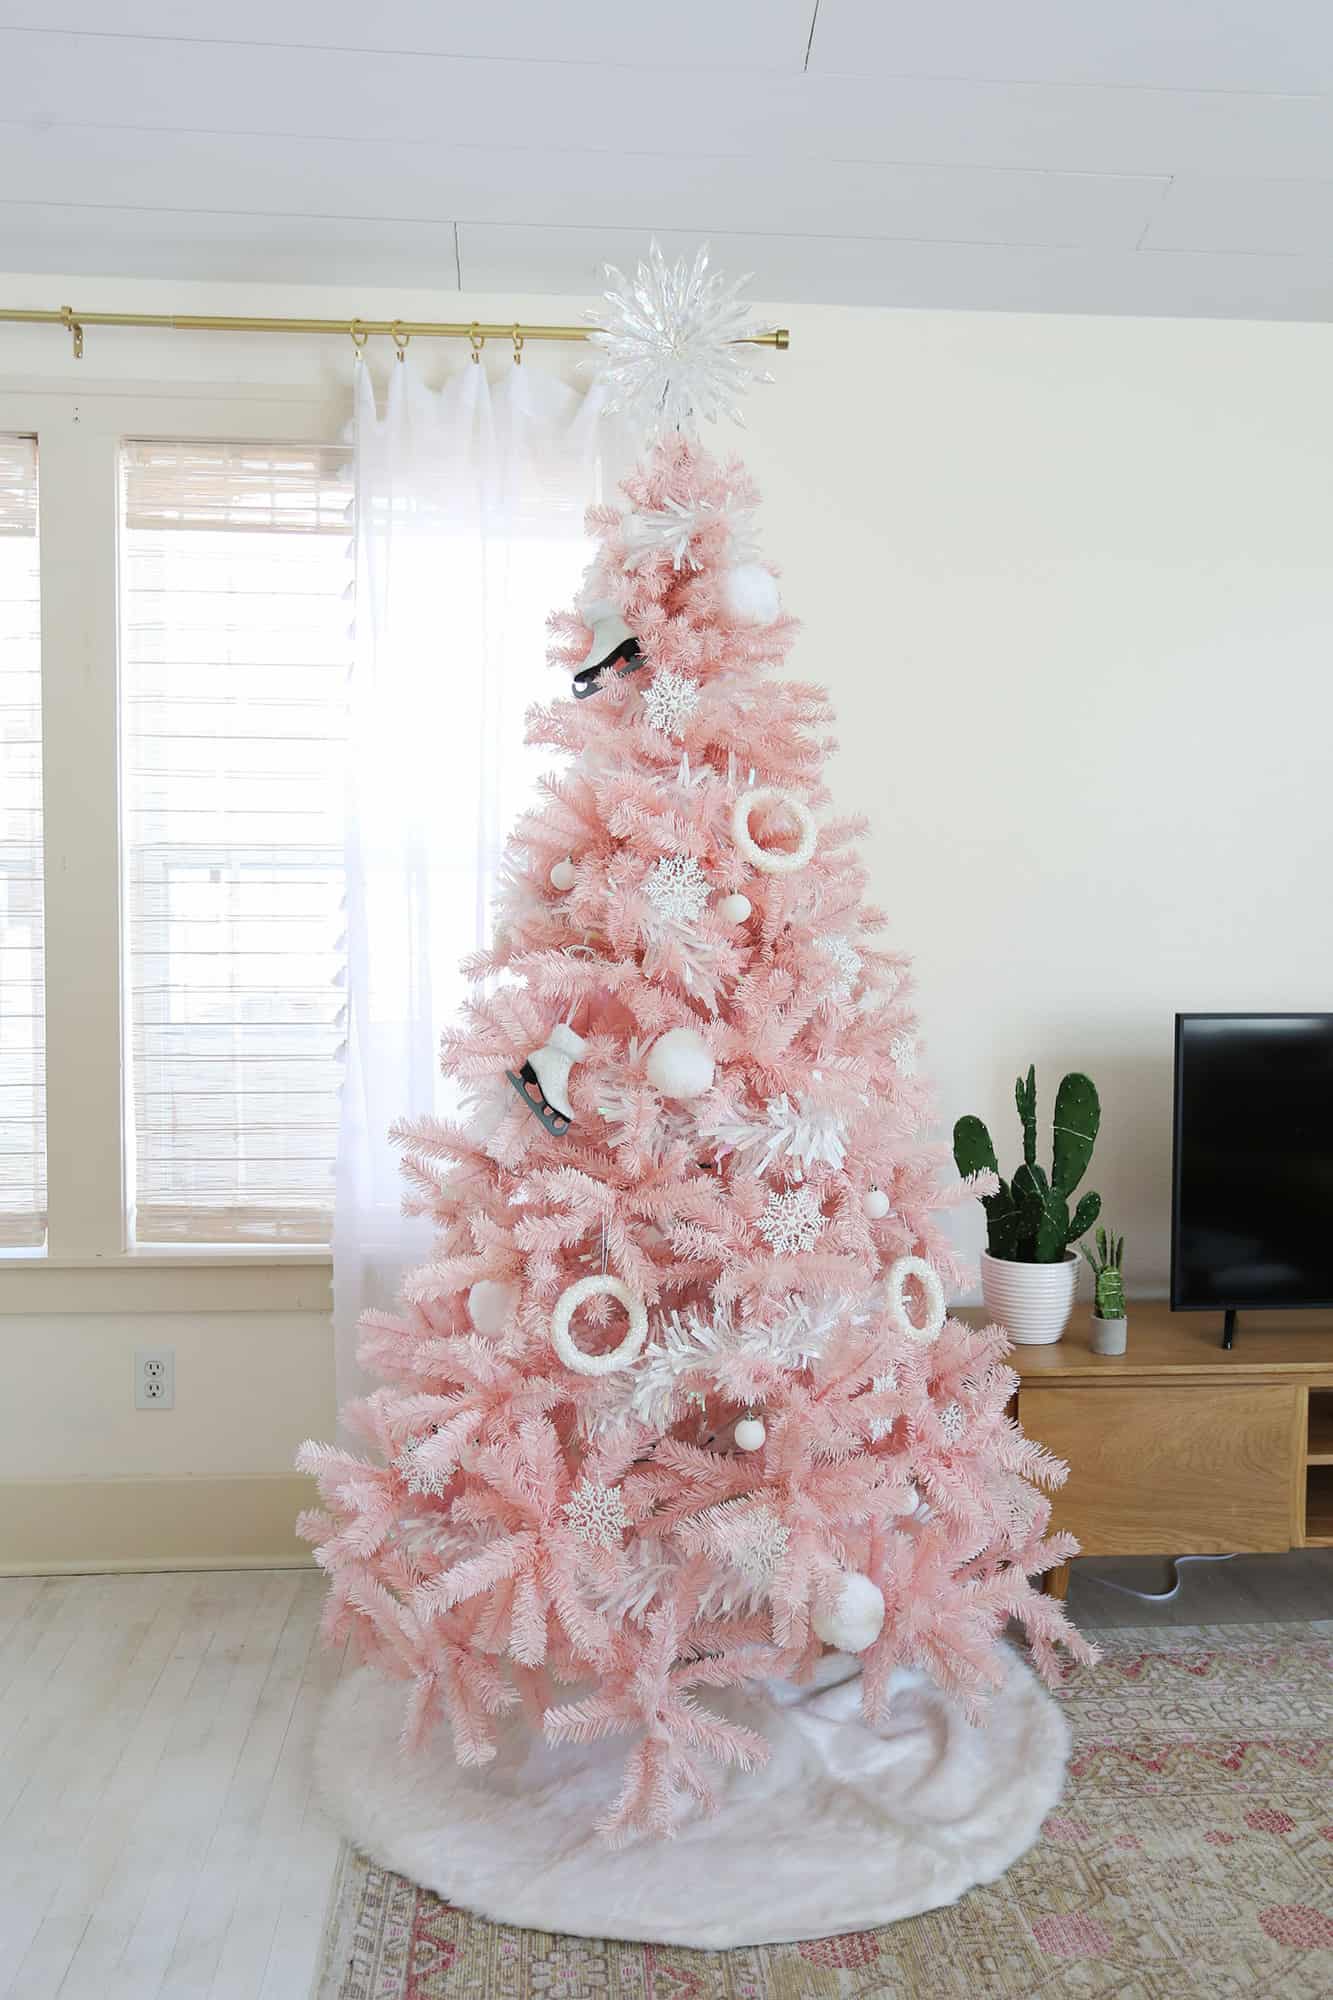 I wanted a tree in the back living room too, just because it’s nice to have a tree all lit up when you’re watching a movie or something at night. It’s just so cozy! So I bought this really sweet soft pink tree and I LOVE it.
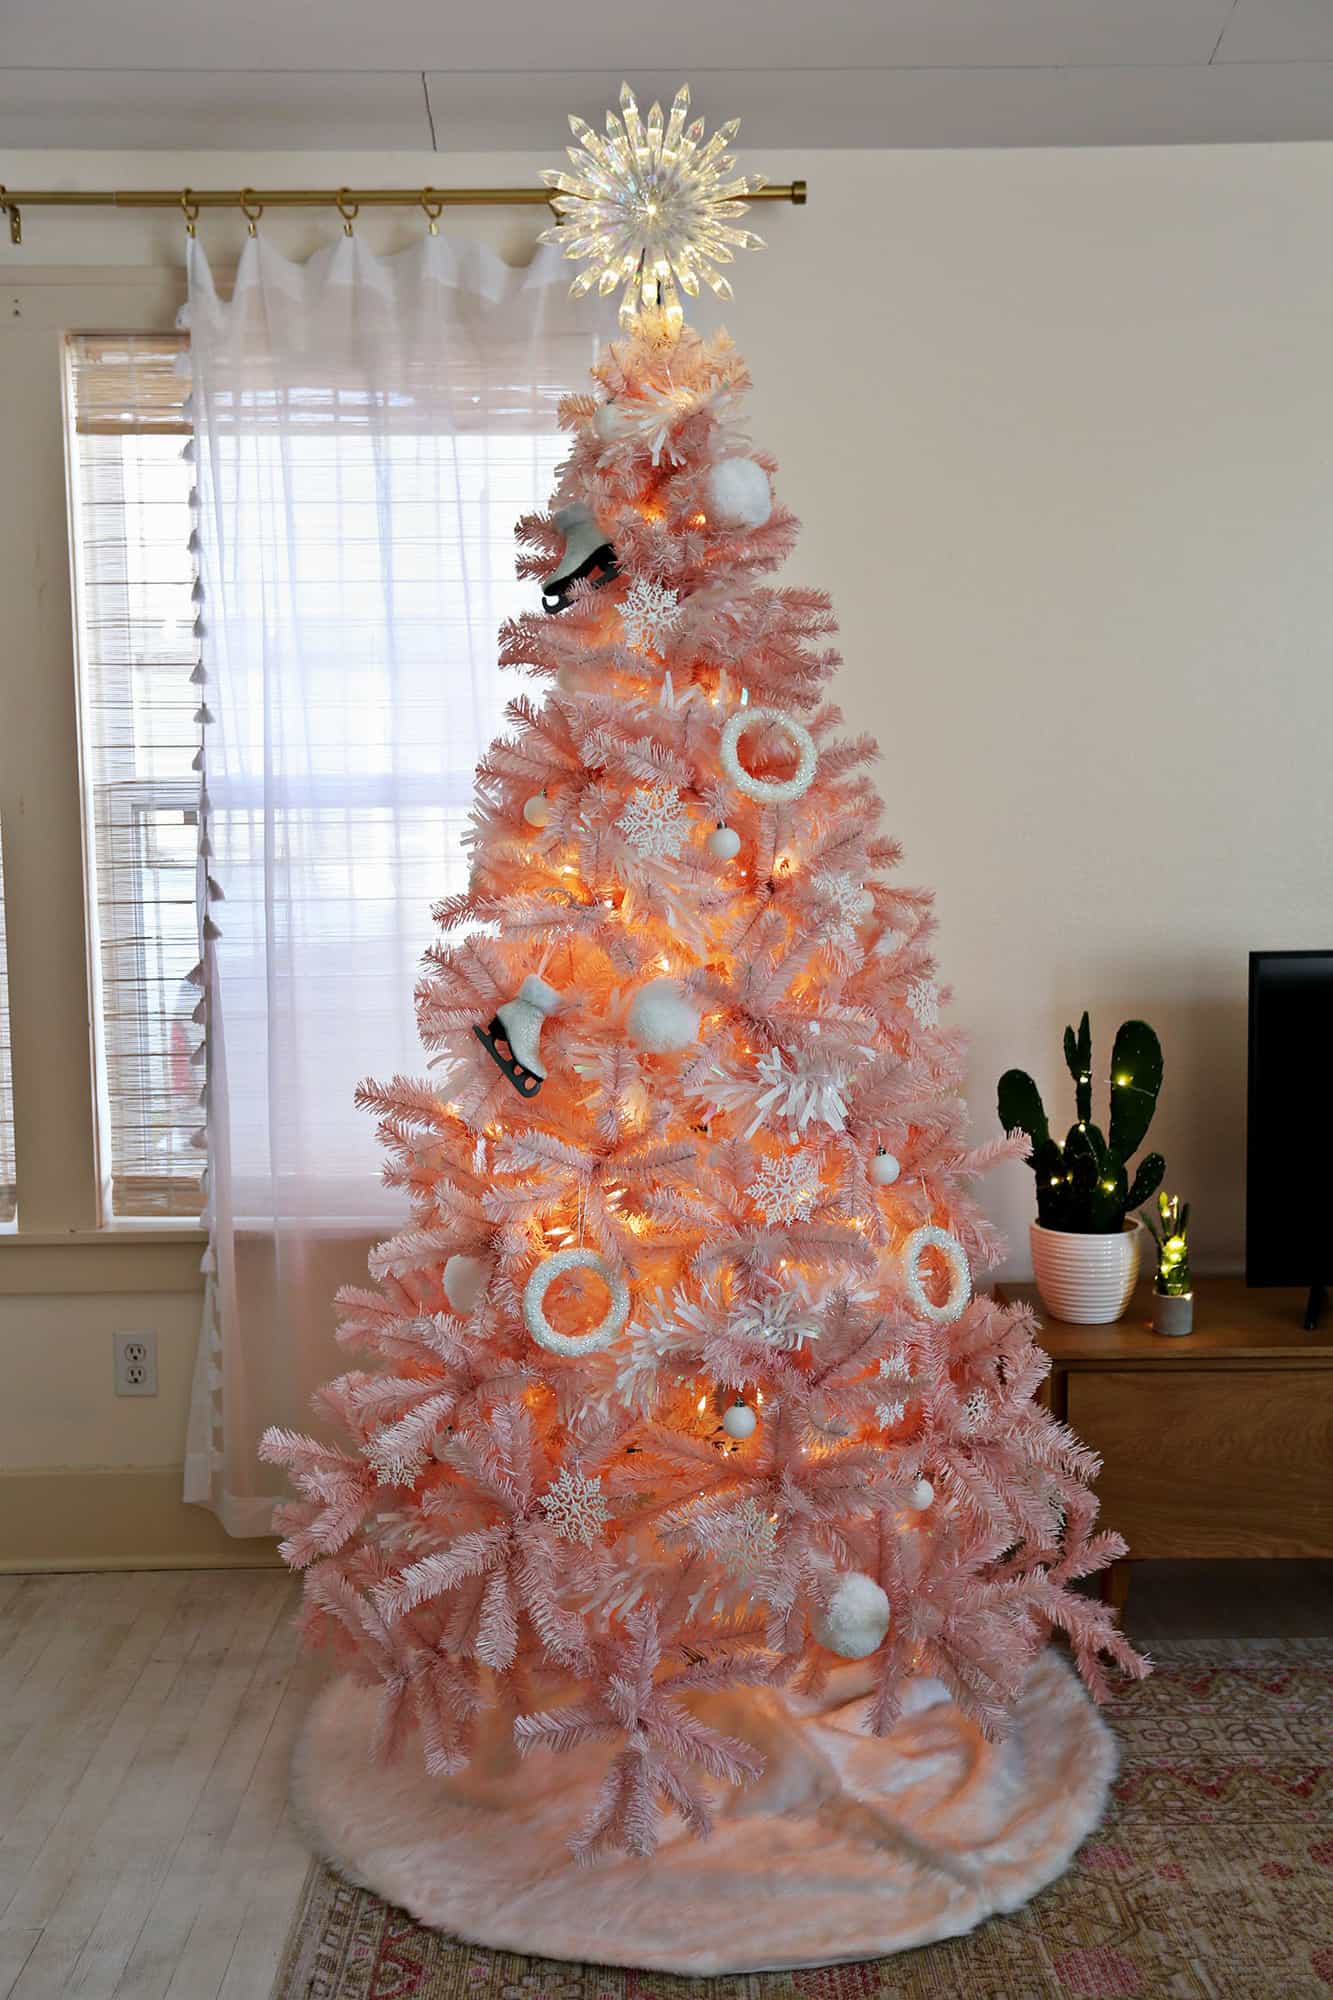 That’s pretty much it—thanks for letting me share and happy holidays! xo. Emma

 WOOHOO! Today is the reveal day for our DIY dollhouse! My favorite DIY project of all time. I am so excited to take you on a little tour!!
 We decided to do the rooms at 1/12 scale. This is the most common size for dollhouses and I really recommend sticking to it unless you are trying to make a house specifically for Barbie or Blythe (or any bigger dolls). This house perfectly fits
  ** SPARKS JOY **
 We used
  Here’s the second bedroom. I hand painted the flower mural. For this room, I used
  The dining room makes me SO happy! Again, the mural is hand painted.The china cabinet
 This
This  Now to the best room … the kitchen!!!! I’m so obsessed with it! I’ll link to all the stuff we purchased. Then Collin filled in the design with “custom” cabinets, an island, shelves and the adorable vent hood. Here are the links to the


 The living room!
  Last, but not least, our dollhouse wouldn’t be complete without

 I made a few little DIY rugs. I tried my best to channel inspiration from my favorite rugs, which are

 Here’s a few photos of the exterior and you can see here how the doors open and close (inspired by Mary Poppins!).


 Oops, I forgot to show you—there’s a little bathroom hidden in the roof! 🙂
  Thanks so much for reading!!! I cannot wait until Christmas morning! And I am excited for years of making memories together playing with this dollhouse.


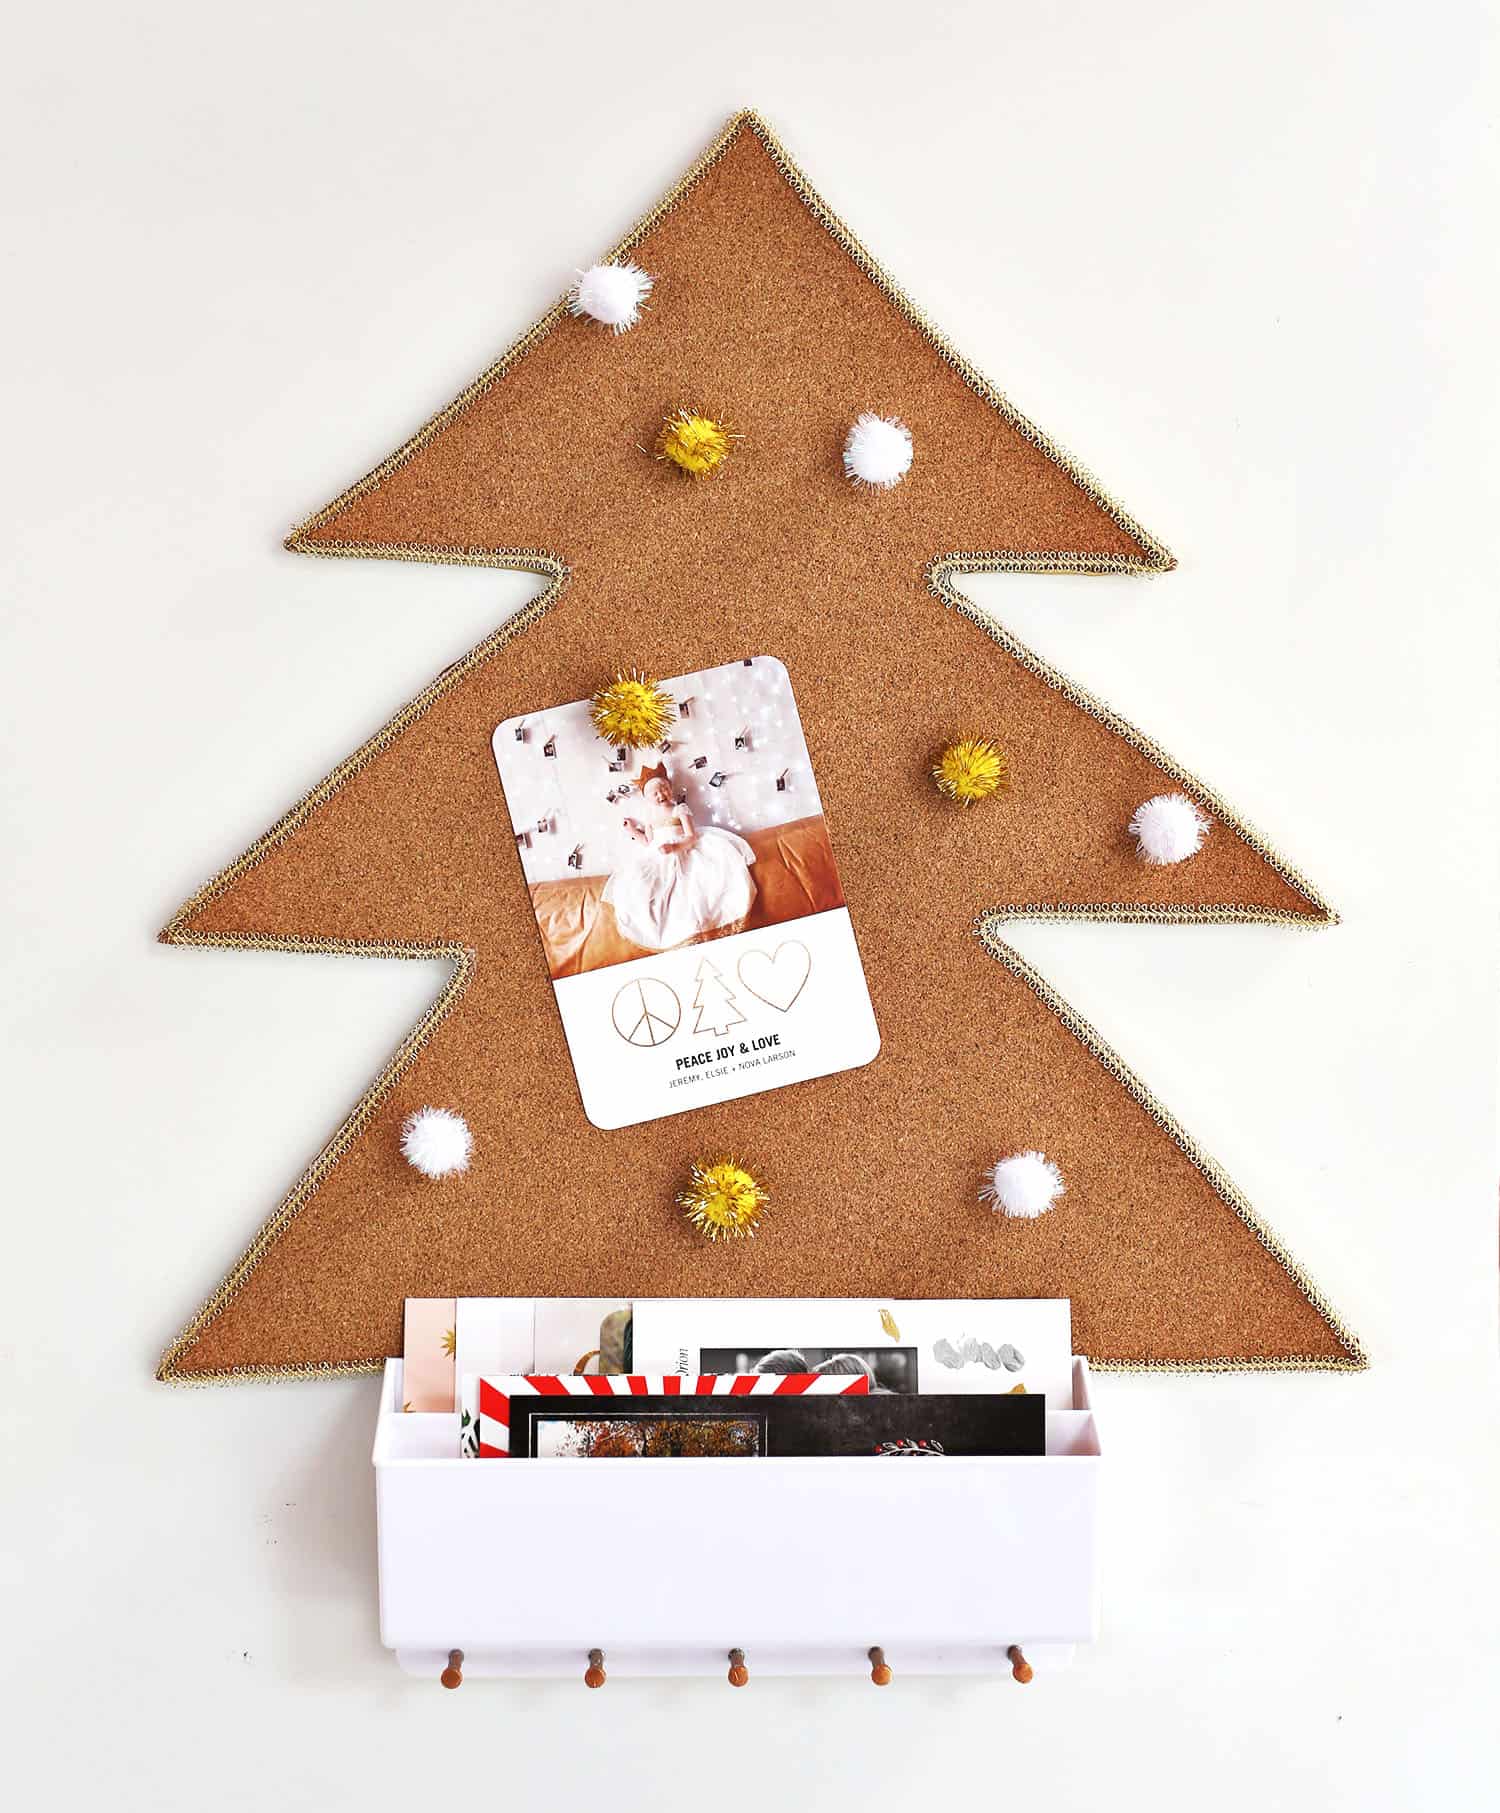 I love receiving holiday cards this time of year. For many of our family and friends who we don’t get to see often, this is one of the main ways I get a little update from them—so I look forward to it every year. Although, I must admit I generally would just let the cards pile up on our kitchen countertop, and eventually throw them away sometime after the new year. Sentimental clutter. 🙂
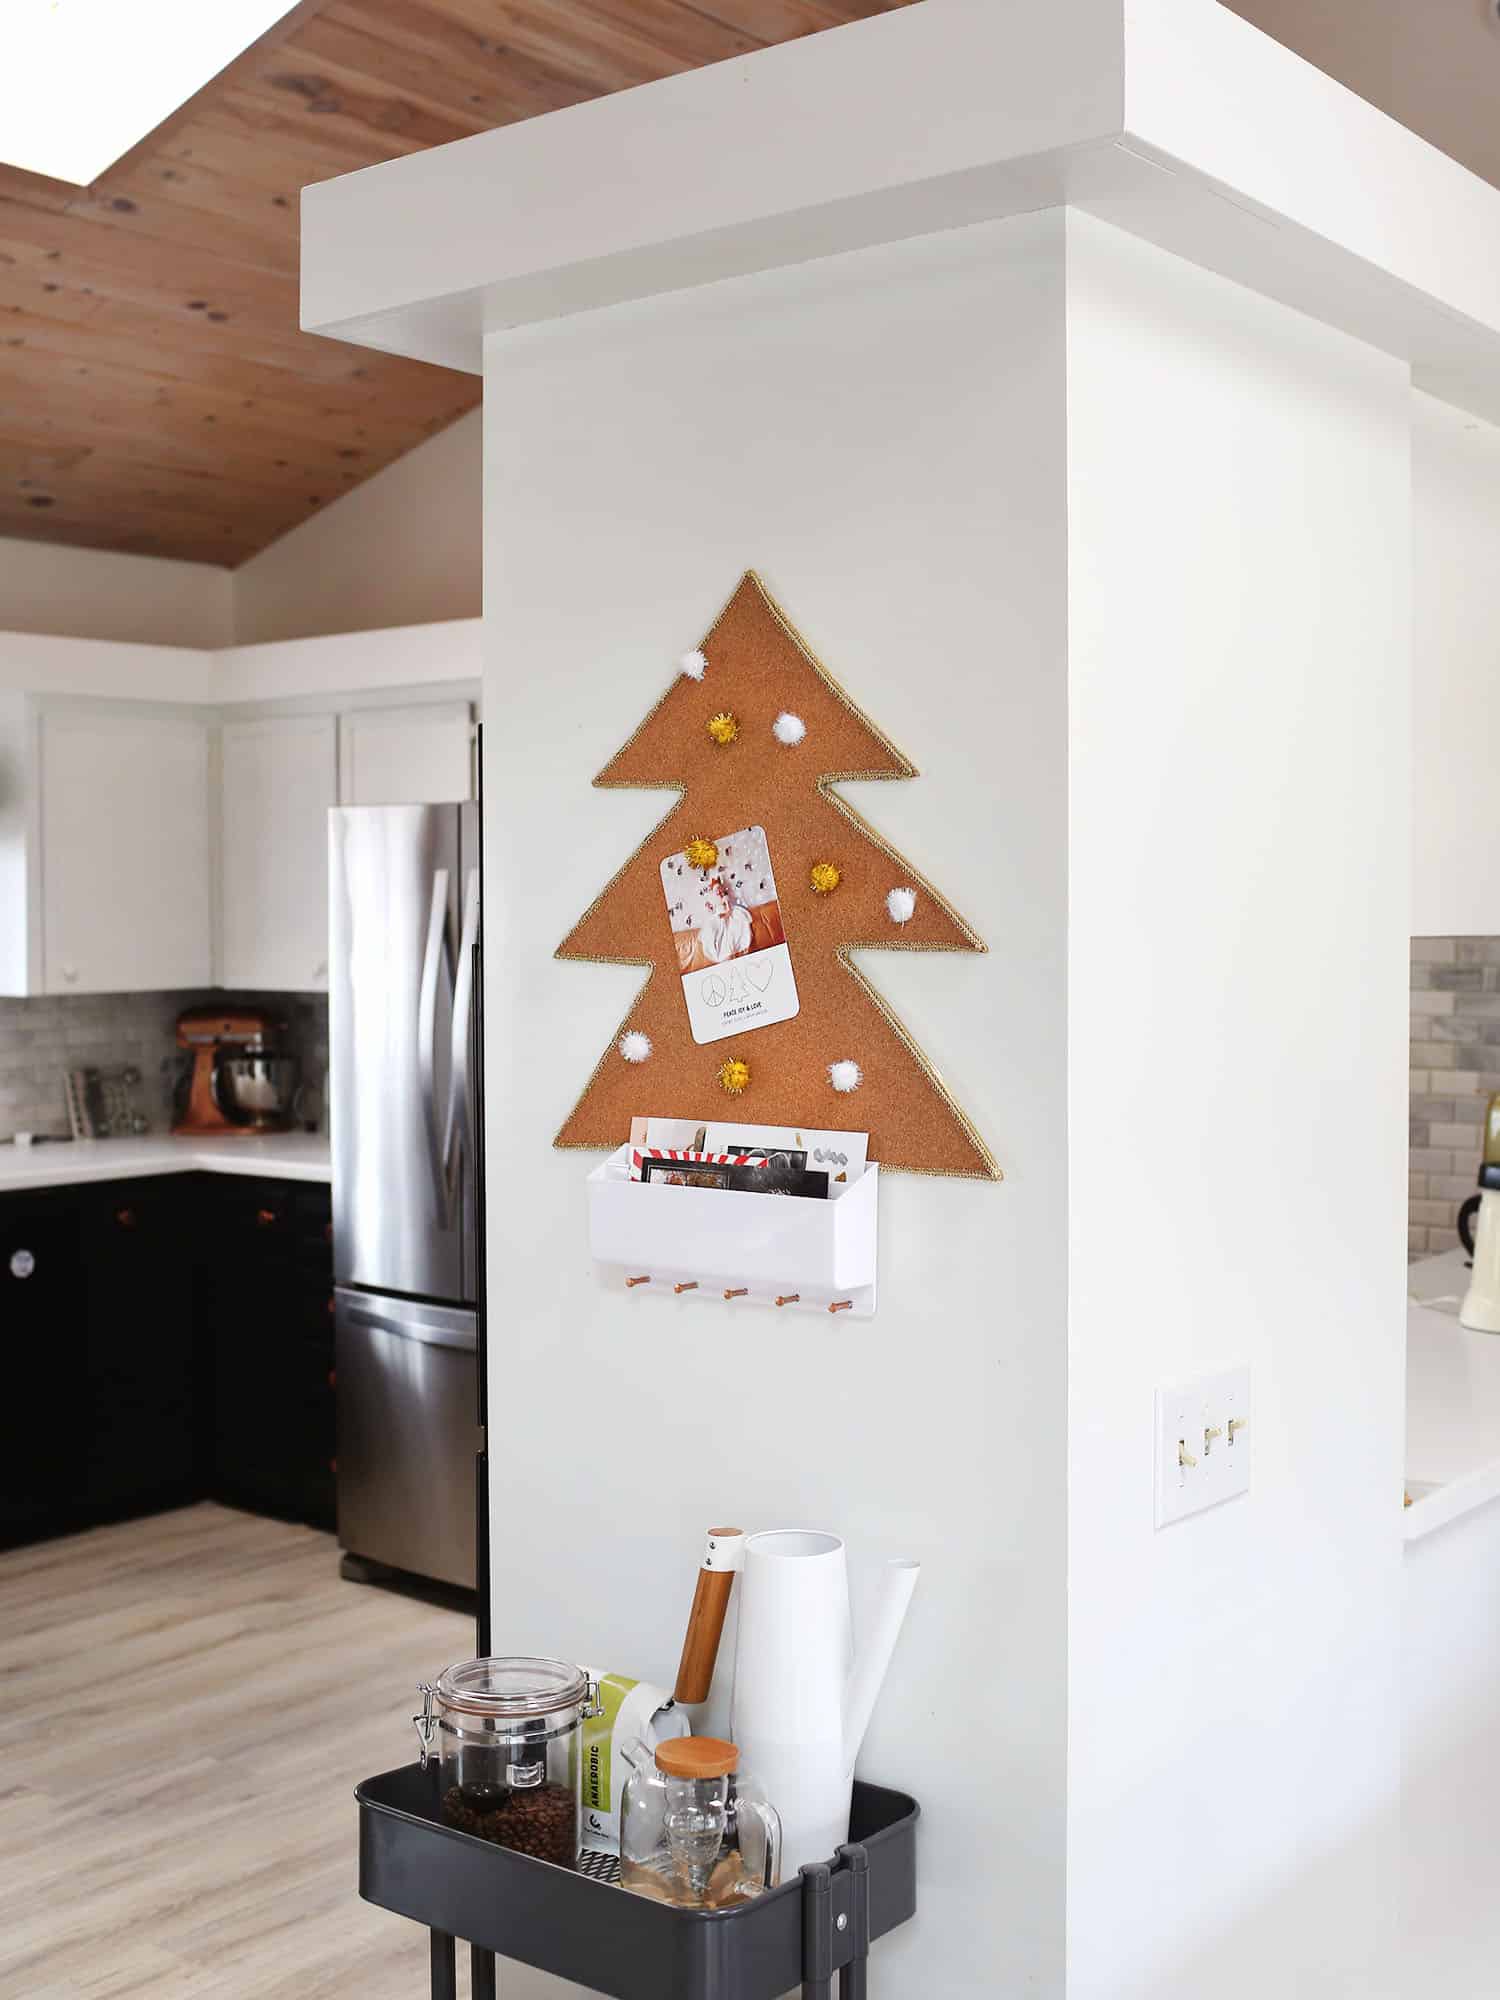 I finally decided to make a little festive looking bulletin board to display our cards on. My plan is to store this little bulletin board on top of the holiday decoration boxes I store in our guest room closet so I can pull it out every year to display our cards on. I also like that while I’m still waiting to get cards in the mail the display just looks like a neutral colored Christmas tree, so it’s cute all on its own too.
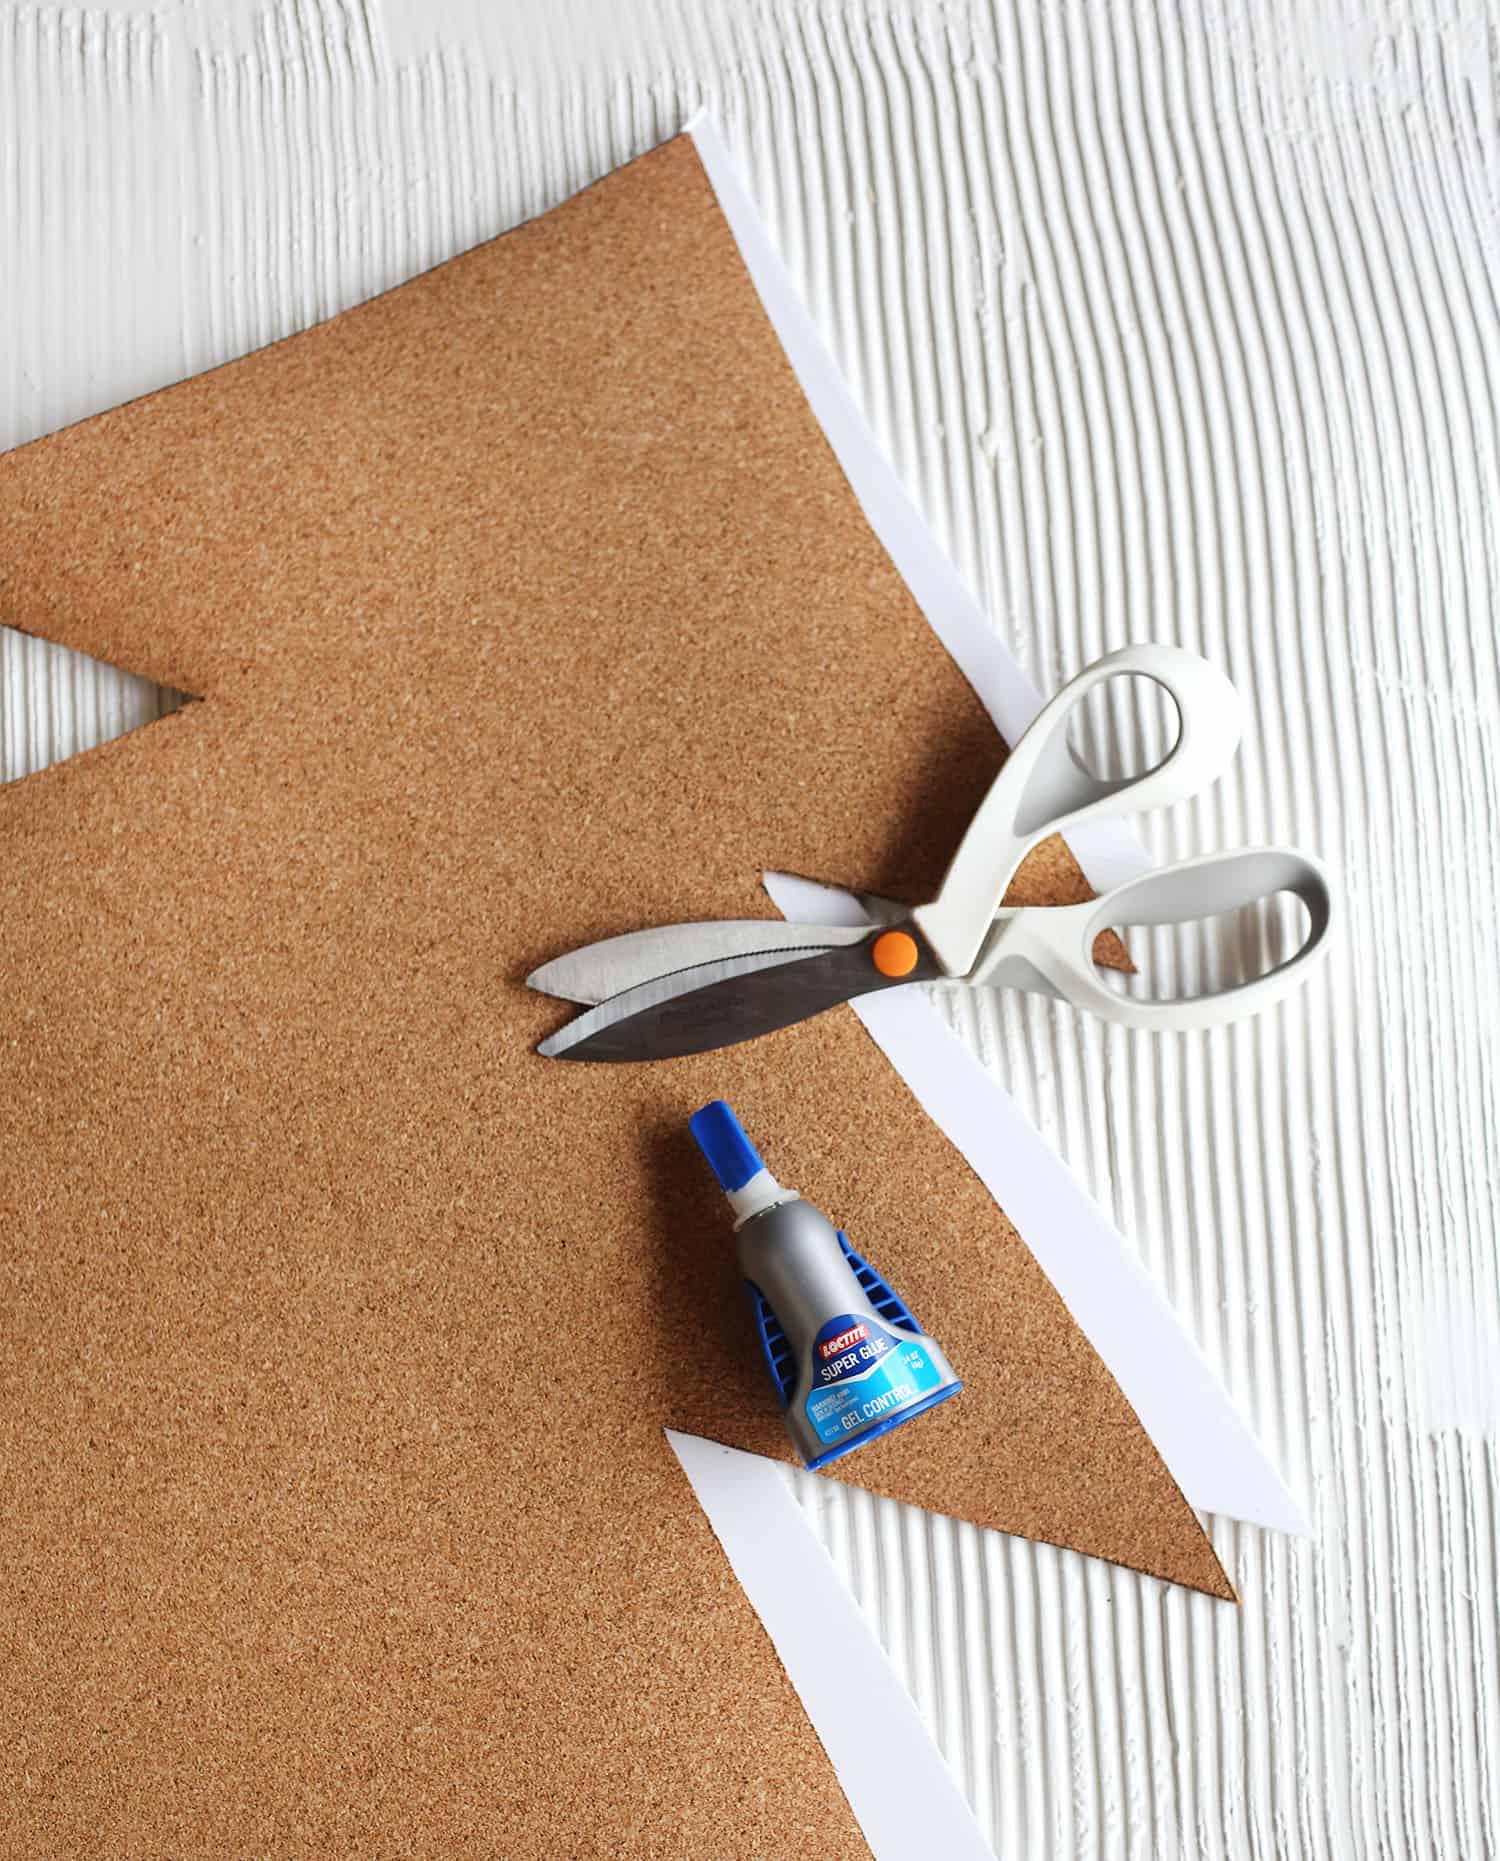 Supplies:
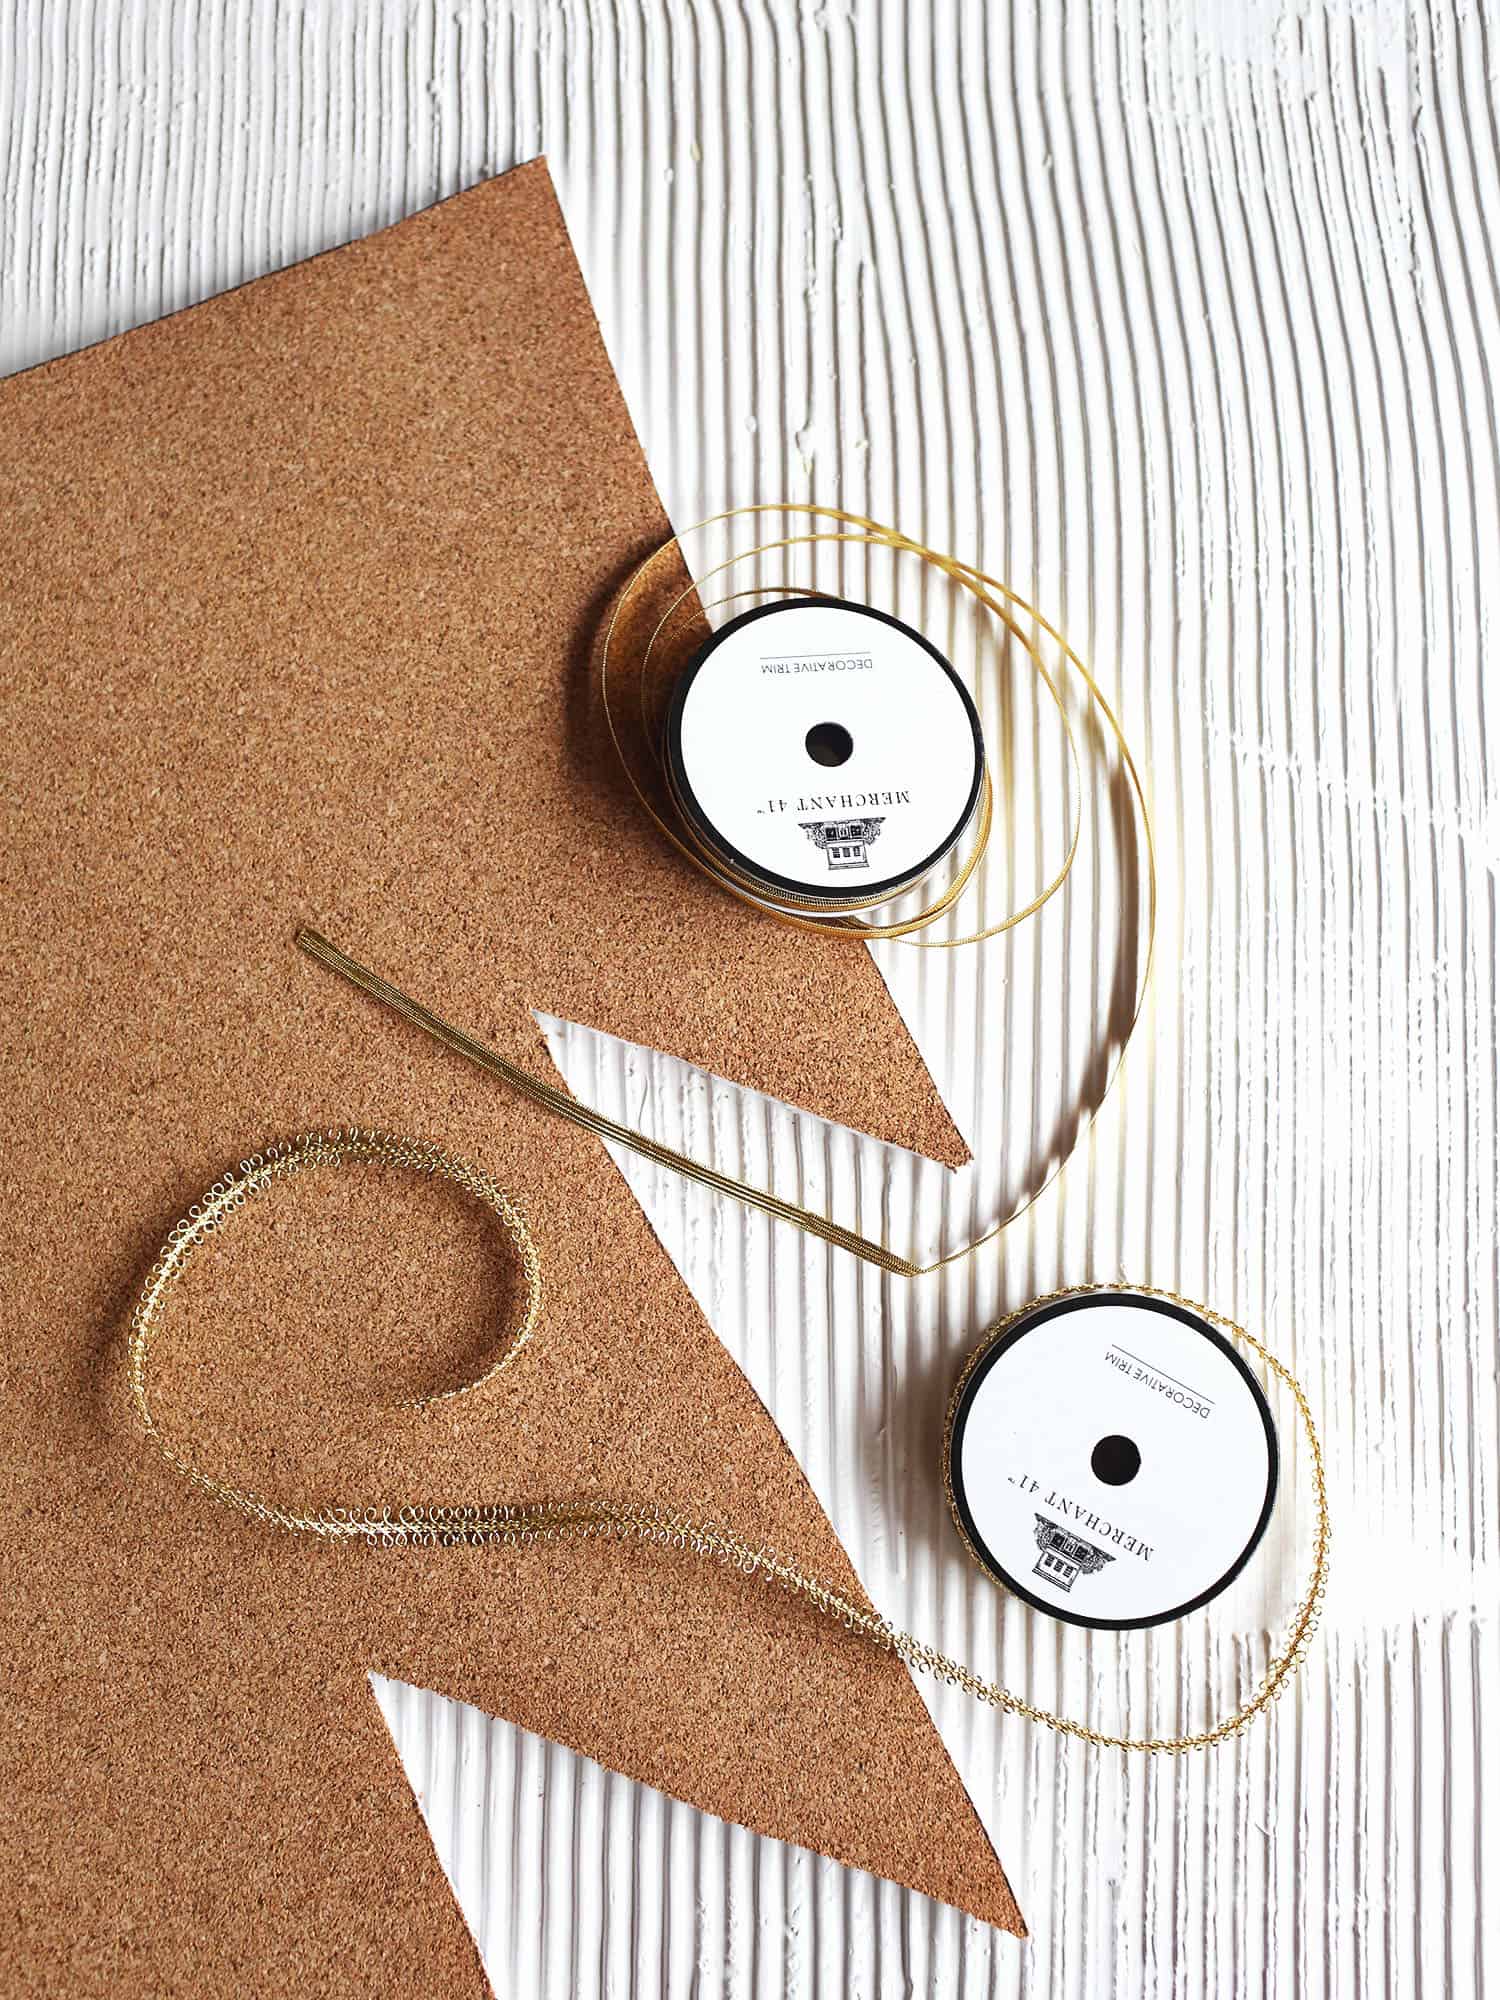 Step Two: Use a hot glue gun to add ribbon or trim to the edges. This will cover the foam, making the bulletin board look more finished, but it’s also just adding a little color or sparkle to the edge. While you have the hot glue gun out, glue the pom poms to the thumbtacks.
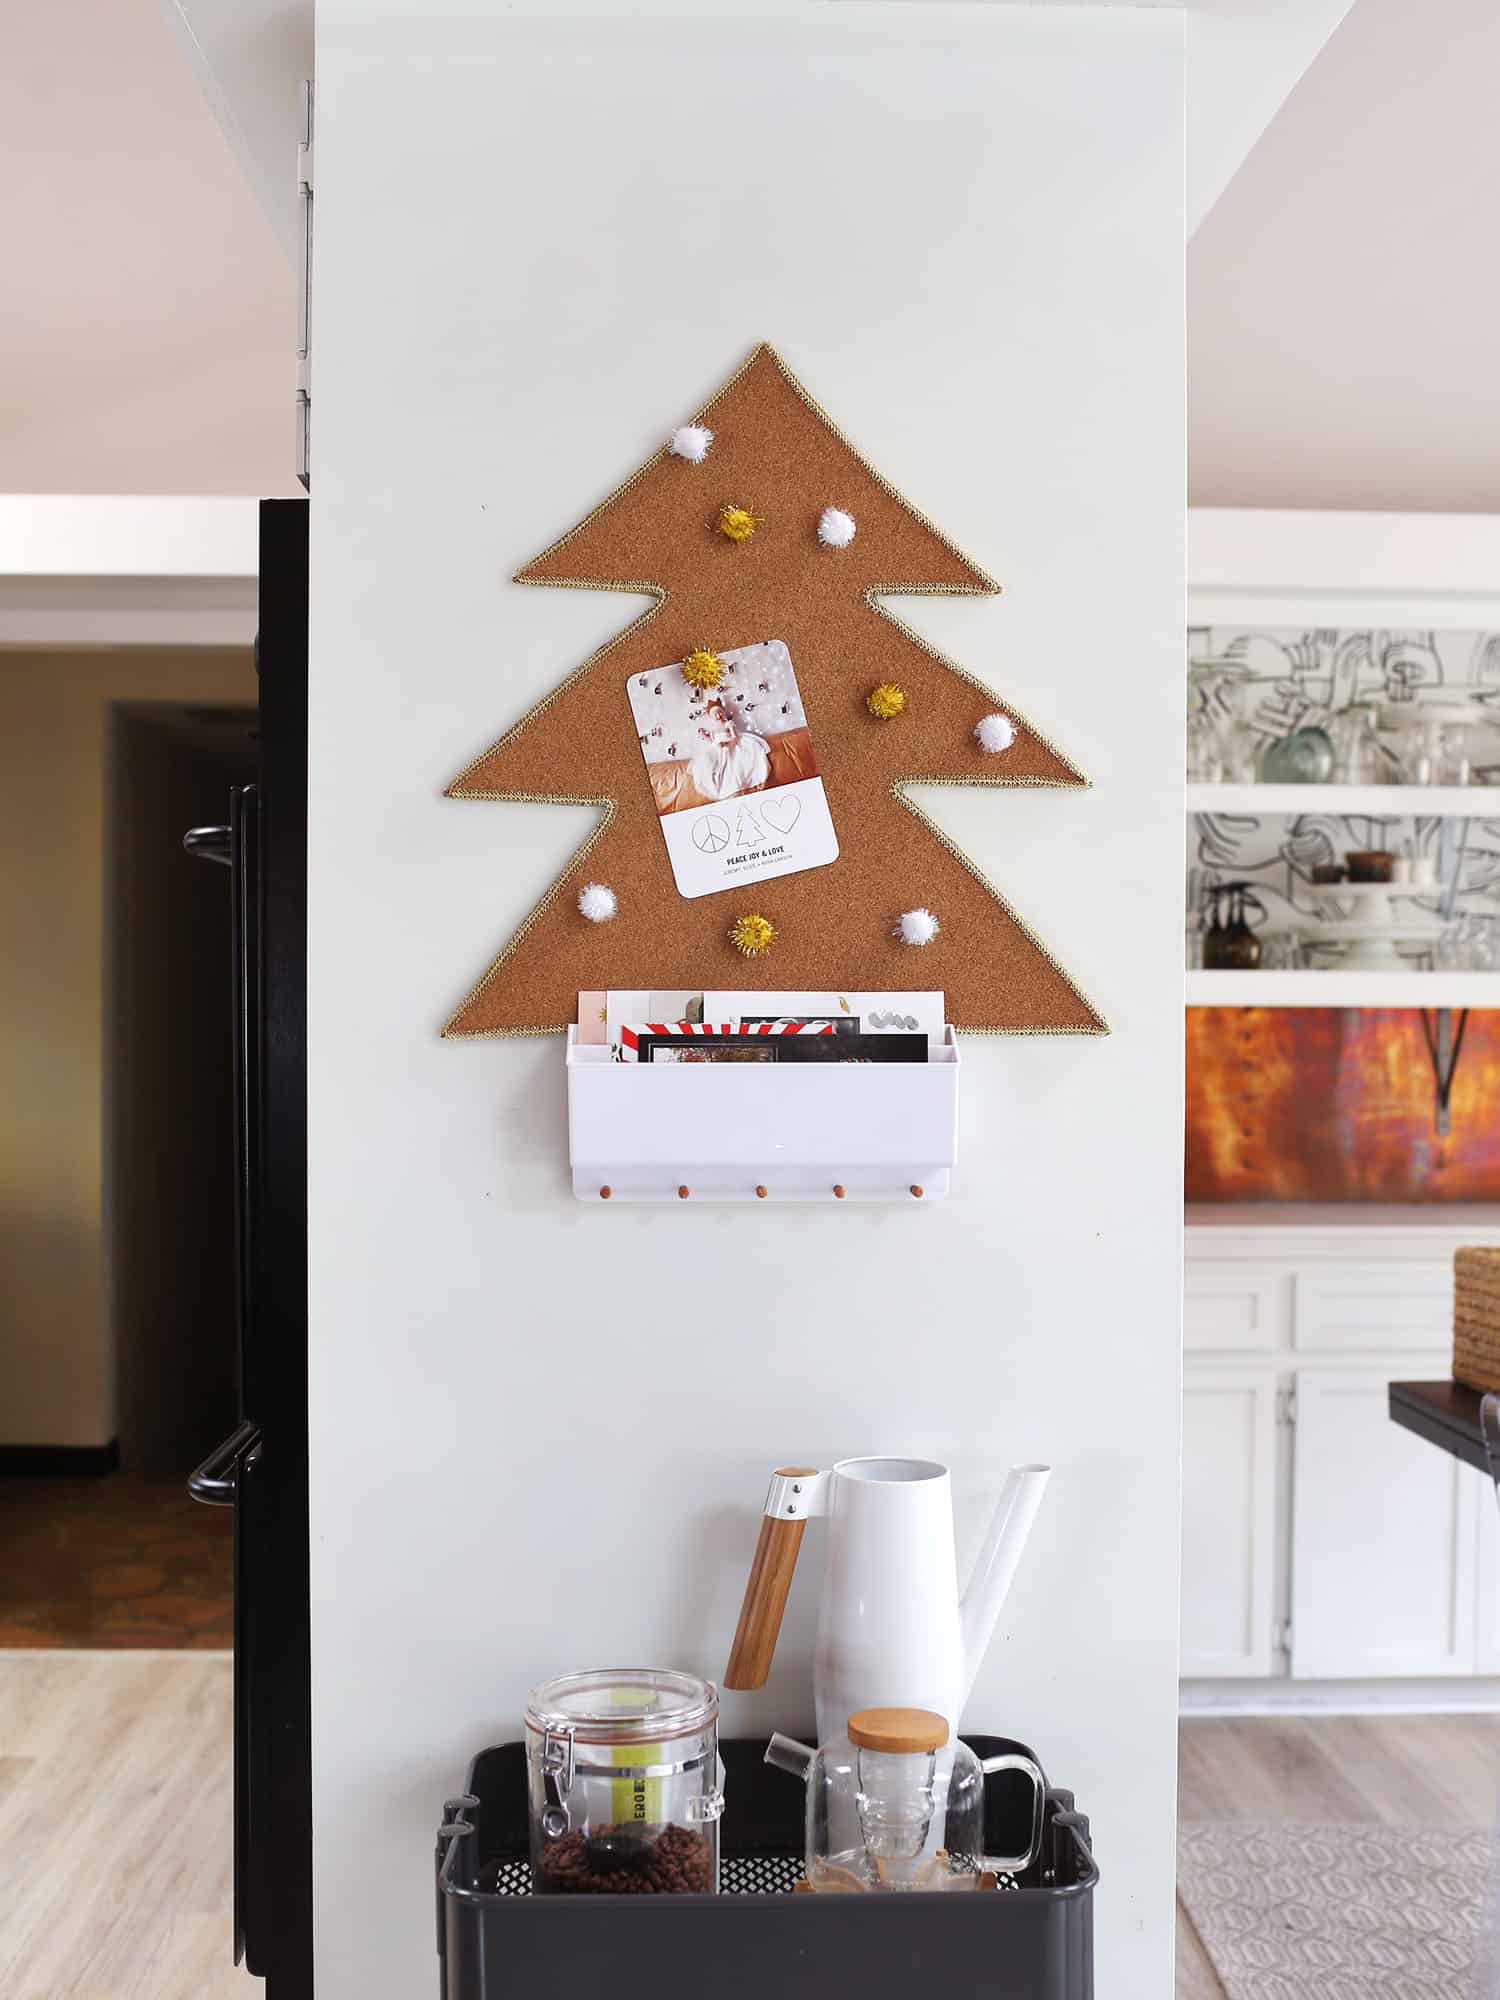 Once complete, I hung the board with Command strips so there’s no damage to my wall or the board, making it easy to reuse for years to come. How do you store/display holiday cards? xo. Emma
 Hi there! This week’s episode:
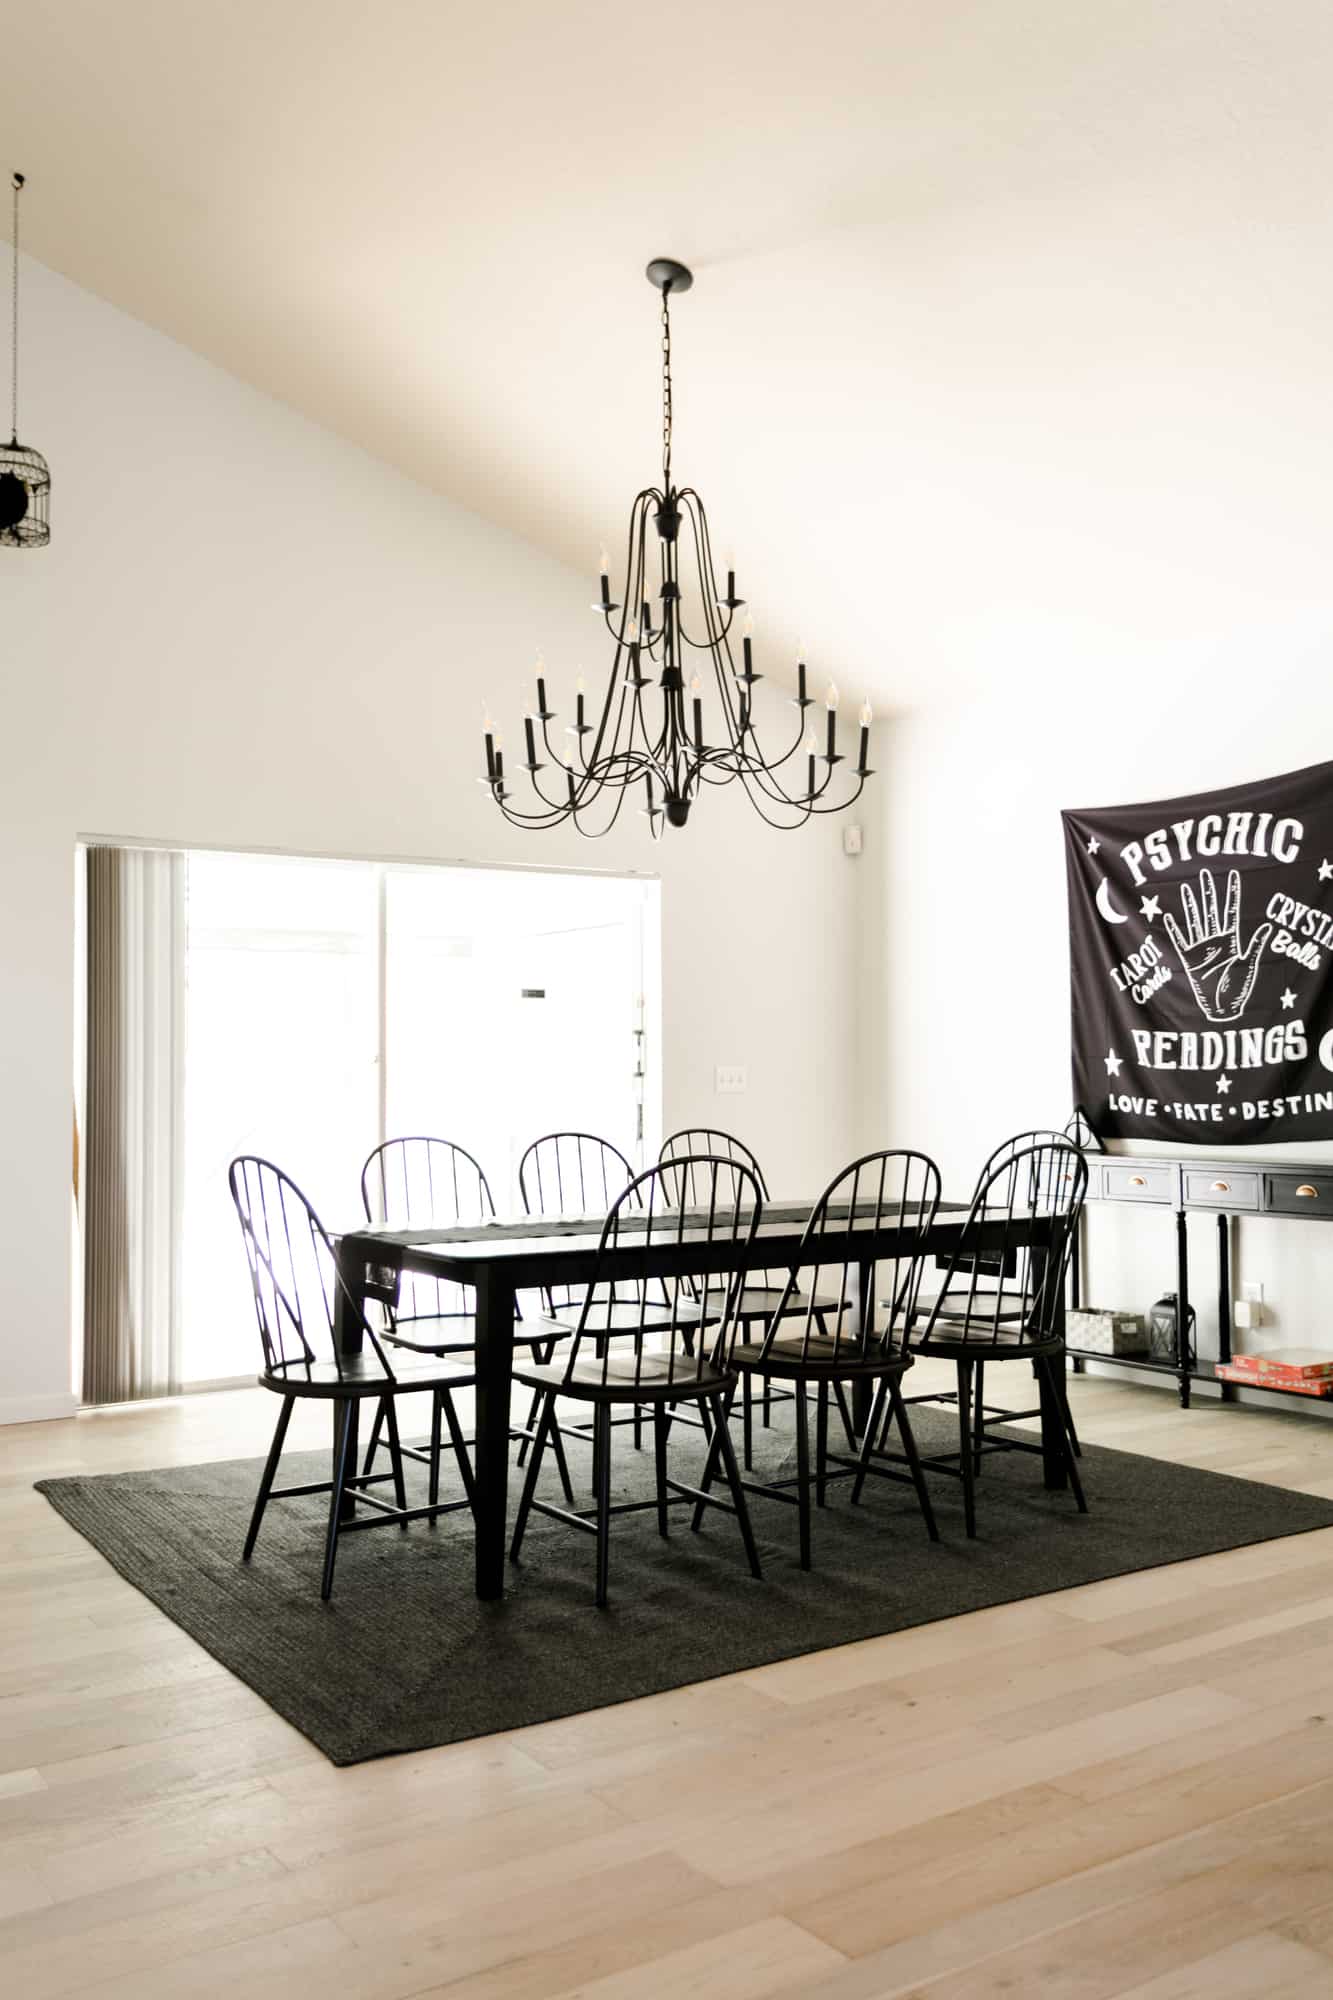
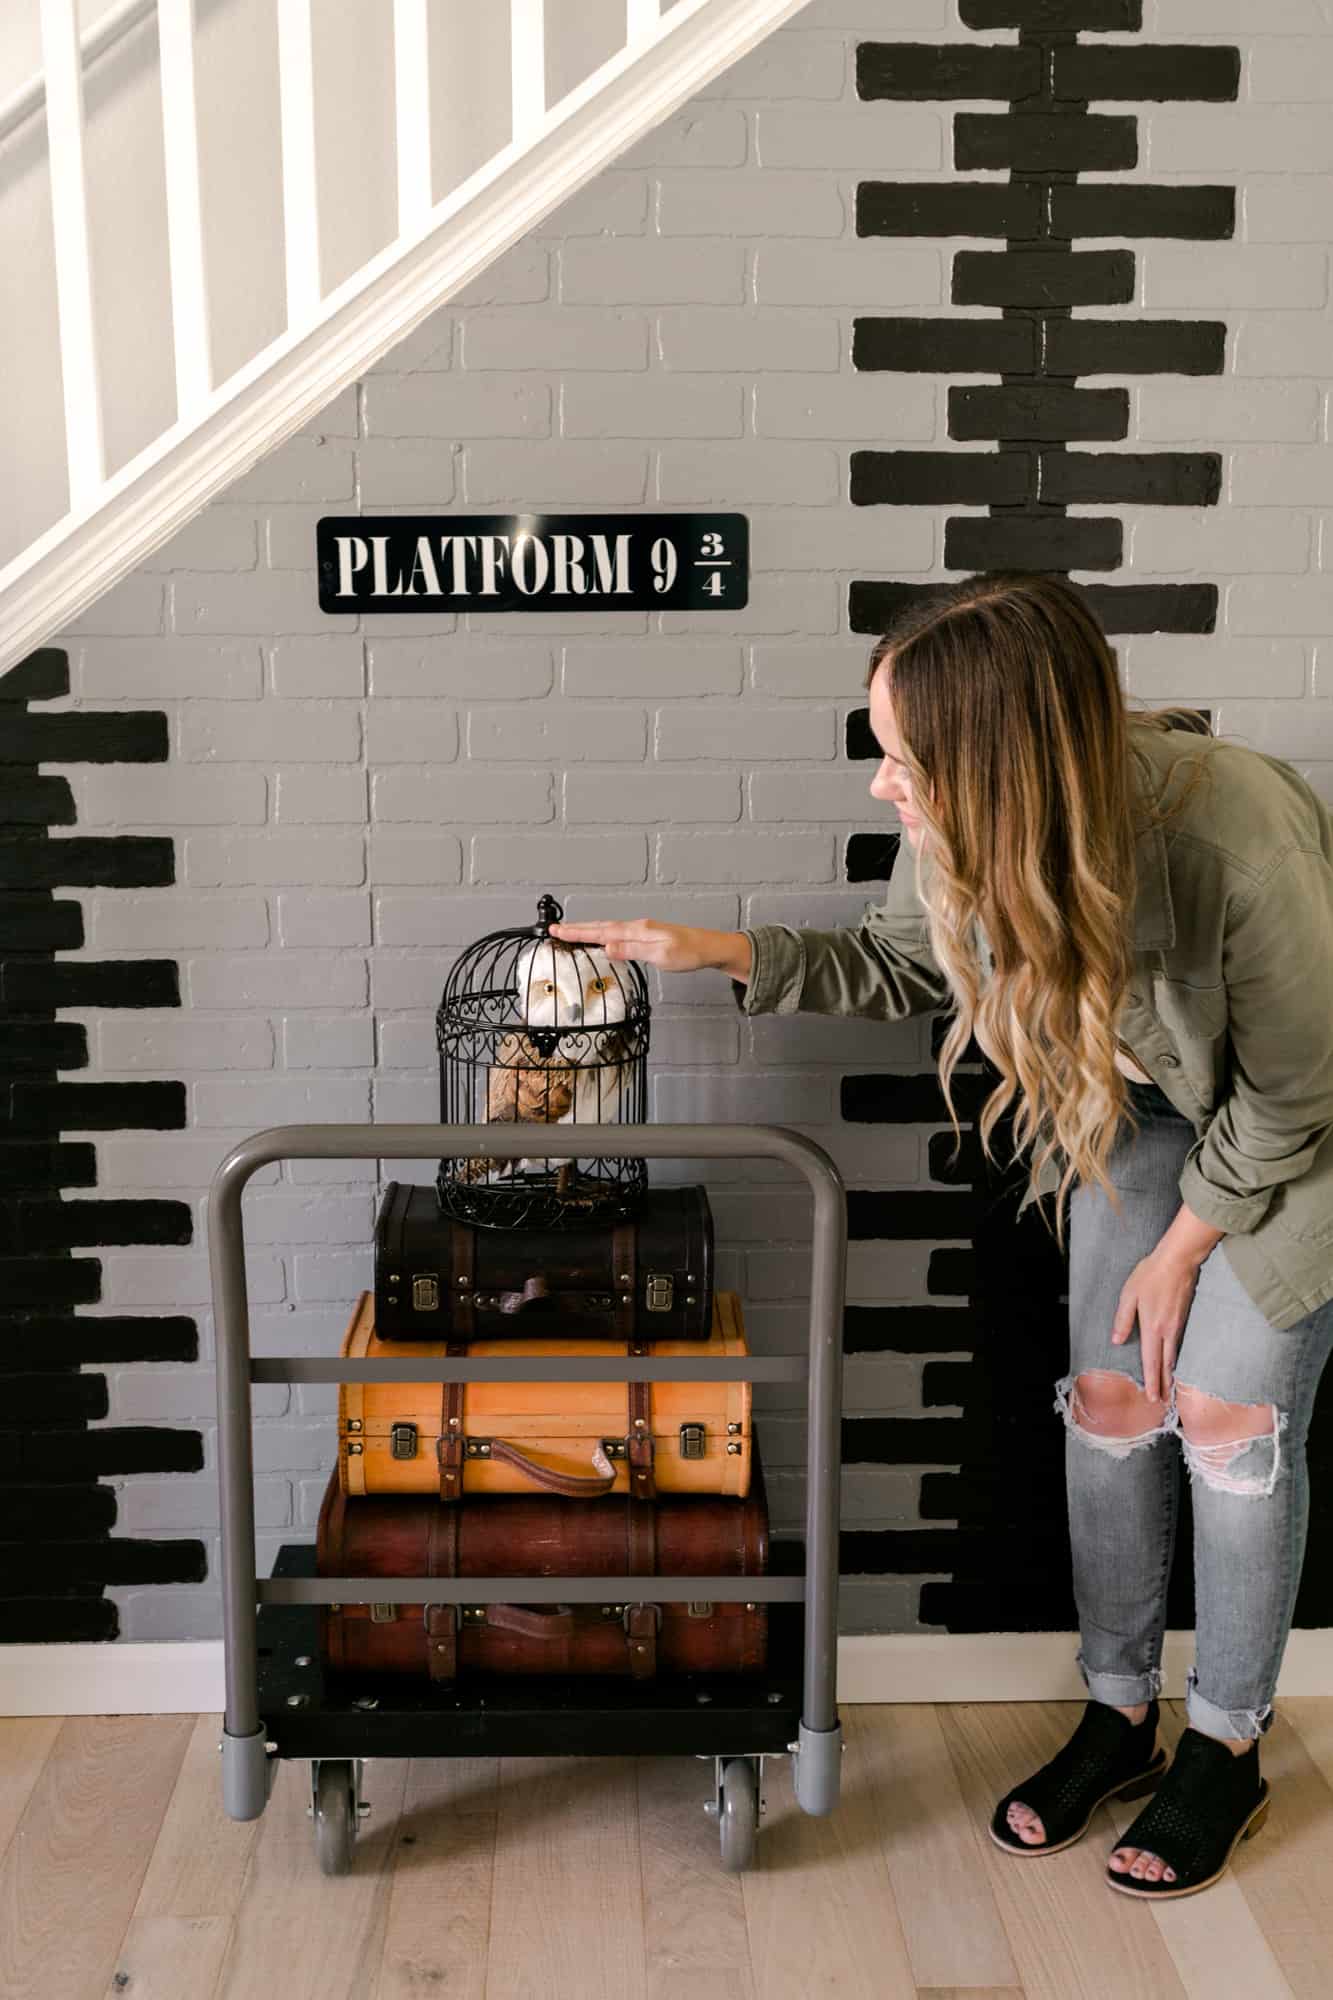
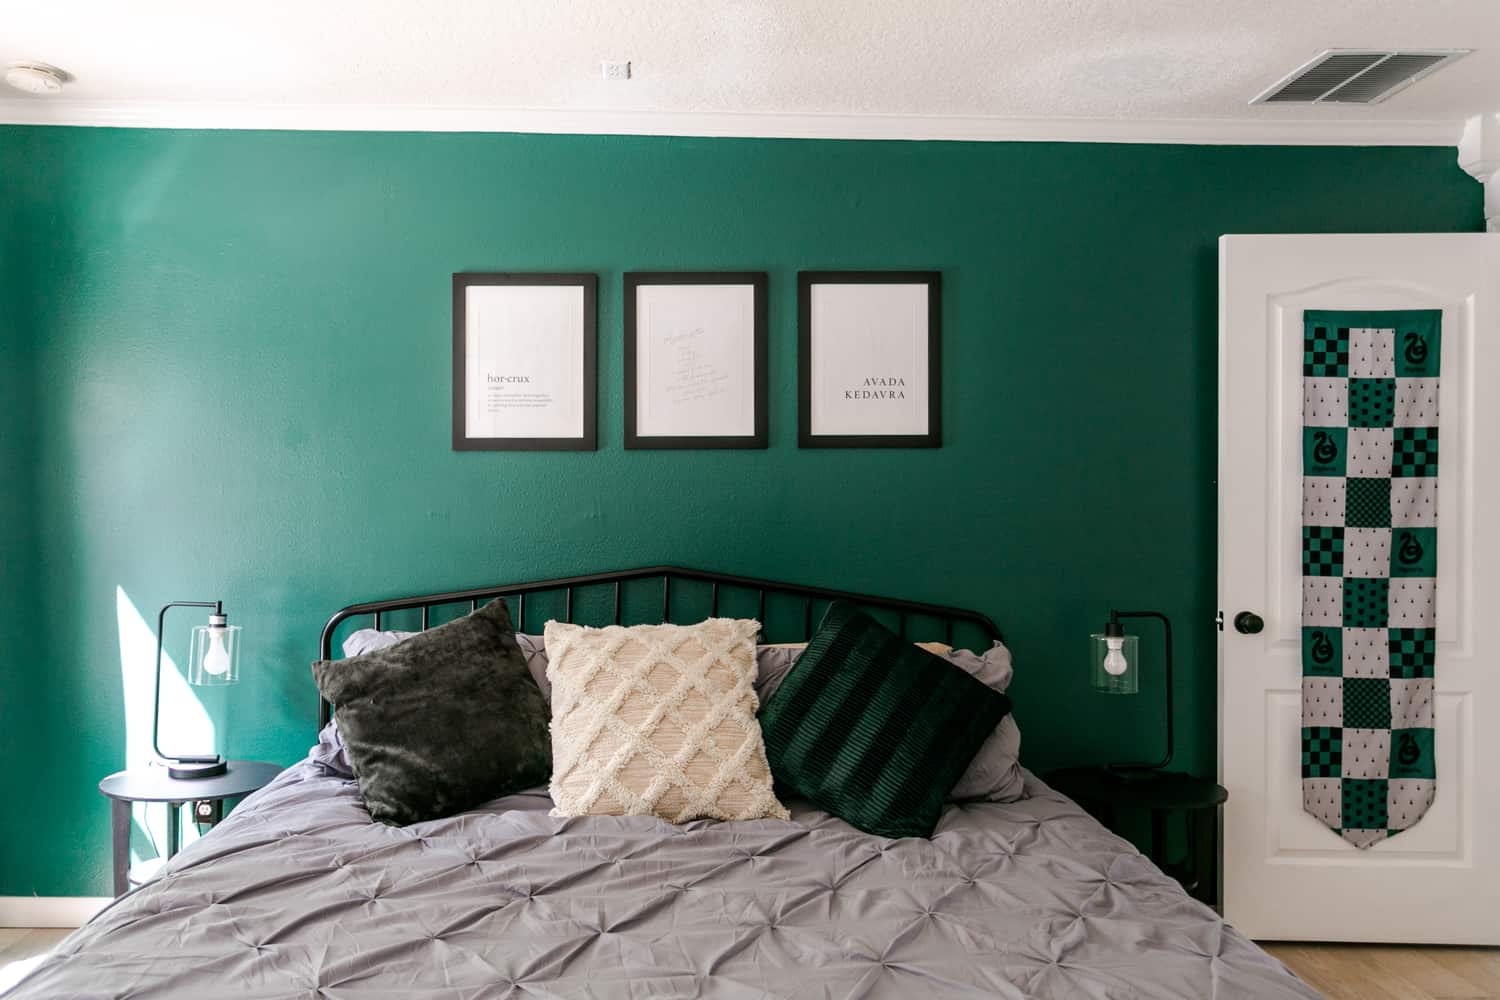
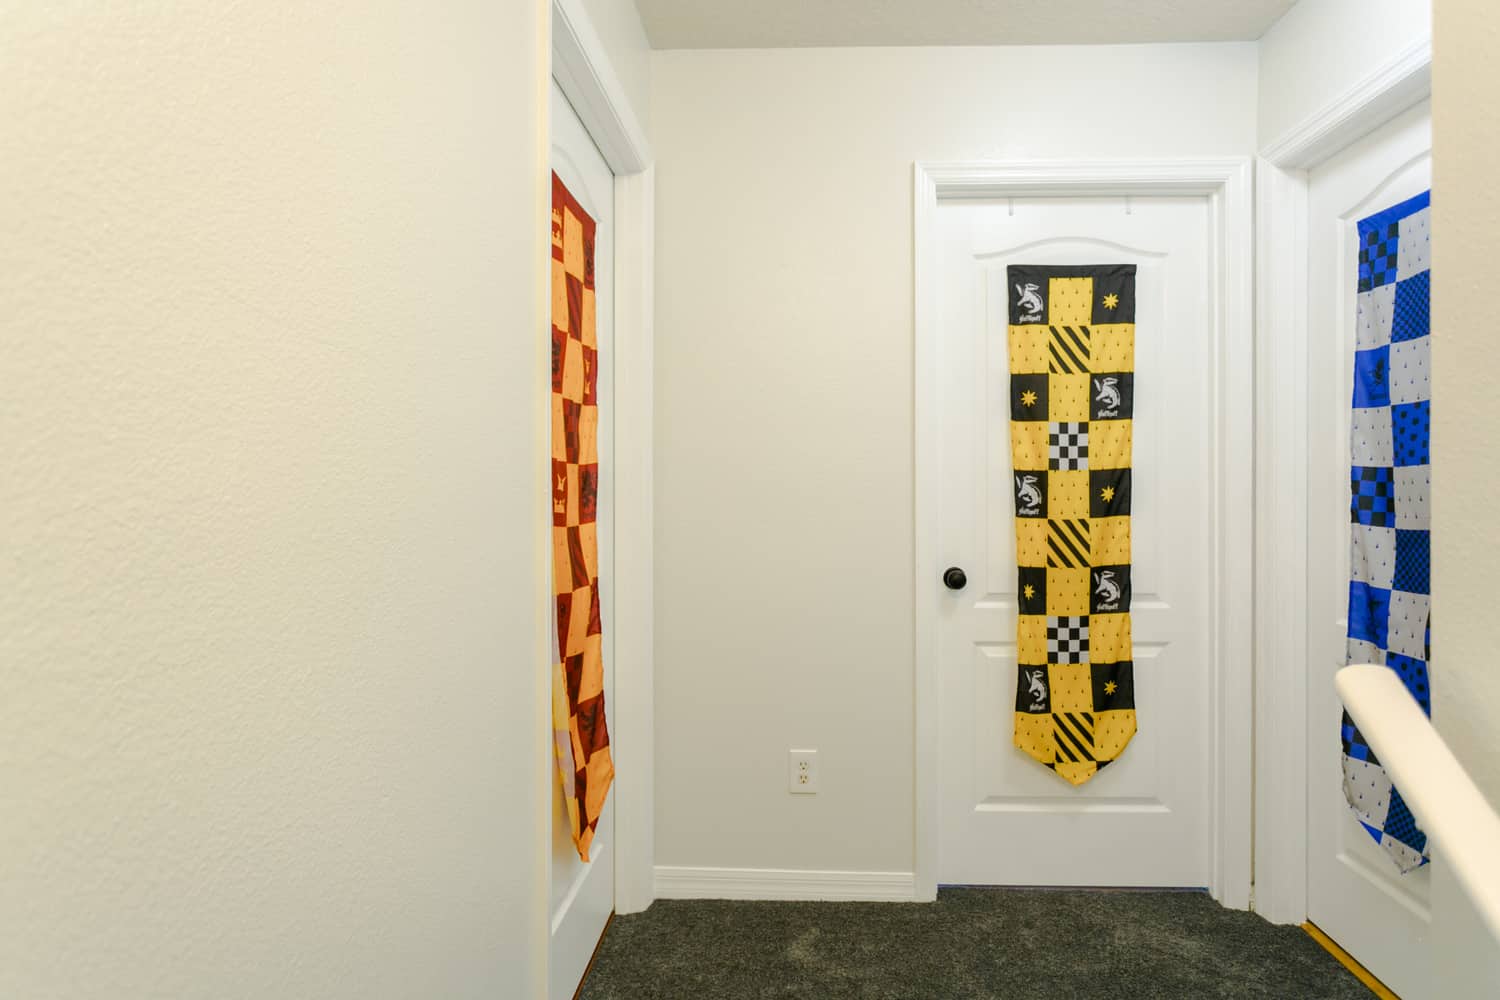
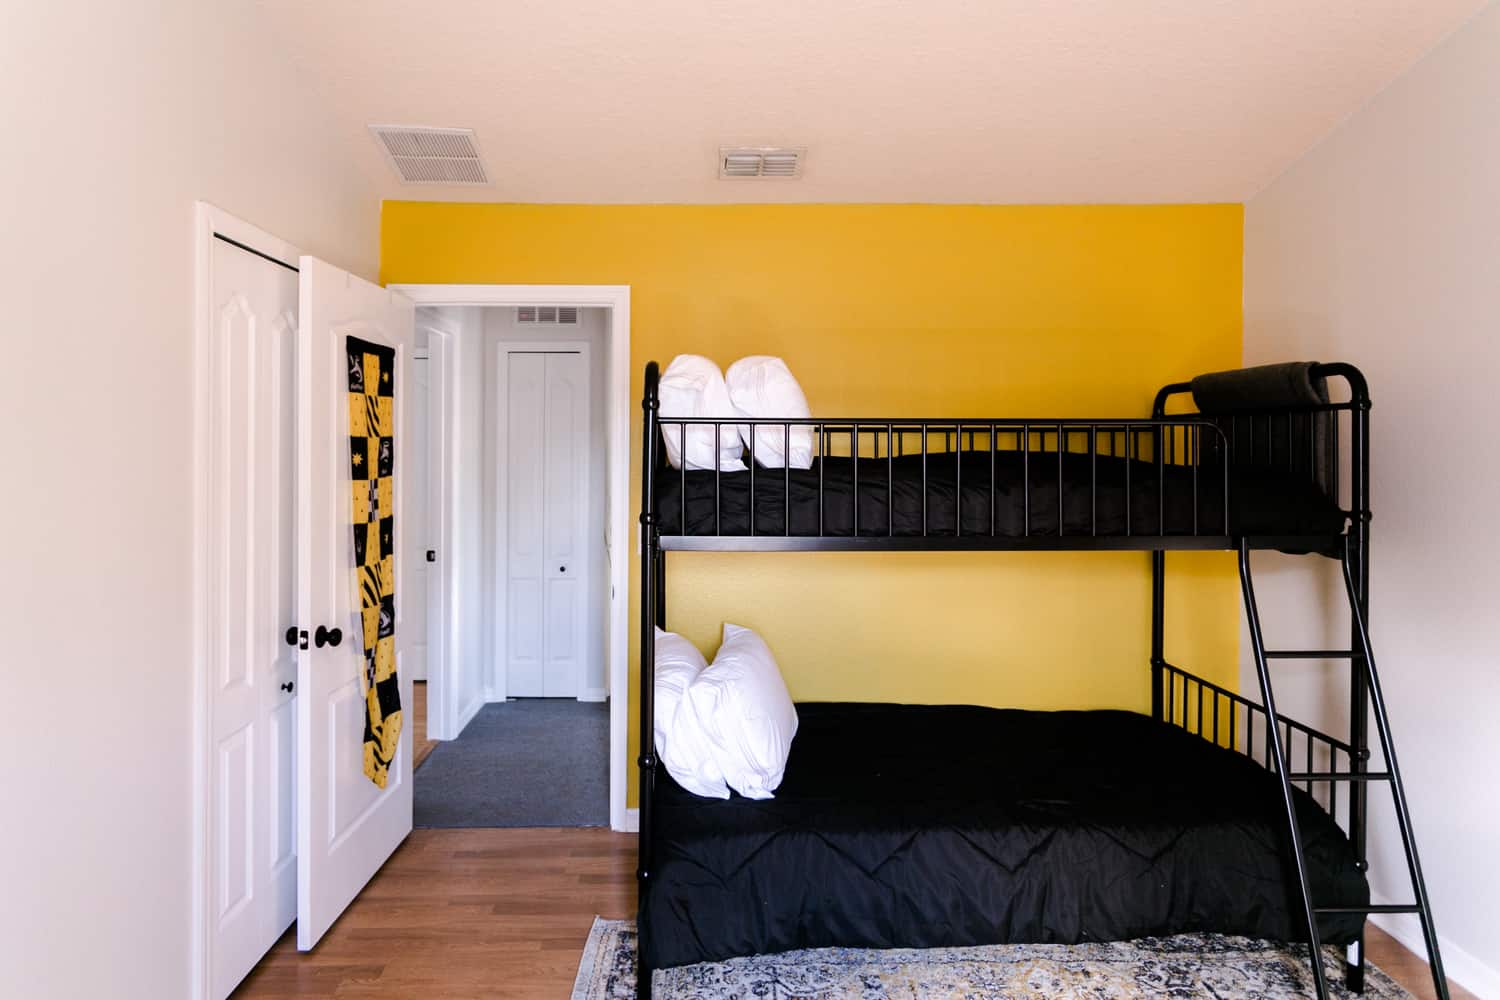 In this episode, Emma gives a full recap of her 17 days in Florida where she fully set up her new bnb. Over the next few months, Emma has several more blog posts where she will share photos of each room of her new bnb.
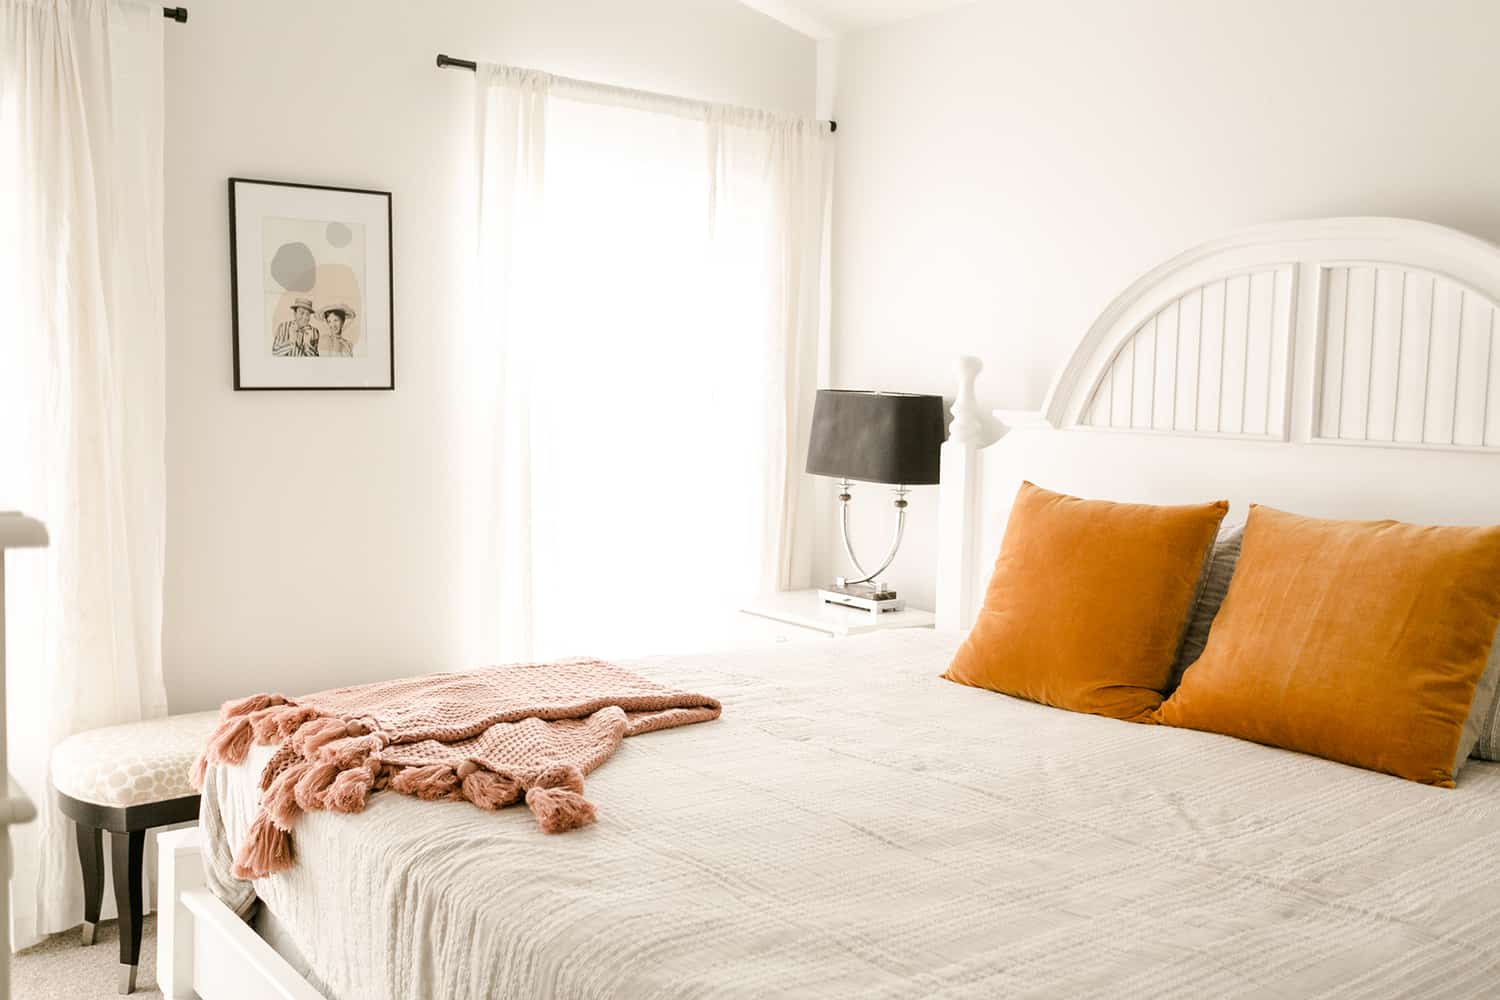
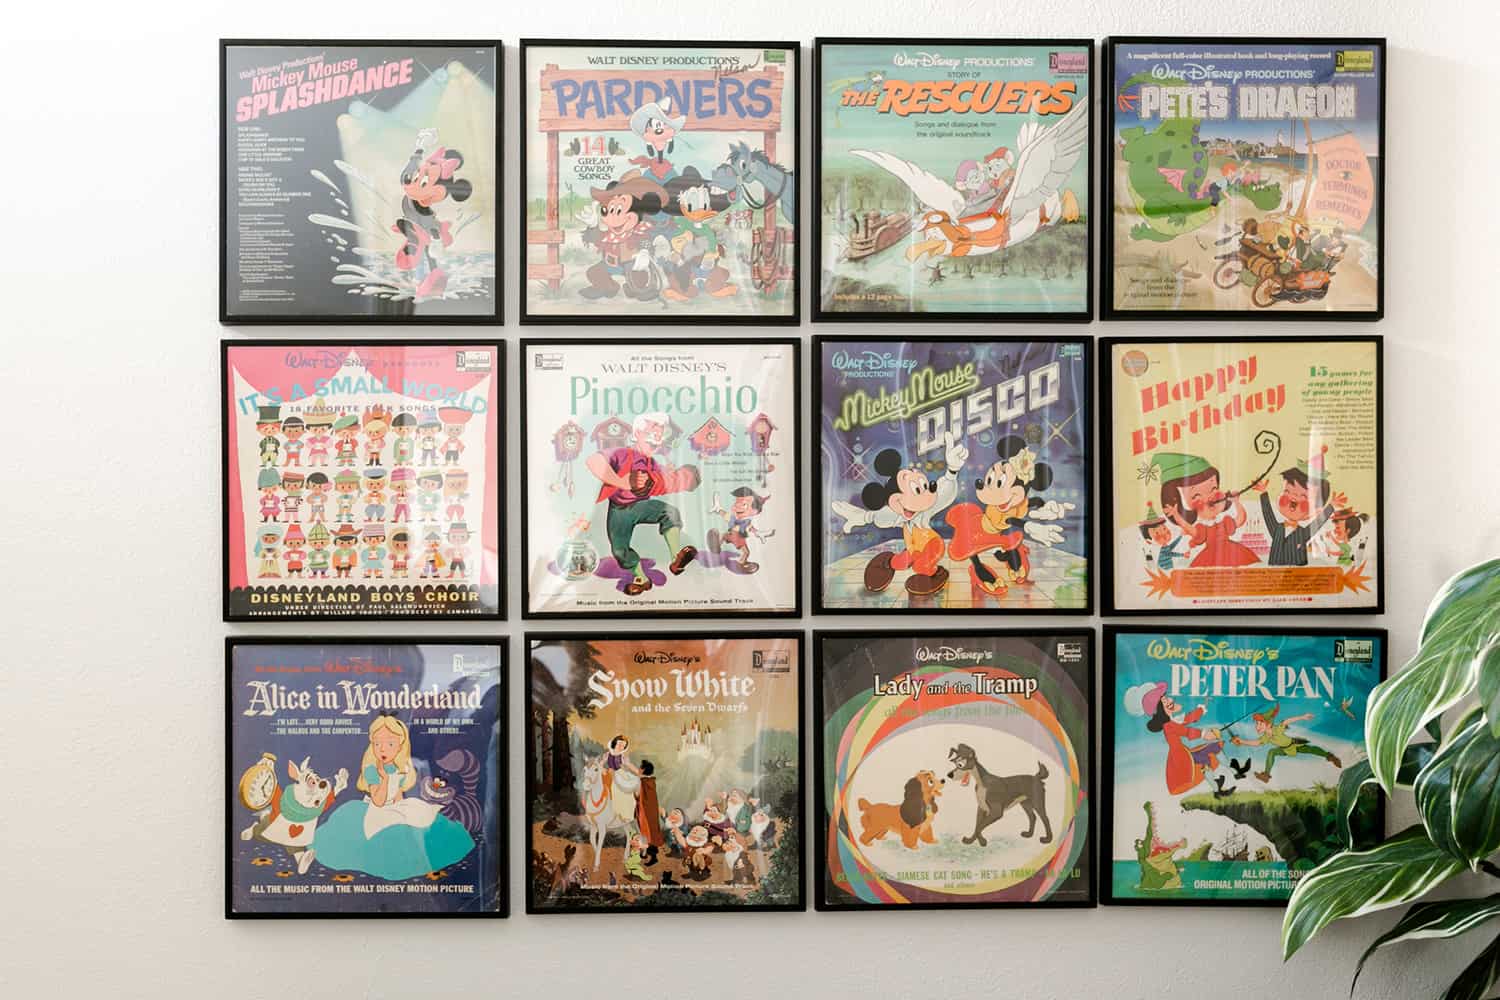
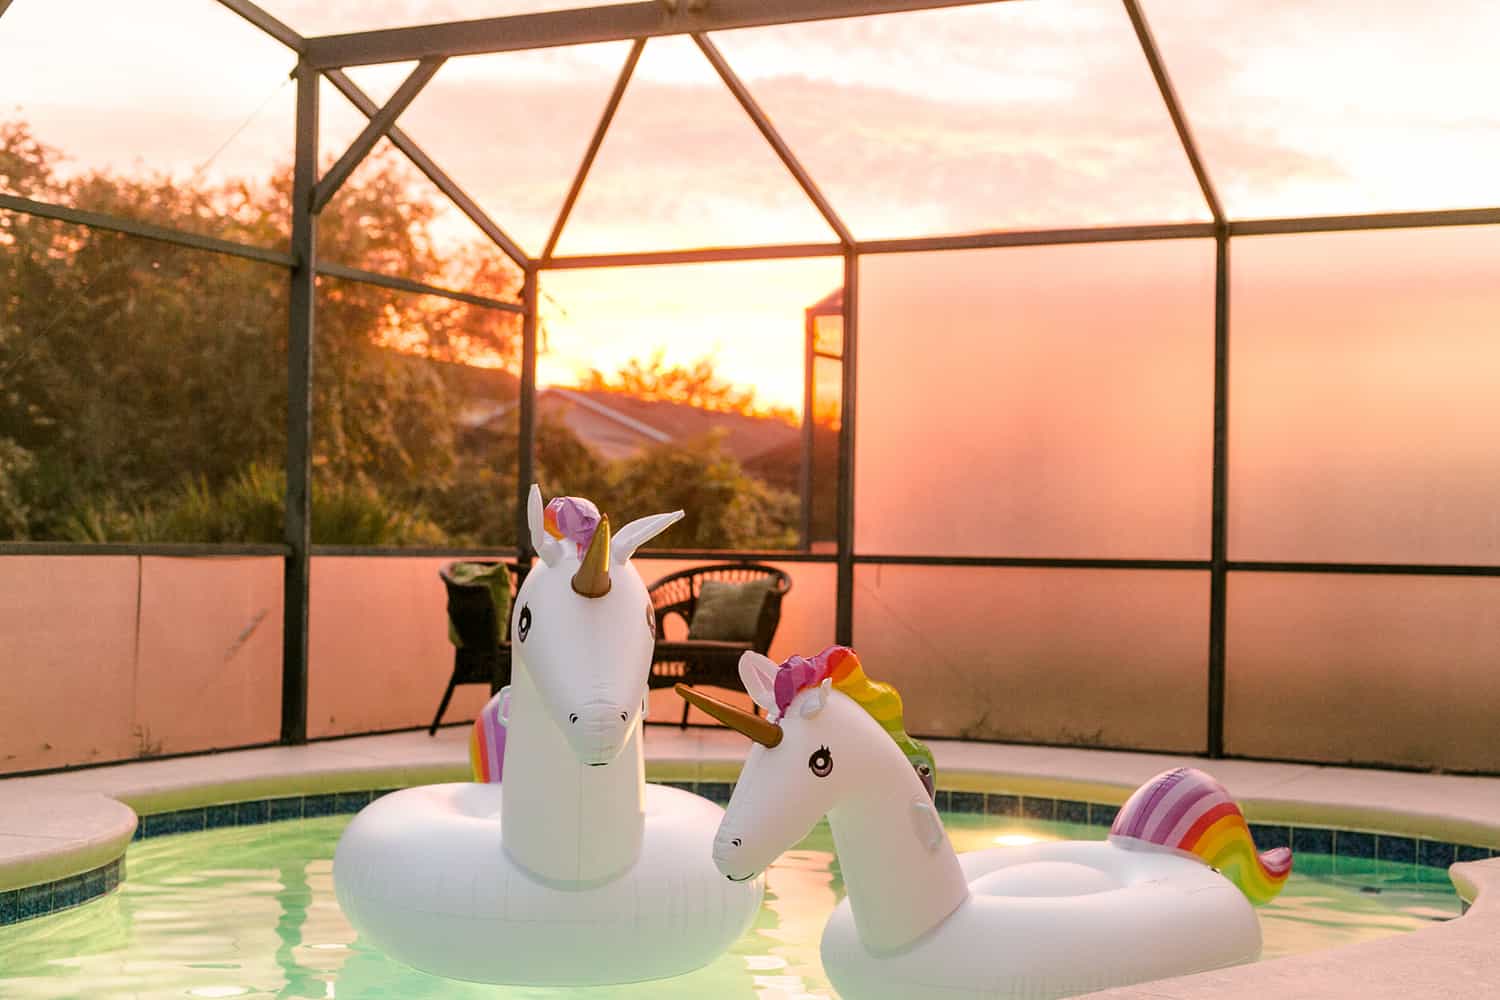
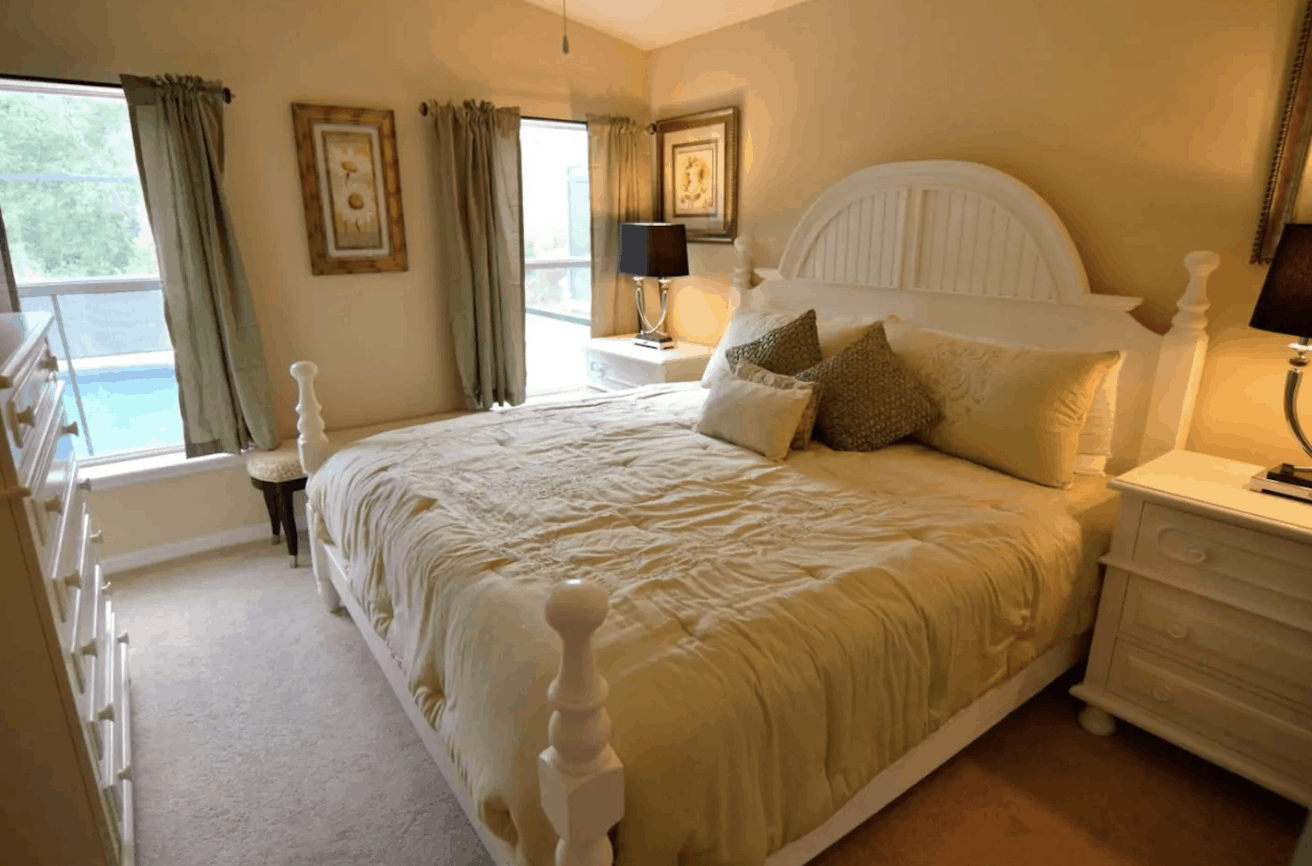 And here are a few photos from our recent trip.

 In this episode, we also talk about our past retail adventure. Here are some photos of our brick and mortar store (RIP).
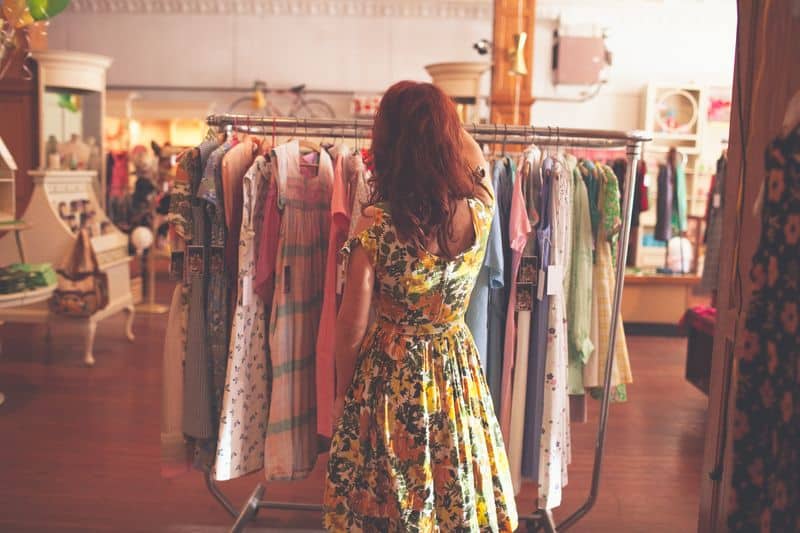
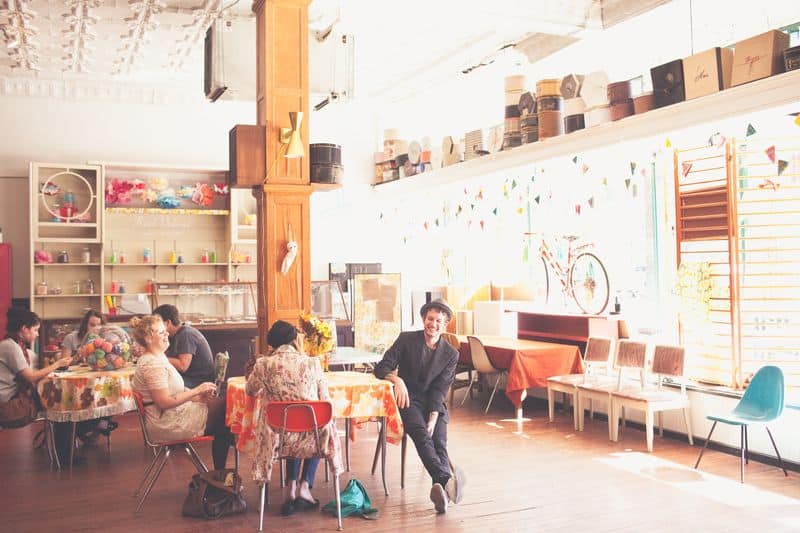
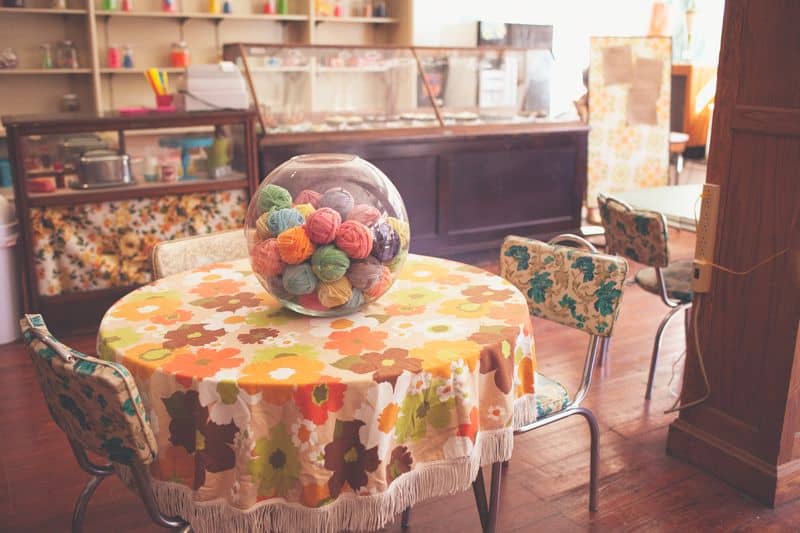
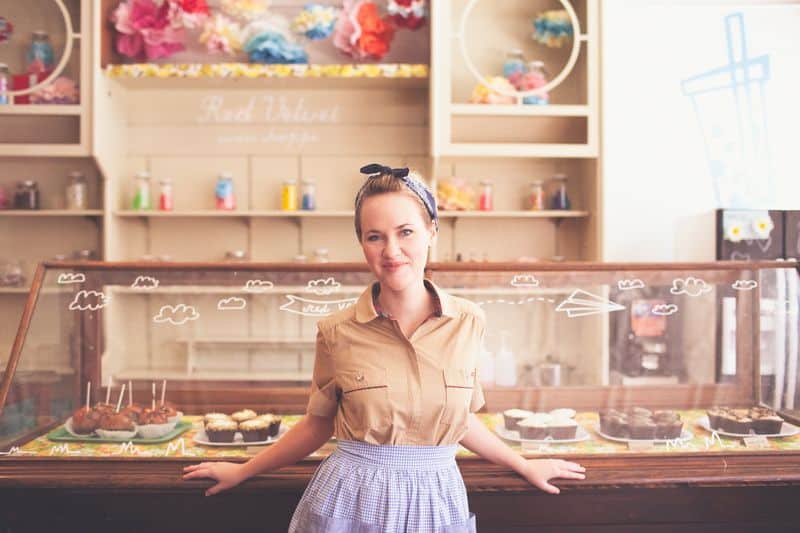
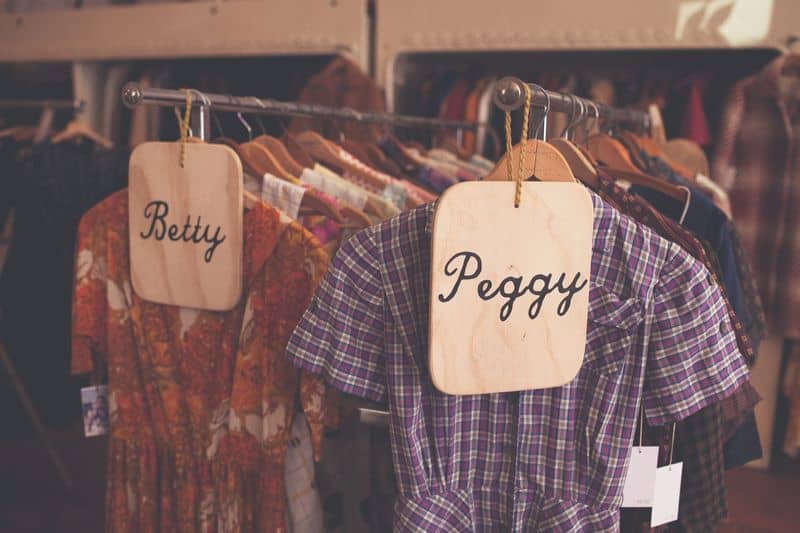 We both felt that our brick and mortar retail advice was a tad harsh, but it’s super honest and advice we truly stand by. I hope it’s not too sad! 99% of our heartbreaks in business have been retail-related, so if nothing else, it’s a sober warning. We completely understand why it’s a dream to open a boutique—we still get warm fuzzies every time we walk into one! Anyway, I’ll stop with the disclaimers now and if you’ve had a retail adventure of your own we’d love to hear about it in the comments!

