 I’ve been wanting to make an upholstered waterfall bench for years! But just the idea of this project has really intimidated me, due to my lack of upholstery skills. After a couple of years upholstering miniature furniture (no joke!), I’ve built up the confidence to finally try my hand at upholstering a life-size piece of furniture that I actually built myself … out of material that isn’t balsa wood and super glue!
I’ve gotta say—this project was not as difficult as I had built it up to be in my mind. Whew! Such a relief at how straightforward it was. It’s even a project you can do in one day! However, I also must say, I didn’t do it perfectly, which is a bit of a bummer for a detail-oriented person such as myself. But I think it turned out pretty well for my first try at this type of upholstery. I certainly learned a few things along the way that will help me next time, and help you your first time! Read on to learn how to make your own upholstered waterfall bench.
 Materials:
-2 pieces of 2x8x7 lumber (I used poplar) to make a 55″ long bench. Use shorter pieces of wood for a shorter bench.
-3″ construction screws (I used 12 of these)
–Wood glue
-2 1/2 yards of heavyweight upholstery fabric
-2 1/3 yards of 16″ wide 2″ thick foam (this is a standard piece of foam that can be trimmed to fit)
–3/8″ T50 staples
-Chipboard tack strip
-Metal tack strip
-Furniture glides (I used 6 of this type)
Tools:
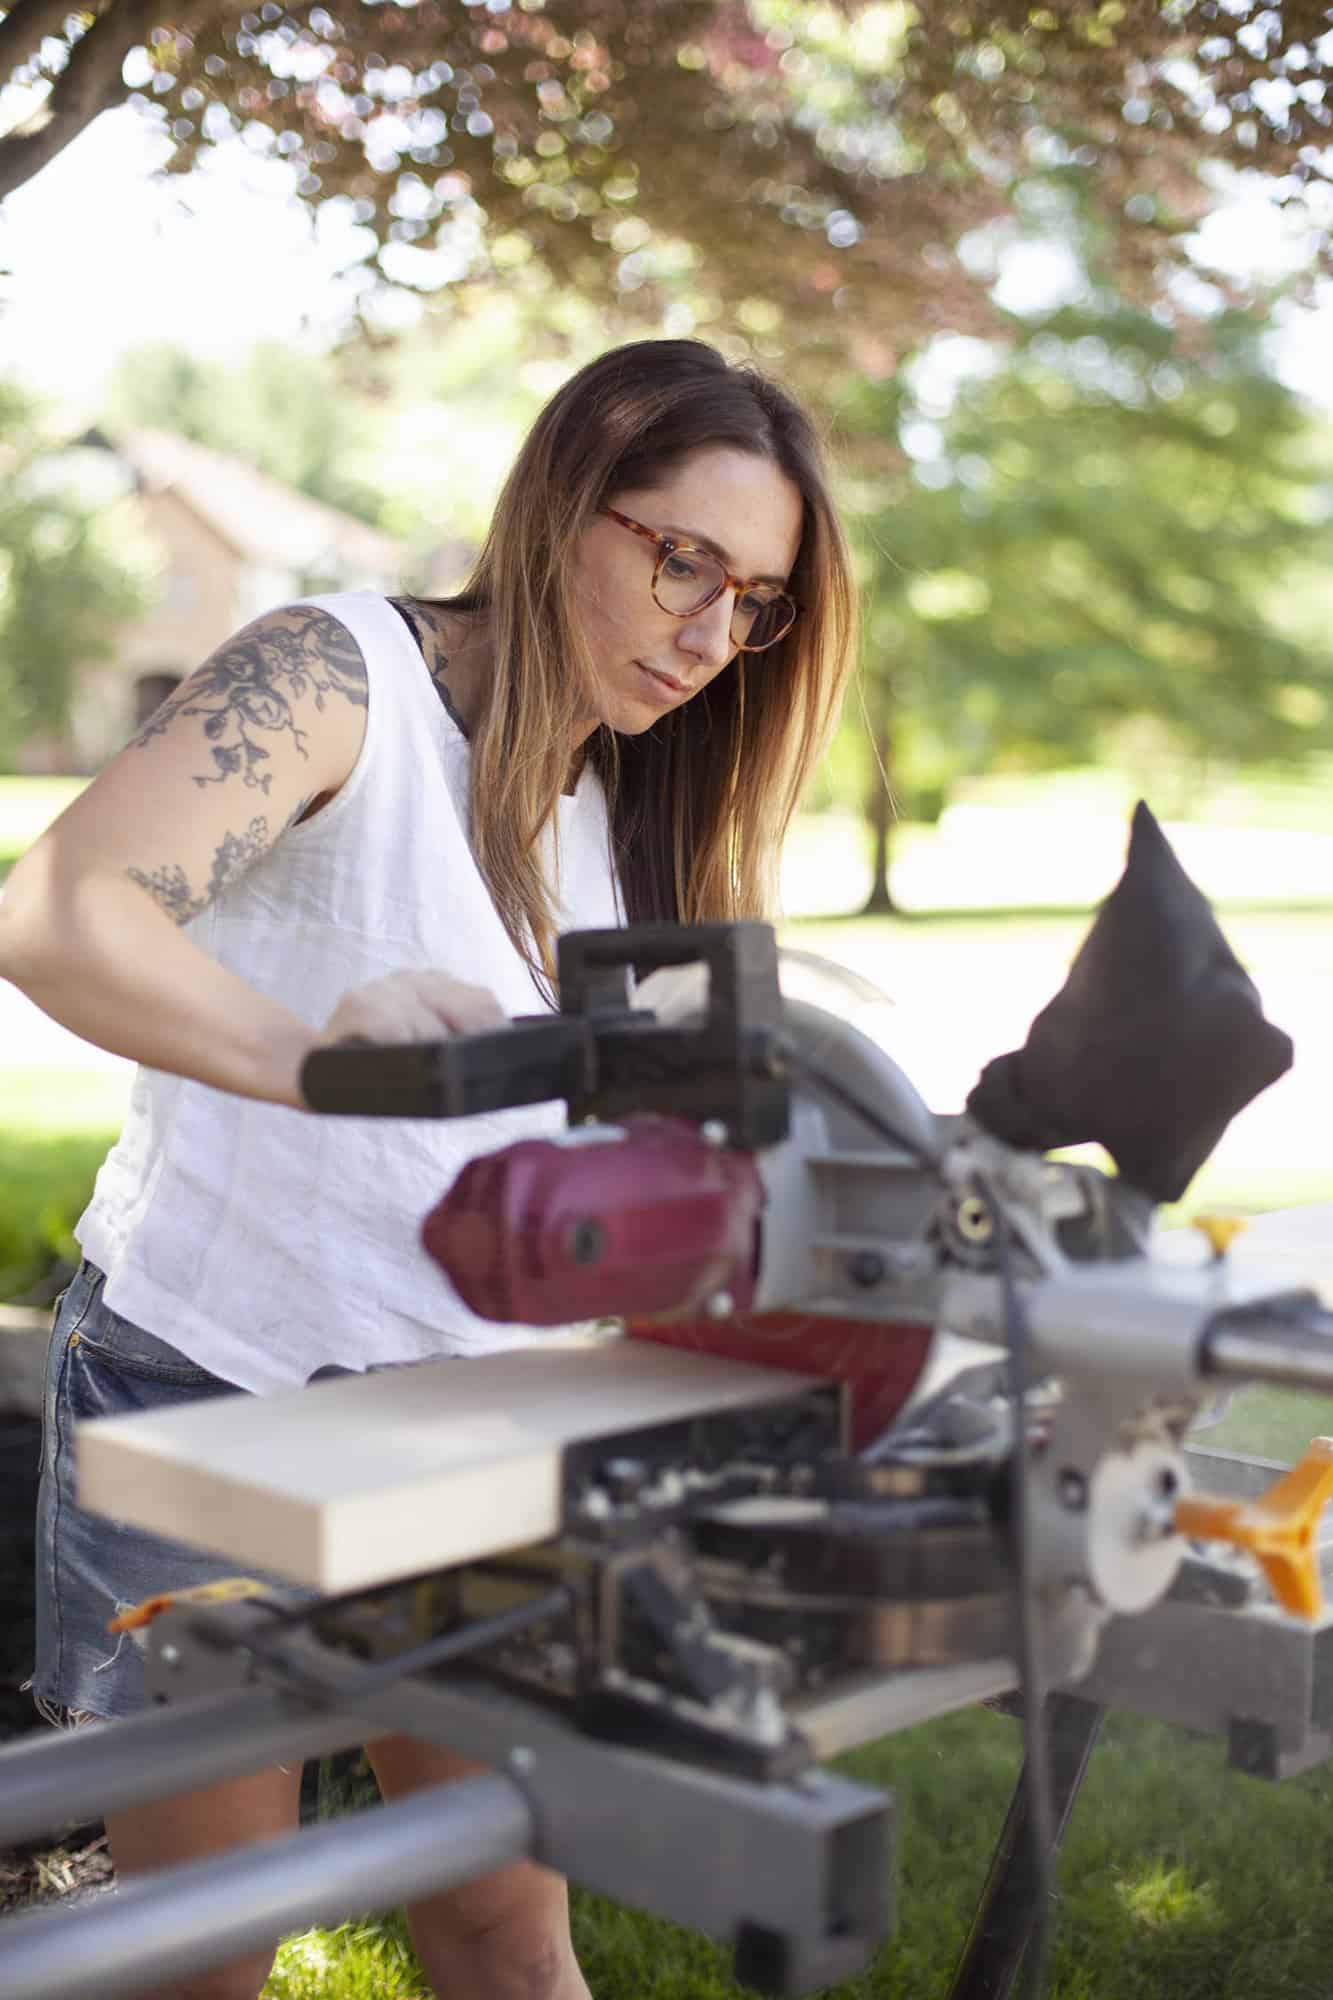
–Chop saw
-2 Long clamps (able to span at least 15″)
–Carpenter’s square
–Power Drill
-Staple gun (this electric one is so handy and easy to use!)
–Electric carving knife
-Rubber mallet
 Tool Workarounds
Don’t have a chop saw? Don’t worry! You can still complete this project without one. Most lumber yards or hardware stores will make cuts for you, and sometimes without a charge. Likewise, if you don’t have long clamps, you can do what I used to do before I invested in clamps—simply use duct tape stretched tightly to hold your wood while the glue dries.
Step One: To make a 55″ long bench (like mine), you will need each of your two 2×8 boards cut into the following lengths: two 13.5″ long pieces; one 55″ long piece. That will give you a total of four 13.5″ long pieces and two 55″ long pieces of wood.
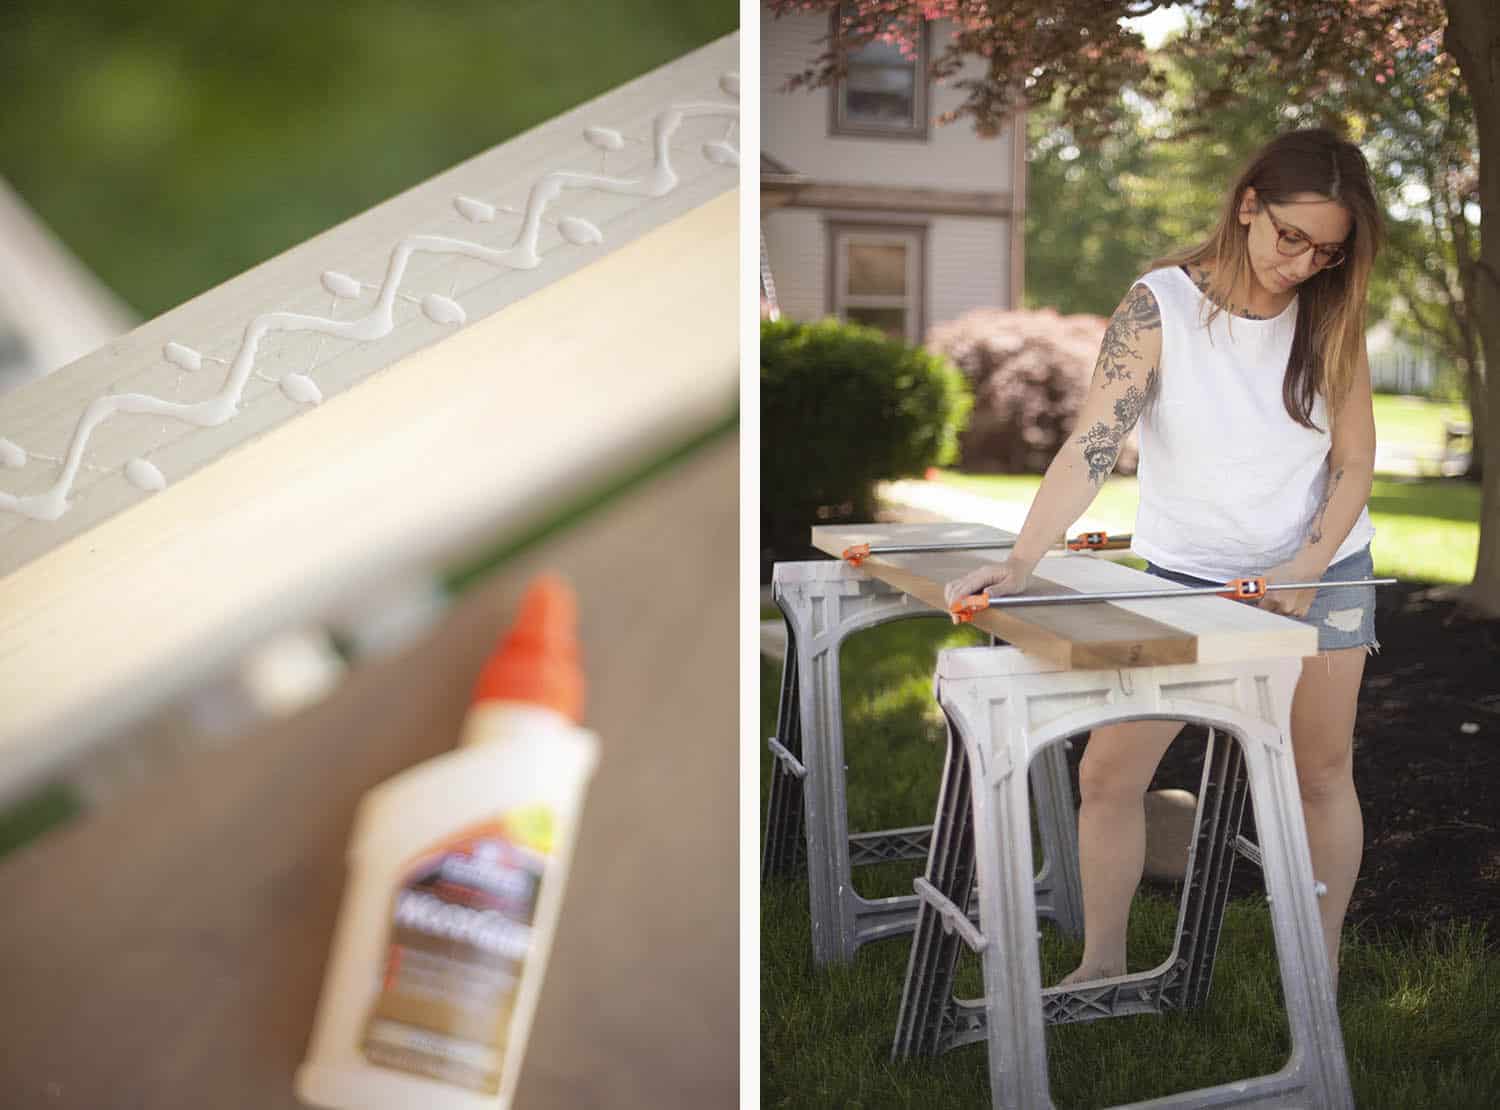 Step Two: Right now your pieces of wood are only 7.5″ wide. You will want to edge glue the pieces together so they become 14.5″ wide. Squeeze wood glue onto the edge of one 13.5″ board and connect it to another piece of the same size. Clamp them together for at least 10 minutes, allowing the wood to dry. It’s a good idea to wipe away any seeping wood glue before it dries. Repeat this for another pair of 13.5″ pieces as well as the pair of 55″ pieces.
After this step is complete, you will have two 14.5″x13.5″ pieces of wood for the legs of your bench and one 14.5″x55″ piece of wood for the top of your bench.
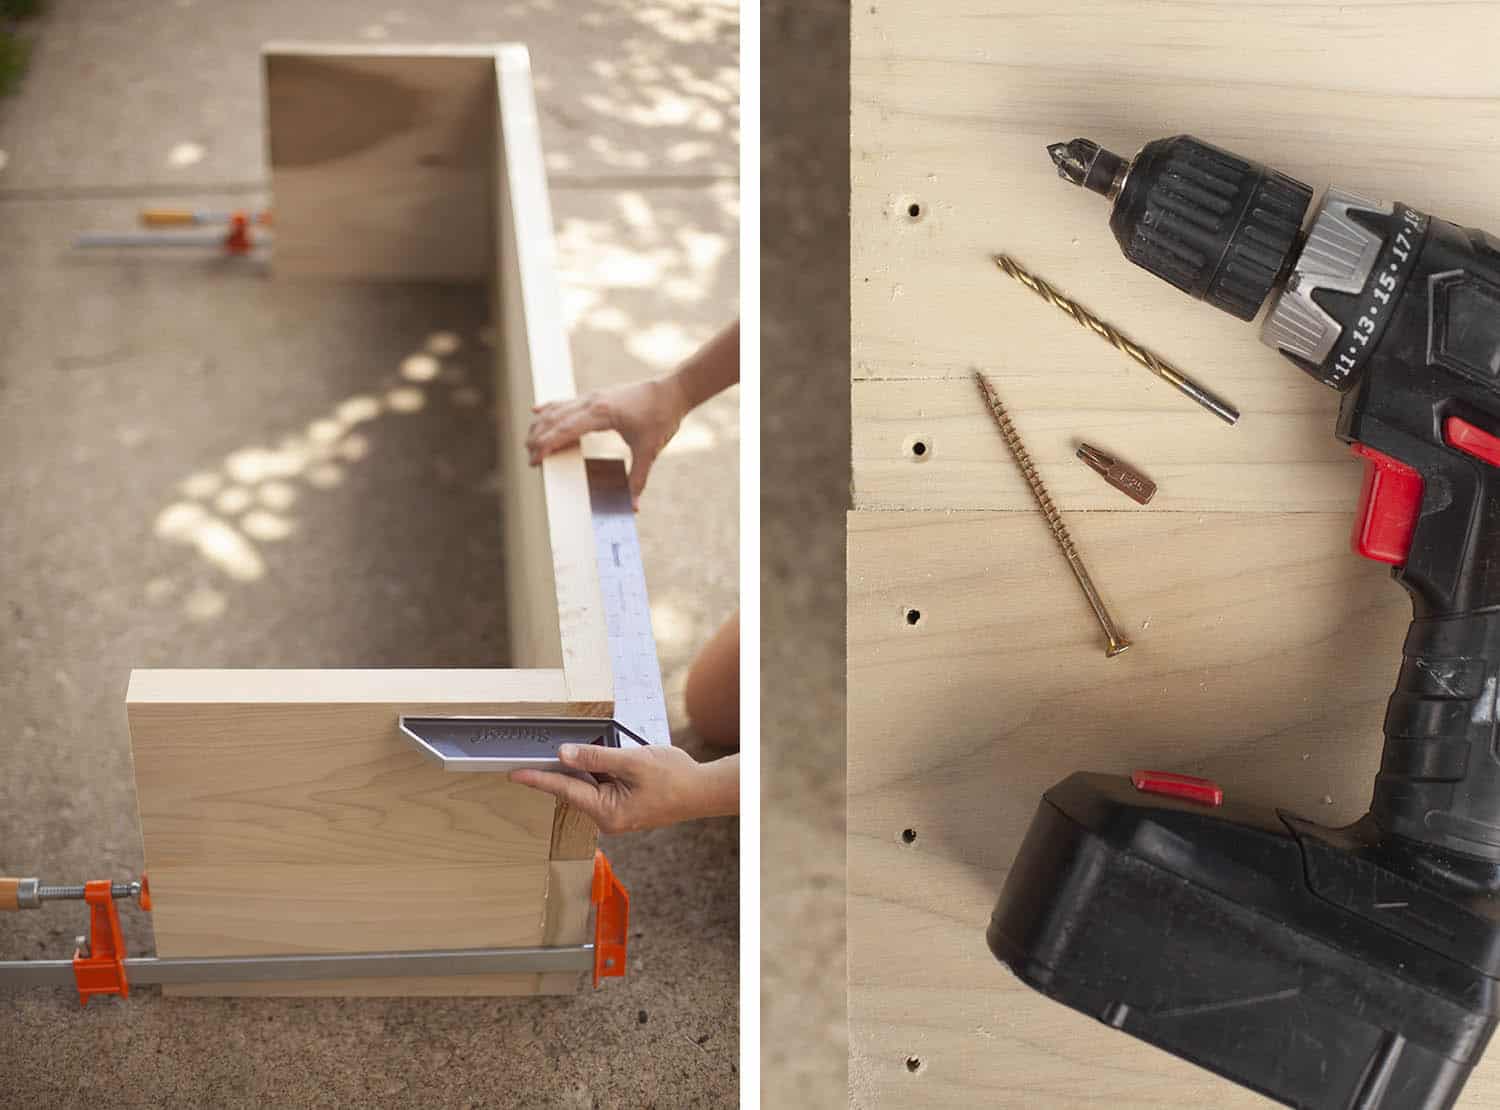 Step Three: Apply wood glue to the top of your bench legs and attach them to the bench top. As you clamp the pieces together, make sure that the legs are perfectly square with the top. Use a carpenter’s square to verify this as you tighten the clamps.
Step Four: Make sure the legs are clamped for about 10 minutes before removing clamps. Next, drill pilot holes and countersink the holes so the screws will be recessed into the wood as they’re drilled into place. In the top right image, you can see that I have countersunk the top two holes.
You can drill the holes while the wood is clamped or after the clamps have been removed. But I do recommend screwing together the wood before the glue has completely dried.
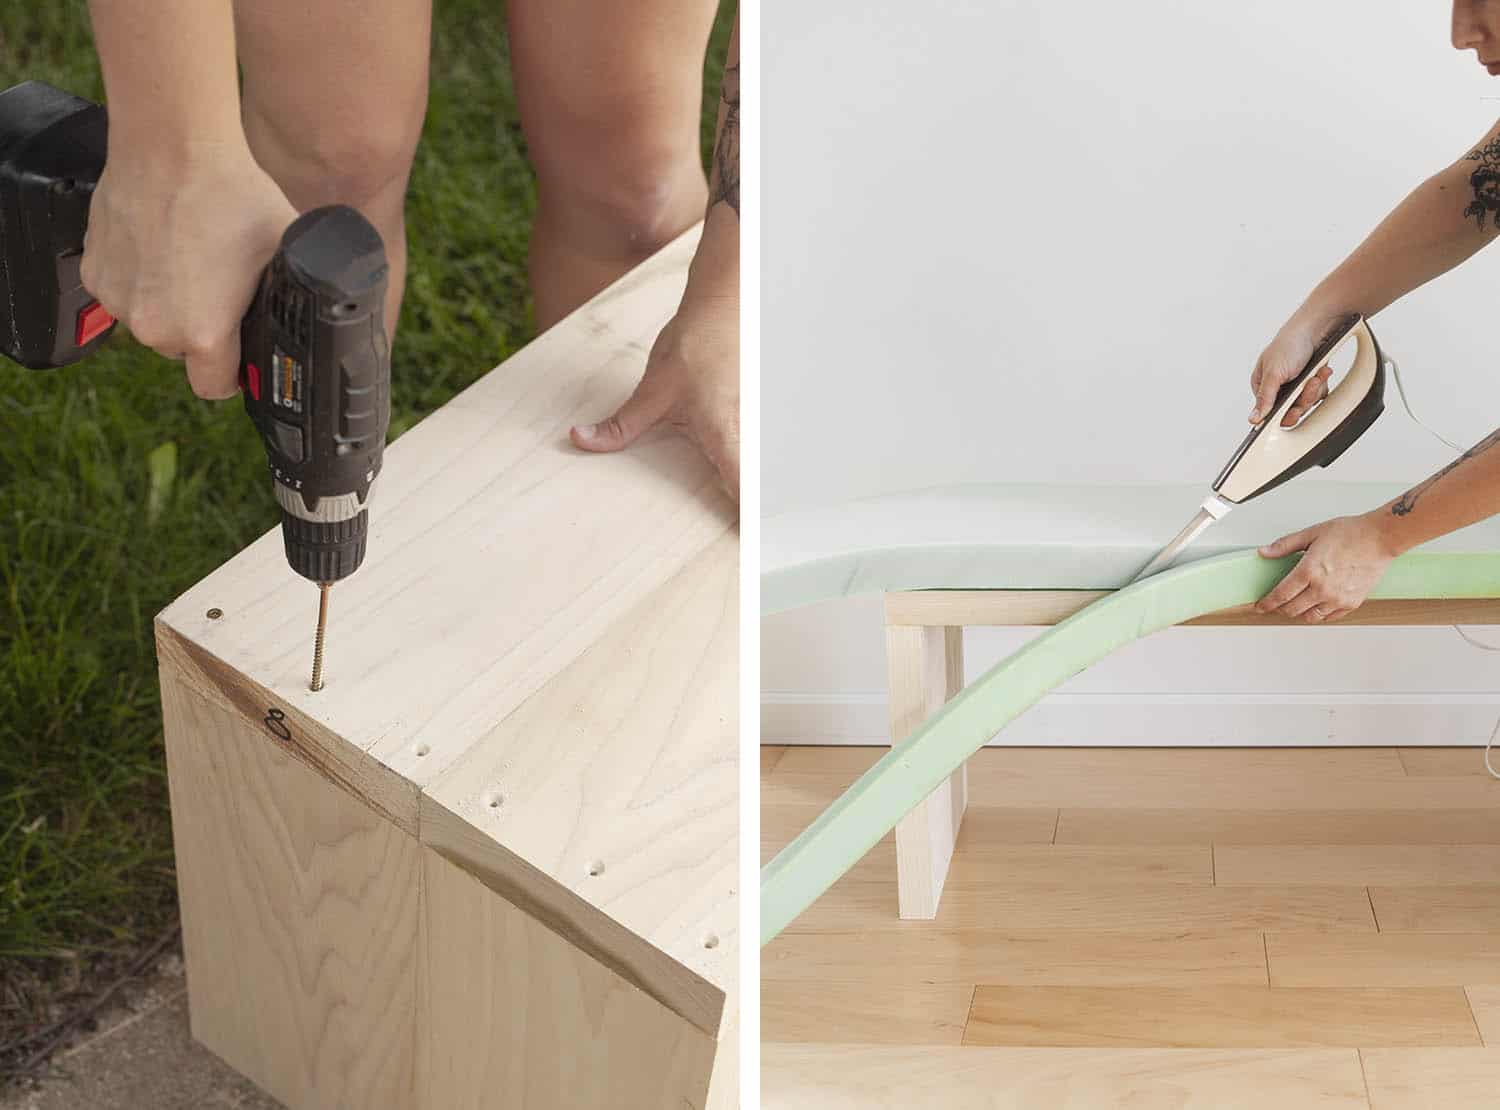 Step Five: Drive the screws into place before the glue from step three has cured. If you countersunk the holes, the screws should not stick out proud of the bench top. If they’re sticking up, take them out immediately and countersink the holes.
Step Six: Lay out your foam across the top of the wood bench and trim the foam to fit the width and length of the bench. Use an electric carving knife along the edge of the bench to trim the foam. My parents only get out their carving knife when it’s Thanksgiving or when I’m doing an upholstery project!
 Step Seven: Cut a 30″ wide strip of your upholstery fabric to staple across the top of your bench. Begin by stapling it to the bottom of one leg as shown above left. Then stretch it super tight and staple to the other leg. I used a piece of quilt batting between the foam and fabric, because I happened to have extra quilt batting on hand. But I don’t think it’s necessary for this project as long as you’re using heavyweight fabric.
After securing each end, work your way around until all of the fabric is tightly stapled onto the underside of the bench. Use the weight of your body on the upside-down bench to squish the foam down, allowing for a tighter upholstery job. At the corners, try to make neat folds as the fabric wraps around the foam.
 Step Eight: Cut a 16″ wide strip of fabric for the underside of the bench. Laying the fabric face-down, staple the kraft upholstery tack strip right up to the edge of your bench. This will make a nice, crisp edge for the underside of the bench upholstery (as seen below left). Attach the middle section (not the legs) and stop. Complete the next step before doing the tack strips on the legs.
 Step Nine: Flip the fabric so that the nice side is now positioned up. Look how nice that edge is, thanks to the tack strip! This next part is the trickiest. You’ll need to take your metal (or spiked kraft strips, in my case) tacking strips and poke the spikes through your fabric that slightly overhands the edge of your bench, as shown above right. If you leave any slack in your fabric (as I accidentally did), then you’ll end up with wrinkles in the fabric.
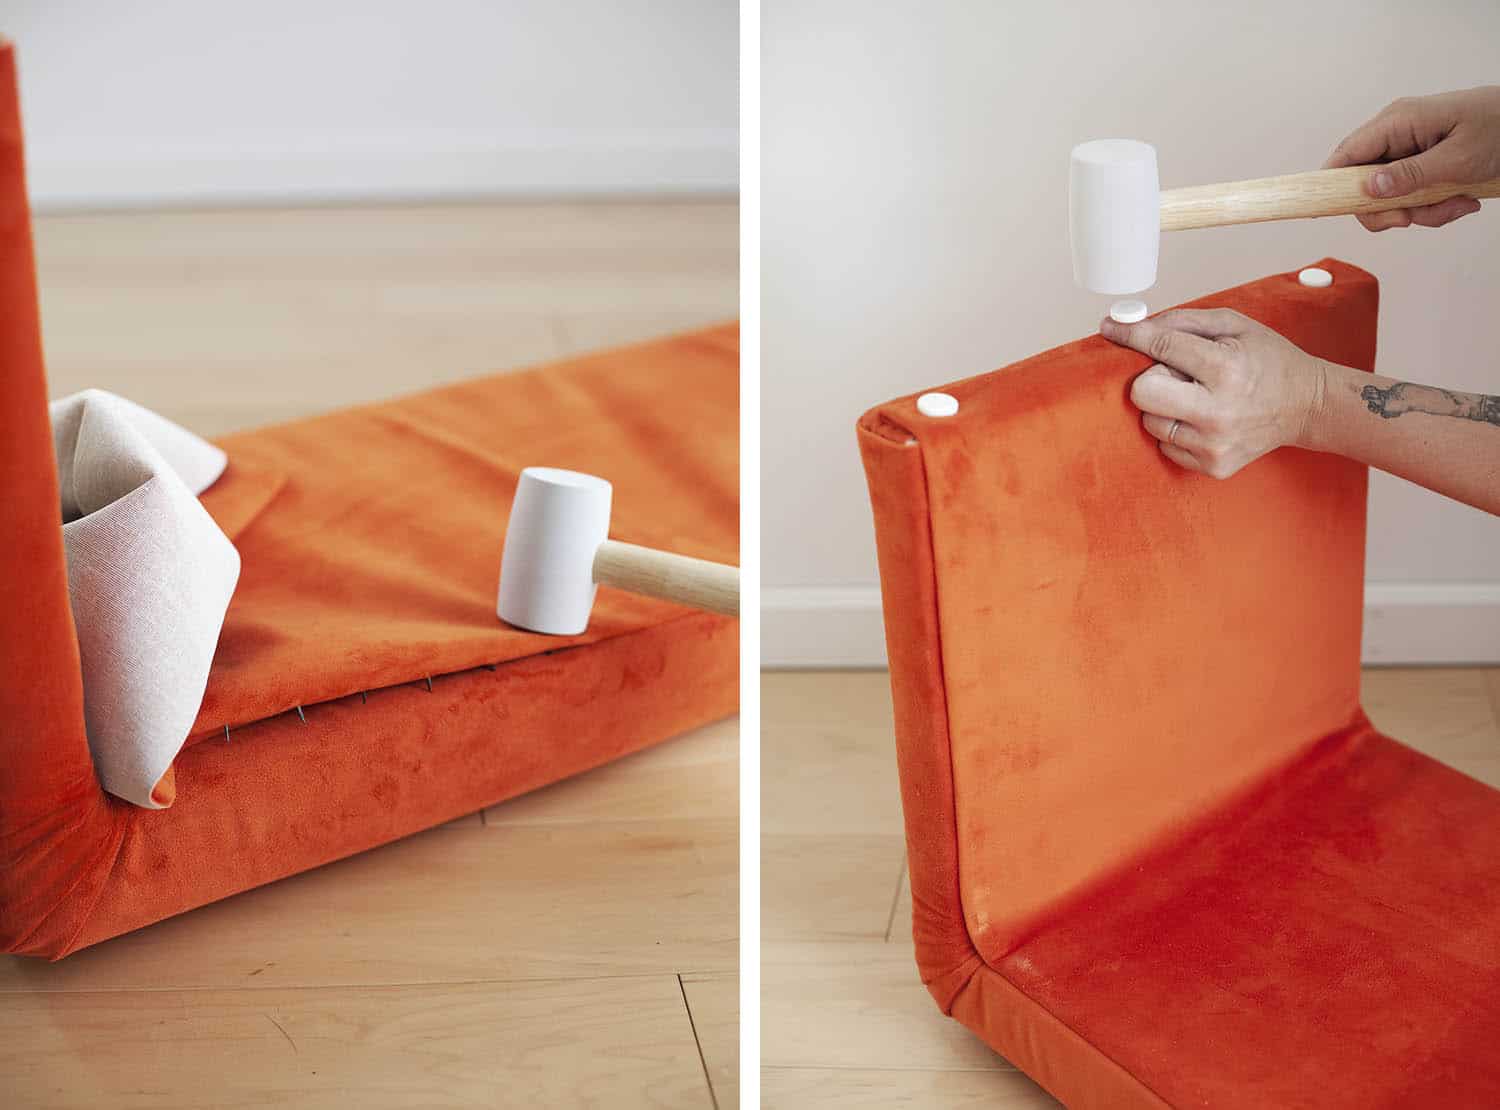 Step Ten: Flip the tack strip under and gently begin pounding along its length with a rubber mallet until all of the staples are punched into the wood bench.
Repeat steps 8-10 for the legs of the bench as well. When you get to the bottom of the legs, use another spiked tack strip to tuck under the raw edges of the fabric at the feet.
Step Eleven: Finish the feet of the bench with some plastic furniture gliders. I thought three for each side seemed to do the trick nicely.
 You can see in the above image that I didn’t quite stretch my fabric tightly enough when attaching the spiked tack strips in step nine. Next time, I’ll be more careful in this step. But overall I think it looks pretty good for my first time doing a completely finished upholstery project!
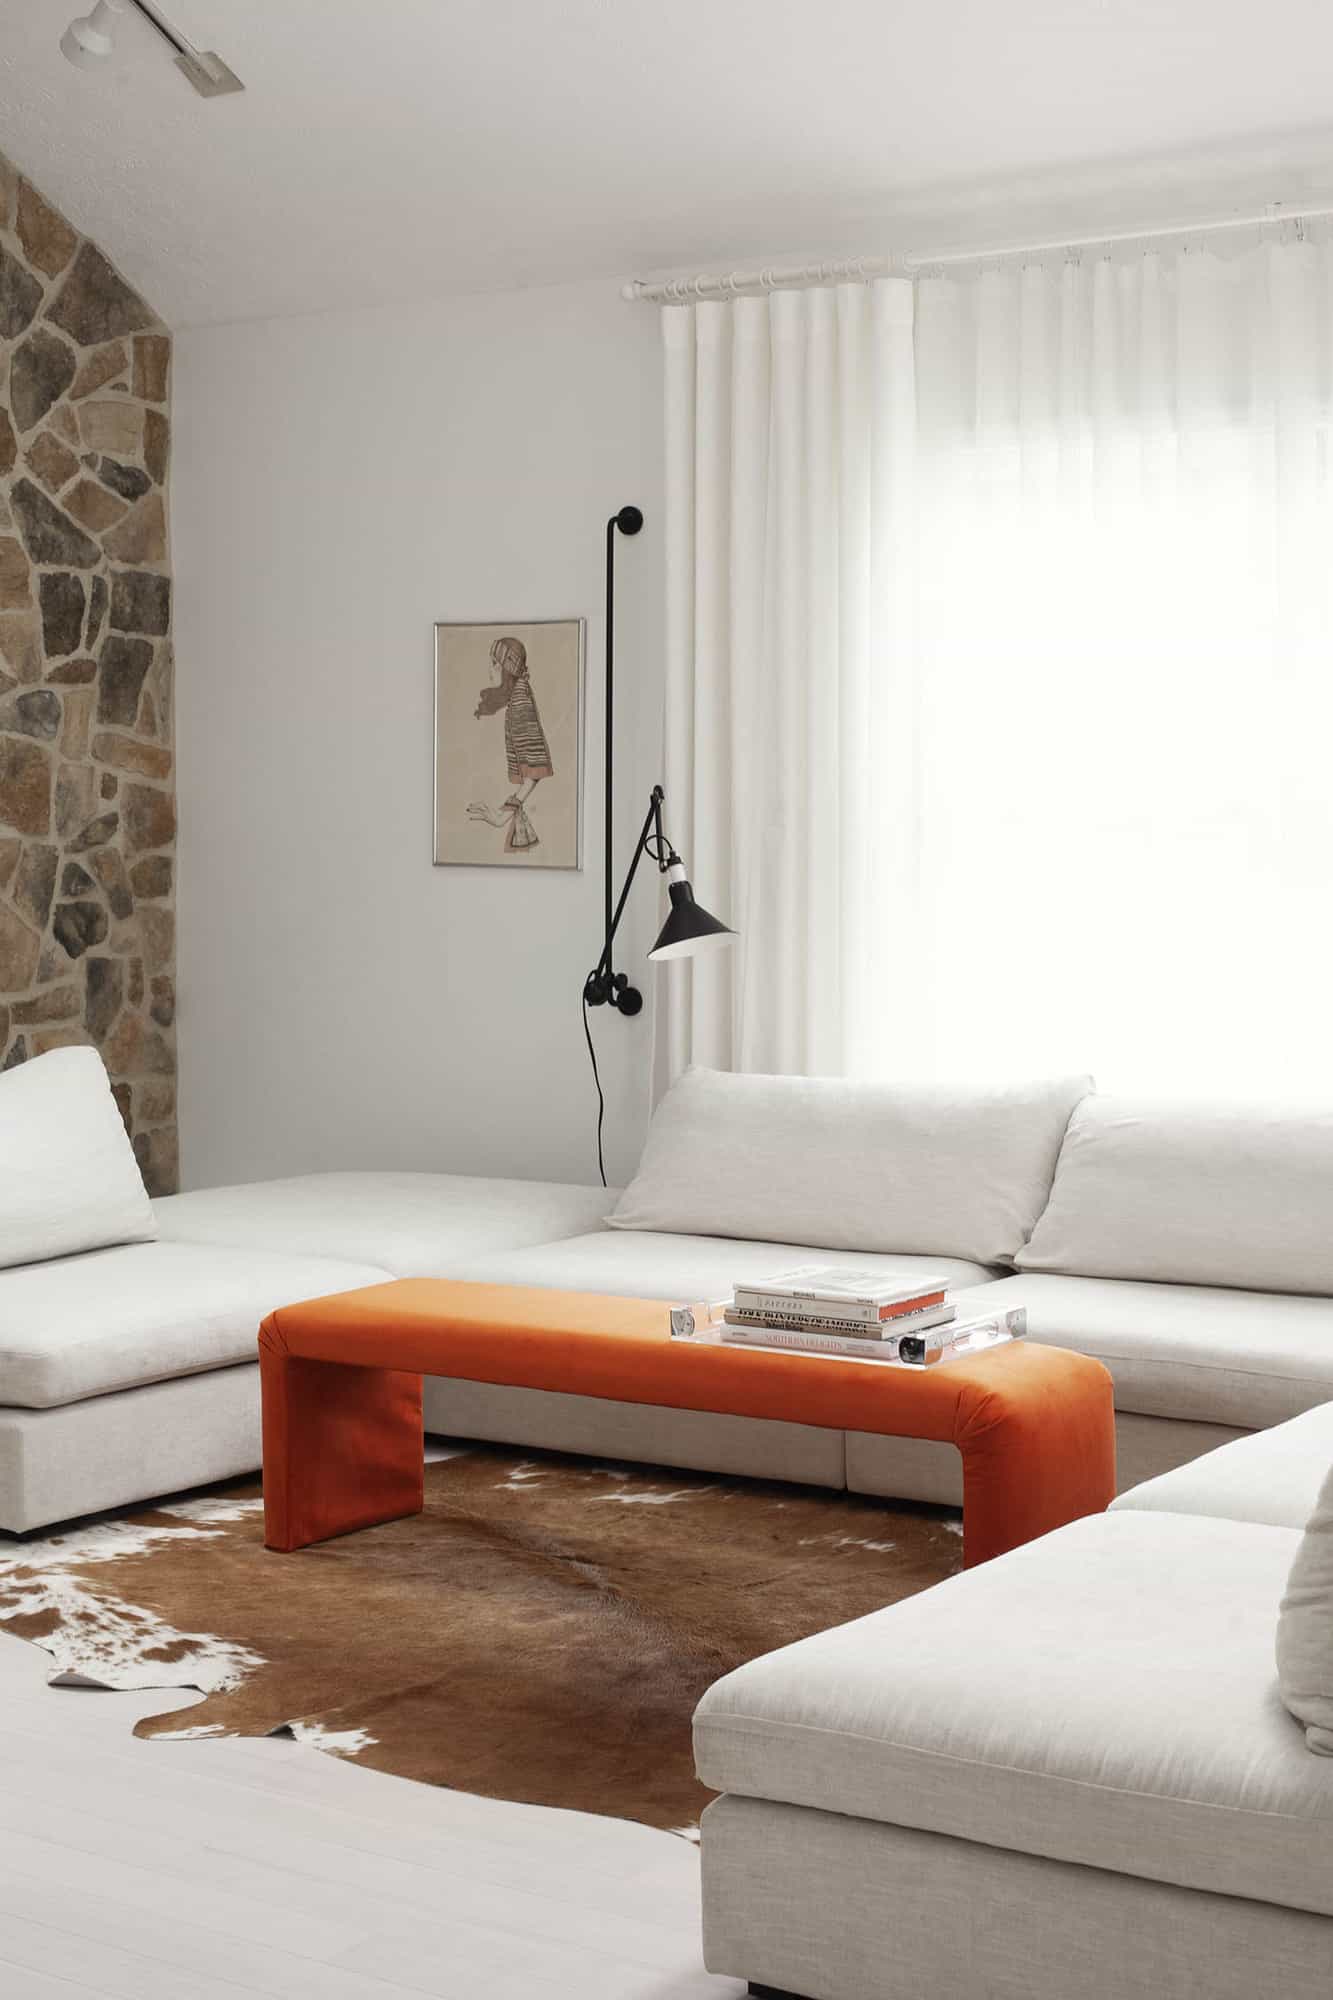 This bench makes a great entryway seat, coffee table, or resting spot for the foot of a bed. And by resting spot, I mean resting spot for clothes that didn’t quite make it to the hamper, right?! If you don’t have space for a 55″ wide bench, simply use shorter boards for the middle, and save money on lumber! I think it would also be nice to make a set of two small, matching benches. What color would you choose for your fabric? – Mandi




 Today, we’re rounding up our favorite swimsuits—but not just any swimsuits. These are both budget-friendly and flattering. We love a cute one-piece, and high-waisted bottoms are a godsend. 🙂
 After seeing
  Happy Sunday, friends! I just got back from China–I was hanging with my sister and so excited to watch and have another niece join our family. Life is truly extraordinary some days. 🙂
 (Wearing a dress, bag and sunnies I already had on our trip to Oaxaca, Mexico this spring. Shoes are c/o local brand
  (Wearing a pre-owned dress from Free People)
 (Wearing my white



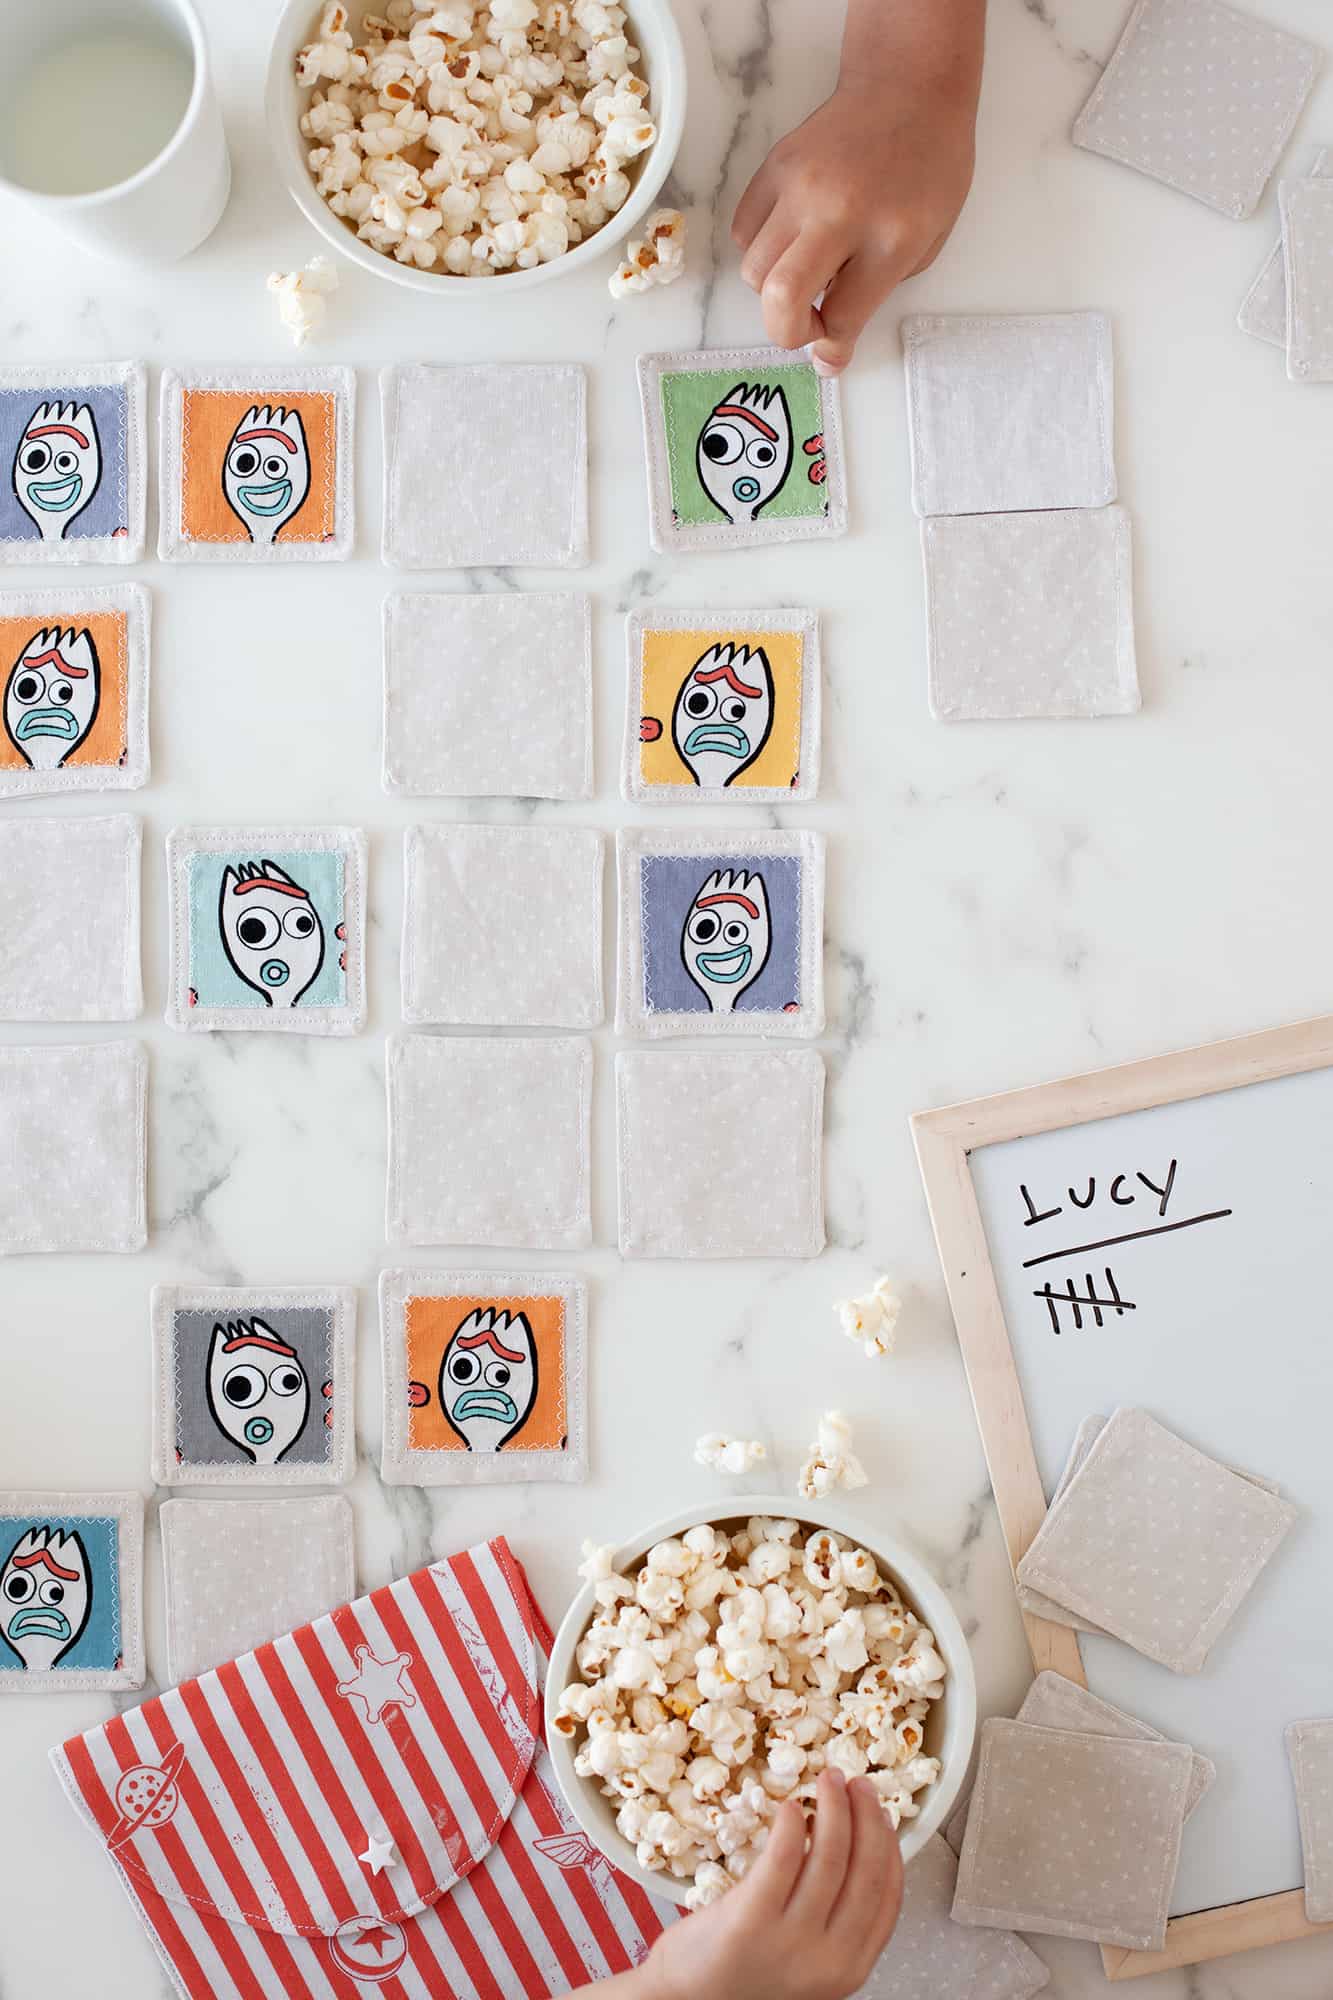 Family nights are a favorite at our house! We always make a big bowl of popcorn and then settle down for a kid-friendly game or a movie that all of us will enjoy. During our last family night, we watched Toy Story 3 in preparation for seeing the new Toy Story 4 movie in theater. Going out to the theater with the whole fam is a special event for us, so I was super excited to hype it up even more by creating a handmade memory game with the Toy Story 4 fabric in partnership with
 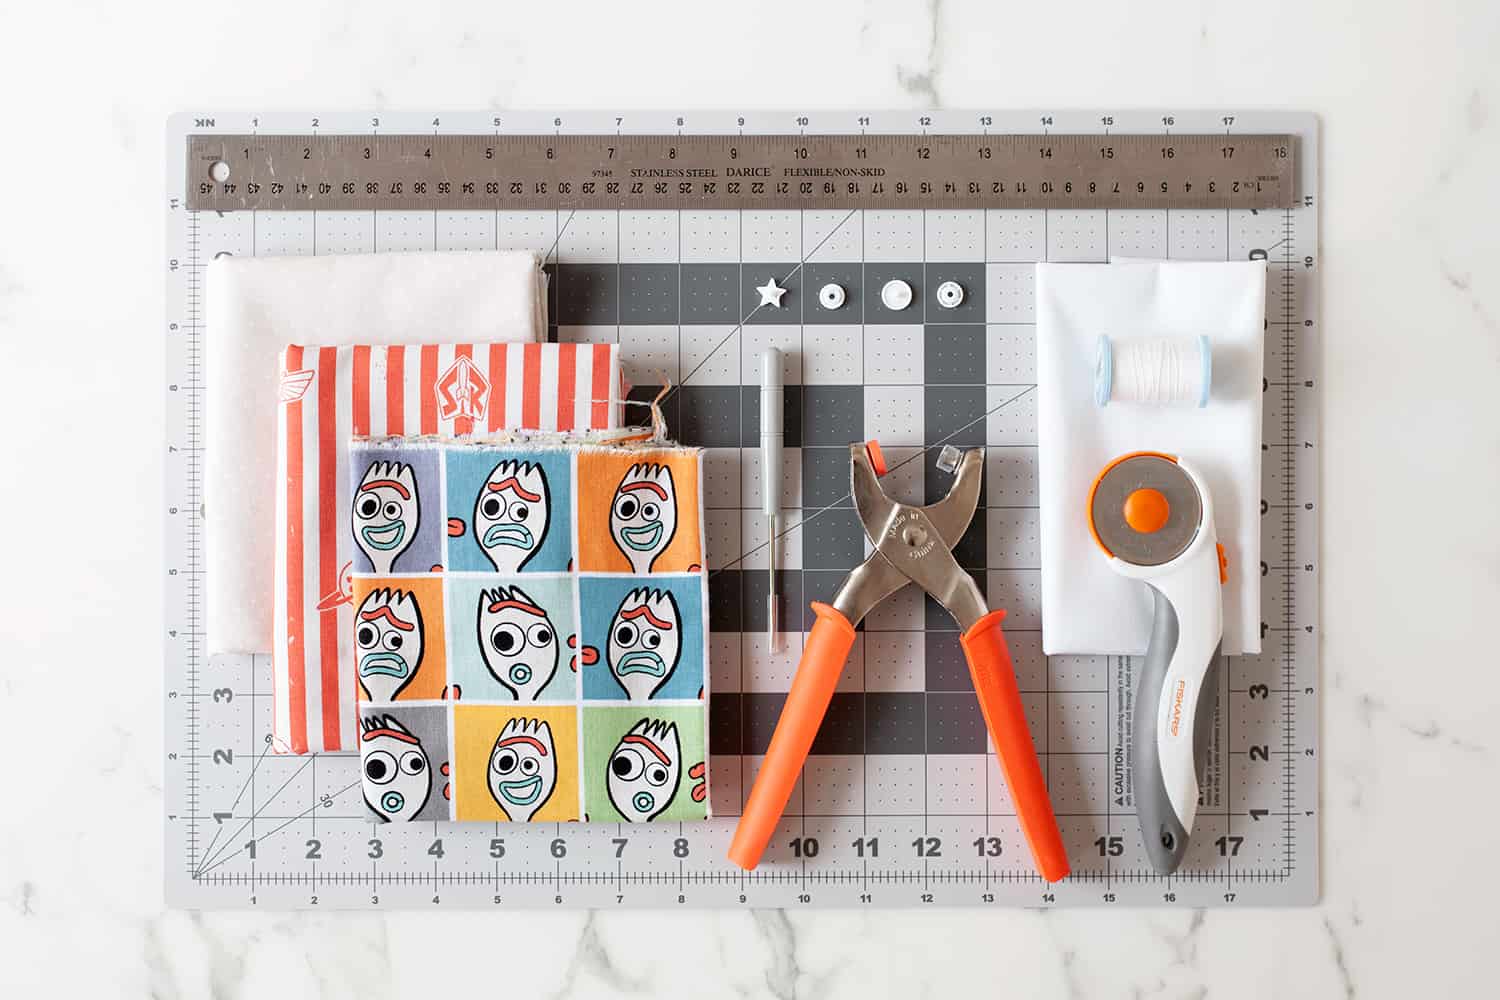 Materials:
 Step One: Prewash all of your fabric and pop it into the dryer.
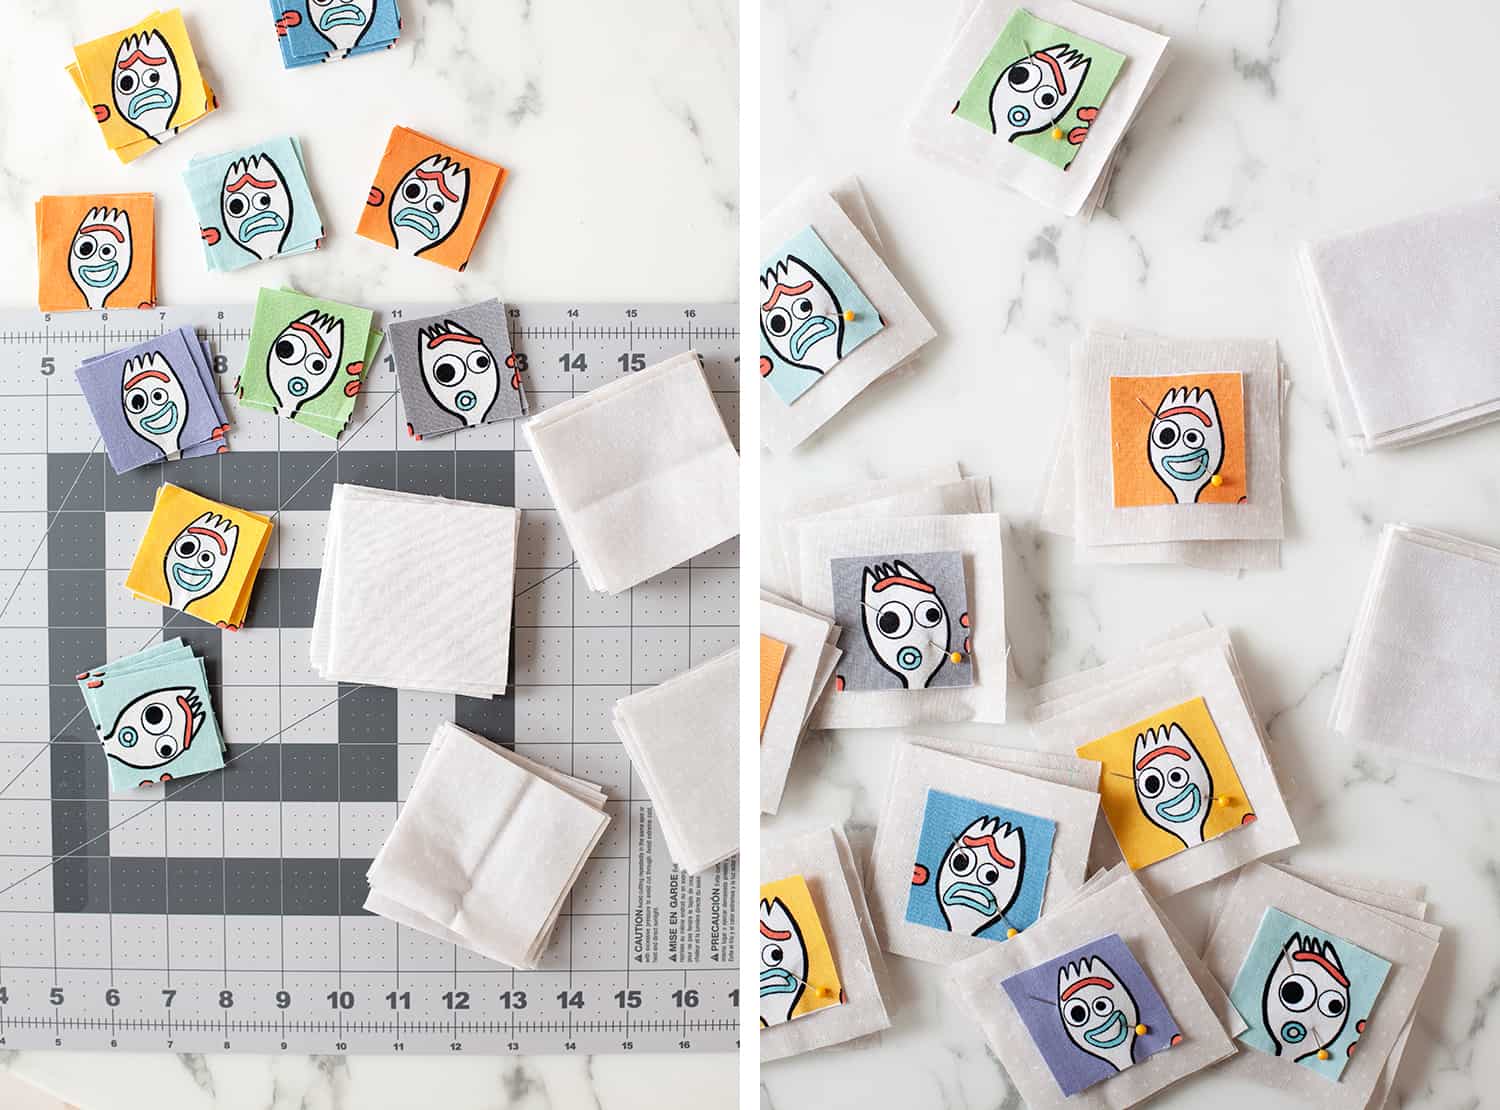 Step Four: Cut your neutral cotton fabric into 3″ squares. You will need to cut two squares for every Forky face you plan to use in the game.
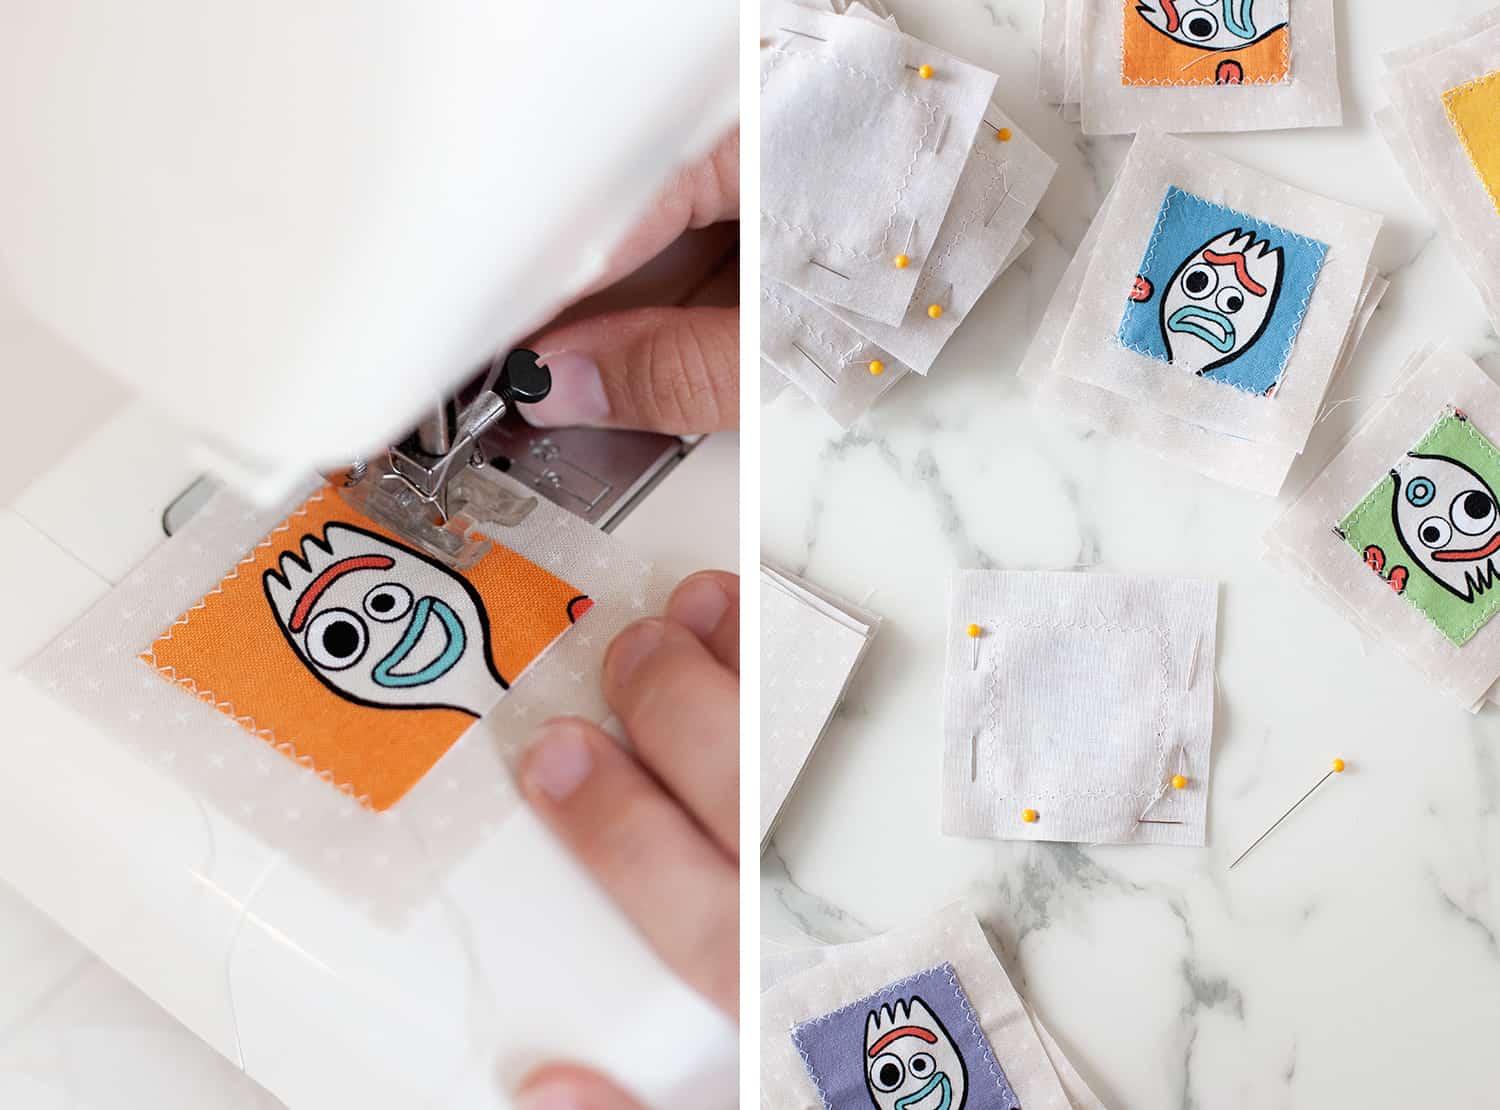 Step Six: Use a zig-zag stitch to attach the Forky faces (stabilized with interfacing from step two) onto the 3″ cotton squares. Remove pins as you sew.
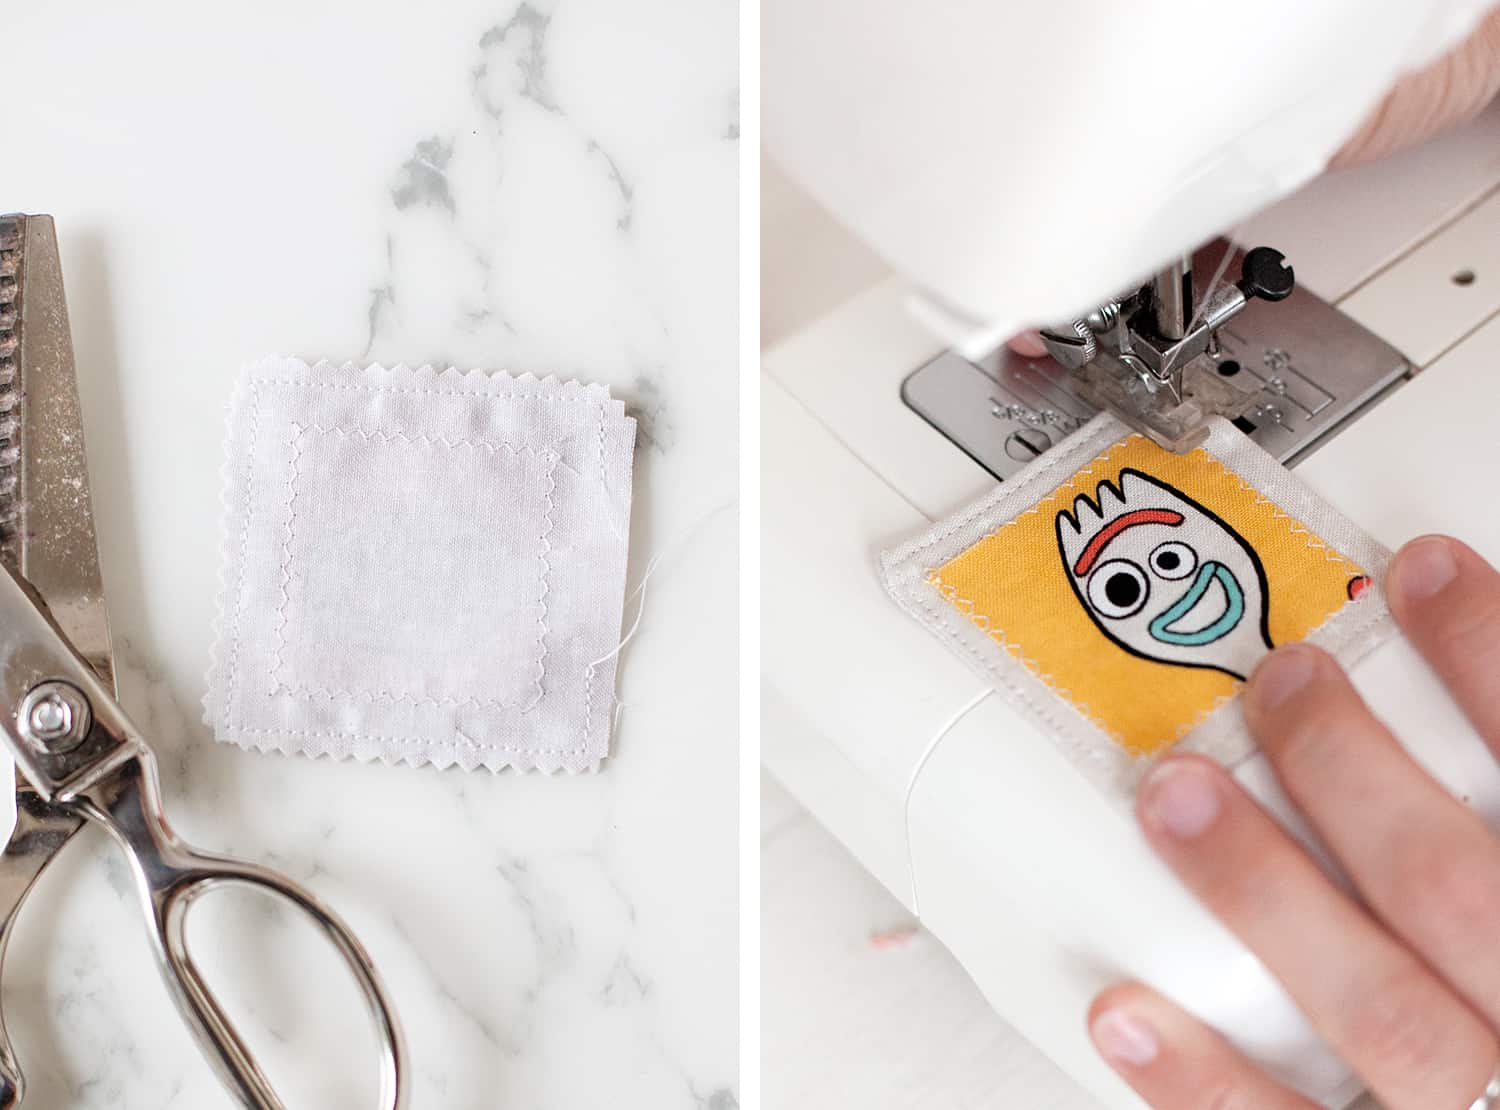 Step Eight: This is optional. You may use pinking sheers to remove some of the bulk of the hem which can be helpful when poking out corners after you’ve flipped the squares right-side out.
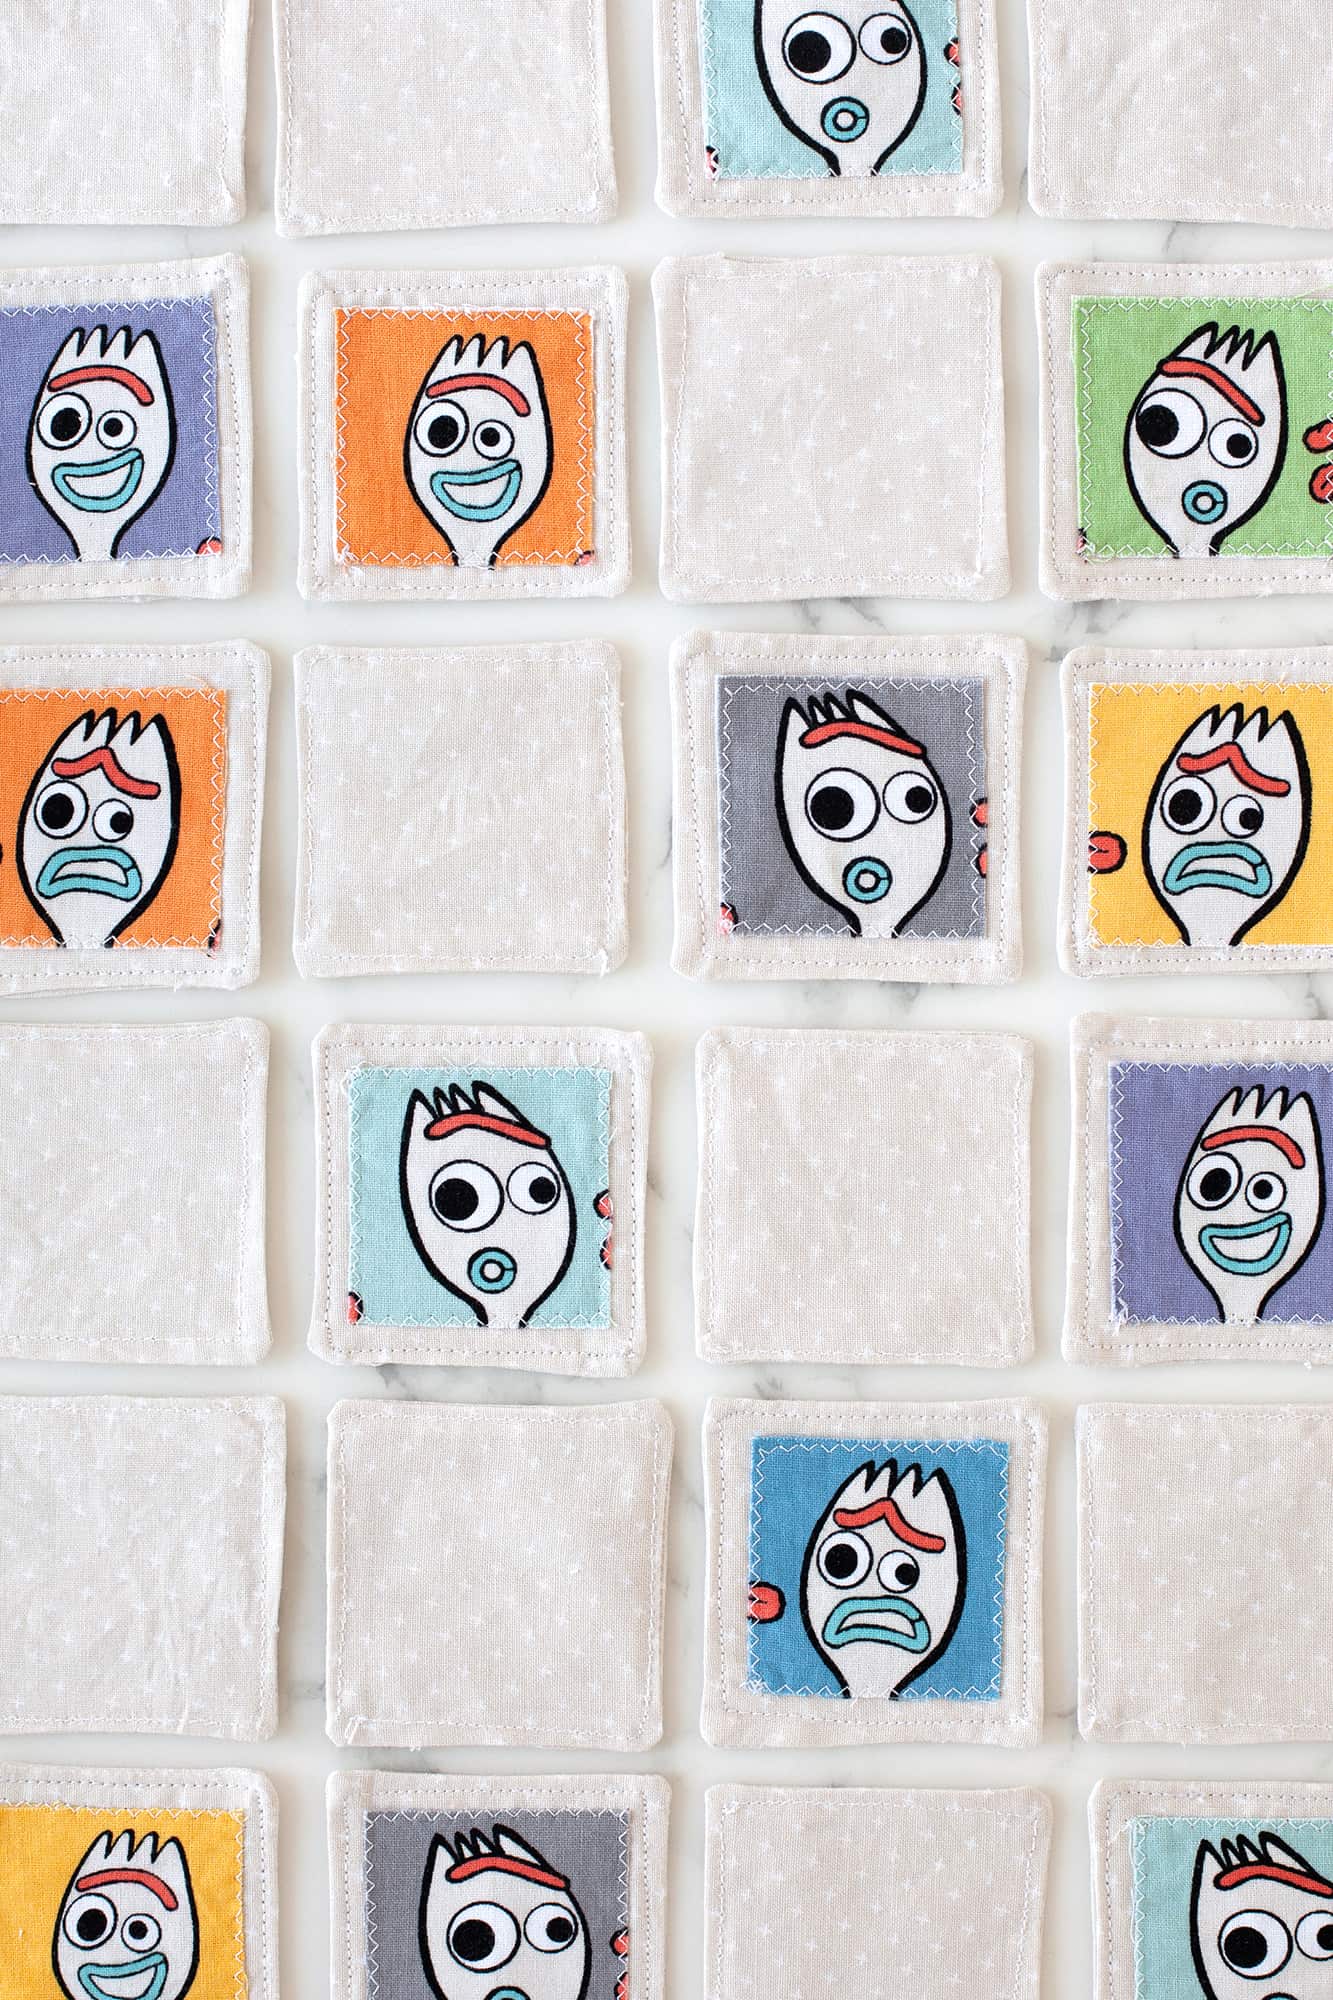 Time-Saving Tip: If you prefer a crisper look for your memory game, you may choose to use 3″ felt squares rather than woven cotton. It will also save you time from sewing, flipping, pressing, and top stitching, which you need to do when using woven cotton. For the felt option, just stitch the Forky faces onto a 3″ felt piece, stitch that piece onto a plain 3″ felt piece, then trim the edges if you desire. A bit simpler and will give you a different look.
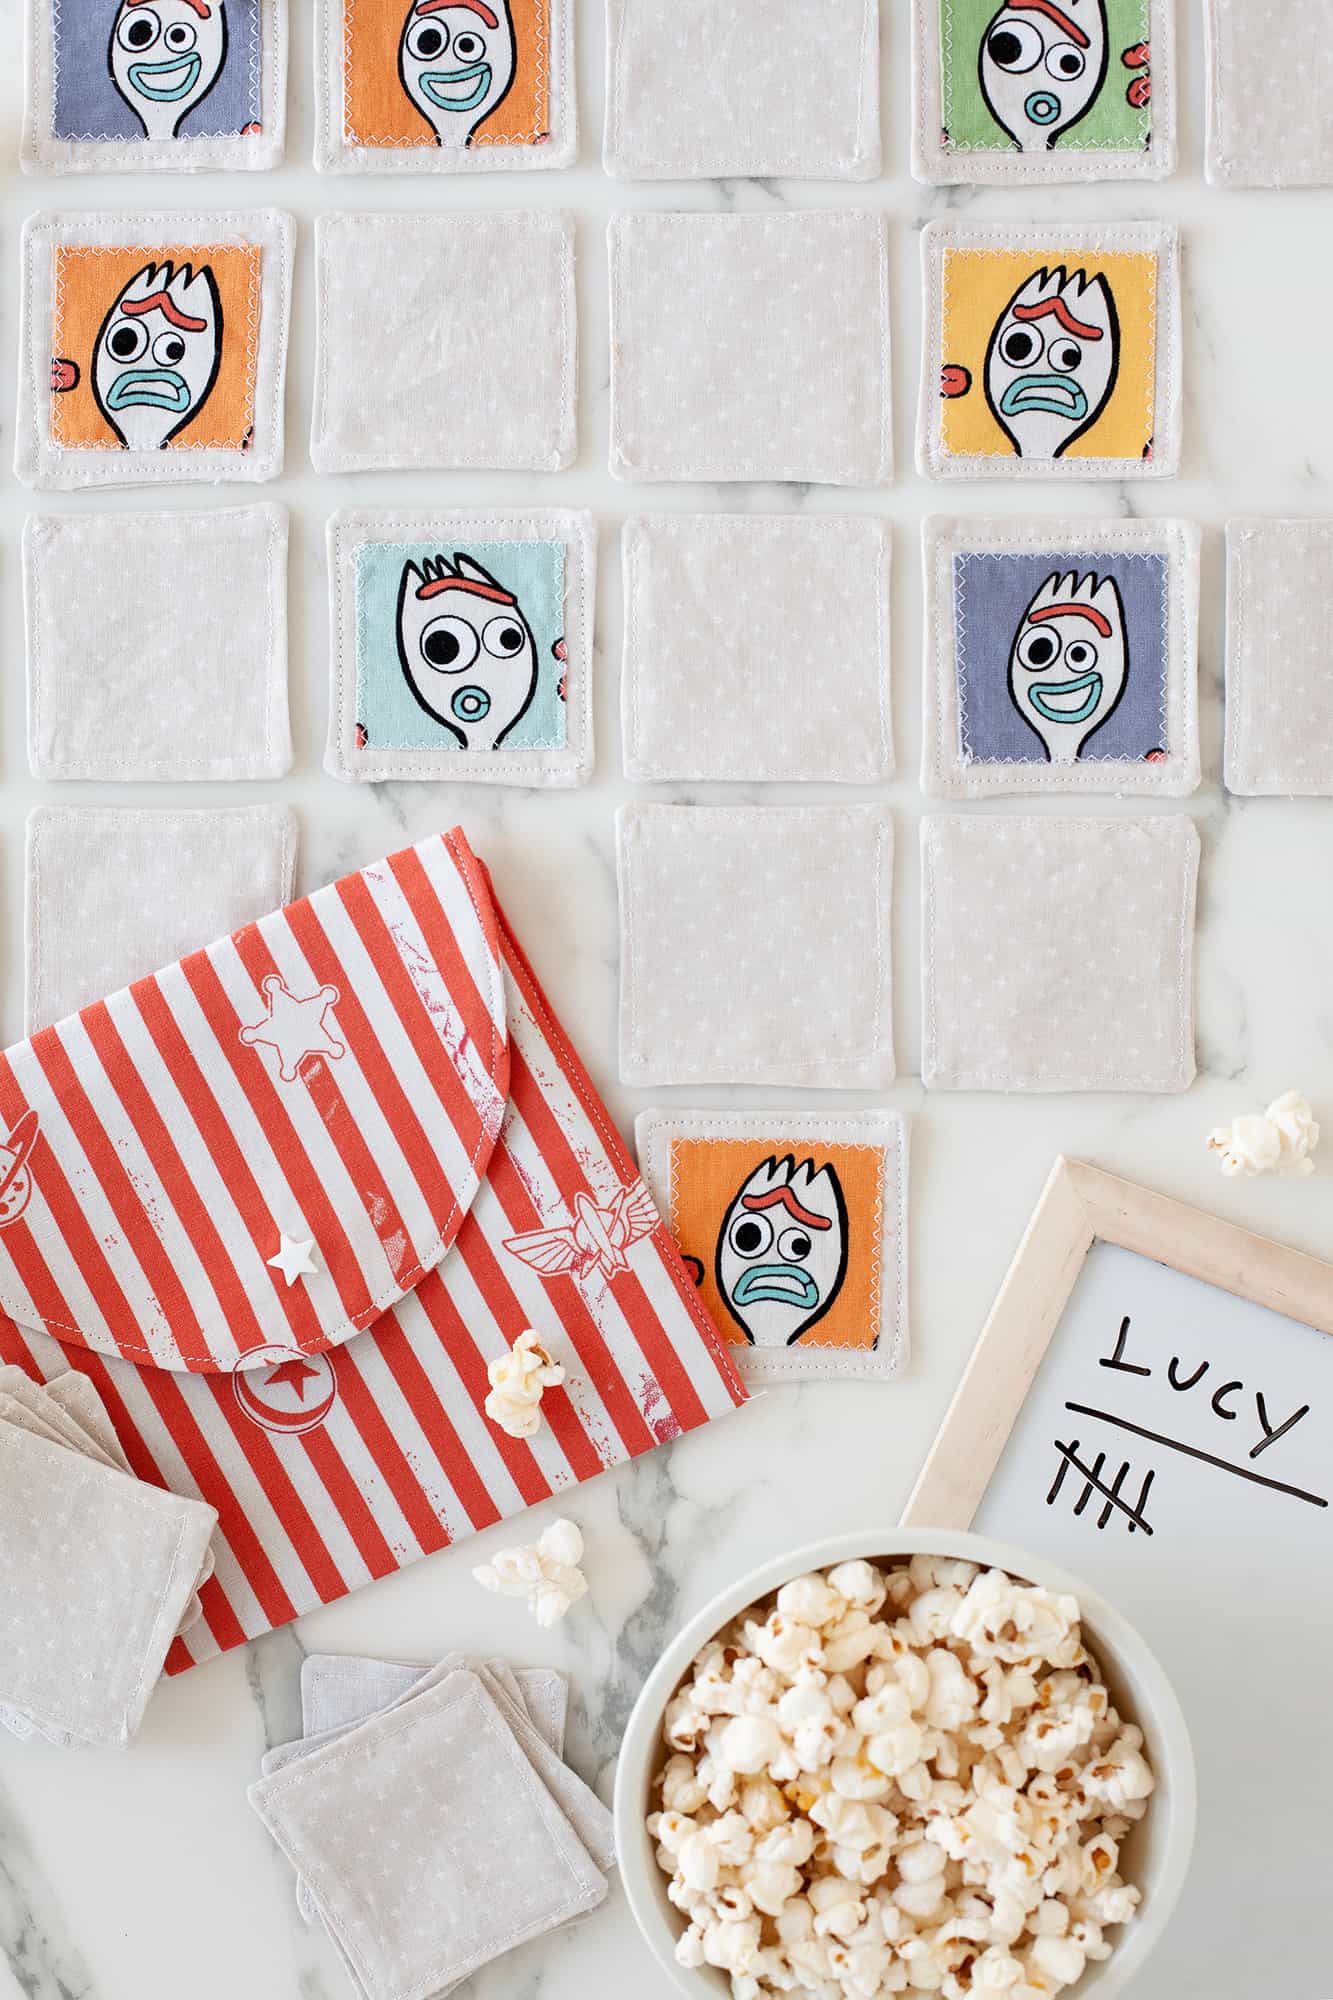 I decided to sew a coordinating fabric pouch for holding the pieces when we’re not playing the game. Of course, you may choose to use any type of baggie you already have, but where’s the fun in that?
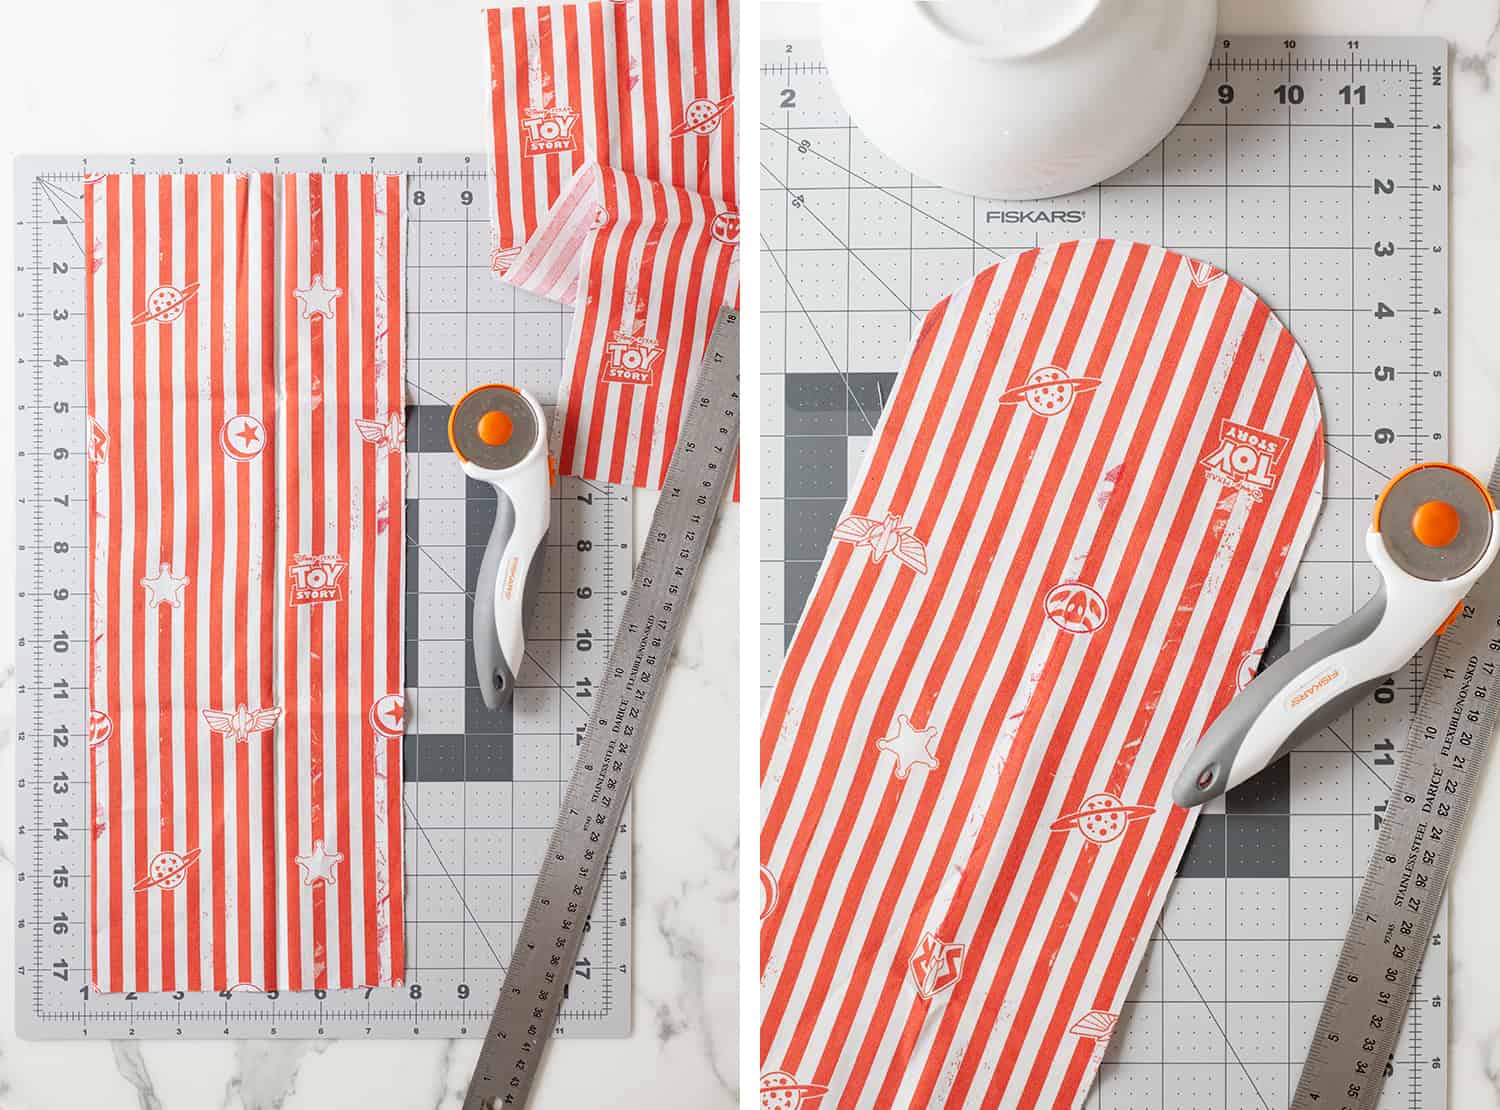 Step One: Cut out two 7.5″ x 17.5″ rectangles from the pouch fabric. Be aware of how the pattern on the fabric will line up and try your best to keep the pattern looking balanced on the rectangles.
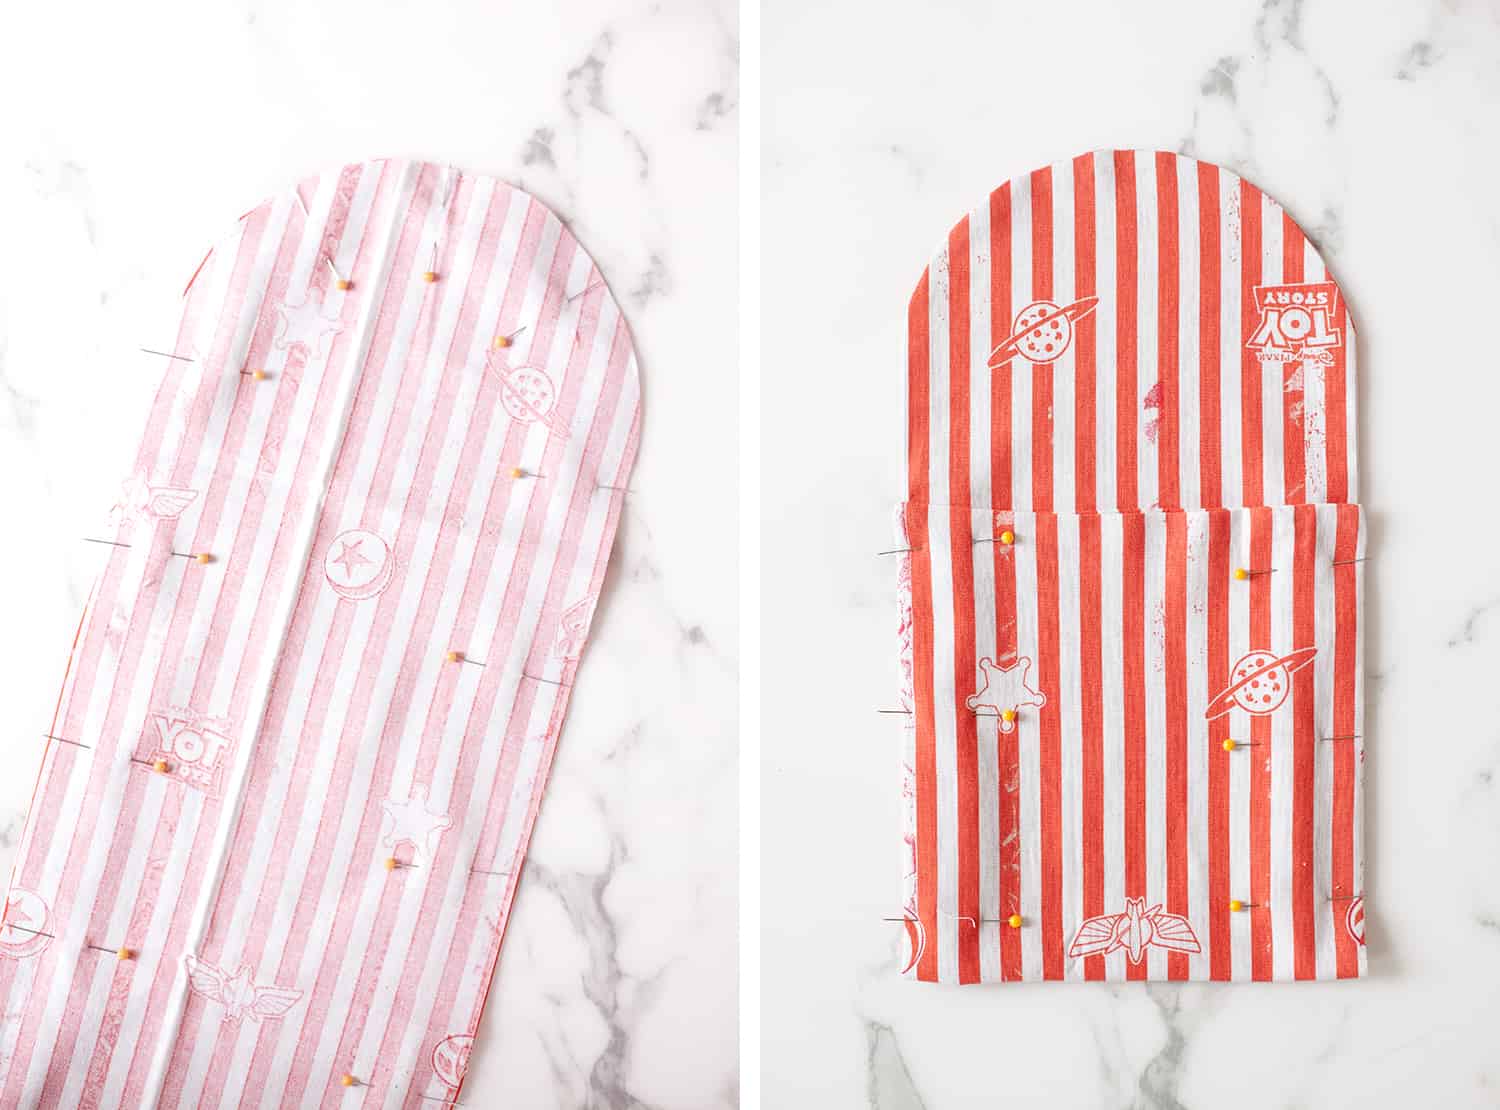 Step Three: Layer your rounded rectangles together with their faces together (wrong sides out) and a piece of medium-weight interfacing on the top of the stack. Pin the layers in place then stitch 1/4″ from the edge, leaving a 3″ opening at the middle of the bottom for flipping it right-side-out.
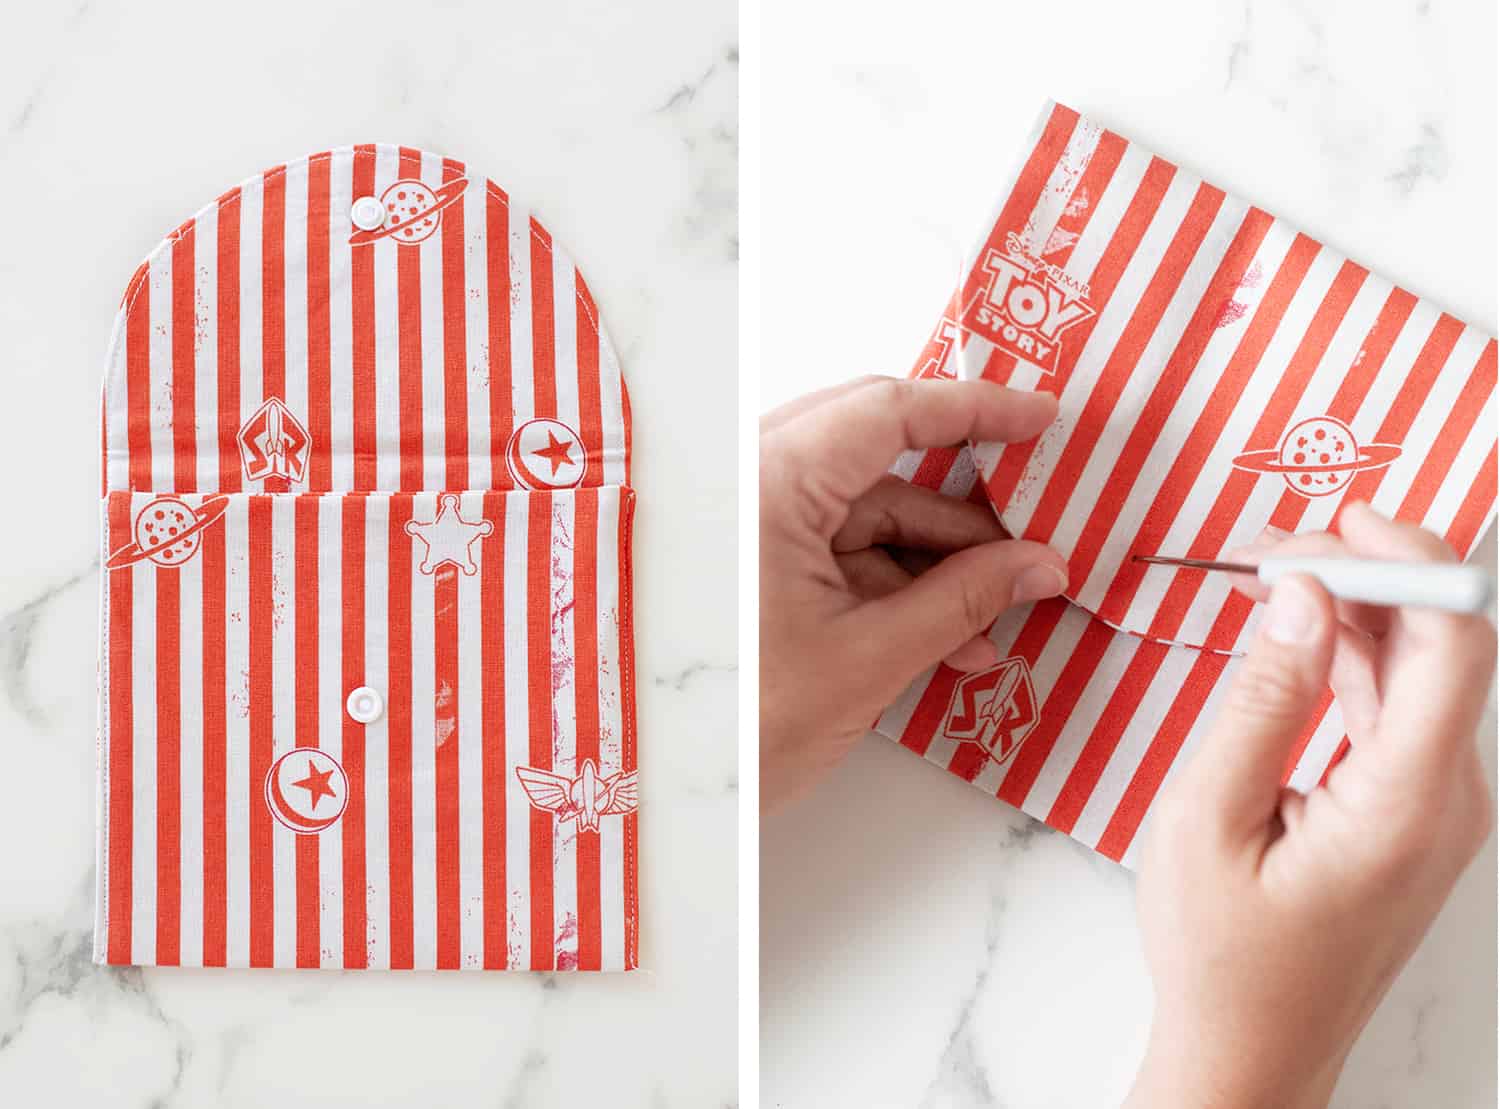 Step Five: Stitch around the pinned edge of the fabric staying very close to the edge. Continue your stitches onto the round flap and down to the other side. Then add a snap.
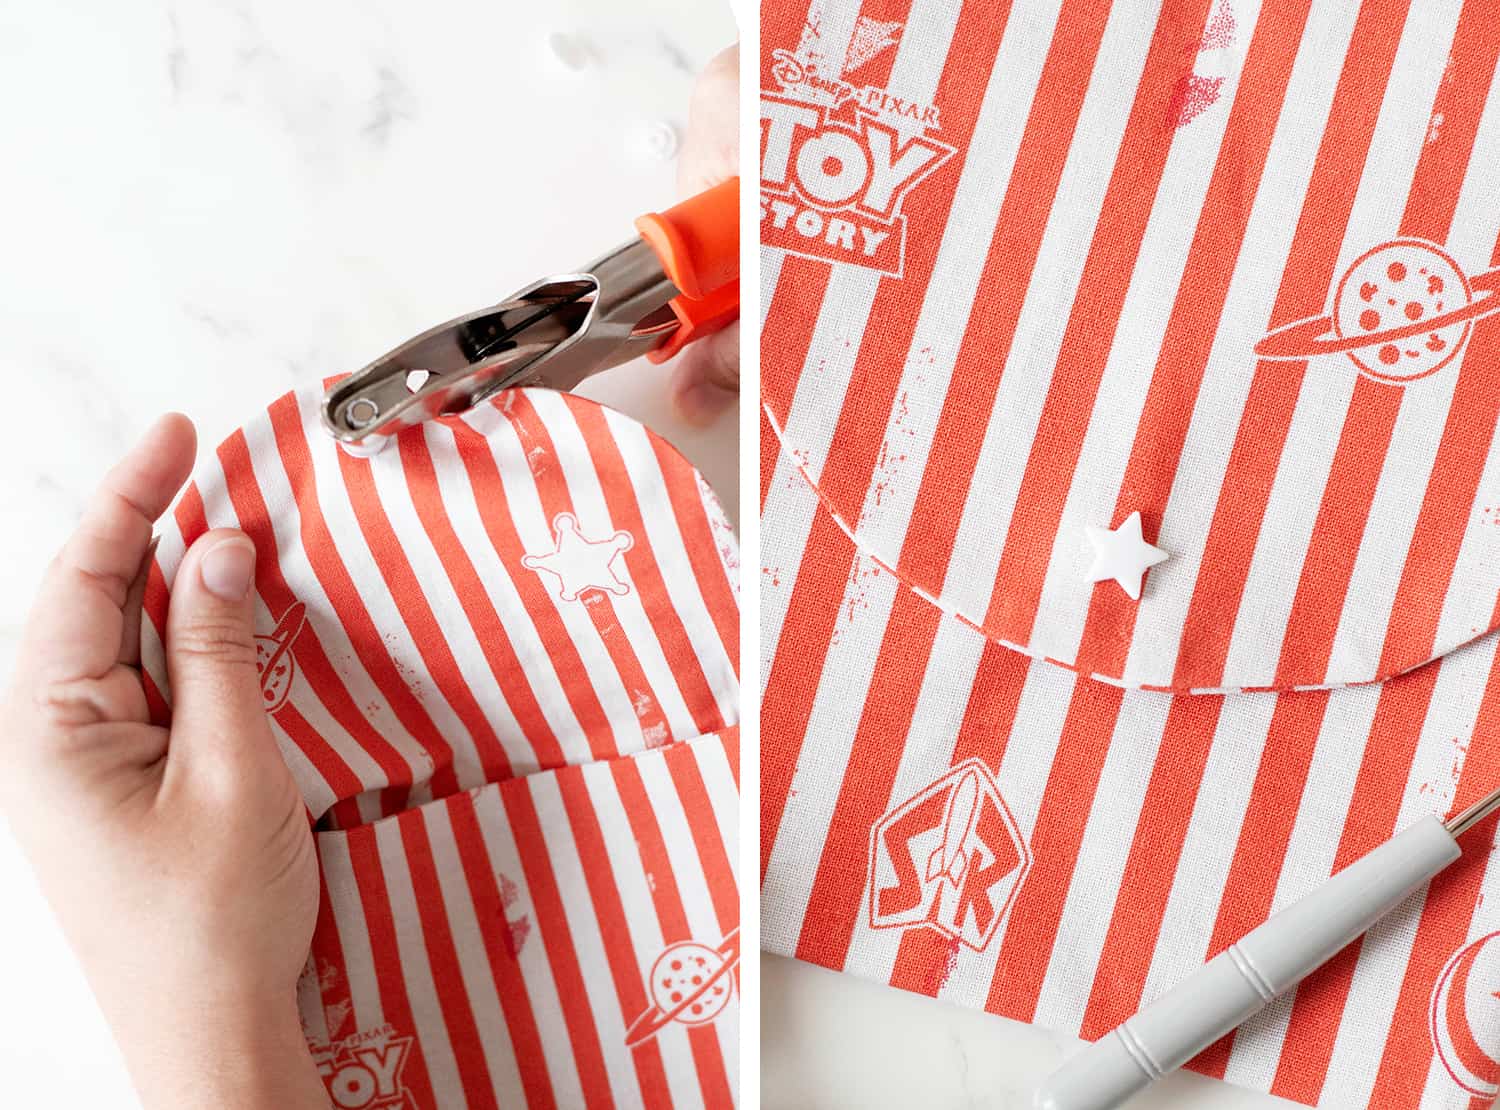 Step Seven: Attach the decorative top piece of the snap using the snap pliers, following the directions provided on the packaging. Then do the same for the bottom snap part.
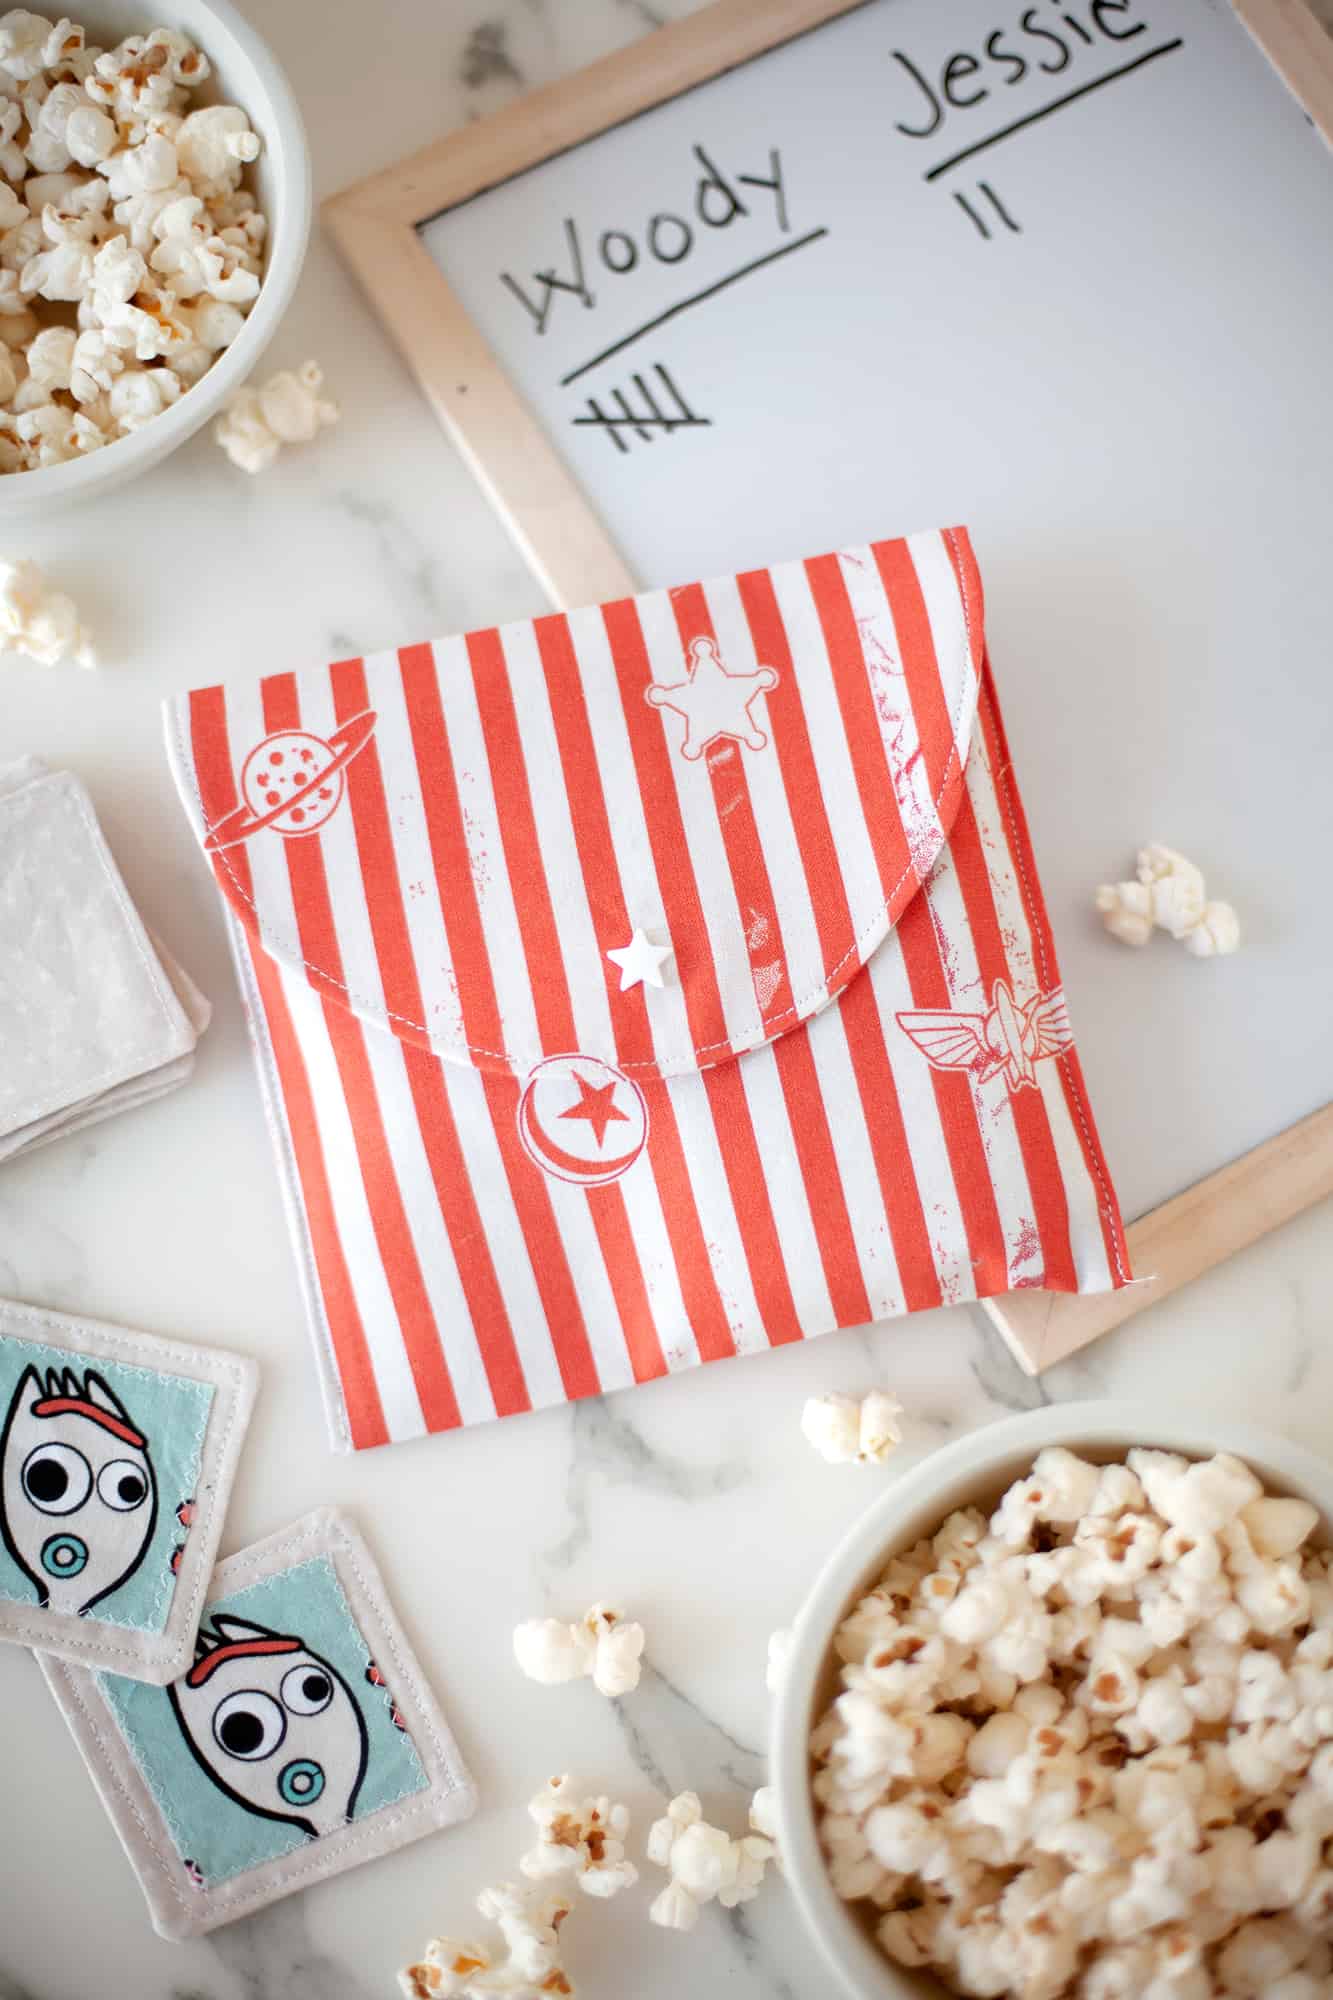 This is a great little game set for bringing on family trips or for bringing along on a fun lunch date with a kiddo you love. If the game gets dirty, don’t worry! Just throw the pieces into the wash. They shouldn’t warp or shrink if you properly pre-washed everything in step one.
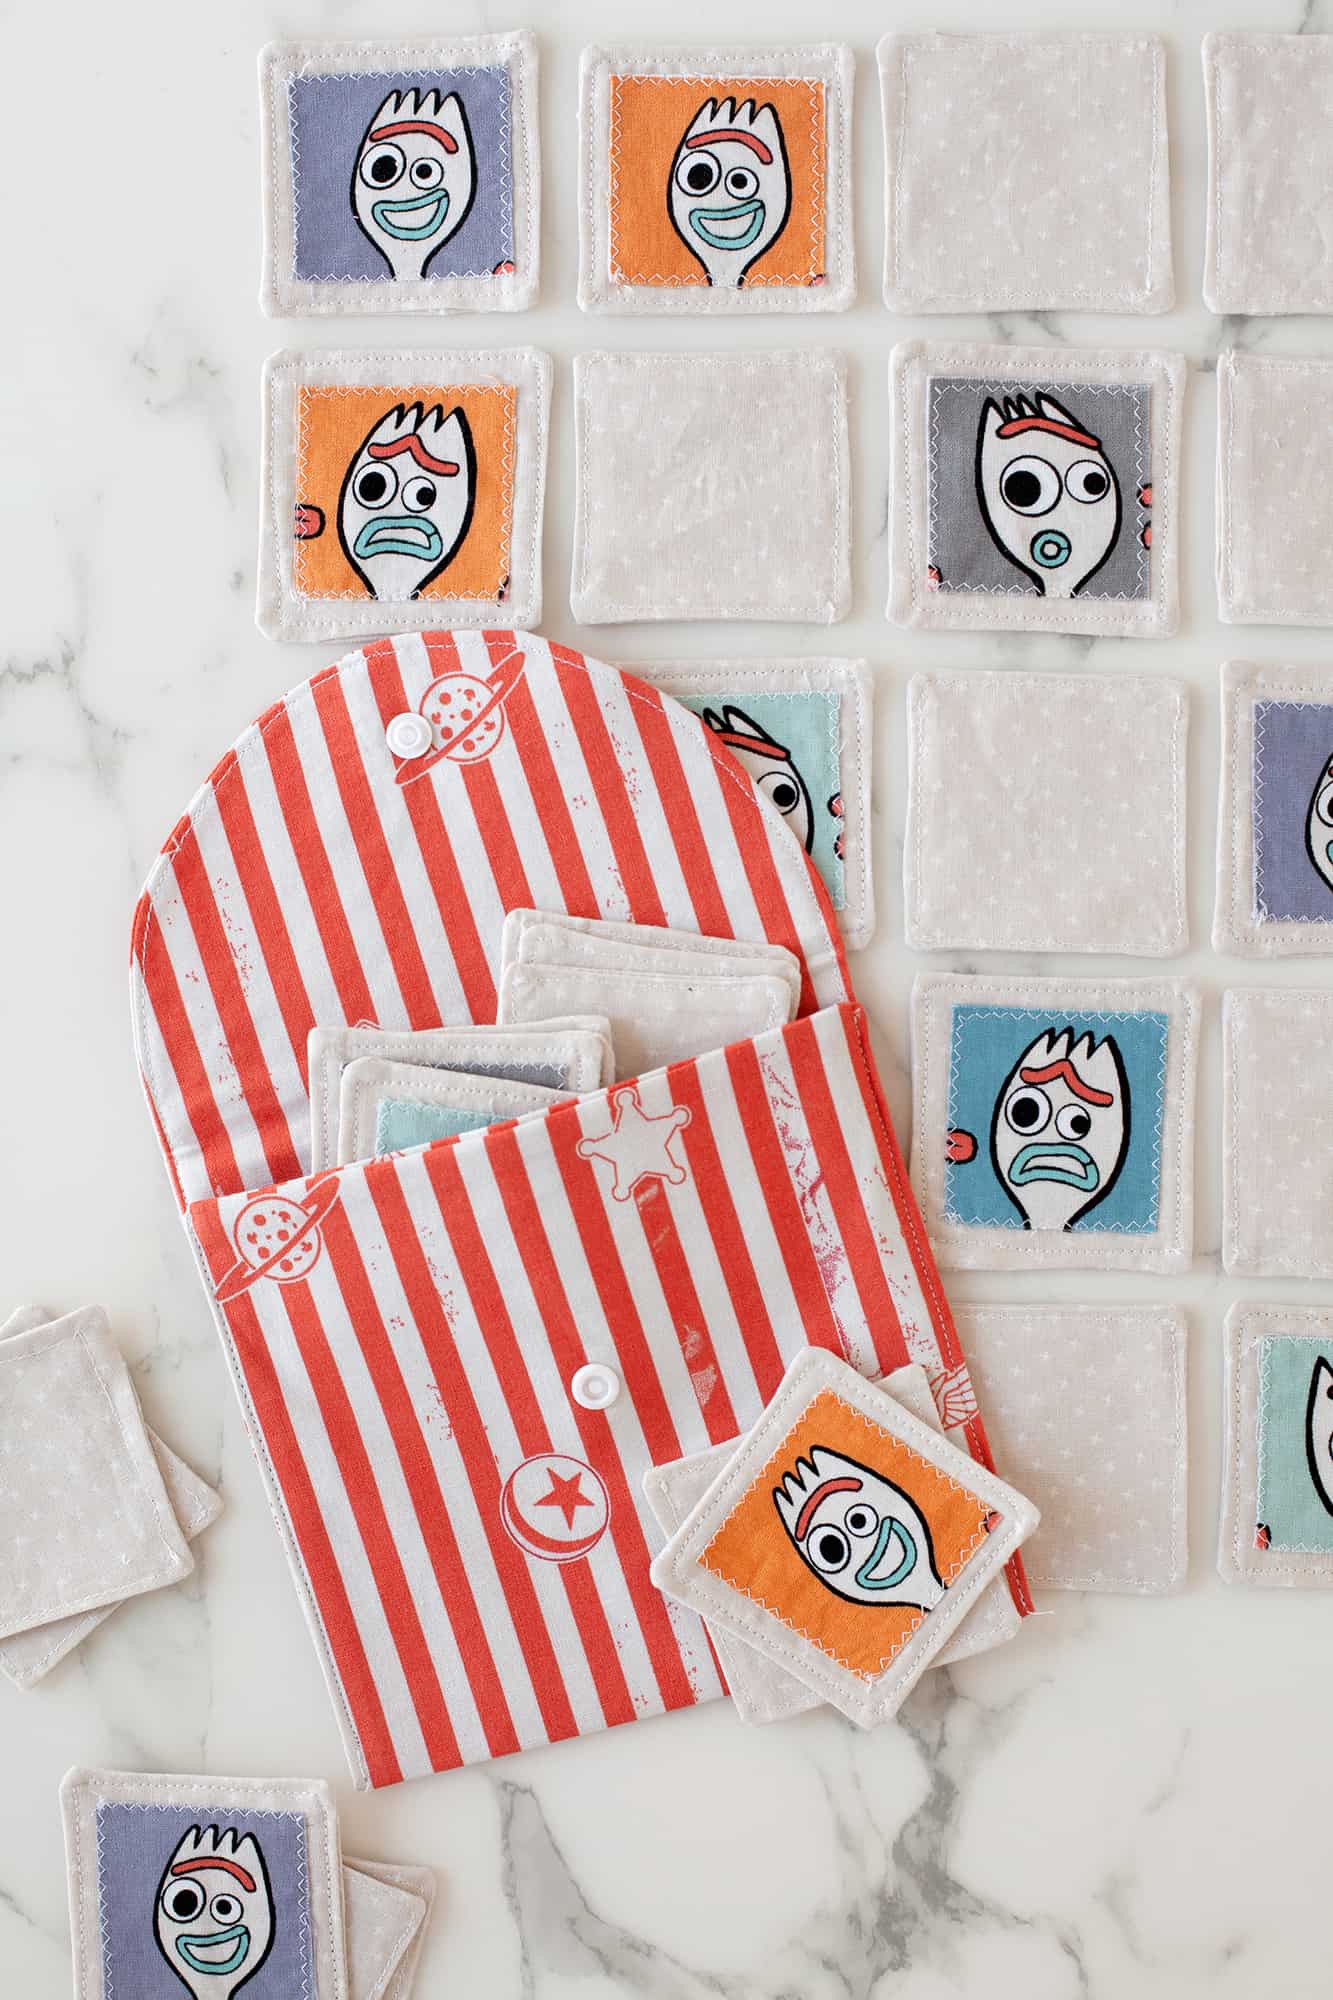 We’ve been enjoying playing this fabric memory game together as a family this week, and are so excited to see Toy Story 4 in theaters this weekend! –

