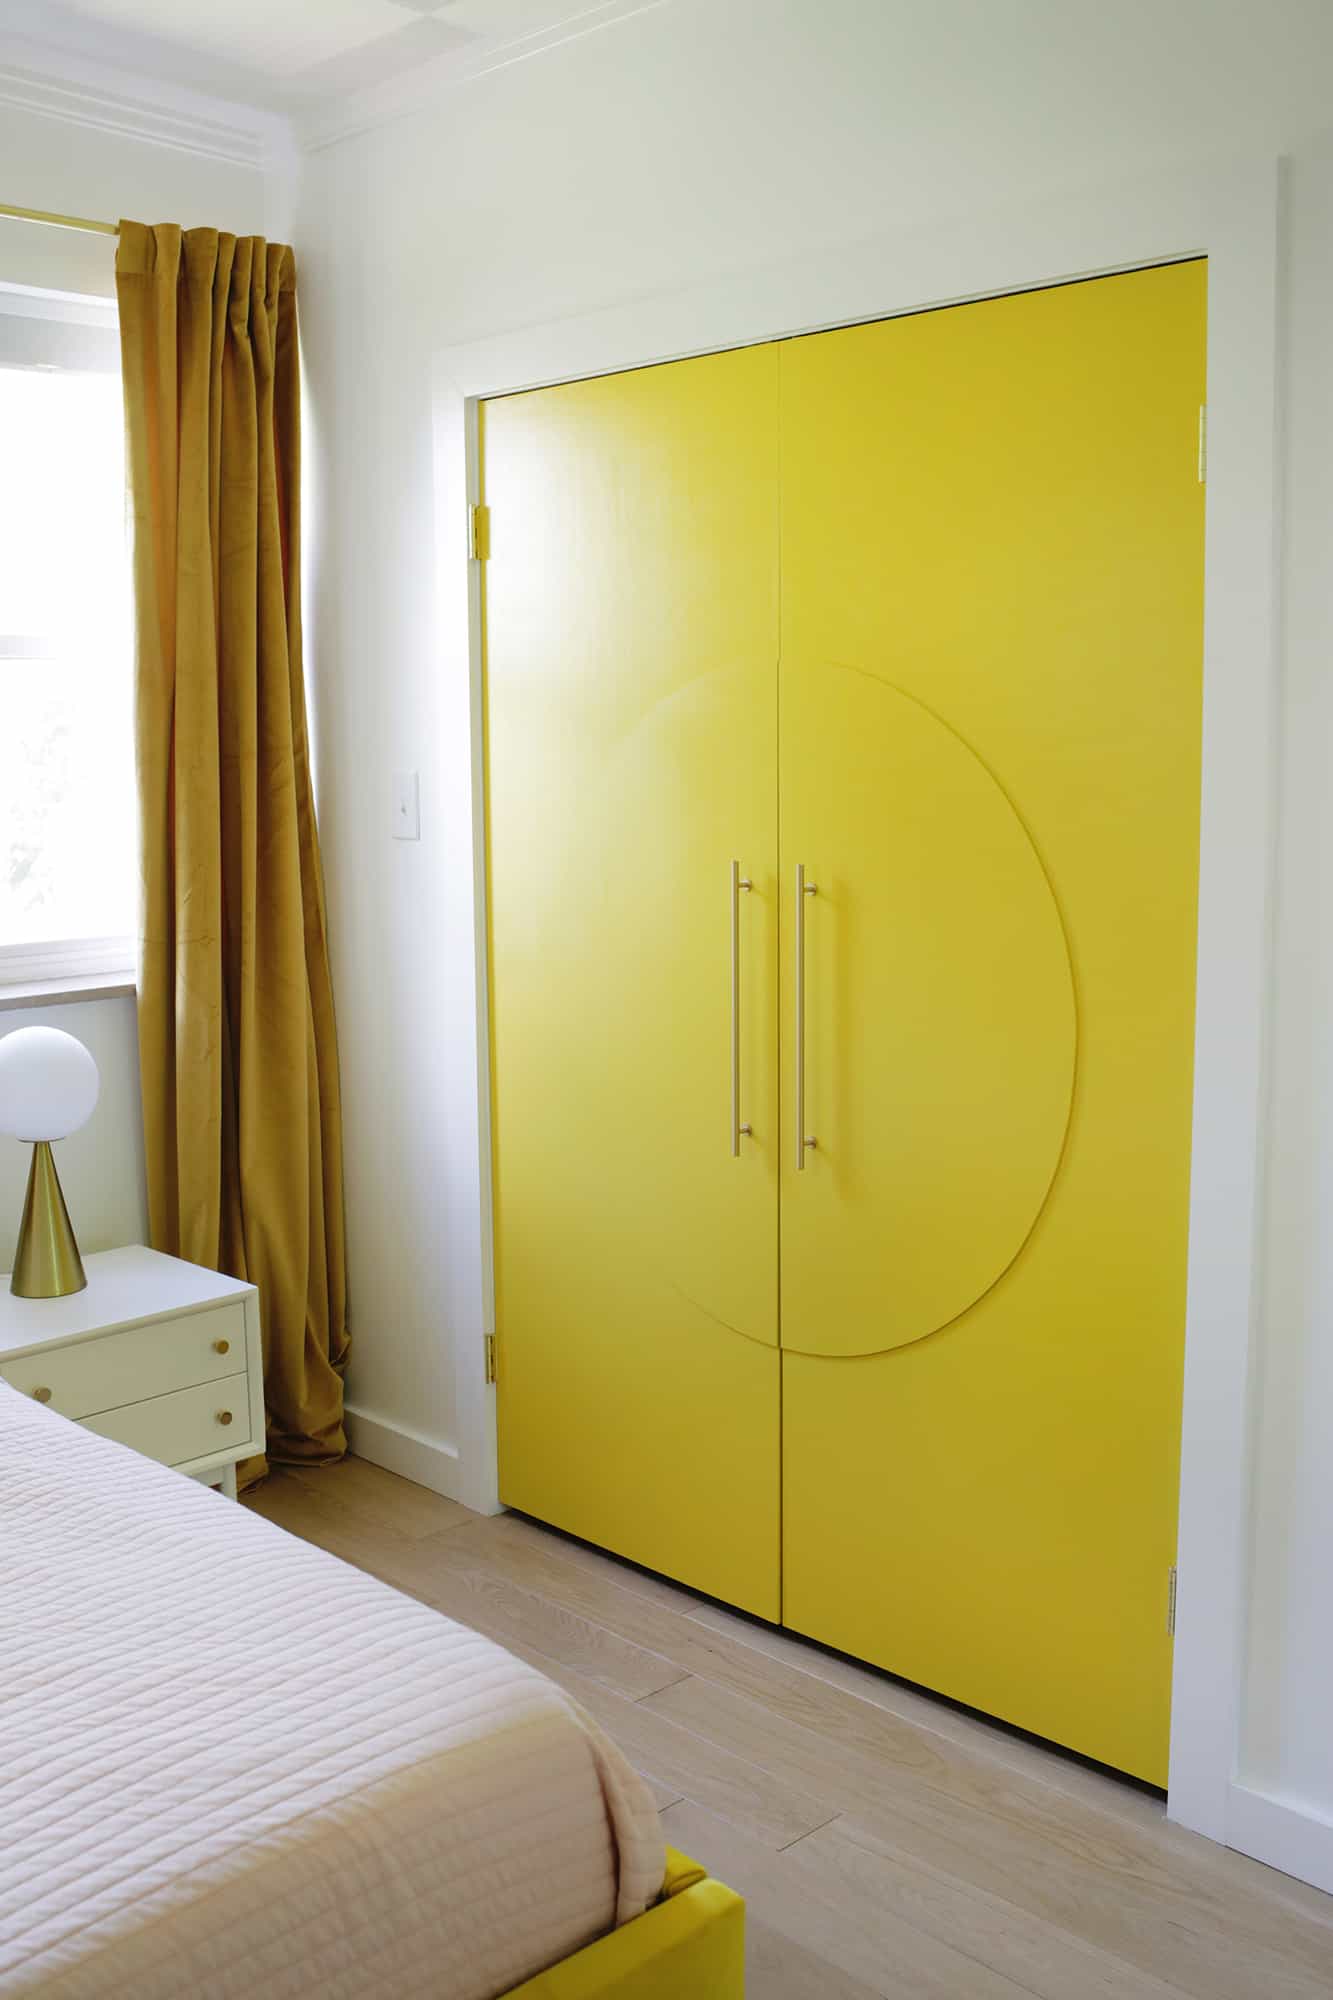
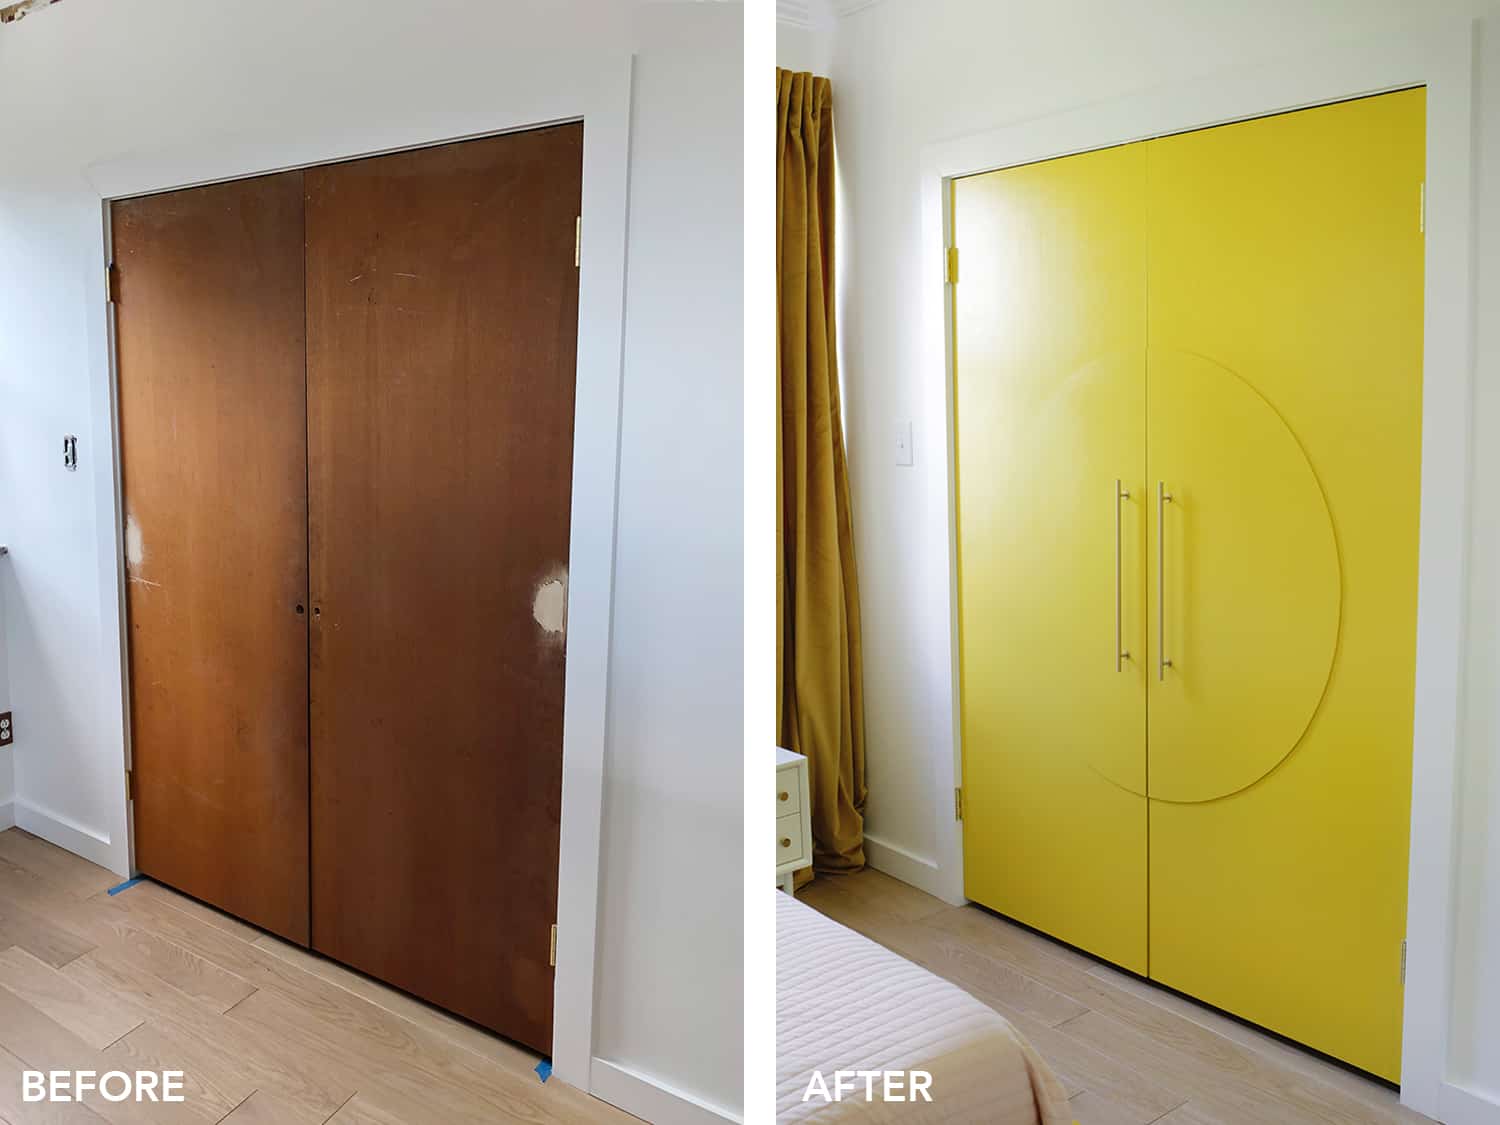
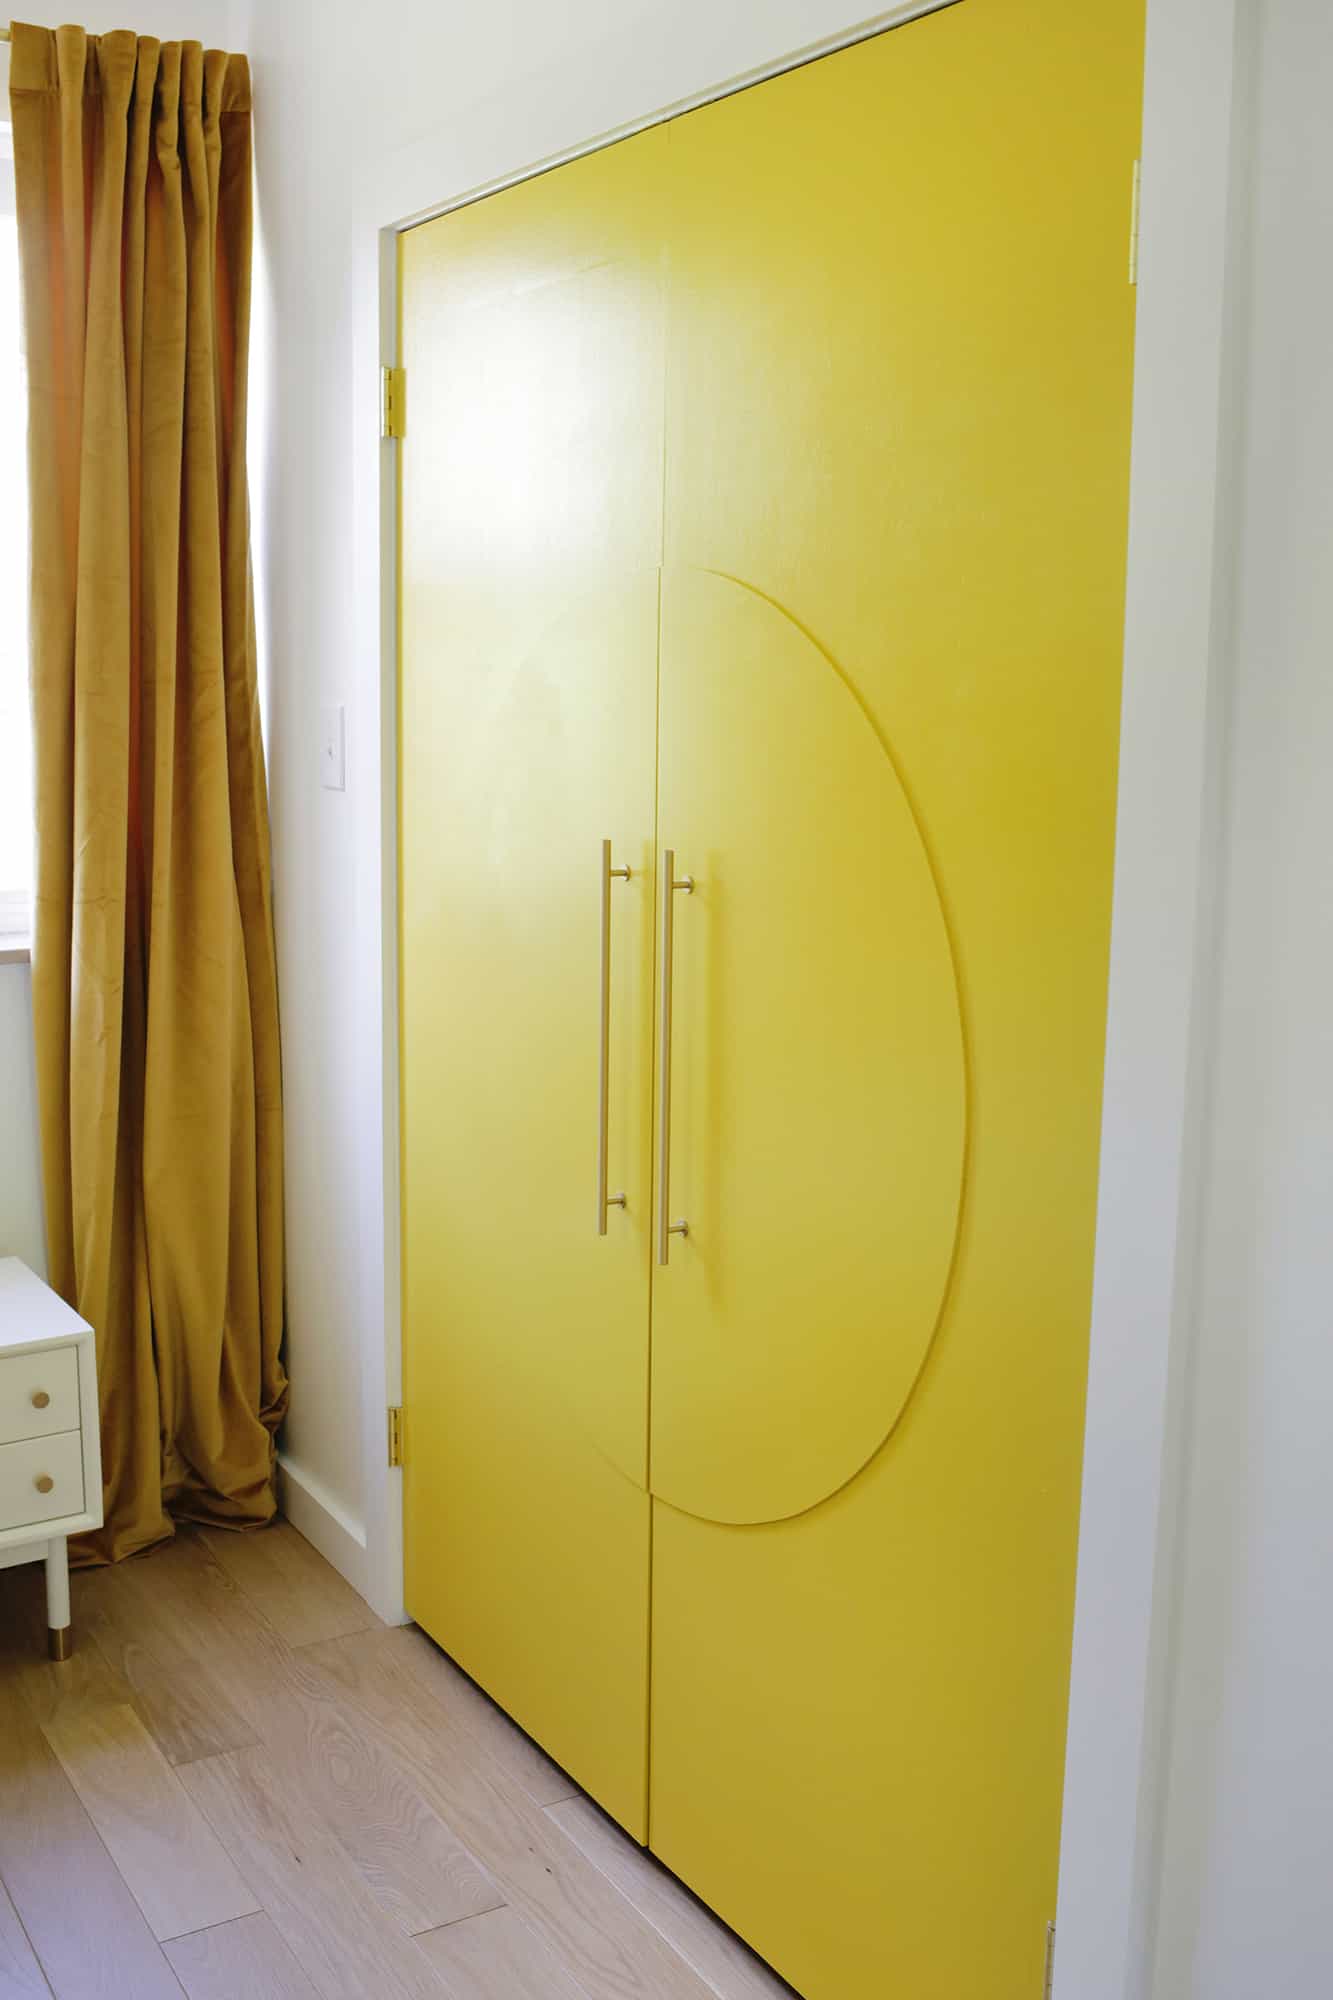
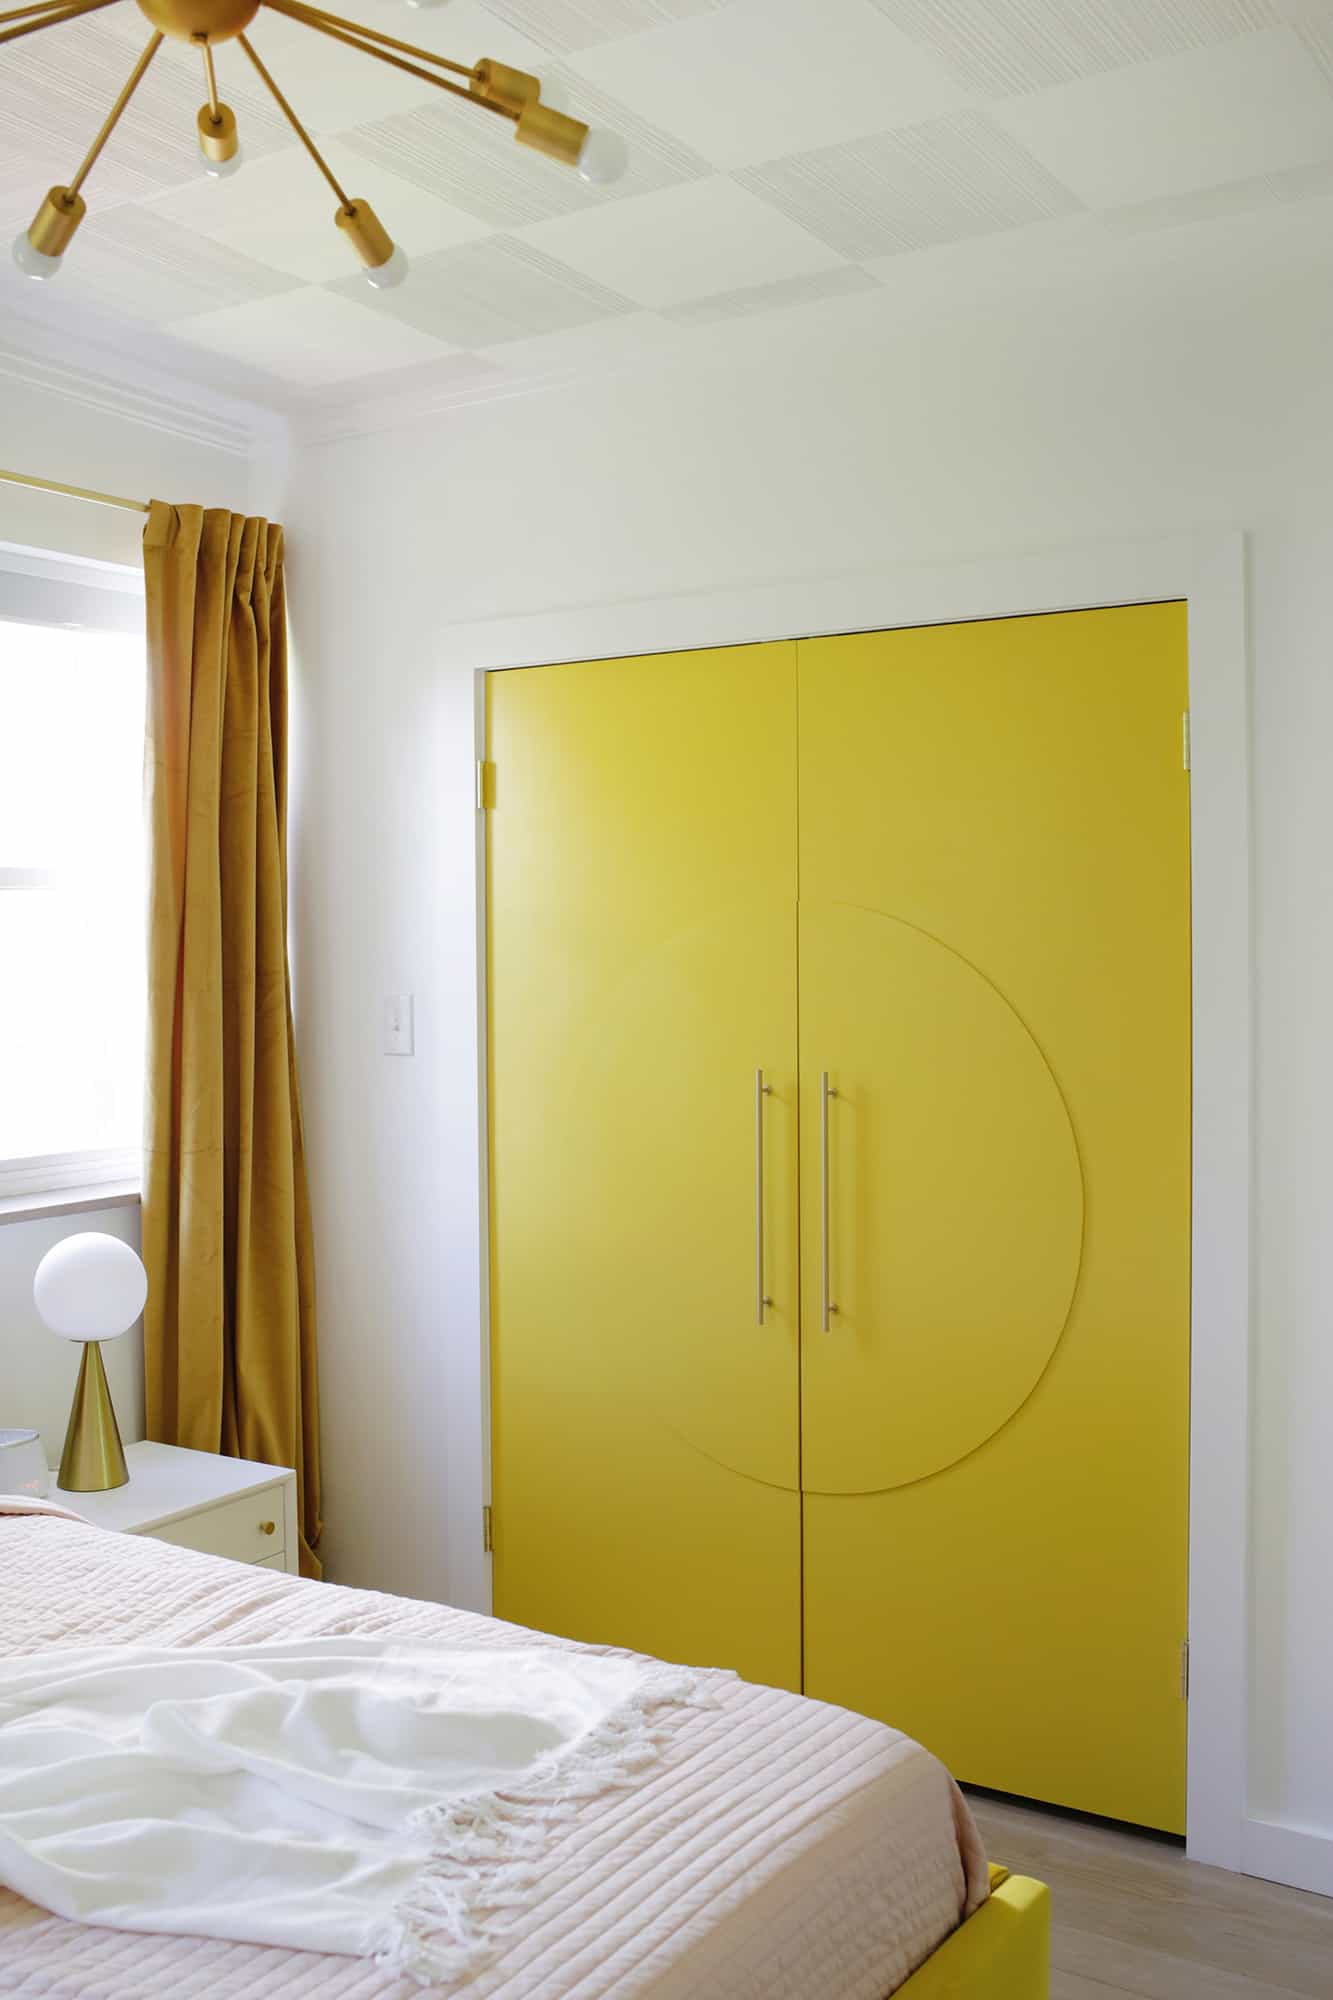
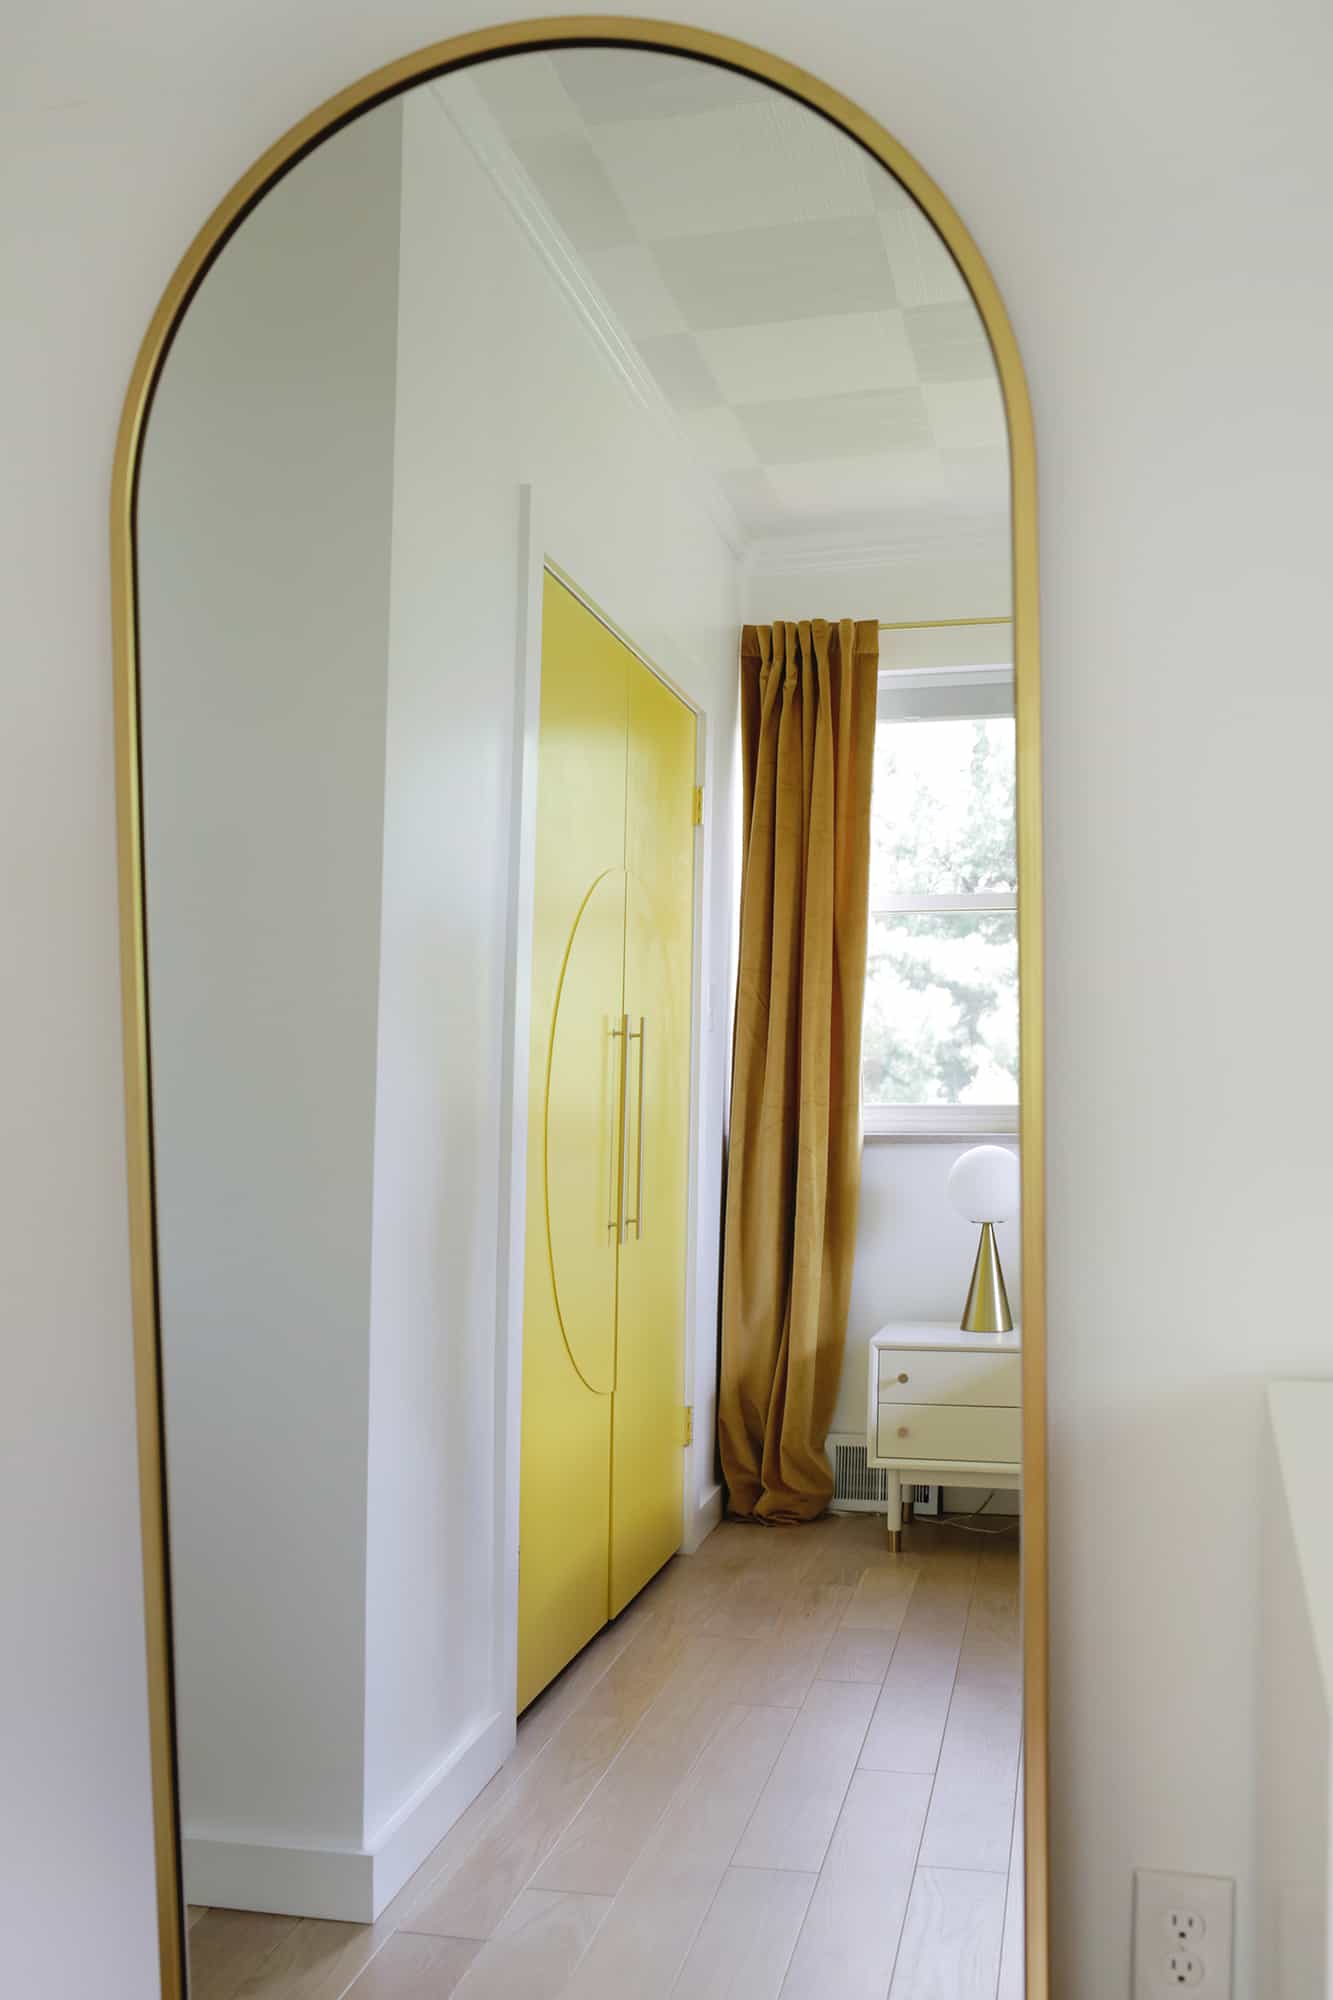
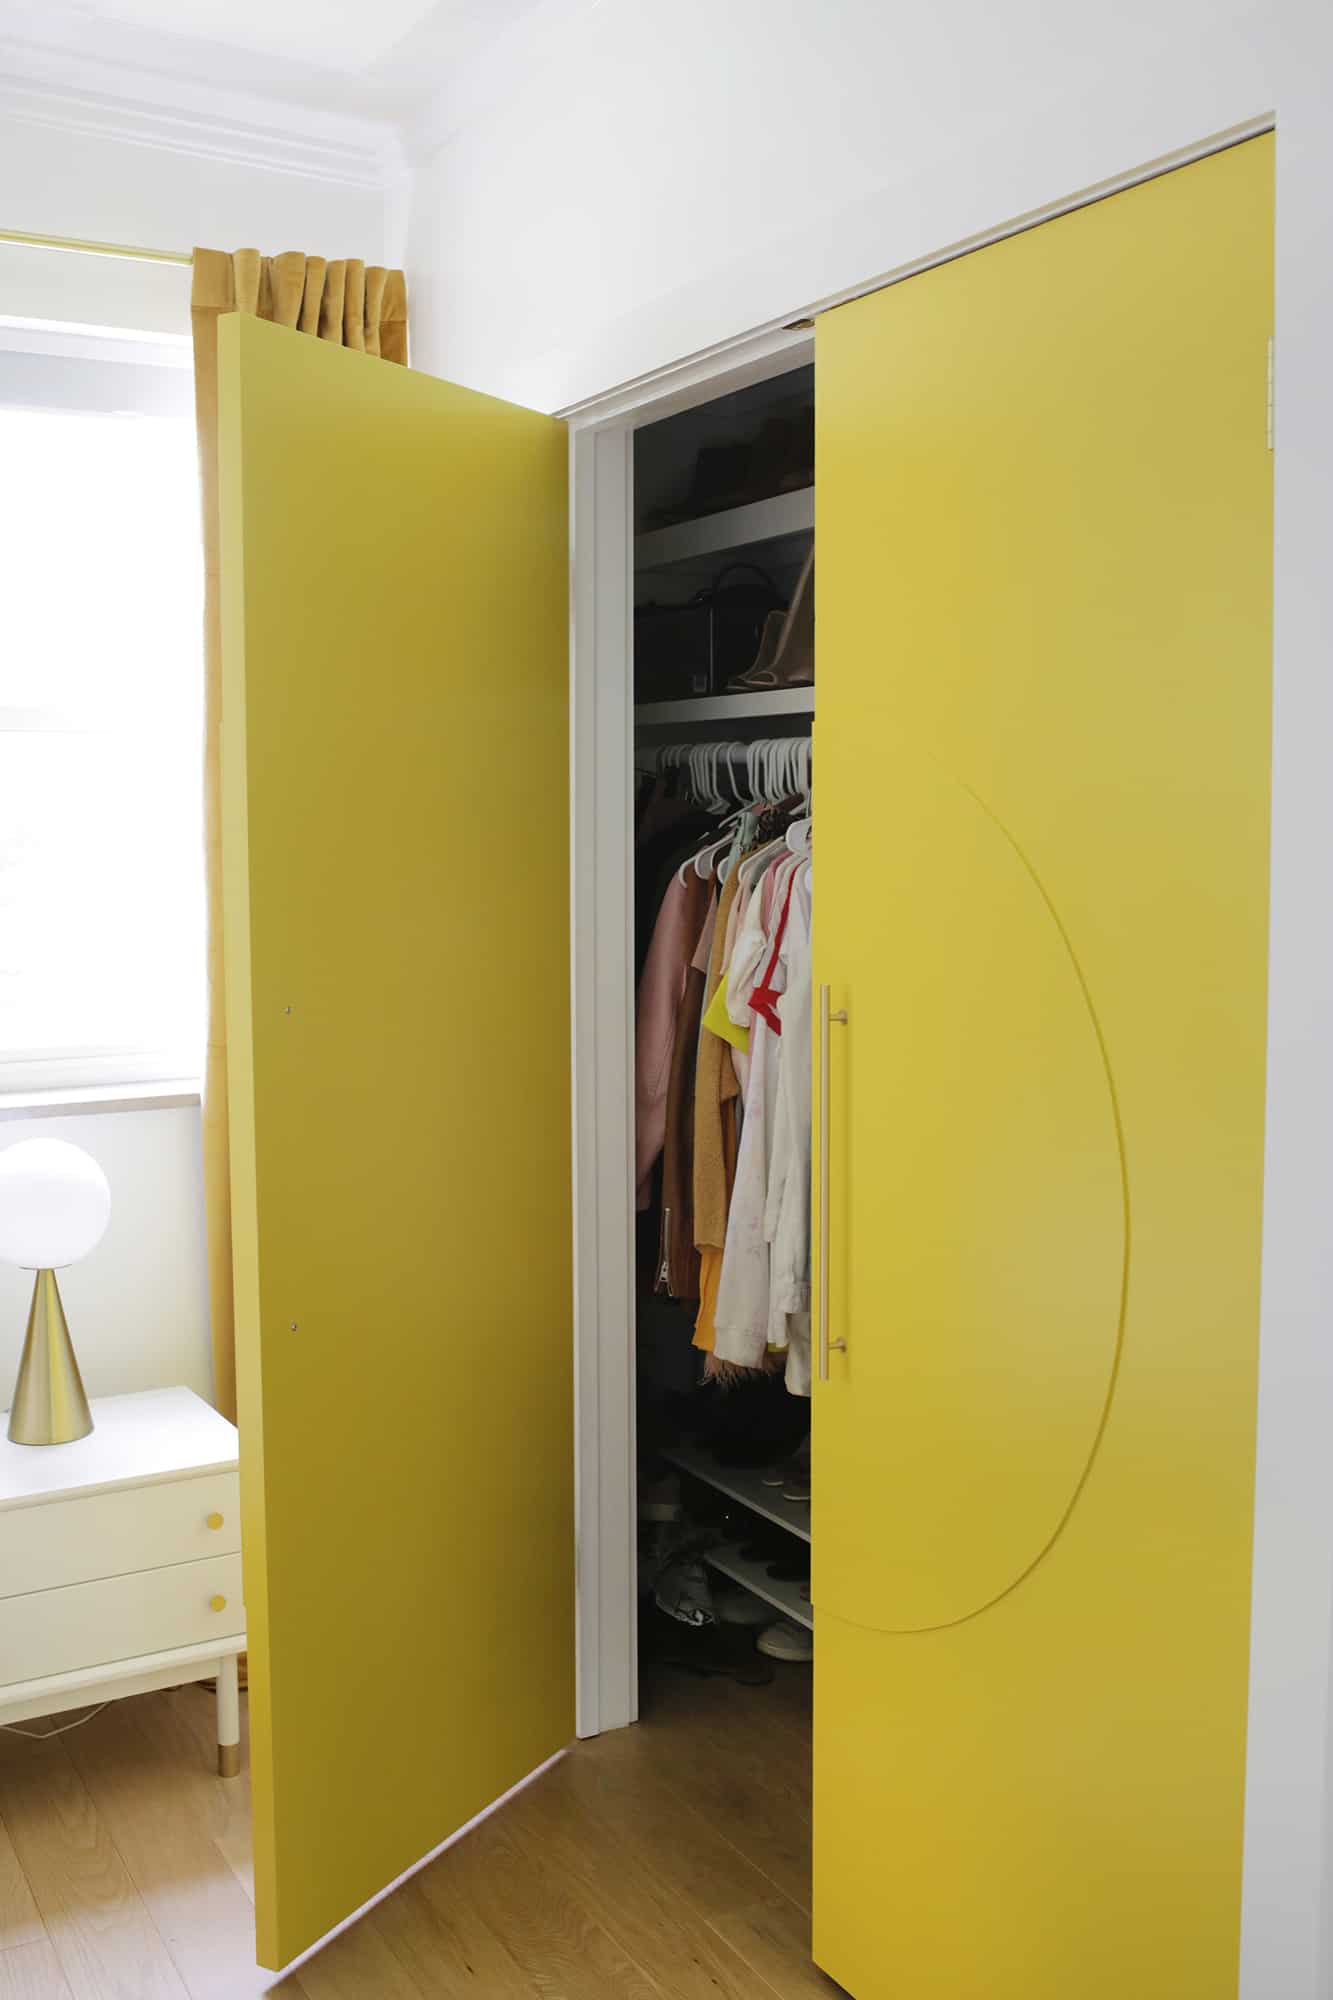
My parents found some matching solid wood doors at a construction resale shop for really cheap and patched them and had them cut and hung in the doorway (hanging doors is a precarious art form, so I usually pay a pro for door hanging and save myself a week of misery trying to figure it out). Once they were hung, it was time to make them special! I love the rounded edges of the ’70s decor, so I thought a door set with two big semicircles on each would be a fun nod to some of the arched decor we have scattered around the house …
–1/4 birch plywood (or other type of plywood is fine but the birch is usually smoother for painting)
–wood glue
–painter’s tape
-string, thumbtack, and pencil/pen
-measuring tape
-1/2″ nails and hammer or nail gun (I love this one but they make inexpensive electric ones too for smaller projects like this)
–jig saw
–clamps (optional)
-semi gloss paint in your color choice (I used Valspar Mustard Glaze)
–hardware for doors (I used two of these)

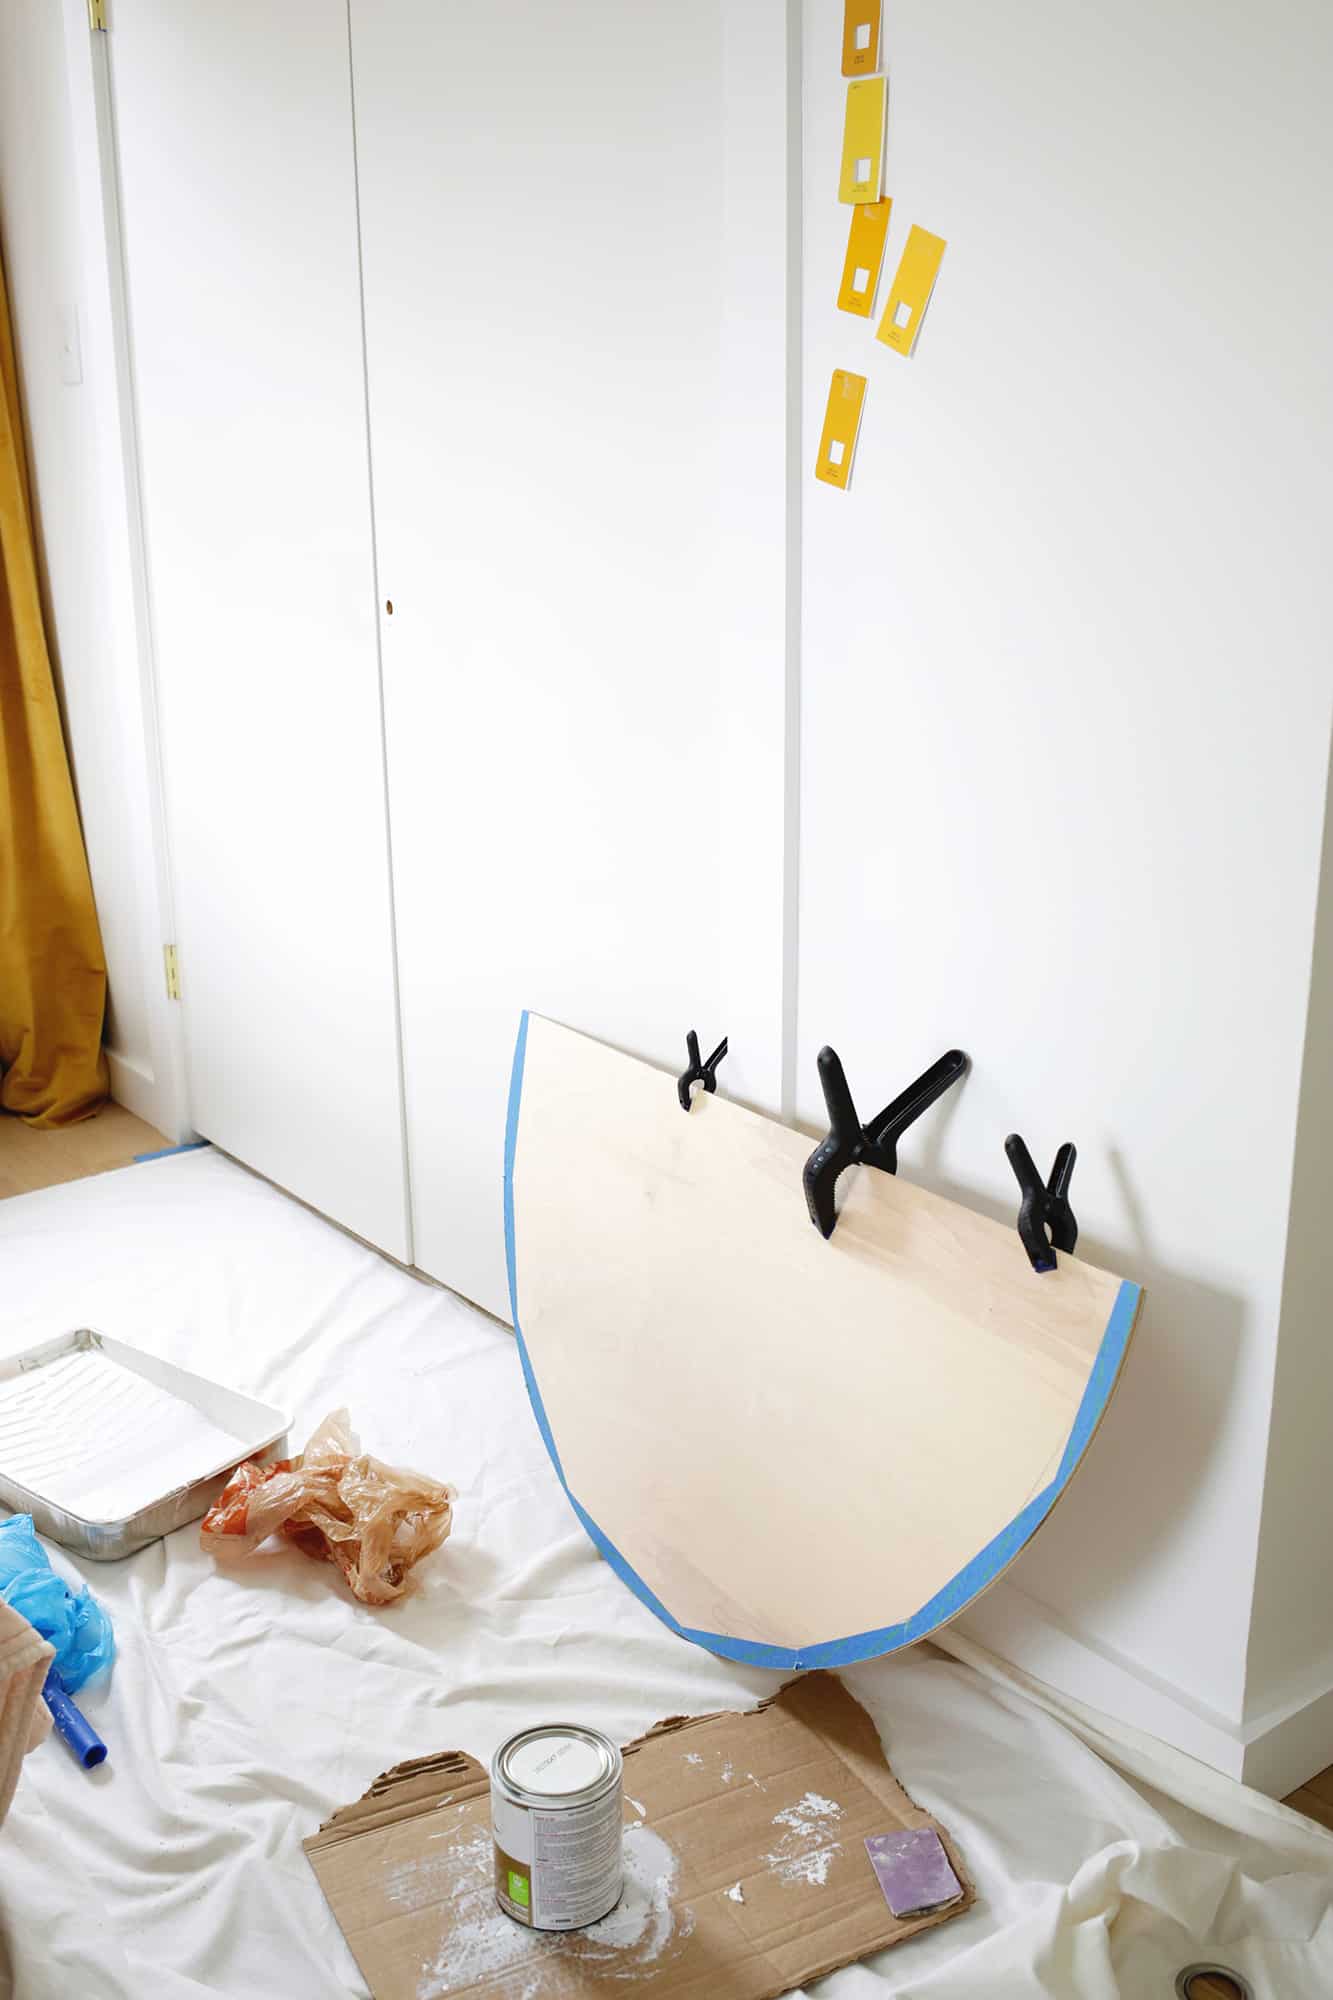
Now it’s time to cut out your circle with a jig saw! I find that when cutting wood like this, it’s a good idea to put painter’s tape over the cut line to minimize the wood splintering as you cut. If you want to do the tape though, you’ll have to draw your line, put tape over the line, and then redraw the line on top of the tape so you can see where to cut.
You can repeat tracing the semicircle on a different edge of your plywood to get your second half circle, or you can cut the plywood in half at the beginning, trace the first half circle, line up the straight long edges of the two halves, and clamp the boards together so when you cut your first traced half circle you are cutting both half circles in one go!

DIY Circle French Closet Doors
Ingredients
- 1/4 birch plywood
- wood glue
- painter's tape
- string, thumbtack, and pencil/pen
- measuring tape
- 1/2″ nails and hammer or nail gun
- jig saw
- clamps optional
- semi gloss paint in your color choice
- hardware for door
Instructions
-
First, I painted the doors with a stain-blocking primer since the wood color was really going to bleed through if I didn’t. Painting a dark door yellow is always a bit of a challenge, so starting with a few coats of white primer also helped to get it back to a lighter color first.
Then I had to pick the color! I wanted to match the marigold velvet bed we had, so I found this mustard color that was the perfect match!
-
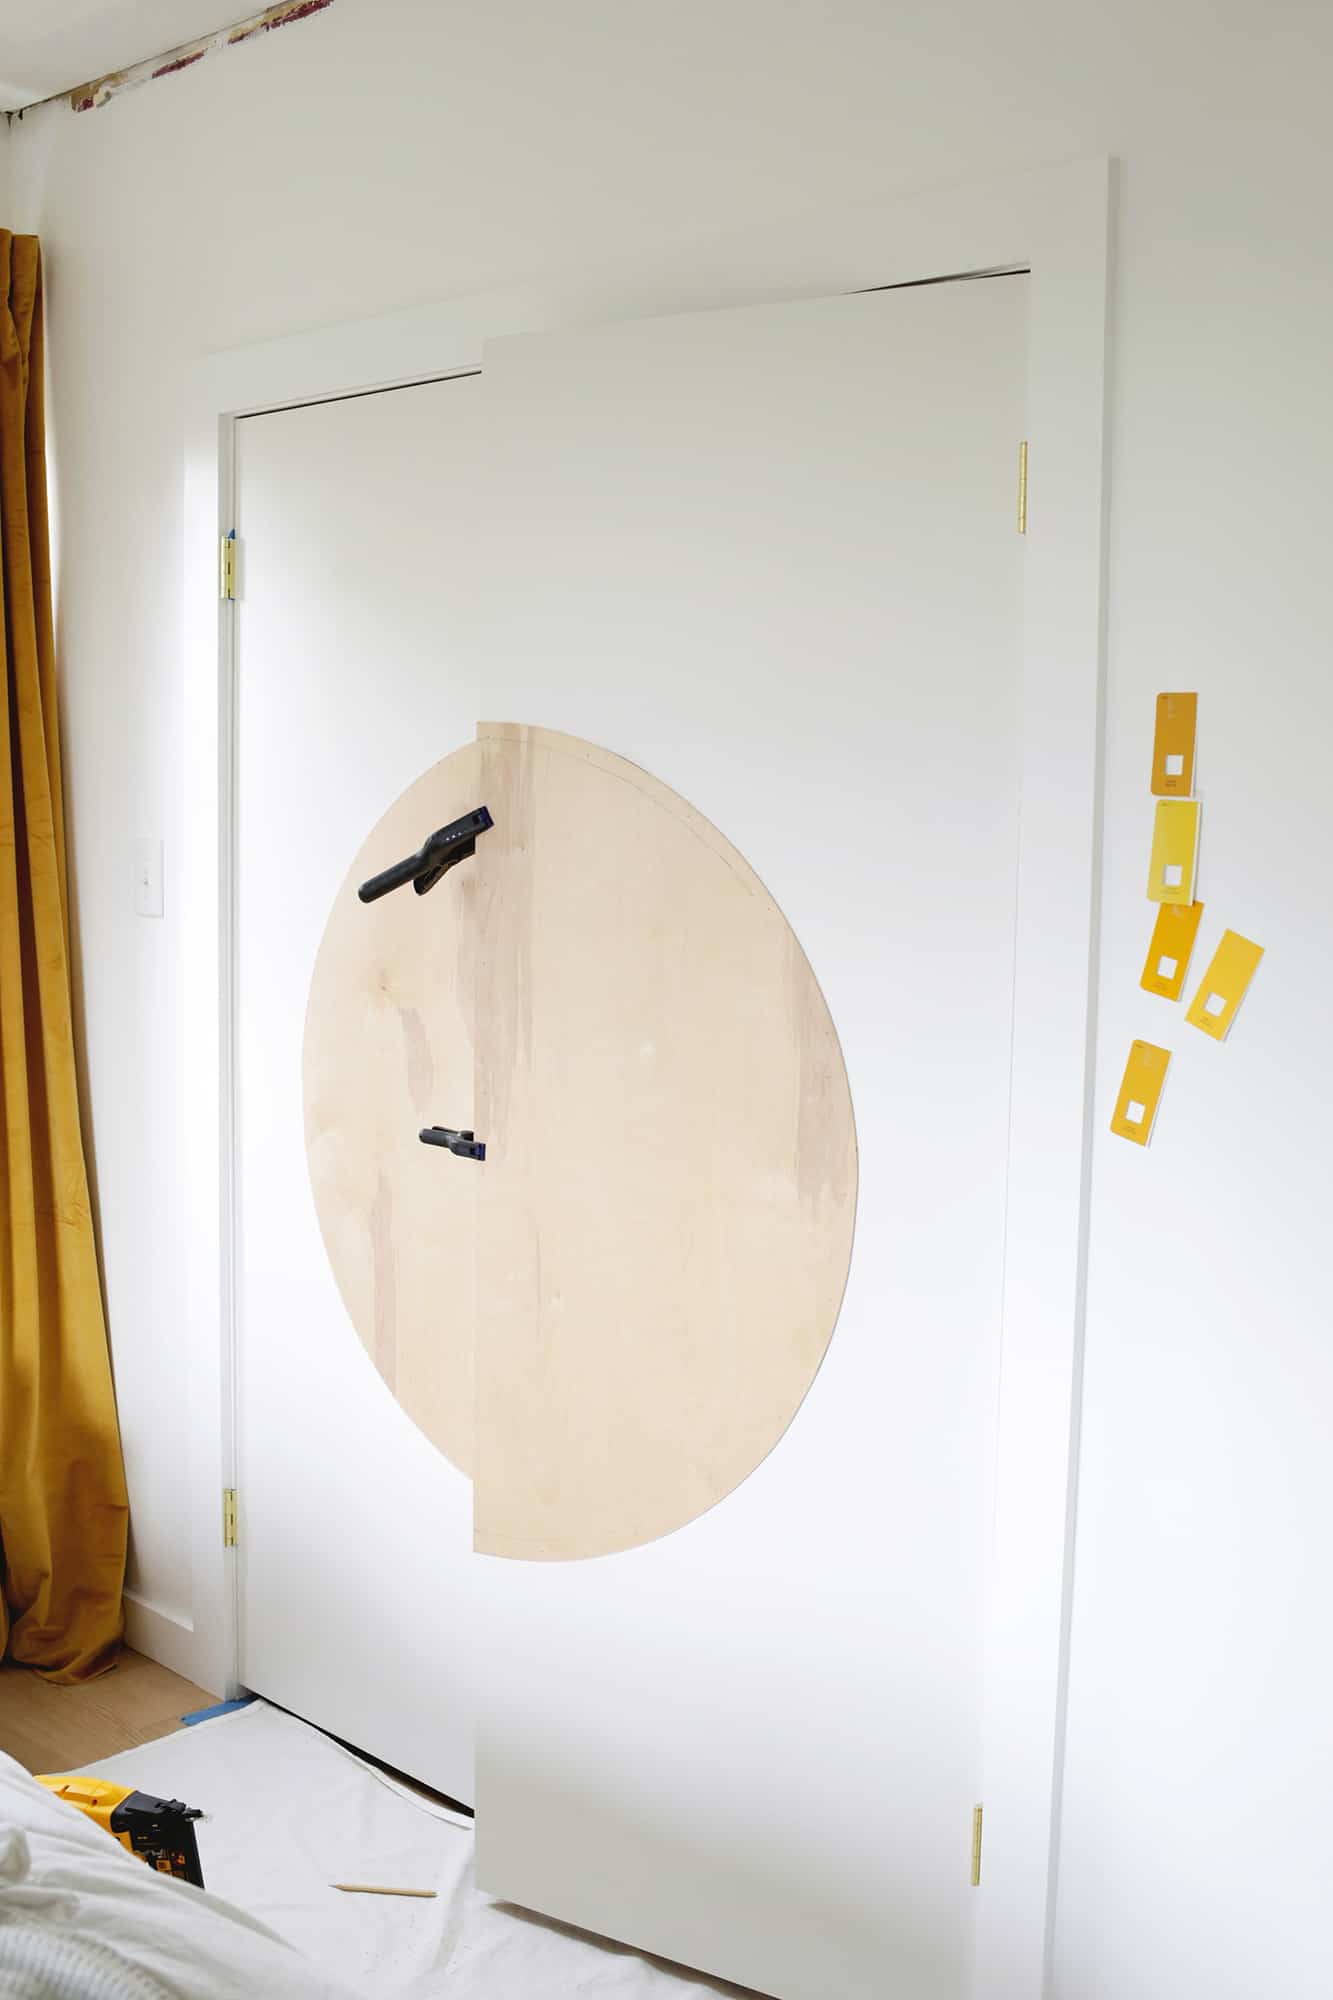
Once I had the primer on, I measured about how wide I wanted the circle to be on the door (20″ on each side so a 40″ circle overall) and I laid my plywood on the ground to trace the a half circle.
I used the old “string and a thumbtack” method to make the half circle, so I tied a string around a thumbtack and then tied a pen 20″ away from the thumbtack, had my husband hold the thumbtack at the edge of the board, and then I pulled the string tight to trace a half circle onto the board (this is also a good way to do it with a scrap of cardboard instead of a string).
-
Now it’s time to cut out your circle with a jig saw! I find that when cutting wood like this it’s a good idea to put painter’s tape over the cut line to minimize the wood splintering as you cut.
If you want to do the tape though, you’ll have to draw your line, put tape over the line, and then redraw the line on top of the tape so you can see where to cut.
You can repeat tracing the semicircle on a different edge of your plywood to get your second half circle, or you can cut the plywood in half at the beginning, trace the first half circle, line up the straight long edges of the two halves, and clamp the boards together so when you cut your first traced half circle you are cutting both half circles in one go!
-
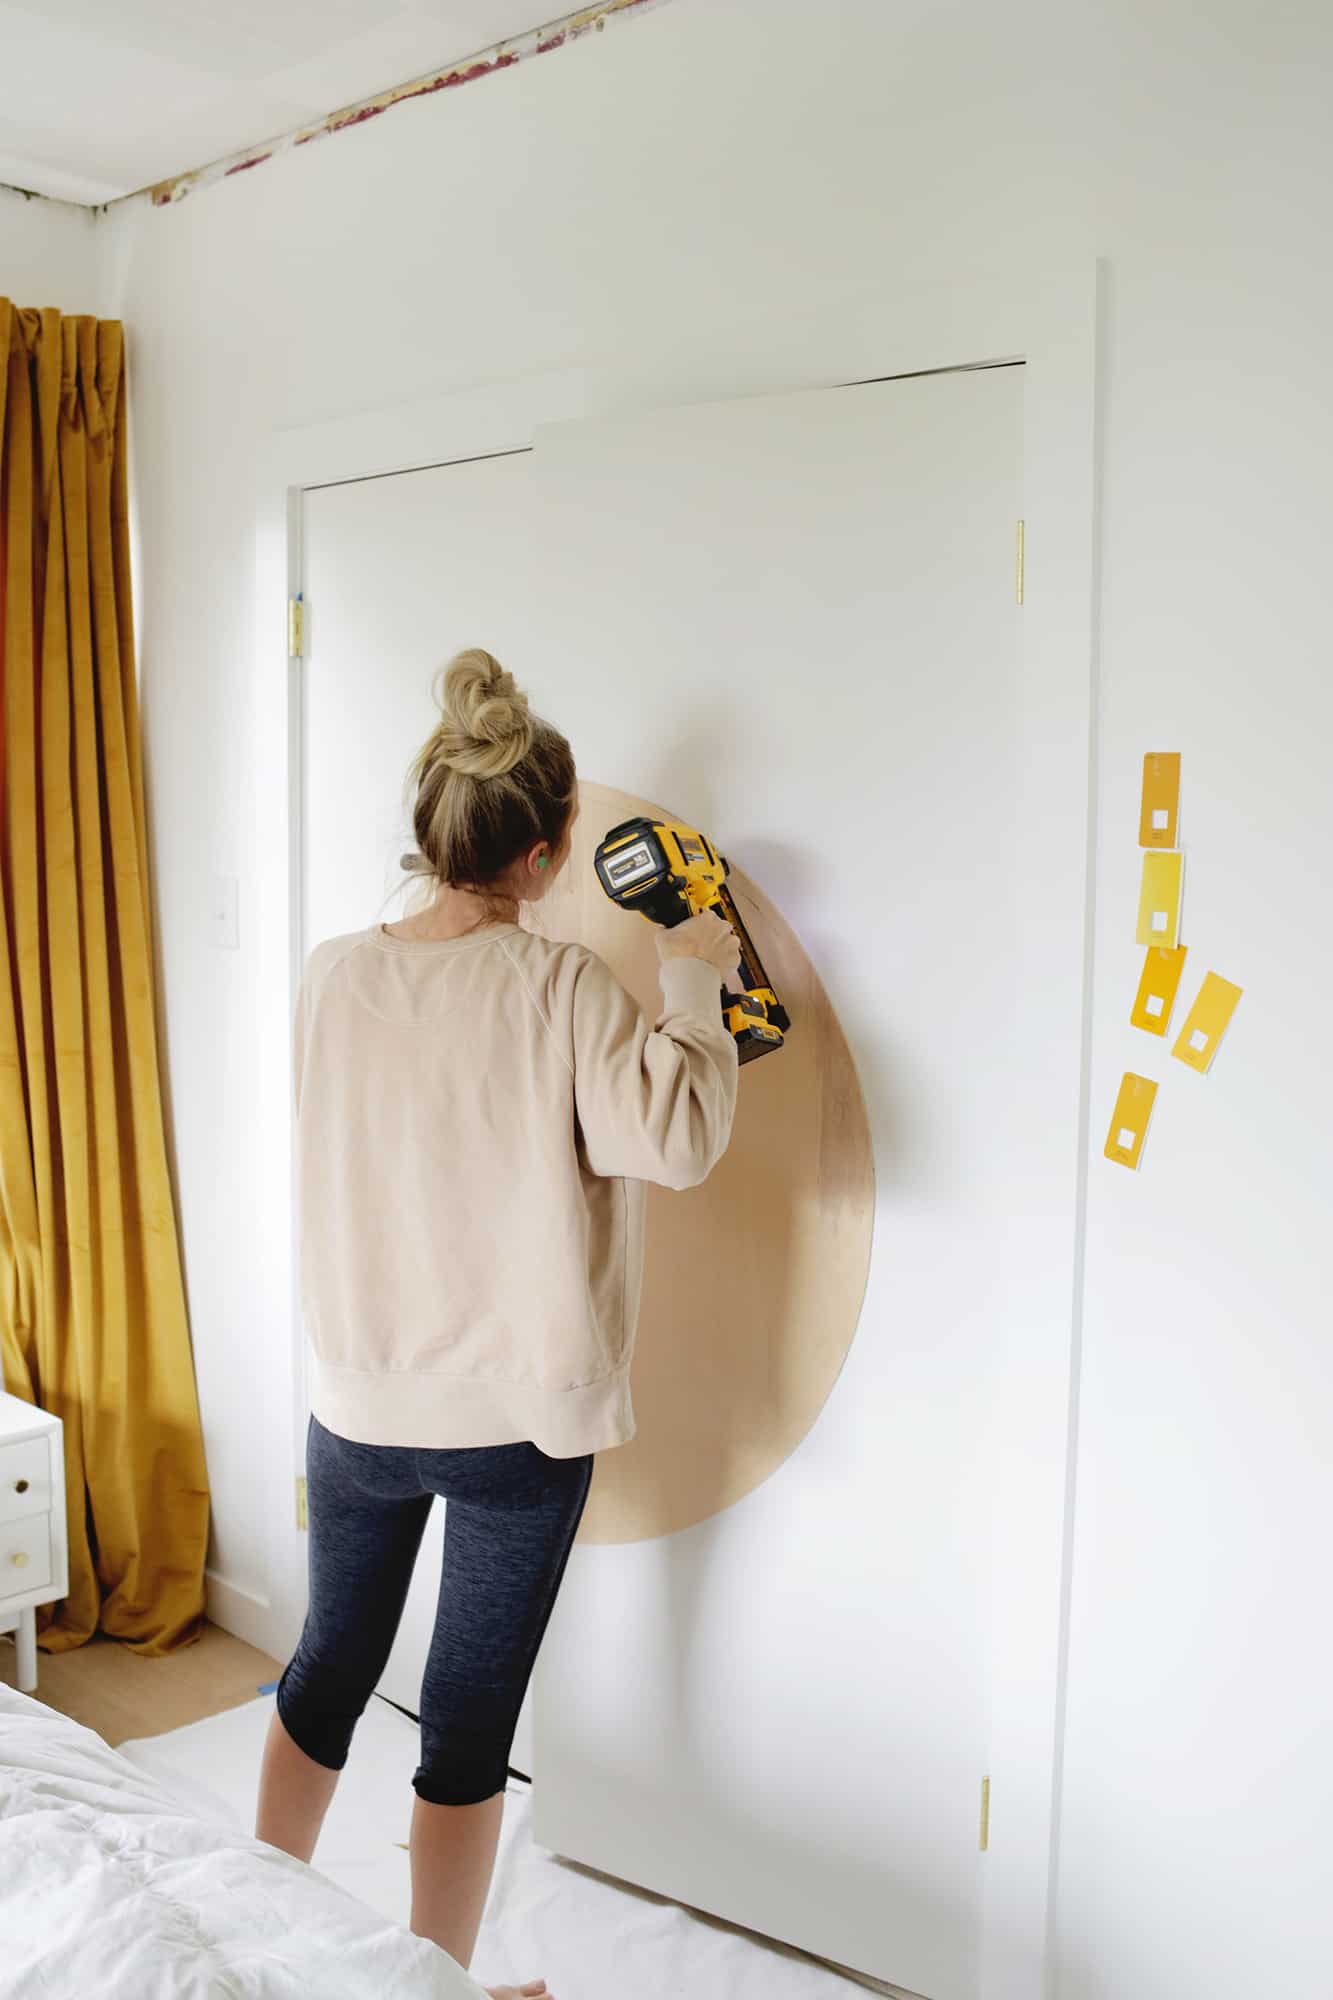
Once the circles were cut, I gave the edges a light sanding and it was time to mount them onto the doors. I just added a little bit of wood glue onto the the back of the panels, centered them on each door and then used my nail gun to mount the circles onto the doors.
Once they were on, I added a few coats of paint and mounted the hardware I had bought for the doors and the transformation was complete!






1 Comment
I’m very interested in the process of finding doors that can be hung as French doors (measuring, hardware) as well as how it affects the molding.
Thanks