Let me be honest. I never understood the use of paperweights until last month. I always thought they seemed kind of silly. I mean, who really uses those anyway?
So now that my desk is located under an air conditioning vent, and it's been around 100°F outside the last few weeks, all the papers on my desk blow around if I don't put my coffee mug or stapler or something on top of them. It's like musical office stuff on my desktop all day.
And I found myself wishing for some cute paperweights. It finally happened.
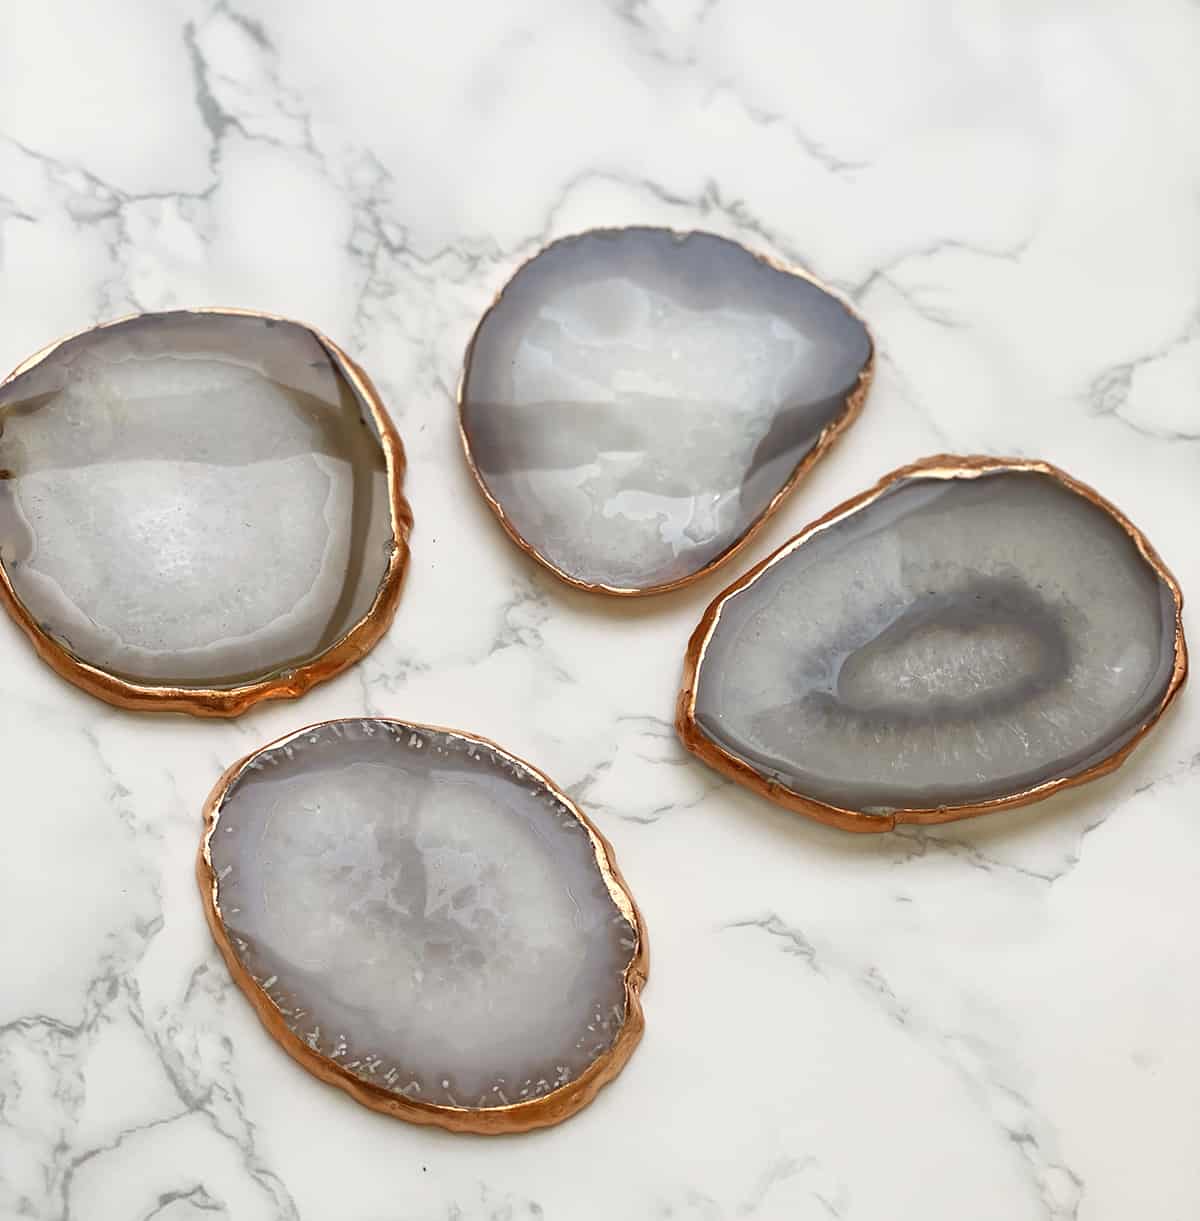
First I grew my own crystals inside an egg shell. And I loved how they looked, but they weren't quite heavy enough, and they are pretty fragile. So I decided to encase them in a geometric plaster mold. This turned out to be super easy, and I love how they turned out. They are pretty funky little paper weights, but they feel very me, sitting on my office papers. 🙂
Here's how to make your own plaster mold and how I made these geode paperweights.
Supplies:
-cardboard
-tape (painter's, masking, or duct tape will work well)
-pottery plaster (sold at most craft stores)
-disposable container
-popsicle sticks
-fine sandpaper
-acrylic or craft paint
Step One: Make your own molds from cardboard and tape. I cut out three triangles, all the same size, and taped them together to make mine. I tried spraying one of the molds with nonstick cooking spray before pouring the plaster, but it didn't seem to do much better than the two molds that I didn't spray. So I say skip this step unless it makes you feel better. 🙂
Step Two: Mix the plaster according to the package directions in a disposable container using a popsicle stick or disposable spoon. The plaster will heat up as you stir, so be aware of that. Pour the plaster into the molds, a little less than full. Place the geode egg into the plaster, gently pressing it into place. Allow that to fully set (check the plaster package directions for drying times).
Step Three: Peel the cardboard mold off and allow to fully dry (I left mine overnight). Sand the surface and edges.
Step Four: Paint the plaster any color you like! I used a metallic pearl color, as my desk is white, so I thought this would look best on my desk. I think a dark grey or black would also look awesome and make the crystals stand out.
Notes: First off, keep in the mind that the eggs were originally completely soaked in food dye while the crystals grew. This means, if you didn't rinse and allow the egg shell to fully dry after growing your crystals then you may have excess dye that may seep into your plaster. I had a little of this happen. Once painted it wasn't a big deal, but be sure to get as much dye off the eggs before you move on to this plaster step.
Second, you may notice that my crystals look a little duller than in the original post. Why? I decided to paint my crystals with thinned (Elmer's) glue. I was hoping this would make them less delicate. I don't think it really helped all that much, and it dulled the overall look of the crystals. So, I say skip that step (which is why I didn't include it).
These would also make a fun gift! I am already getting a lot of use out of them on my desk. 🙂 Thanks for letting me share! xo. Emma
Credits // Author and Photography: Emma Chapman. Photos edited using A Beautiful Mess actions.


25 Comments
Great combination of 2 different shapes and design. If you have problems you can make your own ‘crystals’ out of glass. It’s amazingly easy and cheap….
http://www.madebybarb.com/2017/05/05/diy-giant-concrete-geode/
This is such a cool idea! I love the science experiment-y part of growing the crystals yourself and then the plaster should hopefully make them less fragile so you have your gorgeous paperweights for a long time! I just love them and totally want to make my own! : )
-Mel the Crafty Scientist
What an awesome idea! And it looks sooooo pretty! *_*
My nostalgic idea of paperweights is the clear glass kind I used to look through as a kid. I thought they were enchanting! You could probably mimic that with epoxy or something….maybe painting the back of the eggshells?
I really like the idea of a fun triangle paperweight. Feeling inspired for sure!
I love this idea!! It is super cute and I’m definitely going to have to try it!!
photographydreamsinnature.blogspot.com
This looks sooo cool!! Love it!
Fun! Let us know how they turn out 🙂 -Jacki
My little sister is coming over next week to make some of the crystals with me, which we’re both pretty excited about. This is a cool way to incorporate them into every day life and protect them from not breaking.
xoxo
Taylor
Vaseline does wonders with plaster! Just apply with a paint brush and you’re set.
What a creative idea. The paperweights look really beautiful and i love crystals. I don’t think i would actually use this as a paperweight but just as an eyecatcher on my desk 🙂
I never understood the merits of paperweights, either, until I had an office desk next to a functional window. When hours of work fall 20 floors and end up laying on the sidewalk… you learn your lesson.
<3 dani
http://blog.shopdisowned.com
This is gorgeous, I love crystals!
www.cherryblossomstreet.com -Swedish Model and blogger in Tokyo
This looks like so much fun. I have to try this
genius.
Fun project…thats a colorful paperweight for your table..thanks fro including what didn’t work out..
xo
http://agoldentulip.blogspot.com/
I was worried about that too, but it didn’t. In fact it kind of makes the cardboard damp, so that you can pretty easily peel it away once the plaster is set. If you do have a piece stick you can always sand it off too, while you smooth out your plaster.
-Emma
Ooh, so cute! it really adds a pop of color! xoxo
http://sundaycabanas.blogspot.com
This is so creative! I have my laptop charger as my current paper weight, but it seems to be a bit on the light side these days. Great colours, too! 🙂
I’m always looking for ways to personalize my desk at the office (social media marketing allows for plenty of bling, haha). This is going on the top of my list! All my coworkers will be so jealous, hehe.
Cat
http://oddlylovely.com
These are so beautiful! I would make them and not even use them as paperweights. I would use it as a decoration! It seems genuinely simple too! I might actually be able to do it!
AnnCates xx
anncates.blogspot.com
These are gorgeous! What a lovely idea for a unique gift 🙂
Jess xo
Love seeing your crafty posts Emma! These are so awesome 🙂
Steph
www.insidestephshead.com
x
What a great idea. Looks like a good project for kids too.
I would have thought that the plaster would have stuck to the cardboard. Good to know it doesn’t. That opens up a whole world of possibilities!
I think I need to make some for my table outside, I often do writing out there and my papers always fly away! 🙂
Thanks!