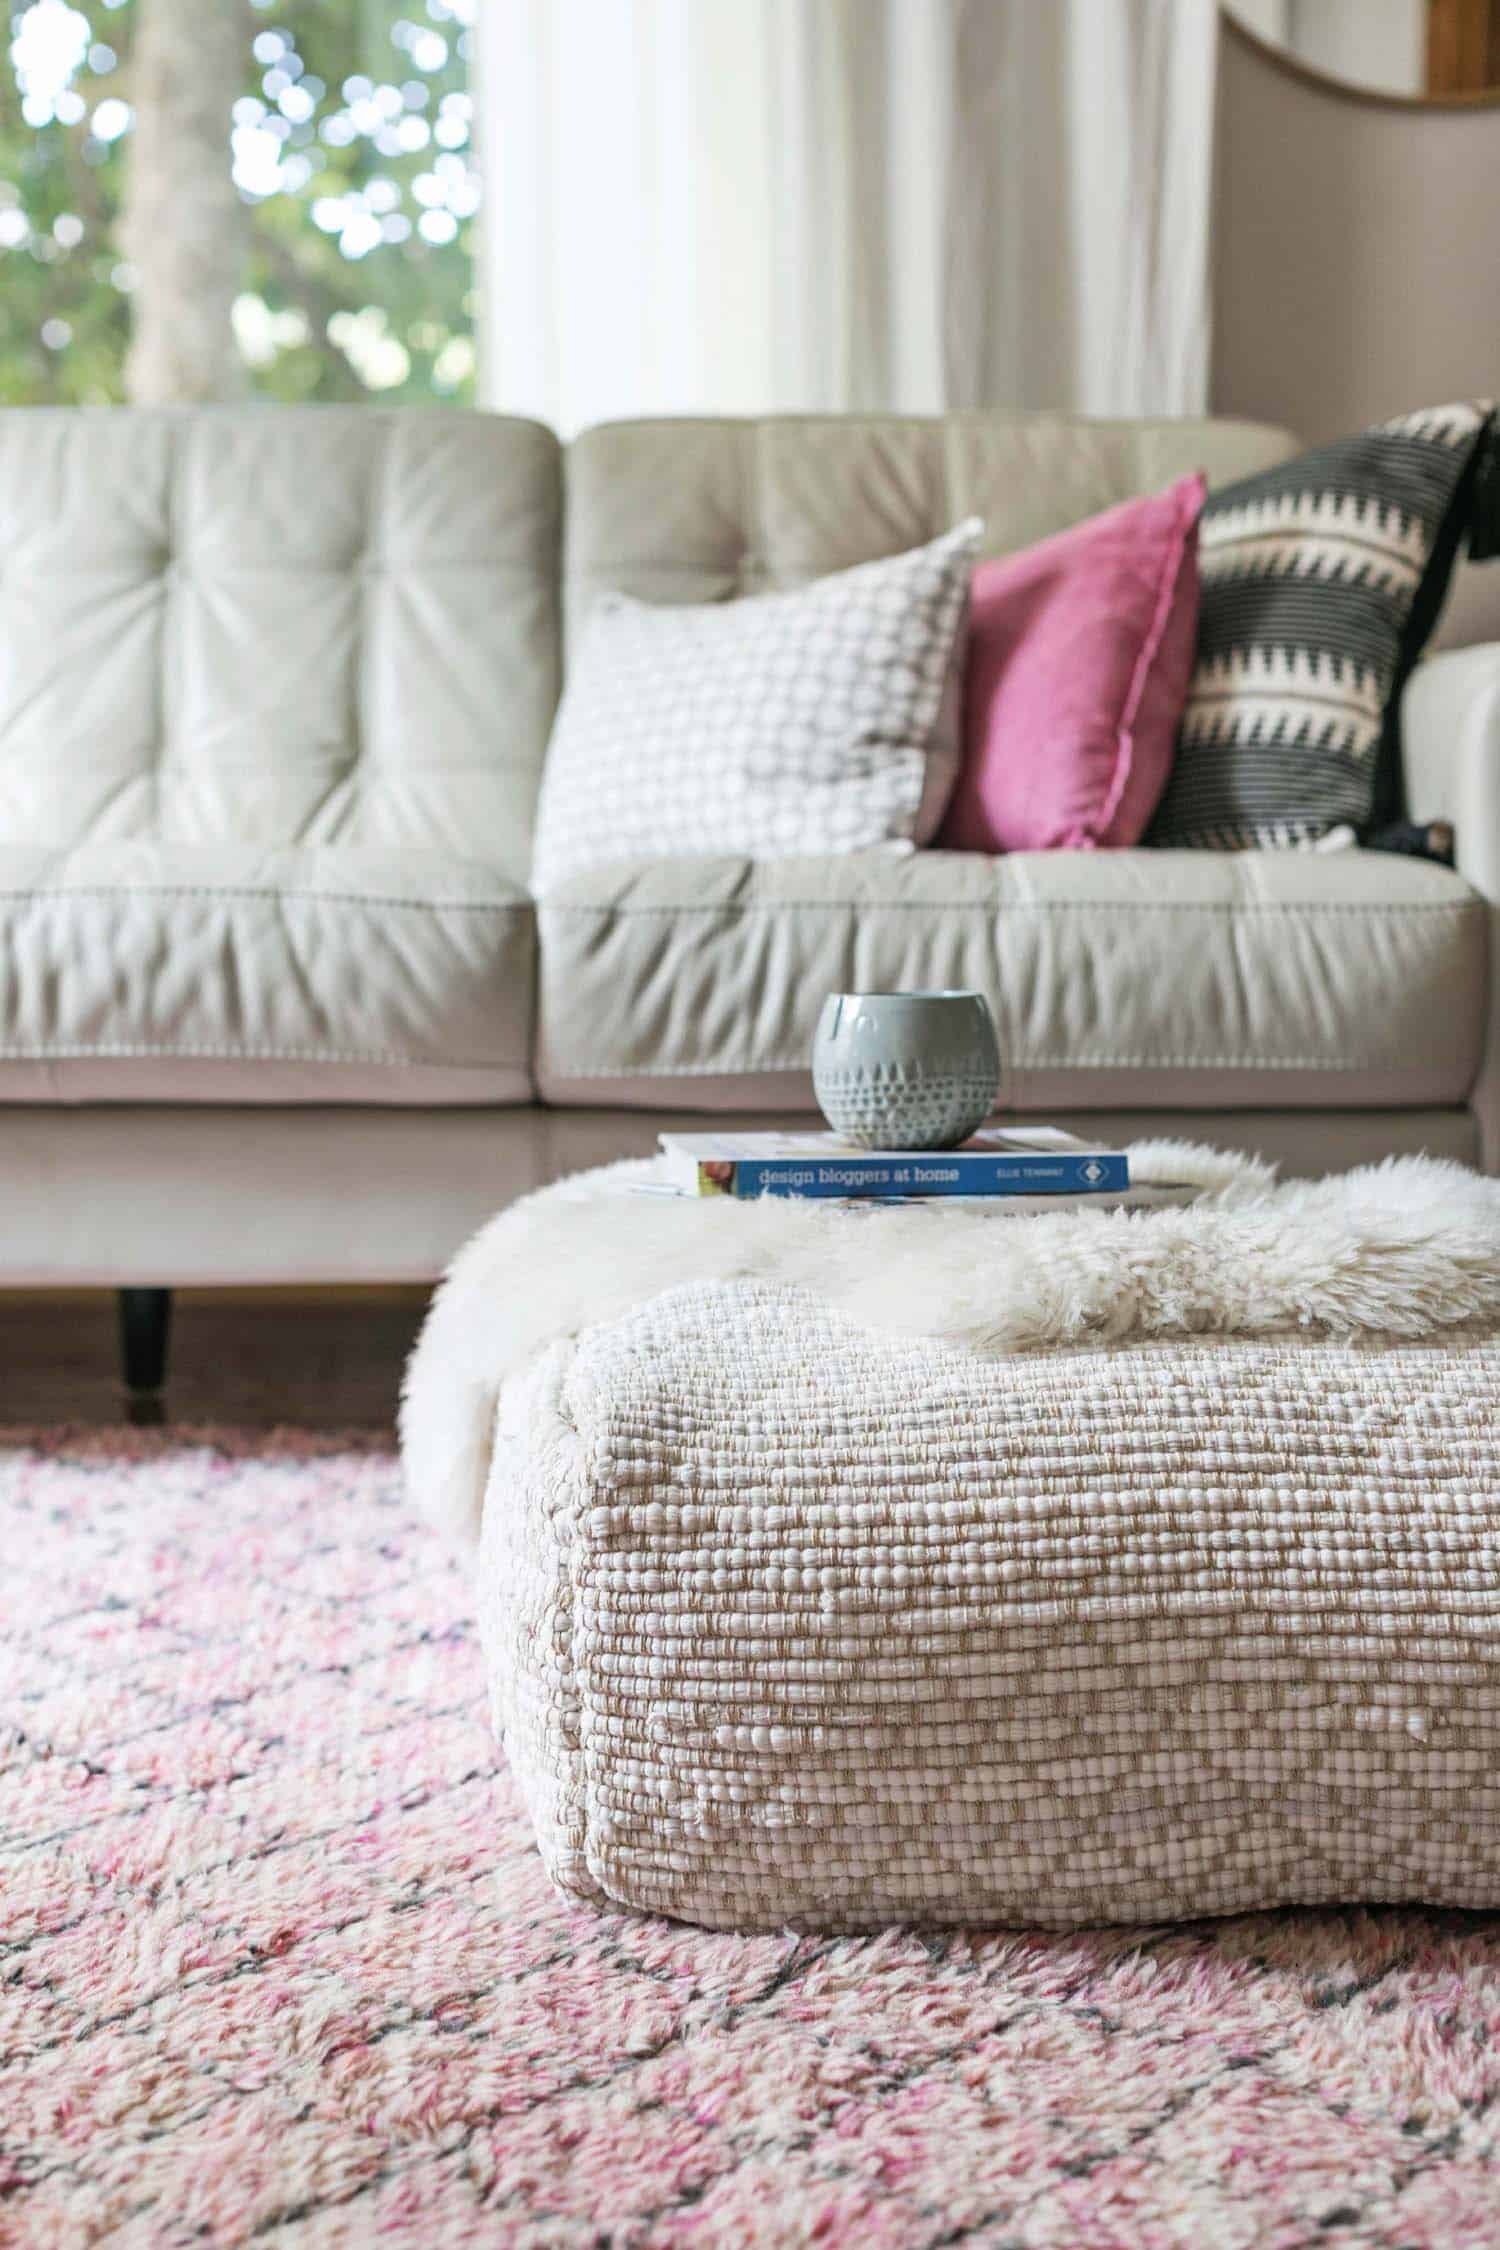
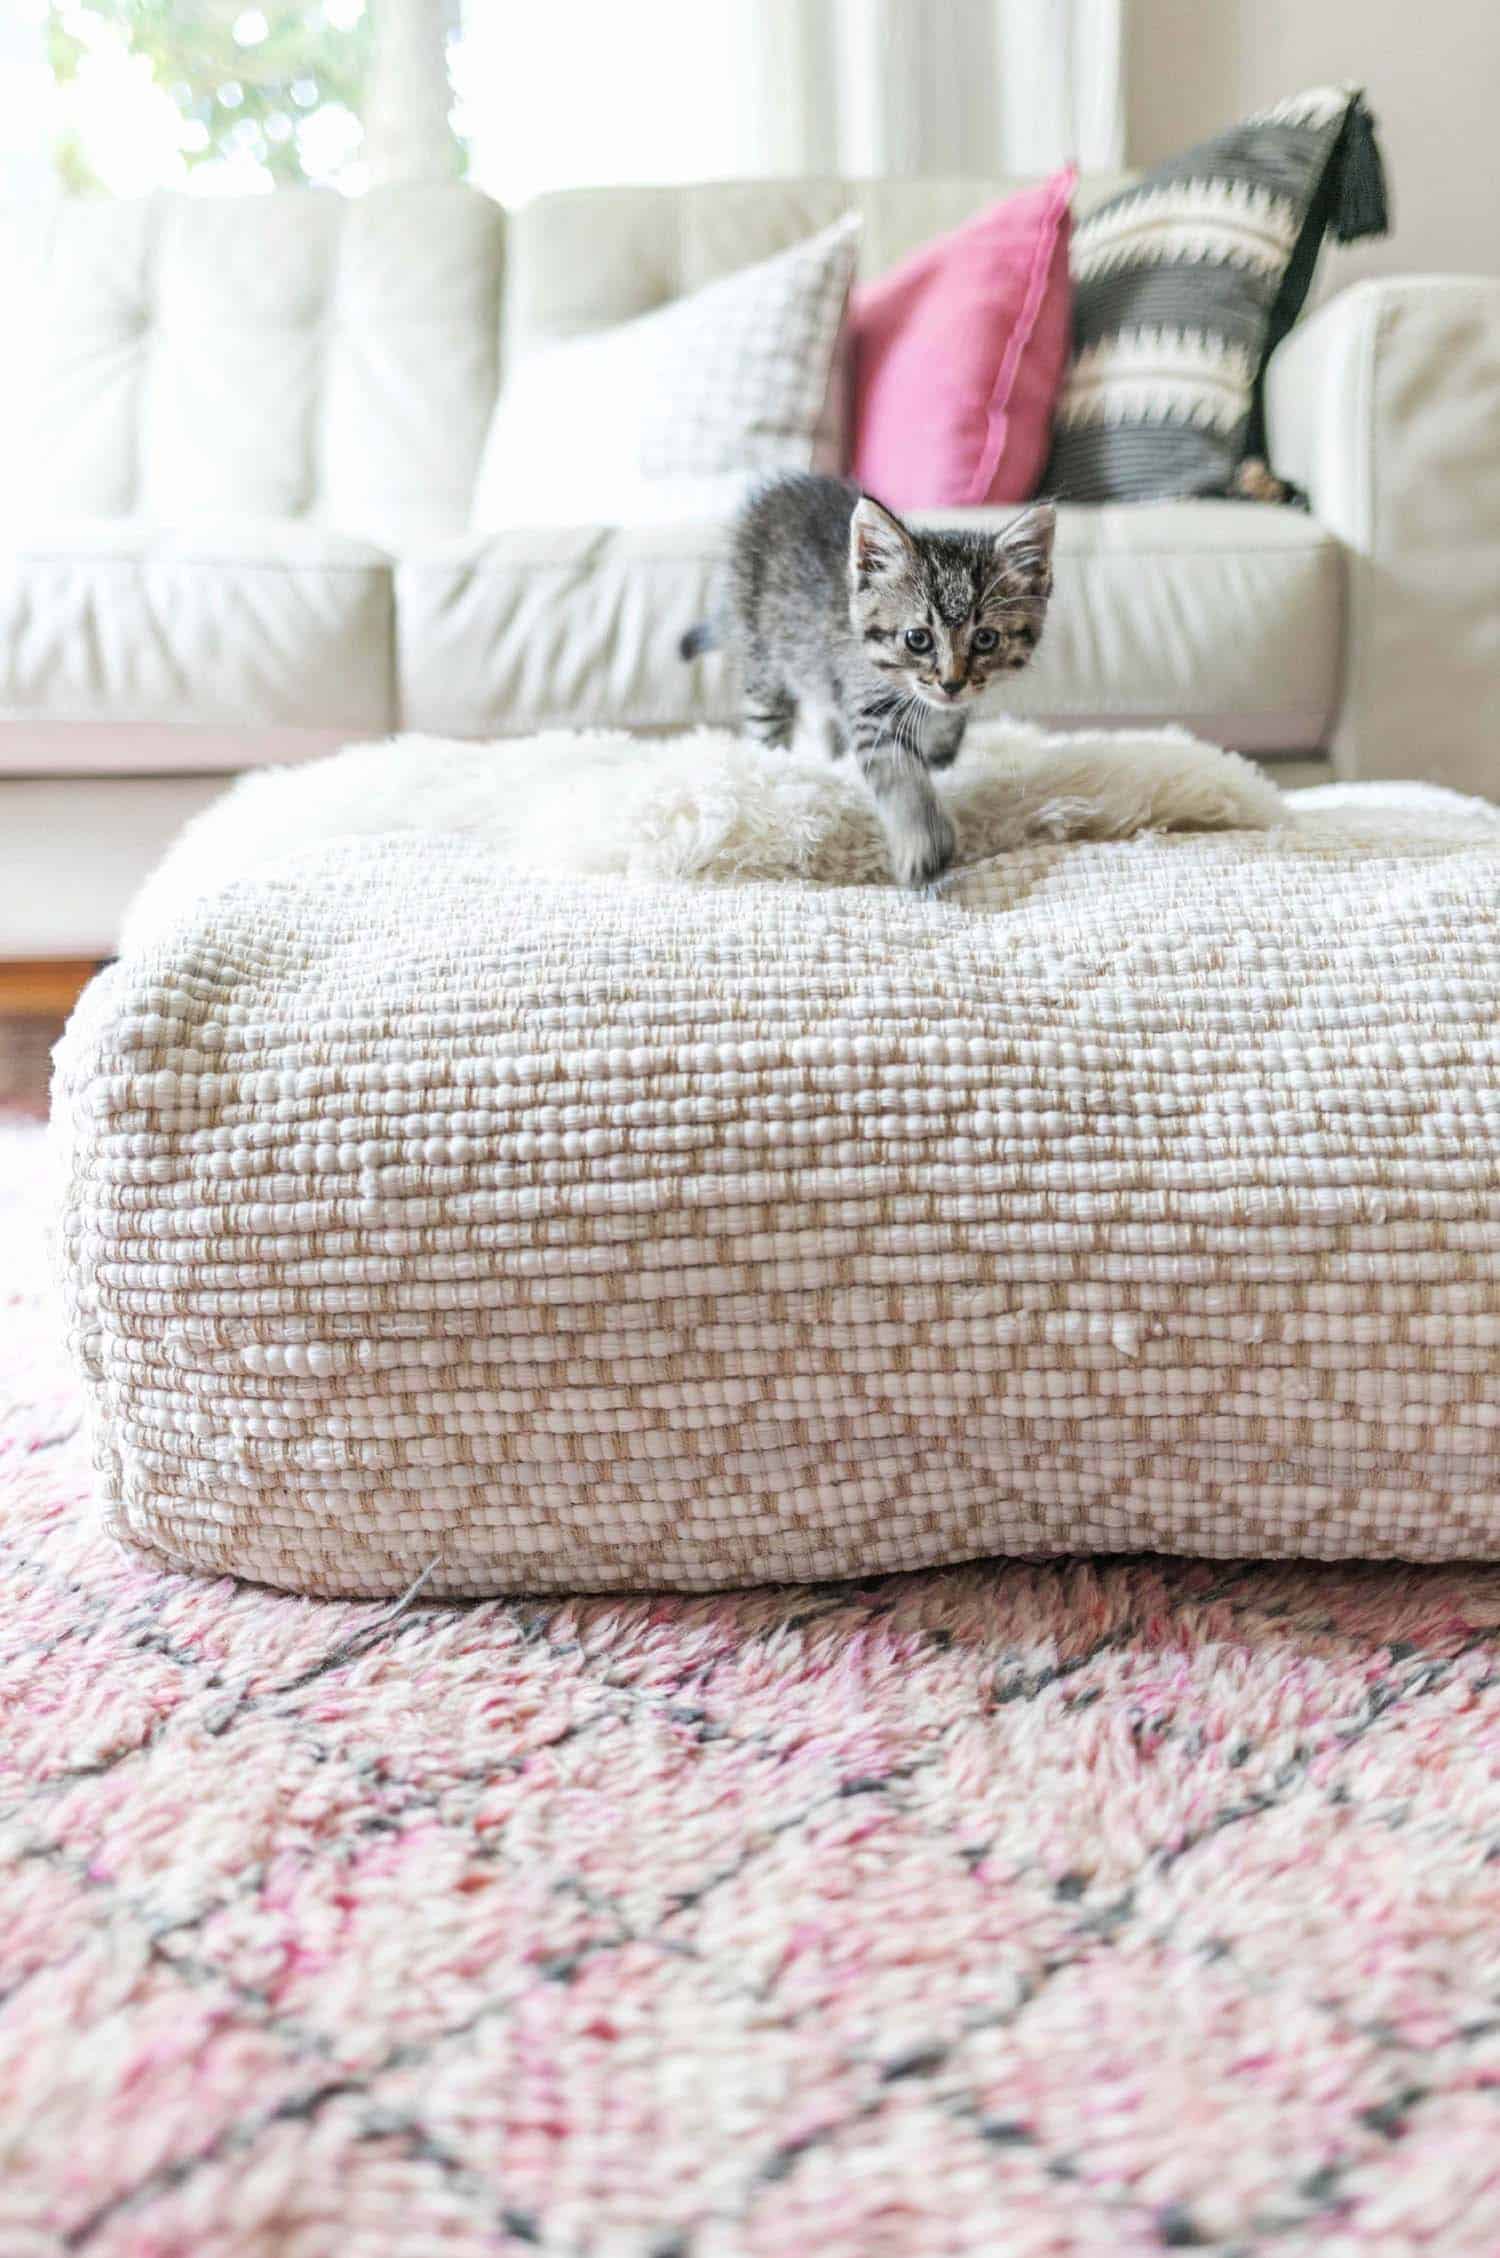
 I’ve had about five different variations of a pouf DIY saved on Pinterest for as long as I can remember! I finally decided to put my efforts toward one that would make a big impact (and not look homemade). Using pre-made, woven, rag rugs meant most of the work was already done! I was originally inspired by these runner rugs, but then found a set of wider rugs that gave me something a bit comfier for lounging on. What was originally going to work as a footrest has now become the favorite place to sprawl across after school and catnap the day away.
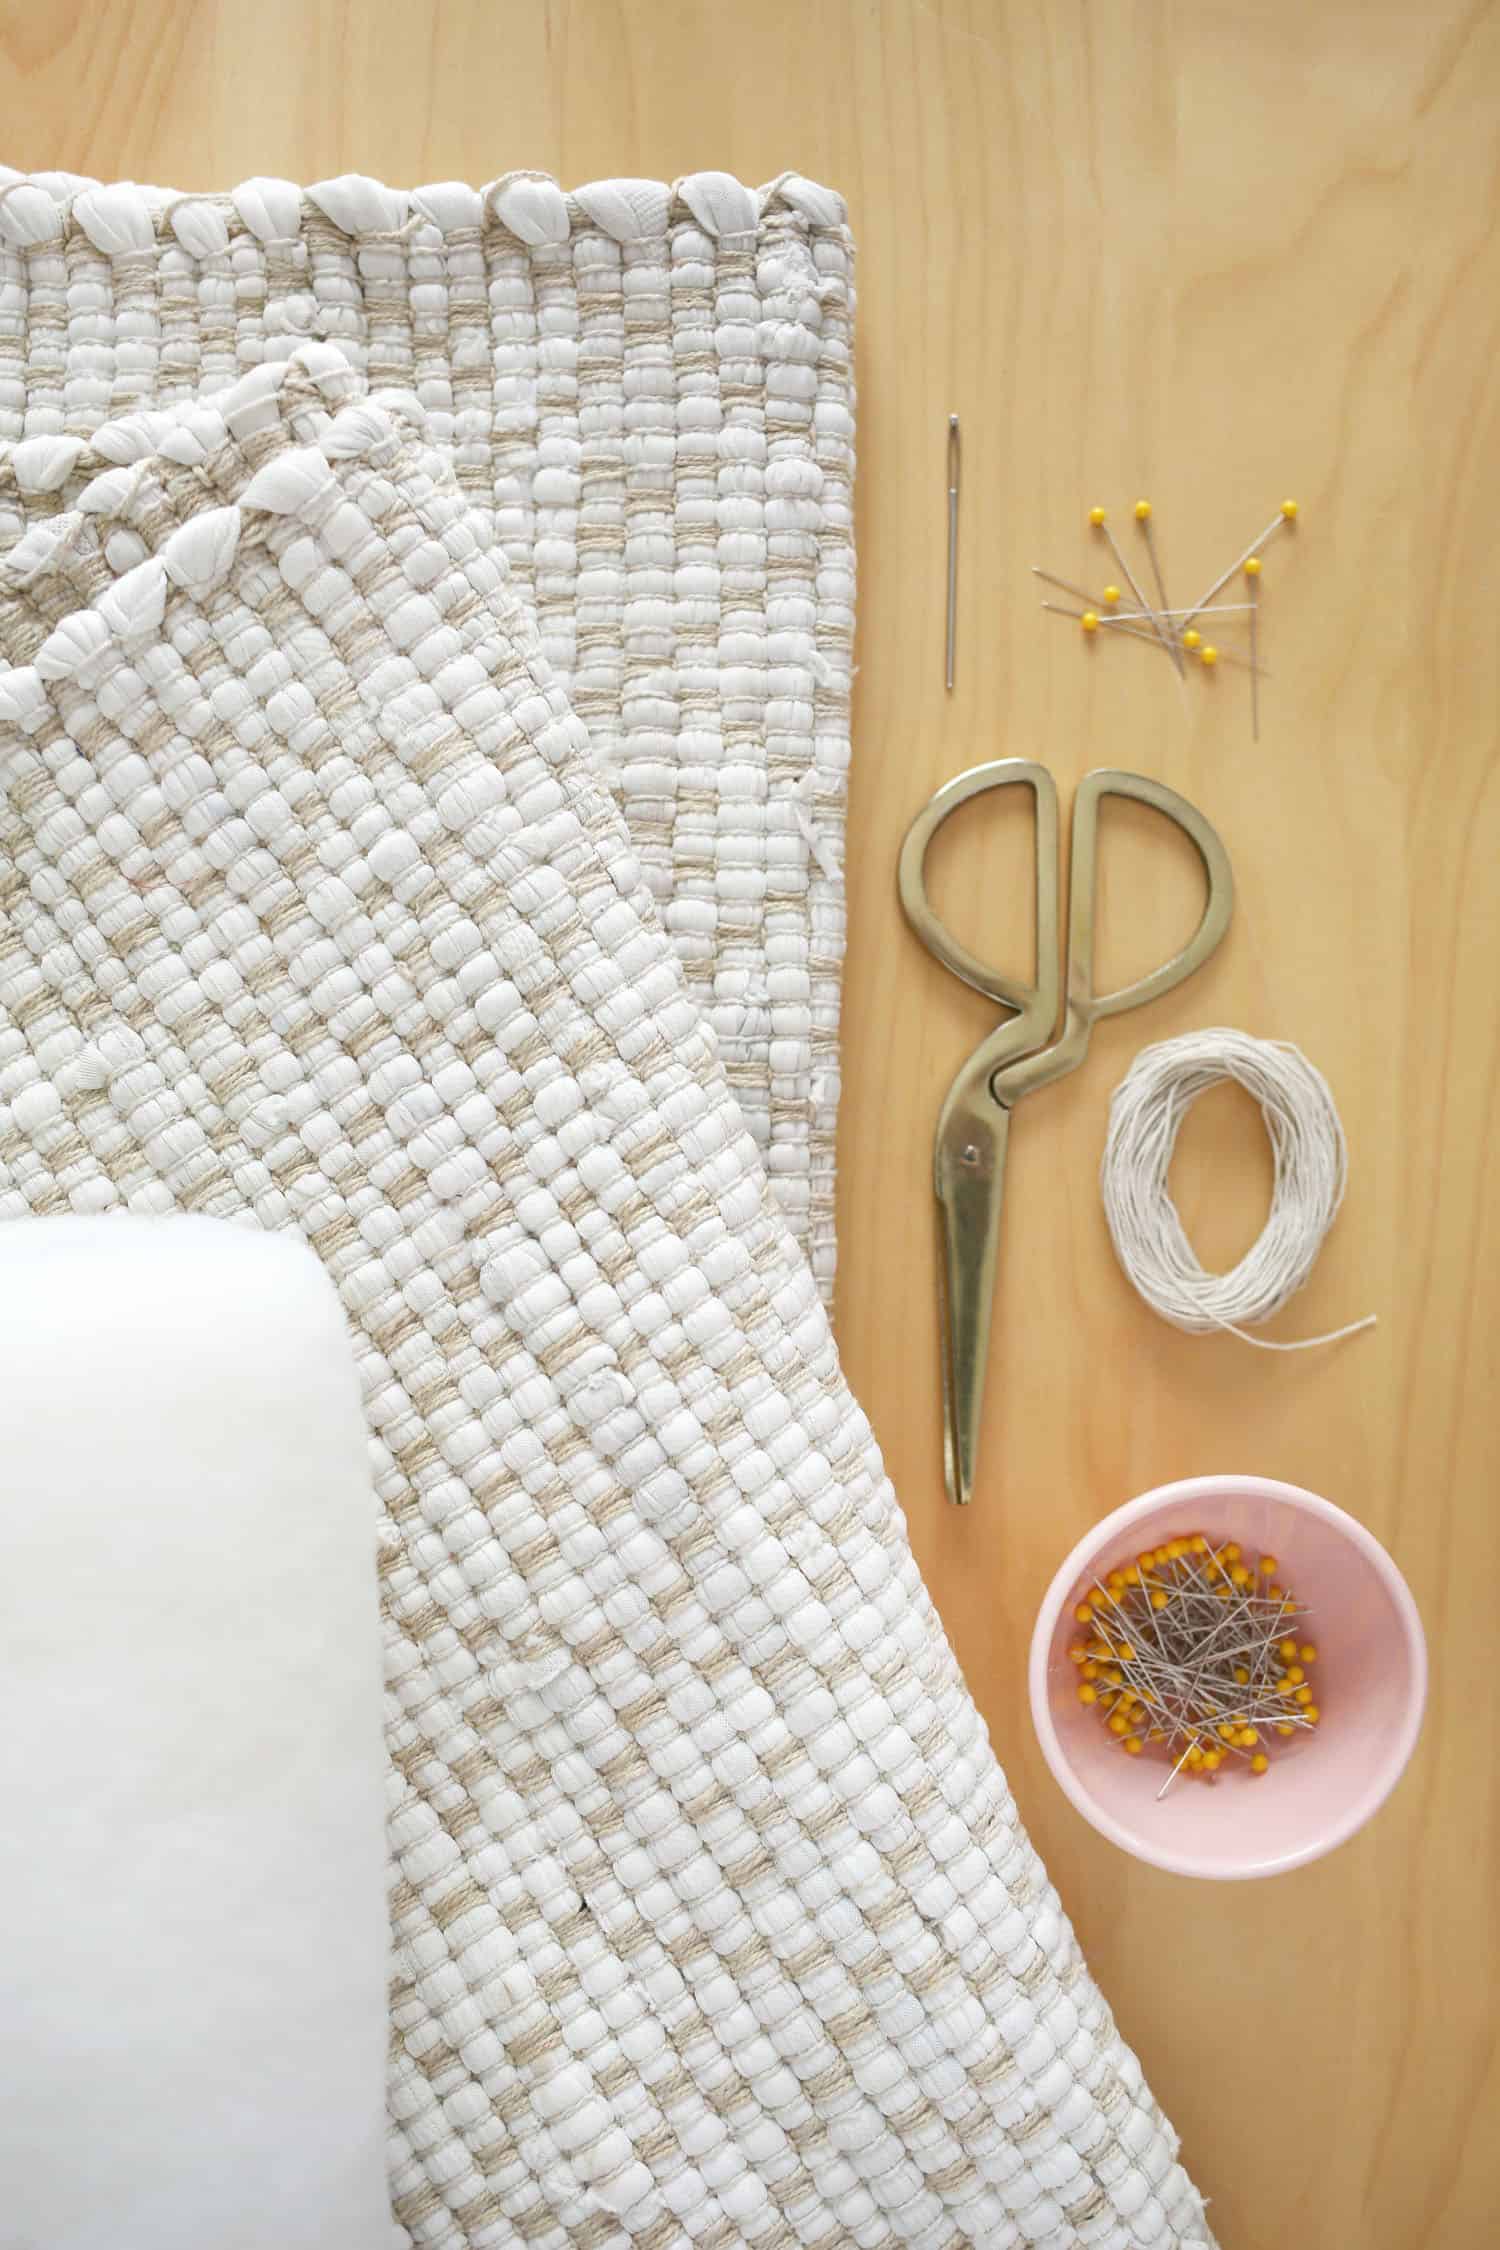
When deciding on a rug style to use, look for something flatwoven. You want something woven tightly enough that it won’t fall apart with use, but that also has a little flexibility to it so you can fold those edges. Since we have a pink rug, I went with a neutral color and subtle design. Something neutral also means this pouf will work well in any other room of my house. Using two of the same rugs will lend a more polished look to your pouf, but don’t shy away from two different rugs in similar color schemes if you’re looking for something a bit louder. 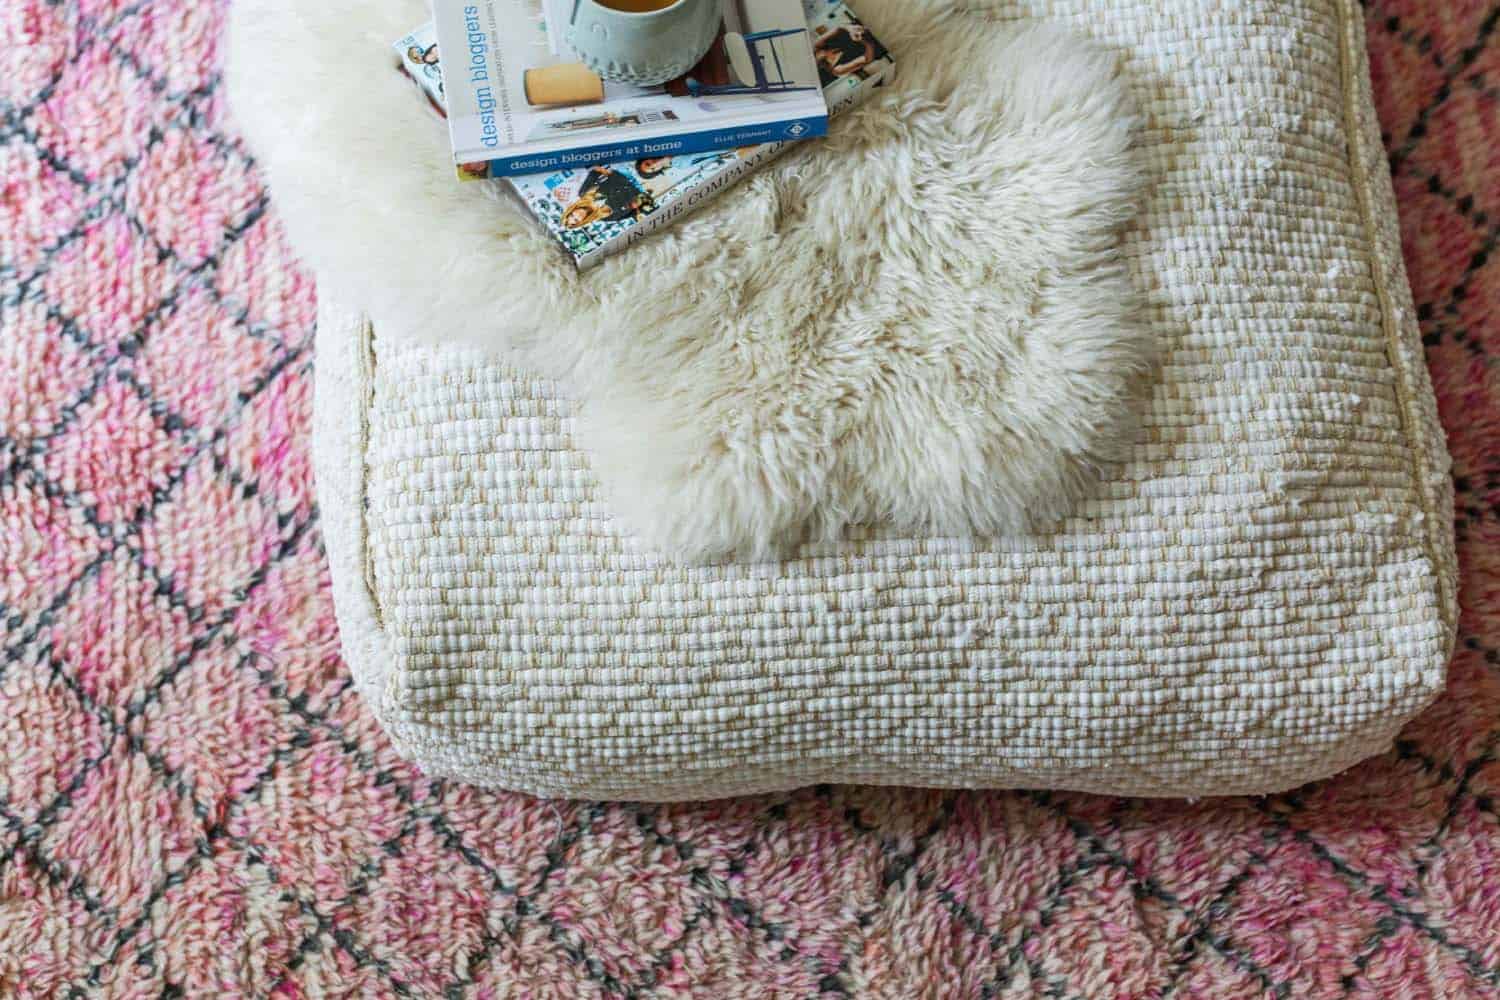
 Supplies:
– two matching rag rugs measuring either 2’3″ x 6′ or 3′ x 6′ (like this one).
– 3″ tapestry needle
– 20 yards or more of cotton cord
– straight pins
– yardstick
– poly-fil stuffing, old towels, etc. as filling
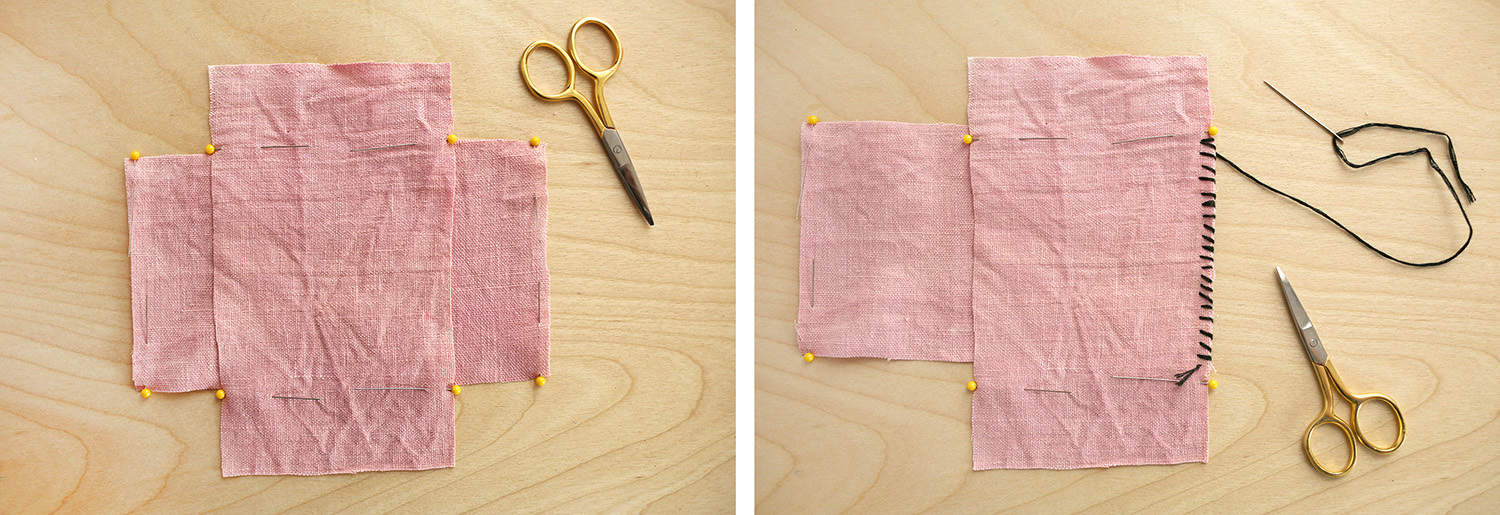 Since this is such a big project, I’m using these sample sizes to show you how to place the rugs before stitching them together. You’ll want to lay the sides of the rugs together that you want to be seen so that they are facing each other. Measure the overlapping parts so that they are all even and then add a straight pin to mark those spots on the top rug where they did overlap. Then add another straight pin to each of the corners of the rug on the bottom. These are reference points.
Slide the top rug to the right end of the bottom rug so that the reference point on the top rug and the bottom rug meet. You’ll start stitching from the bottom reference point up to the top. Directions on how to stitch the actual rag rugs together are detailed below.
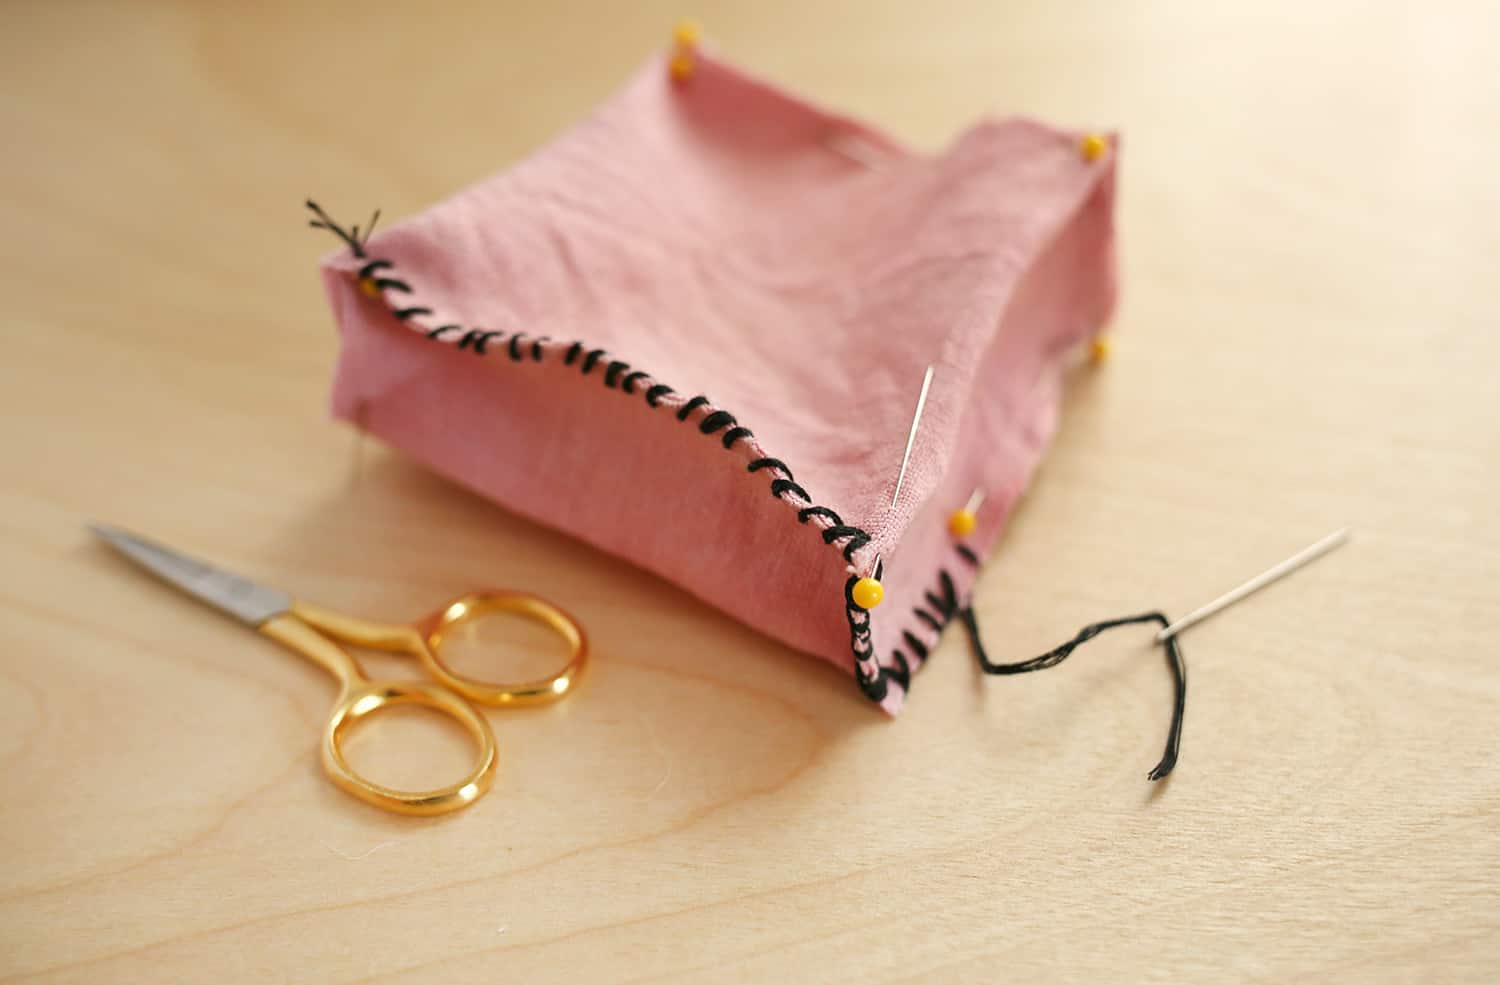 Once you reach the top reference point, you’ll bend your shapes so that it becomes more 3D. Continue stitching the short edge of the top rug to the bottom rug until you get to the corner of the top rug. Then continue creating your 3D shape by matching up the edges as you go. Ensuring you’ve measured them and marked your reference points evenly, you shouldn’t have any uneven edges to stitch together.
 Before you start stitching your rugs together, thread your needle with about 10 feet of cotton cord so that it doubles up. This will ensure your rug is held together well. Start stitching together the two rugs by stitching them together at the first reference point and tying a double knot through both rugs.
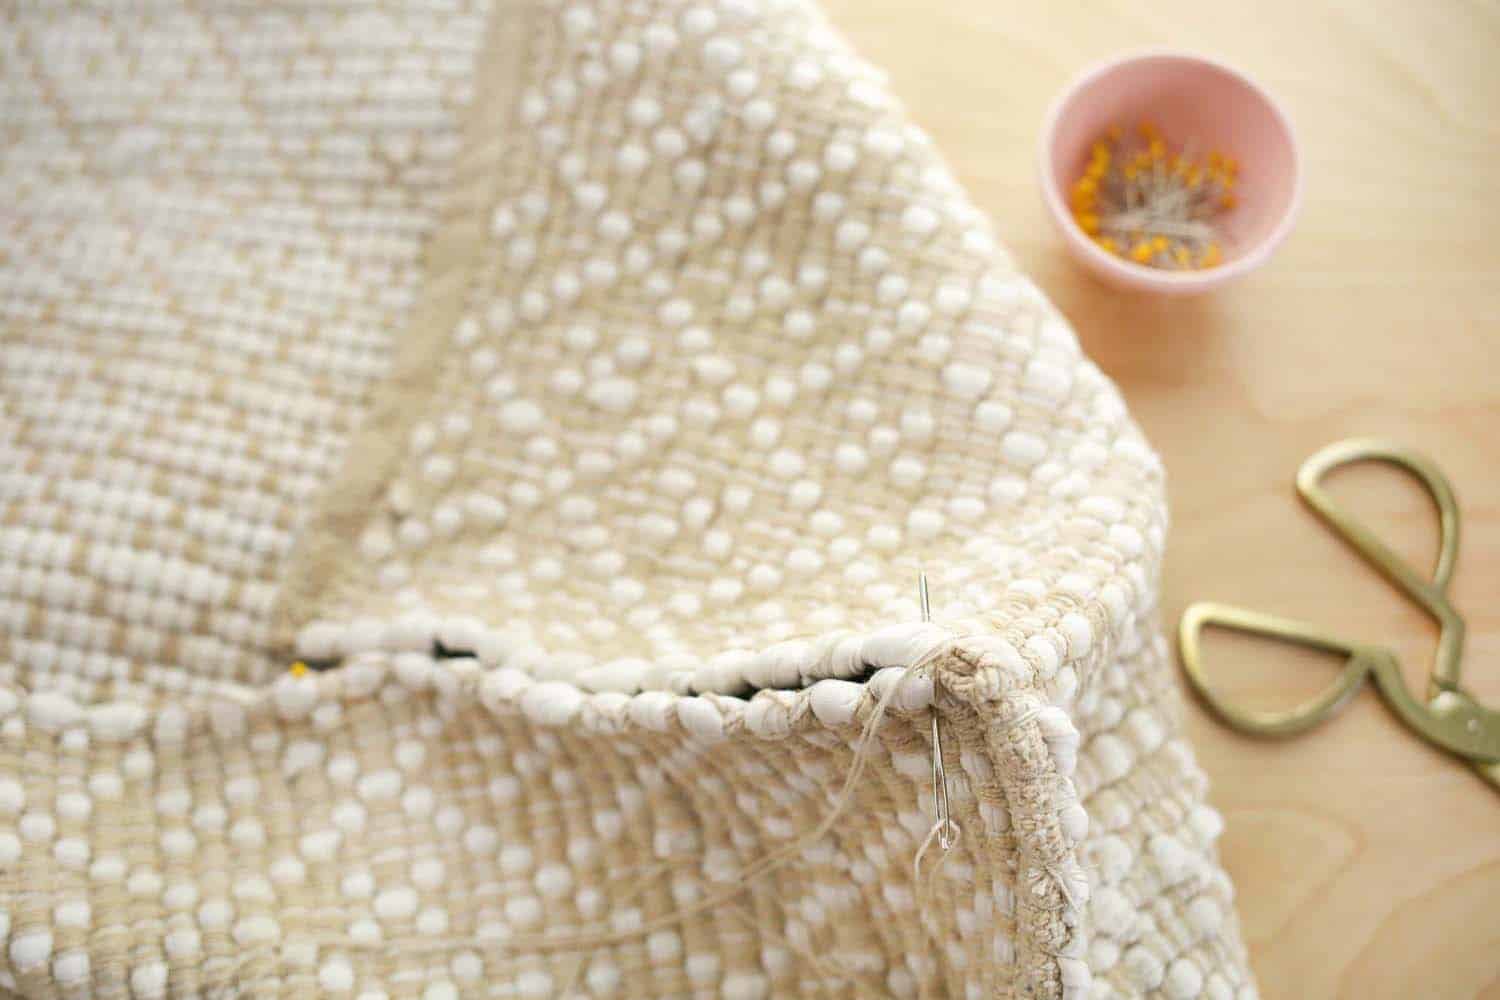
 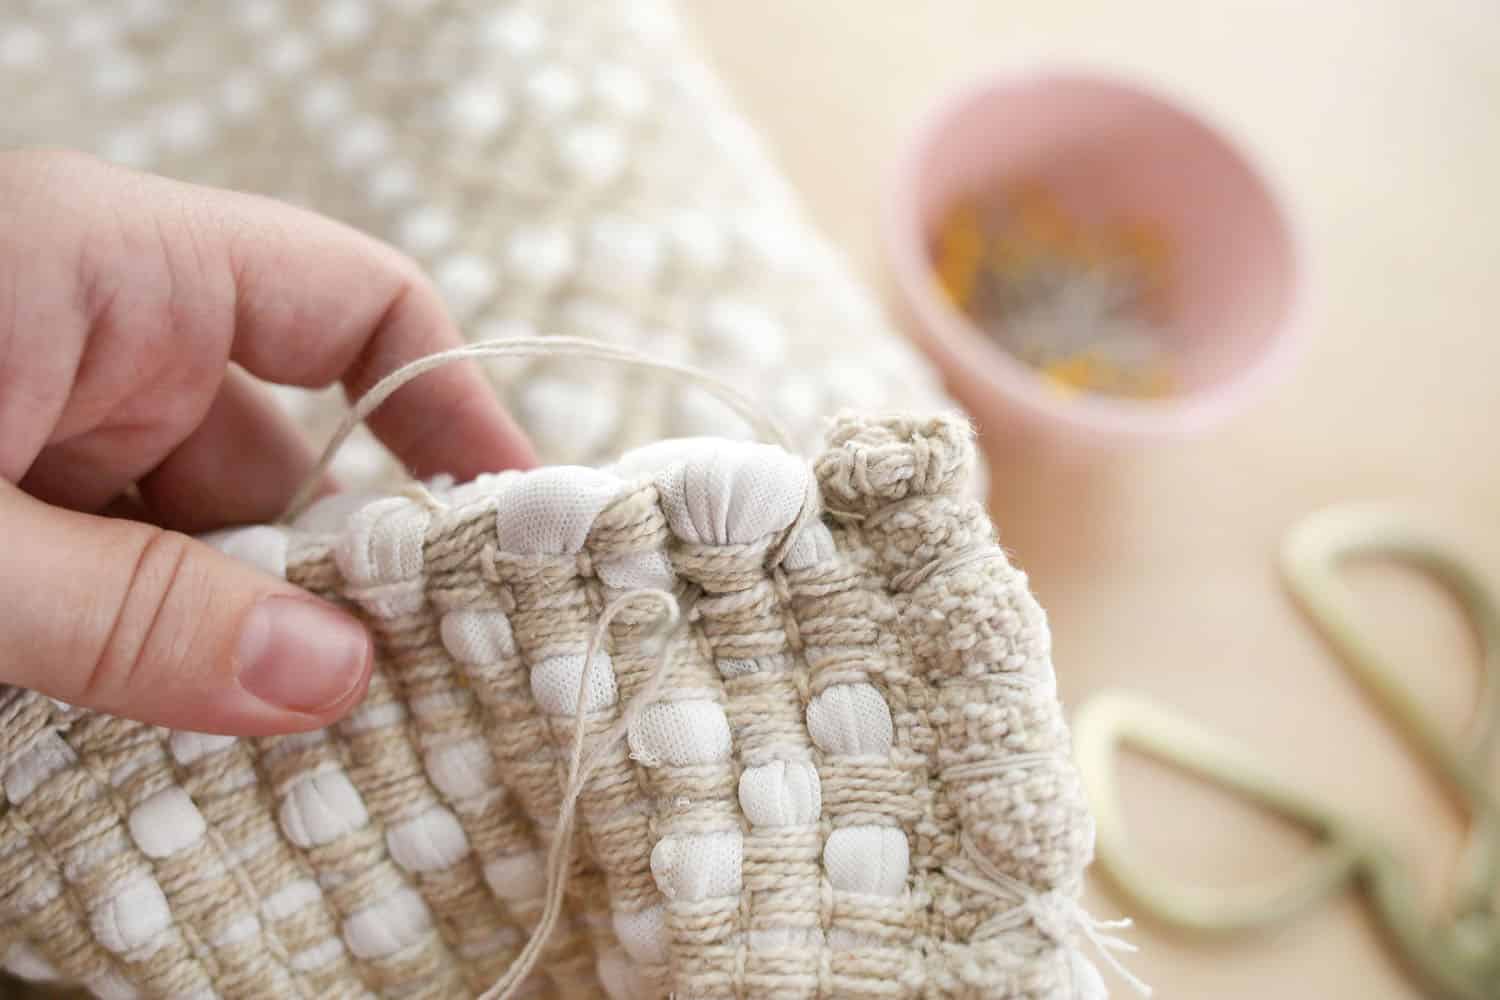 As you stitch through both rugs, make sure you stitch under the thicker weft rows (the white fabric in this shot) while also stitching through the first 2-3 warp rows (the cream colored yarn). Then stitch in between each of the weft rows (shown above) while stitching through the warp rows. Stitching along so close to the edges, and with a tight stitch, will ensure you don’t lose too much surface area in the seam when you turn things right side out.
Continue stitching things together, tying an extra double knot when your yarn is close to running out. Then start another length of 10′ and keep on trucking. Stitch all the way around until you get to the last section that needs stitched together.
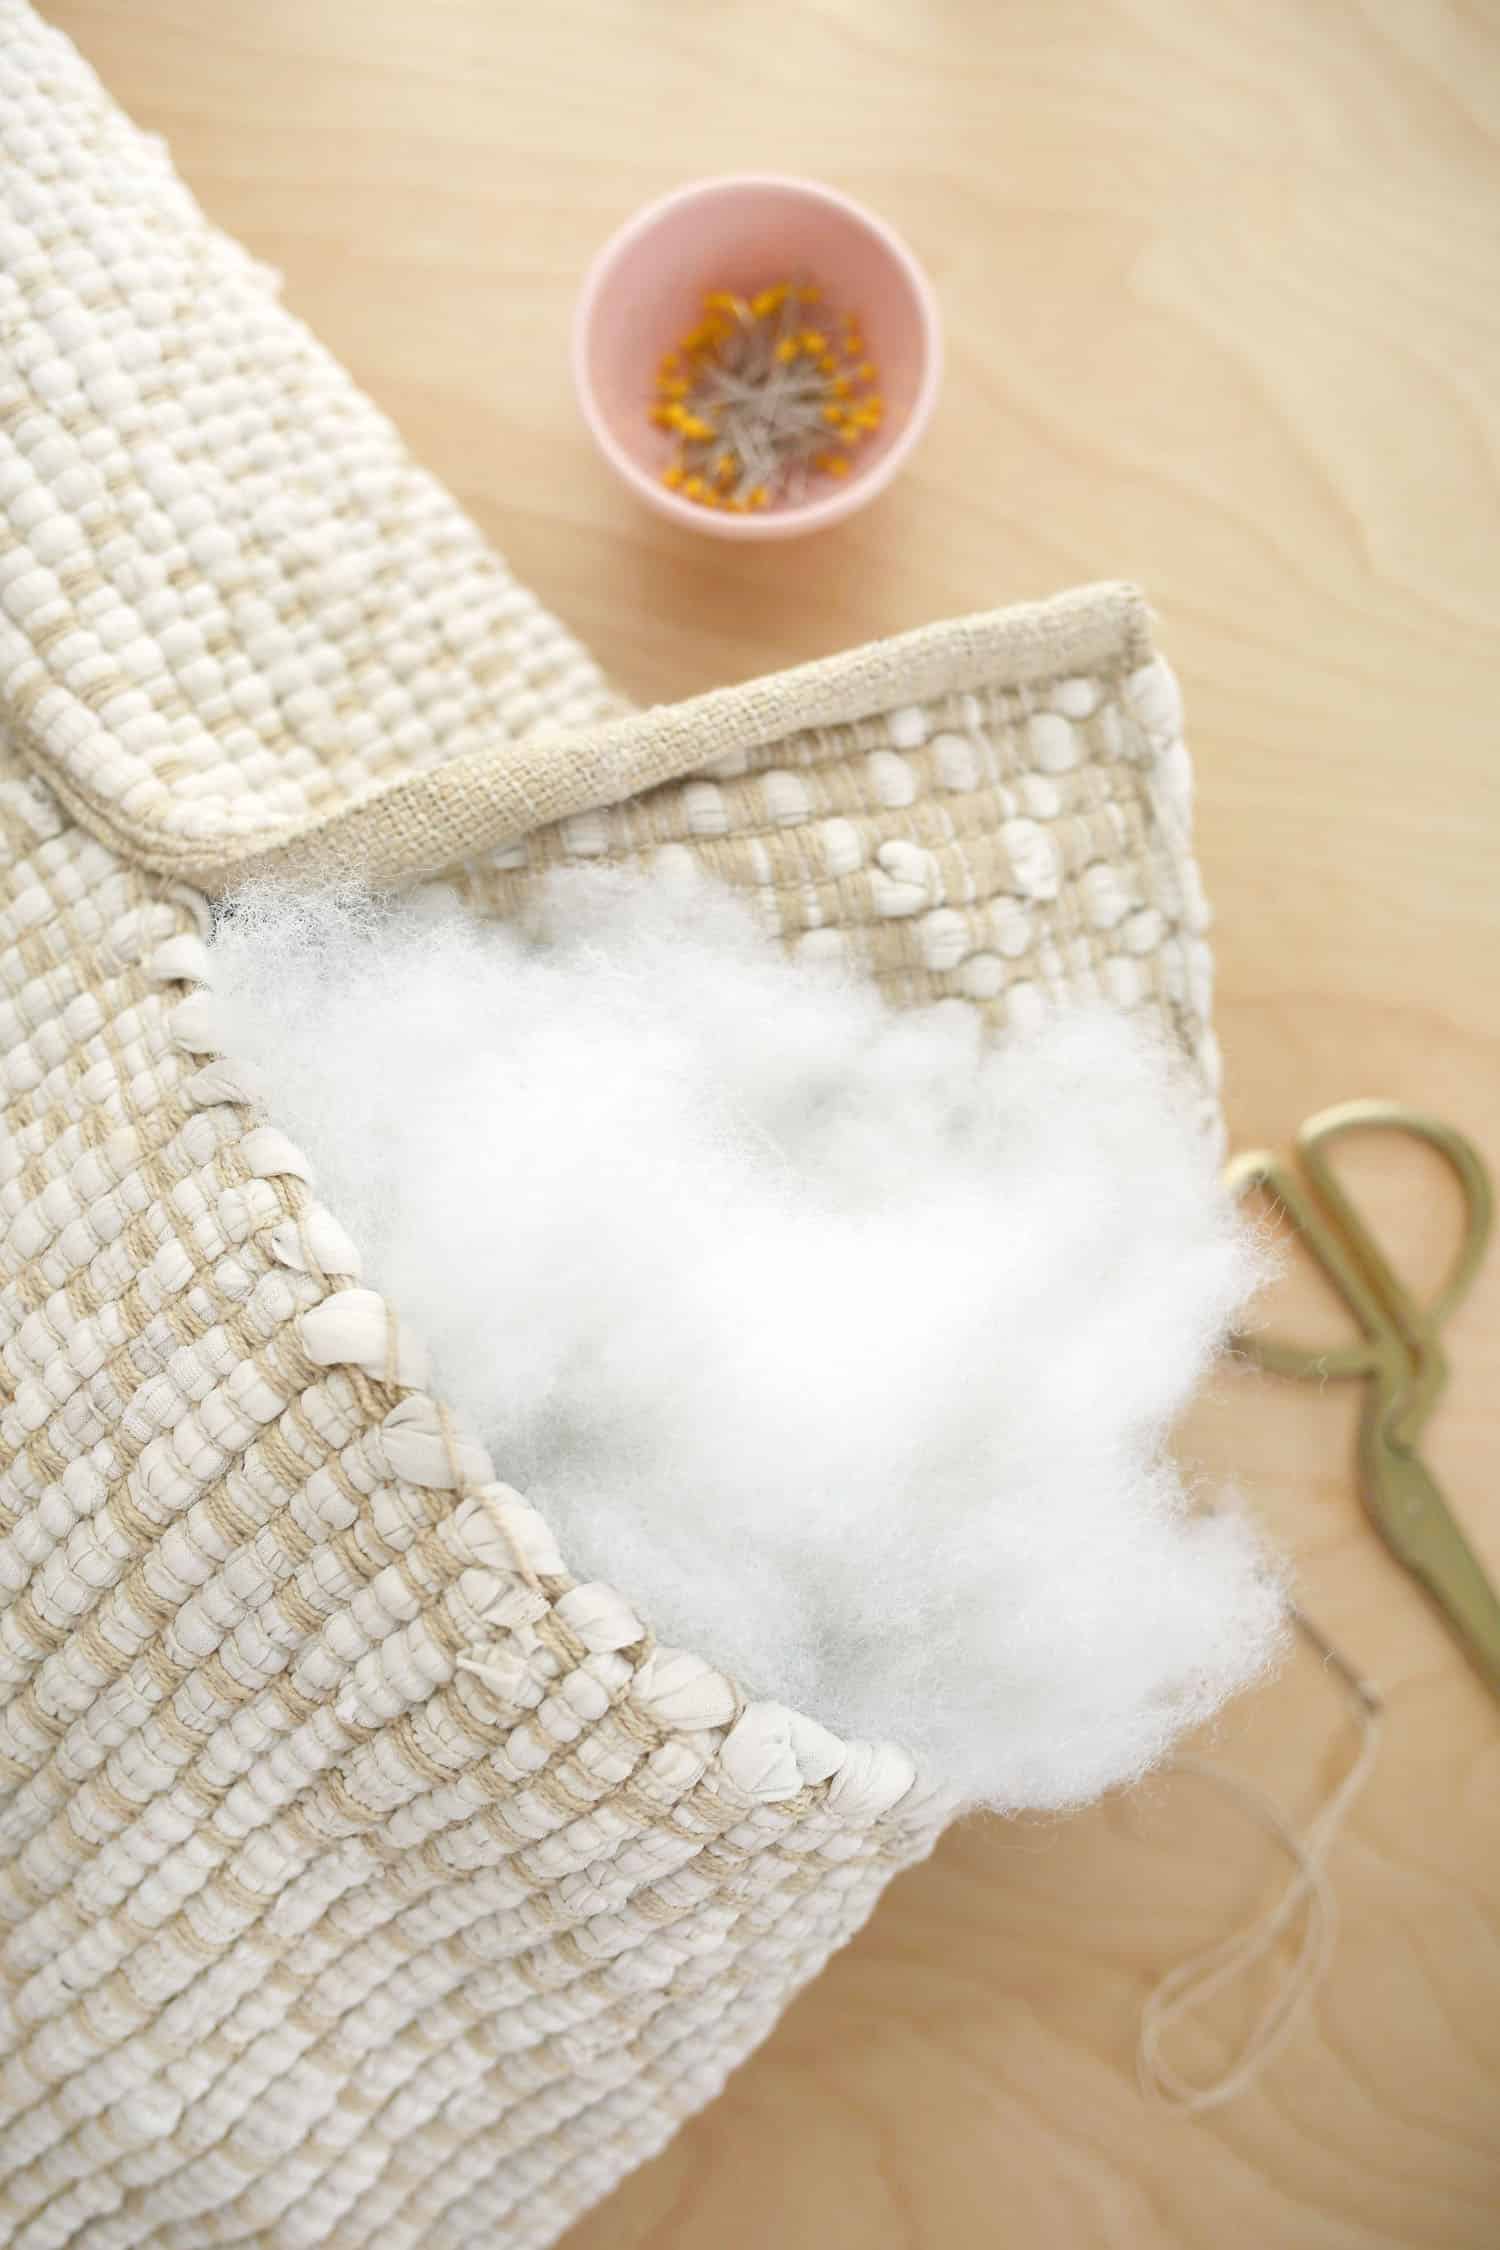 Turn your pouf right side out, making sure to poke out your corners and bend back your seams. Then stuff in as much of that stuffing and those old linens as you can to make sure you have a sturdy, rectangular shape.
Finish stitching up the rest of your pouf by folding over the end seam for continuity’s sake and then stitching through the same places on the warp and weft.
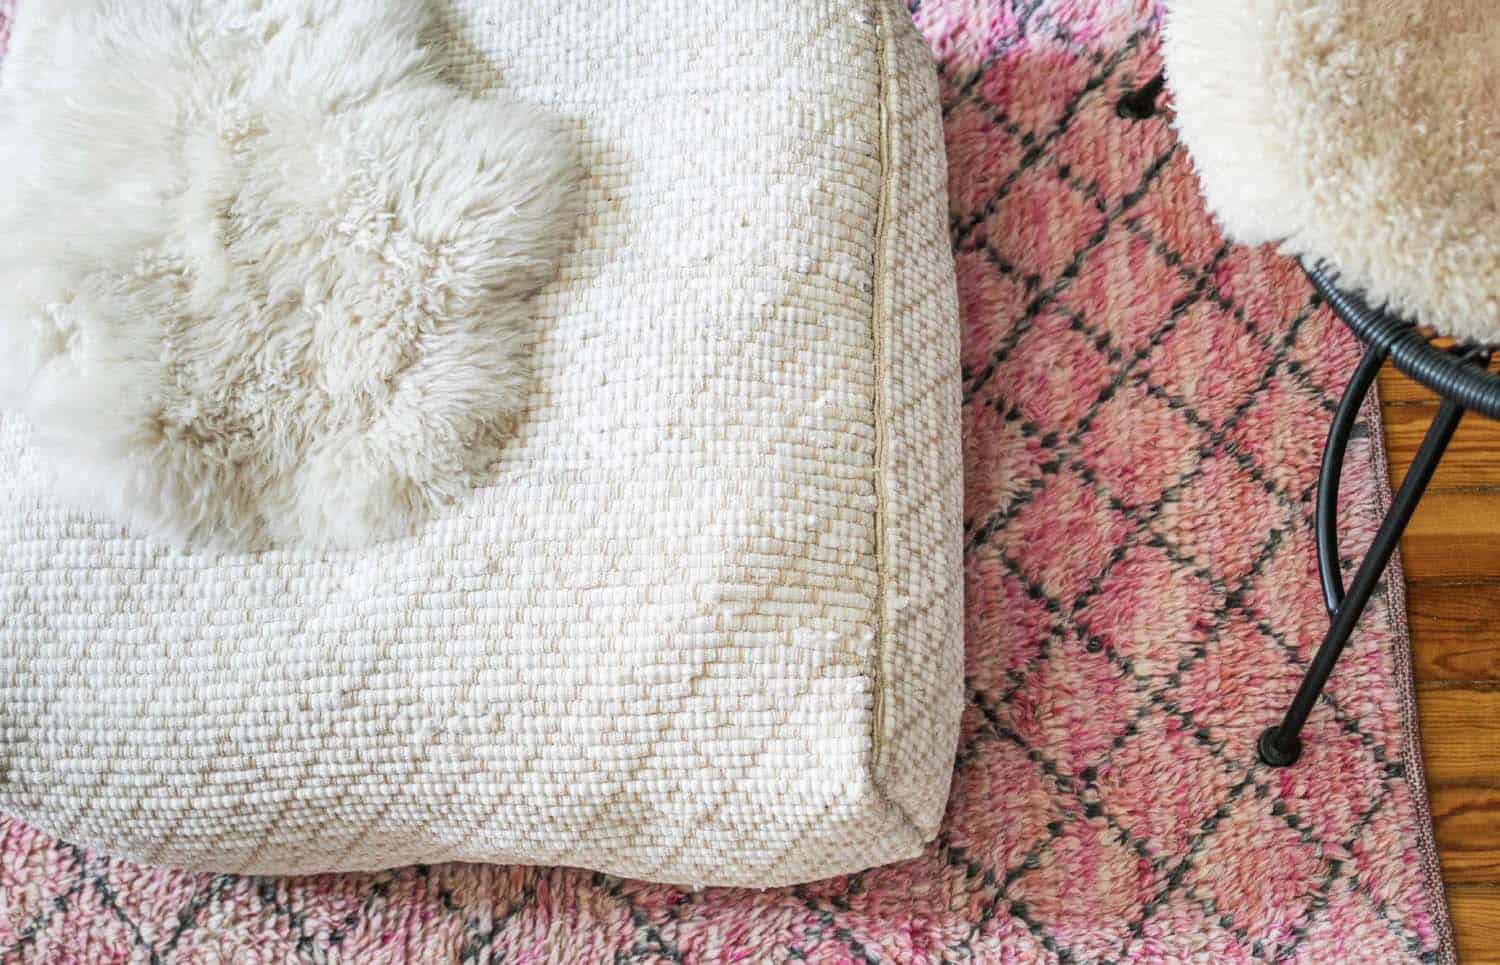 Fluff that pouf into submission, make yourself a cup of tea/coffee/matcha and get cozy.
 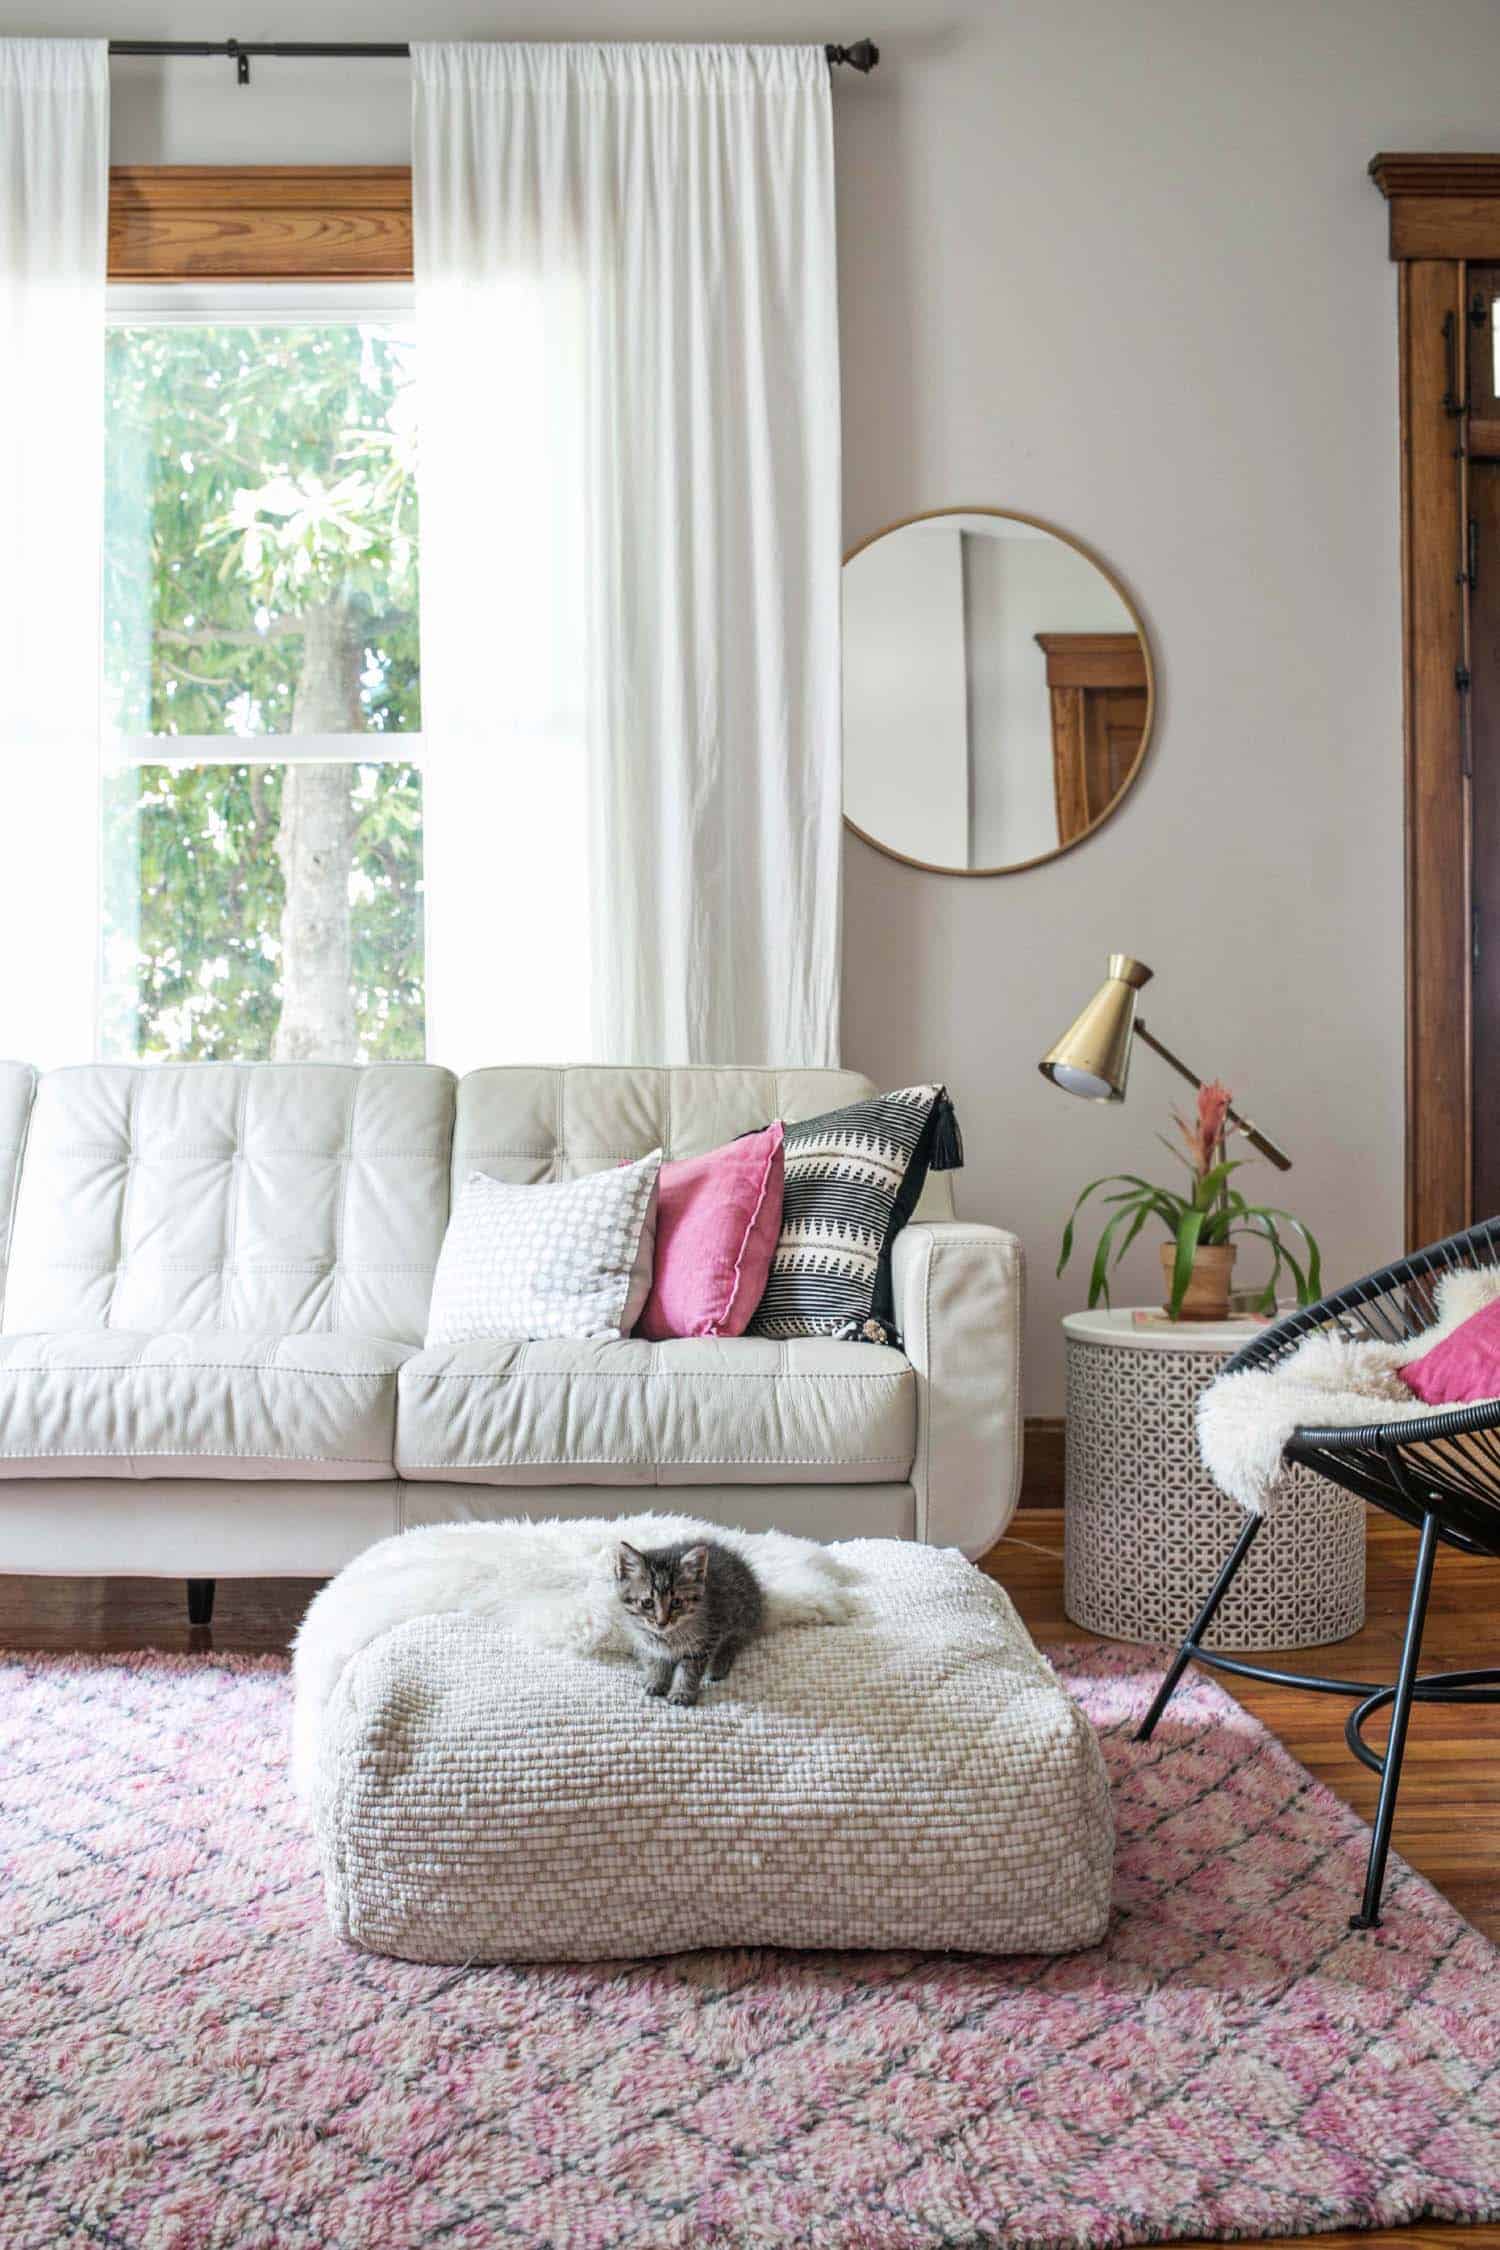 You may have to share it with your fluffy friends.
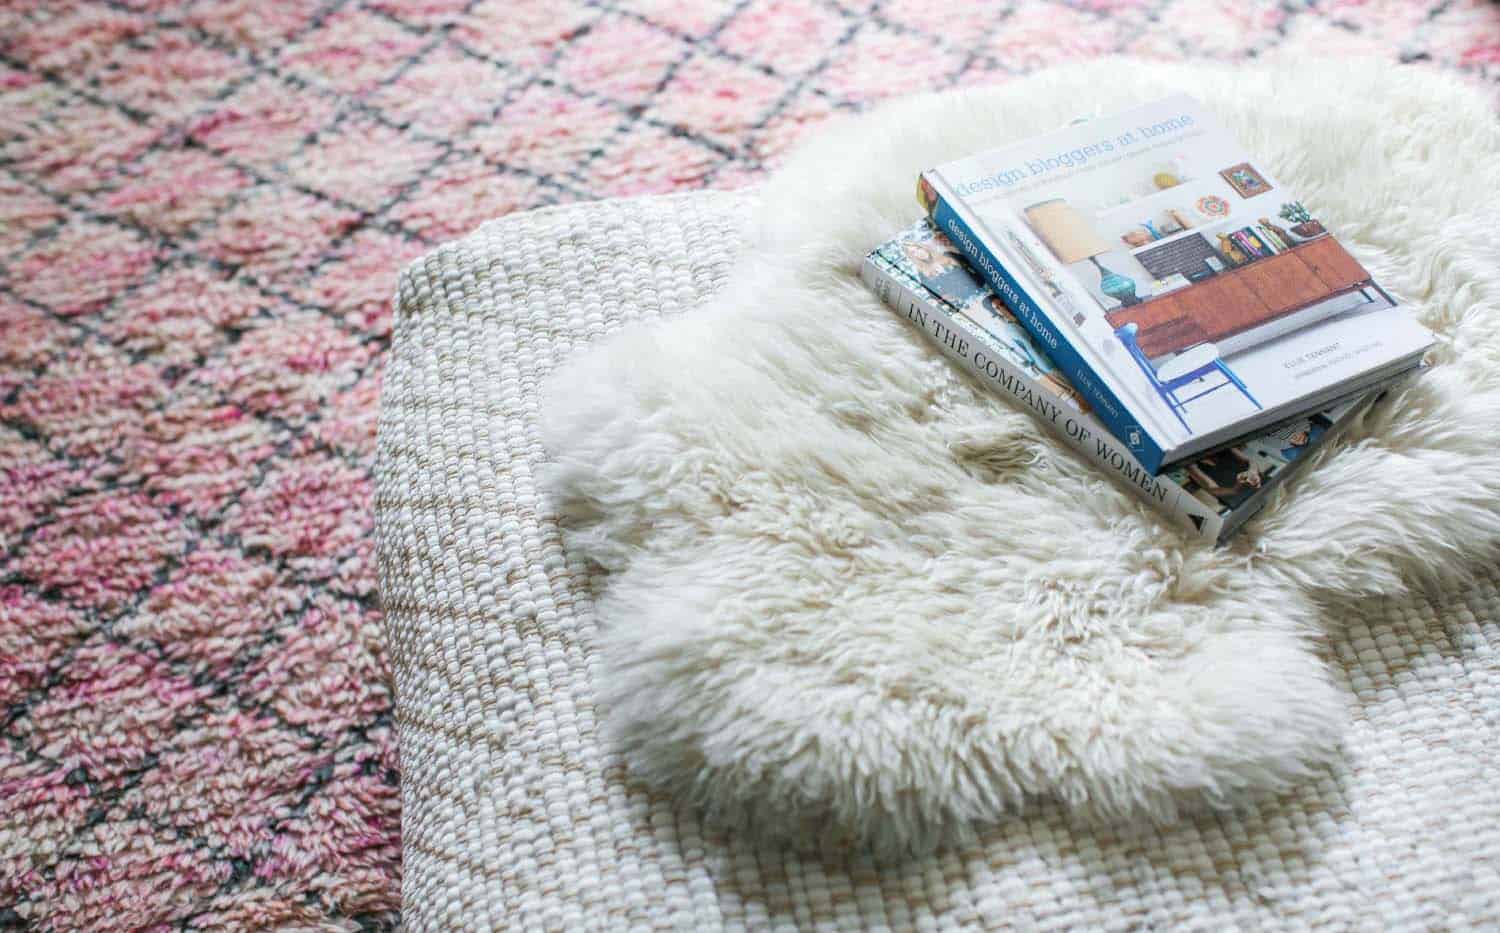 This pouf cost me about $35 to make and is easily the most popular spot in the house lately! Add a few coffee table books (In the Company of Women and Design Bloggers at Home are great) and a sheepskin throw and you’re all set for company. Would you go for a neutral pattern or add plenty of color and make it a bold statement? – Rachel
25 Comments
I never knew you could make poofy rugs like this. Super cute, and so budget-friendly too!
Charmaine Ng | Architecture & Lifestyle Blog
http://charmainenyw.com
Love this sooo much!!! I’ve been eying poofs like this and they’re so expensive. Great DIY❤️❤️
I love the poof! And the kitten! Wondering if you could give me some details about the fabulous couch. I’d love to buy one.
Thank you
Veronika,
So glad you like it! We purchased this couch on Craigslist so I’m not sure where it’s originally from! So sorry! -Rachel
I love this! I’ve been looking to replace the poof I have now (that I got at a yard sale for $5, which makes spending the money that most poofs cost a little painful) and this will do the trick! Thank you!
That looks great. I’ve been wanting to make a couple of poofs for our sofa. With a kid and cats though I wonder could you use a cheap linen to make the poof and then use a zipper on the rugs to make a sort of cover for the poof? This way I could easily wash away food and fur that will most likely end up on it.
What an amazing idea, and it looks so great!
https://www.makeandmess.com/
LOVE!
This pouf is amazing! You did an awesome job!
Paige
http://thehappyflammily.com
This DIY is exactly what I’ve been looking for. I’ve been wanting to buy a pouf, but they are so expensive sometimes. I also love that this is hand stitched since I don’t own a sewing machine.
-Helen
http:/:www.sweethelrngrace.com
Love that idea and the photos are perfect because i want to add a pouf in my living room for my cats to nap on! Definitely saving this DIY, thanks Rachel!
I love this! Would you mind sharing where you purchased your rugs from that you used to make the pouf? And if those aren’t available could you share what size rugs they were? That pouf size is amazing!
Marisa,
I think they were from TJ Maxx but you could probably find something similar at Tuesday Morning, Marshall’s, Ross, Home Goods, or even Pier One. I think they were 2.5′ x 4′.
This pouf DIY is amazing! Thank you for sharing!! The kitten is precious, honestly, the best part for me. 🙂
Such a great idea…one of those “Why didn’t I think of this…” moments. Glad you did!
I love this! I have a few rug rags and was looking for a great diy to use them for. How much polyfil did you need for this one?
Love these DIY posts!
Laura x
http://www.bigglassesandcoffeecups.blogspot.com
Love this. And that kitten is too adorable!!
Love the couch…. do you mind sharing who makes.
I’m eager to try this project, Rachel — yours turned out so cool — but would you mind telling a newbie what thickness/weight/whatever of cotton cord you used to sew the rugs together? I’ve found a lot of options and want to make sure I buy the right kind. Thank you in advance for your help!
I just wanted to say this is a GREAT diy.. I have some many fabric remnants that would work well for a variation of this.
I also just noticed that you’ve updated to list the author of each post, and this is SO appreciated! I just like knowing who is telling their story!
Thank you for a great explanation. I was looking online for a similar idea and really appreciate it
Custom Embroidery Digitizing
This is amazing! Very creative! I’ve just started getting into some very basic hand sewn projects but will keep this in mind when I’m ready for something more challenging 🙂 Thanks for sharing
I’ve been looking for something like this! I made it the only change that I made to the pattern was I made mine twice the size to replace our ottoman.
It’s so beautiful. Thank you so much for sharing.
Love this, great idea. Am in love with your scissors – where are these from or are they vintage?