 Being over 8 months pregnant means that I have a lot of things on my to-do list lately. Some are strictly baby-related, but a lot of them are also home-improvement related as you realize, “If I don’t do that one thing now, it’s going to be a while before I get to it,” kind of a thing. One project I’ve been trying to tie up some loose ends on is my husband, Todd’s, home studio. He’s a musician with the band MUTEMATH, and it’s important for him to have his own space to write, practice, and create. So we’ve been turning our one car garage into his own studio over the last few years. It’s kind of been in that “2/3 of the way done” phase for a while now, so I wanted to help him finish up some final touches before Baby shows up, and making a hanging planter wall for him has been one of my ideas from the start. I’ve actually used plastic fishbowls before for a midcentury type hanging planter, but I needed something that would lay flatter on the wall since it’s behind a door and give a bit of a different look. So I used wall-mounted fishbowls instead. Since the ceilings are so tall in the garage (waaay different feel from the 8′ ceilings in the rest of the house!), I wanted to hang them all the way up the wall to highlight the height, and so I chose faux succulents to make these maintenance-free at such a high altitude.
 Supplies:
–wall mounted plastic fish bowls
–white marble rock chips
–faux succulents of your choice
-brass chain (something like this would work)
-quick link to connect your chain to your fishbowl (something like this one)*
–13″ wooden circles
-white paint
-brass cup hooks
-small clamps
–glue
–drill and drill bits
*I couldn’t find a link to the exact ones I have, but I got them at Lowe’s. I would take your terrarium into a hardware store and have them help you find a size that would work to hang yours since it’s a very specific hole size. If it doesn’t come in brass, just spray paint it gold first!
 First I began by painting all my wooden circles white. I actually painted them gold first because I thought that would be pretty, and while it was, I realized the plants kind of got lost in the gold rather than stand out, so I switched to white instead.
 Once the circles were dry, I used some quick-dry multi-surface glue around the ridge of the plastic fishbowls and centered them onto the disks.
 I then used small clamps to keep the surface of the fishbowl in tight contact with the wood while it dried. You could also try putting something heavy on top of the fishbowl, but too much weight may crack the plastic, so that’s why I like the clamps better.
 I then used my drill to drill a hole through the wood backing so I could hang the terrarium (just choose a drill bit the same size as the hole already in the fishbowl).
 I used some rectangular quick links to connect the terrarium to my brass chains I had hung from cup hooks along the top of the tall wall. If you can’t find a connector that is the right size to hang your terrarium from (it can sometimes be really hard to find one thin enough that also opens wide enough too), you can get creative and just use a leather loop there or some brass wire instead.
 Fill your terrarium with rocks (I like to use the marble chips), and then add your plants! Some rocks create a bit of a dust storm as you pour them in, so you may need to wipe off the inside of your container with a damp rag to clean the dust away before you add your plants in so the clear plastic doesn’t look murky.
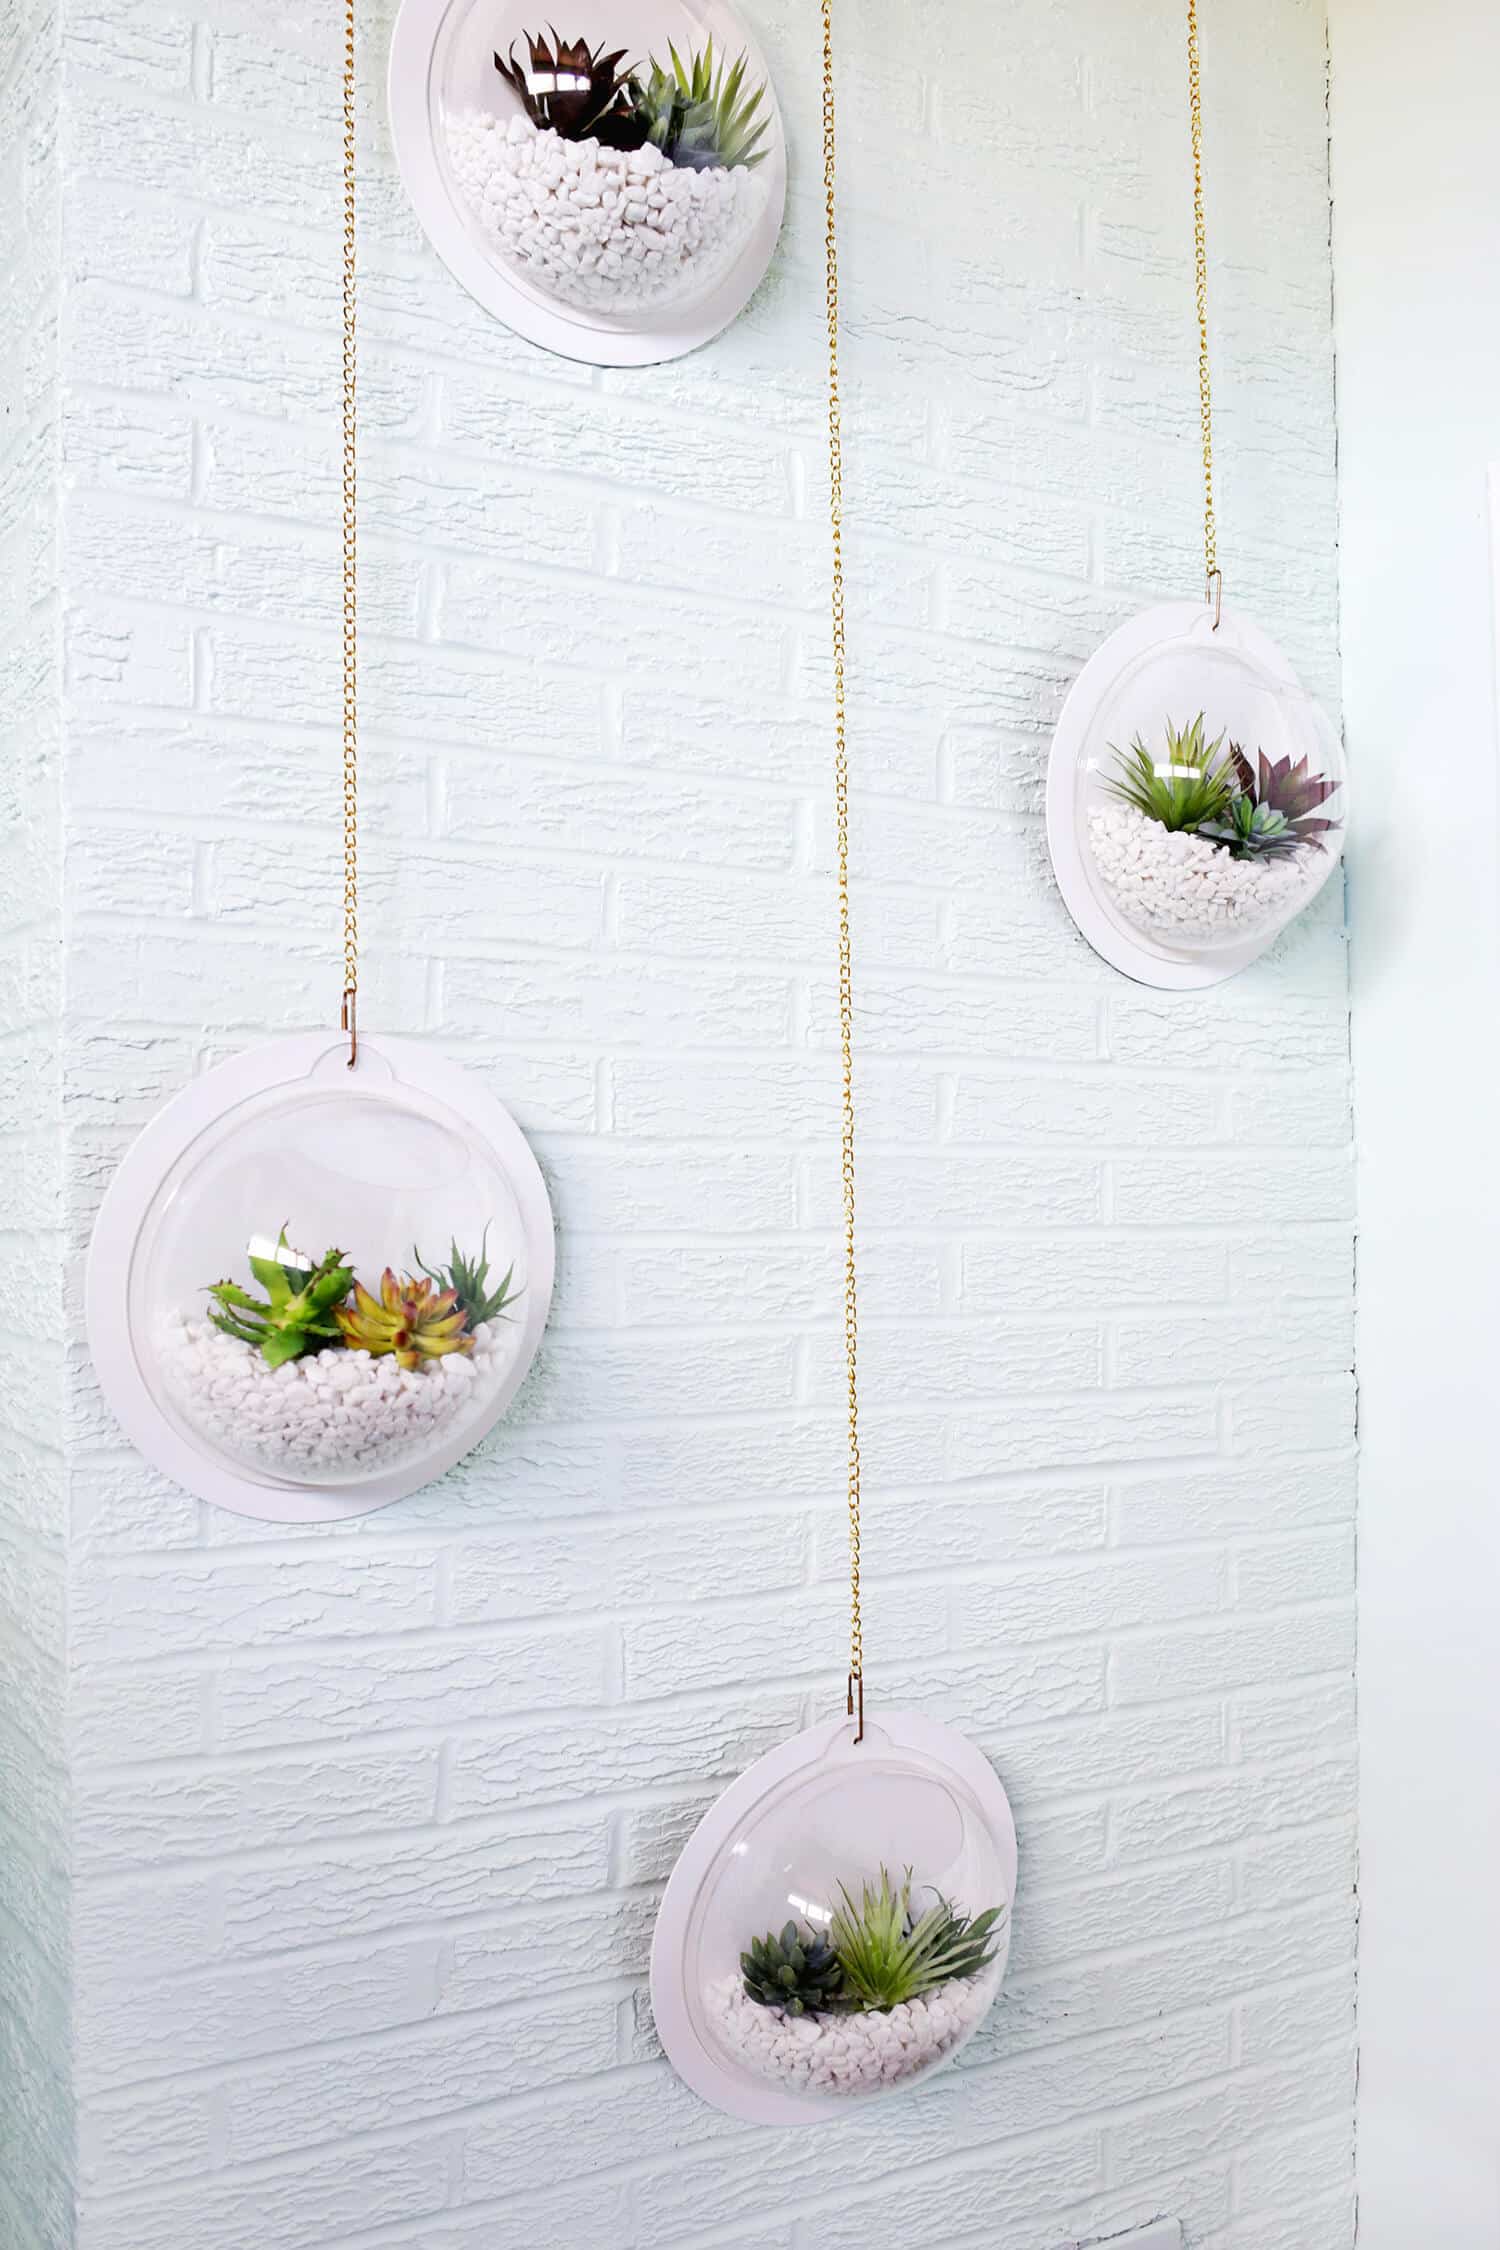
 You can totally use some dirt and real plants for this DIY too if you can get to yours easier, but can you imagine watering that terrarium at the top all the time? I think he’s better off with some water-free guys on this project! Overall, I really like the way the terrariums are a subtle feature wall in the room. They help draw attention to how tall the walls are in the studio and add some pops of greenery, but it doesn’t overpower or compete with the other things happening in the rest of the space. One more thing off the list as we move closer and closer to finishing his studio! xo. Laura
20 Comments
Wow, I love this! Unfortunately, it’d never work for my tiny apartment, but future home goals!
Charmaine Ng | Architecture & Lifestyle Blog
http://charmainenyw.com
What a creative idea! I need to try this after I move into my new apartment next month.
Yaas. This is happening.
I was thinking of using real plants, but I agree…it may be too much of a hassle. Love this post!
– Greta
http://www.mintyfrosting.com
Super creative – love it!
I am absolutely love my succulent garden, but it’s growing so much I’m running out of counter space! Going to try these hanging ones with the real thing, wish me luck!
Pretty! But how on earth do you keep these dust free and looking nice longterm?
Well, I suppose you just dust them like any other object if they look dusty! I will say I’ve had other faux succulents out for 1-2 years and I’ve still never dusted them. Maybe the shelves they sit on get dusty but the succulents still don’t look dirty at all…
Laura 🙂
This is brilliant! I’m always afraid of of hanging glass terrarium but this solves everything <3
https://www.myblackcloset.com/
This is actually really cool! Pinning it for later.
What a cool idea, they look amazing!
https://www.makeandmess.com/
Love this! I wonder if the opening is large enough to do some herbs and hang on a kitchen wall? I may order some and play around. Thank you for the inspiration.
Laura! I’m absolutely obsessed with this DIY.
http://shannoninthecity.com
Beautiful! I was looking for a way to fill up wall space! Succulents to the rescue!
http://www.therisingdamsel.com
What a great idea for odd wall spaces! I also love that sort of soft mint color on the brick. I would so love to see the rest of the studio space! Any chance you’re planning on doing even a mini room tour?
Love this! How many bags of the marble rock chips did you end up using for the 5 bowls?
I love this, it must be fun designing a studio. Also, I’ve been reading your posts for a while now, and I did not know your husband was in MuteMath, they always stop by my town when they’re on tour in Georgia!
Thanks for sharing this amazing post with us about making hanging terrarium wall diy, it is really bestest and helpful post for people who want to know about hanging terrarium wall diy. Keep sharing with us!
These are the BEST! You are very creative!
I borrowed this idea and made 3d printable versions (snap on backer/plate) and found the clear parts that can fit multiple sizes – just wanted to thank you for the inspiration!