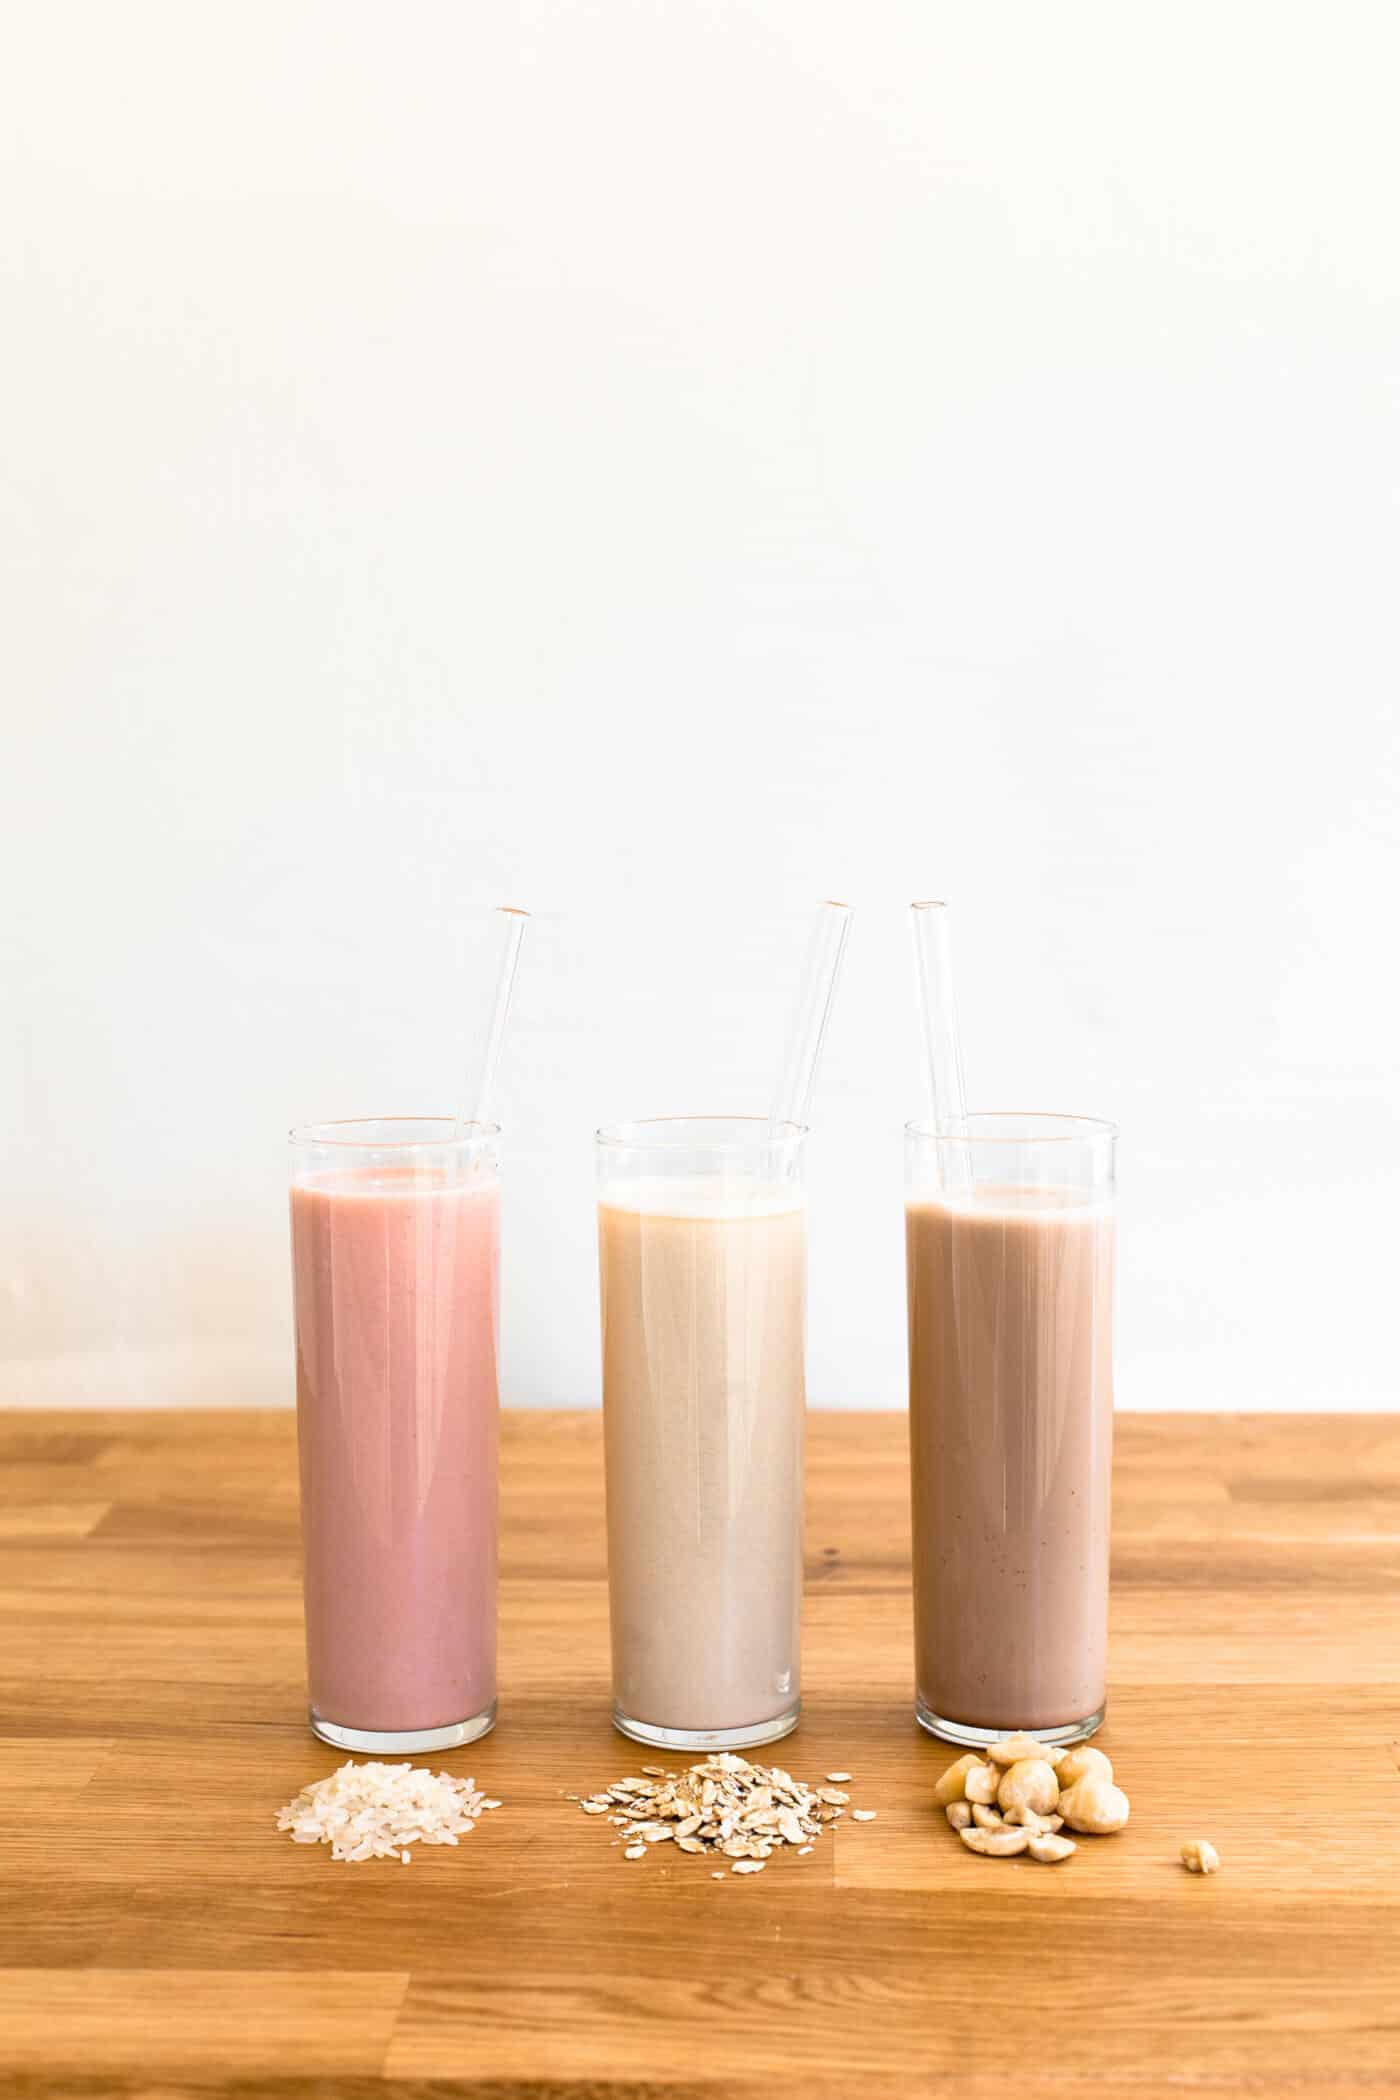
 For a long time, I didn’t get why anyone would want to make their own non-dairy milk at home. After all, you can buy it pre-made and a lot of the packaged milk alternatives out there are inexpensive and pretty tasty. But once I actually tried making my own, I was hooked. First, you can get endlessly creative with non-dairy milks and customize them to the exact flavor, sweetness, creaminess and consistency your heart desires. Second, you cut out all the processing and preservatives of store bought non-dairy milks. The trade off is that the homemade stuff has a shorter shelf life, but between using it in smoothies, oatmeal and drinking it straight, I’ve never had a problem with using it up.
Lastly, it’s just plain fun to make! It’s less time and labor intensive than you might think, so long as you have a high-speed blender or food processor. Nut milk requires soaking the nuts so it does take some planning ahead, but oat and rice milk—my other two favorites—don’t require any prep in advance. So you can literally whip them up in minutes!
And if you’re curious about how different non-dairy milks compare to dairy, or just looking for more nutritional information around milk, check out this article from our Ask a Dietitian series: Milk and Milk Alternatives. 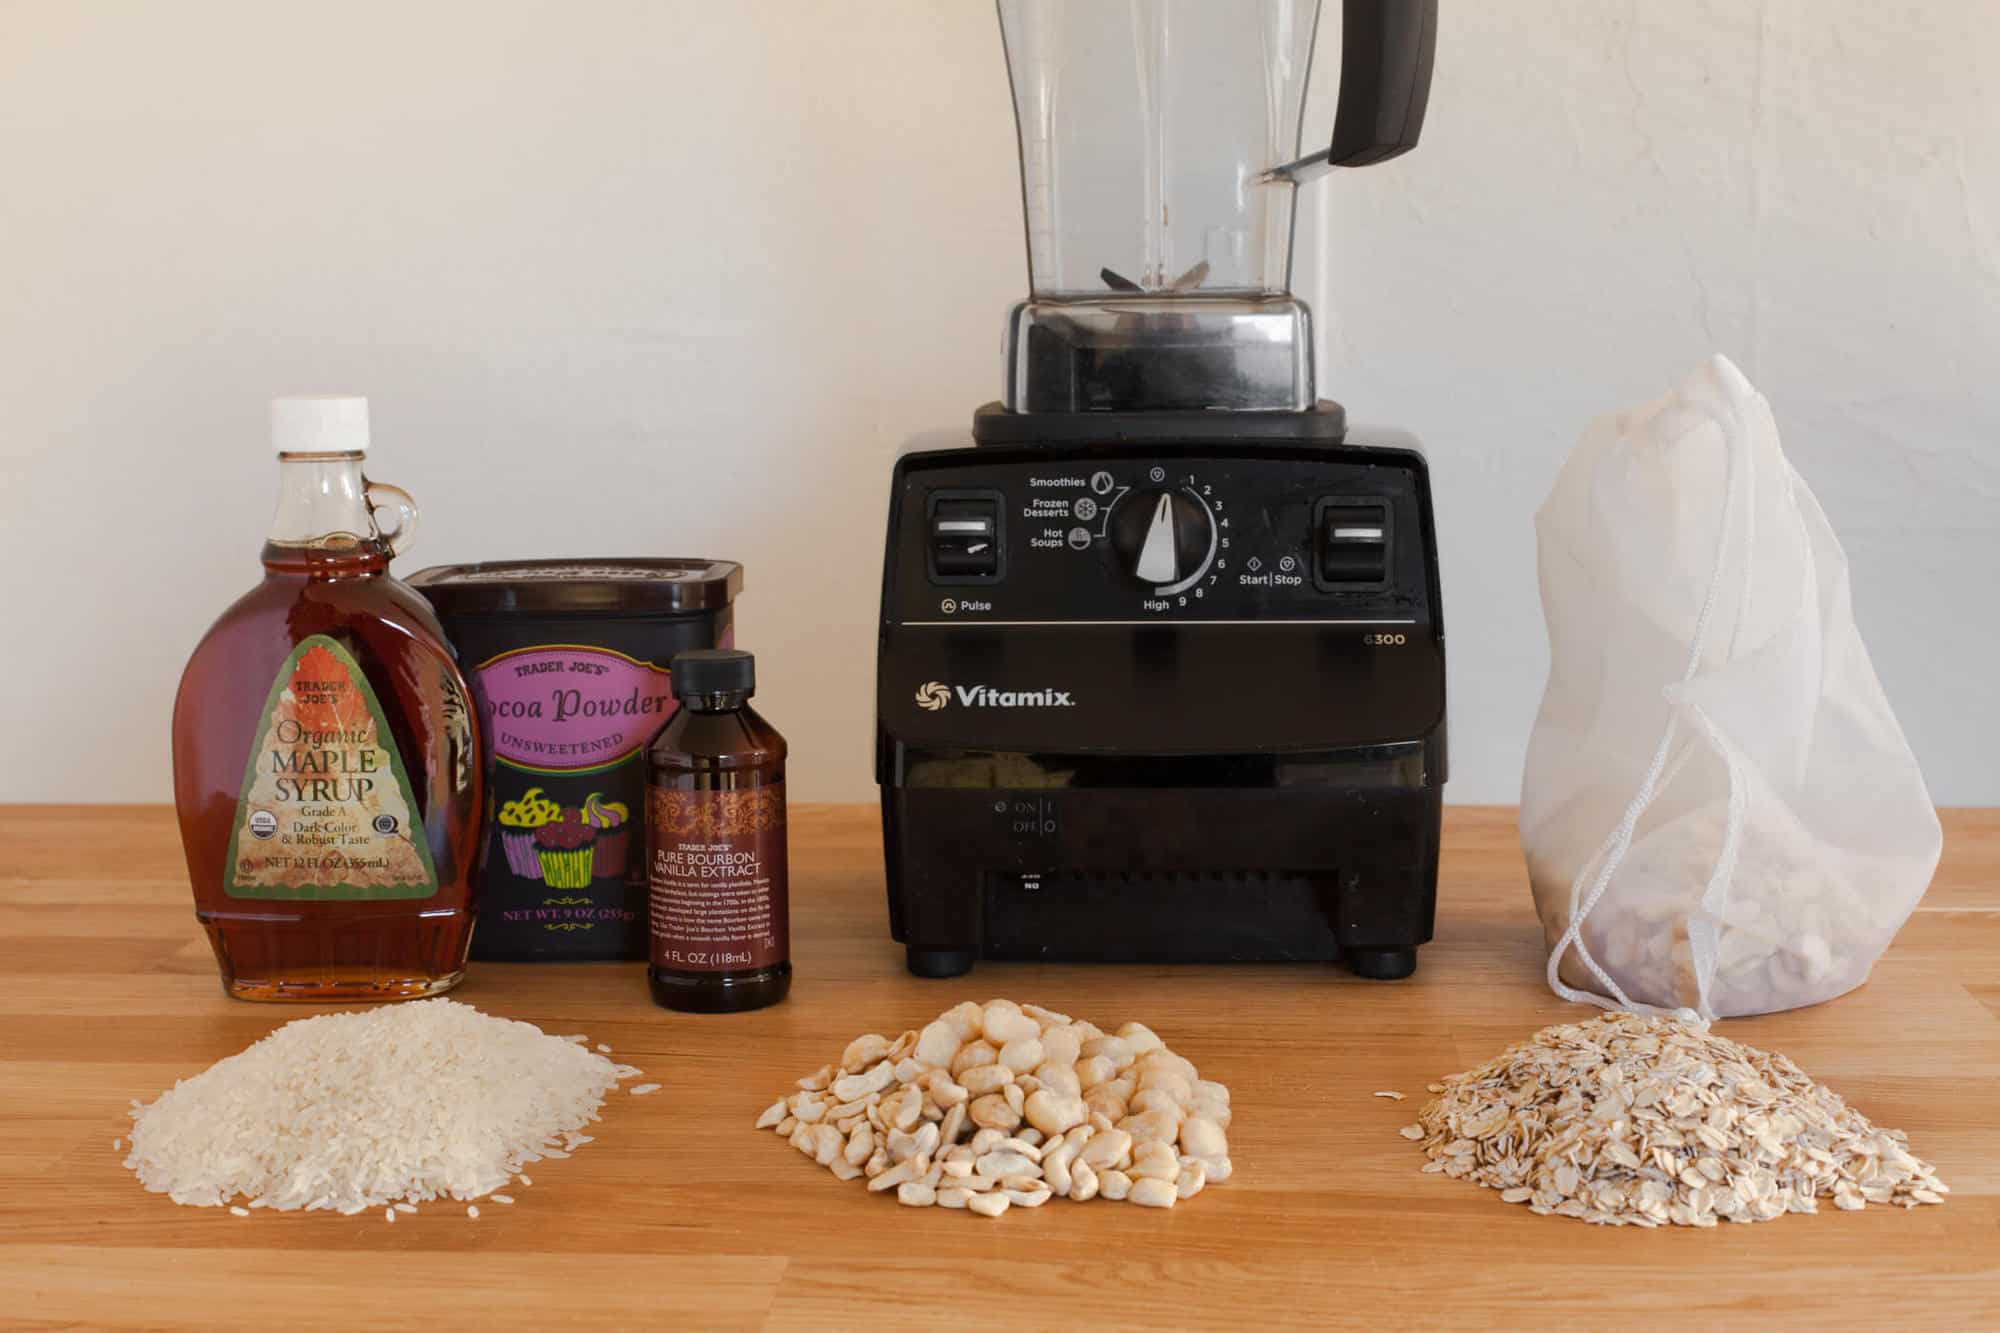 Non-dairy milk, makes 32 oz.
1 cup raw nuts, no skins (I used a mix of cashews and macadamia nuts), cooked rice or oats
4 cups filtered water
optional sweetener: up to 1/4 cup maple syrup
optional flavors: vanilla extract, unsweetened cocoa power and fresh berries
nut milk bag, cheese cloth or clean kitchen towel
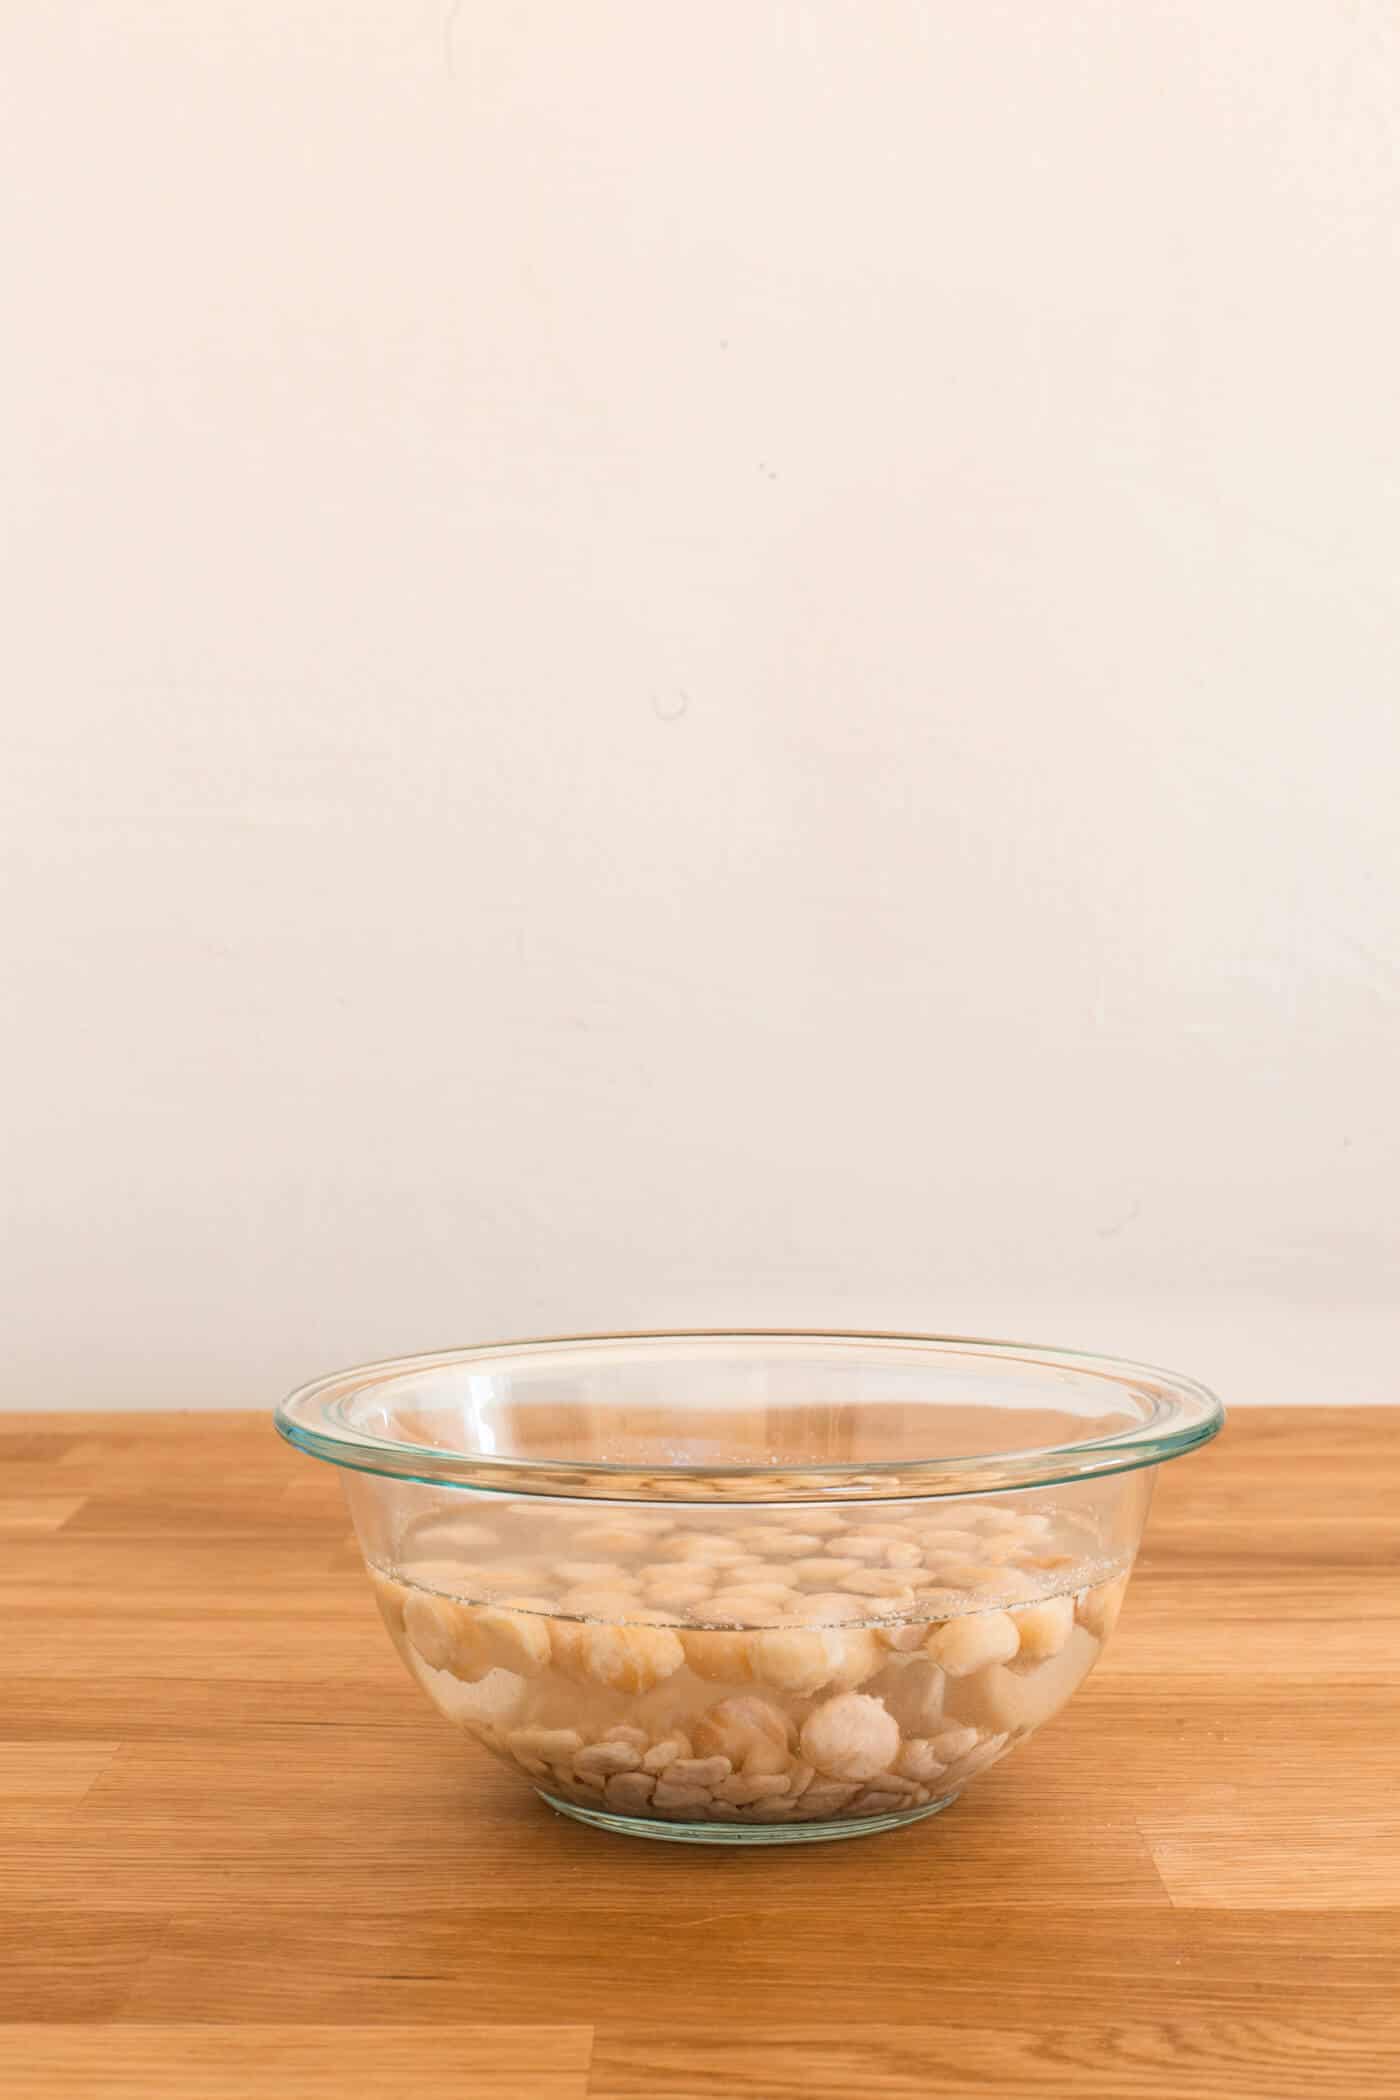 If you’re making nut milk, cover the nuts with water and soak overnight. Skip this step if using oats or rice.
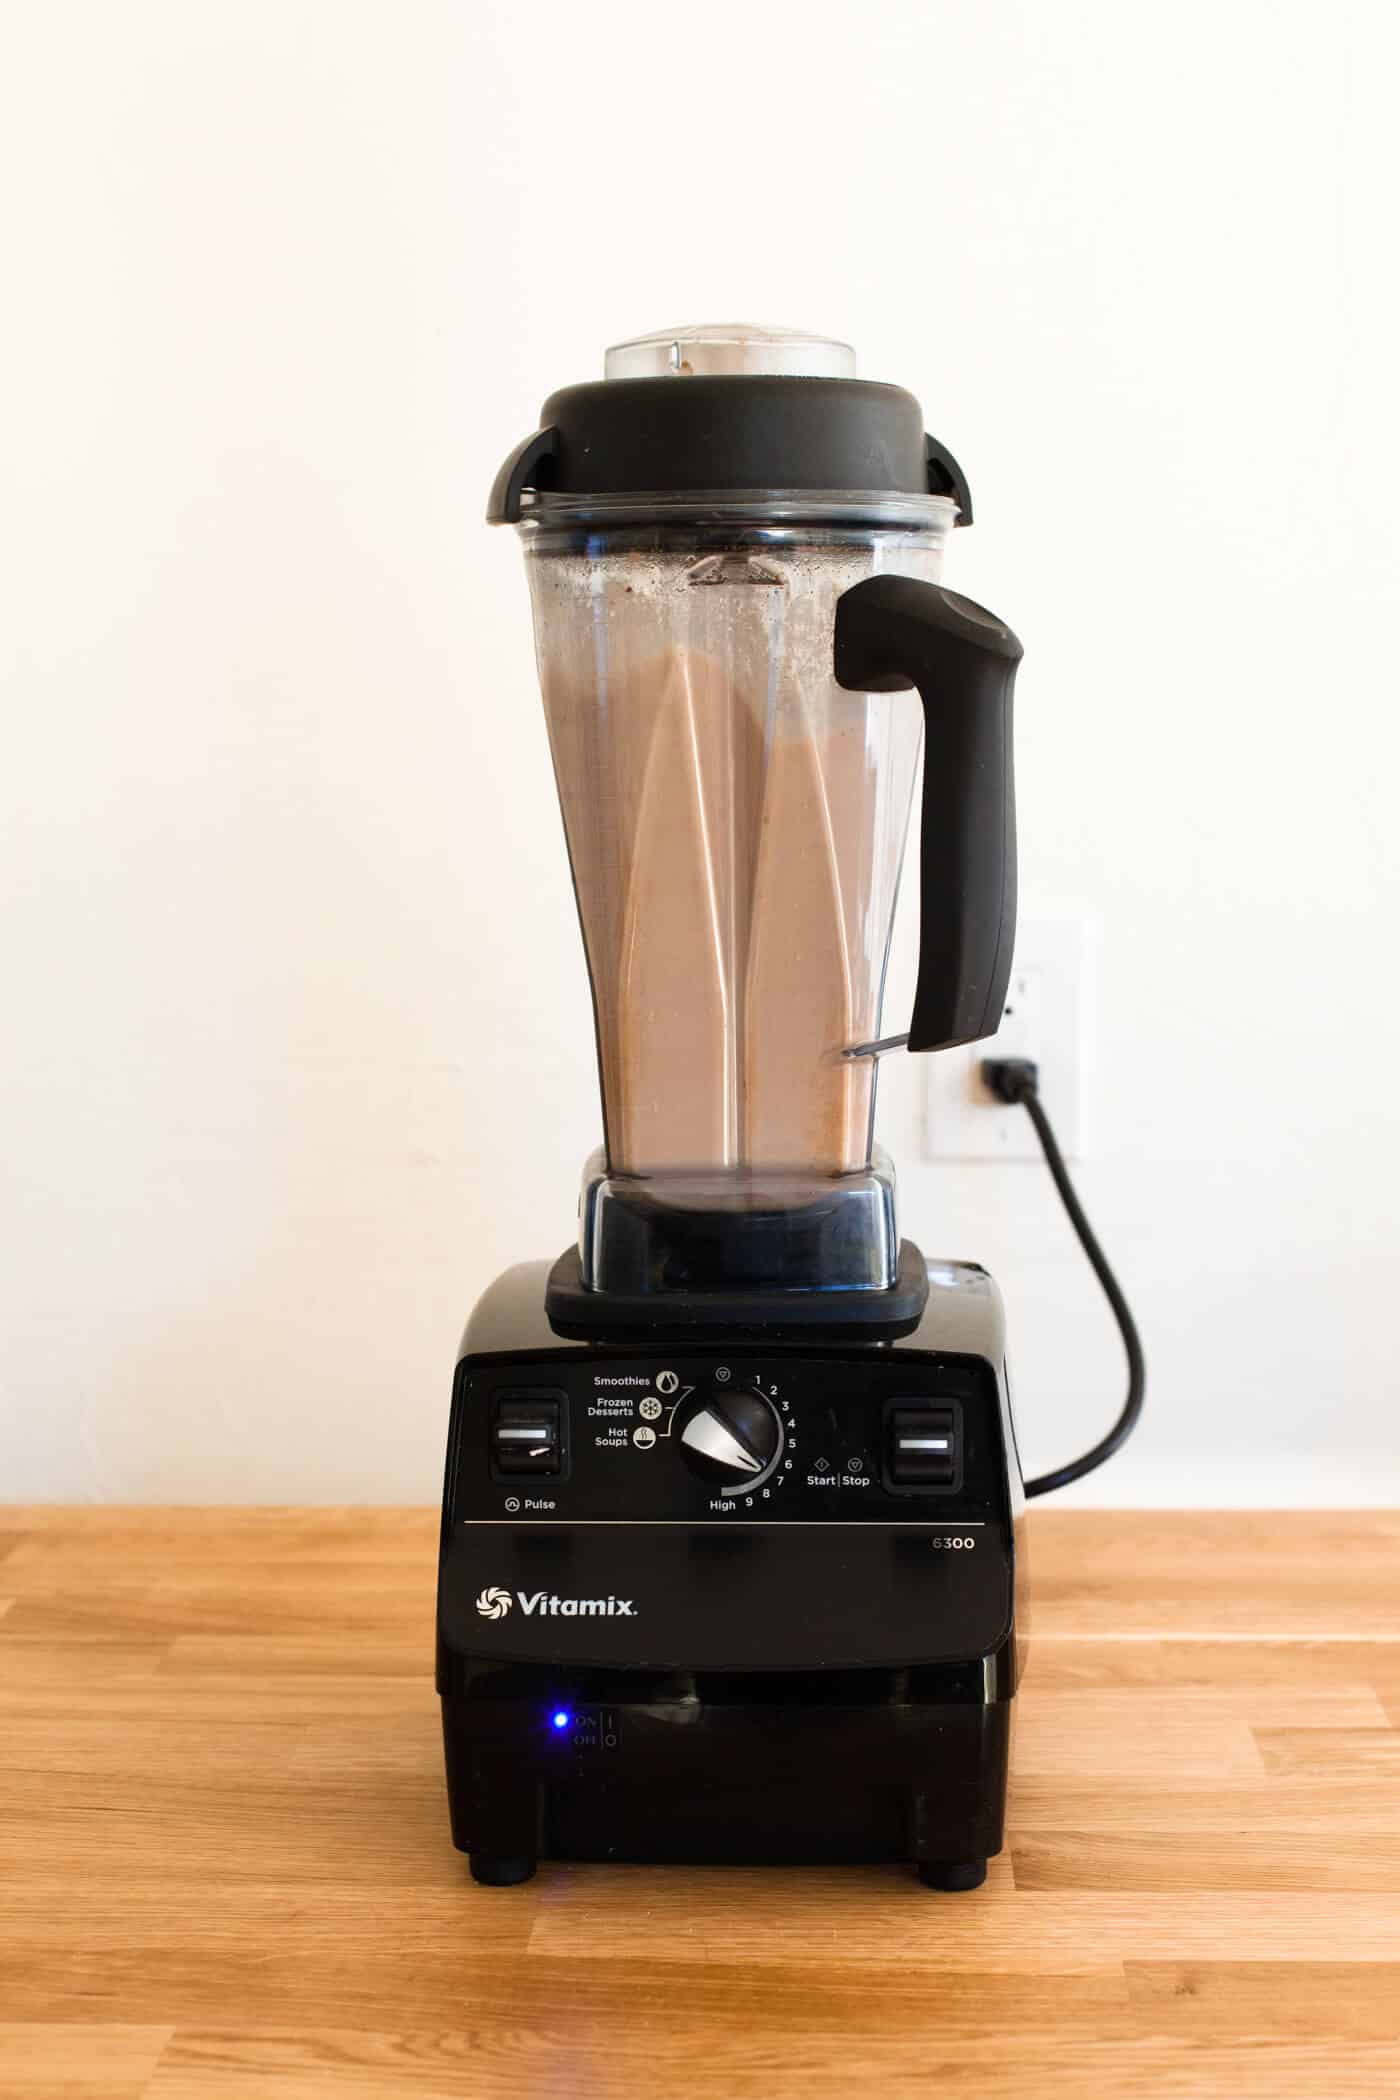 Drain the nuts if using them. Add them (or your oats or rice) to a blender with 4 cups of filtered water, maple syrup if you’re using it, and any flavorings. For vanilla milk, 1 teaspoon is a good place to start. For berry milk, add 1/3 cup of berries. For chocolate milk, add 3 tablespoons cocoa powder. You can adjust the flavors and sweetness to taste once it’s all blended. Process on high for 1 minute. Taste and adjust as needed. If you prefer a thinner consistency, you can add more water at this point, too.
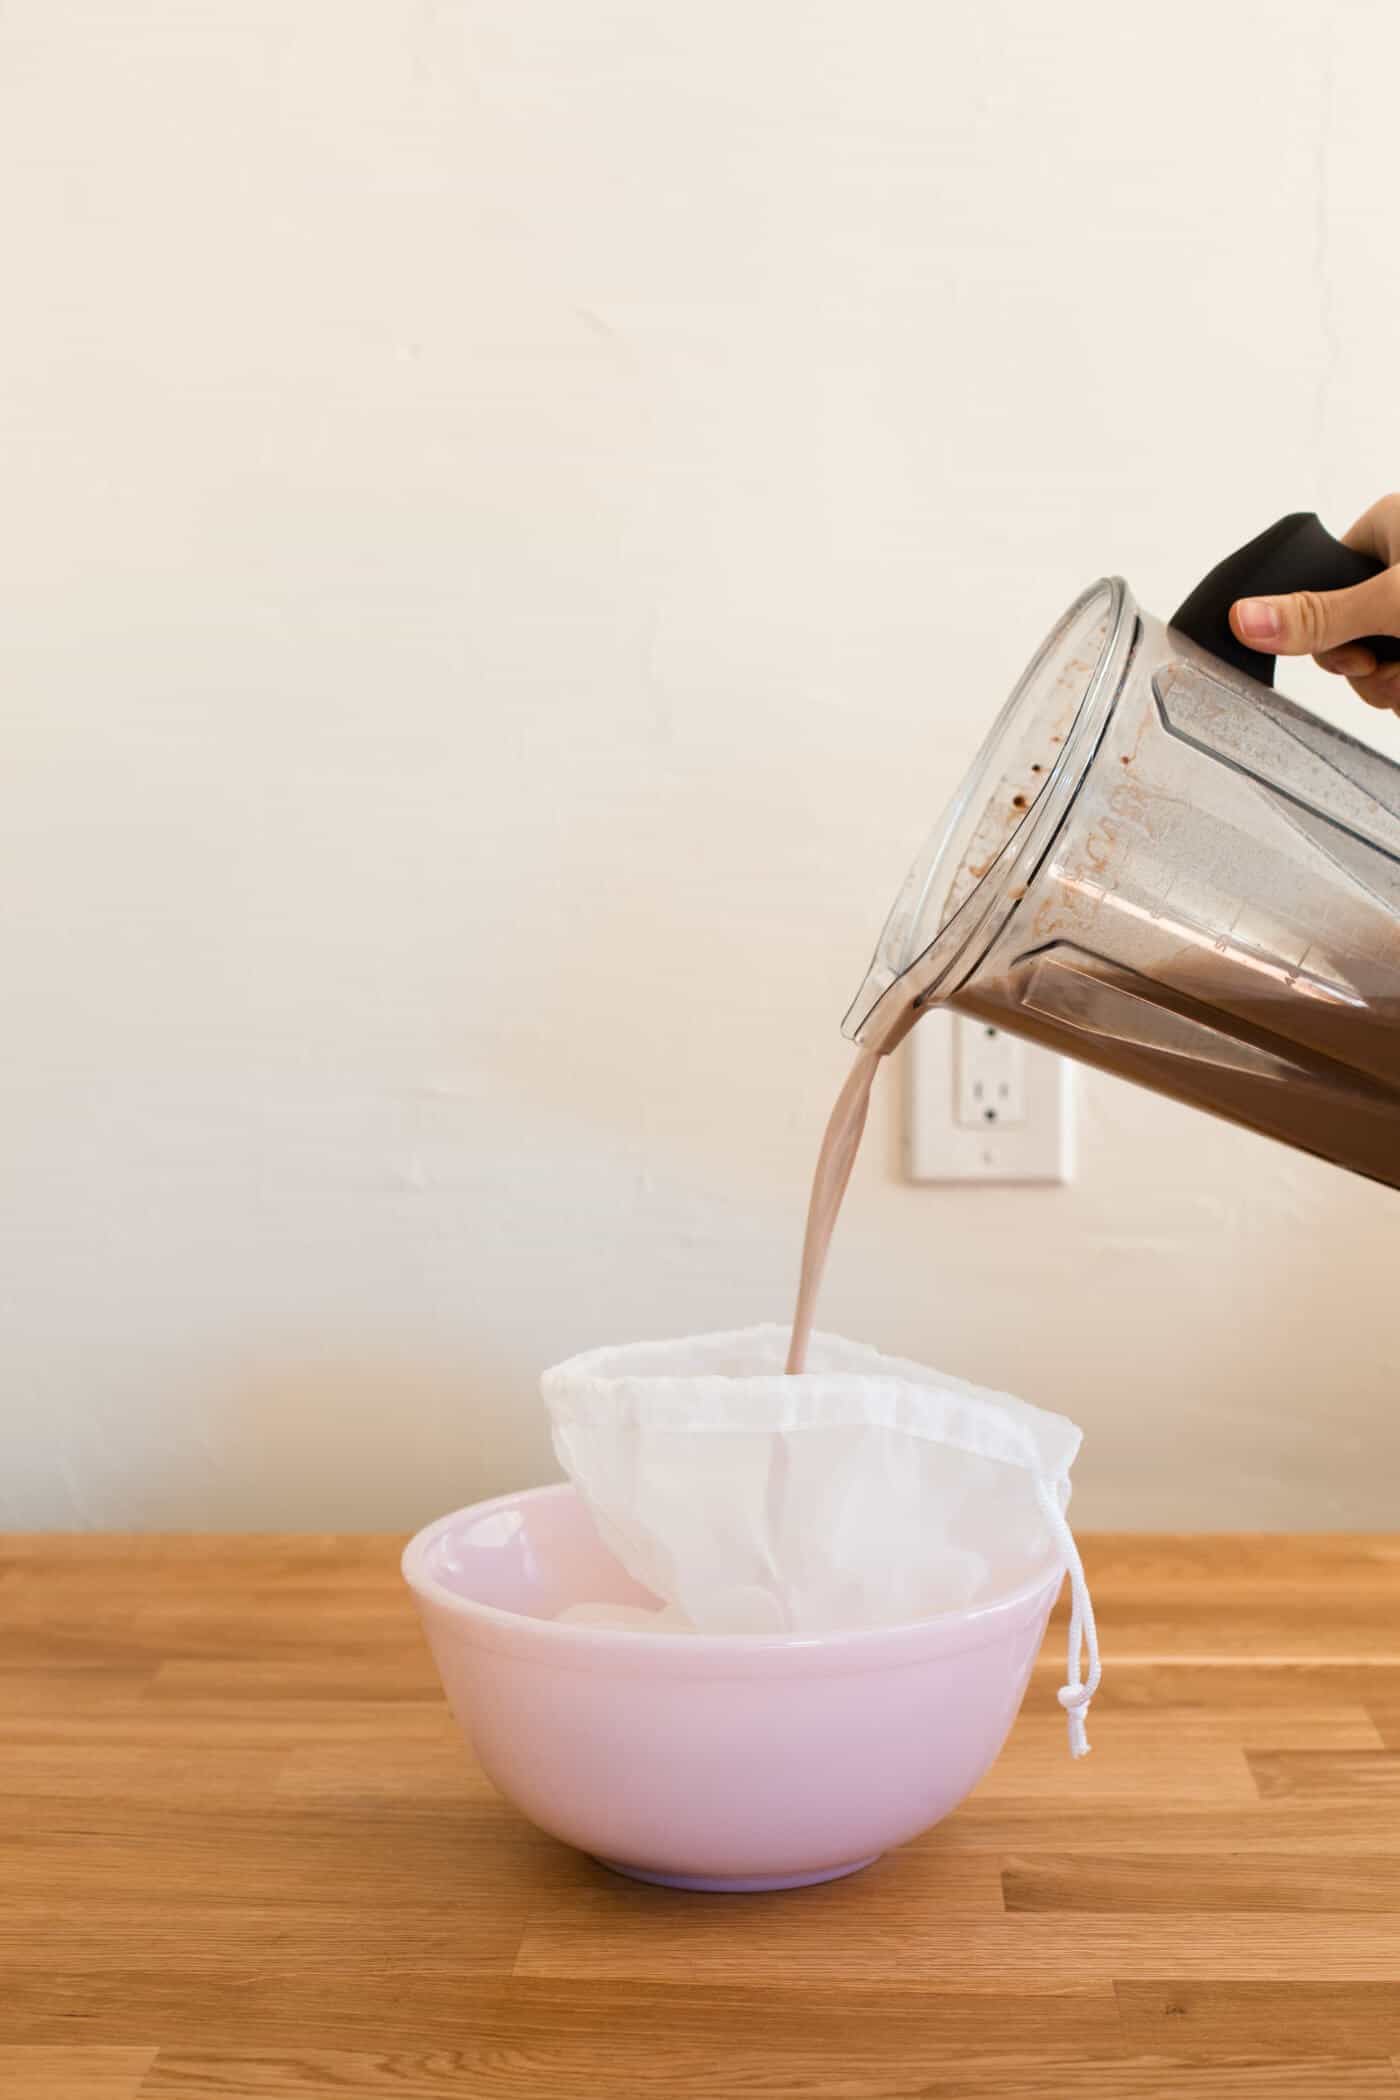 Pour the milk through your straining medium. I highly recommend using a nut milk bag! You can set it in a bowl and pour the milk through it, which is much easier than dealing with a piece of cheese cloth when you only have one set of hands. Plus, if you’re saving the pulp for smoothies or baking, it’s easy to scoop out of the bag.
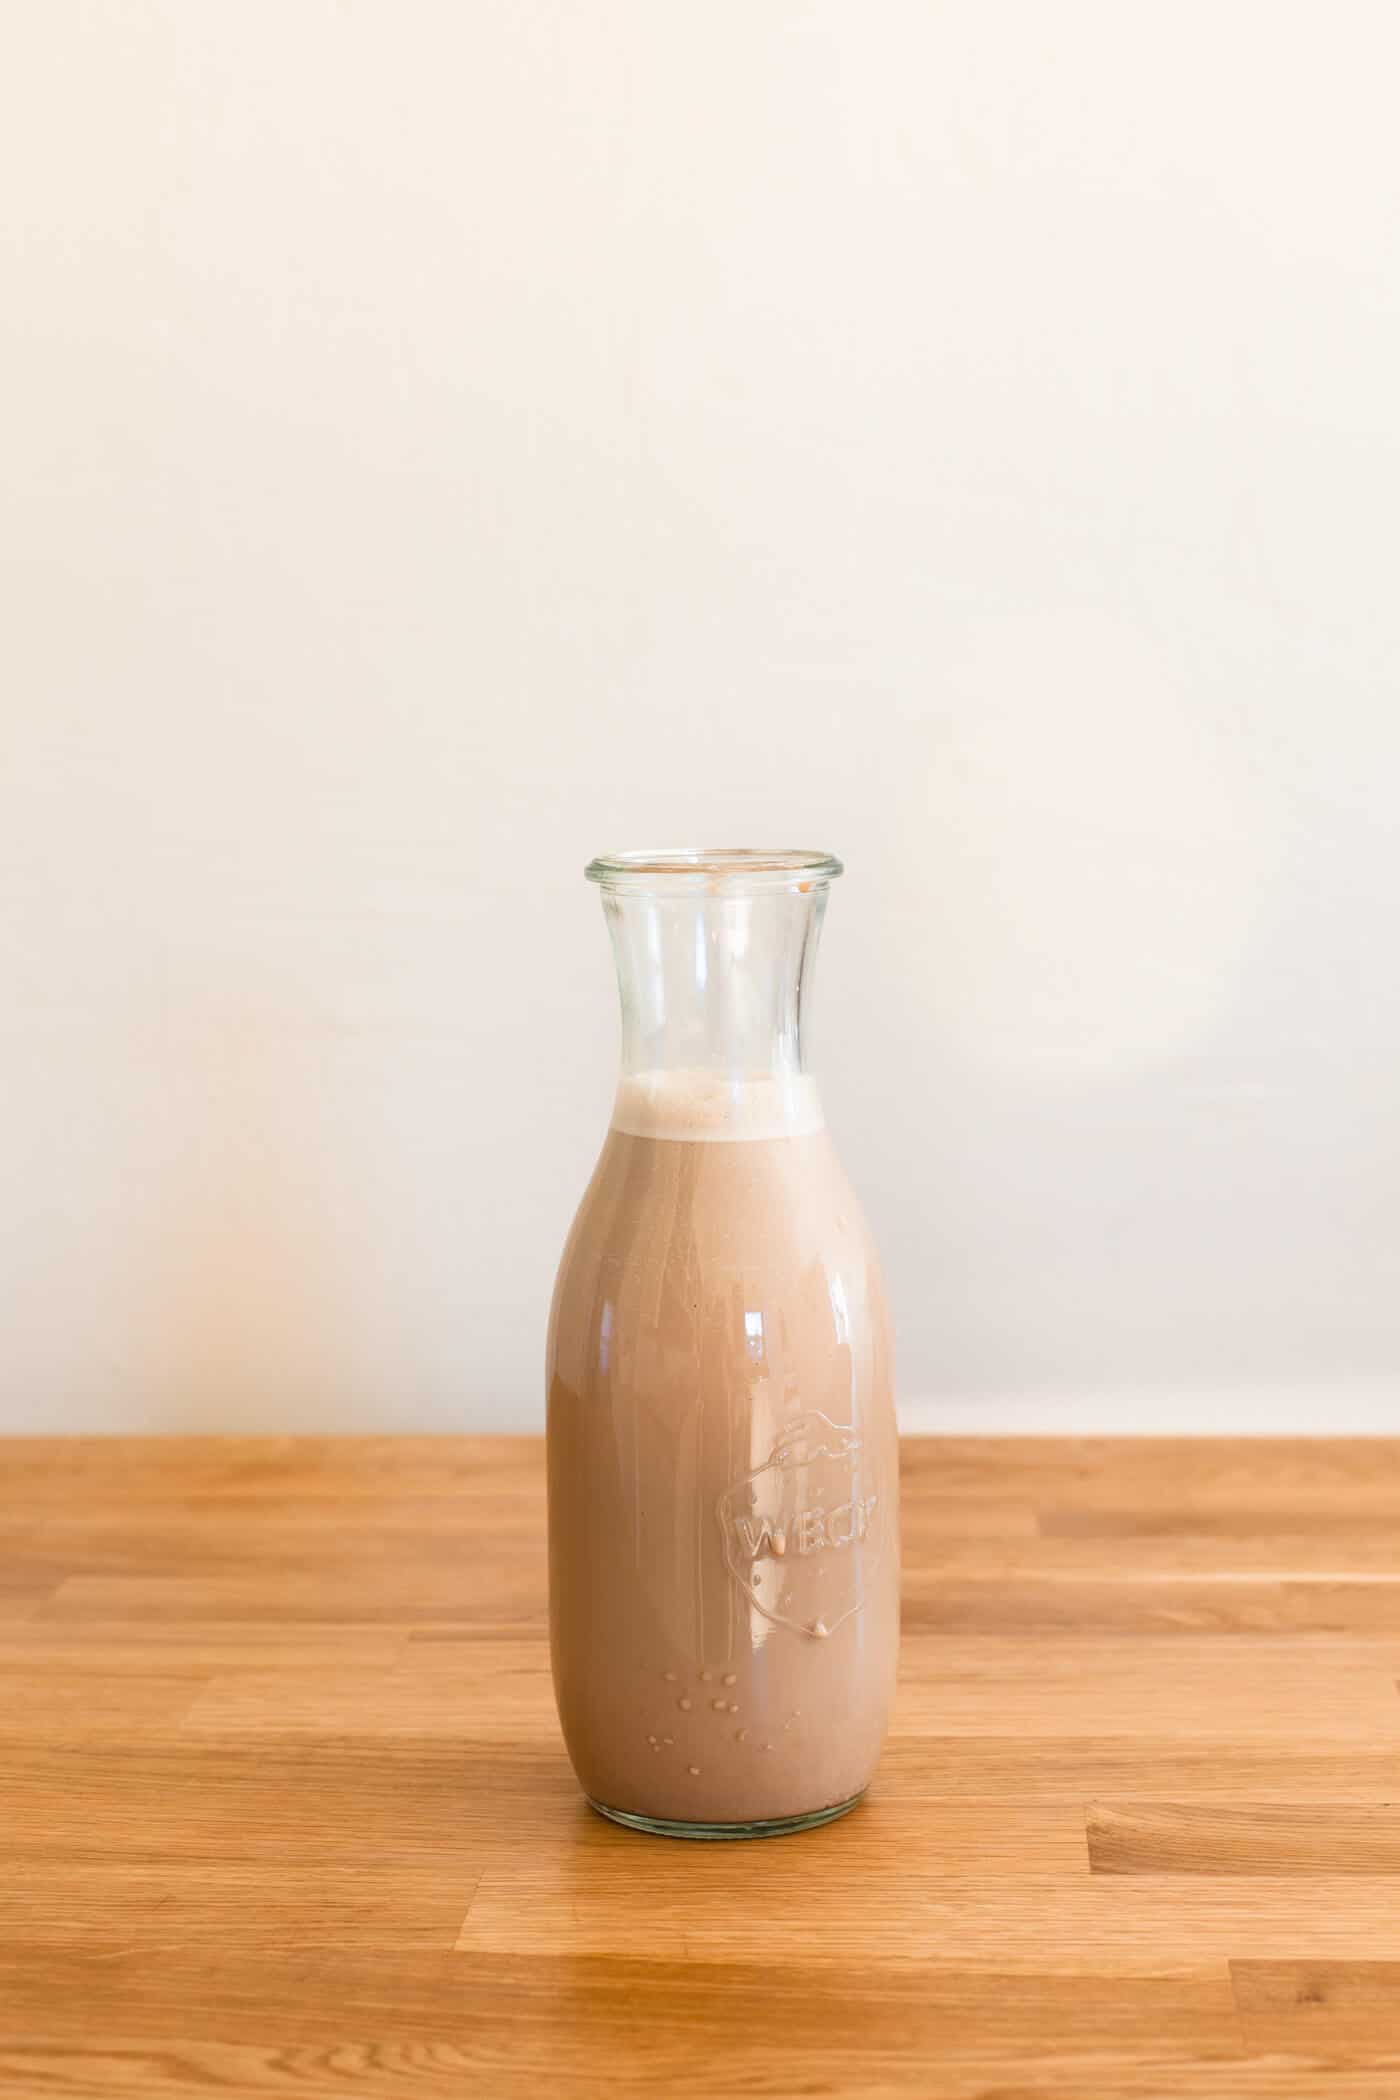 Transfer your non-dairy milk to an airtight container and refrigerate. Non-dairy milk will keep for 3-4 days. It’s normal for it to separate in the refrigerator—just give it a shake and it’s ready to drink!
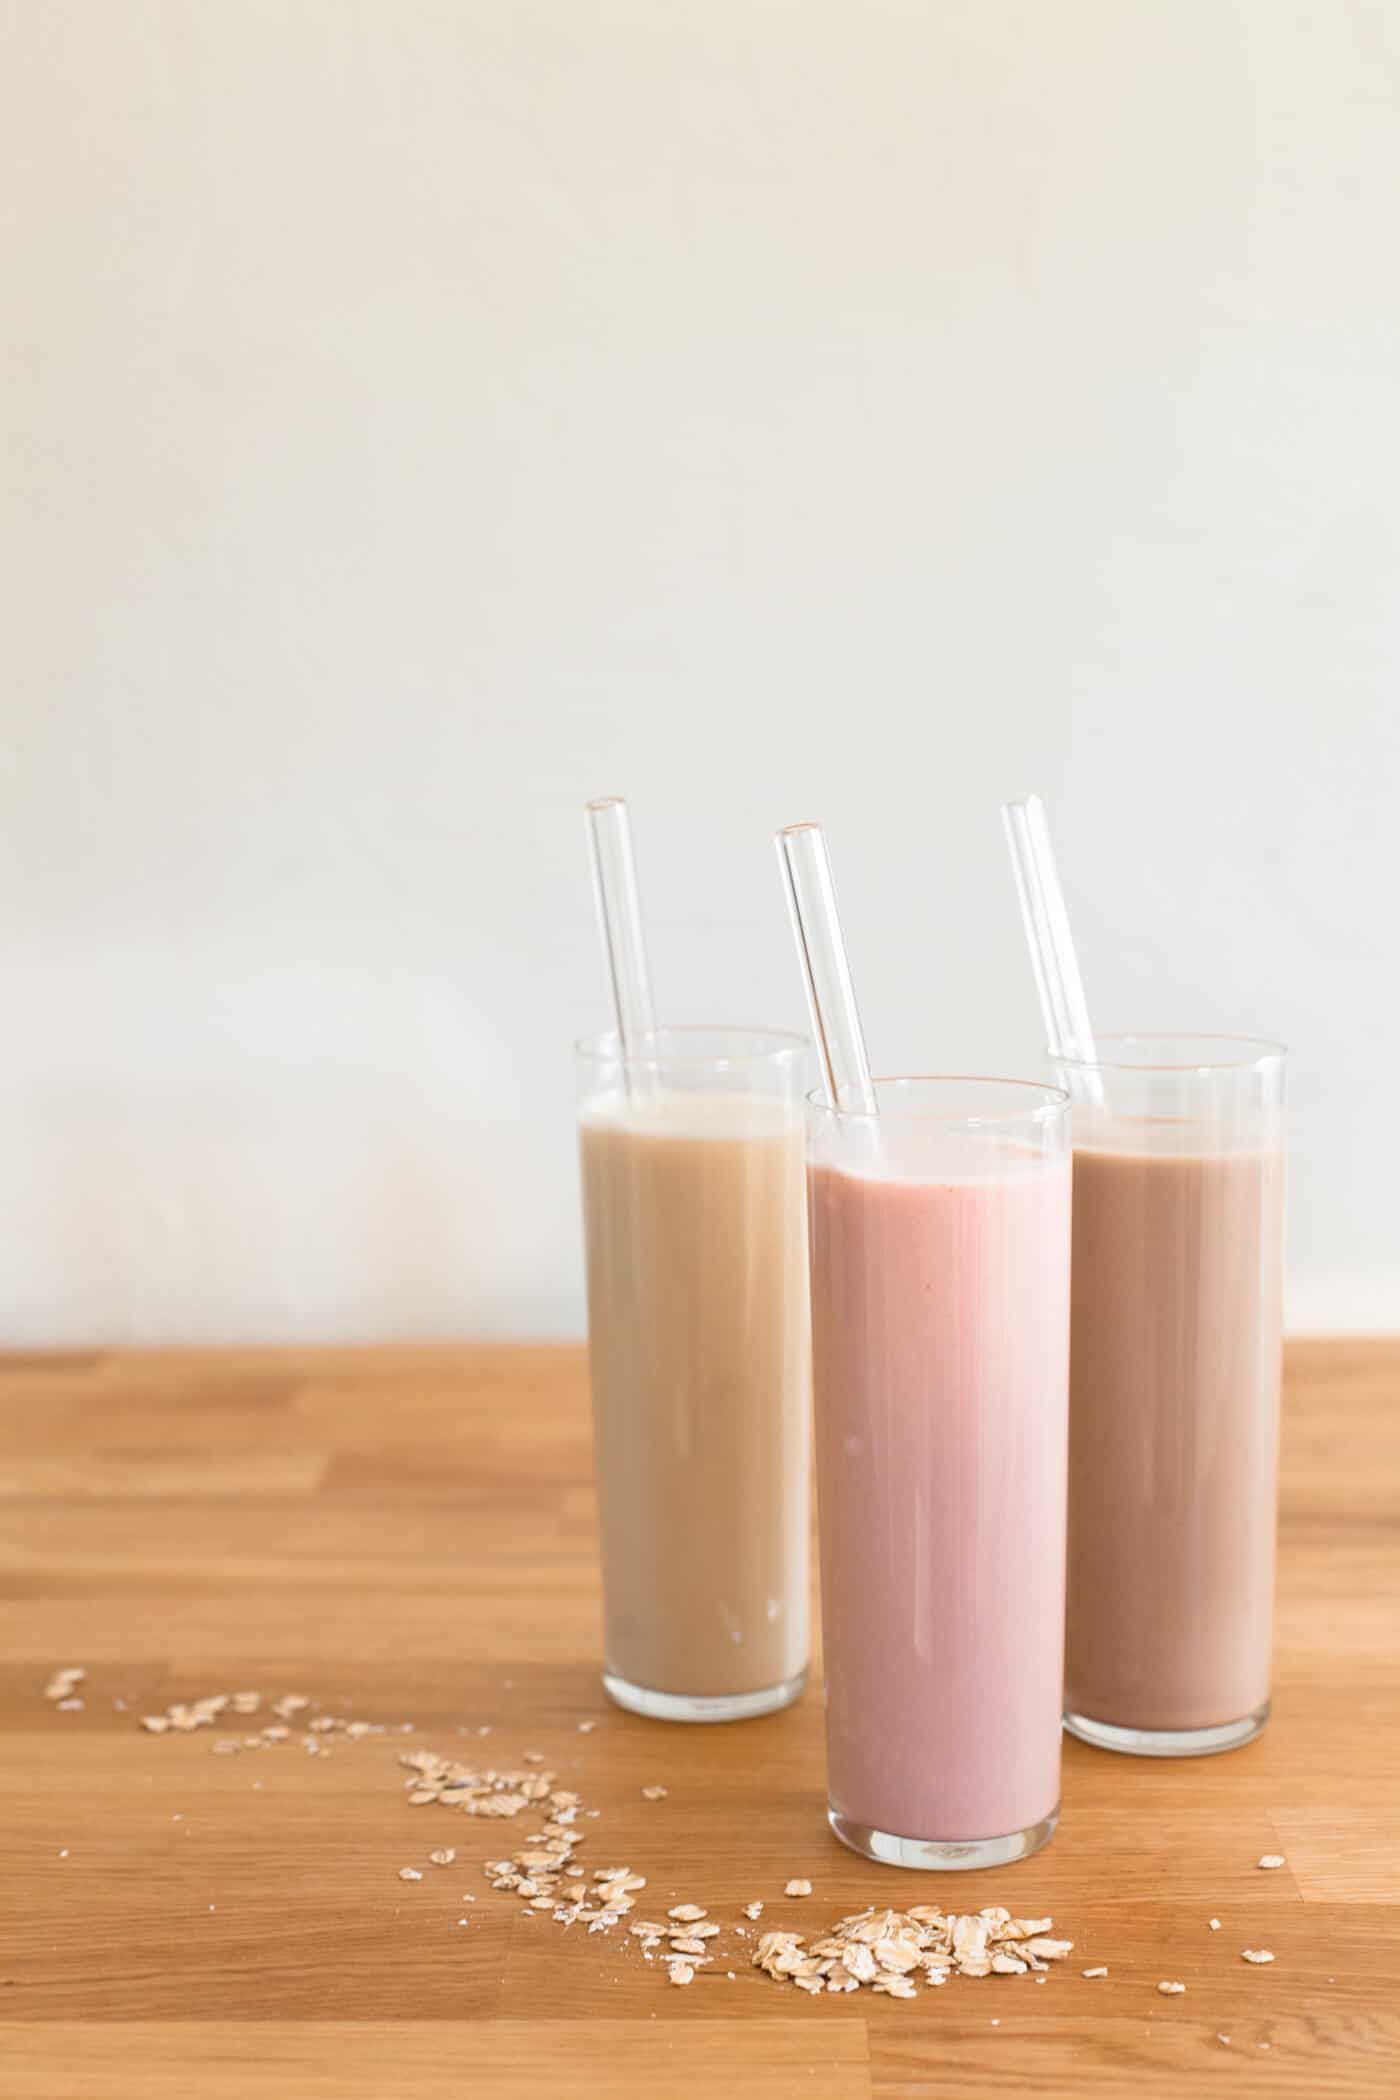
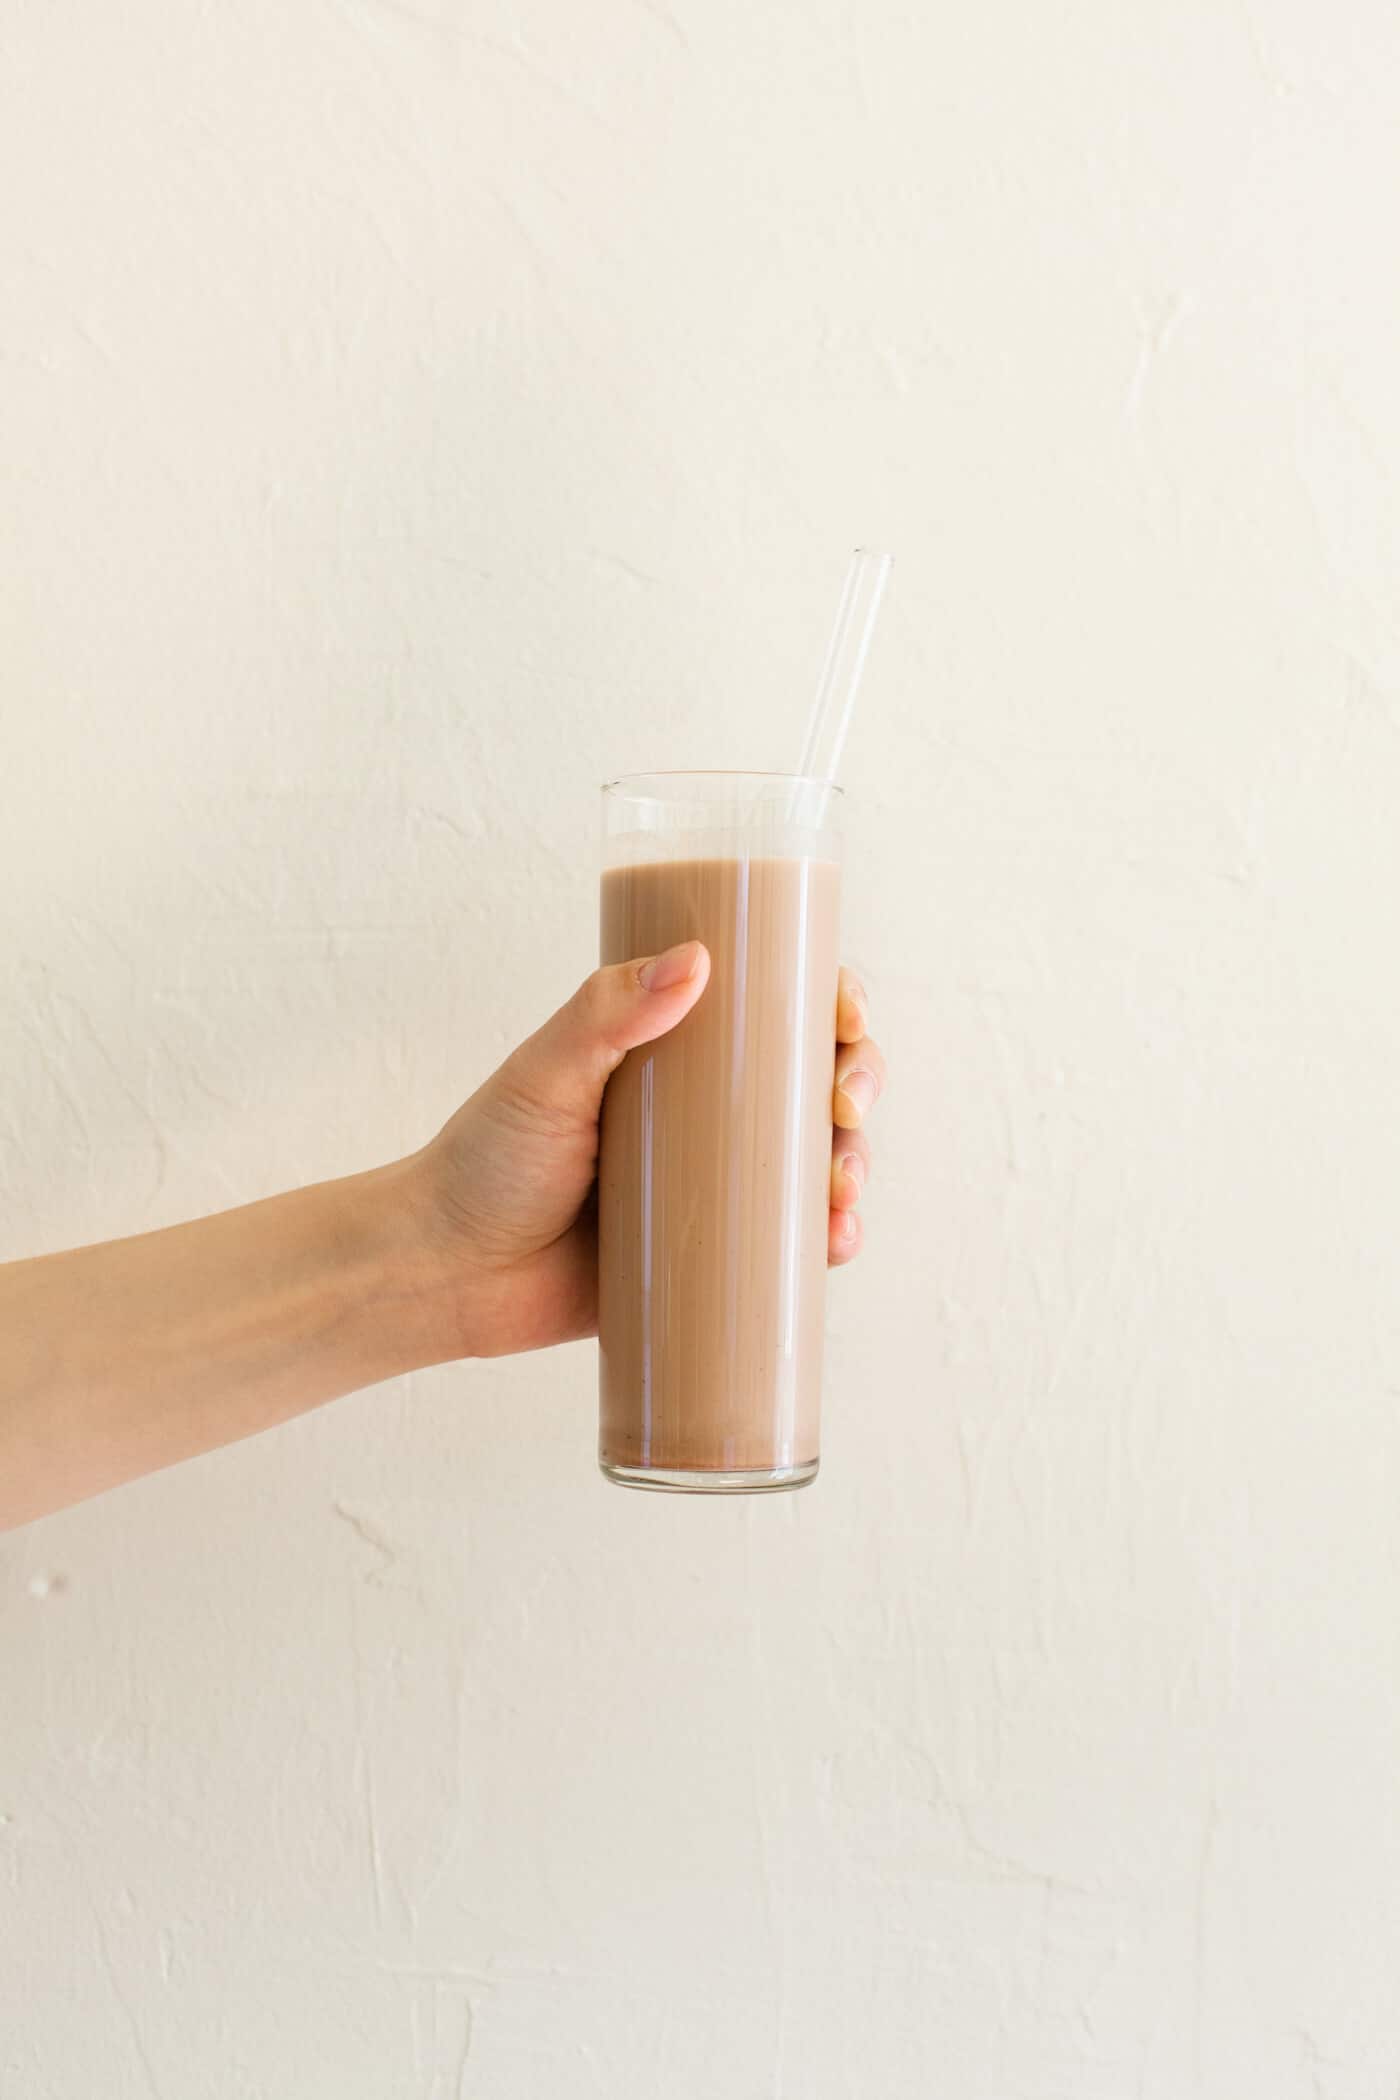
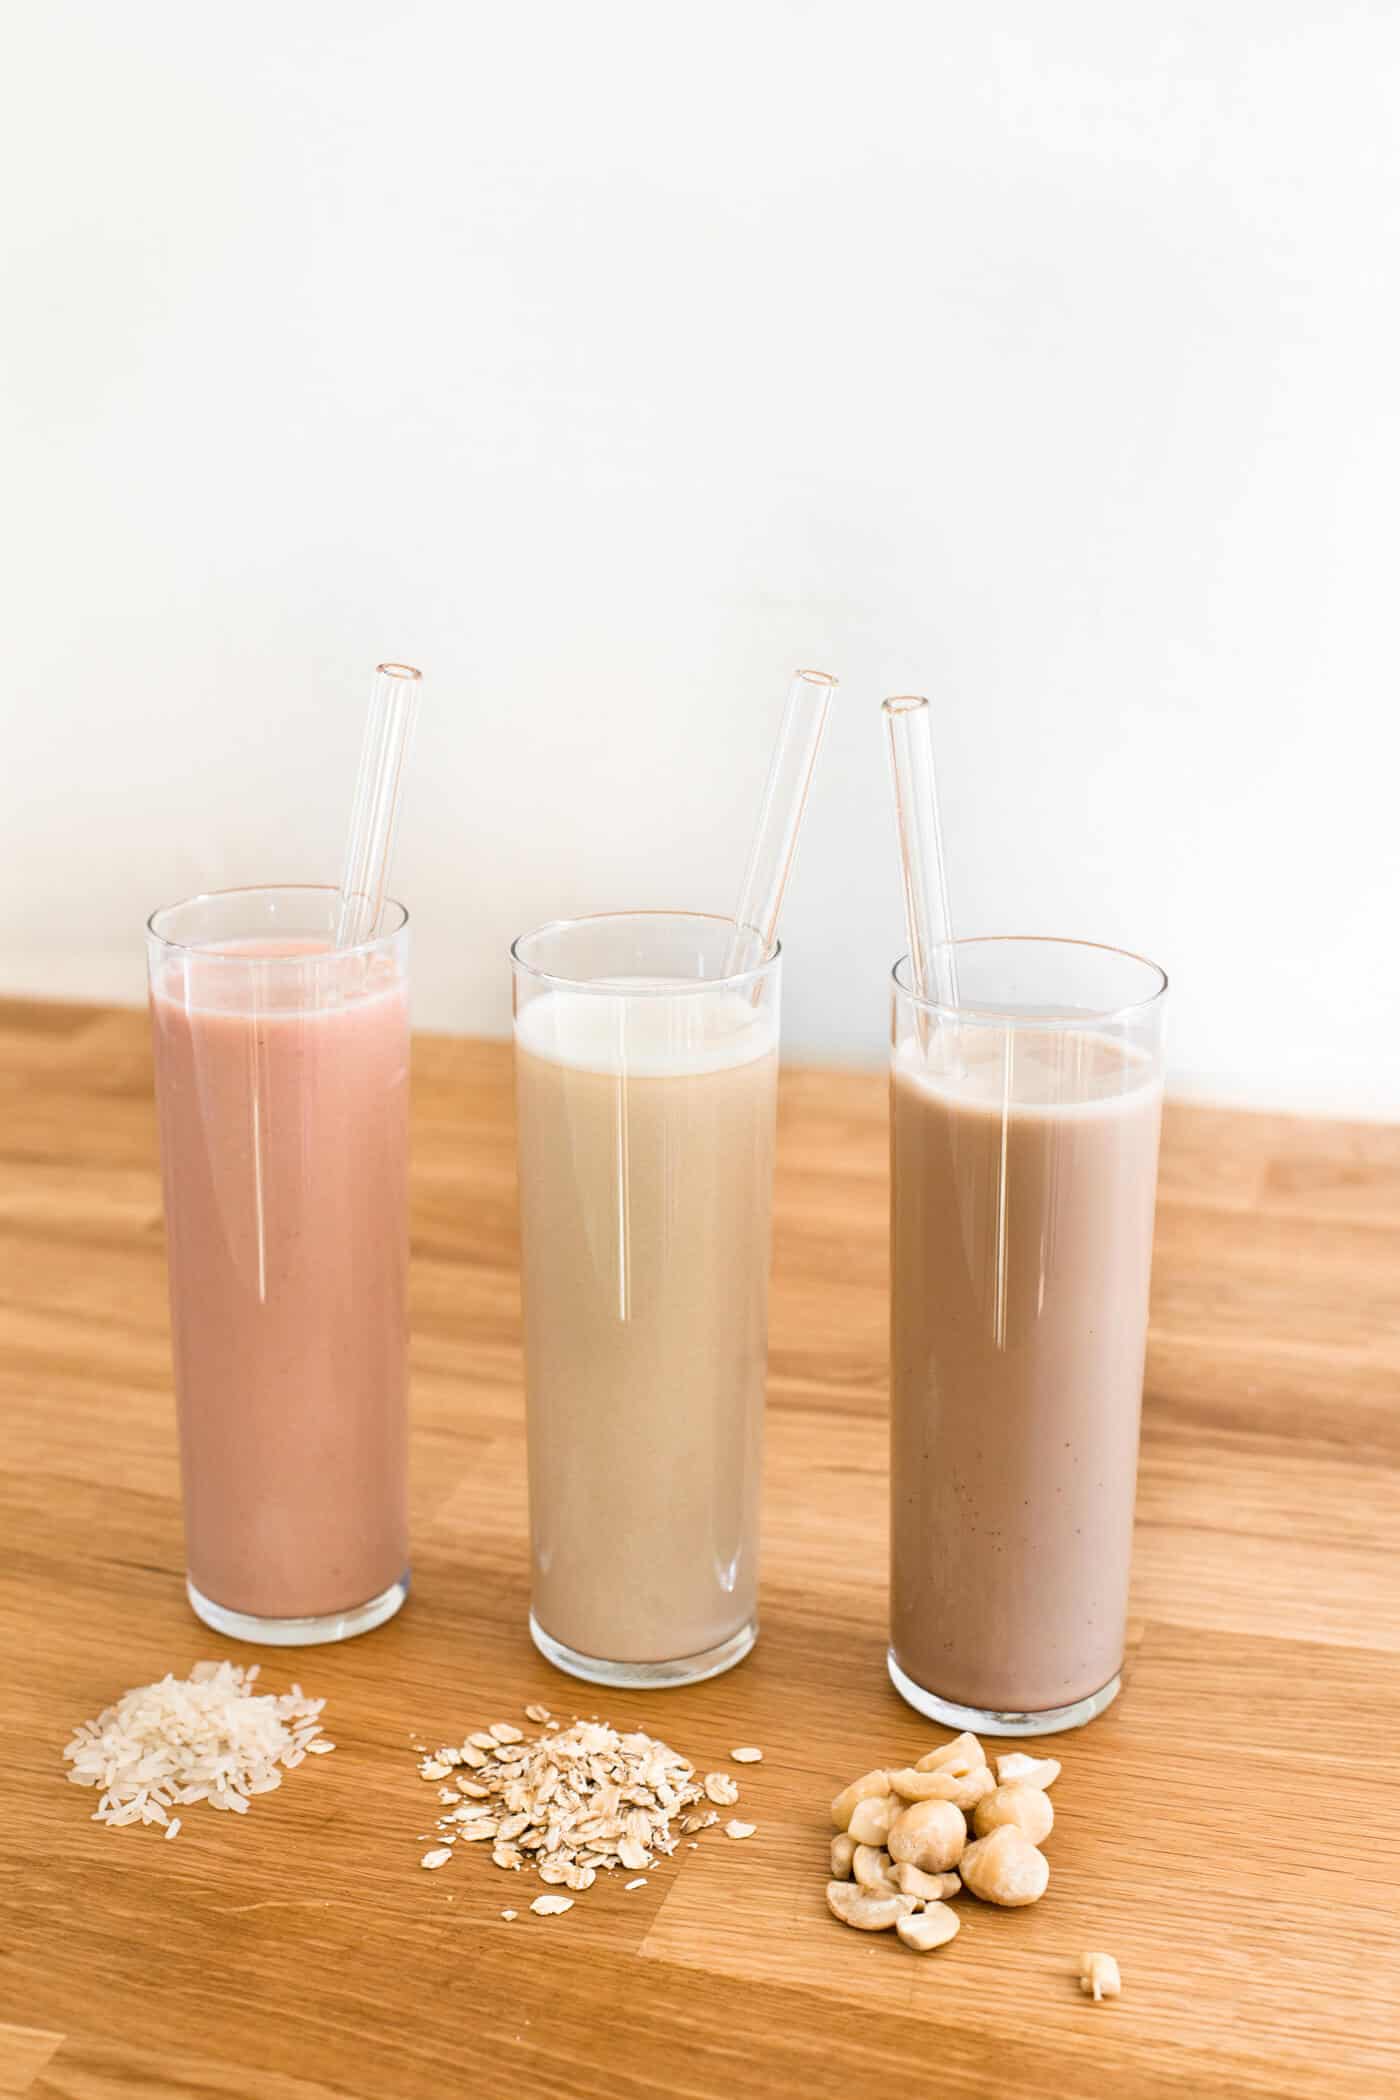 It’s hard to pick a favorite here, but the chocolate milk with cashews and macadamia nuts was the creamiest, most flavorful nut milk I’ve ever made—and definitely better than what you can get at the grocery store! I’ll be making the strawberry one again soon, too. It tasted just like the strawberry milk I drank as a kid, but fresher! Have you tried making non-dairy milk at home? I’d love to hear your tips and tricks! xo Kayleigh

Non-dairy milk
Ingredients
- 1 cup raw nuts, oats or cooked rice
- 4 cups filtered water
- 1/4 cup maple syrup optional
- vanilla extract, unsweetened cocoa powder or fresh berries optional
Instructions
-
If you're making nut milk, cover the nuts with water and soak overnight. Skip this step if using oats or rice.
-
Drain the nuts if using them. Add them (or your oats or rice) to a blender with 4 cups of filtered water, maple syrup if you're using it, and any flavorings. For vanilla milk, 1 teaspoon is a good place to start. For berry milk, add 1/3 cup of berries. For chocolate milk, add 3 tablespoons cocoa powder. You can adjust the flavors and sweetness to taste once it's all blended.
-
Process on high for 1 minute. Taste and adjust as needed. If you prefer a thinner consistency, you can add more water at this point, too.
-
Pour the milk through your straining medium.
-
Transfer your non-dairy milk to an airtight container and refrigerate.
Recipe Notes
I highly recommend using a nut milk bag! You can set it in a bowl and pour the milk through it, which is much easier than dealing with a piece of cheese cloth if you're making non-dairy milk on your own. Plus, if you're saving the pulp for smoothies or baking, it's easy to scoop out of the bag.
Non-dairy milk will keep for 3-4 days. It's normal for it to separate in the refrigerator—just give it a shake and it's ready to drink!
Credits // Author and Photography: Kayleigh Kosmas. Photos edited with A Color Story Desktop.


15 Comments
I love making my own milk! 🙂
If you use just Macadamia nuts, you don’t have to strain. And if you leave a little moisture in the nut pulp if others (just don’t squeeze super dry, it makes a great topping for cut up fruit!
Um, your non-dairy milks have got to be the most photogenic ones I’ve seen, haha! As with everything on ABM! ❤️ Can’t wait to try out the recipes myself 🙂
Charmaine Ng | Architecture & Lifestyle Blog
http://charmainenyw.com
Omg! I really want to try the oats one! I actually have a nut milk bag already so there’s nothing stopping me! Most definitely trying this out! Loved this post! xx
I’ve recently started making my own almond milk, and I love it. So I was thrilled to see your recipe for rice and oats milk here! Question: what type of oats work best for milk making?
I like using rolled oats! 🙂
This is awesome! I use unsweetened almond milk every morning in my smoothies, but I’m sure making it fresh has a lot more flavor. What do you do with the drained leftover nuts?
http://www.shessobright.com
You can add them to a bread dough!
I put them in overnight oats and granola!
Wow, cool stuff girls!
What do you kind of flavouring do you add to the rice milk? Looks delicious!
And what kind of rice do you use?!
I’ve tried to make almond milk, coconut milk and macadamia and nuts. The latter drives me crazy!
Thanks
I used berries here, and they make the rice milk SO tasty. Frozen berries work just as well in my opinion. I used a long grain white rice. 🙂
Cool 🙂 I use almond milk for my smoothies, these look like they would be really yummy on their own too
Thanks for the recipe, this looks very straightforward! You mention using the pulp in baking- I’d love to know what you can make with it?
Wow wow wow. These look and sound incredible! I have been trying to cut down on my dairy intake but loveeee milkshake so this is perfect!
Charlotte-Nichole
x
I loved this recipe. It was easy to follow and made this so simple. I added strawberries and some vanilla sugar from Denmark to ours and it is delicious. Thank you for sharing this!