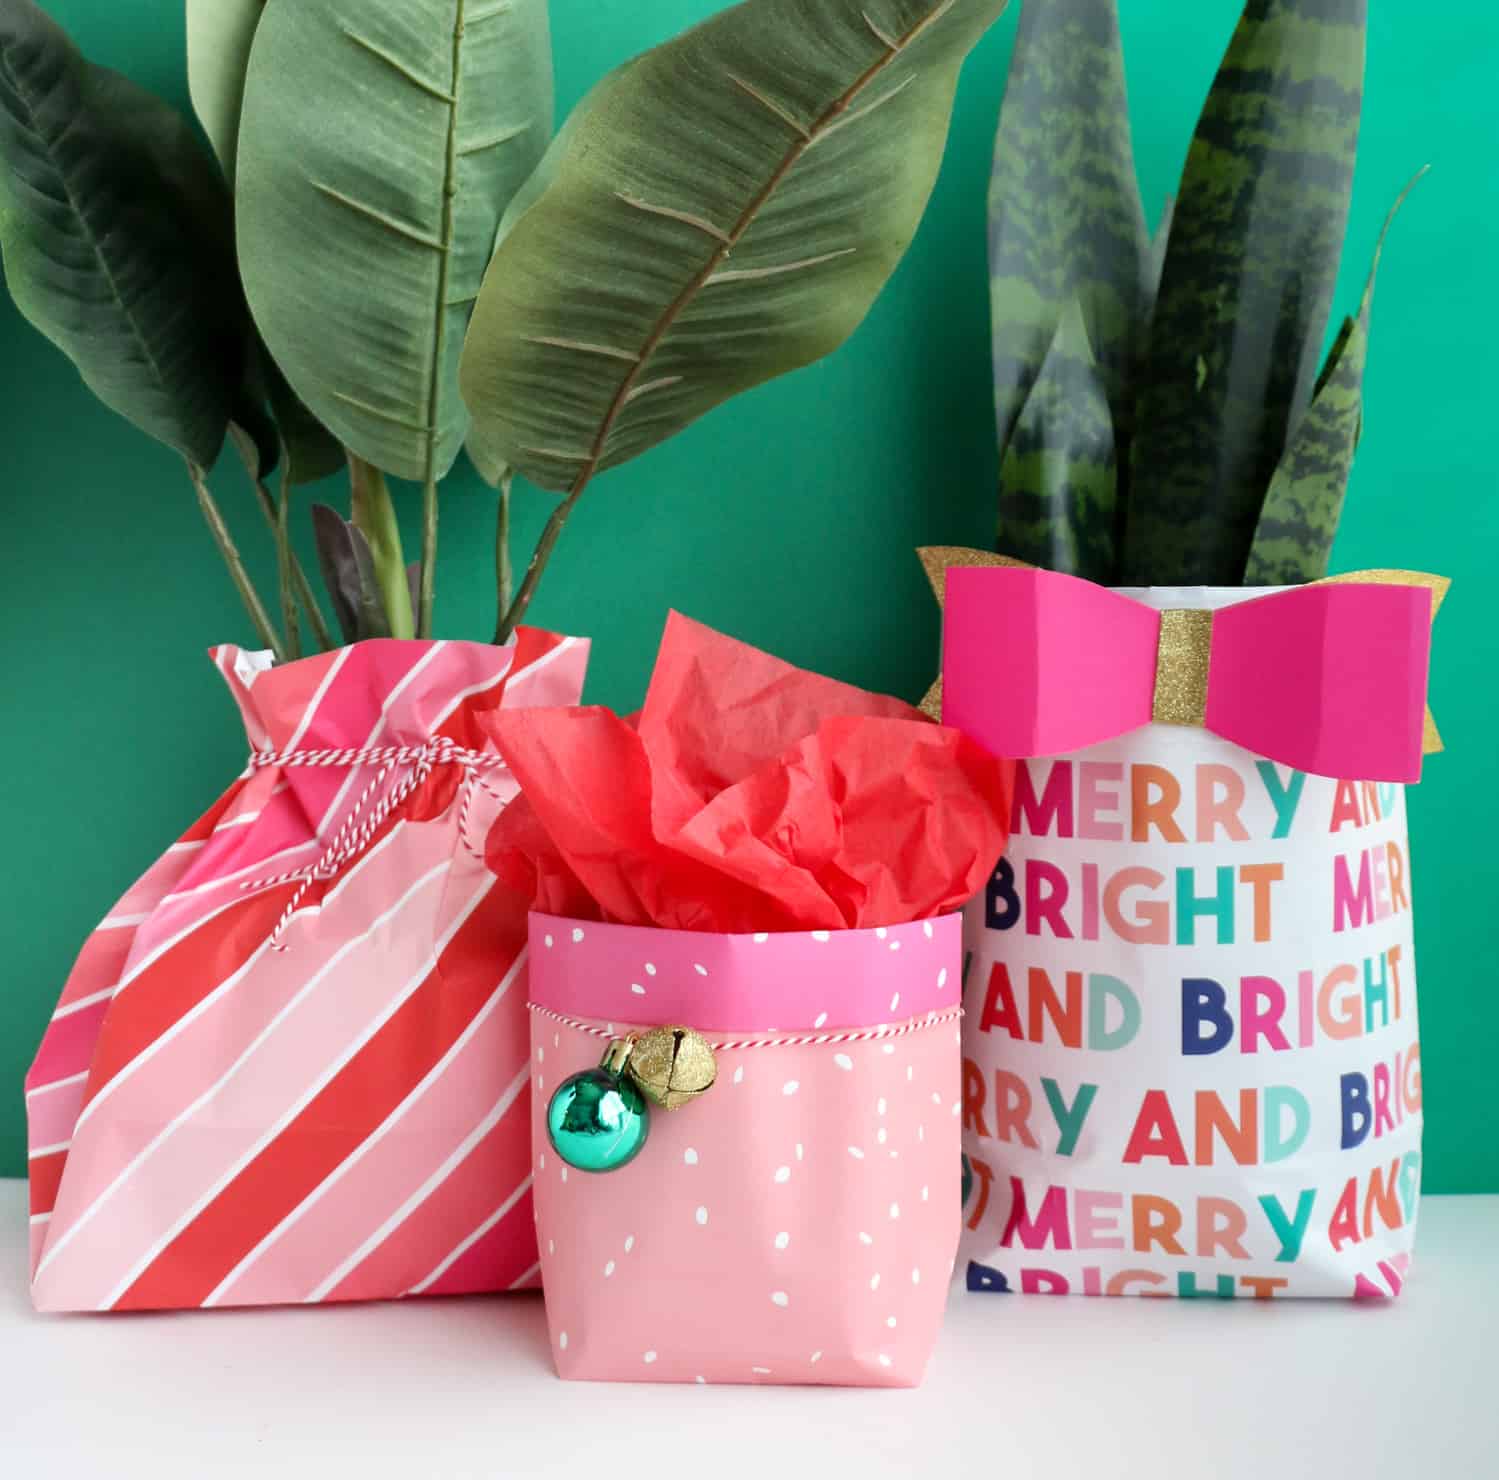
 Sometimes, no matter how hard you try, it is near impossible to wrap an unusual object like a plant or a ceramic animal or bottle of wine. Sure, you could just buy a gift bag to put them in, but did you know that you can easily use a piece of wrapping paper to create your own gift bag in just minutes?! These gift bags were all made using my line of wrapping paper, and are the perfect way to wrap those unusual shaped gifts in a snap. Follow along below to learn how to make a gift bag out of wrapping paper!
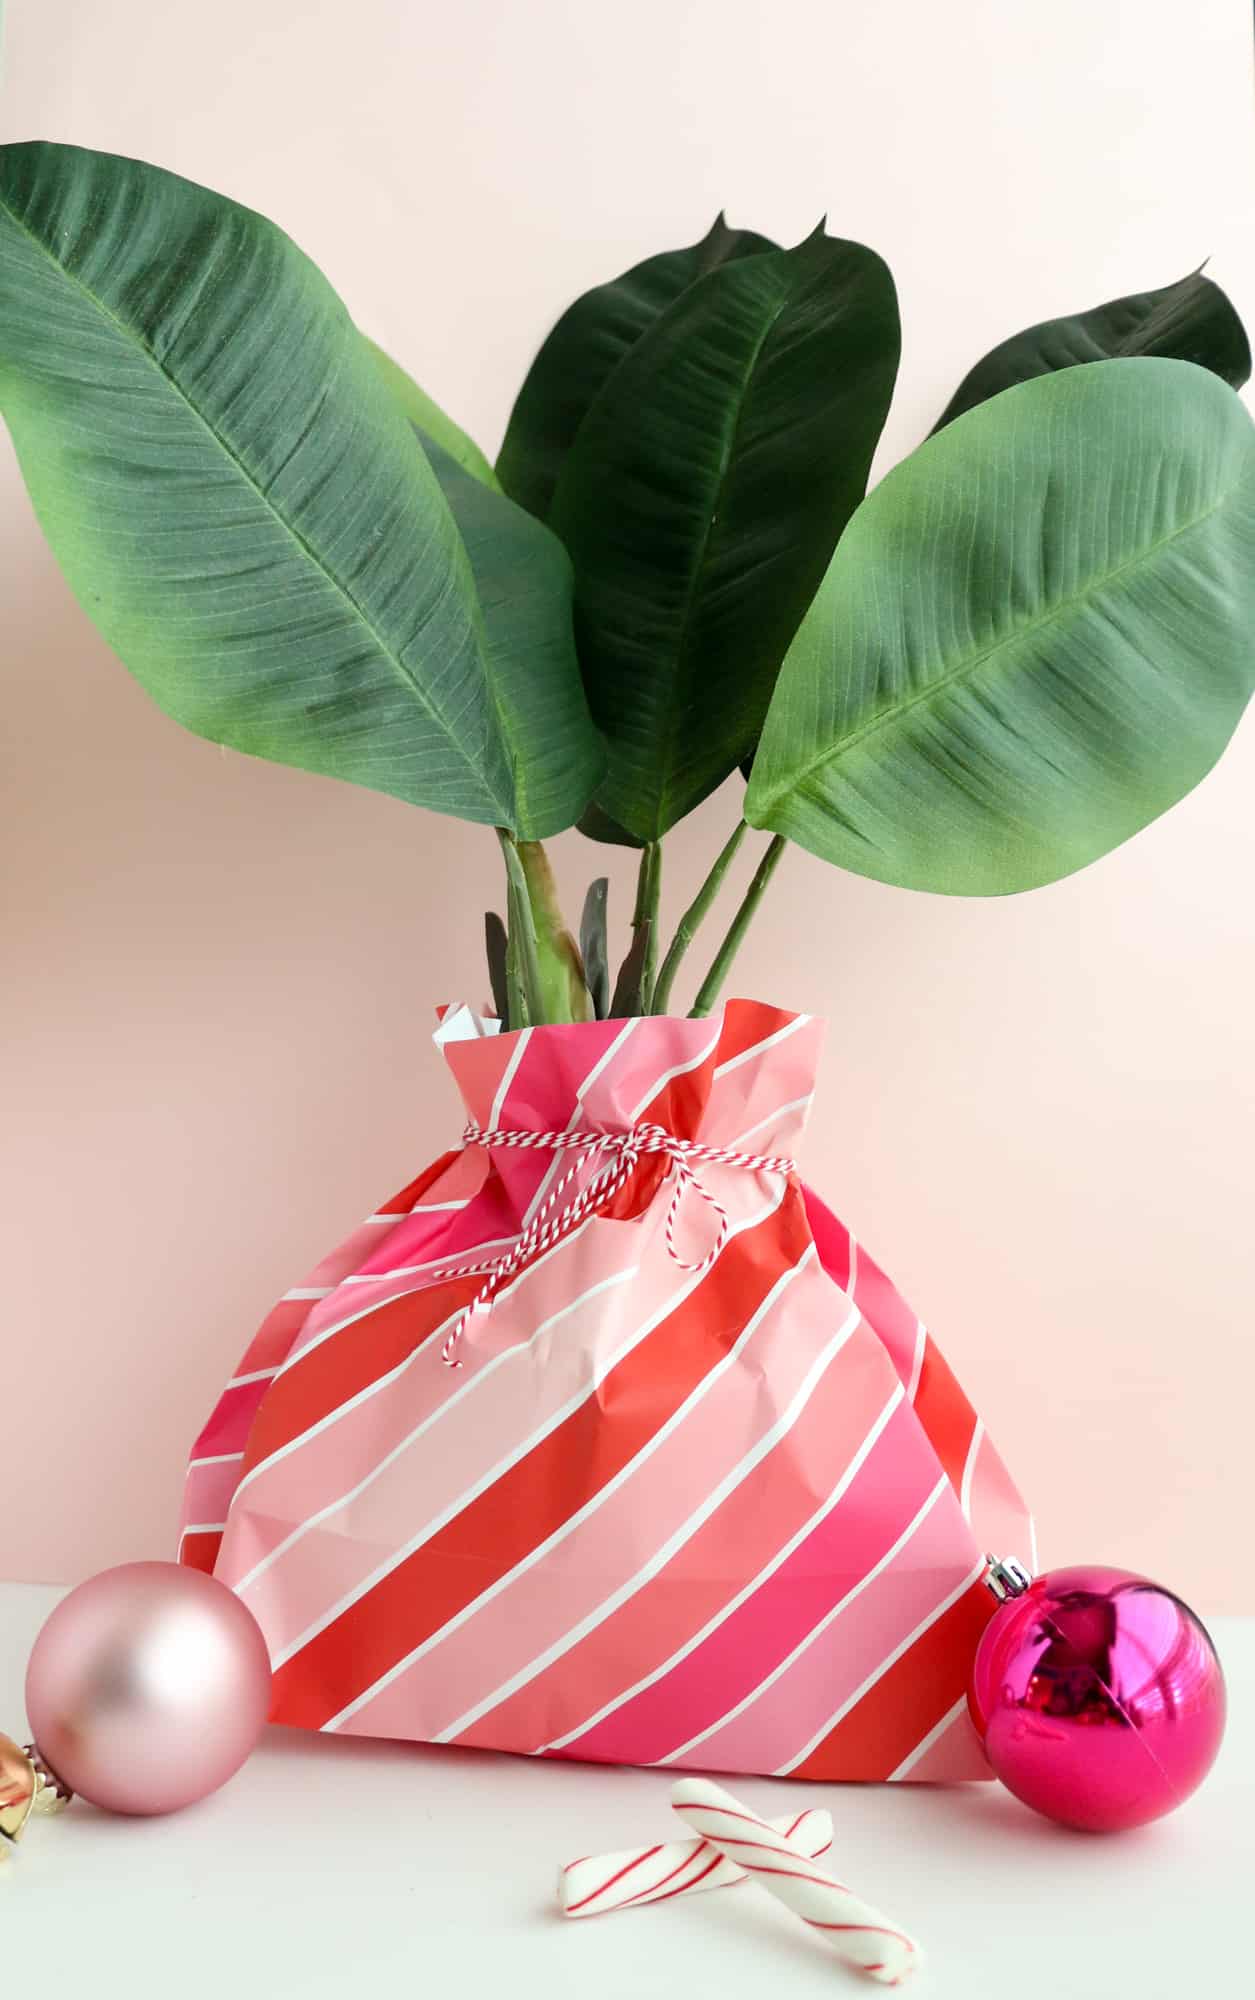 Supplies Needed:
-wrapping paper sheets
-tape
-scissors
-baker’s twine, ribbon, bows, and tissue paper
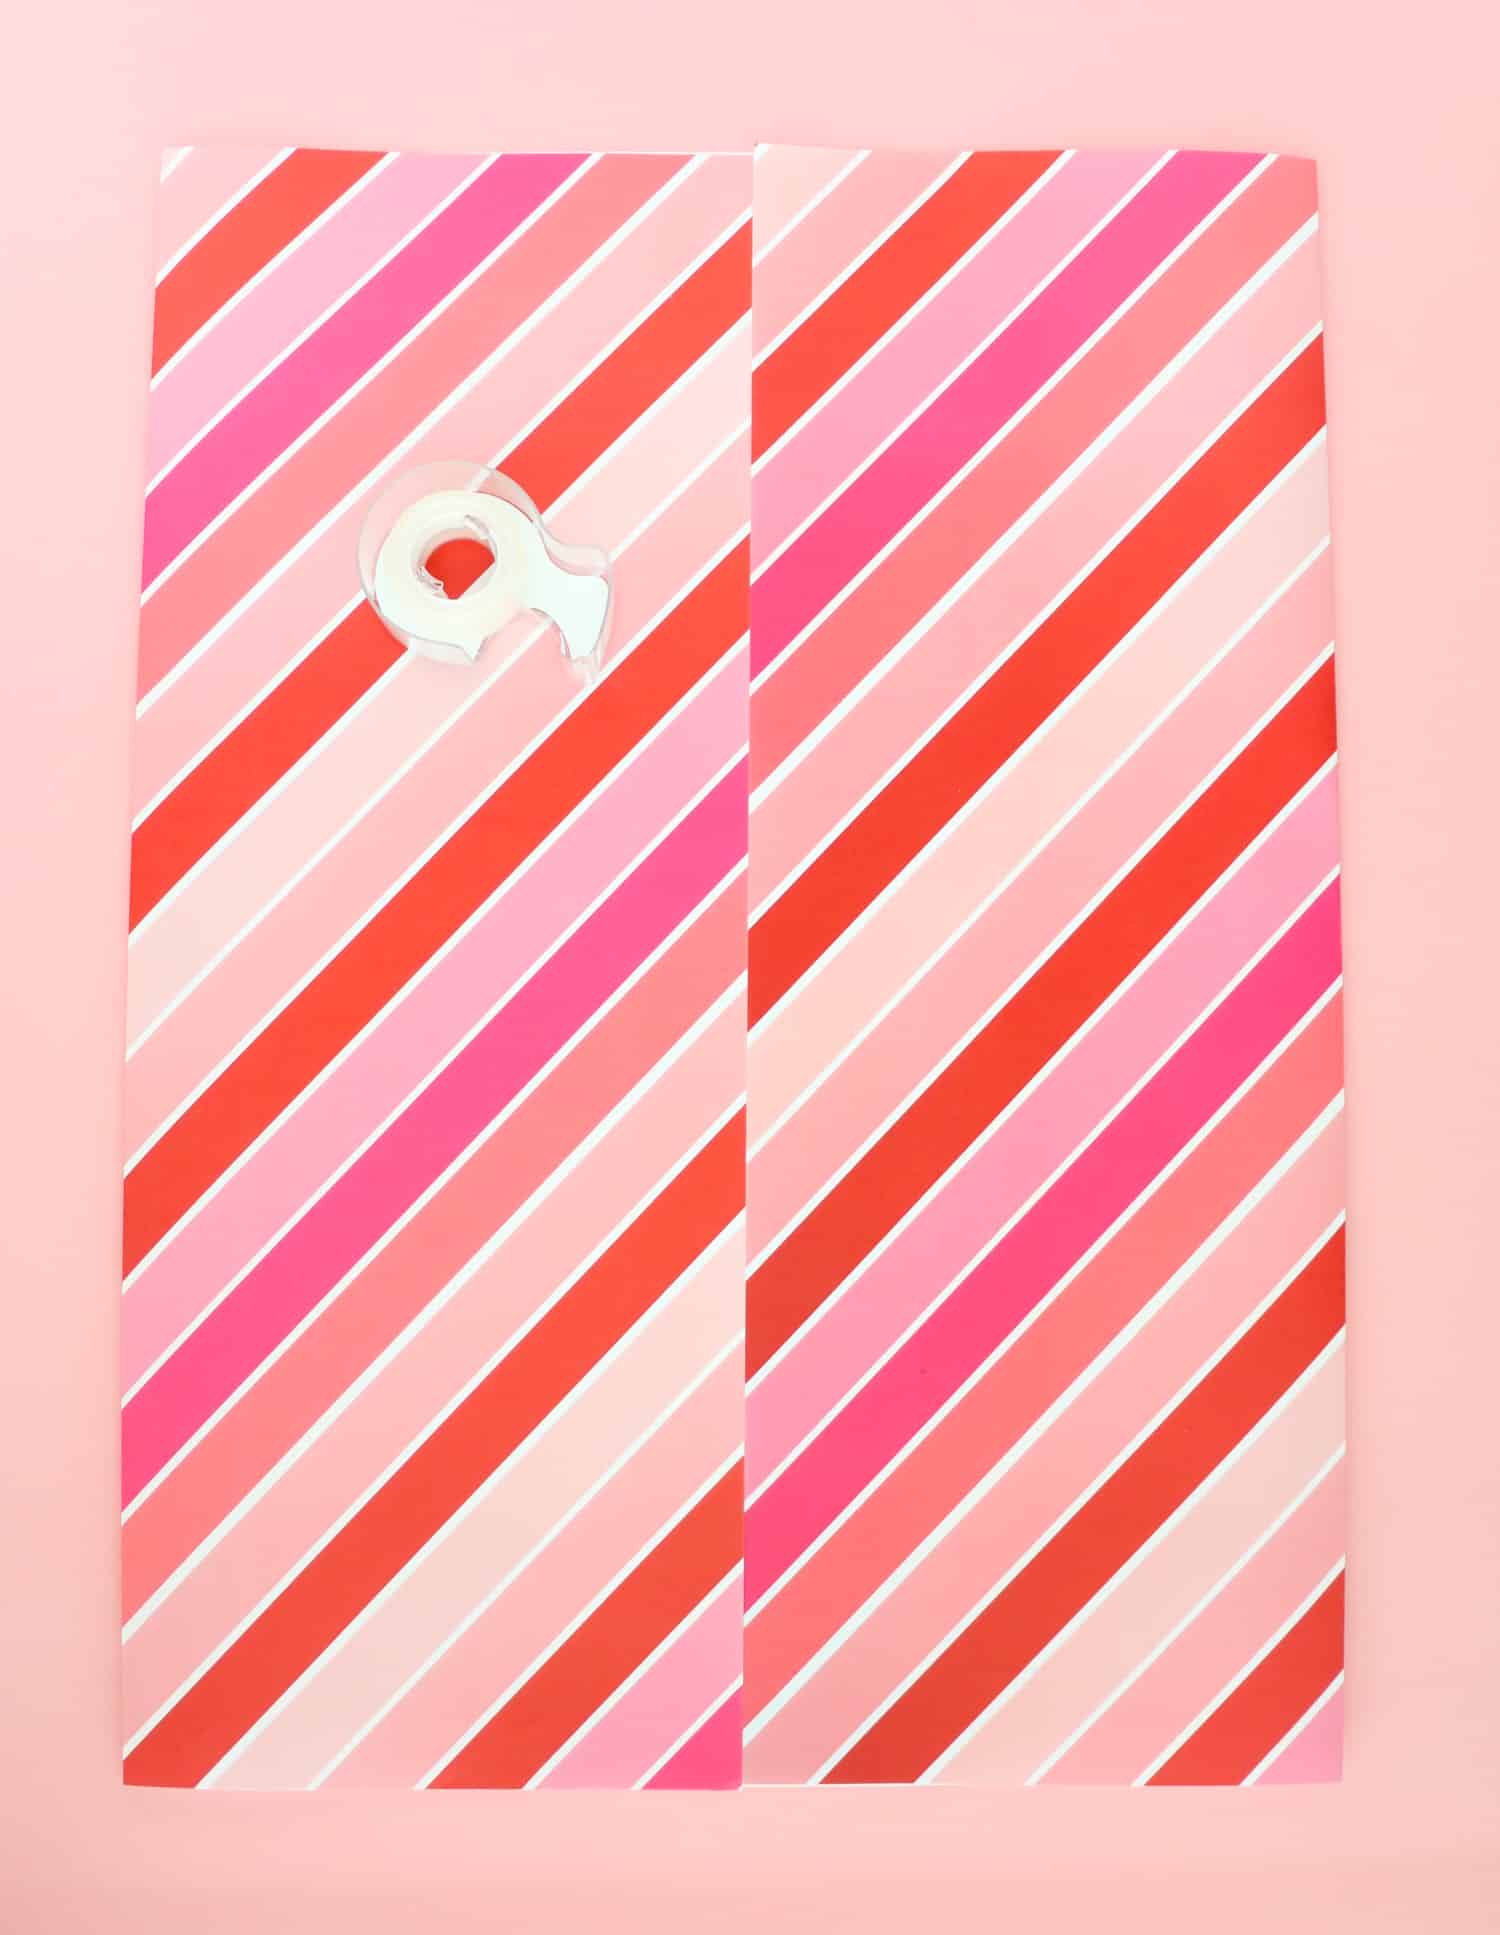 Begin by cutting off a piece of wrapping paper to make into your bag. For reference, the red stripe bag was made with a 10″ by 29″ piece of paper, the Merry and Bright bag was made with a 10″ by 20″ piece of paper, and the small Pink Snow bag was made with a 10″ by 6″ piece of paper. So you don’t need much!
Next, lay the paper so that the longest side is horizontal and fold in the sides to the center of the paper. Tape down this seam.
 Now, fold the bottom section of the wrapping paper up about 3-4″ to create a fold. Then unfold the paper and open the bottom of the bag and fold in each side to make each side a triangle.
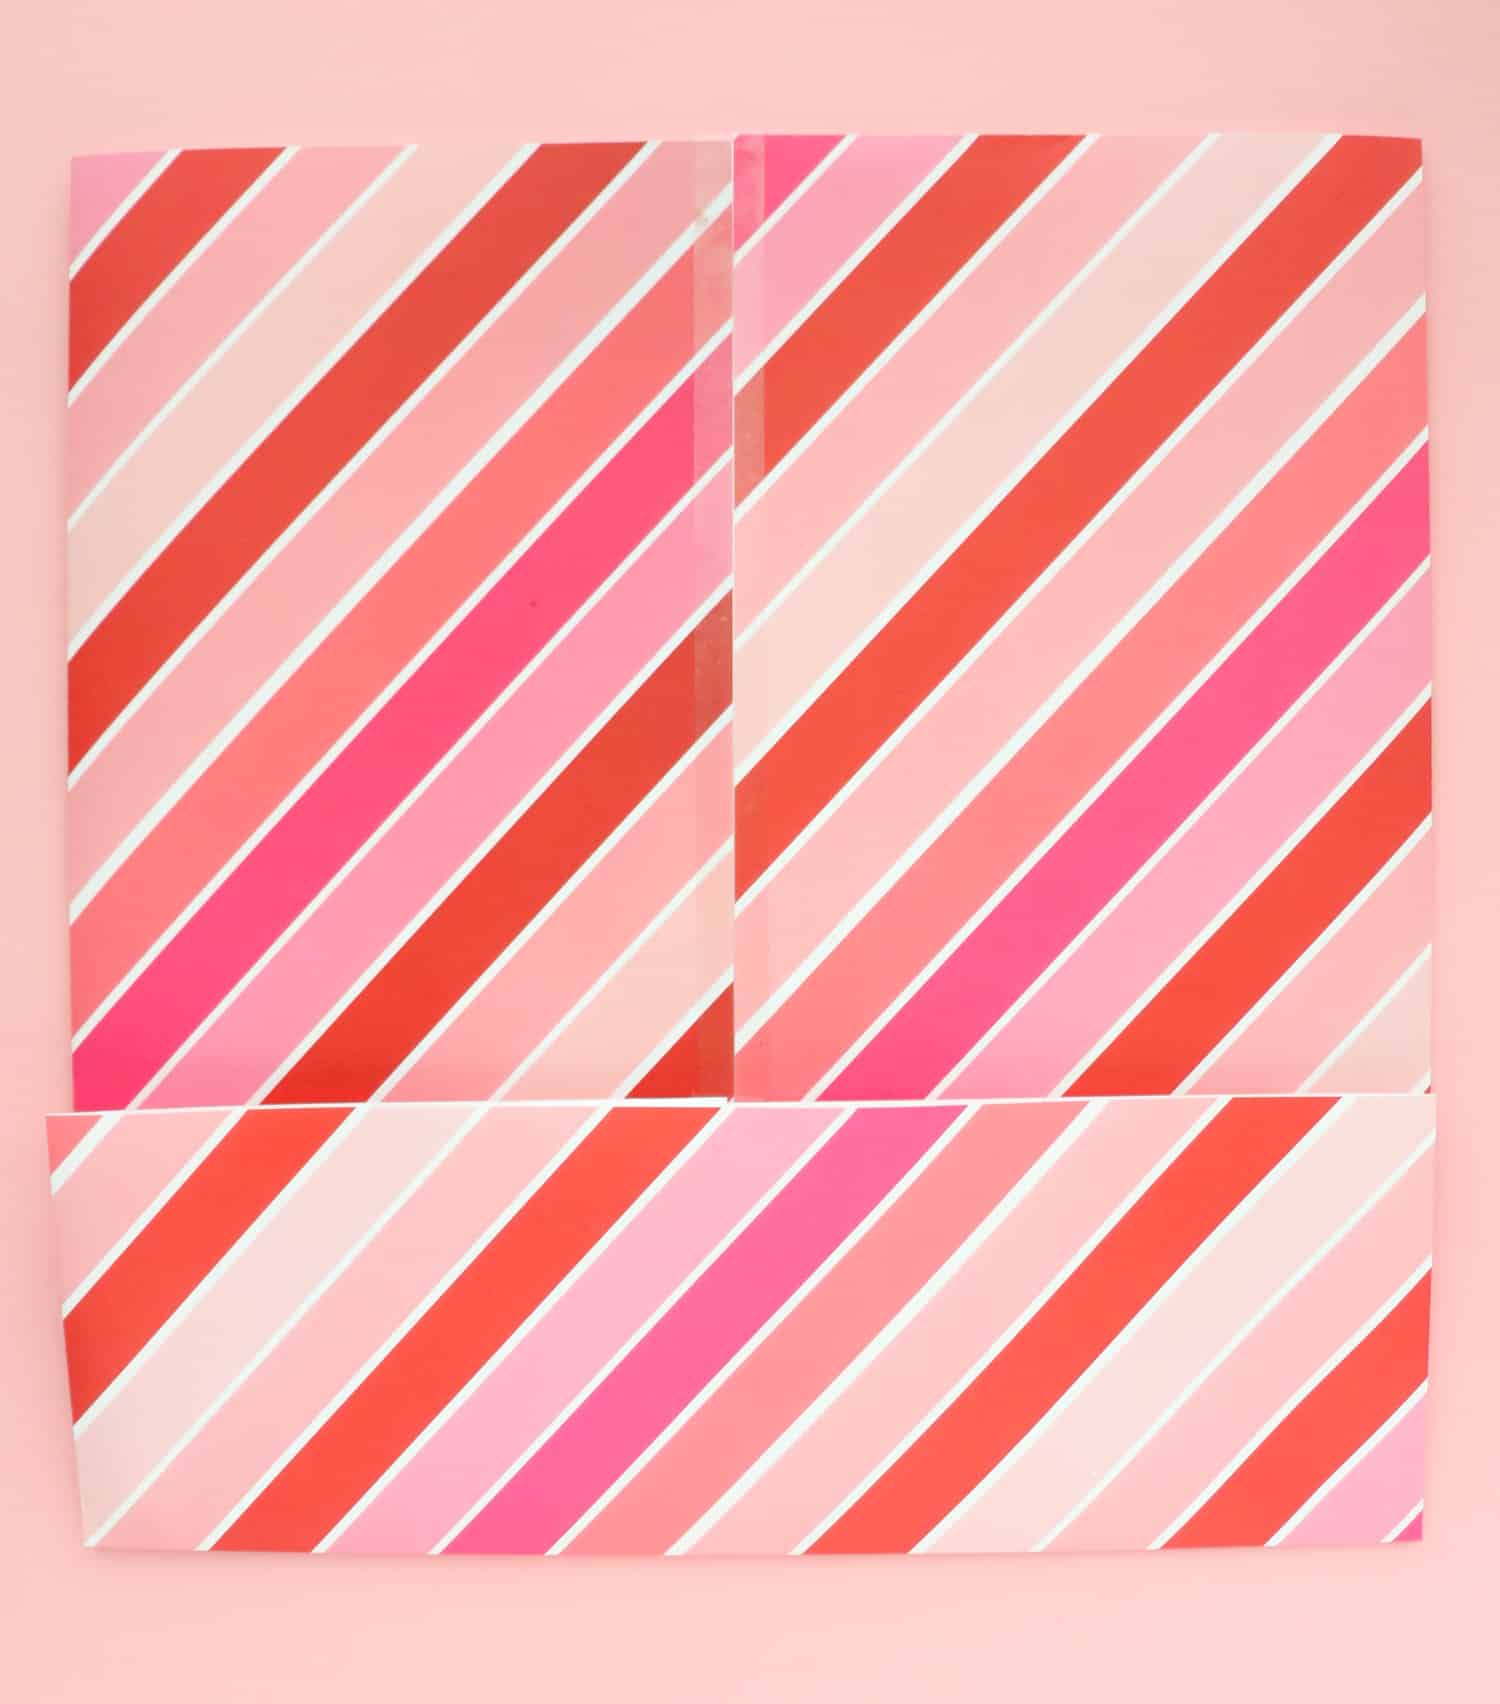
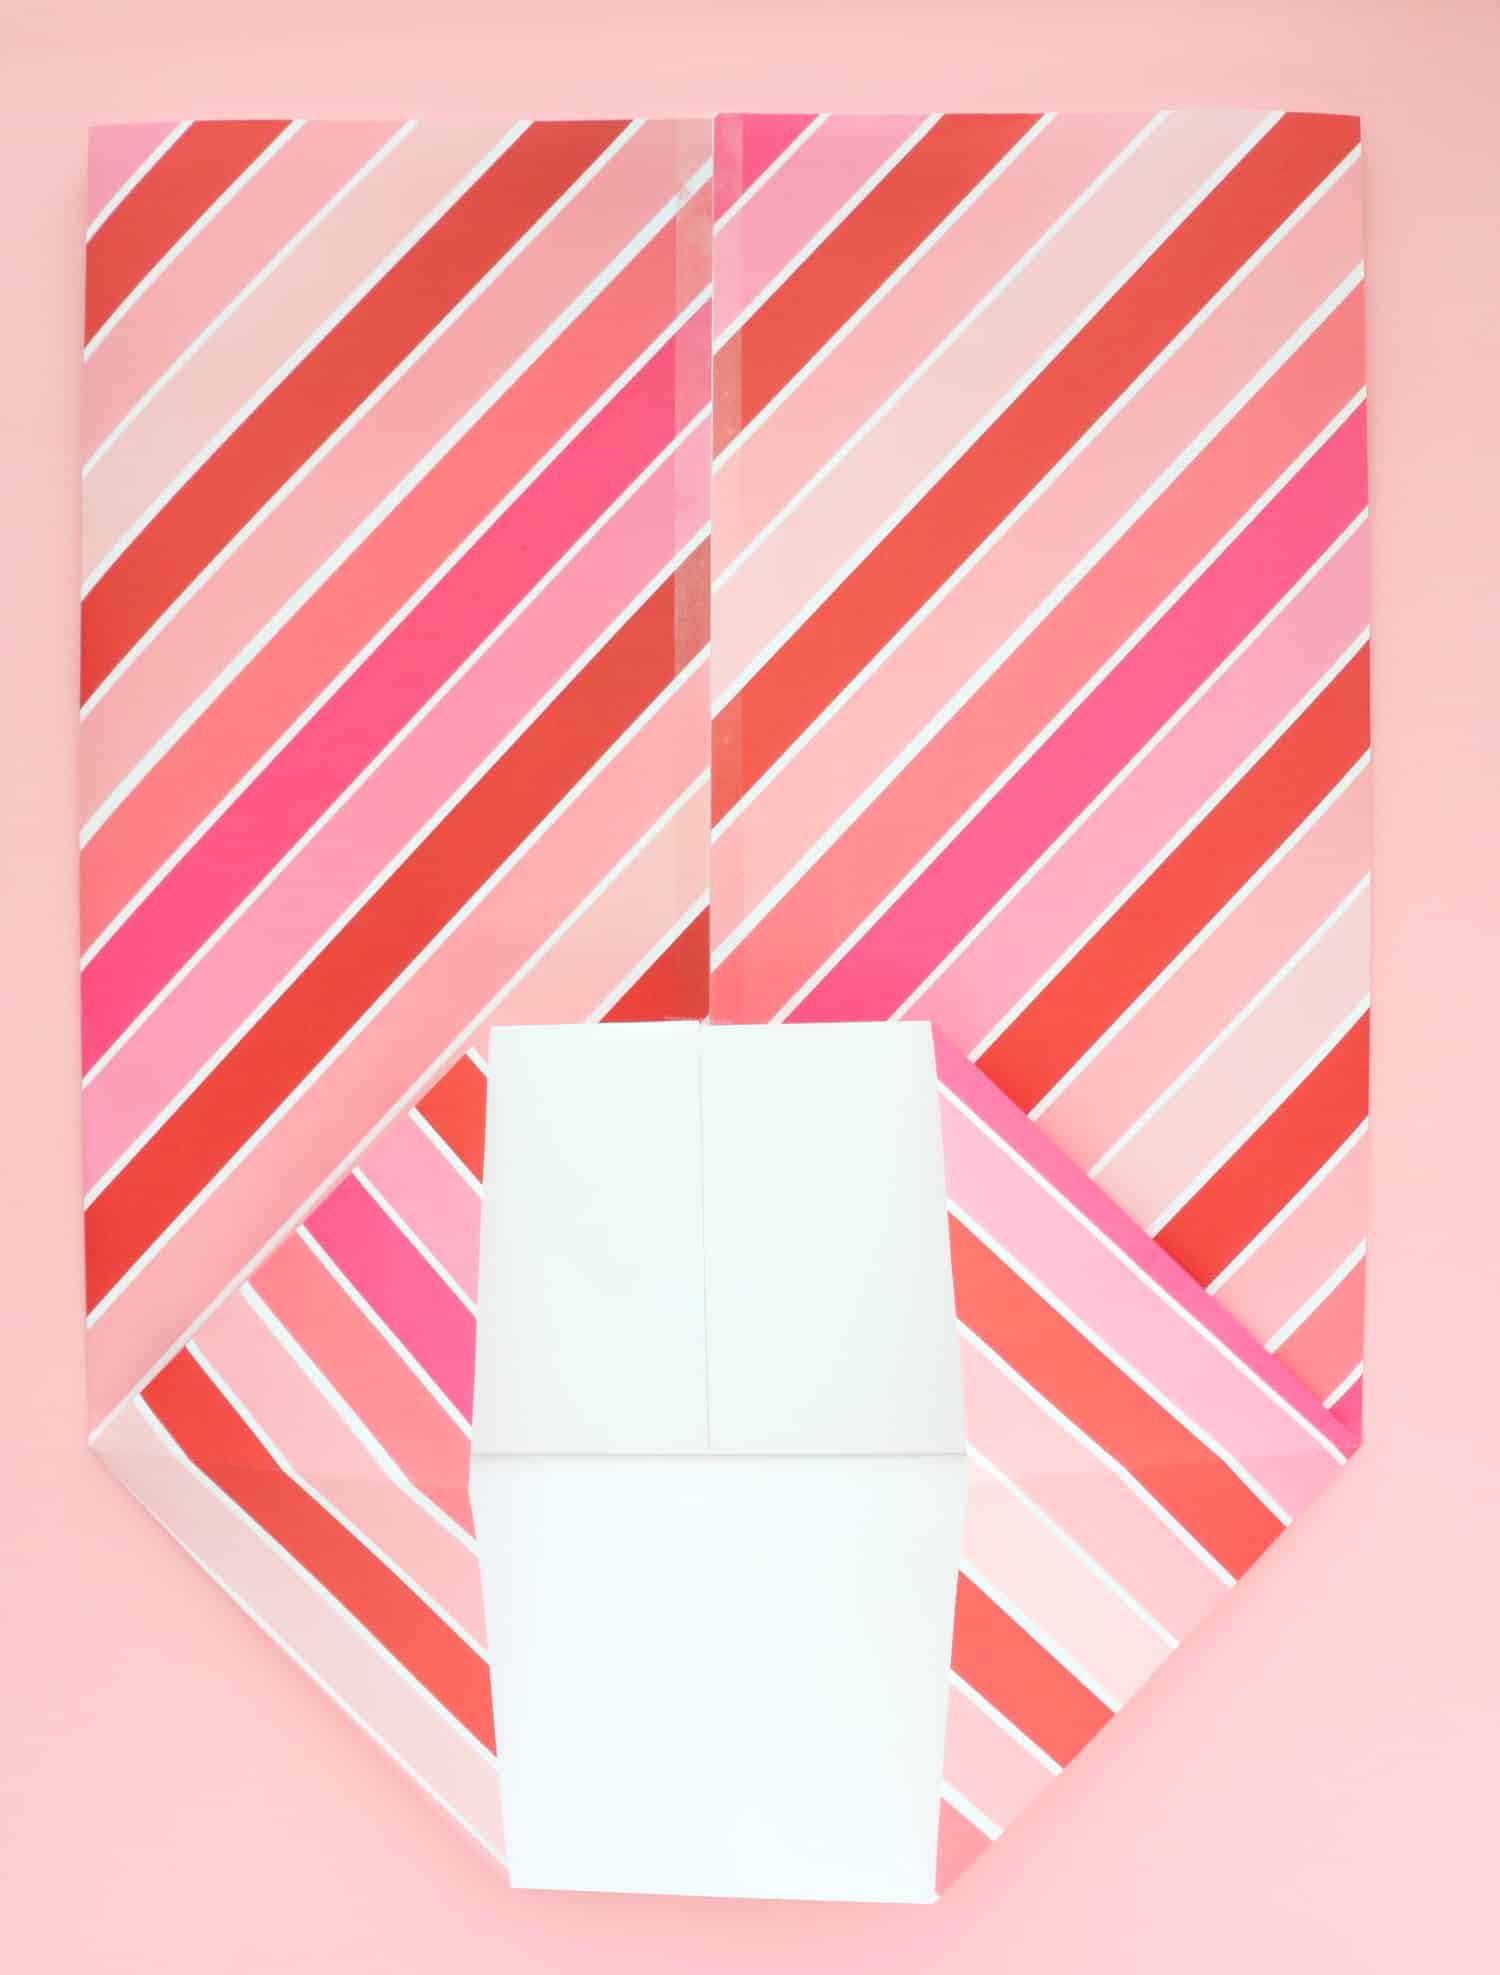
Finally, fold the top and bottom of the flaps so that they meet at the center and tape across the seam.

Now all that is left is to open the bag at the top and add your gift, bow, and tissue paper.
 For a different look, try folding the top edge of the wrapping paper piece over to create a cuff and then fold and tape the paper into a bag. This is what I did for the Merry and Bright bag. Then I just adding my potted plant and added a bow. Simple and very cute!
 You can even try adding a coordinating patterned wrapping paper to the inside of the exterior paper before cuffing and folding the bag for a peek of two different patterns like I did for the small pink snow bag.
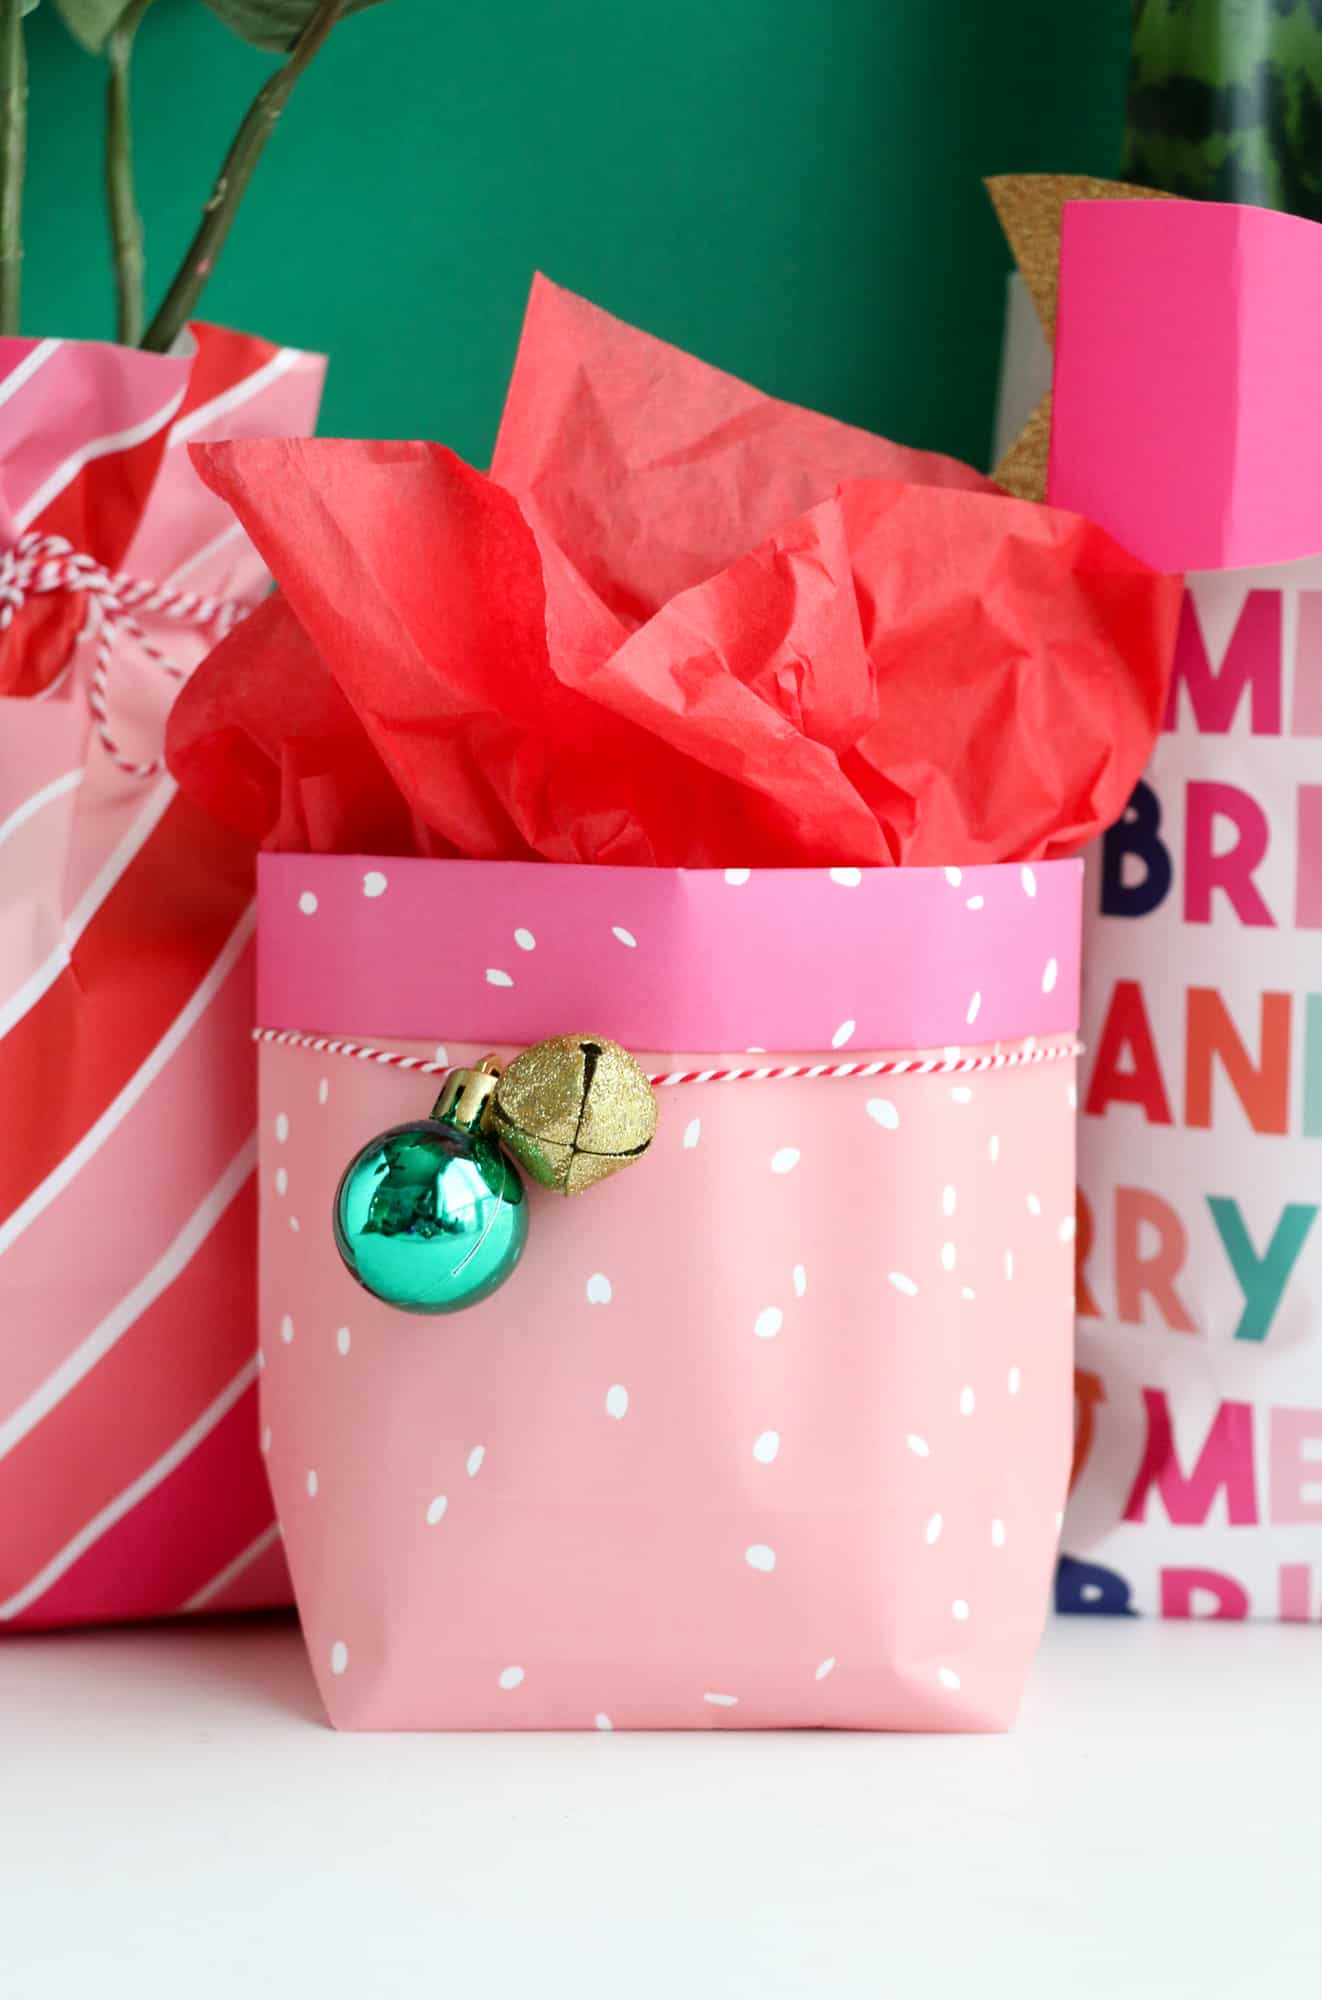 I love that there are so many options for this new folding and gift wrapping method and it is so much easier than trying to crinkle and tape wrapping paper around an odd shaped gift. I honestly love the idea of using this technique to give my potted plants a holiday makeover. Super quick and cheap way to give them a little holiday cheer! Be sure to check out the Kailo Chic shop to get your hands on some colorful wrapping paper to wrap all your gifts this year! xo. Kara


7 Comments
This is genius! I used a new diaper rash ointment box to hold a little toy bus. I could have used this tip two days ago!! ????
This is so smart and such a unique way of wrapping finicky shaped gifts! Thank you for the tutorial. 🙂 ❤️
Charmaine Ng | Architecture & Lifestyle Blog
http://charmainenyw.com
Filing this under cute AND useful!
Kara – I spent the afternoon visiting your shop and your blog. Both are amazing.
These are so cute! I love that you can totally customize the size, too! Sometimes you just need a bag, but they can be so much larger than the item, it makes it awkward. Great idea!
http://www.callofthestyled.com
Hi Kara,
these little gift bags look so cute. And they are just perfect for all the gifts that aren’t easy to wrap. Will definitely save this idea and give it a try soon (all my Xmas presents are already wrapped, but there’s always the next birthday around the corner. ????
Happy holidays!
xo, Romy
In Love with Bliss – plantiful recipes nourishing body & soul
These wrapping ideas are really unique and very much useful. Thanks a lot for sharing it with us. It gonna help me a lot.