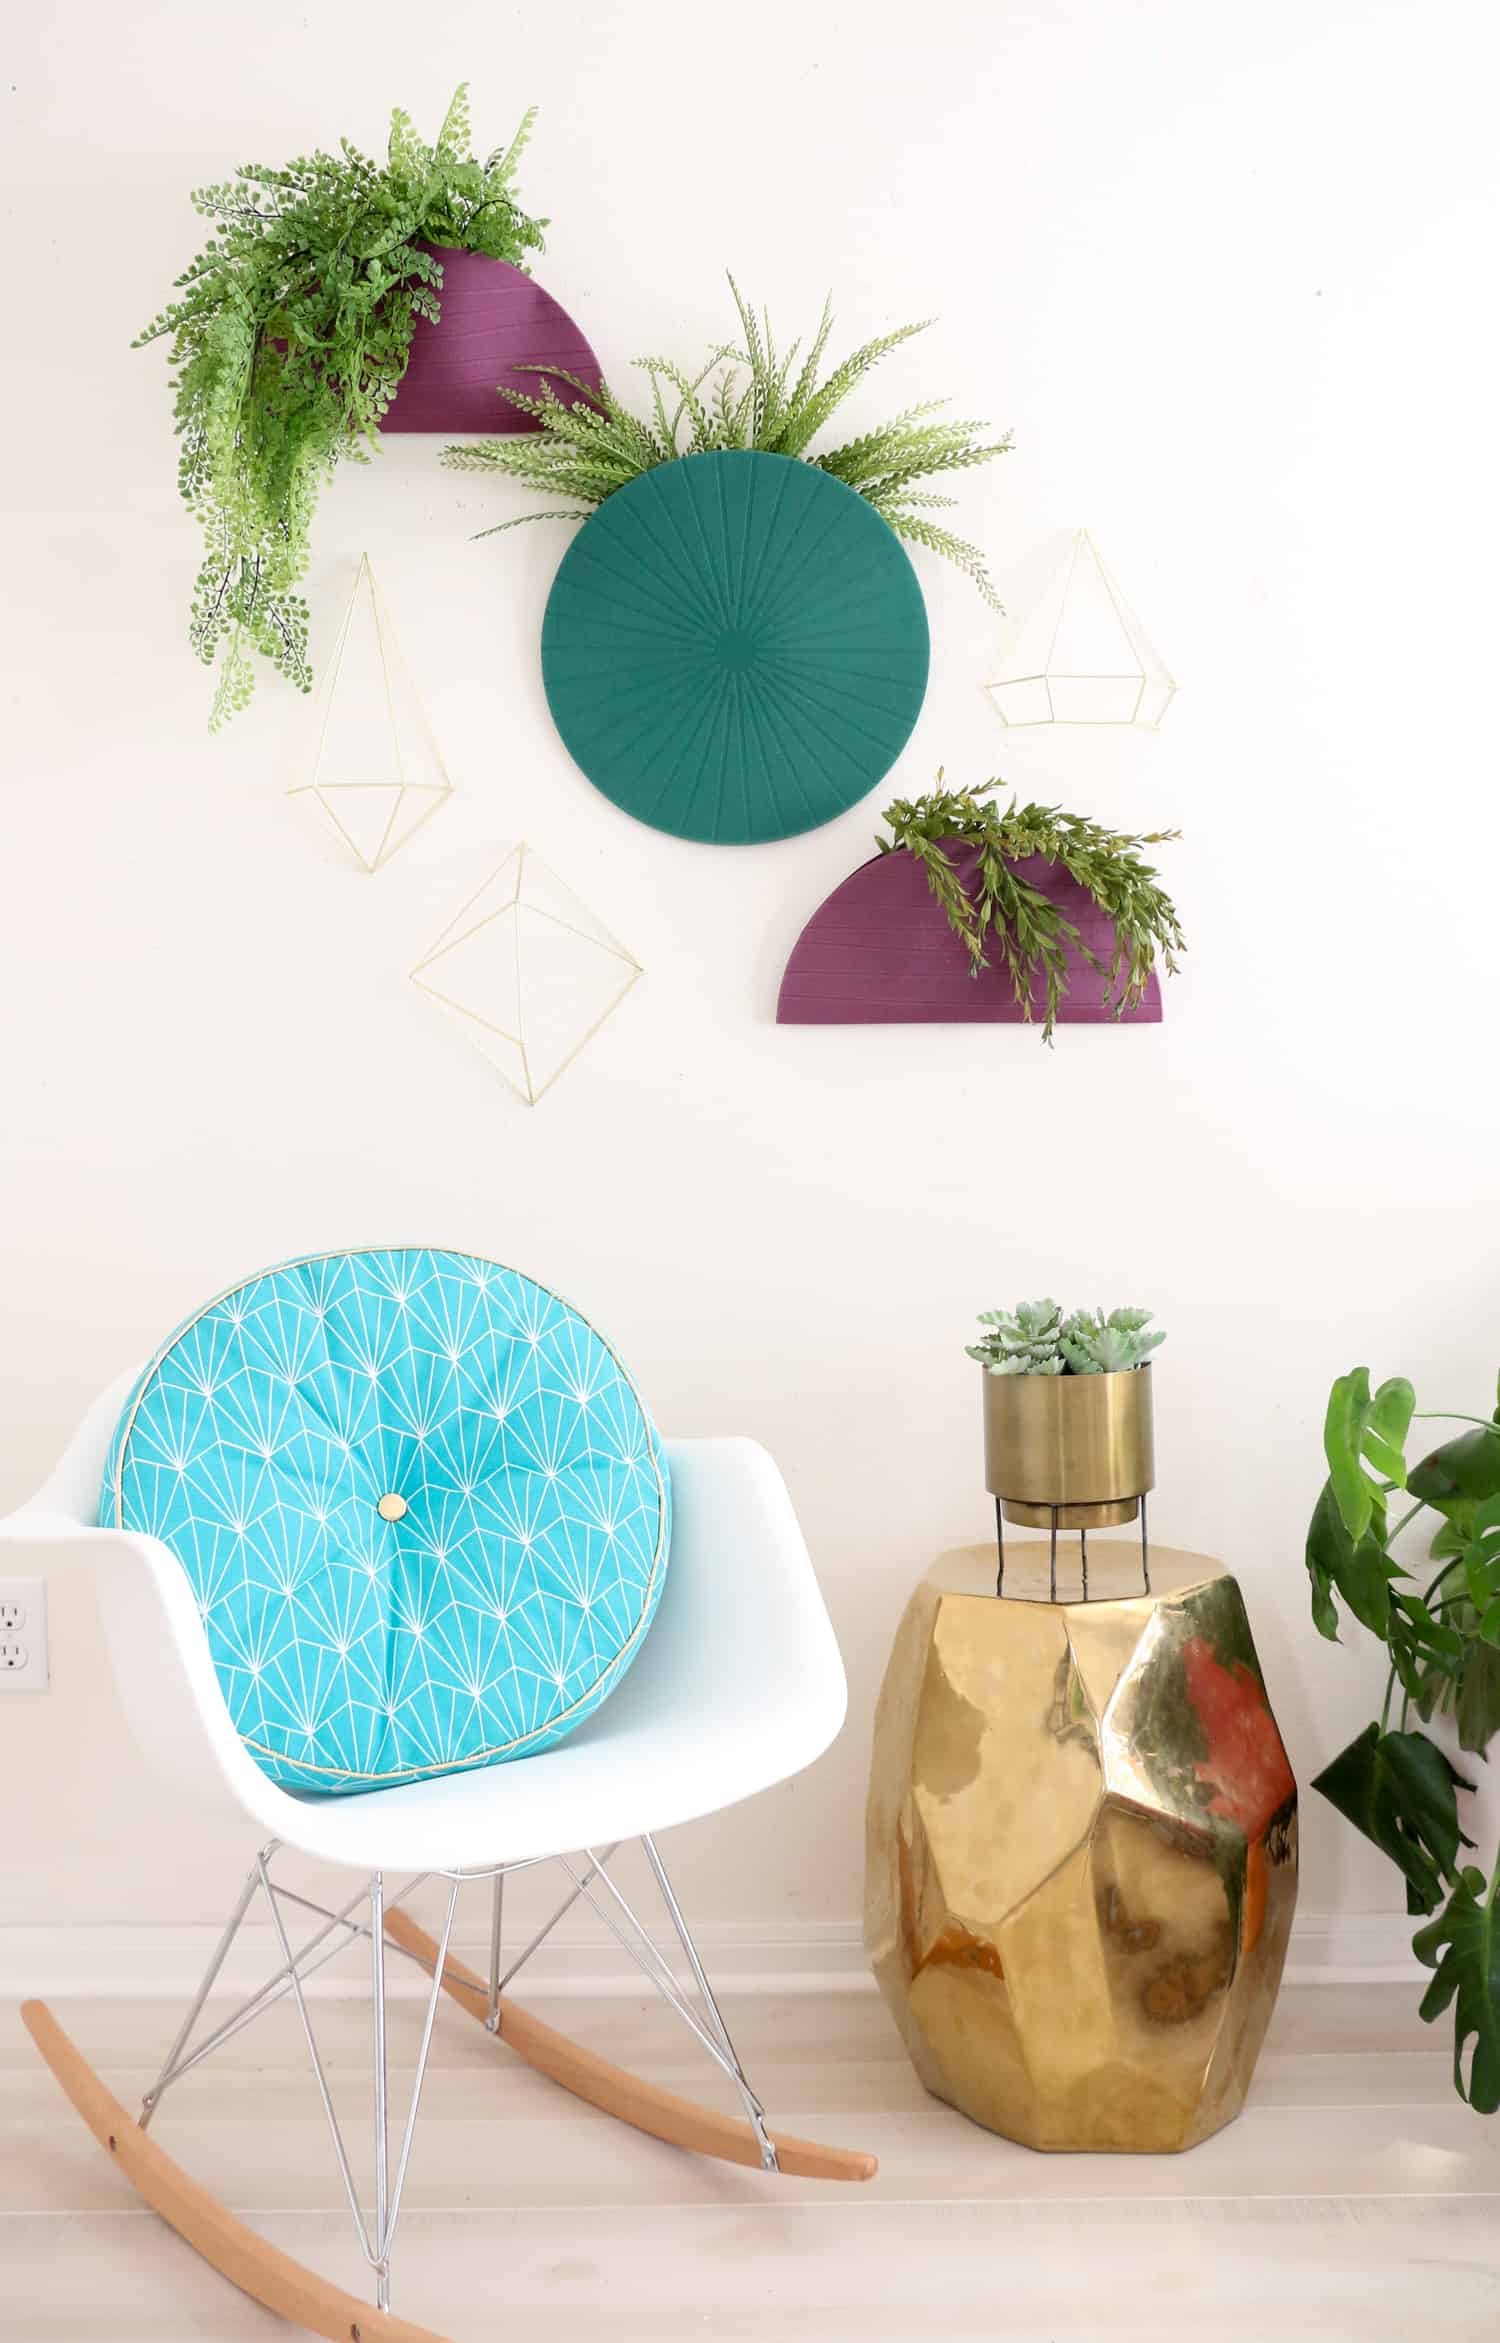
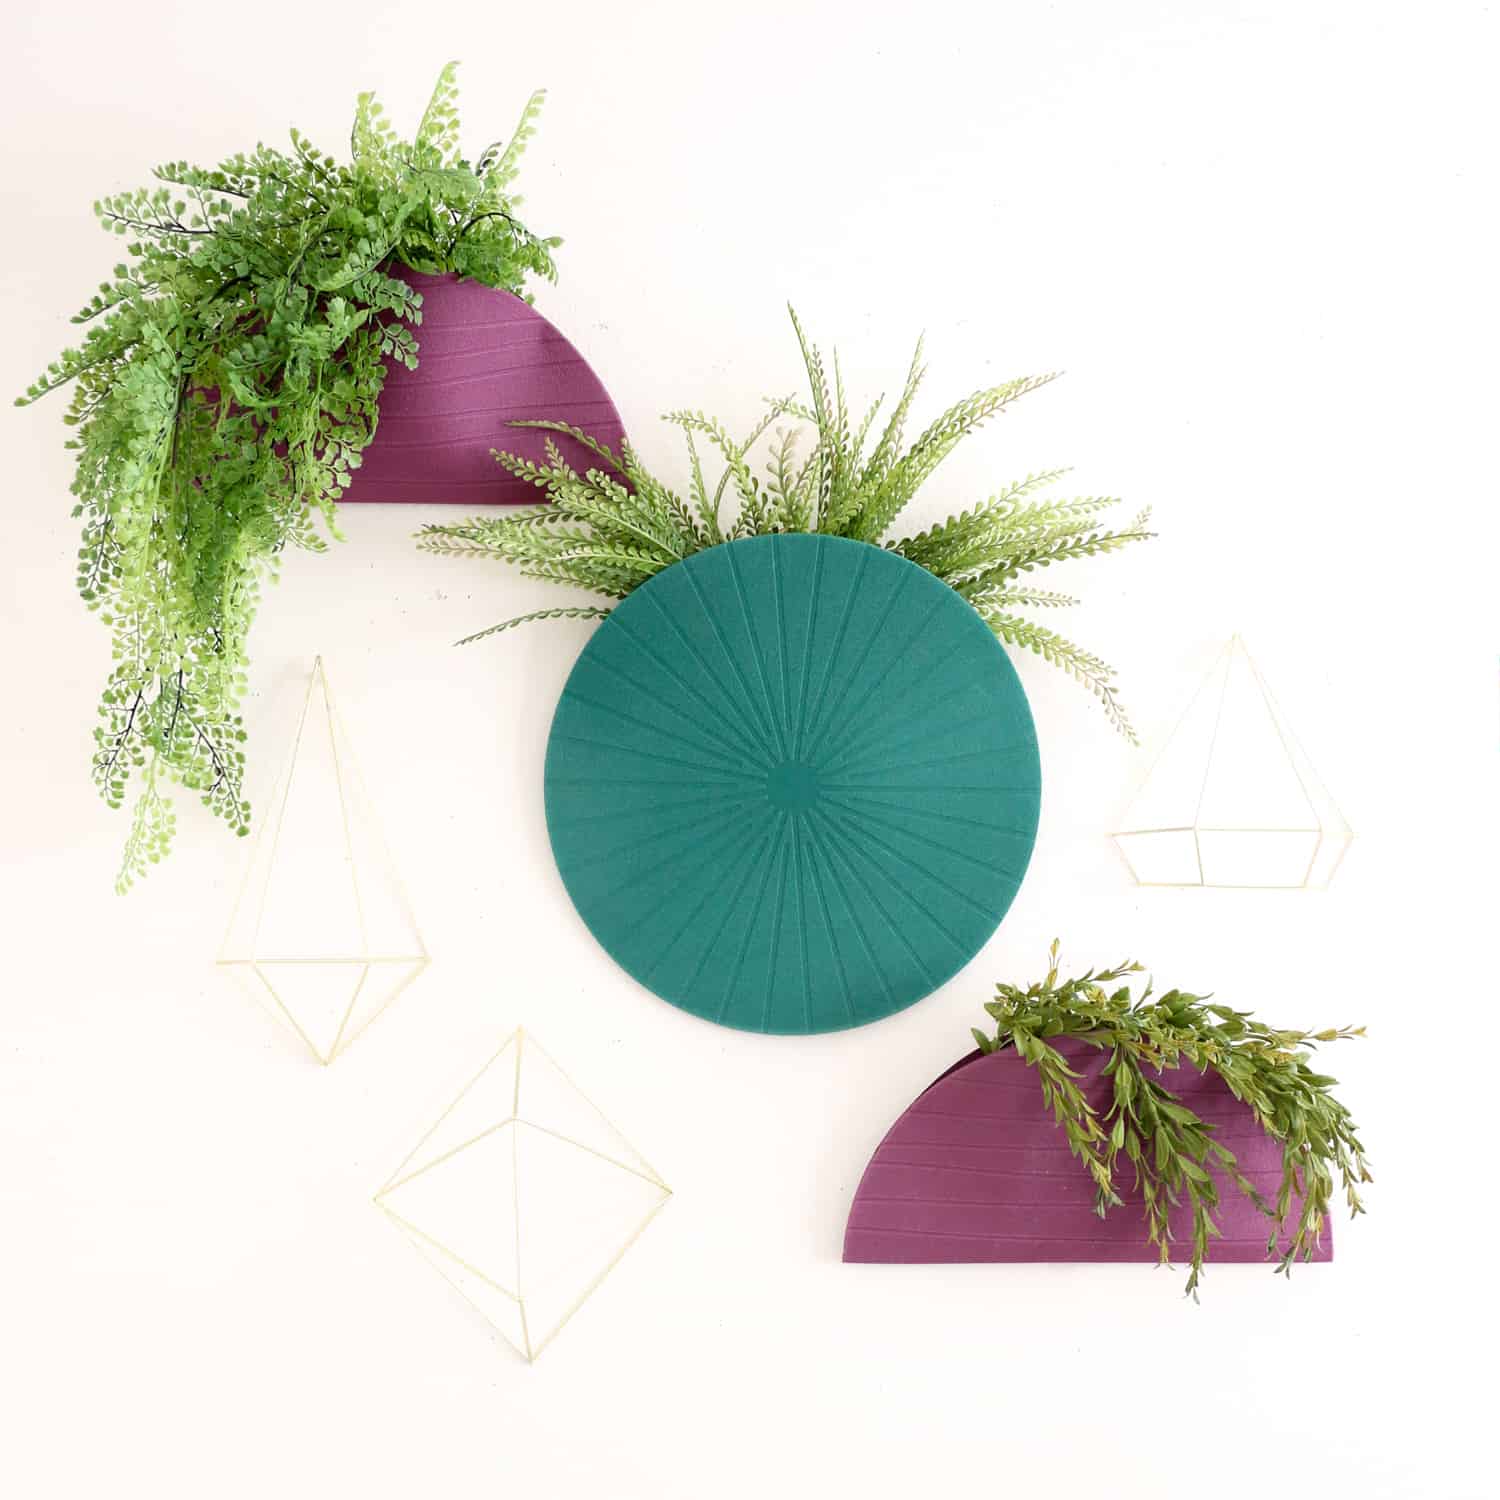
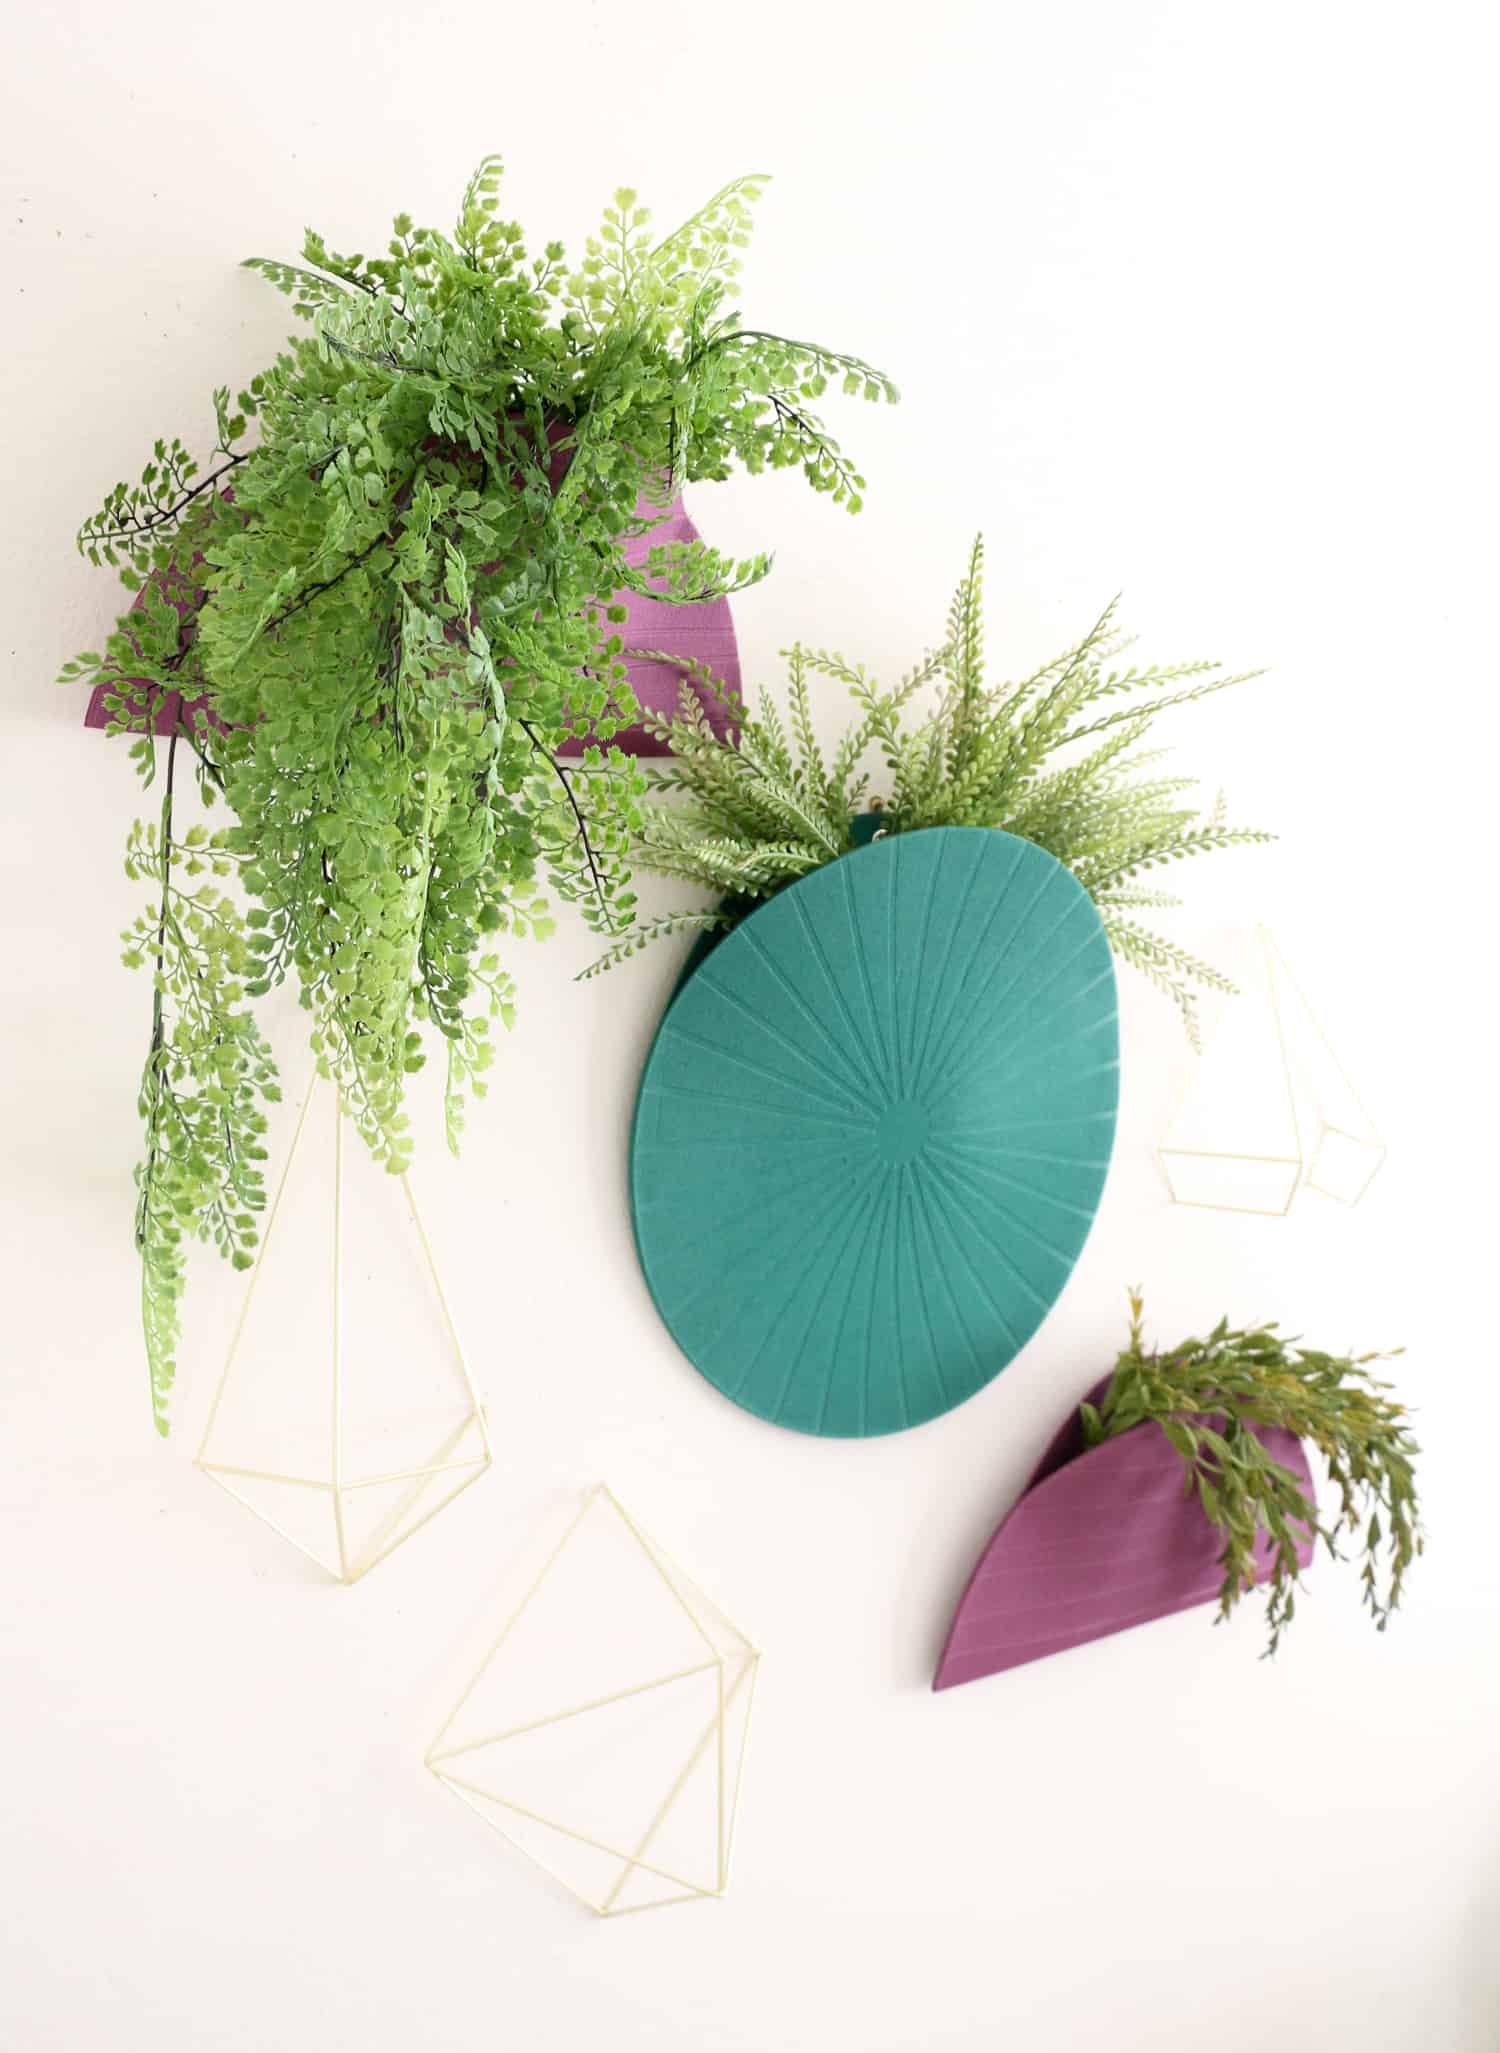
 With the new year here, I find myself wanting to add more and more plants to my home. Maybe it’s because all the Christmas trees have been packed away and I am longing for that extra greenery, or maybe it’s because this winter weather has me craving warm sunny days outdoors. Whatever the reason, I am finding new ways to add plants to every room of my home. These wall planters were at one time, believe it or not, plastic placemats from IKEA! With a little DIY action (and I mean very little!), these placemats make the perfect hanging planter.
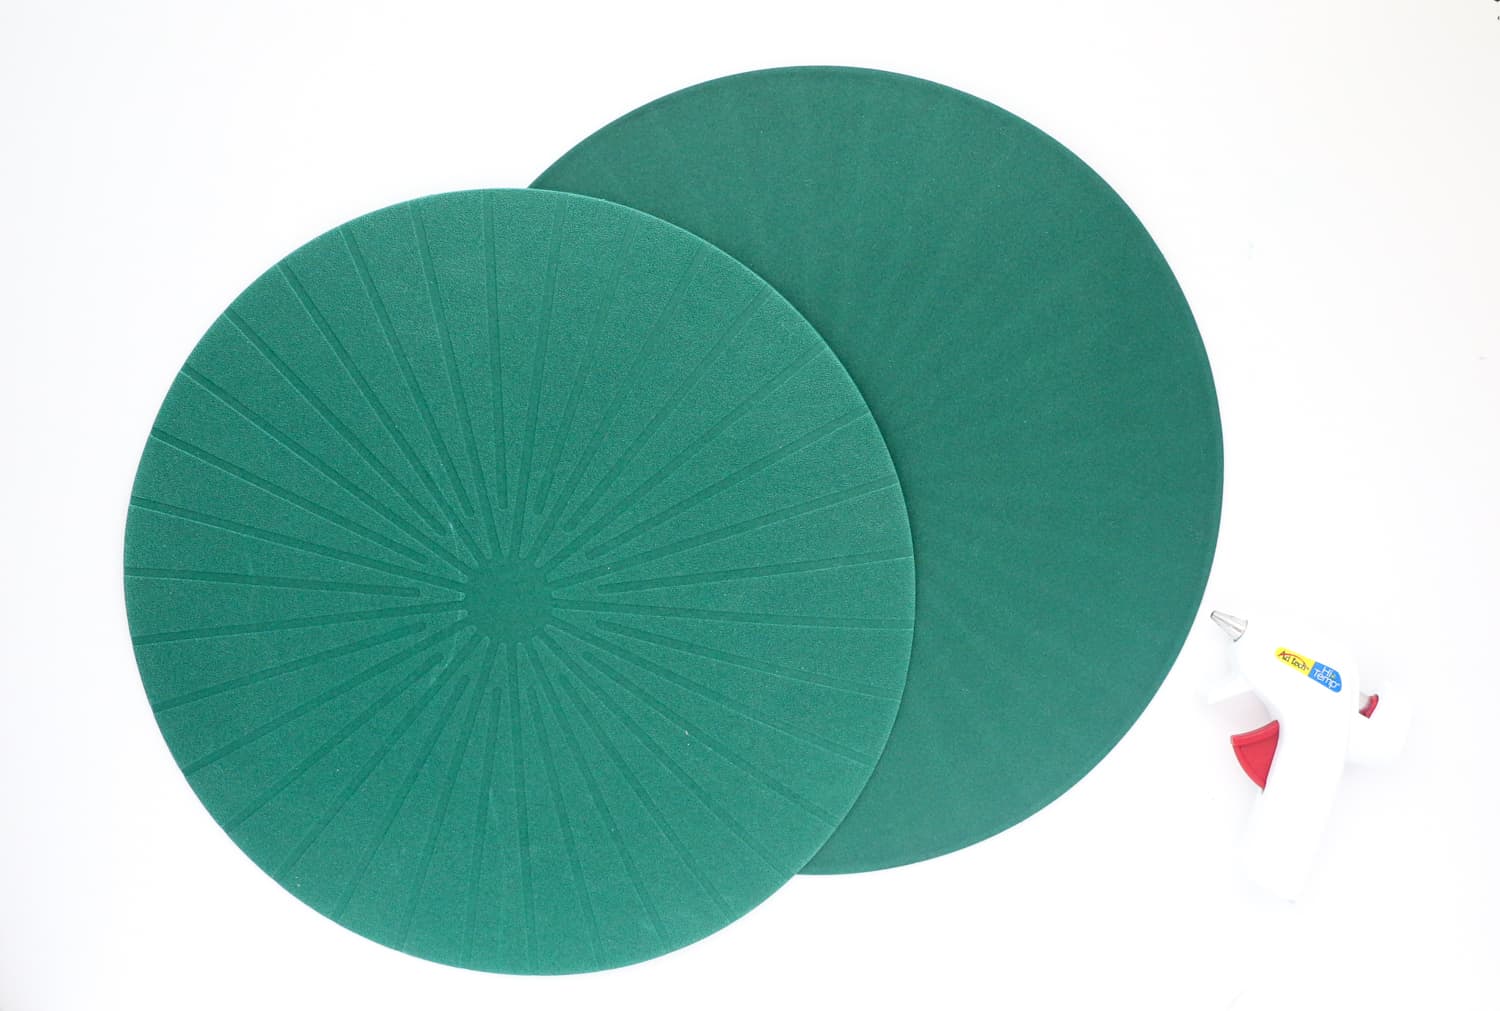 Supplies:
-plastic placemats (Fabric placemats will also work, but you will also need waterproof vinyl plastic to make a liner if you go the fabric placemat route)
-hot glue
-metal grommets
-hammer
-dirt and plants (real our faux)
Step 1: Begin by folding your placemat in half for the semi circle planters and glue from the fold up about 4-5″ using the hot glue.
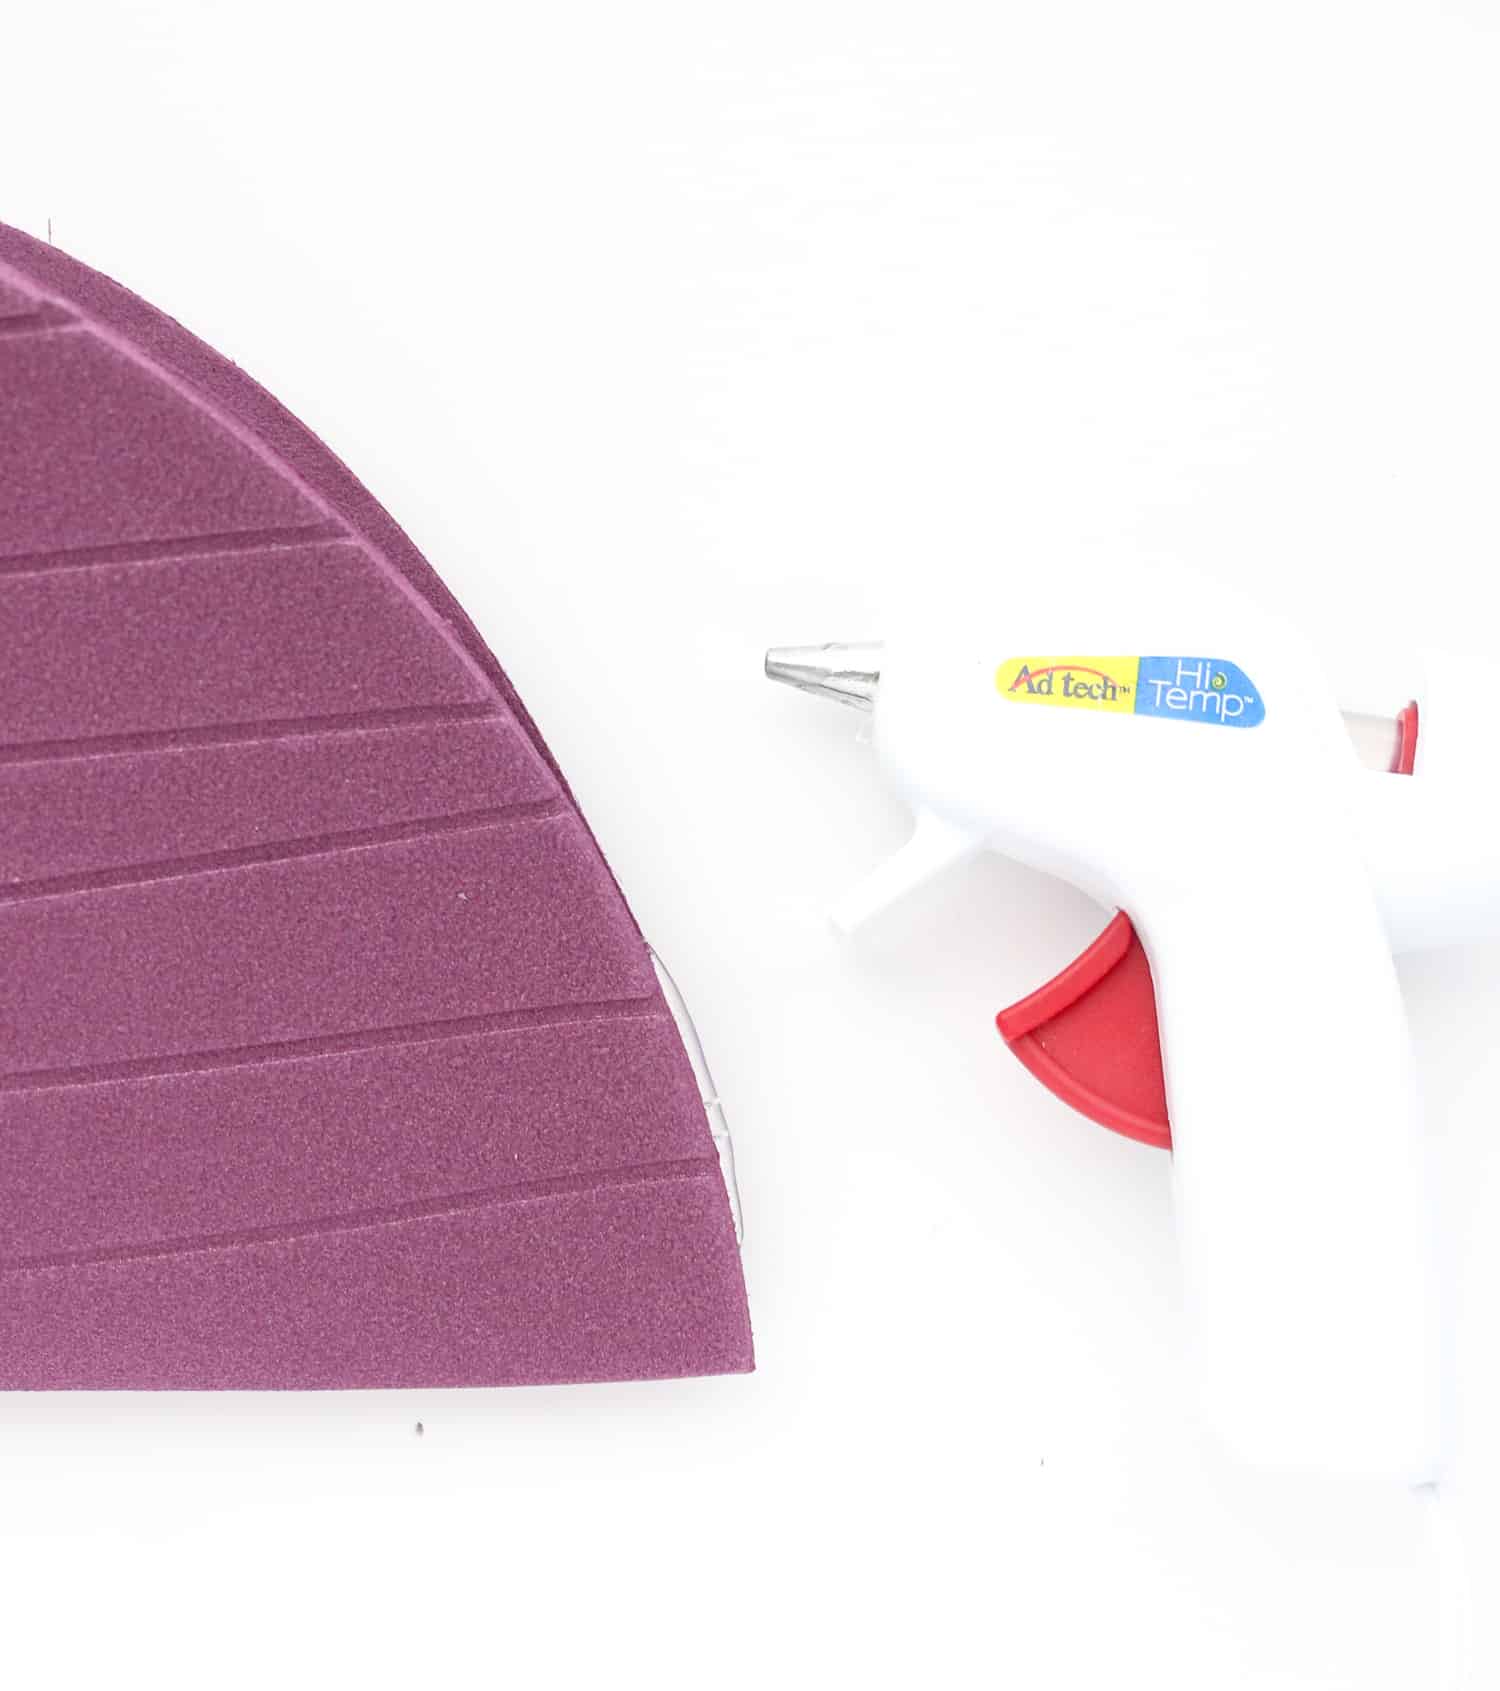 Step 2: Trim off any extra glue that leaks out with a pair of scissors and then repeat on the other side to create your waterproof pocket. For the circle planter, just glue all the way around the circle, leaving 10″ open at the top.
Step 3: Next, you will add your grommets. To do this, mark the spot on the back of your planter where the grommet needs to go, use a utility knife to cut a small hole that fits the grommet. Then place your grommet pieces into the hole. One will come from the top and one will come from underneath. Use the grommet peg and hammer to hammer the grommet closed.
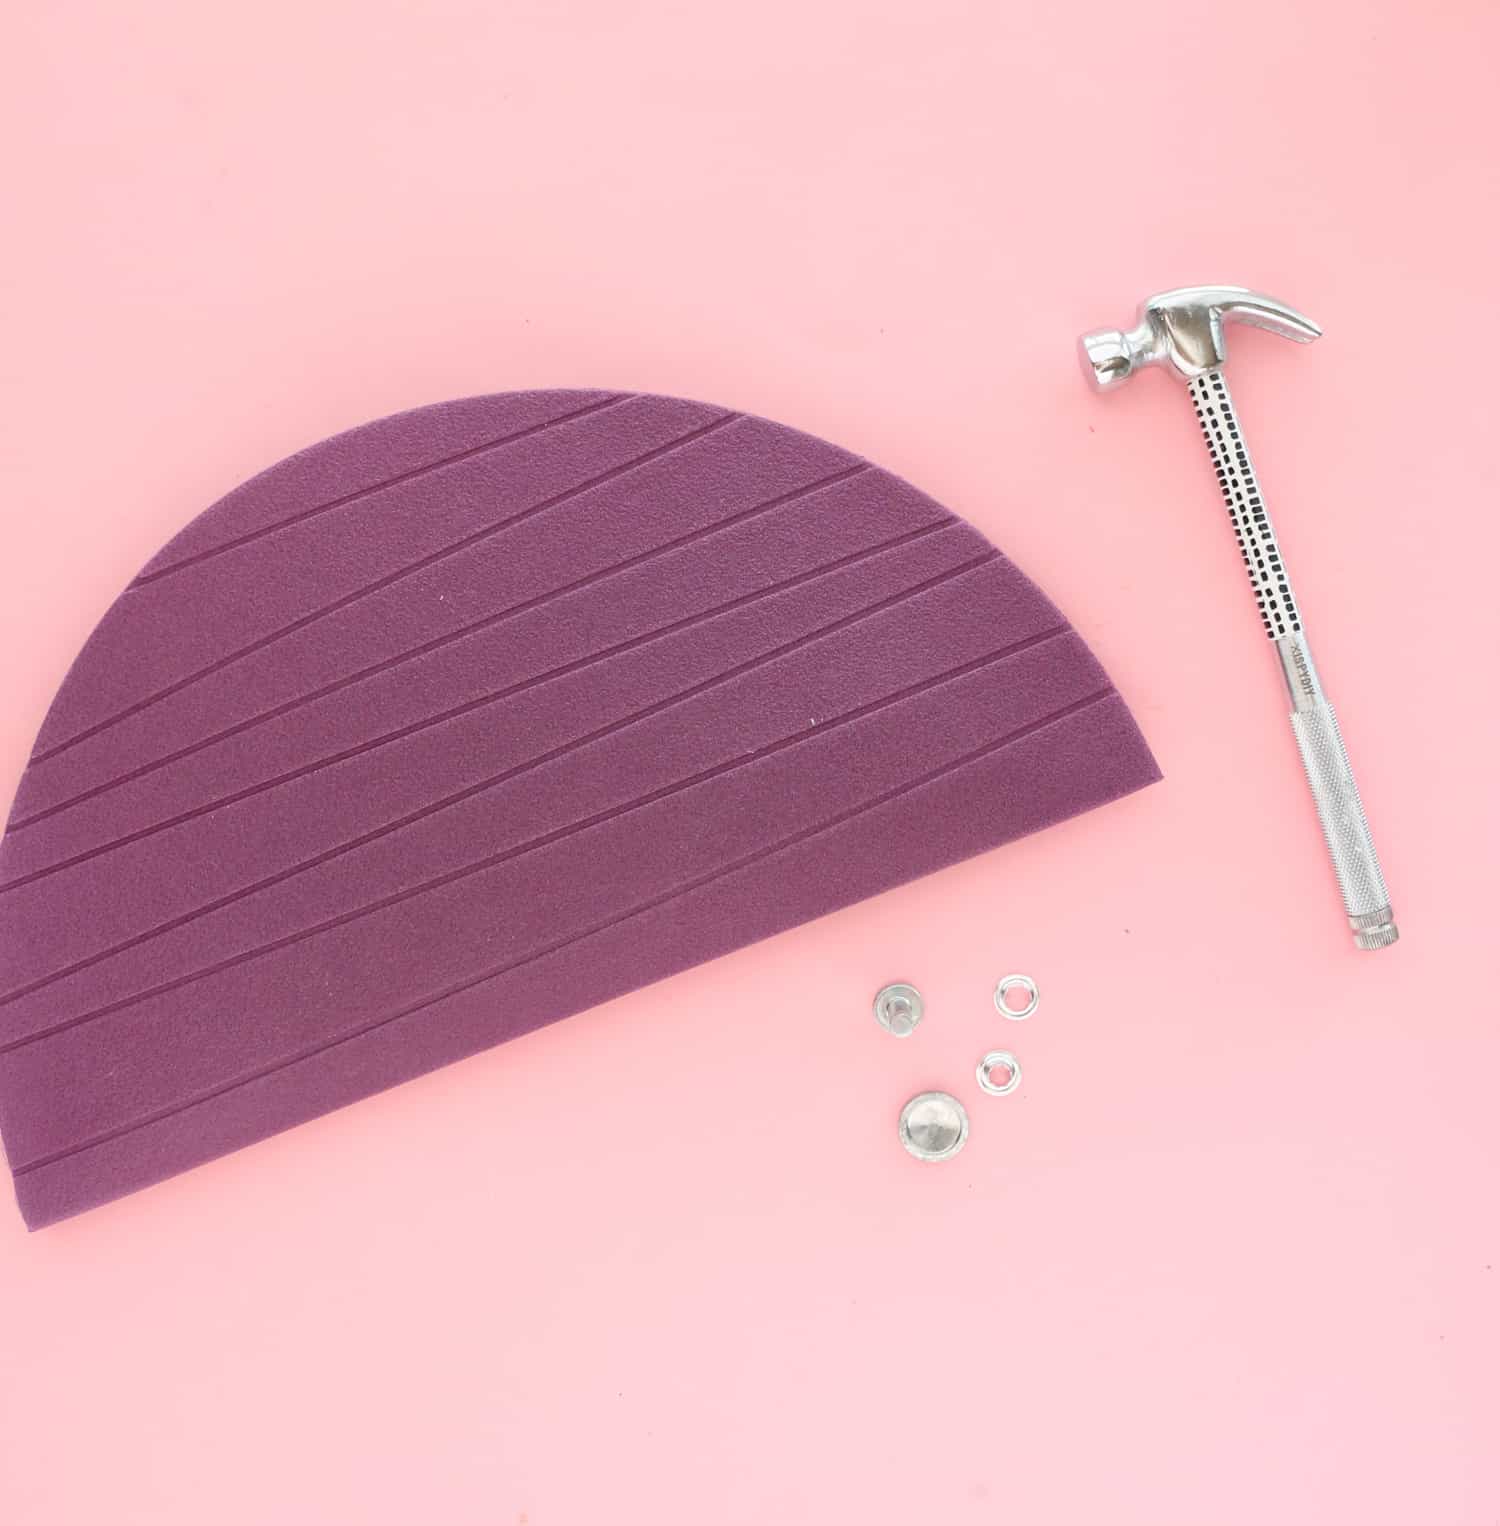
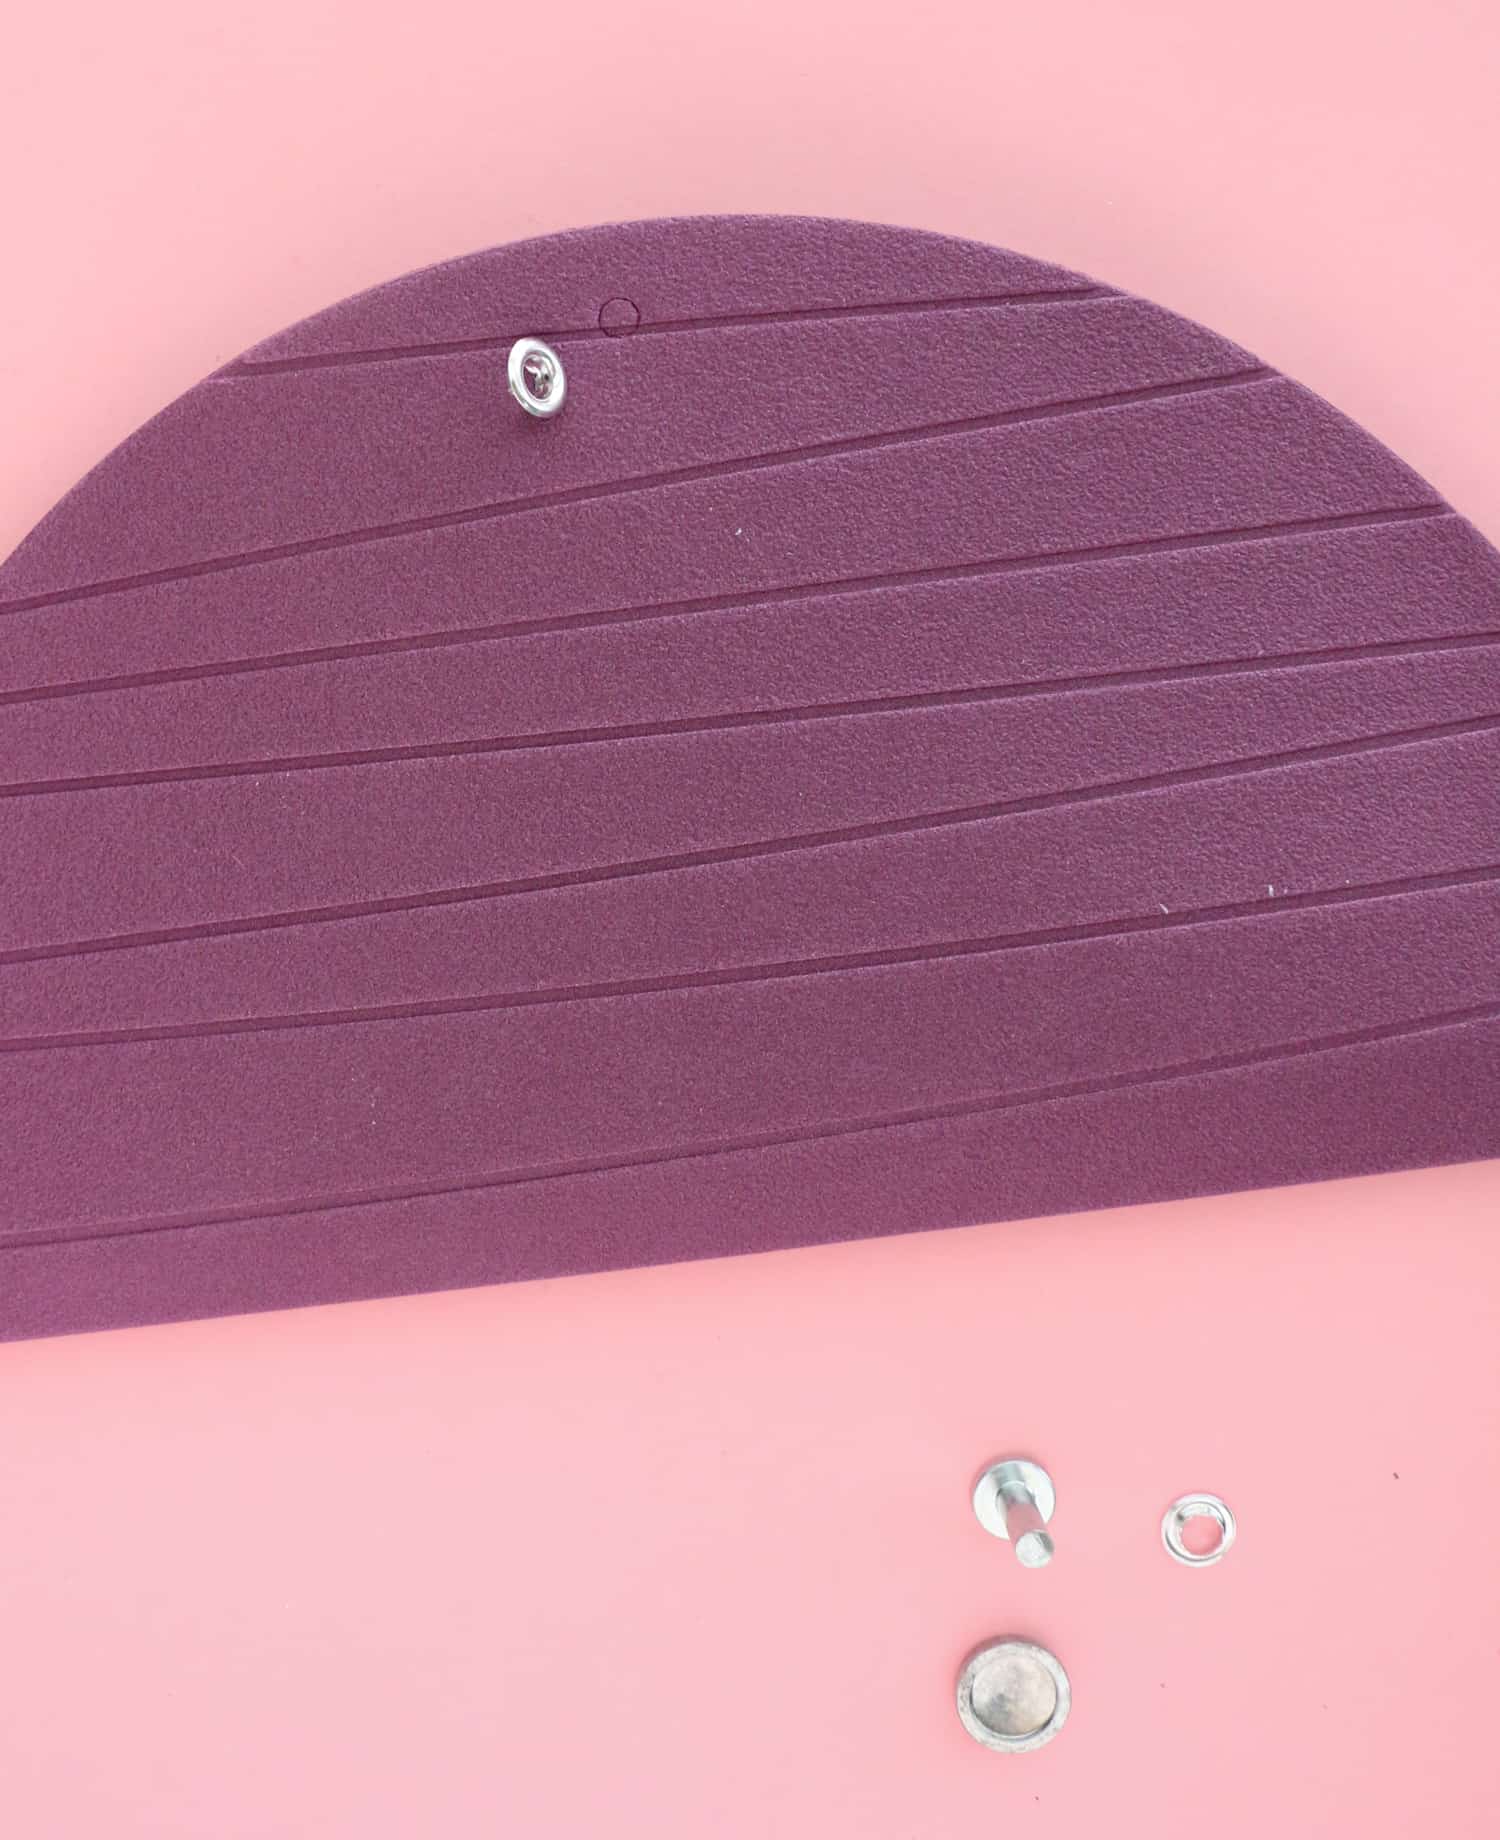
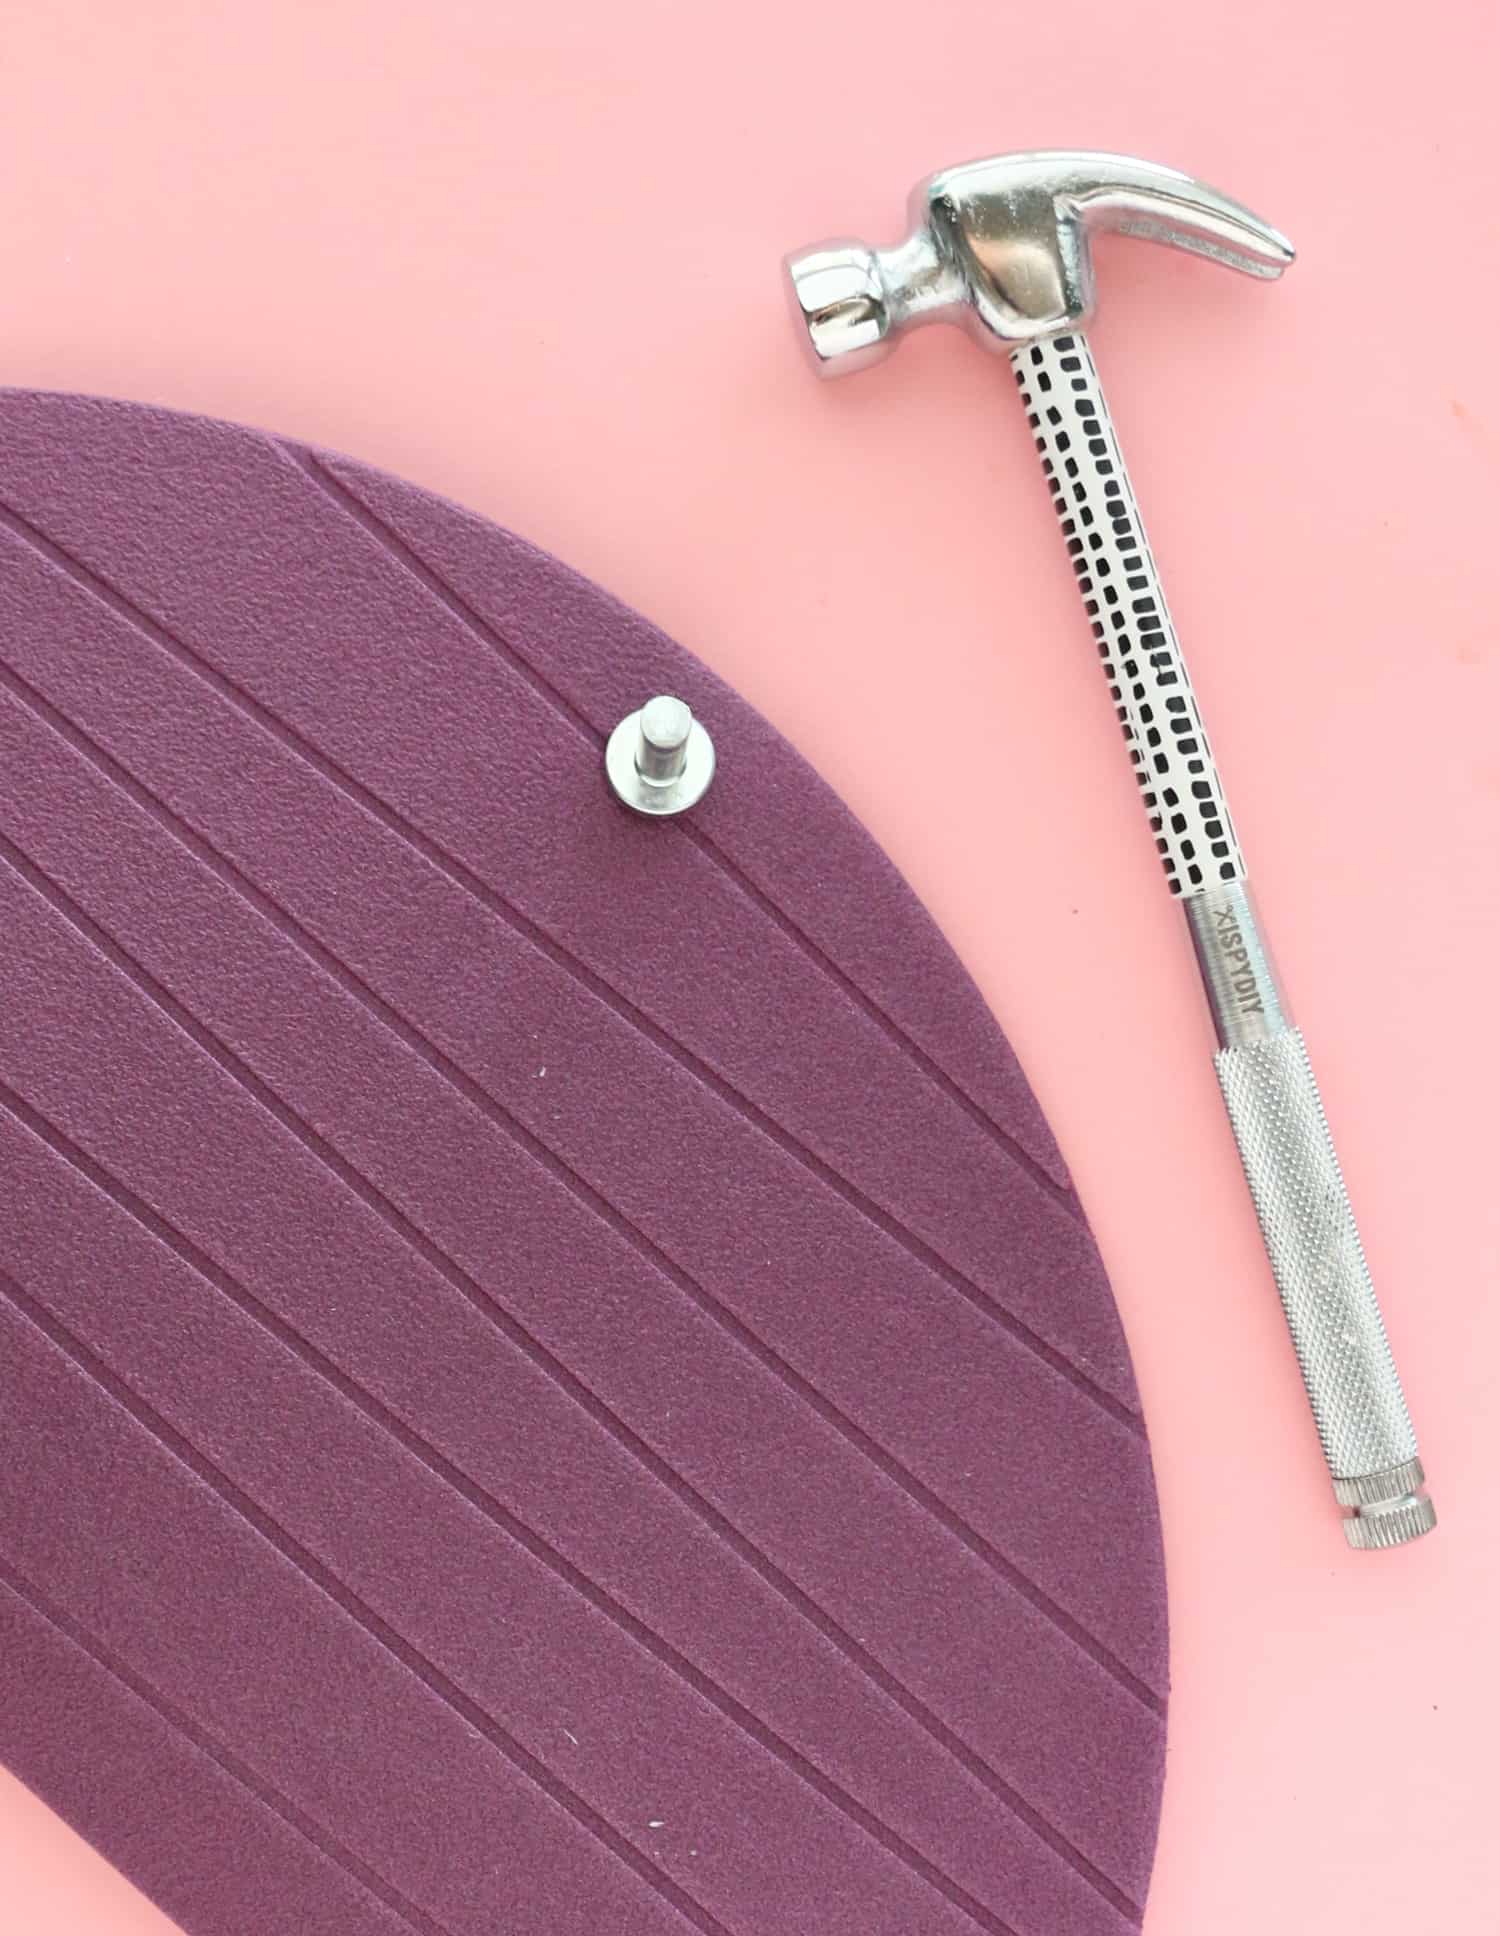 Step 4: Fill your planter with dirt and plant your greenery. Use a screw hook and molly (or picture hanging hook depending on the weight of your planter) to hang your planters on the wall.
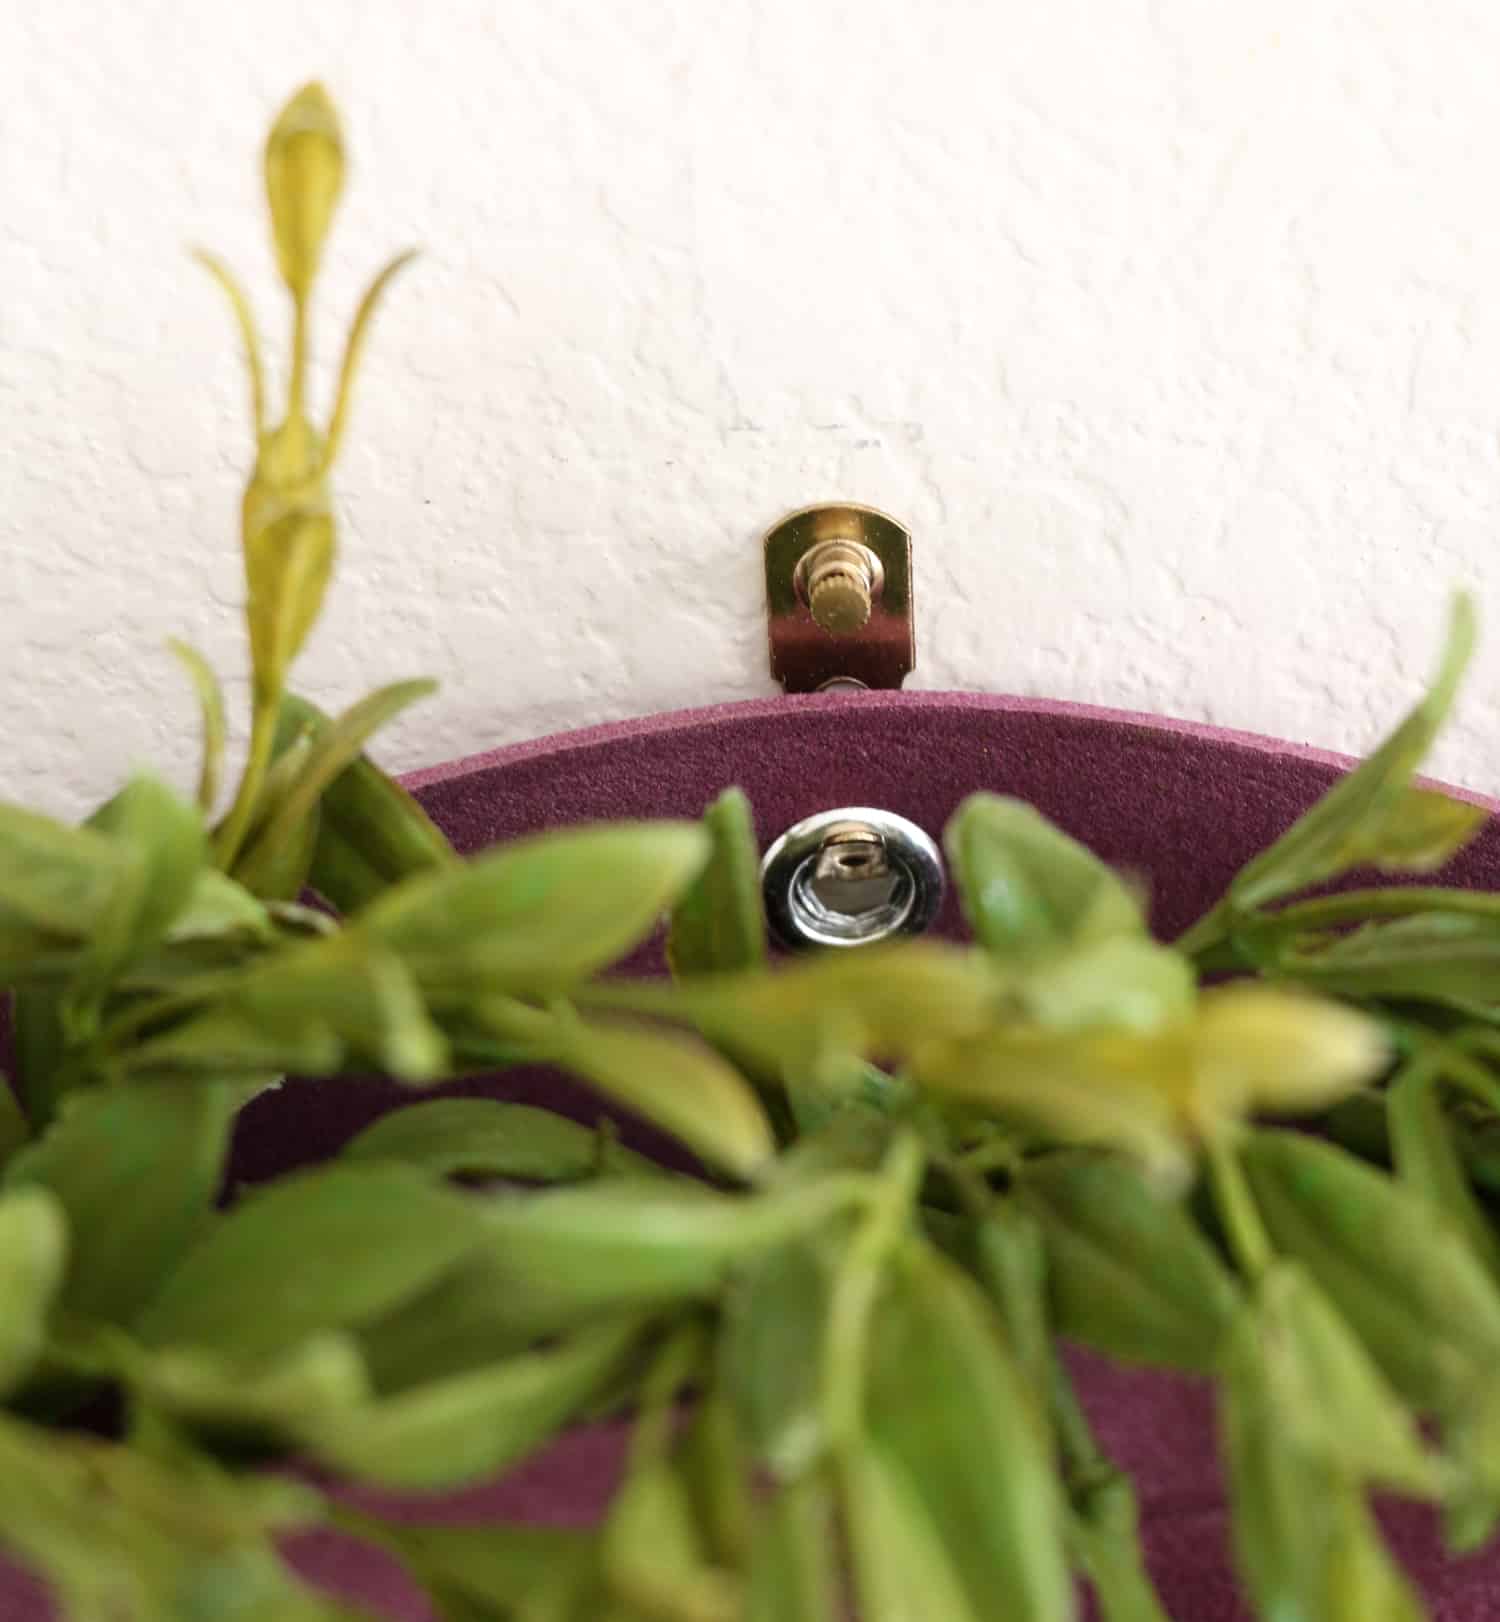
 If you are using a plain fabric placemat, you will want to use the hot glue to attach a piece of plastic vinyl (the same size as your placemats) to the inside of the placemat before glueing the two placemats together. This will give the planter a waterproof barrier so that the moisture doesn’t leak out and the dirt doesn’t ruin the placemat.
I love how simple this project was, and the shapes of these planters not only help to add greenery to my living room, but a little bit of color and pattern too! And at $1 per placemat, this project was super affordable. What projects do you have planned for the new year? xo. Kara


12 Comments
What a super cool idea, and what a brilliant Ikea hack! Love it!
https://www.makeandmess.com/
fantastic DIY, I have to give it a try!
http://modaodaradosti.blogspot.ba/
This is so cool, I love it! Thanks for sharing <3
https://www.myblackcloset.com/
Placemat into hangers? That’s a completely new one, a very original idea indeed. You guys are so creative! ❤️
Charmaine Ng | Architecture & Lifestyle Blog
http://charmainenyw.com
Thank you for all the great ideas
Very very beautiful!! Love it
http://www.simplenchic.com
Perfect deco
https://thepinkpineappleblog.blogspot.com/2018/01/natural-oils-new-trend.html
This is the coolest idea, love it!
cool idea! how do you water the plants without damaging/staining the planter?
How are the plants supposed to drain when you water them? The plants you have shown are ferns, which need excellent drainage. I love the idea of wall pocket planters, but this project doesn’t seem especially well thought out.
Artificial plants might be a good alternative.
I’m really lovimg the golden table thingie in the first picture. This is probably not a DIY featured on ABM?