 I love the patterns found in vintage indigo mud cloth textiles, but I’ll never be the girl with any dark blue in her Christmas decor. I decided to try out the same dyeing pattern using madder root on linen to create a tree skirt with a bit of a bohemian vibe. Madder root in different amounts can offer colors ranging from a blush pink to a brick red, so it’s a great natural dye to use if you enjoy a bit of pink or mauve. It plays well with candy cane stripes and brass accents!
You can use this same resist pattern dye technique to create all kinds of holiday decor for your home. Create a bolster pillow, linen stockings, or cloth napkins!

 Tree Skirt Supplies:
-one yard of wide bolt 100% linen
-one yard of wide bolt felt
-two yards of white pom pom trim (optional)
-fabric scissors
-straight pins
-sewing machine
-iron
Dyeing Supplies
–100 wooden clothespins
-2 tablespoons alum for mordanting
–20 quart stainless steel pot (can’t be used again for cooking)
-stainless steel ladle or wooden dowel (can’t be used again for cooking)
-1/2 ounce-3 ounces of madder root powder extract depending on your desired shade
-access to a stovetop
Preparing Your Fabric
To prepare your linen for dyeing, wash it with a mild detergent in hot water. This will remove any oils from processing in order for the dye to best attach to the fibers. Make sure you are using 100% linen and not a linen/poly blend.
Before you start cutting your fabric, fill your pot 3/4 full with hot water. Set it on the stove on medium-high heat. Add 2 tablespoons of alum and stir to dissolve. Add 1/2 ounce of madder root for blush pink, 1 1/2 ounces for mauve, and 3 ounces or more for a darker mauve-brick red. Stir to dissolve, cover and bring pot to a simmer. Do not let it boil or it will muddy your color.
 Step One: Cut your linen and your felt to measure 1″ wider than you want your tree skirt to be. I usually fold my fabric in half vertically and then in half horizontally, then make a compass using two pens and some yarn to draw perfect circles on top of your fabric.
Cut your circles out and then cut a smaller circle near the center for the tree stand opening. Finally, make a cut from the outside to the inner circle on both pieces of fabric.
Step Two: On the linen only, imagine it has lines on it like a cut pizza. Pinch up on each of those lines and attach six clothespins so that they’re evenly spaced.
Step Three: Continue all the way around. The more pizza slices you imagine, the more clothespins you’ll need and the more dense your pattern will be.
Step Four: Carefully add your fiber to the dye pot and gently stir so you don’t disturb the clothespins. Leave in dye pot until you’ve reached desired color. It will dry slightly lighter. Remove clothespins, rinse with cold water, and hang to dry or dry in dryer. Iron flat.
Step Five: Next, place your dyed fabric and your felt on top of each other. There aren’t really right sides on either of these fabrics, but usually you would want right sides facing each other. Pin together along the perimeter. Sew along the perimeter so that you leave 1/4″ from the stitch line to the edge. Leave an opening the width of your hand.
Step Six: Pull right side out and iron flat so that the opening is turned inside. Pin the opening together.
Step Seven: Pin your pom pom trim along the edge and stitch it to your tree skirt using a coordinating thread. Then add some along the smaller circle near the top to frame it nicely. Hand stitch leftover felt strips to the bottom of your tree skirt along the opening to use as ties to keep things in place.
 I love how it really pops against the white tree and the white floor of this room. Paired with so many gold and brass accents, it really warms the space up.
Interested in making a tree skirt without having to use a sewing machine? Check out these beautiful options. Ready to make your own Christmas tree collar? Try this one!
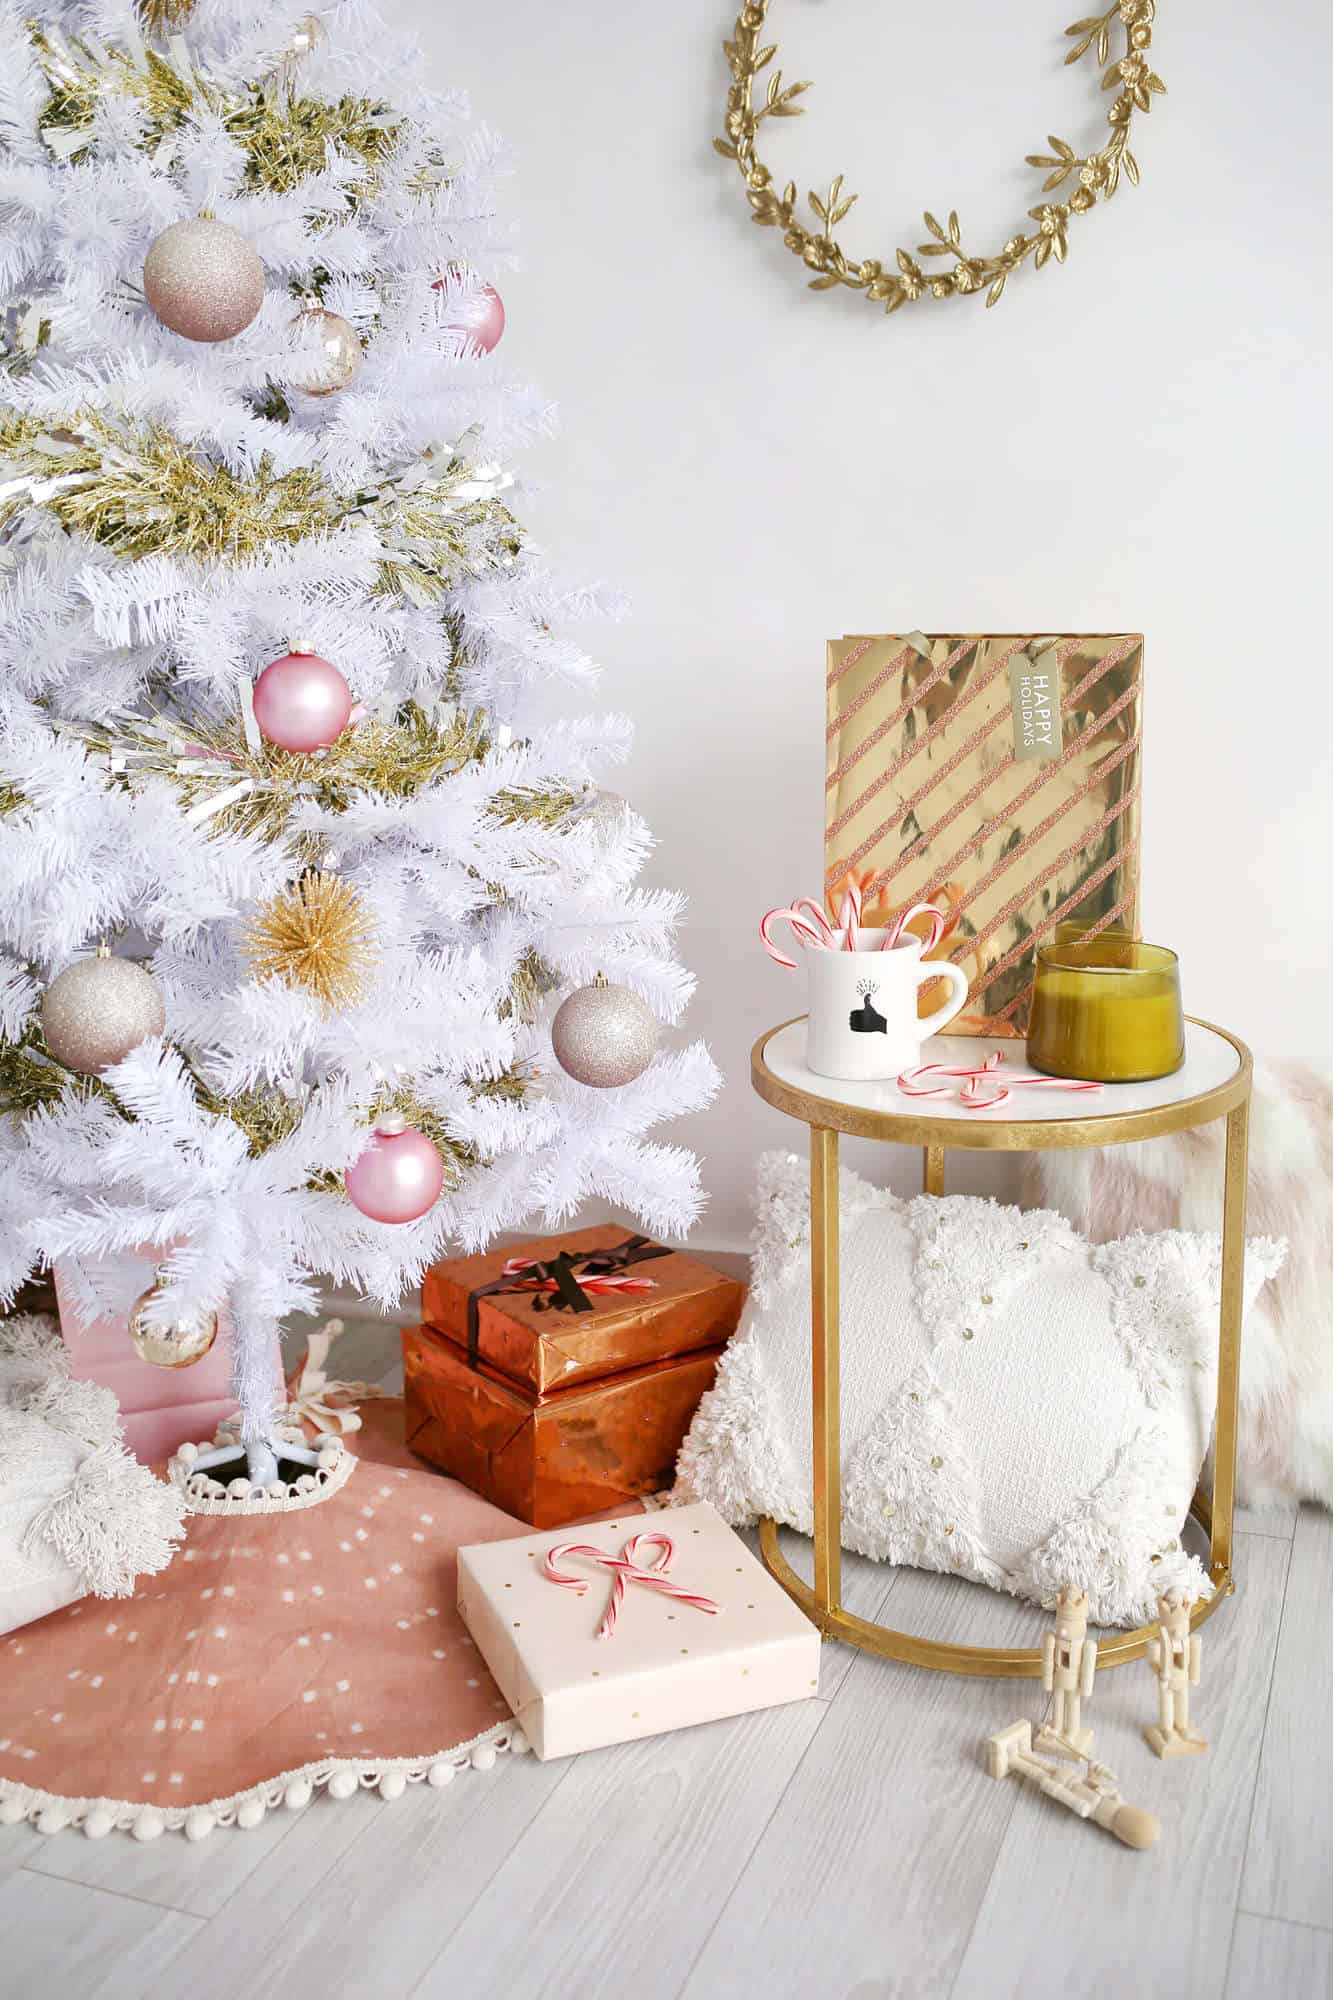 You can use these instructions to create whatever size tree skirt you need. This tree is only 5′ and not too wide so I kept my tree skirt a bit on the petite side to keep things in proportion. The felt backing on this piece could easily be used as the front if you decide you want something much simpler next year, but it really helps add some structure so the linen isn’t falling down in between the tree stand legs.
Not into the pom poms? Try a fringe trim instead or just leave it off completely. We love seeing what you make from our tutorials, so be sure to tag us when you share on Instagram! – Rachel


9 Comments
This is gorgeous, the colour is beautiful!! Would’ve never guessed it was dyed naturally. 🙂
Charmaine Ng | Architecture & Lifestyle Blog
http://charmainenyw.com
So lovely…a blush Christmas!
Is it possible to use Avocado Pits & skins as well? I’ve seen some DIYs, where they create a pink color that seems similar to this. Just thinking it’ll be one less thing I’d have to buy, as we eat a lot of avocados in our house already.
Yes, you can use avocado pits! We have a tutorial on using those to dye a linen sling ring from last year or maybe even 2016…but you can also check out Rebecca Desnos’ book on Amazon for some great instructions.
I am so impressed with this DIY!! I feel like I would need serious help, but love the concept. Then you can really make your tree your own!
Woof Xo,
Michelle & Watson
This is gorgeous! I’d love something like this under our real tree this year. Currently we just have a blanket squished around the bottom. ????
Aw, the Xmas tree is gorgeous!
Mariya | http://www.brunetteondemand.com
I am so impressed with this DIY!! I feel like I would need serious help, but love the concept. Then you can really make your tree your own
That’s such a pretty skirt, I love the colour.
Debs @ https://tiger-mint.com
I am loving that tree skirt so much! What a fun project!