
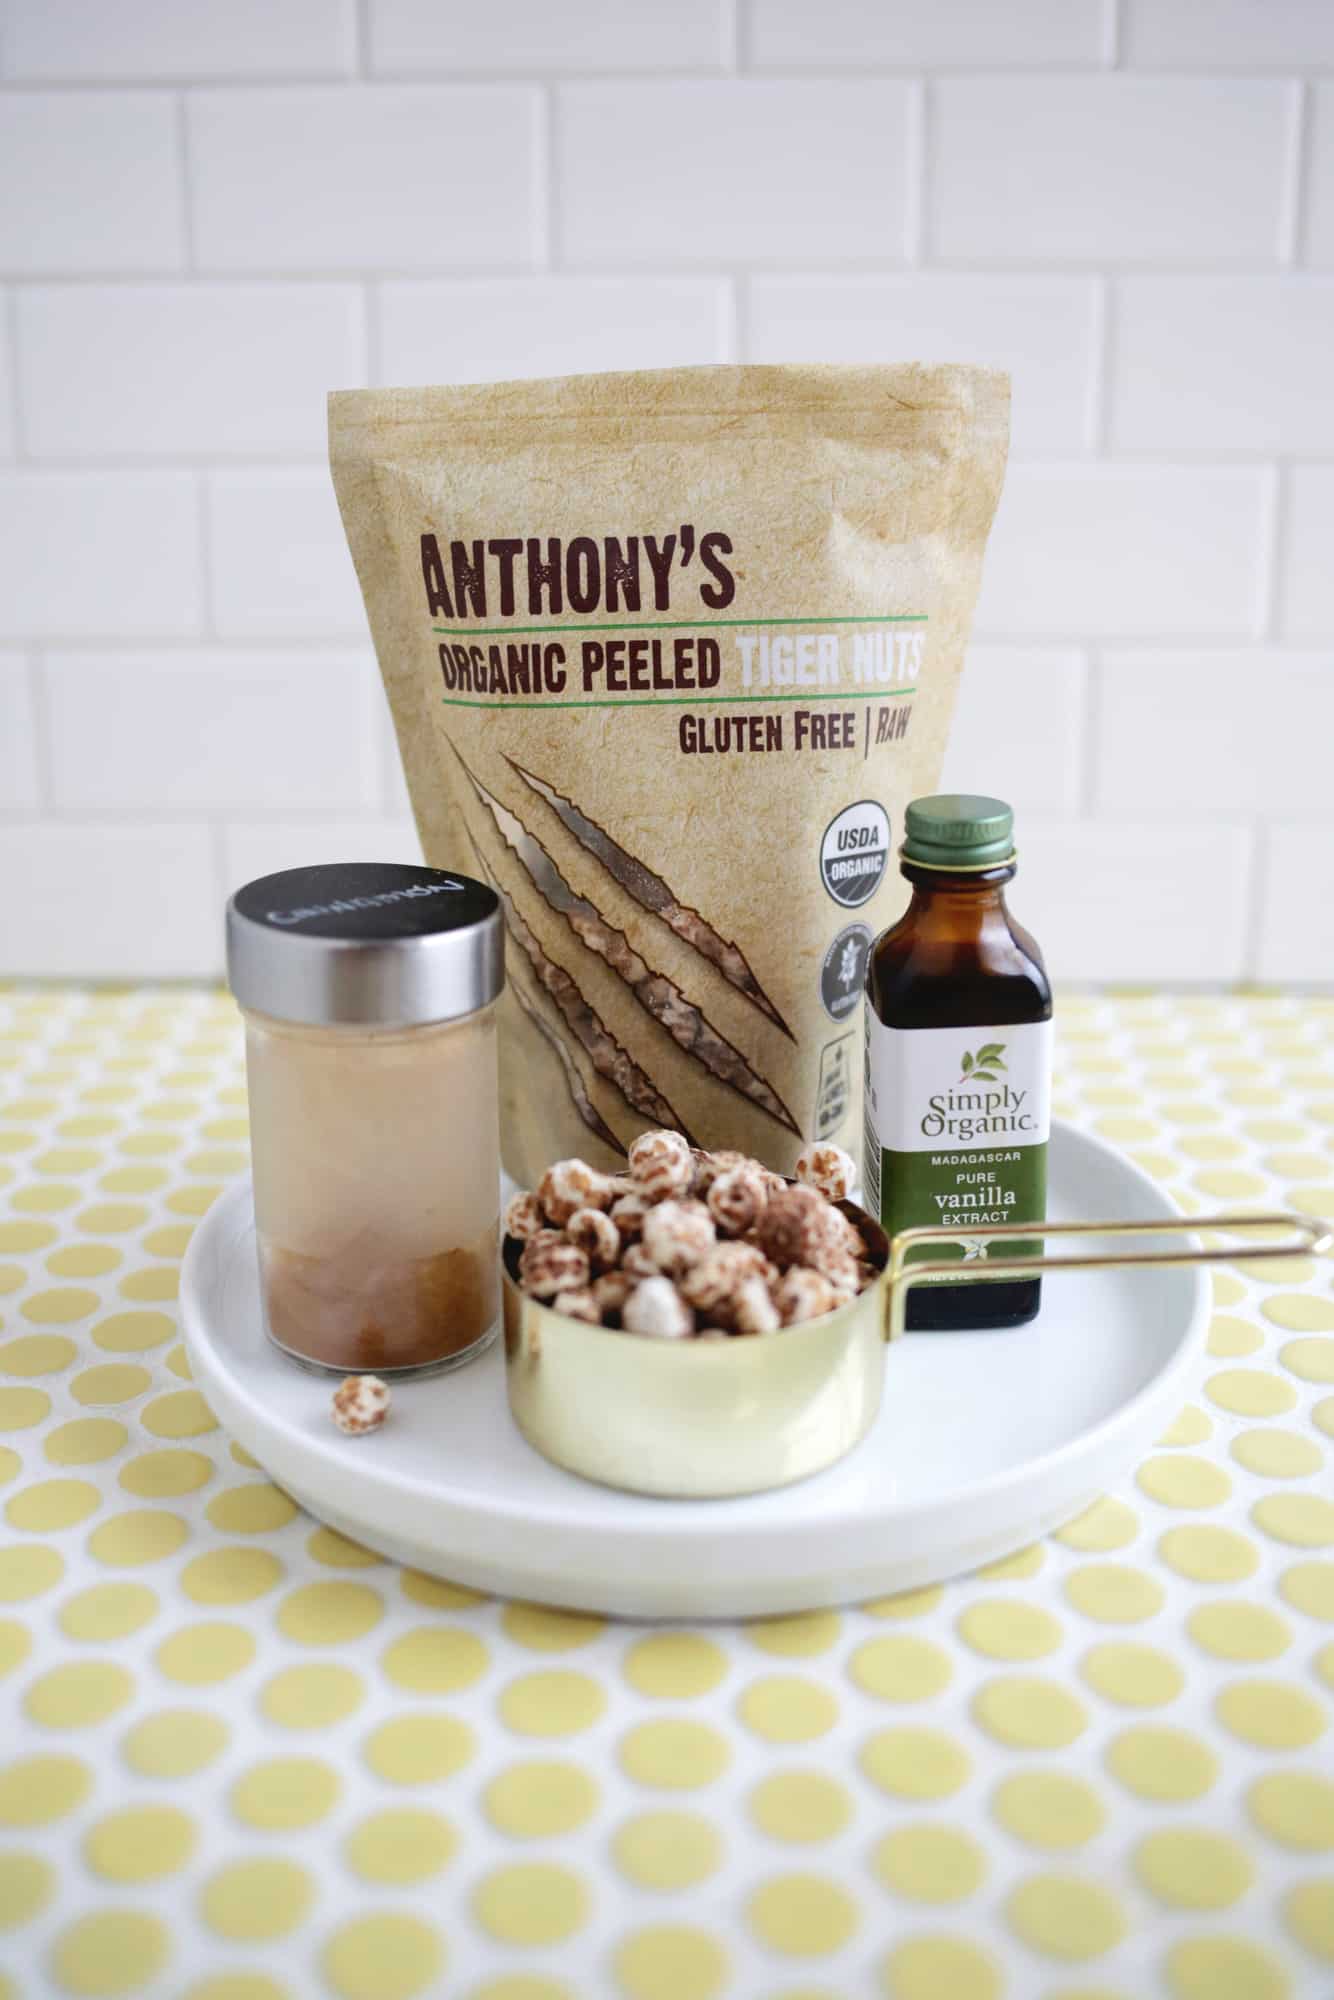
For the tiger nut milk (makes about 3 cups of milk):
1 cup tiger nuts (I use this peeled version)
3 cups water (filtered water is best)
For the horchata:
1 cup tiger nut milk
1 teaspoon maple syrup or simple syrup to taste
1/4 teaspoon vanilla extract
1/4 teaspoon cinnamon

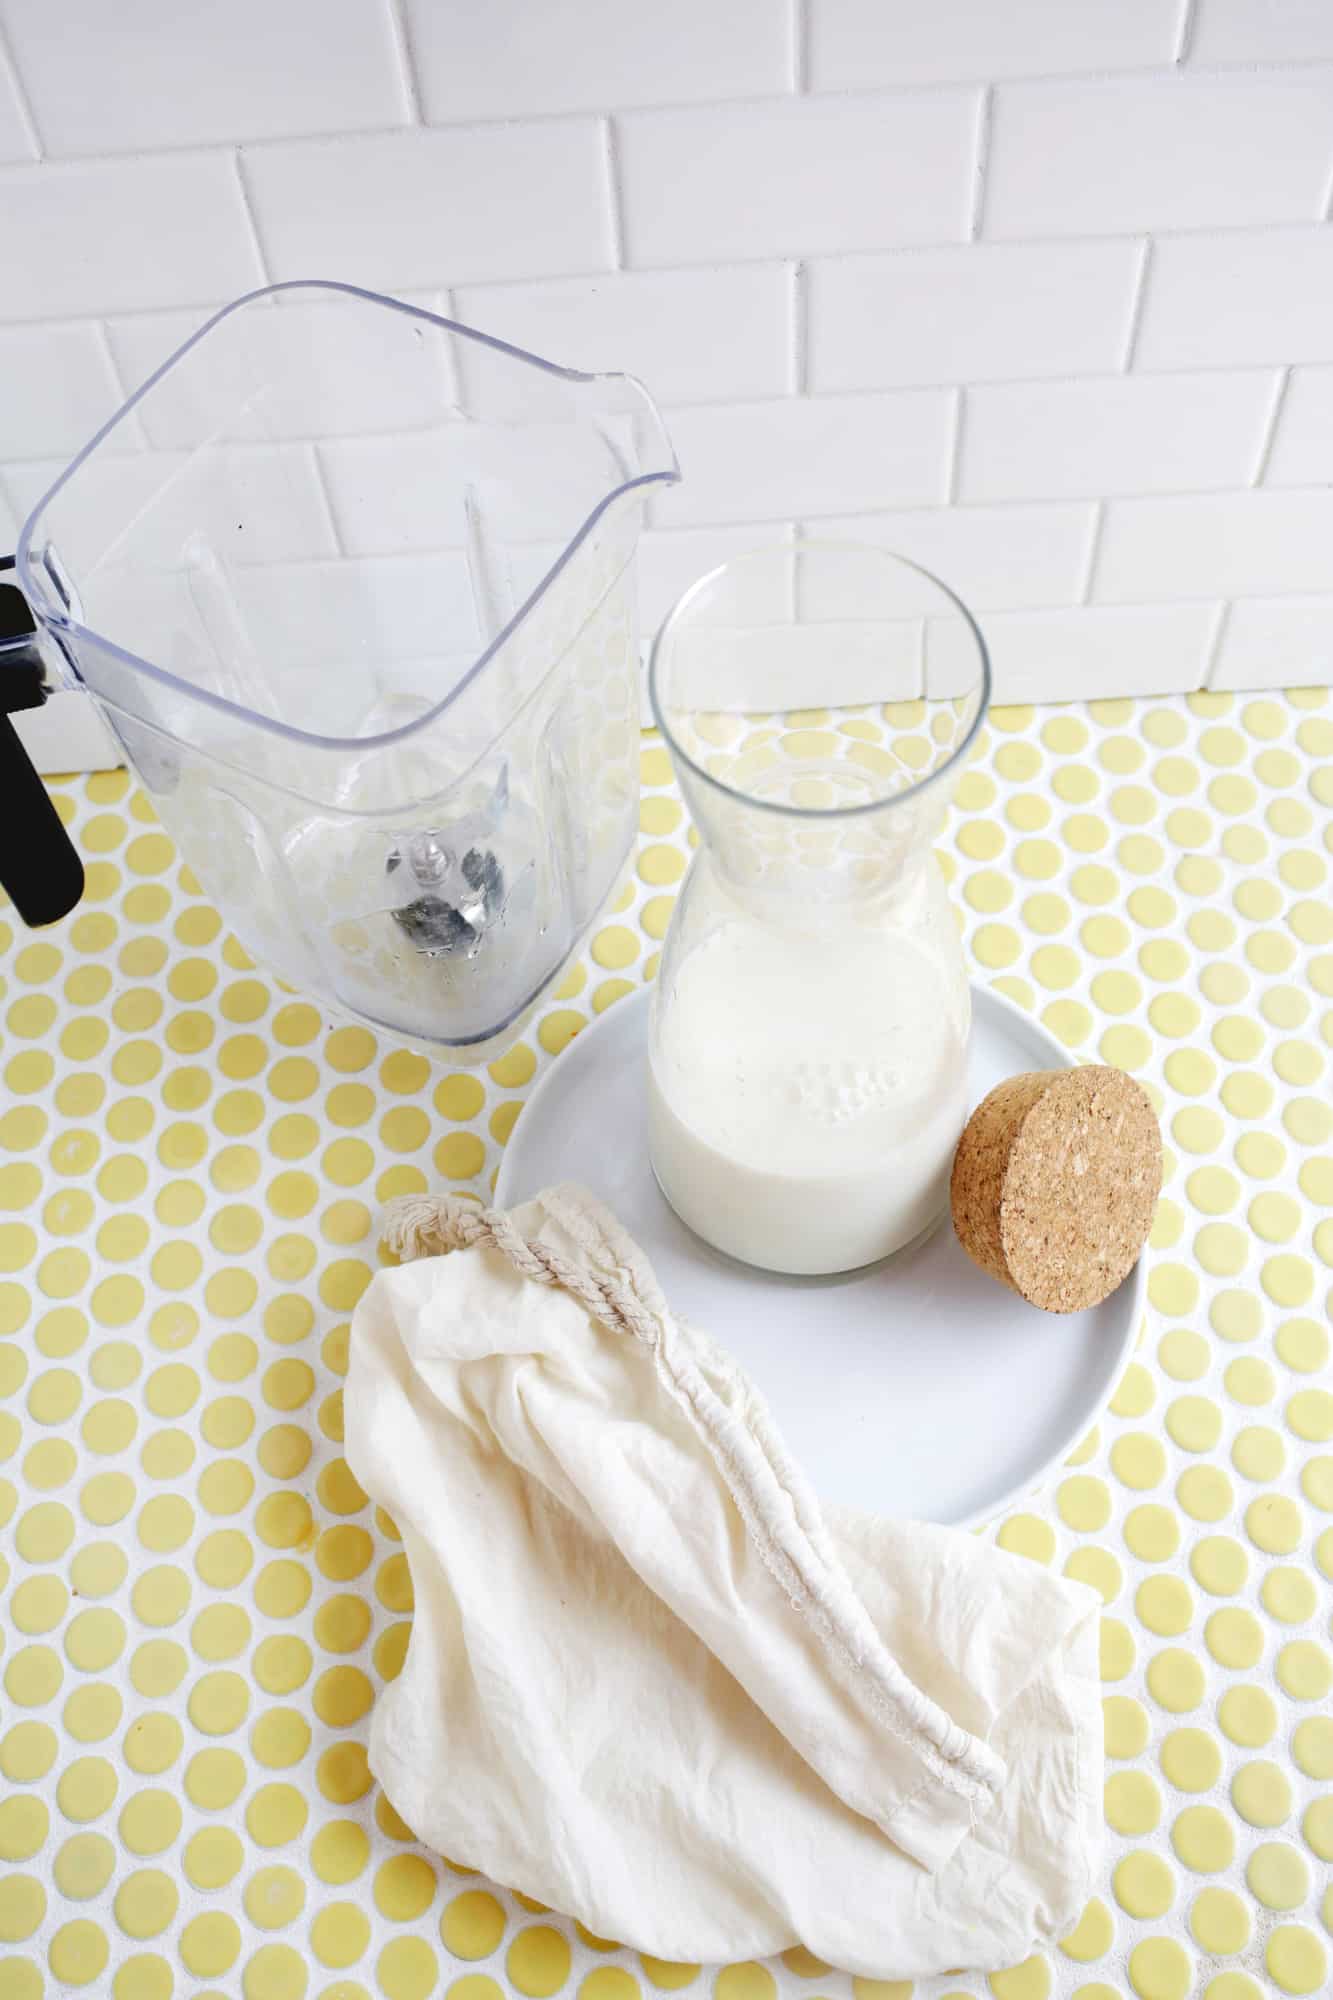
Side note: You can make tiger nut flour with the leftover pulp by simply spreading it out on a baking sheet and putting it in your oven on the lowest setting for a few hours (or letting it dry on your counter even), stirring it every so often. Once dry, add it to a food processor or blender and blend until it’s a fine powder. Store in an airtight container and now you can use it for baked goods as a flour replacement!
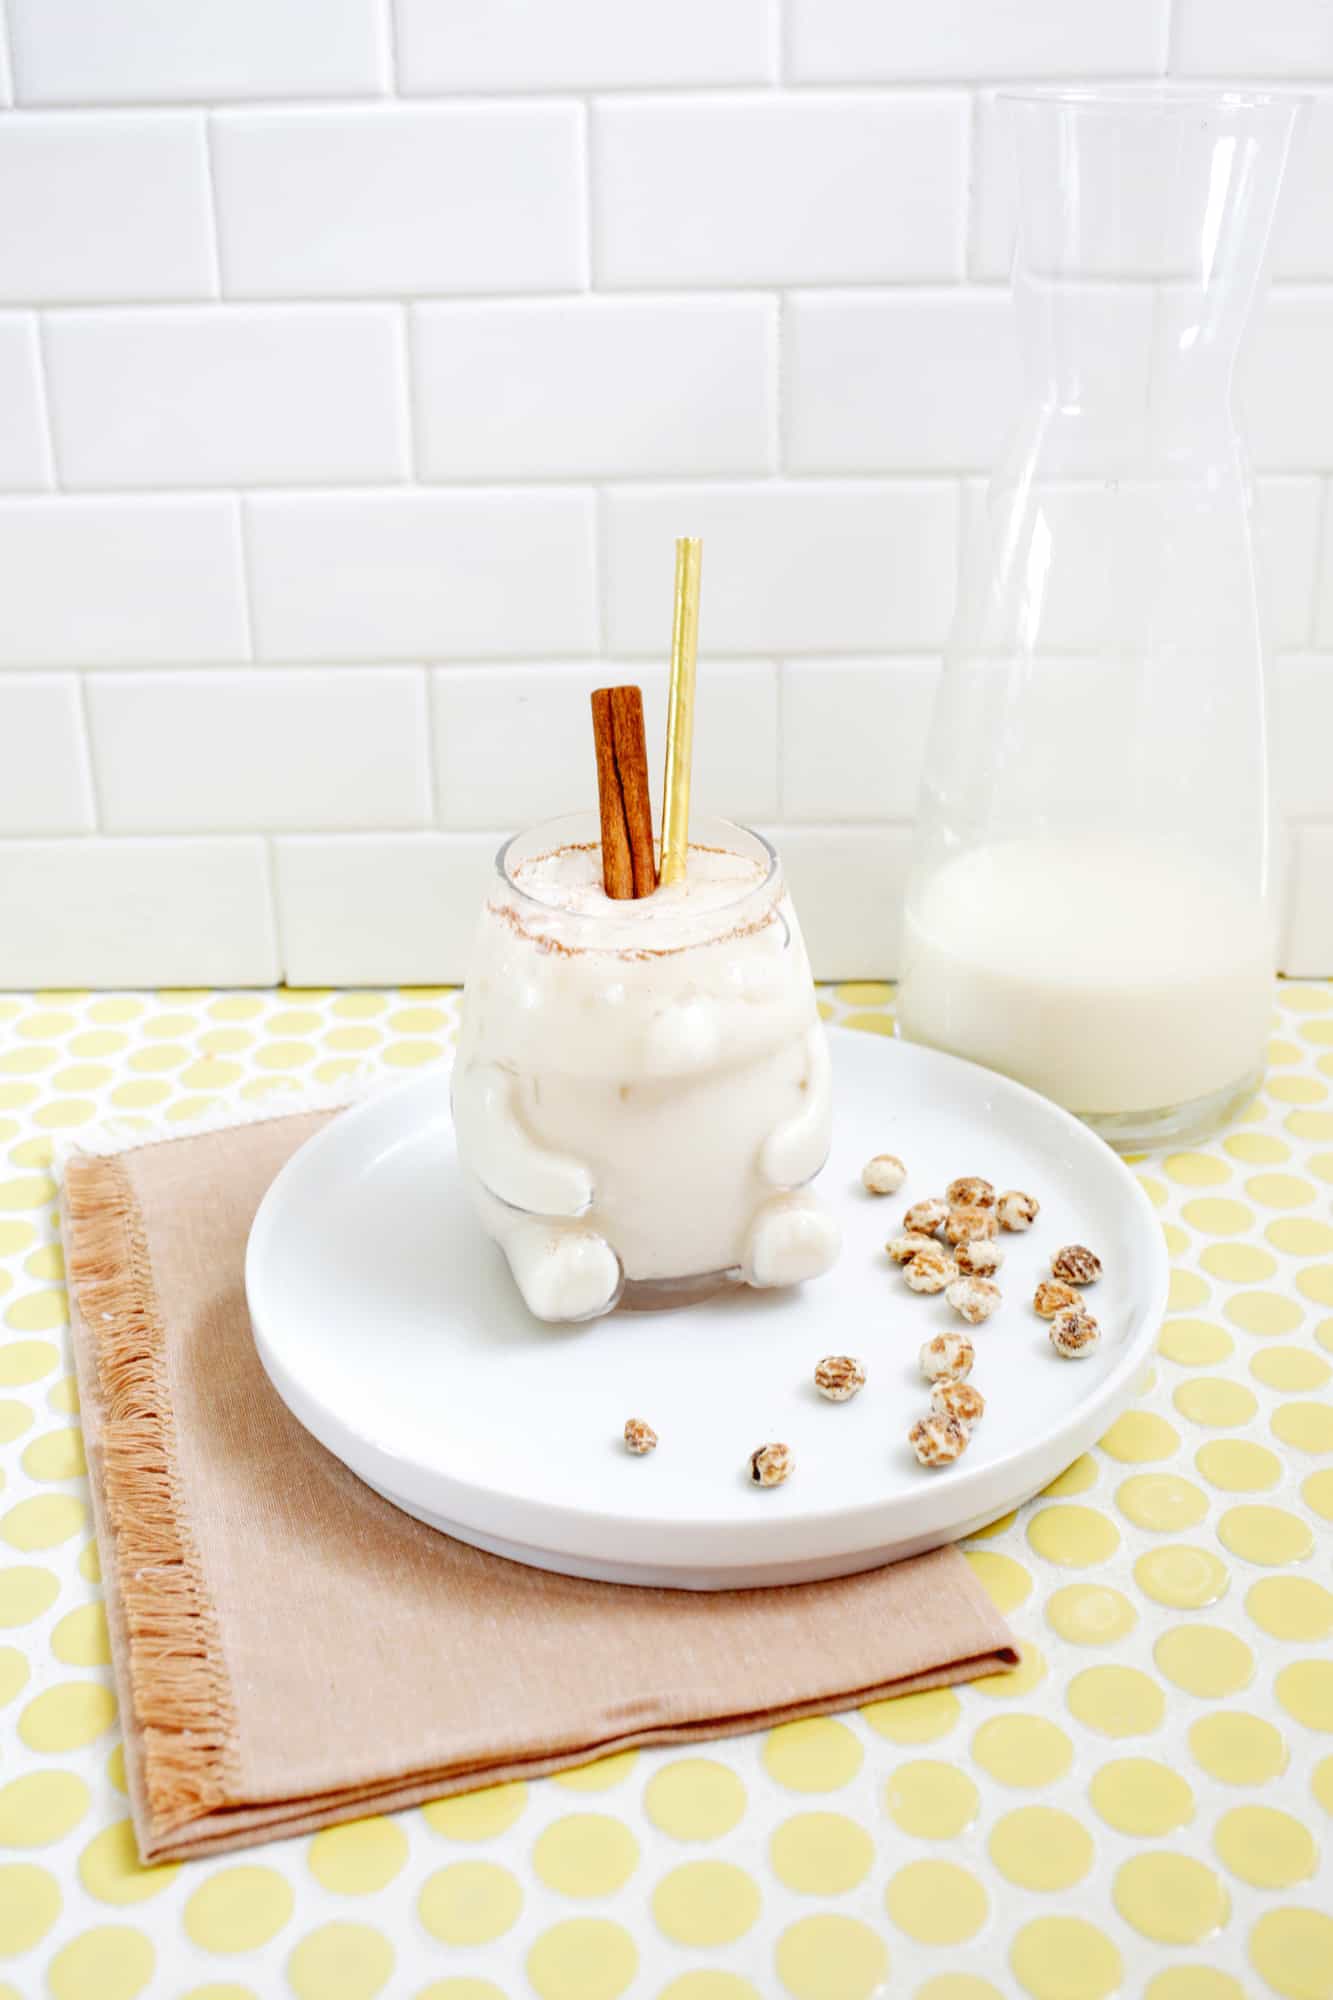

Tiger Nut Horchata
Classic horchata drink made from tiger nuts
Ingredients
For the tiger nut milk (makes about 3 cups of milk):
- 1 cup tiger nuts I use this peeled version
- 3 cups water filtered water is best
For the horchata:
- 1 cup tiger nut milk
- 1 teaspoon maple syrup or simple syrup to taste
- ¼ teaspoon vanilla extract
- ¼ teaspoon cinnamon
Instructions
-
First, you’ll need to make your tiger nut milk. Ideally, you would take your cup of tiger nuts and soak them in enough water to cover them overnight (or up to 24 hours), but I’ve made it a lot where I put them in hot water (freshly boiled) and let them sit 2-3 hours before blending. That’s a quick way to do it if you didn’t remember the night before.
-
Once your tiger nuts are soaked, rinse the soaking water and add them to a blender with 3 cups of water. Blend on high for several minutes until creamy looking. Spread a thin cotton tea towel or a nut milk bag over a bowl and pour in your mixture to strain out the milk. Keep squeezing until all the liquid has passed through and you have a relatively dry pulp left over.
-
Side note: You can make tiger nut flour with the leftover pulp by simply spreading it out on a baking sheet and putting it in your oven on the lowest setting for a few hours (or letting it dry on your counter even), stirring it every so often. Once dry, add it to a food processor or blender and blend until it’s a fine powder. Store in an airtight container and now you can use it for baked goods as a flour replacement!
-
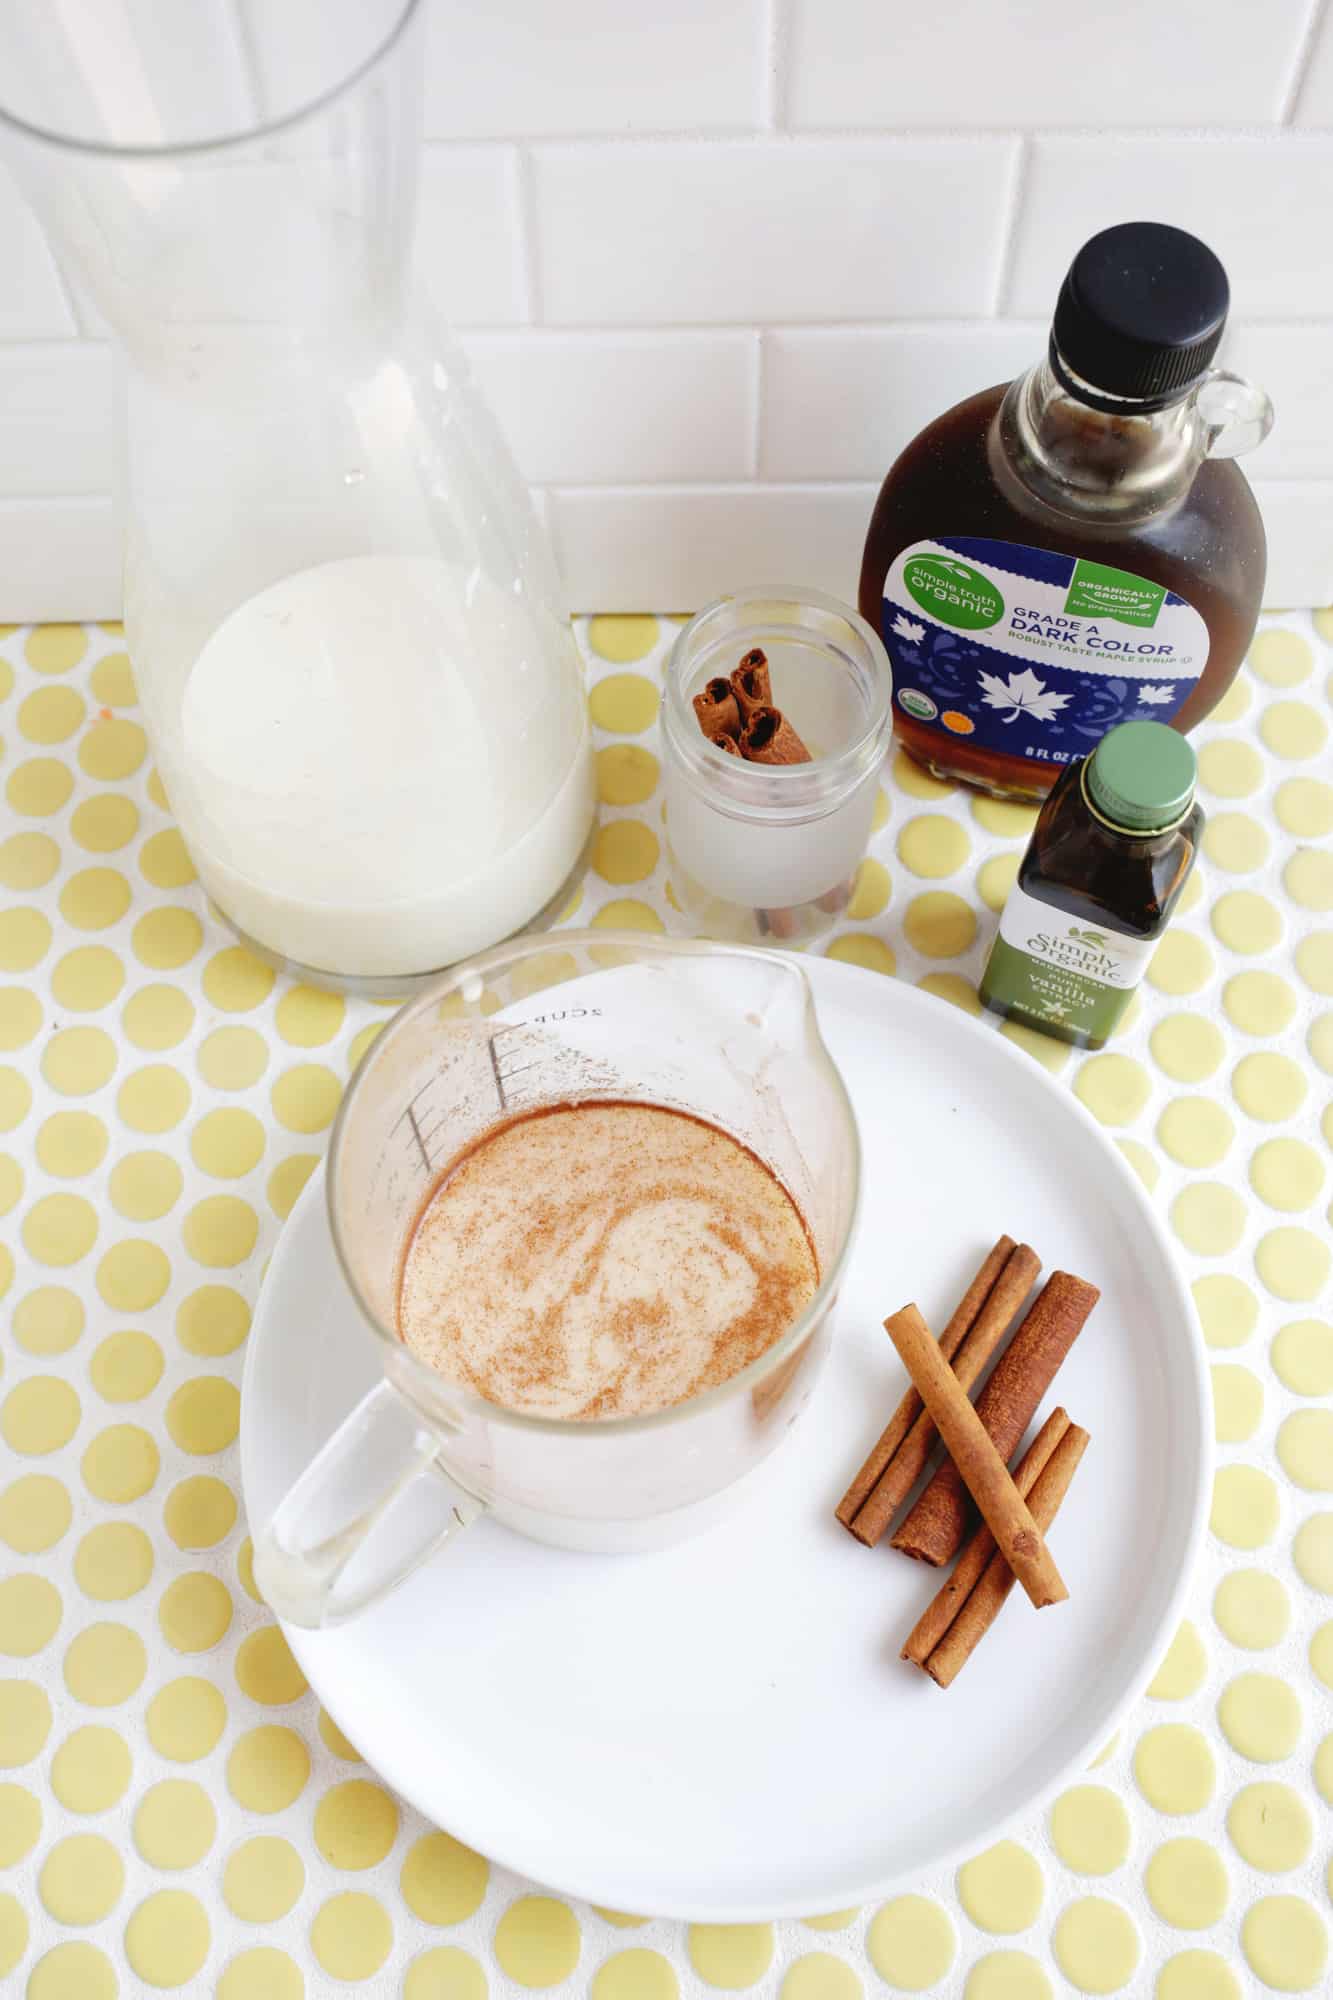
Once your milk is strained, add 1 cup of your milk to a glass and mix in your maple syrup or simple syrup, vanilla extract, and cinnamon. Feel free to add a little more or less of whichever you’d like!
-
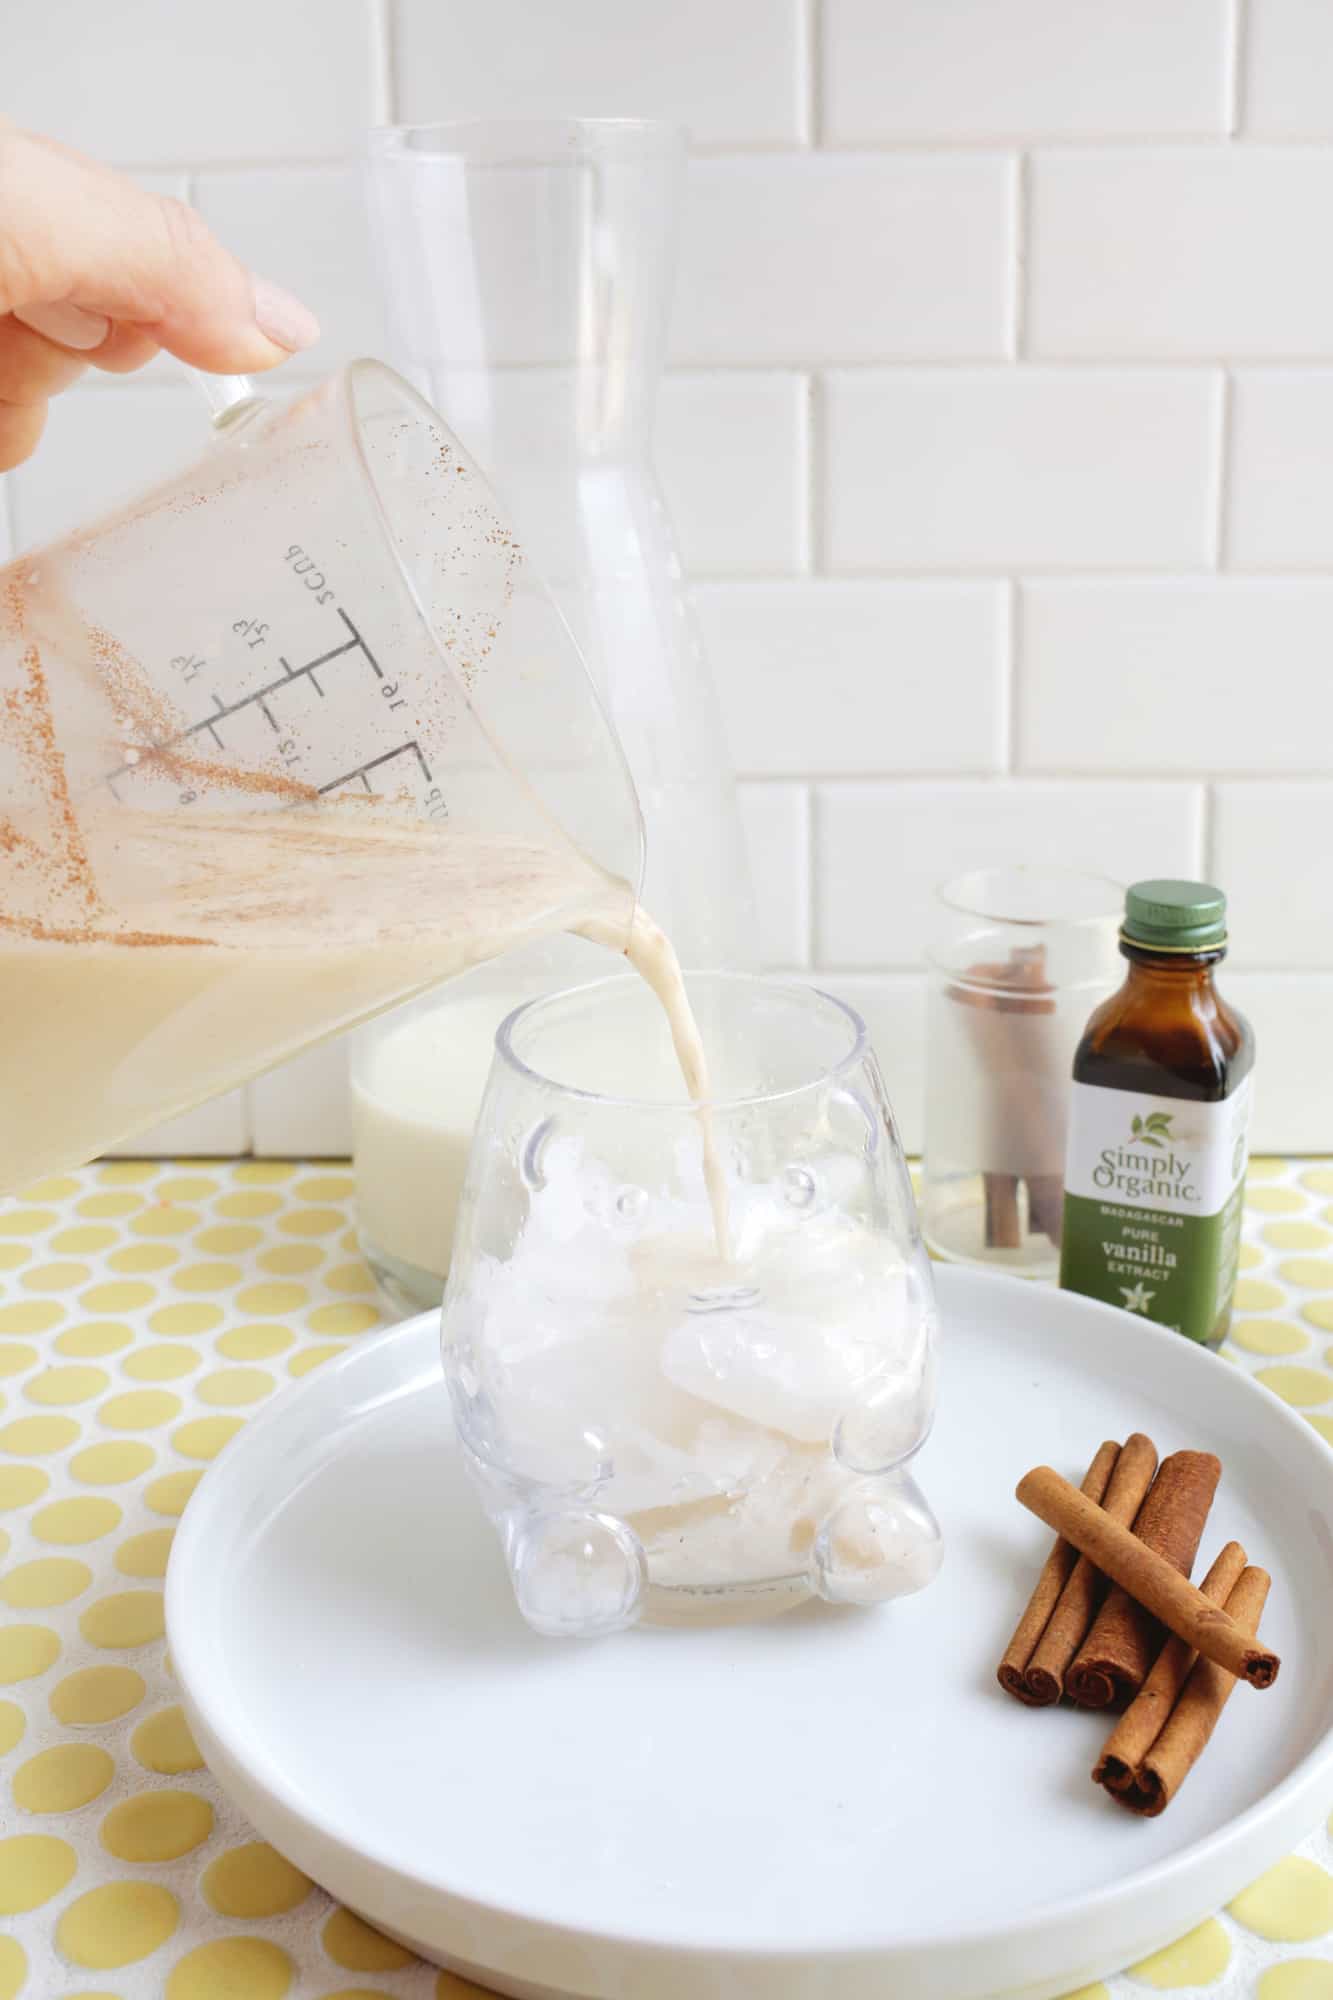
Stir together and pour into a glass with a cinnamon stick as a garnish. I wouldn’t keep this in the fridge too long, so make the horchata the same day you want to drink it. But I find the regular tiger nut milk lasts 4 days or so in the fridge (although you’ll want to make sure to shake it occasionally and before drinking as it tends to settle a bit to the bottom).
Recipe Notes
You’ll want to make sure to shake the horchata before drinking, as it tends to settle a bit to the bottom.





3 Comments
I began buying tigernut flour when I started an AIP diet to help manage my Hashimoto’s/Celiac Disease and was SO excited to learn tigernuts were used to make traditional horchata! I love horchata but couldn’t drink it anymore because I need to avoid grains. What a delight to make this delicious and healthy drink with whole Tigernuts! I was doubly excited to dry the pulp and use the flour!! I did add a bit more maple syrup though because I like my horchata sweet.
Tiger nut or chufa as we call it in Spain is originally from Alboraya, a small Mediterranean town just minutes away from Valencia city.
It’s a delicious drink!
*please make sure you get chufa/tiger nut from Spain and not from other places…it’s not the same. ????
Such a photogenic drink! Great recipe! ❤️✨
Charmaine Ng | Architecture & Lifestyle Blog
http://charmainenyw.com