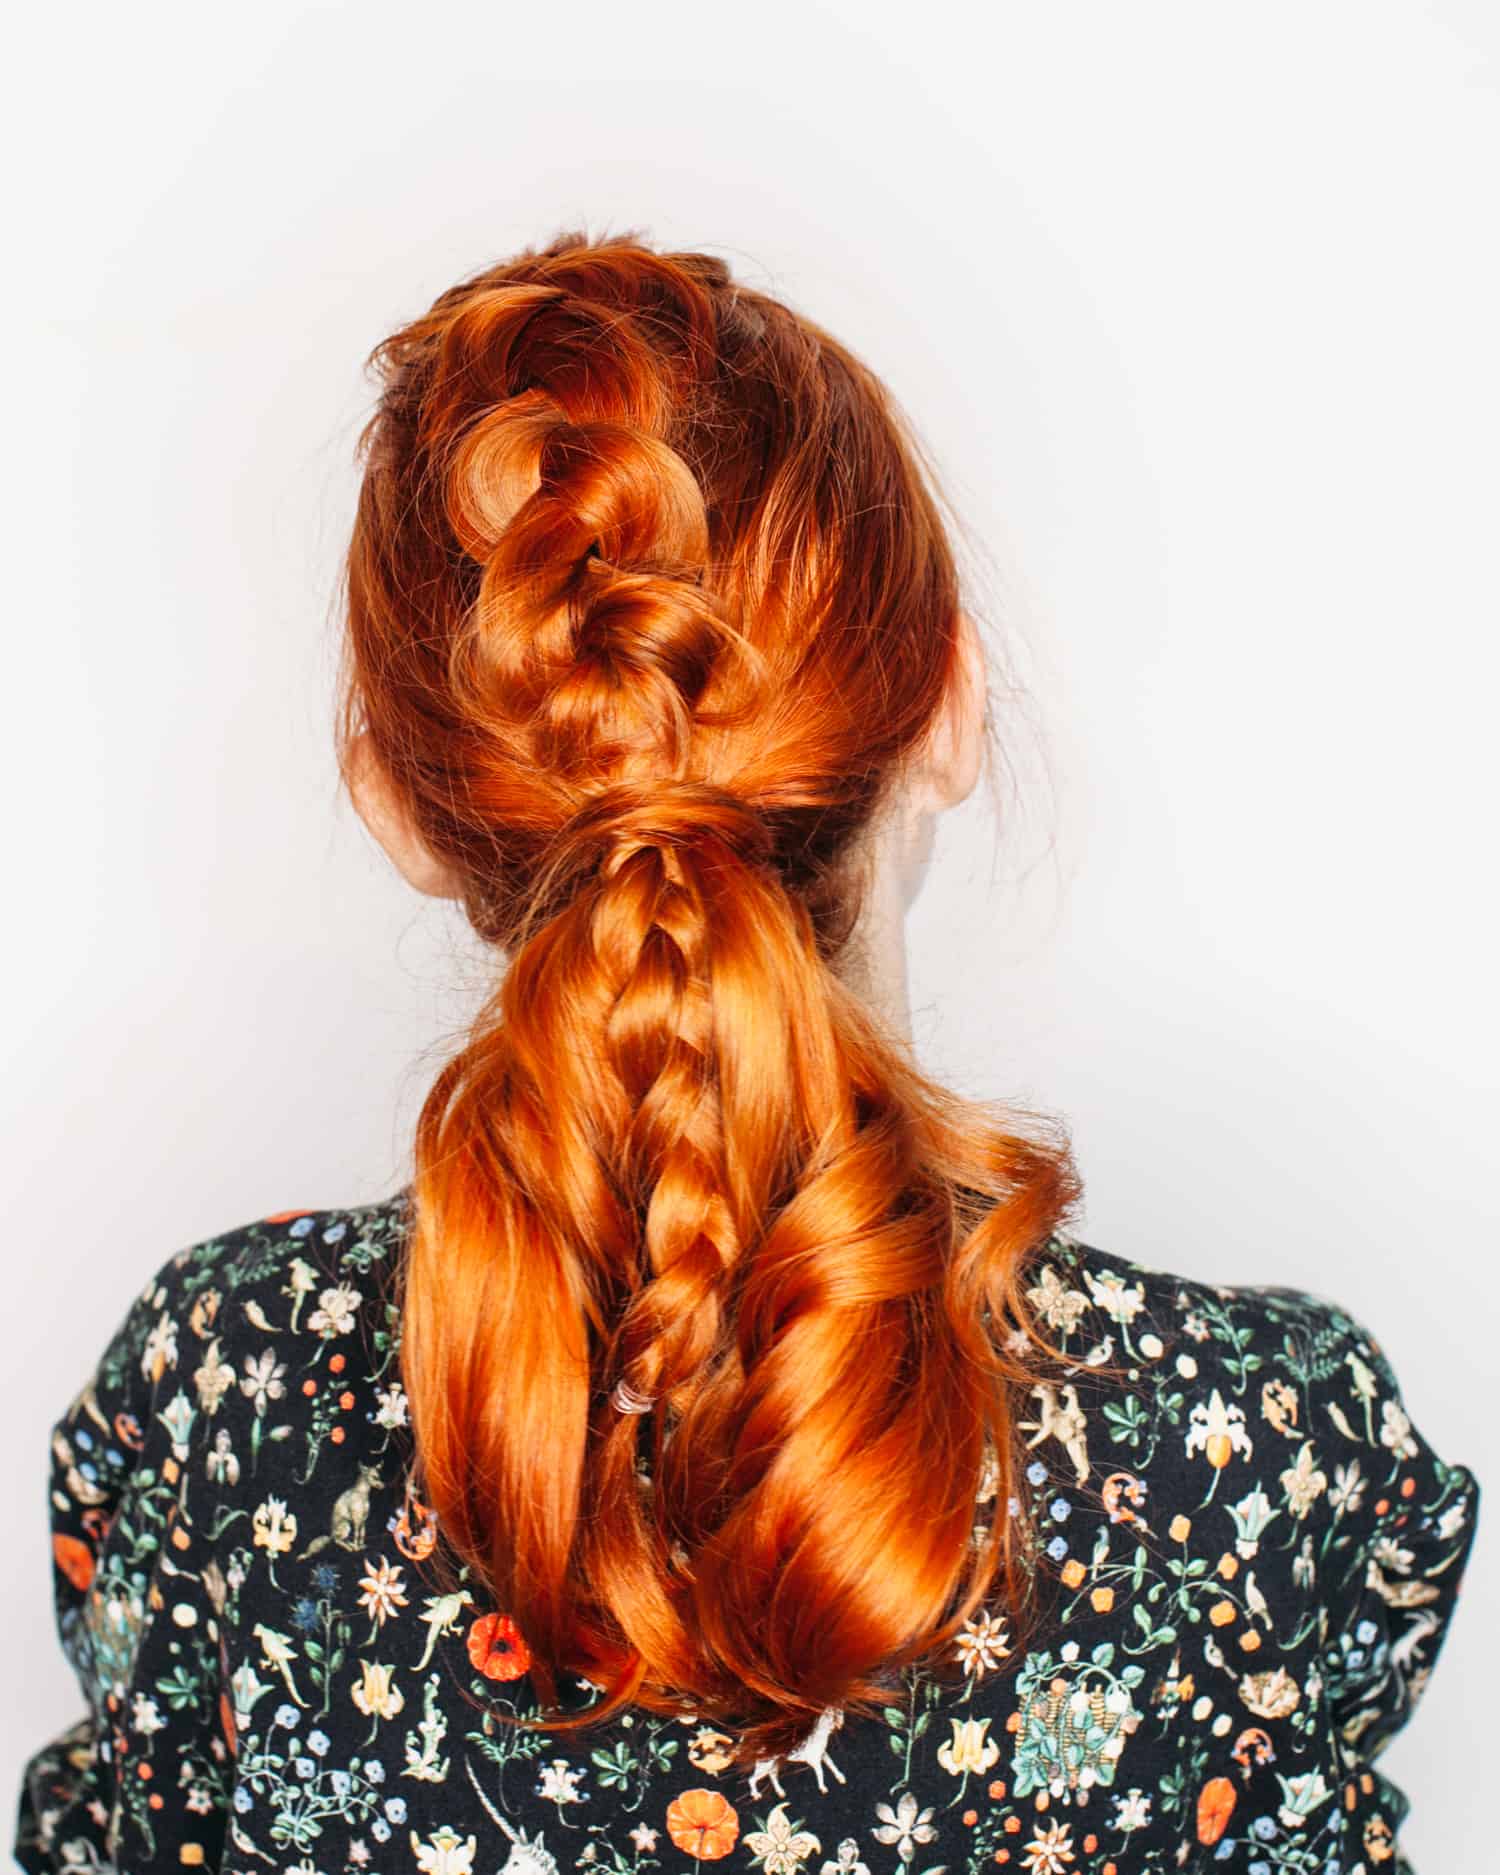
 I know I do hair tutorials on the Internet so I might seem like some sort of “expert,” but really I’m still just learning as I go. And do you know the thing I find most difficult to do when it comes to hair styles??? Drawing an even part line! I’m so hopeless at it! When I do milkmaid braids, I always have a sneaking suspicion that my part in the back is super wonky, but I usually don’t bother to look. Still it’s something I’m actively working on because there are some hairstyles that really require a nice straight part. This look is almost one of those—you can get away with your lines not being perfect (mine certainly aren’t!), but a straight line and steady hand definitely helps make this top braided ponytail work.
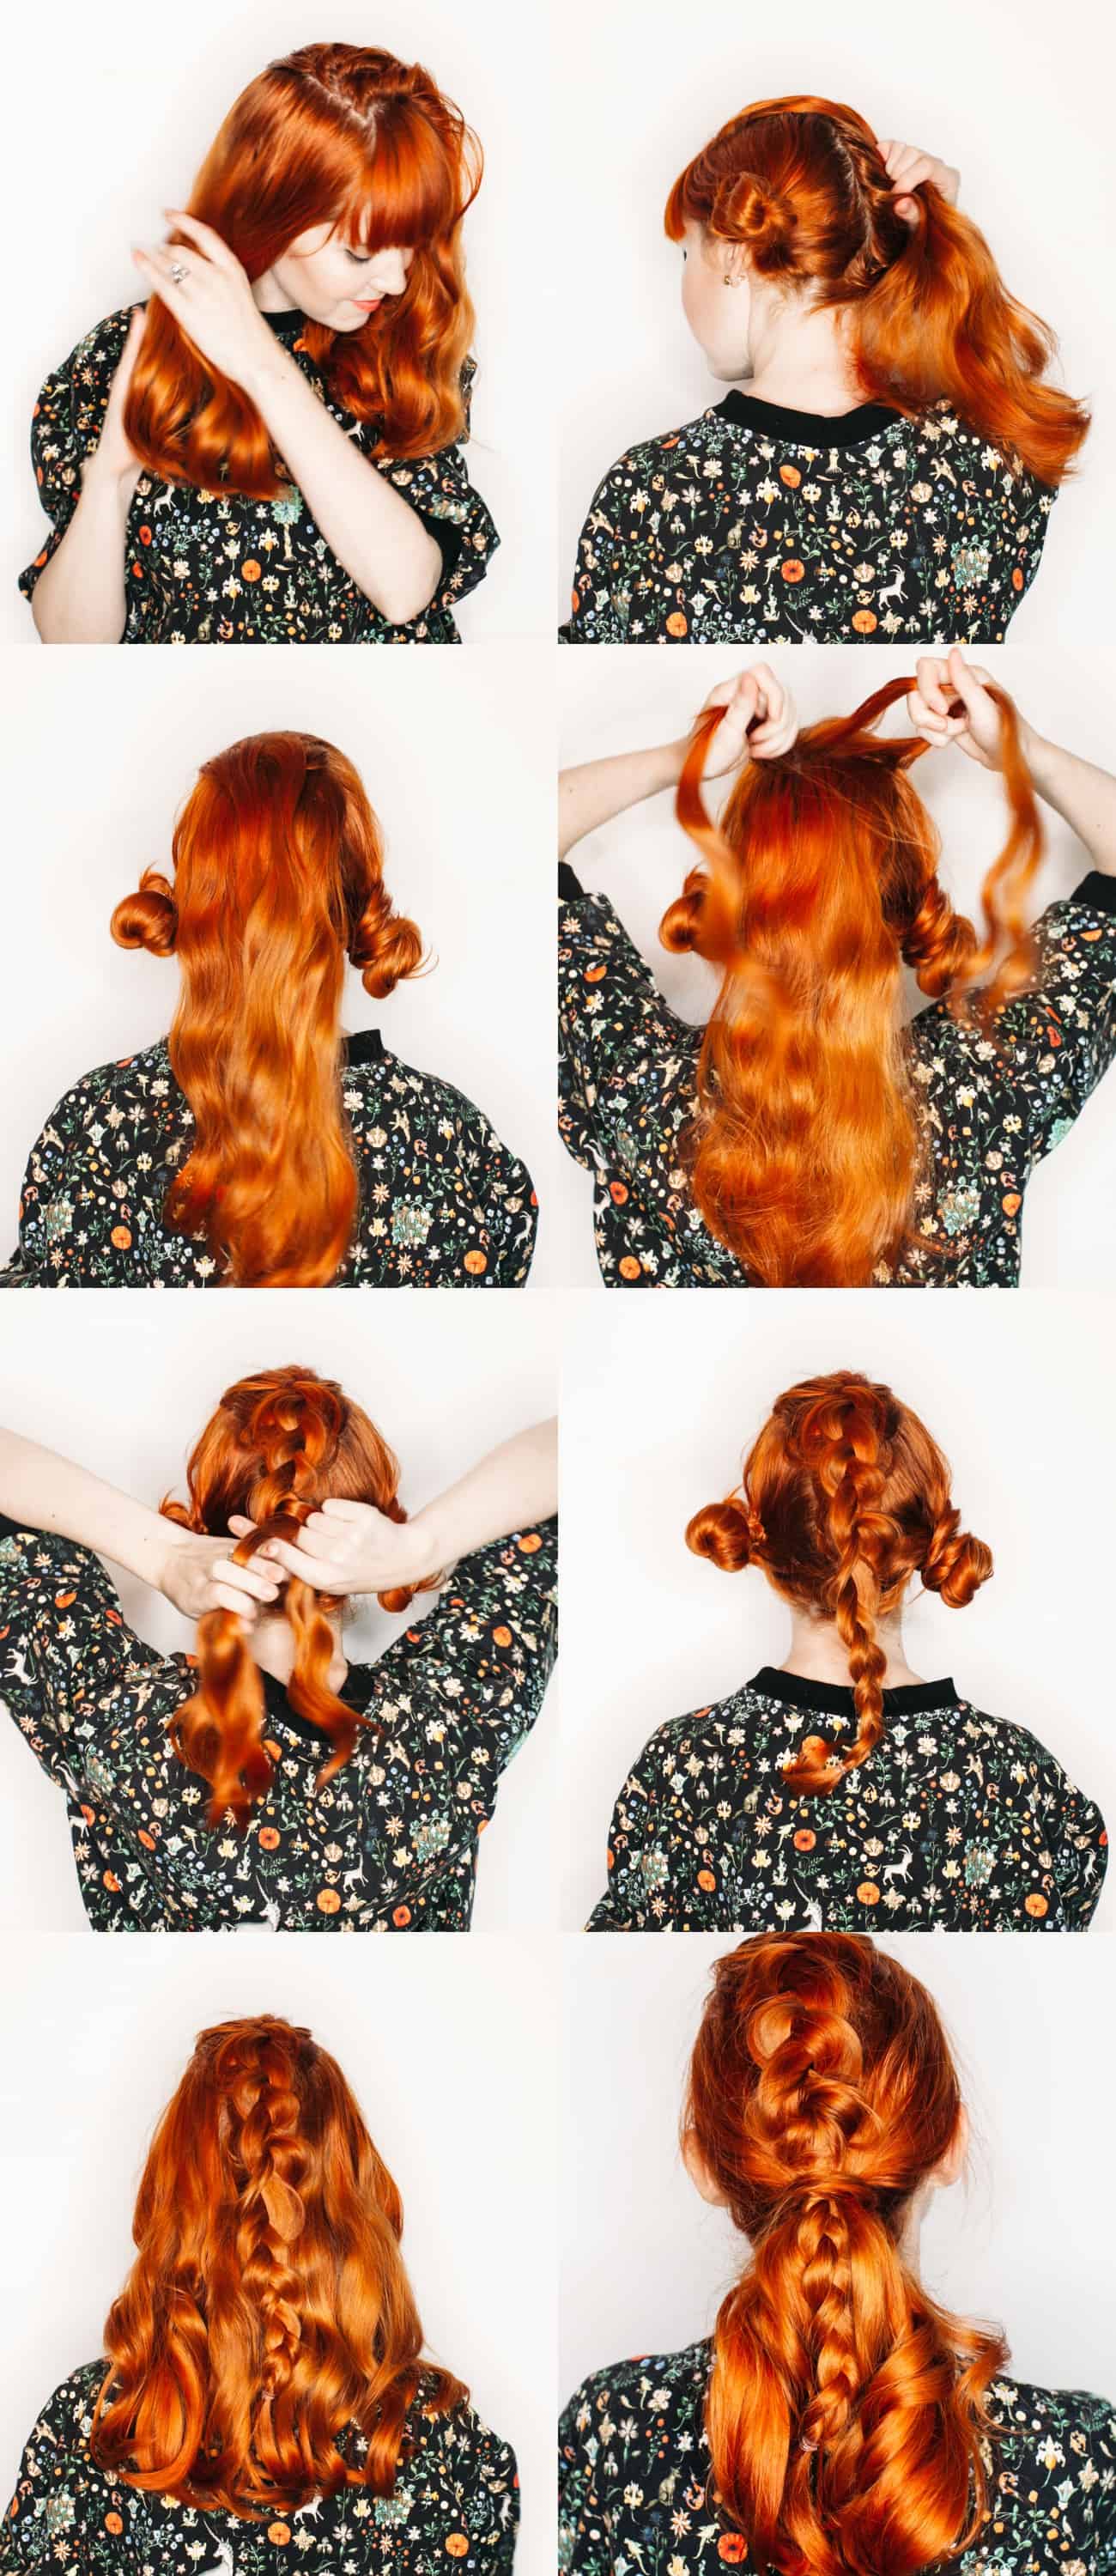
 Step one: The key to this look is separating the section you intend to braid from the rest of your hair so the braid stands out. So start by sectioning off one side of your hair, about an inch or two from your middle part and tie off the rest of your hair on that side.
Step two: Repeat on the other side; draw a line about an inch or two from your middle part and tie off the hair below that line to keep it out of the way. Your part/line doesn’t have to be perfect towards the back of your head, but try to get a straight-ish line in the front.
Step three: Make a Dutch braid with the hair you left untied in the middle. A Dutch braid is made similarly to a French braid, but instead of crossing the sections over one another as you add pieces of hair to the braid you cross them under.
Step four: Stop adding sections to your braid around the height you want your ponytail to be. I stopped at about a mid-height on the back of my head so a good portion of my braid would be visible.
Step five: Pancake your Dutch braid a bit for a fuller look; this will also help hide any unevenness in the lines you made earlier! The fuller you make your braid the more you cover those part lines.
Step five: Release the rest of the hair you tied off earlier and gather everything up in a ponytail. A nice finishing top is to take a small piece of hair from the ponytail and wrap it around your elastic and fix it in place with a bobby pin; this hides the main elastic and gives a more “natural” look.

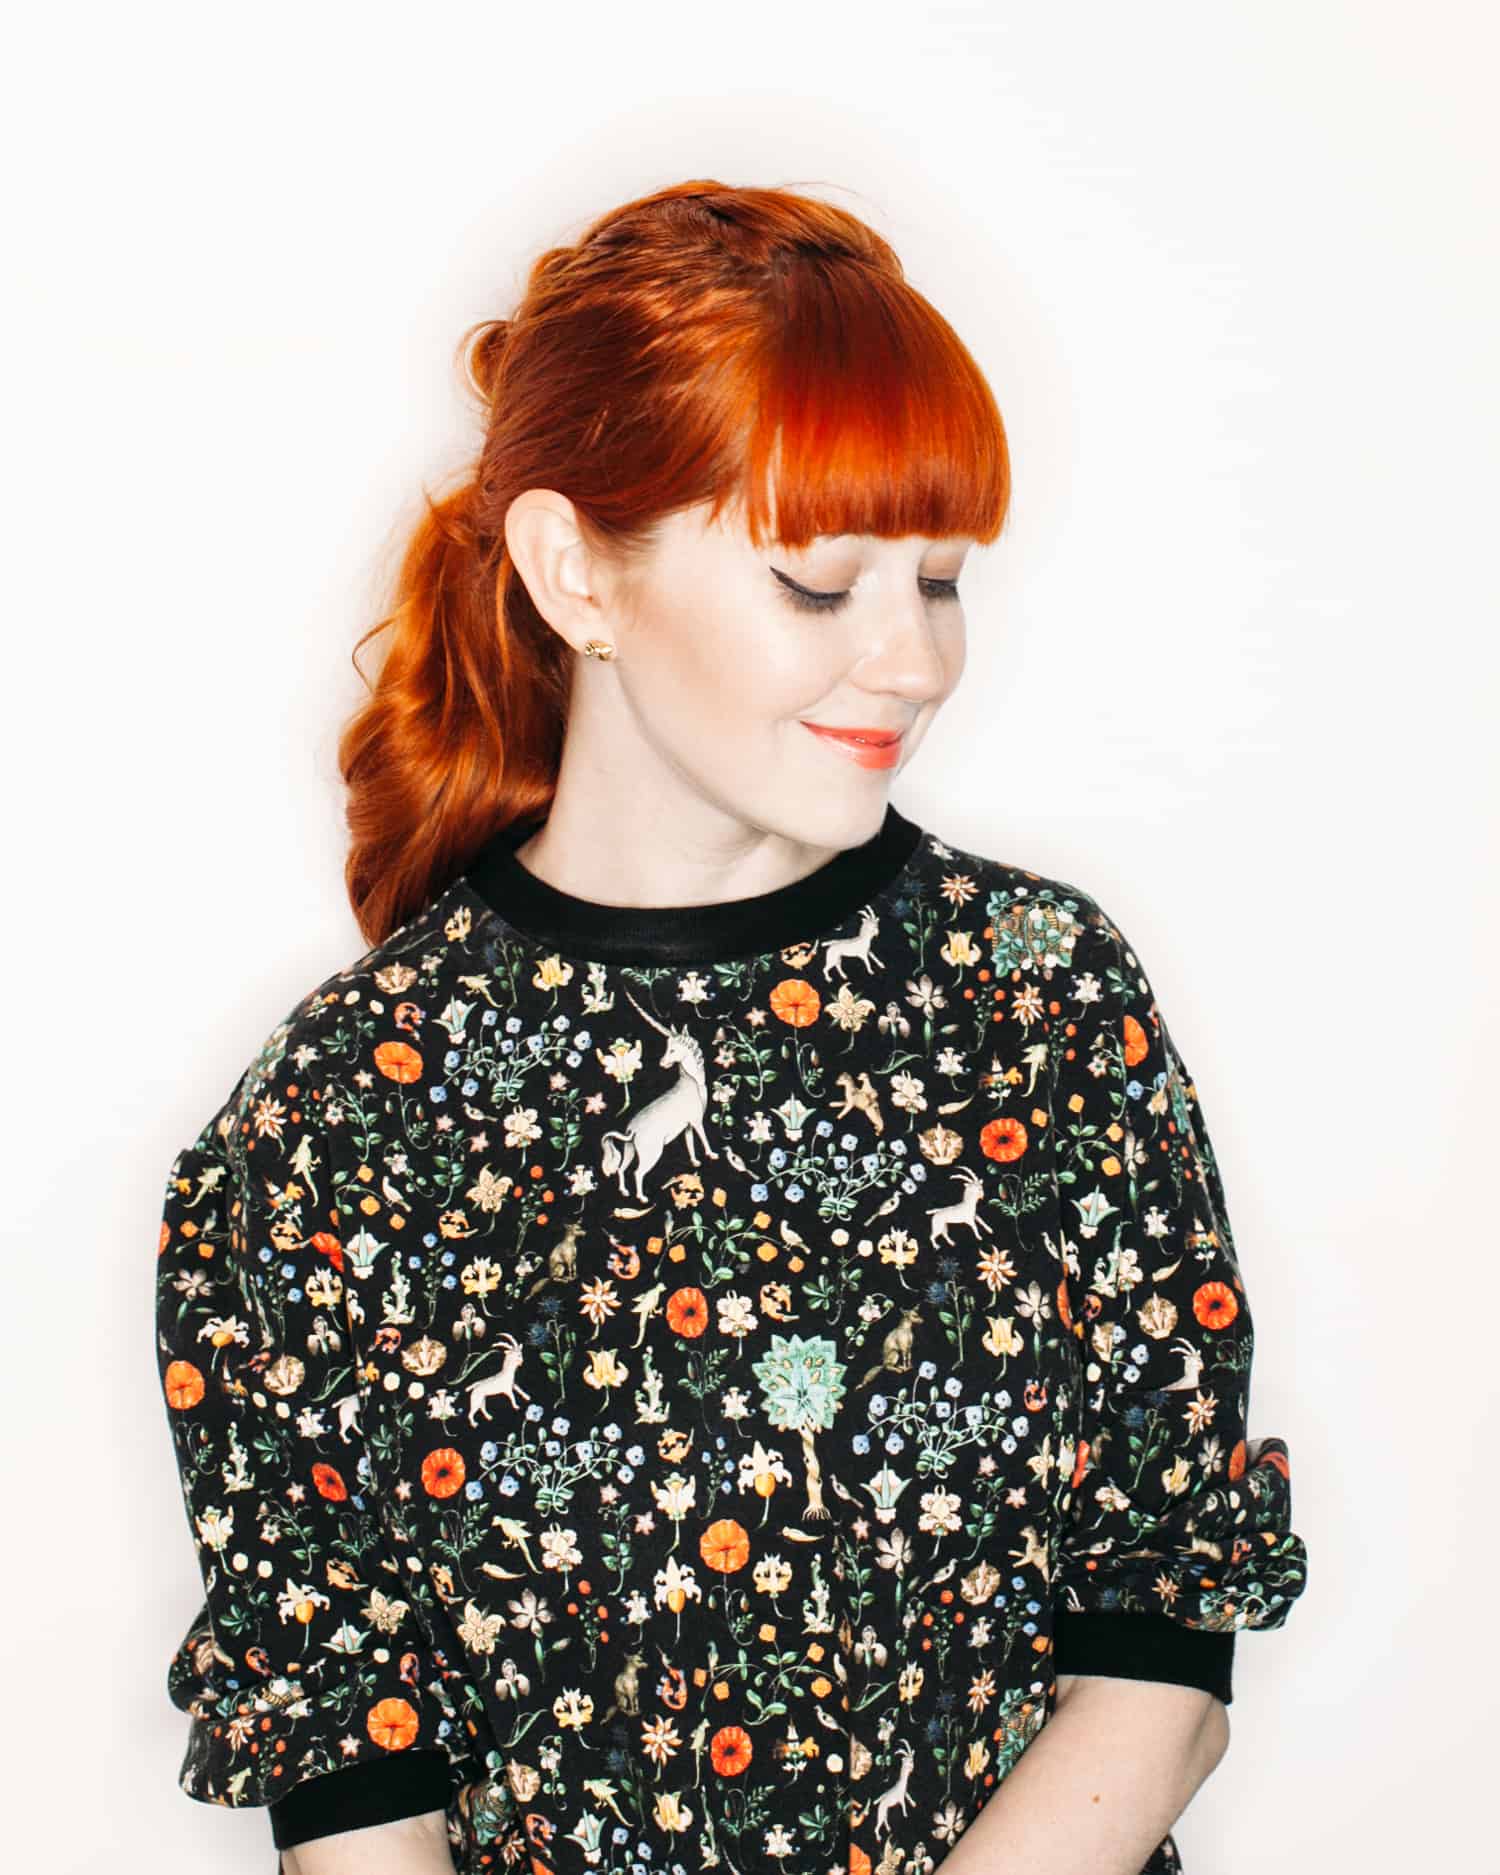
 This is what the style looks like from the front. If you don’t have bangs or you pancake your braid even more (maybe get some thickening powder or spray in there!), then your braid will be more visible from the front. It turned out pretty well, I think, despite my slightly wonky part lines! What’s a hair styling technique or step you struggle with? Cheers, Rebecca.


8 Comments
Lovely hairstyle! I had NO idea this was called a Dutch braid! I struggle to do French braids on myself, so I take to the mirror and end up with this “inside out braid,” as I’ve called it before. I love it because it pops off your head. I do have a hard time working with my arms from behind, but I guess with enough practice…
http://www.shessobright.com
This model has the most stunning red hair on the planet!!
It’s so beautiful, especially with your hair!
https://www.makeandmess.com/
I am losing my MIND over that sweatshirt.
It’s by Samantha Pleet! I am in love with this print; I have it in two colors. lol
This braid looks amazing!
Paige
http://thehappyflammily.com
This is super cute – will try it out once my hair grows out a bit!
Charmaine Ng | Architecture & Lifestyle Blog
http://charmainenyw.com
I love braid, your hair its beautiful!
New post:http://thepinkpineappleblog.blogspot.com/2017/09/nyfw-day-1.html
Blog:http://thepinkpineappleblog.blogspot.com/