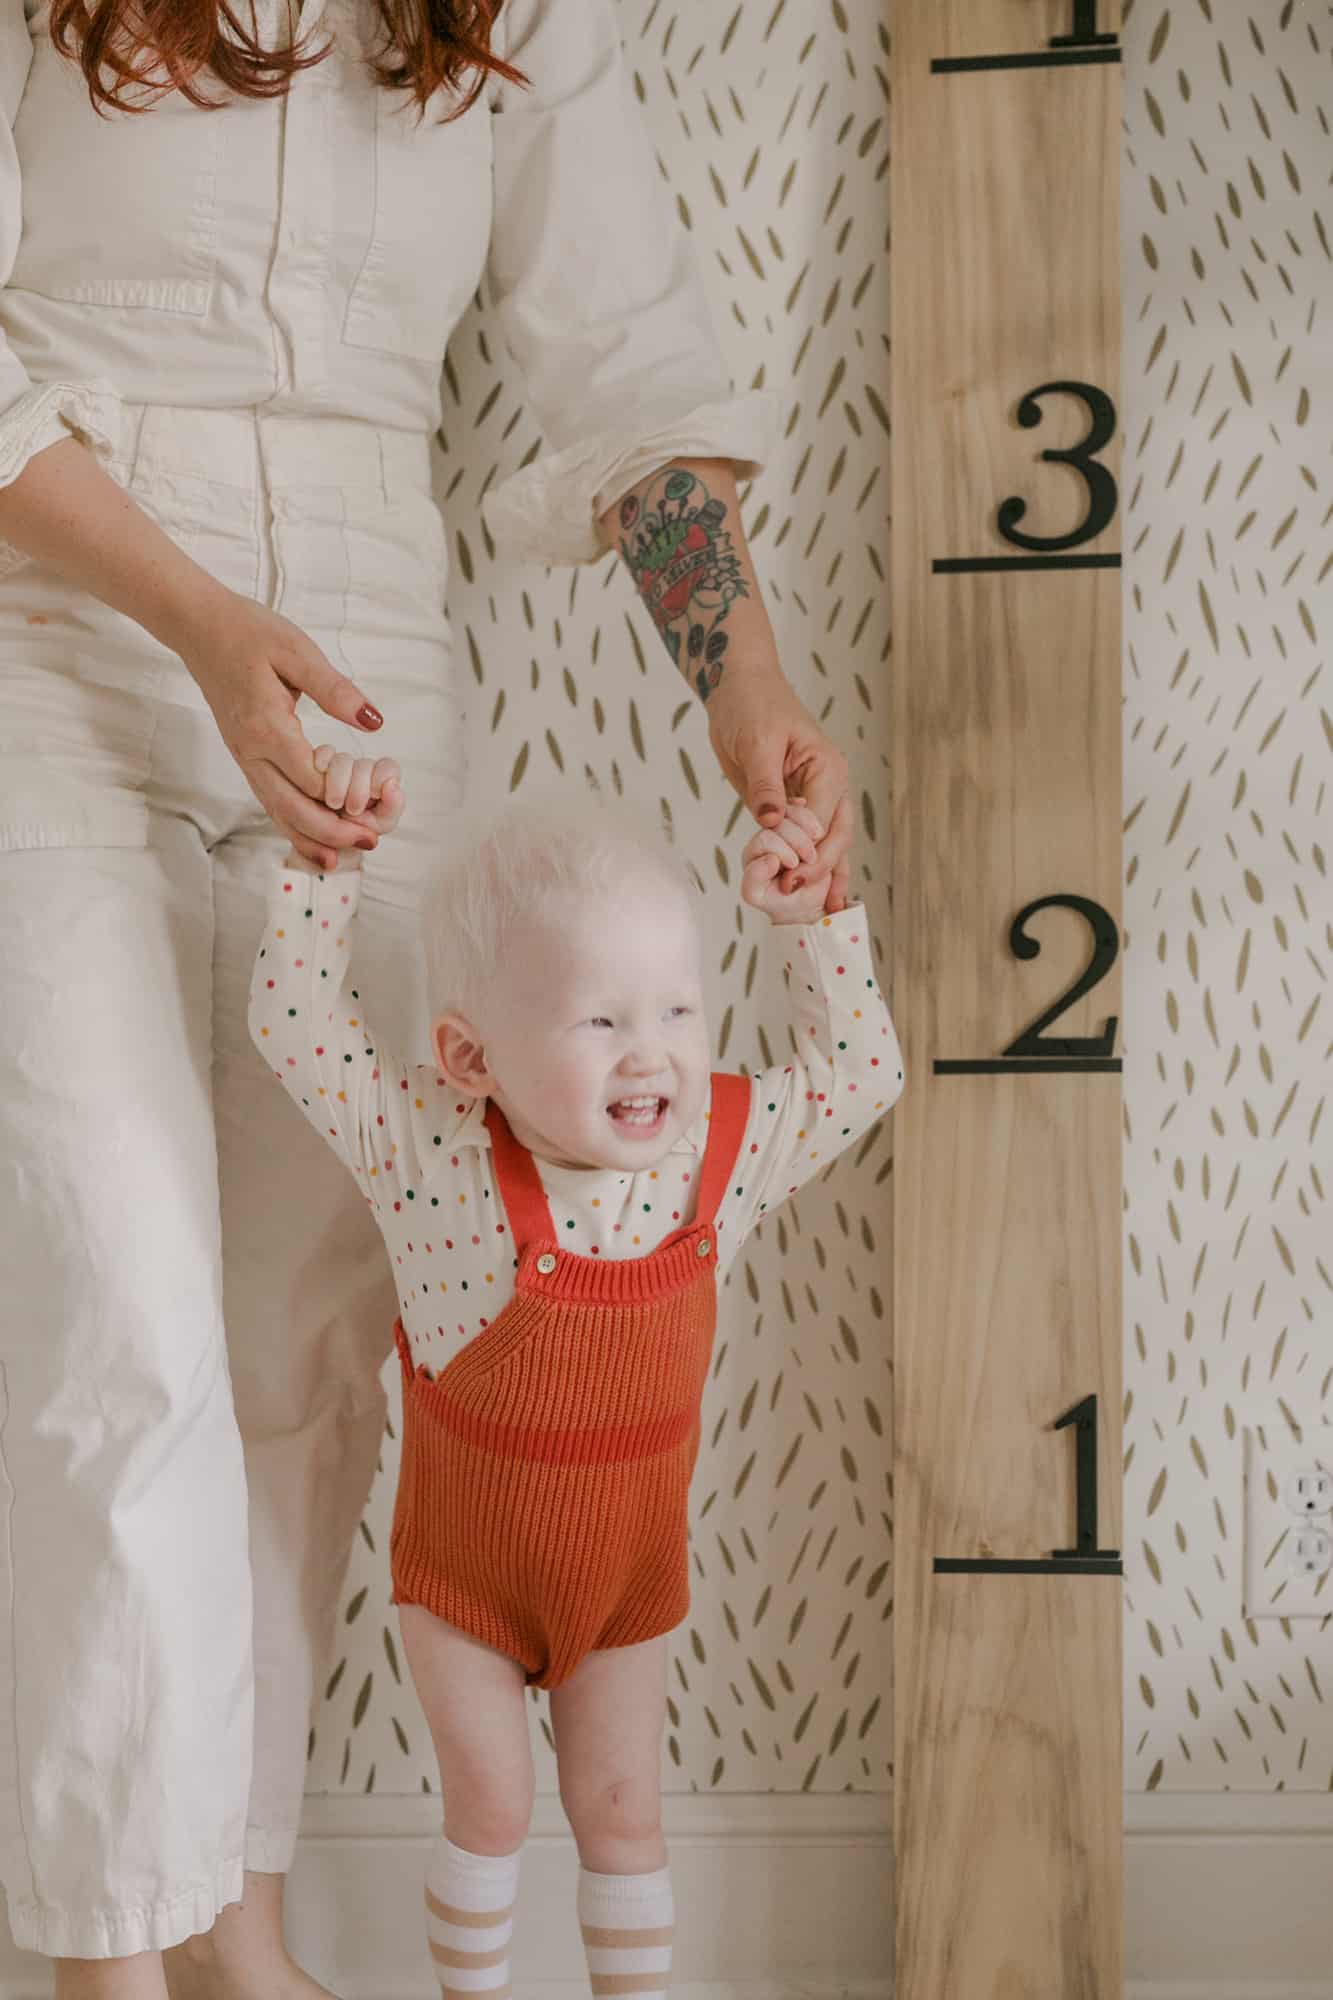
 I have a height chart in our home that I show pretty frequently and always get so many questions about (I’ll show it below). The shop I got it from doesn’t sell them anymore, so I thought it would be fun to share a DIY version. If you’re not up for a DIY, there are also loads of options on Etsy.
I am planning to give this to a friend who is about to welcome a new baby. It’s an incredible gift idea and such a treasure through the years with a growing family.
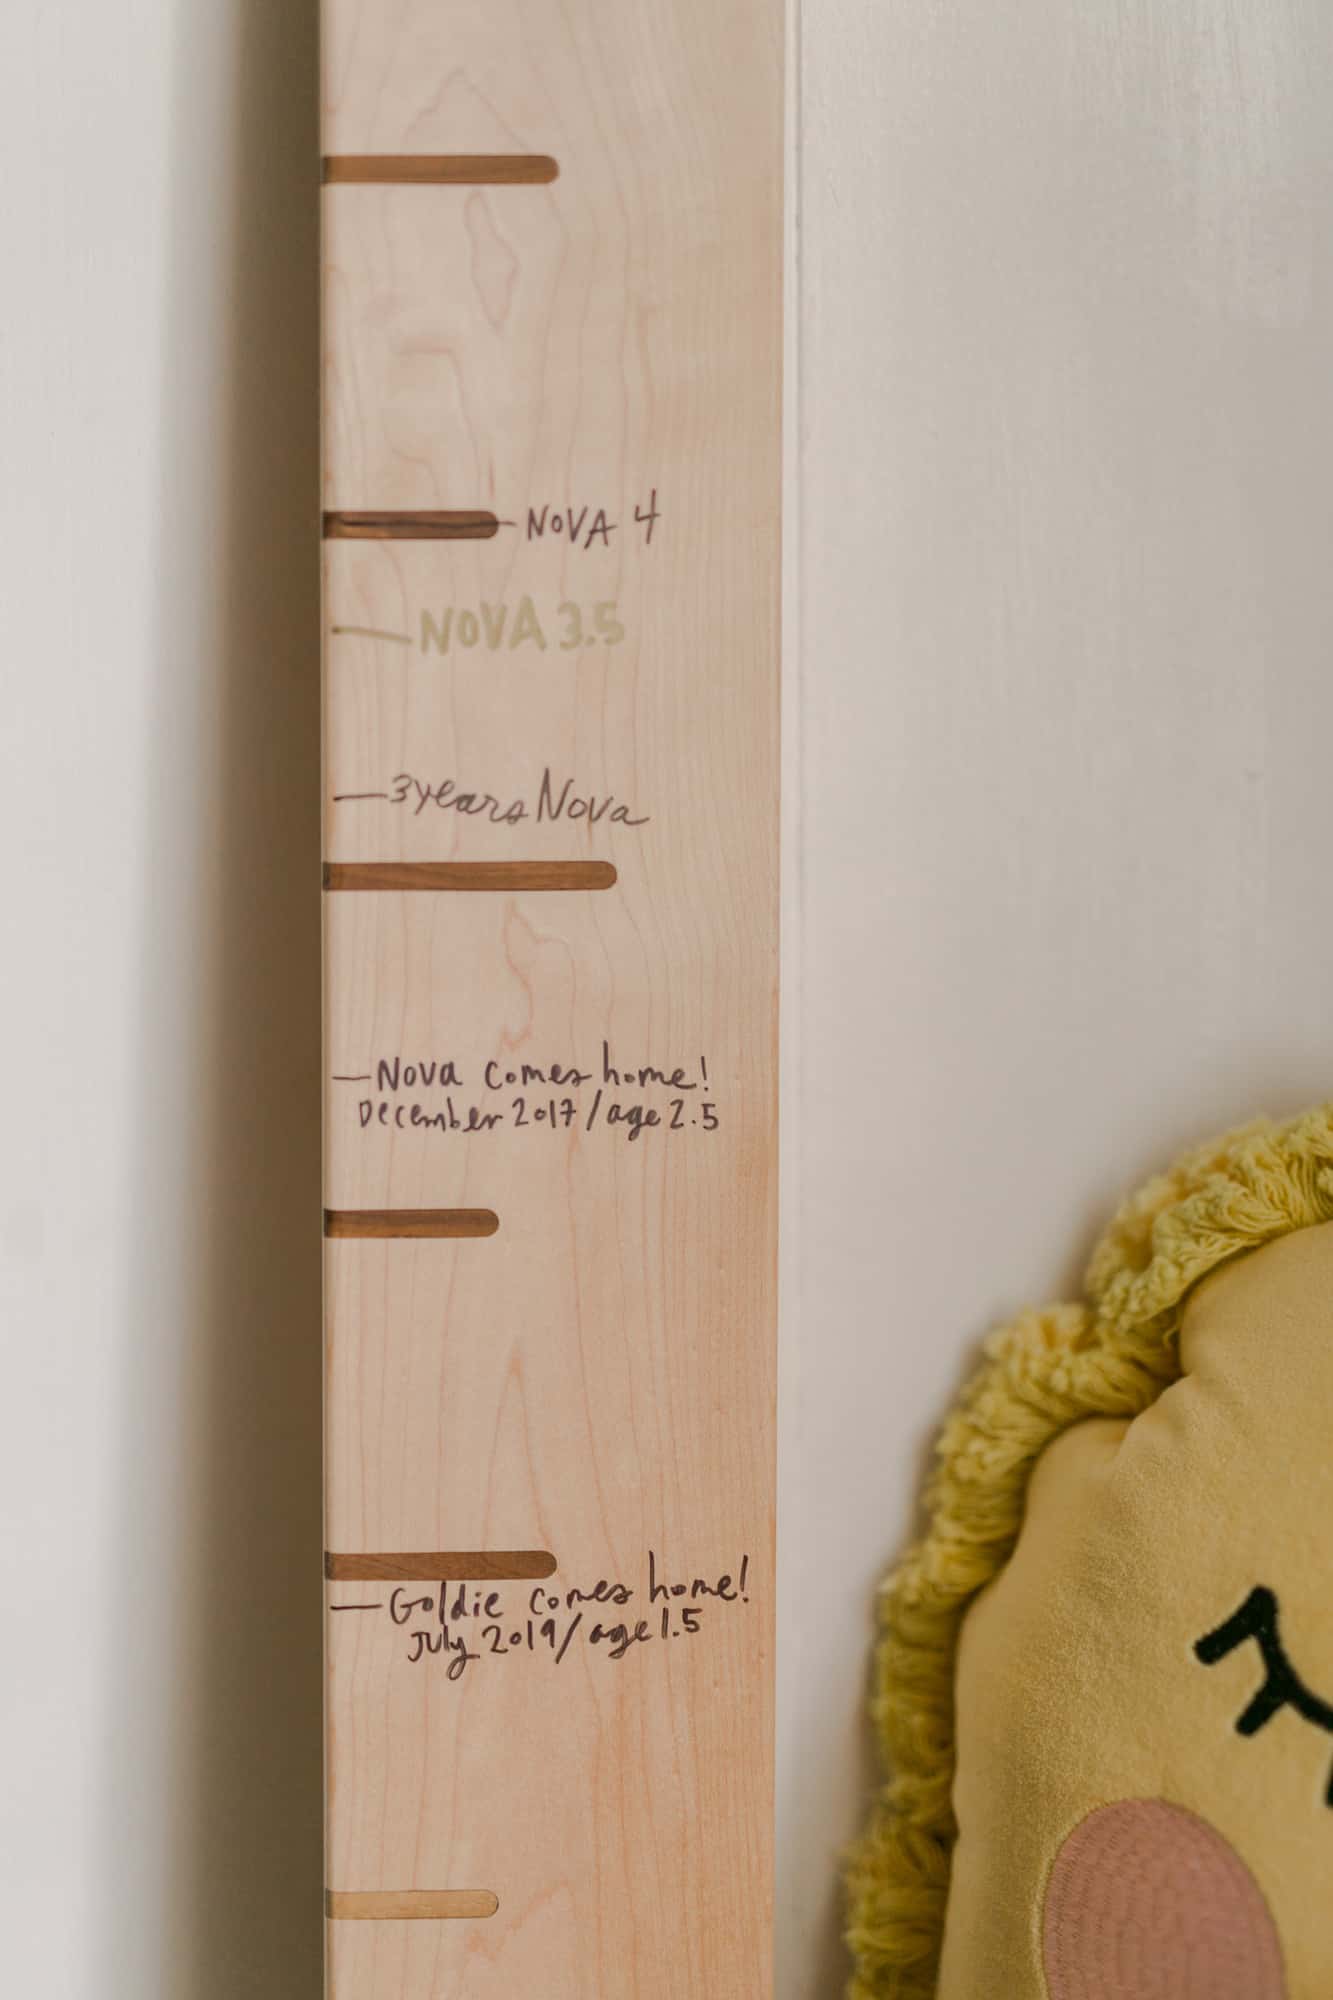 Here’s our chart, which currently lives in Marigold’s nursery. You can see how quickly Nova is growing (gulp) and now we’ve started adding Marigold’s milestones to it as well.
I love that these charts can move with you as you go, since a lot of people don’t live in the same home for the children’s entire childhood.
I’ll toss it over to Collin now, who created this DIY for you all!
Supplies:
-one 3/4″ x 5.5″ x 6′ poplar board
–4″ home address numbers
-miter saw or circular saw
-drill or screwdriver
-220 & 400 grit sandpaper
-ruler or angle square
-painter’s tape
-black paint
–satin polyurethane
-craft paint brush
-pencil
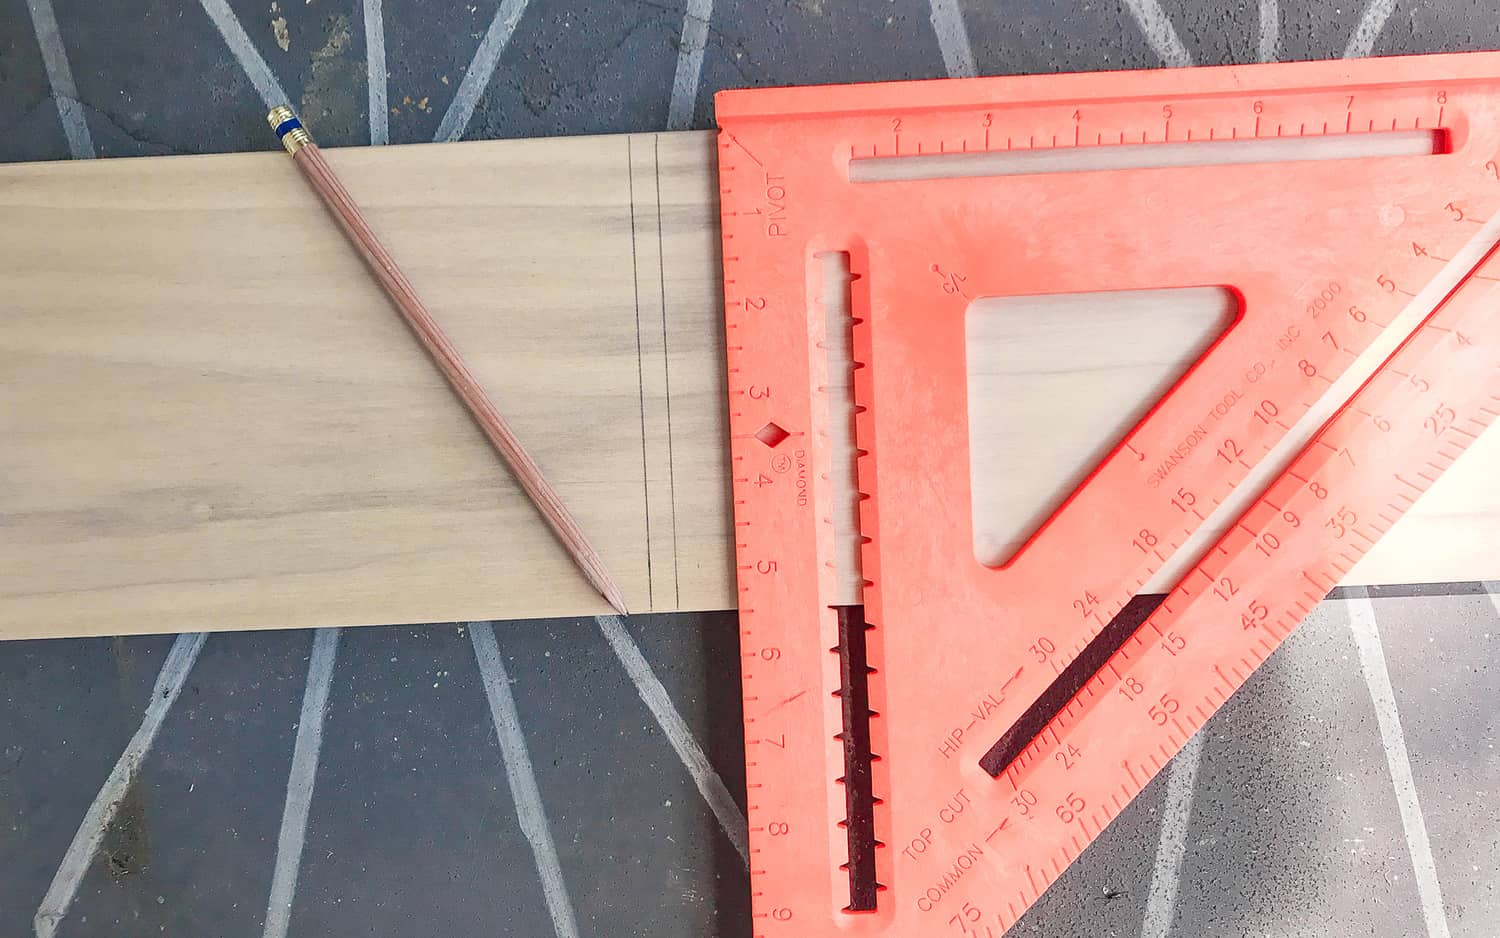 Start by taking your 3/4″ x 6″ x 6′ board and cut it down to 5′. Take some 220 grit sandpaper and give the board some light sanding and slightly round the sharp edges of the board. Next, measure from the bottom of the board up and mark each foot up to 4 feet. Using a ruler or angle square or really any straight edge, trace two lines 1/4″ apart on each of the foot markers.
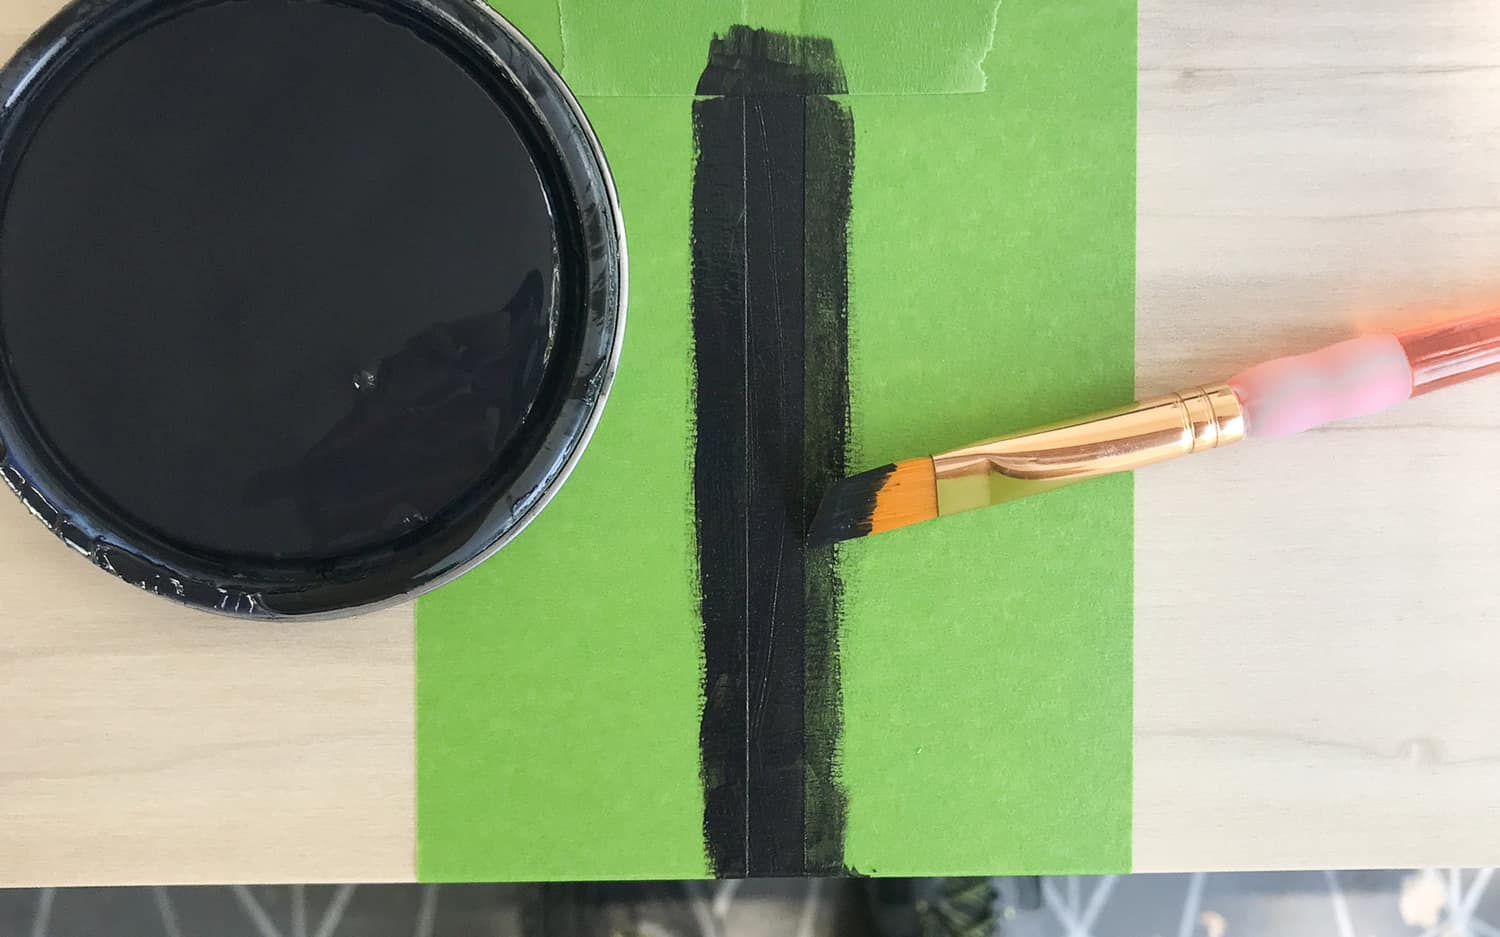 Take some painter’s tape and tape off 4″ of each of the 1/4″ lines and paint the lines with some black paint.
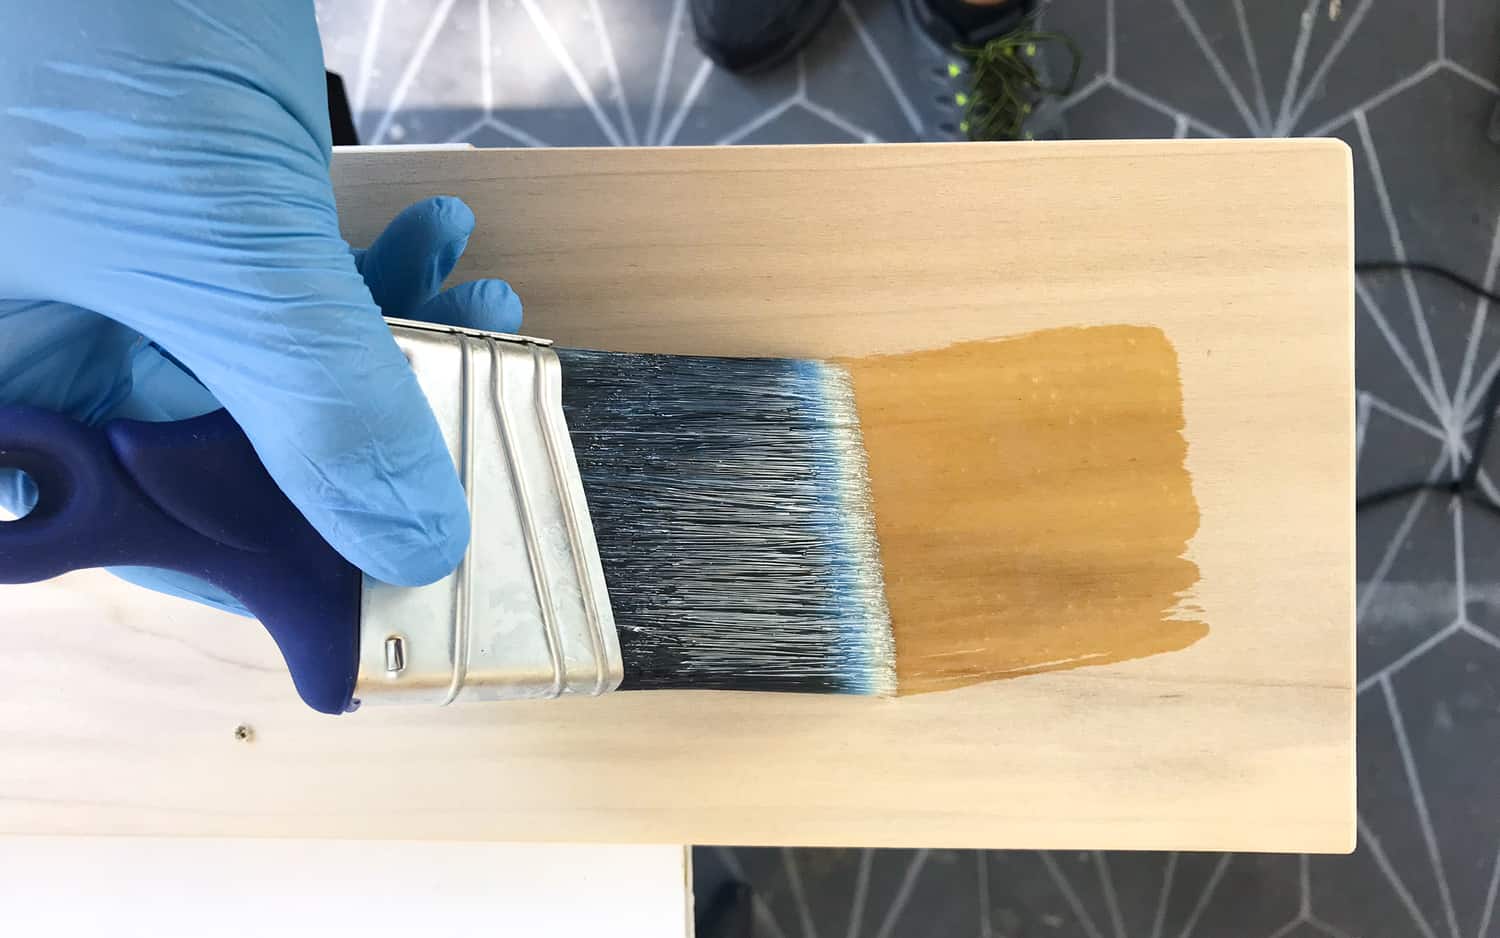 After the paint is fully dry, take off the painter’s tape and apply a coat of satin polyurethane on the entire board and let dry for the manufacturer’s recommended amount of time. Once dry, take some 400 grit sandpaper and lightly sand the entire board to make it nice and smooth. Lastly, take your 4 numbers and attach them about 1/8″ above each 1/4″ line on the board. That’s it! Really simple and easy.
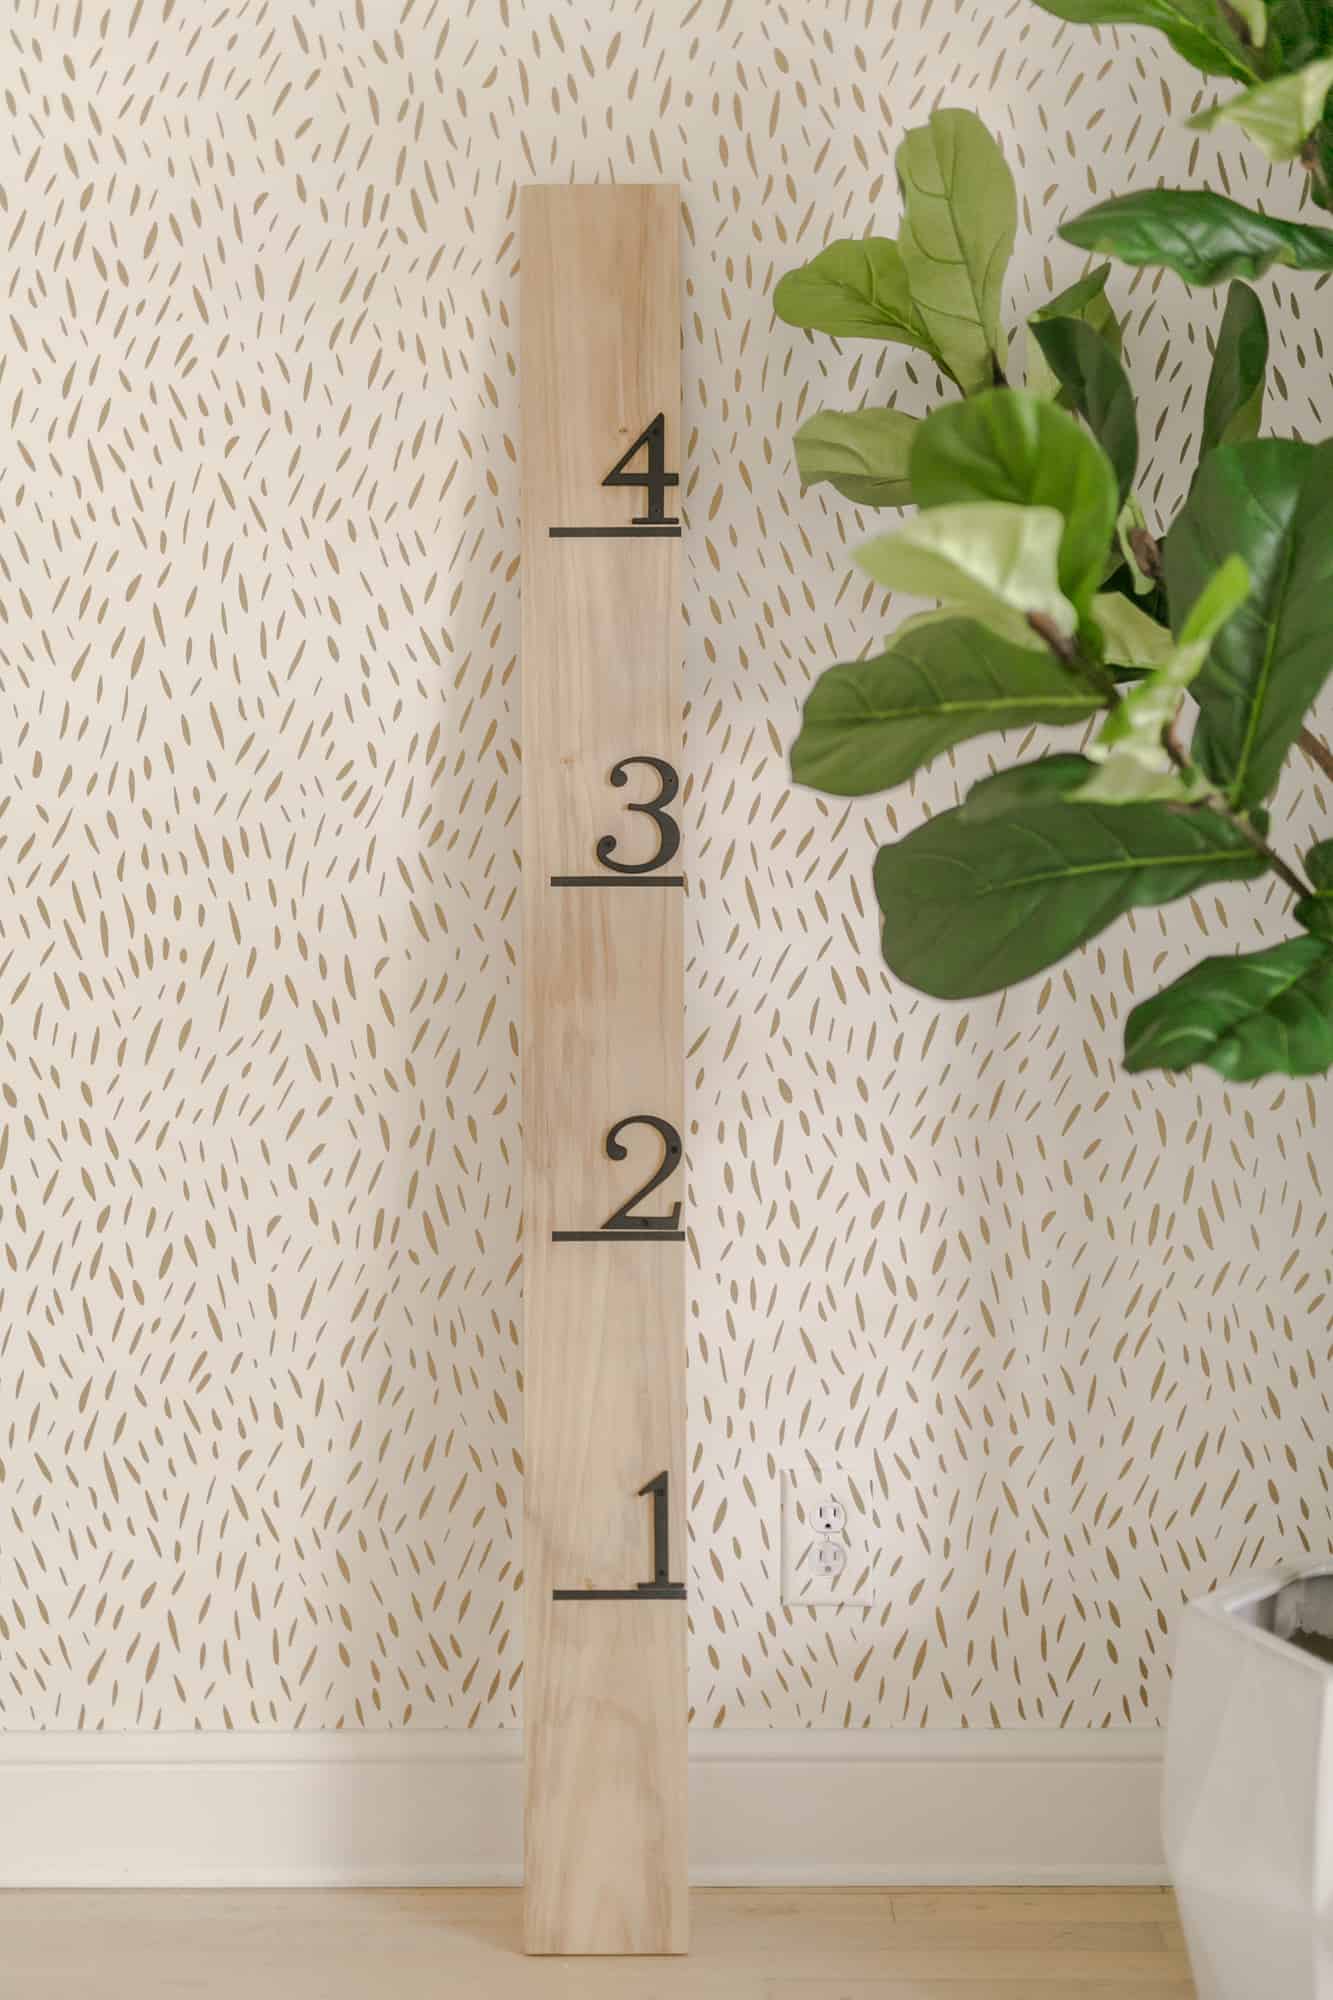 Here’s the completed DIY! Ready for memories.
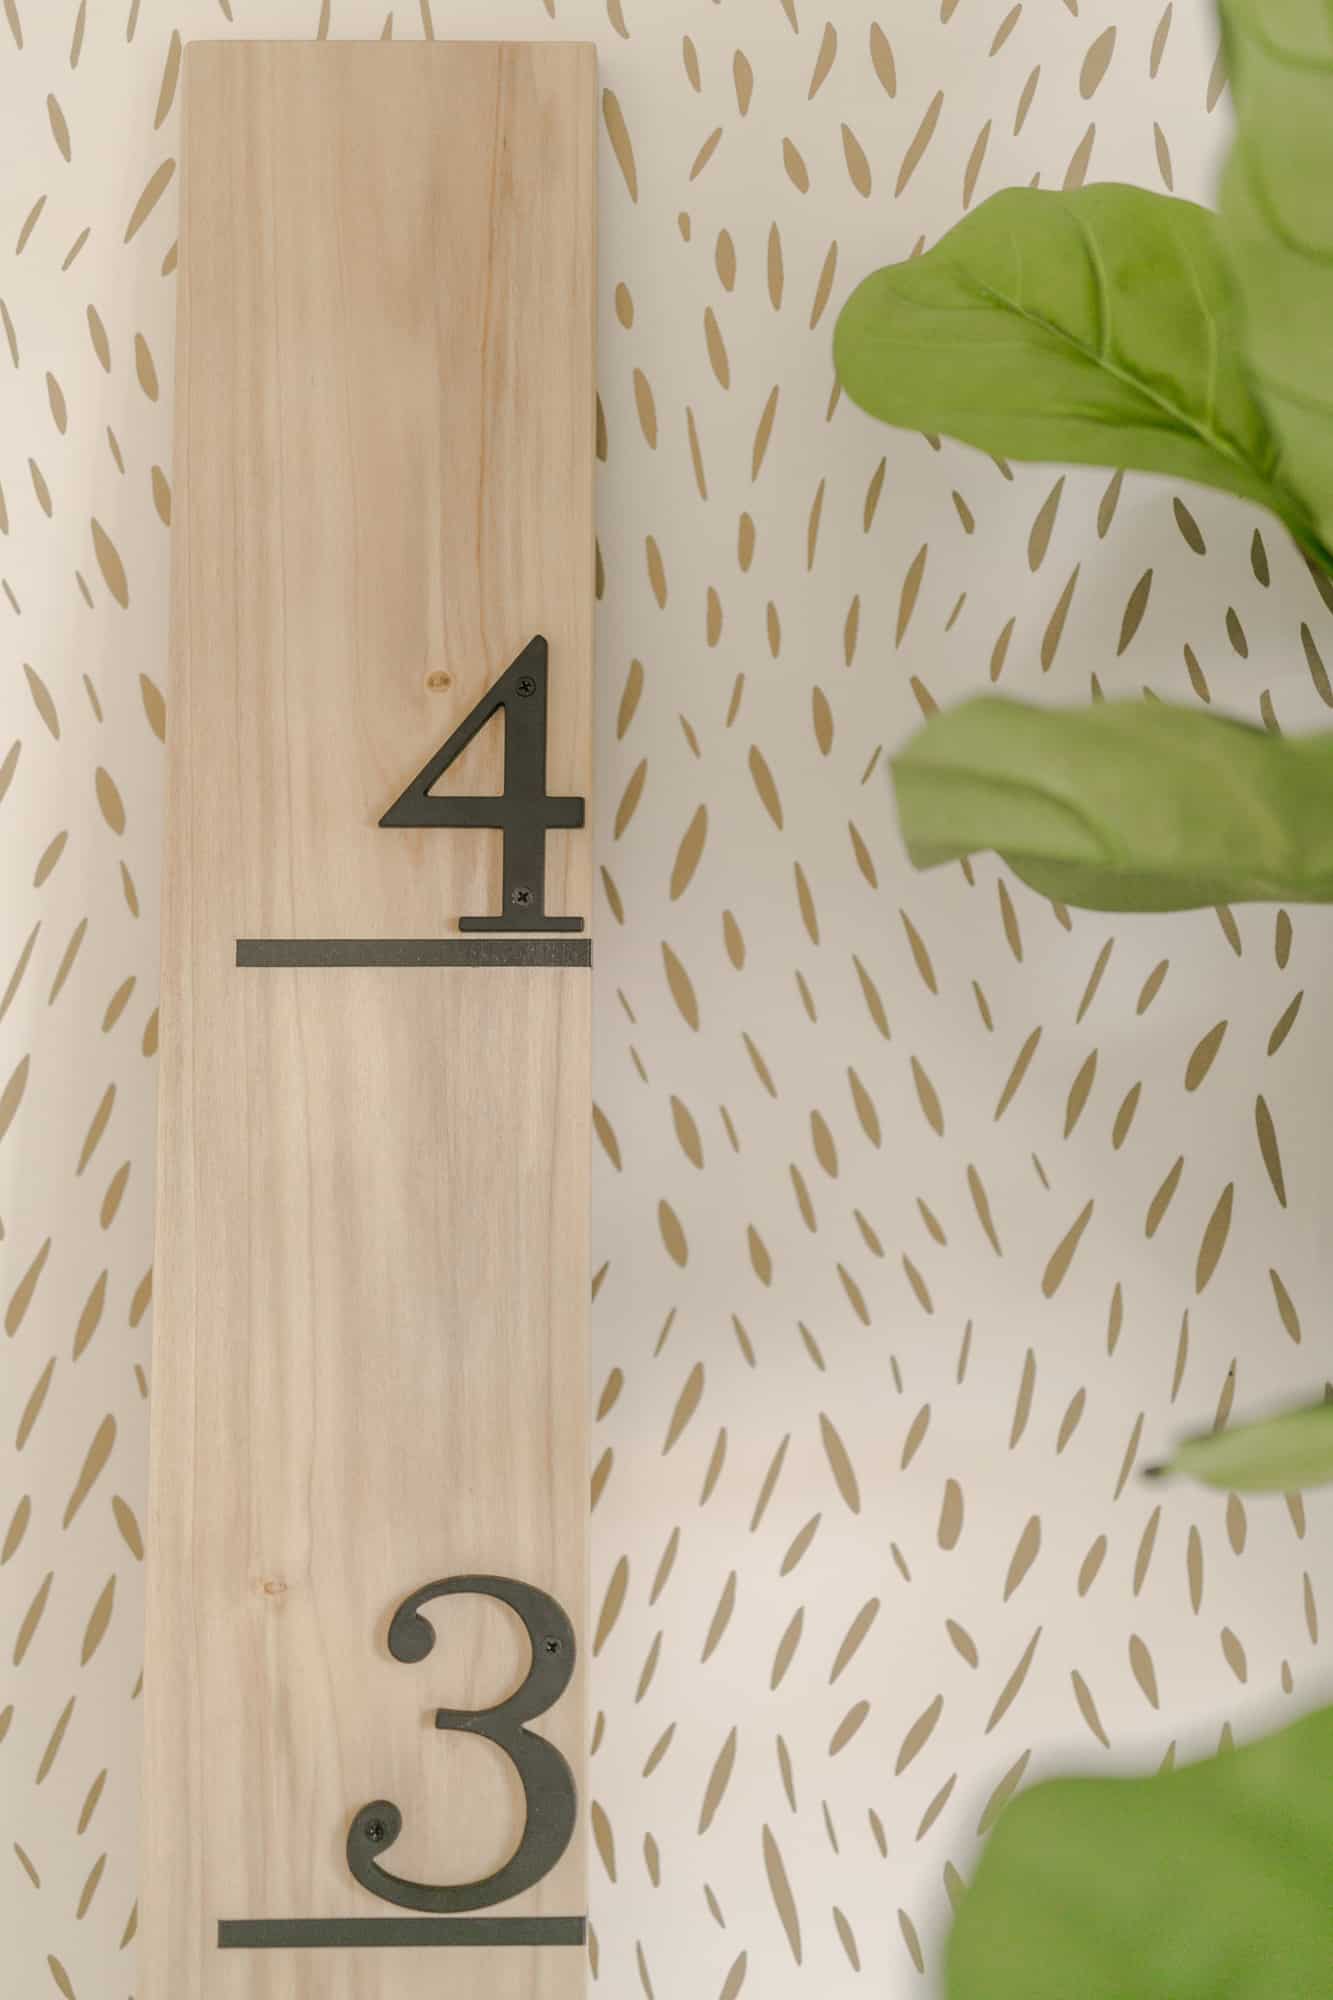
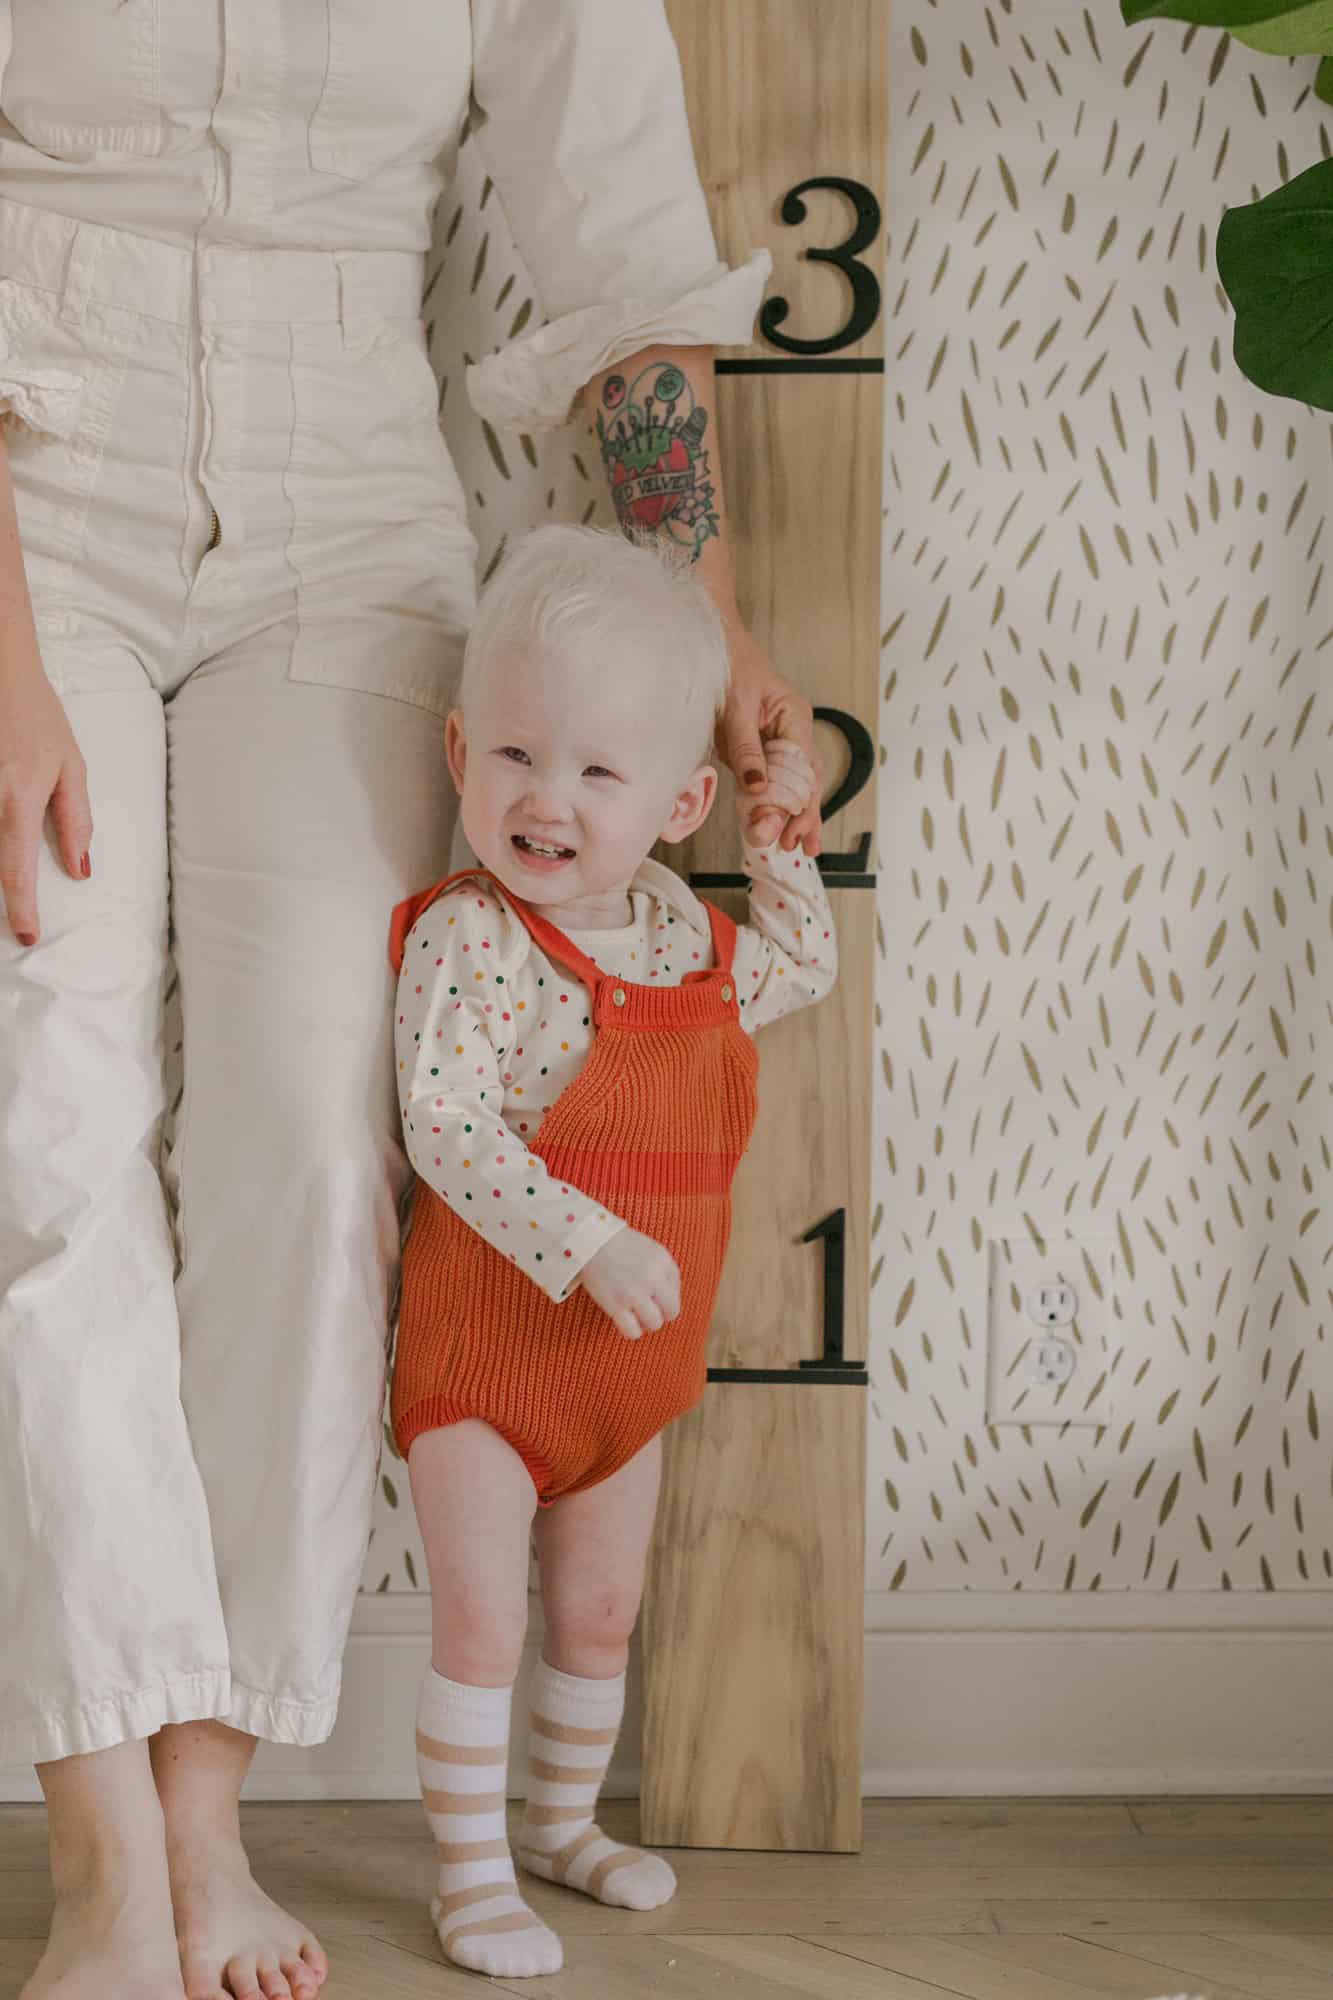
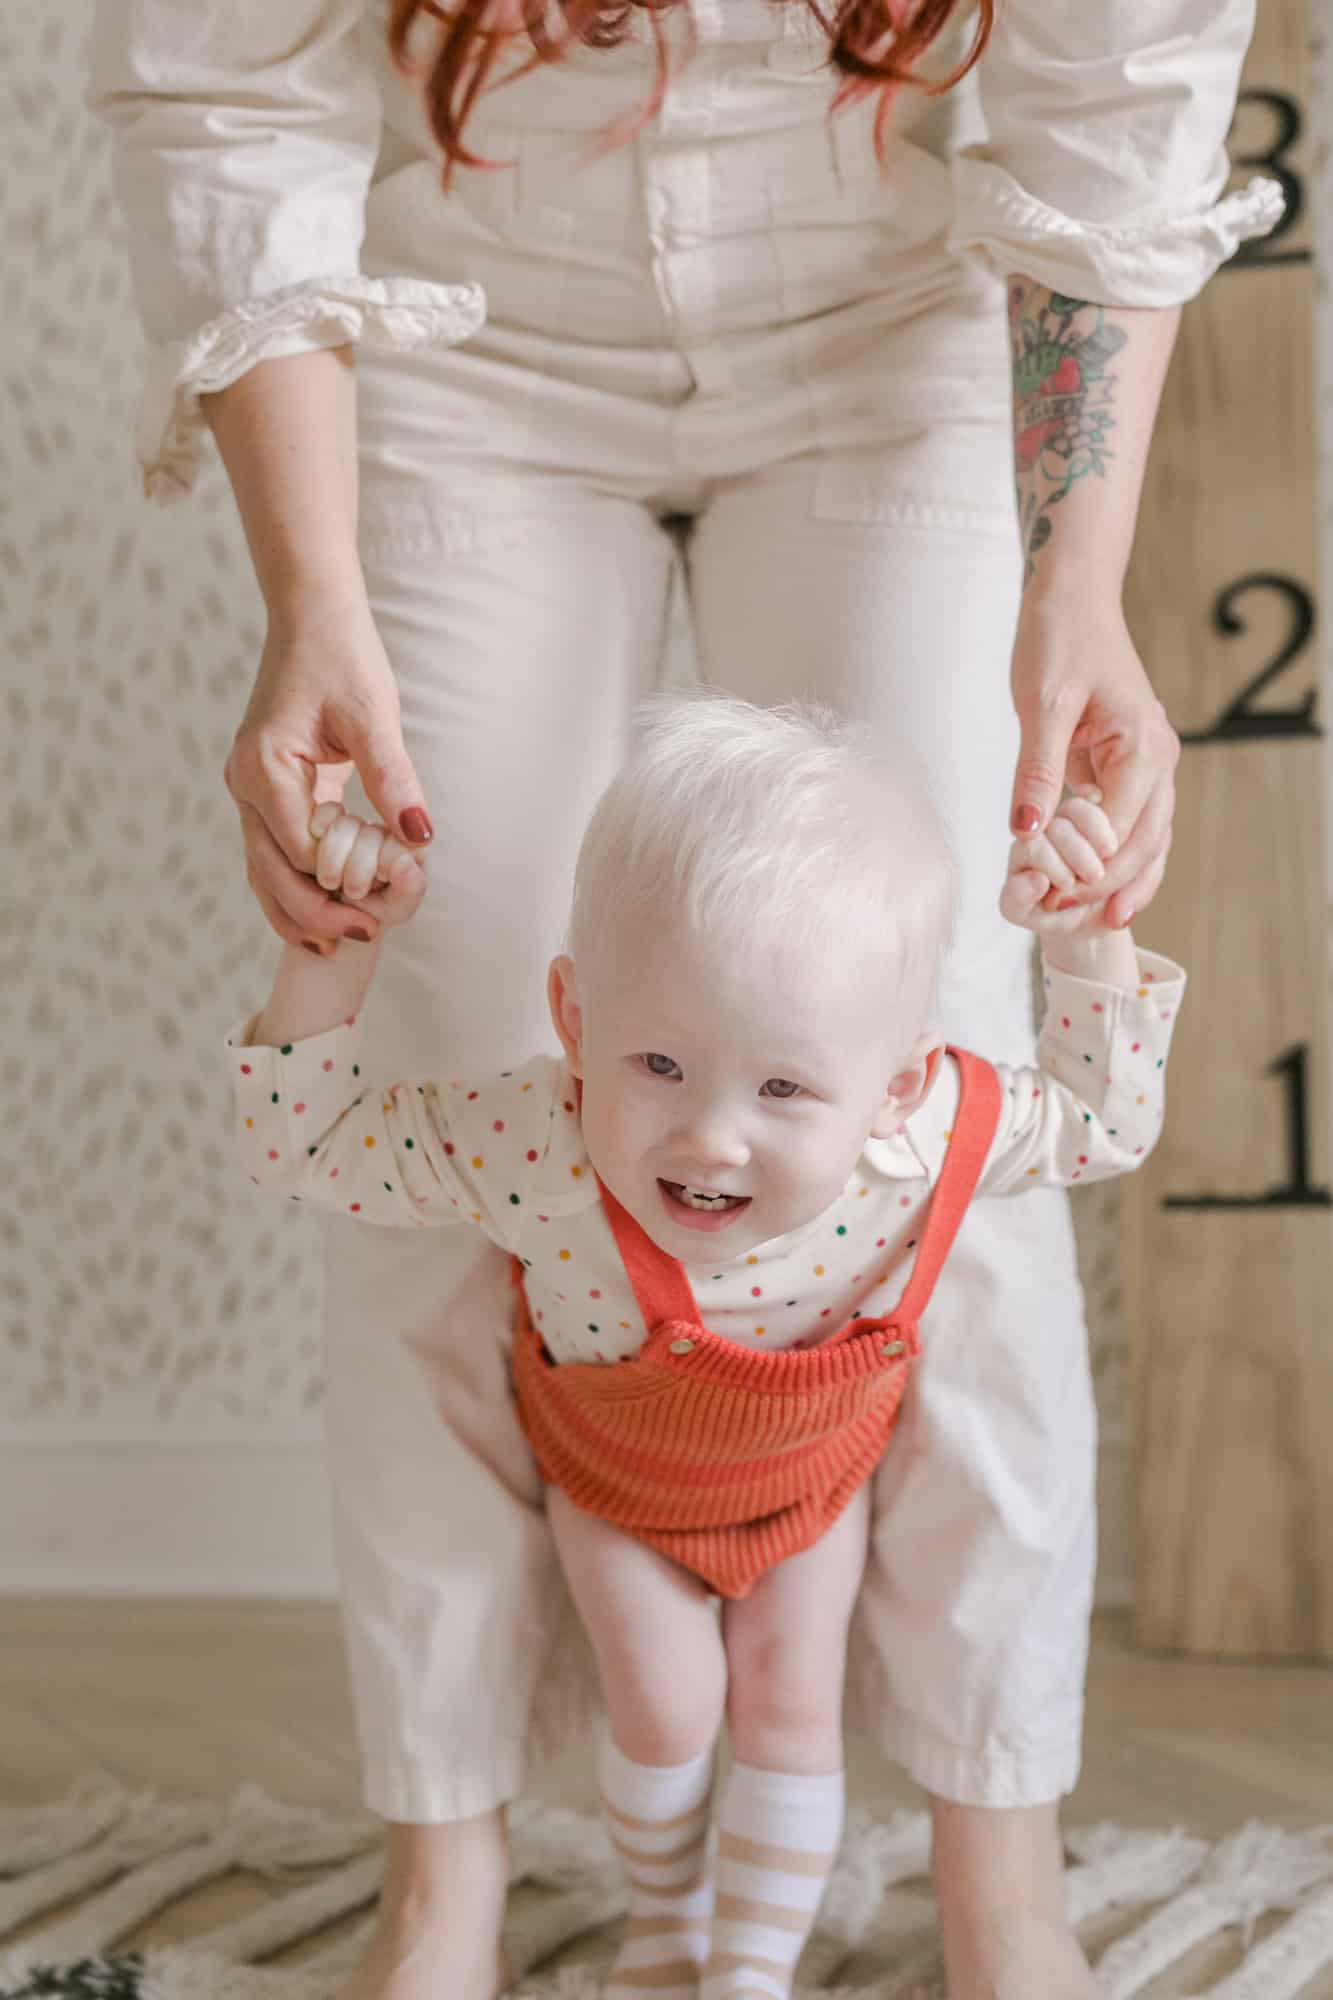 Marigold is a pretty good baby model, no? 🙂
Happy DIYing! Tis’ the season! xx- Elsie


7 Comments
Haha, I remember I had a very unstylish free plastic one when I was young. This looks so good and makes a great addition to any child’s room! ❤️✨
Charmaine Ng | Architecture & Lifestyle Blog
http://charmainenyw.com
Yup, super cute baby model! I totally clicked through just to see her sweet face!!
I love how you’ve written that your girls, “come home” – so very beautiful xx
What do you write on yours with? Even the thinnest markers seem to bleed on the wood when I do this. Goldie is a cutie!
Hi! I just use sharpies and permanent markers. If you seal the wood it shouldn’t bleed. XX!
She is sooooo adorable. 🙂
She’s adorable – love how y’all are calling her Goldie. That was the name of my favorite great aunt and it so seldom used now.