 I’m loving the oversized trendy hair clips lately—they are easy to use in all lengths and types of hair and there are different styles that you can choose from to add a little pop of interest to your hair and overall outfit. Right now, the pearl, raffia-wrapped, and statement clips are having their heyday, so I thought it would be fun to buy a pack of hair clips and make one of each for my hair accessory collection. They are super fast and easy to make, so you can make several in one sitting. Here’s what I did:
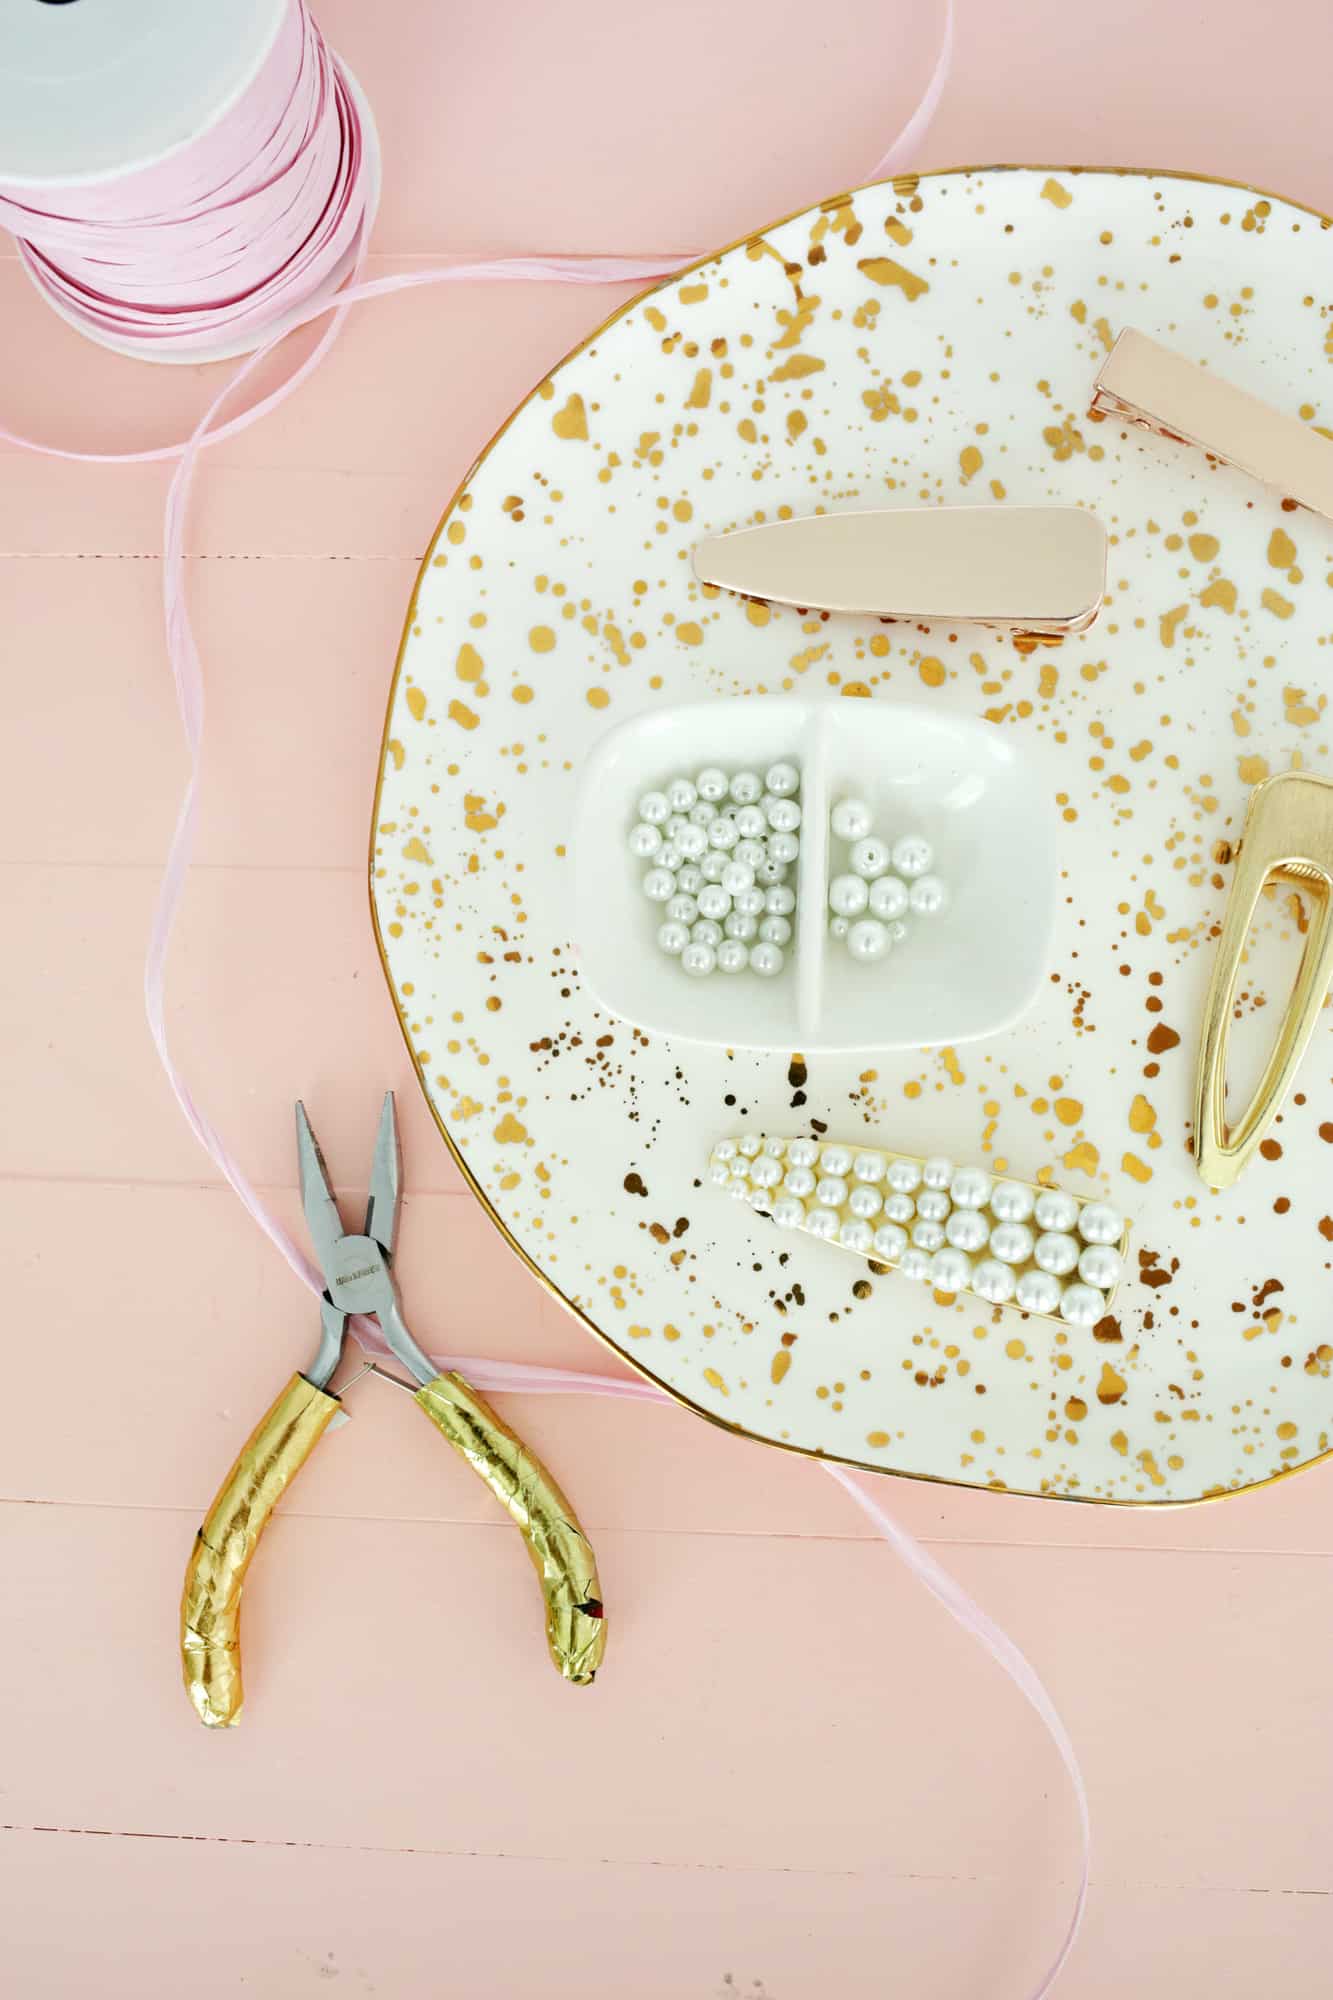
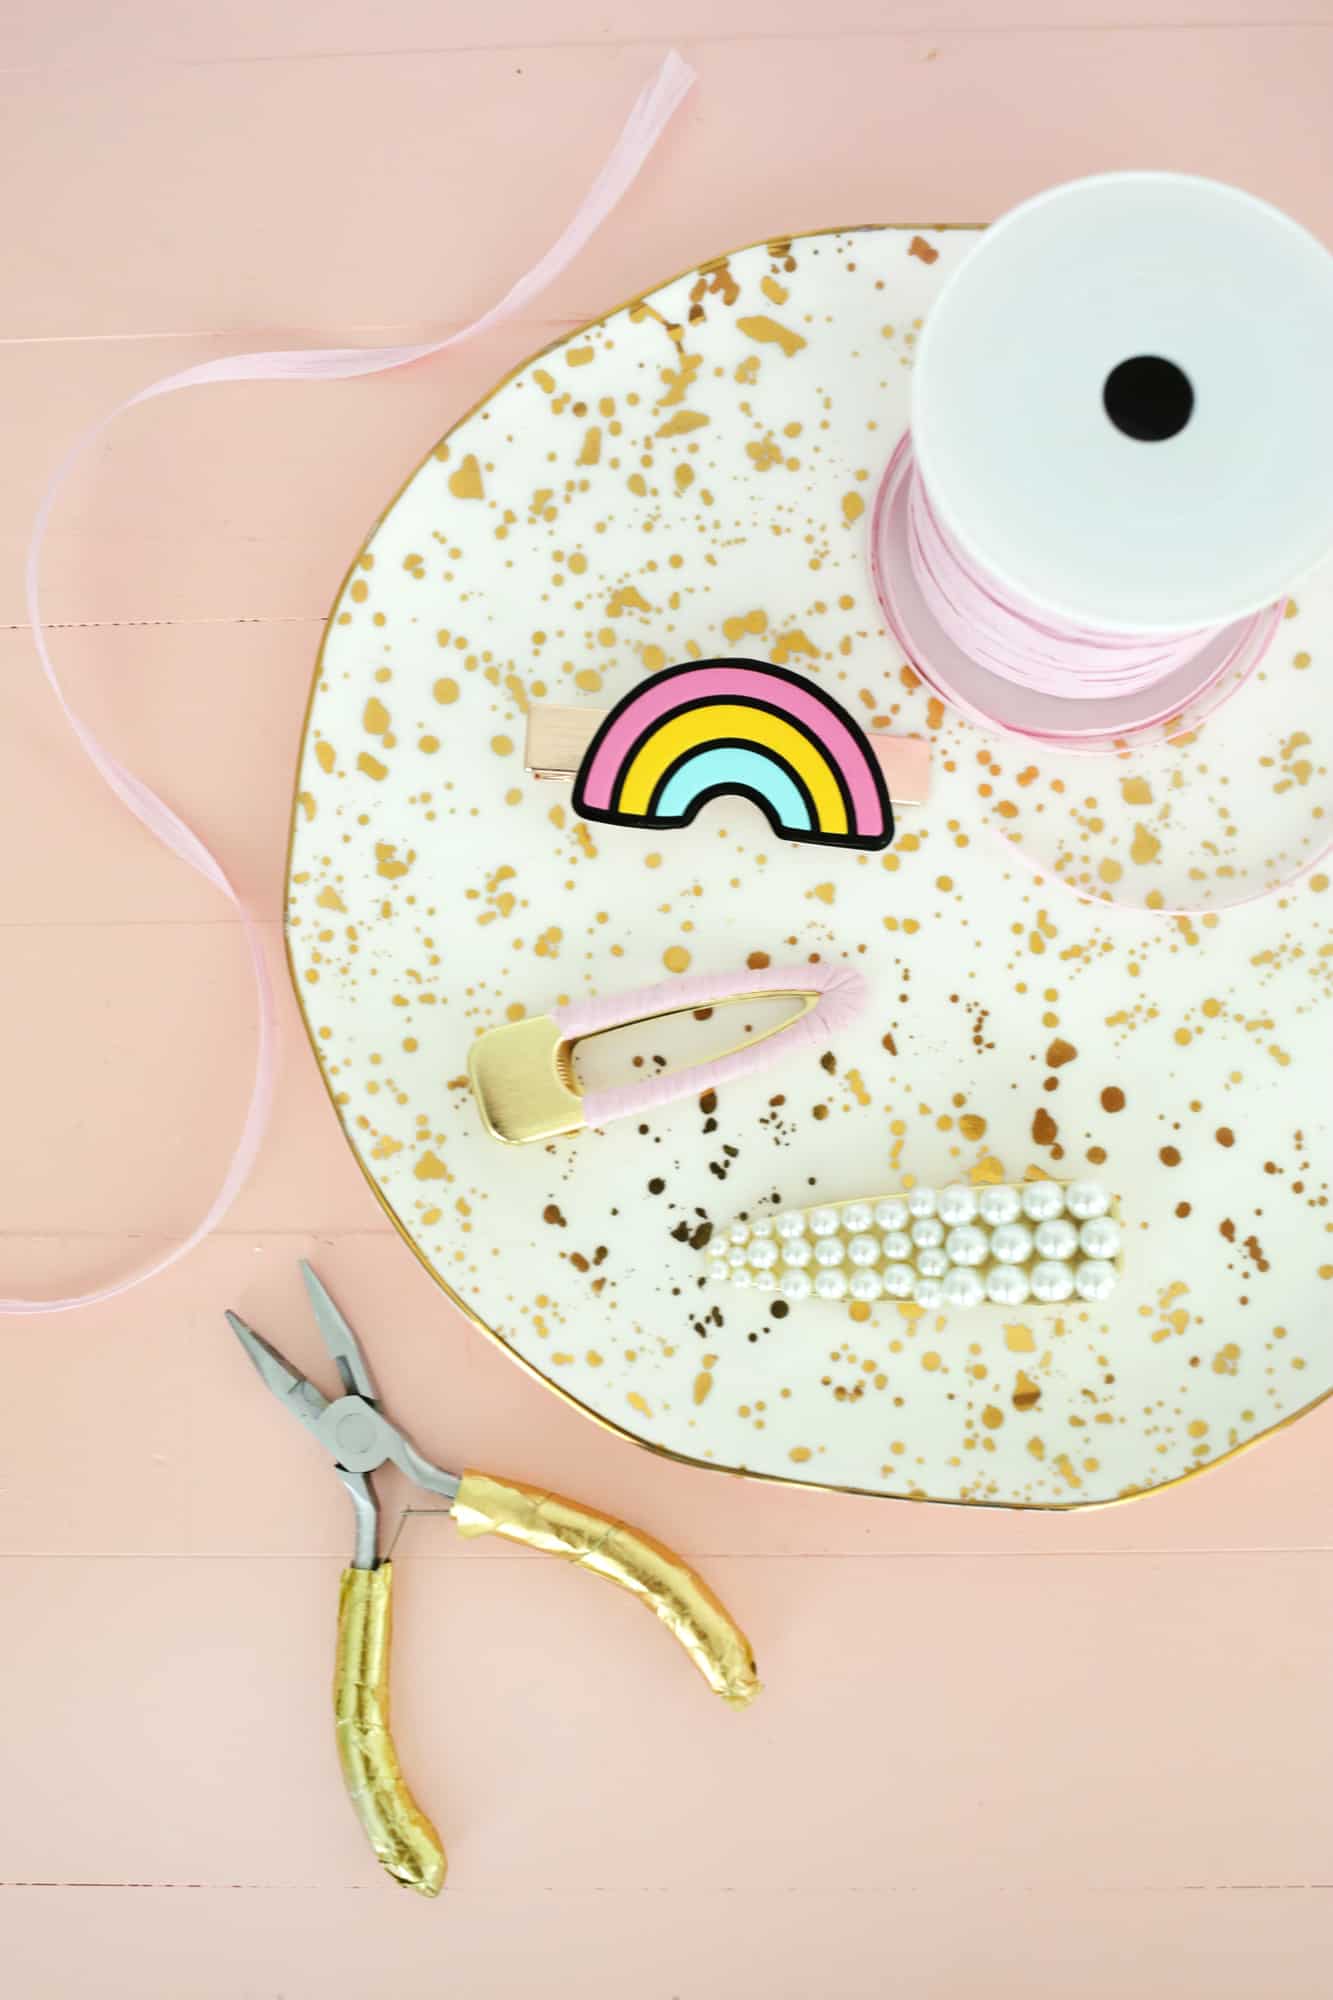
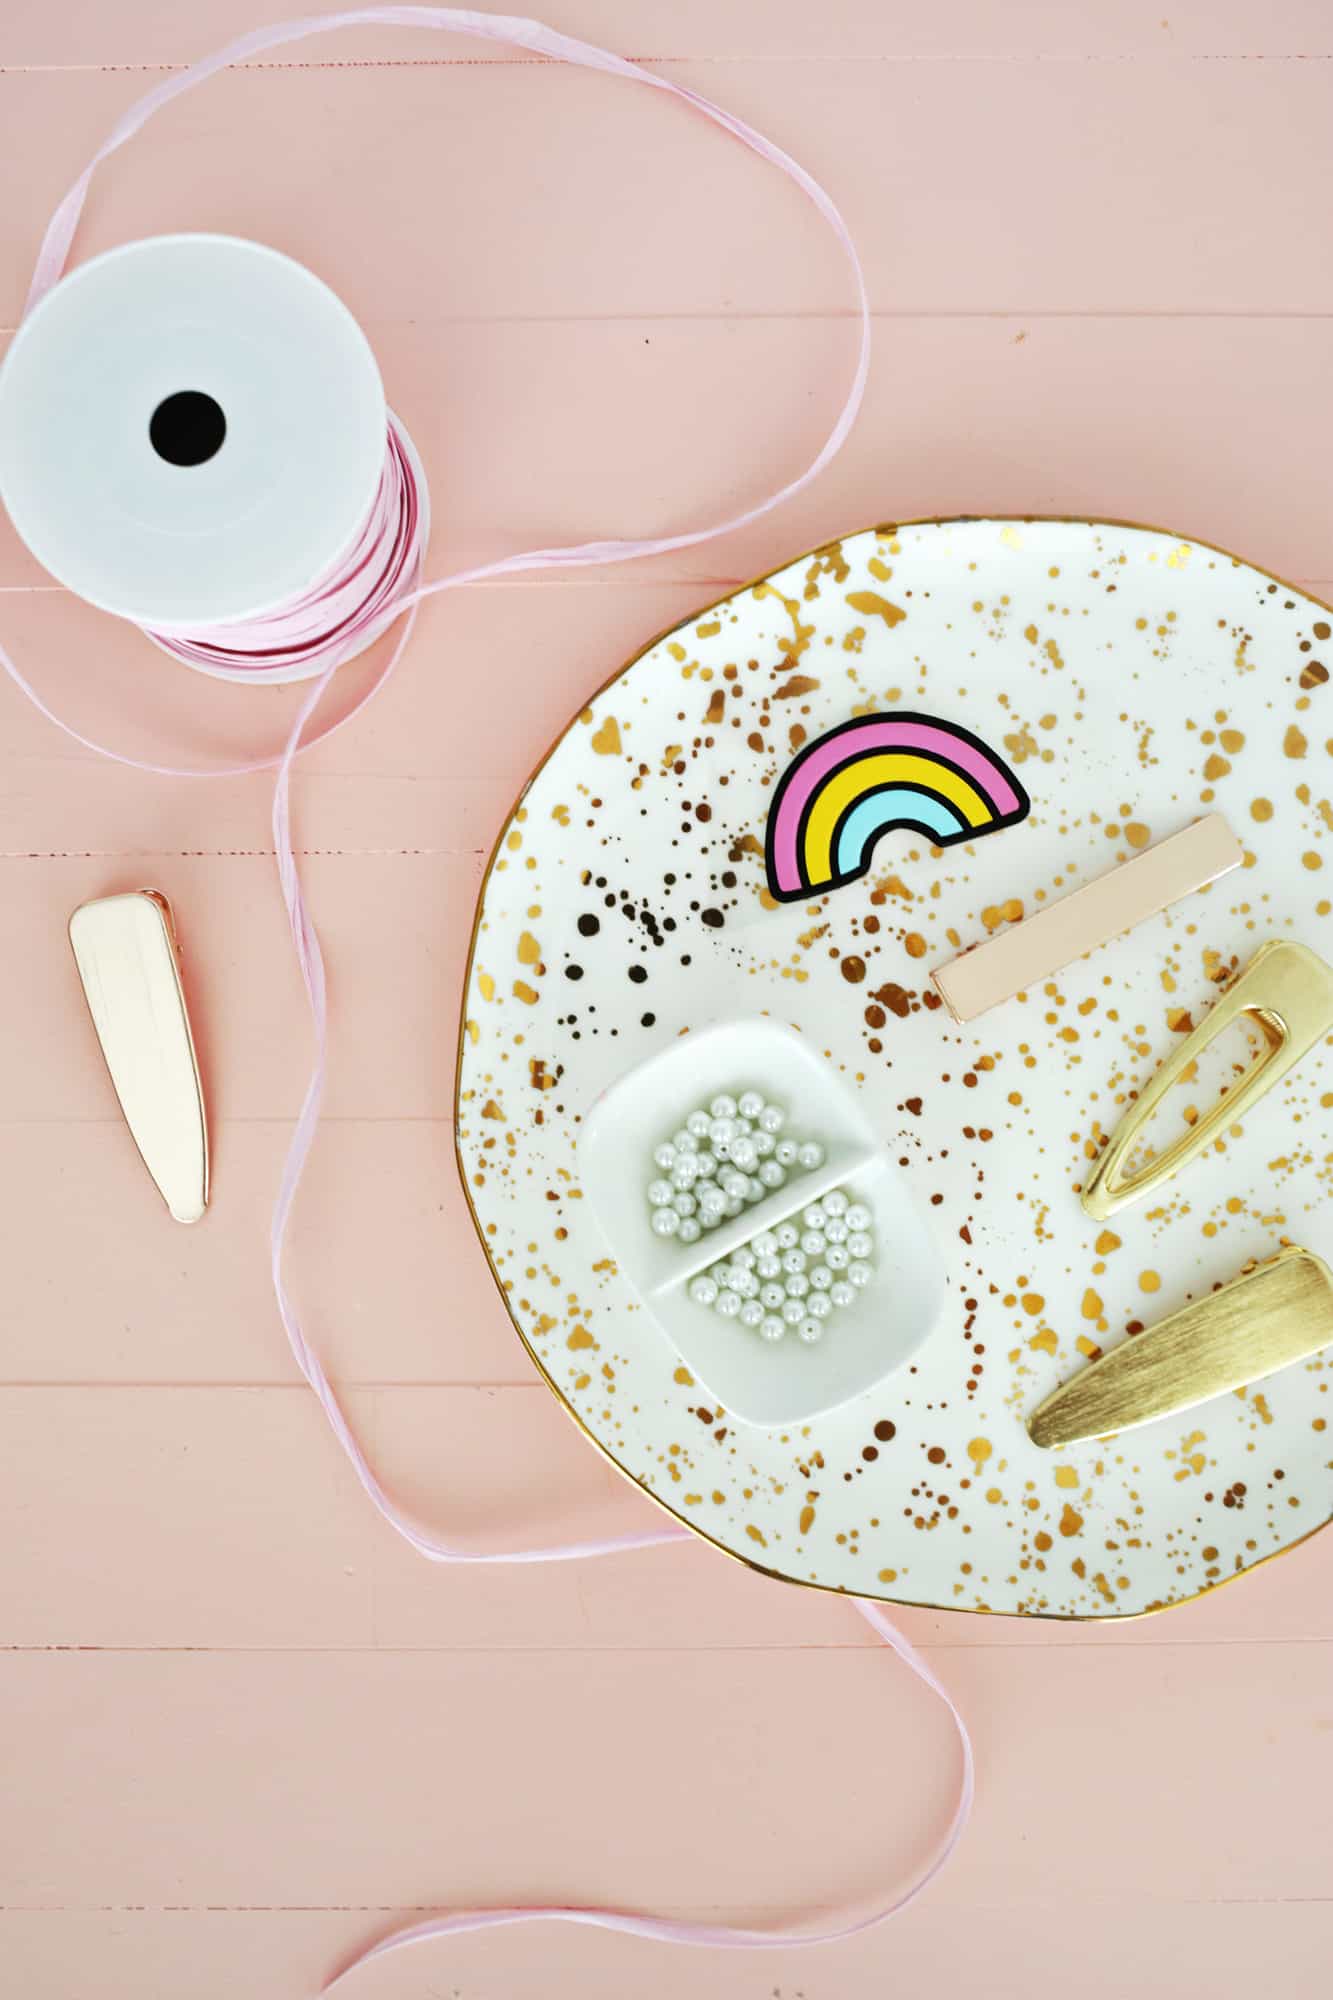 Supplies:
-large hair clips (I used these)
–raffia ribbon
-hot glue gun
-super glue (this is hands down my favorite one to use)
-faux pearls (I used different sizes, so something like this would be good to get)
-large novelty patch (I used this thick leather-like sticker for mine, but this would be perfect too)
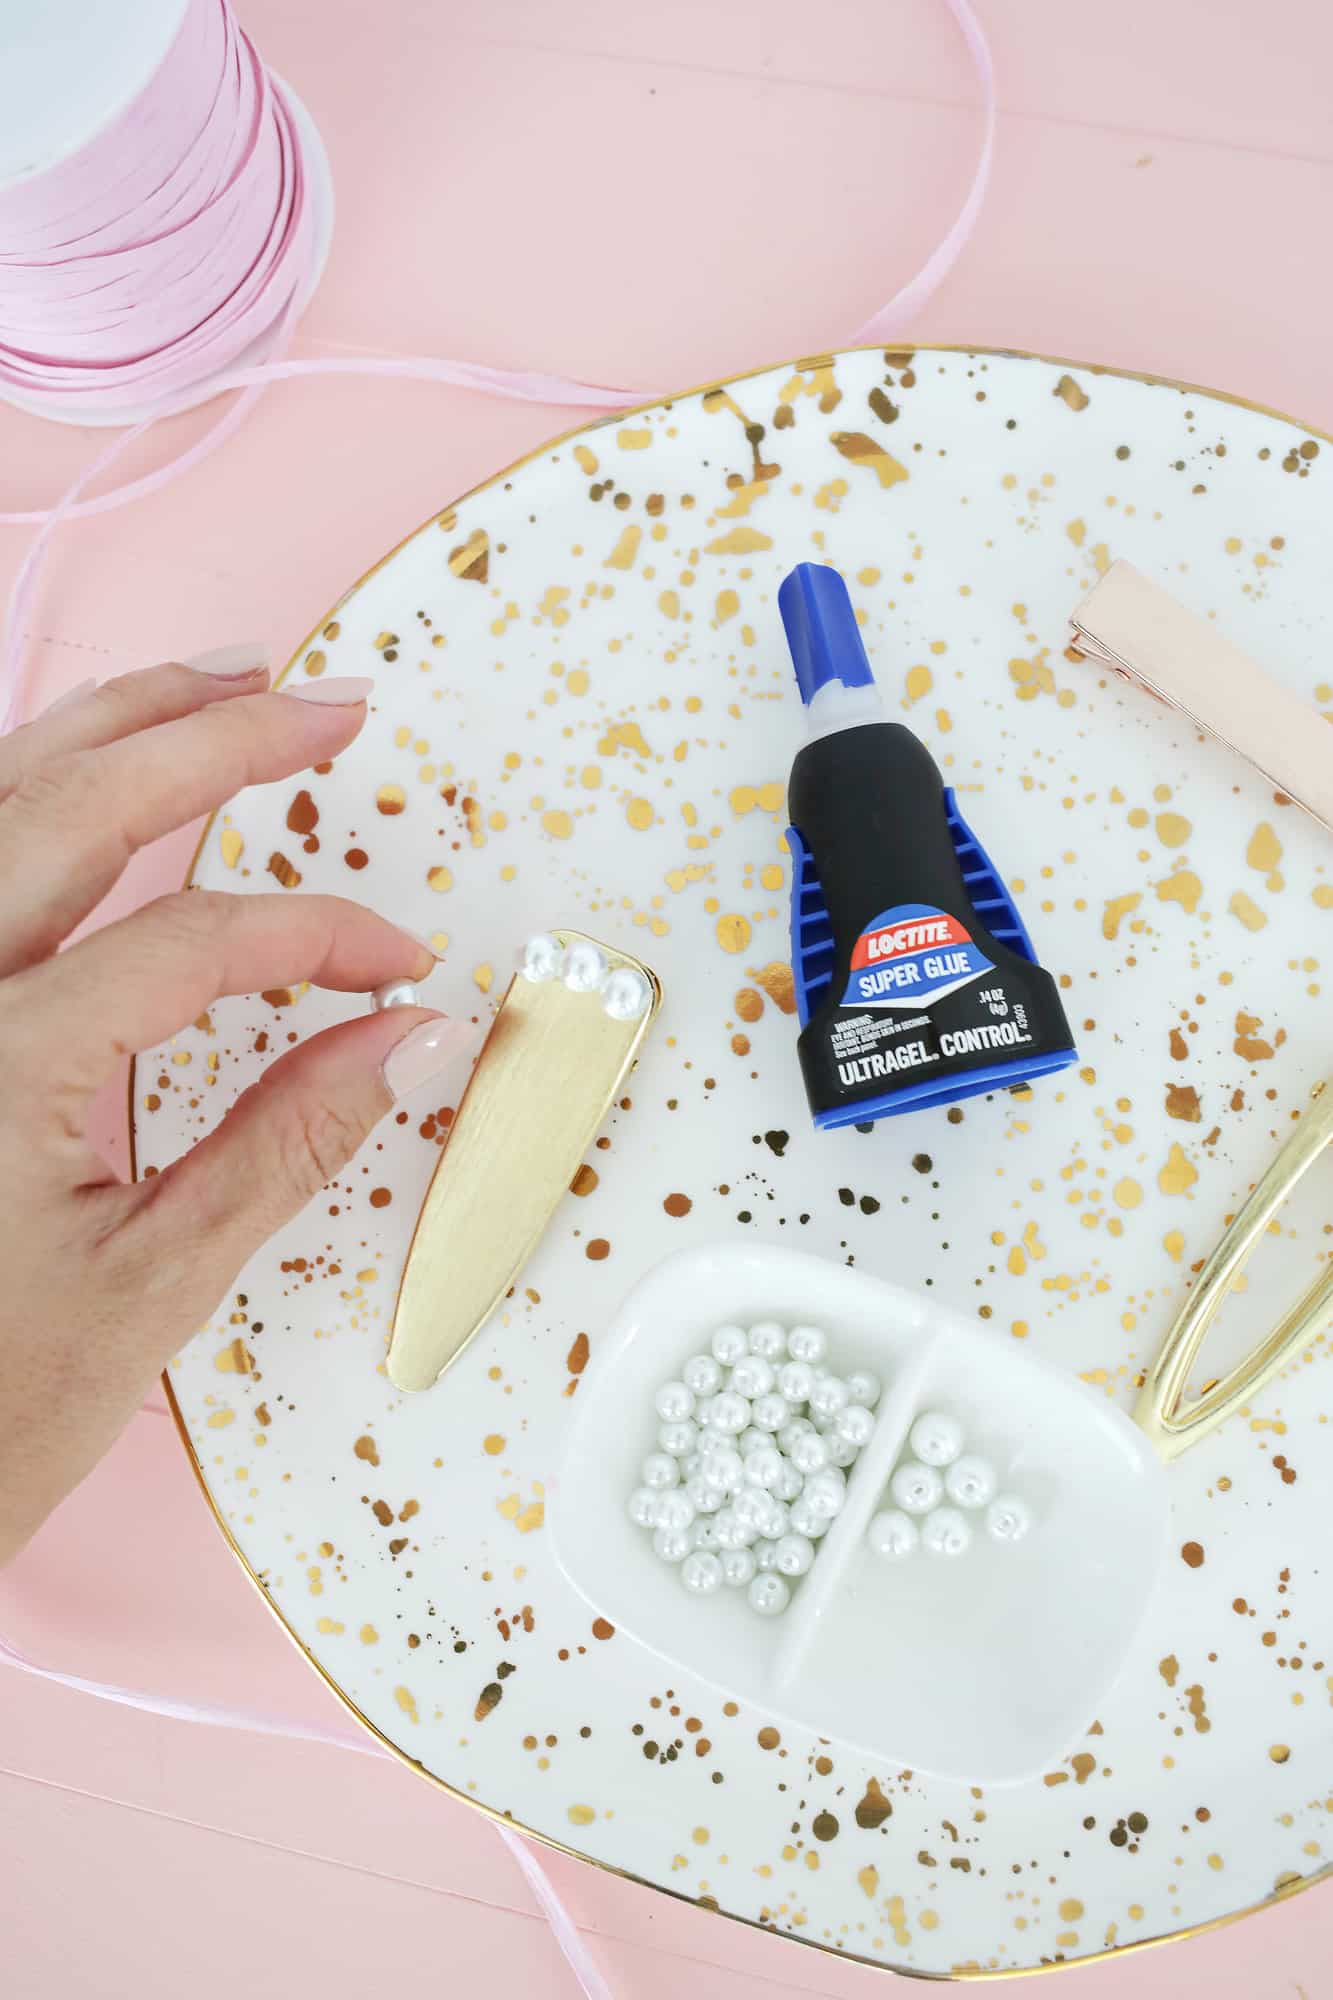
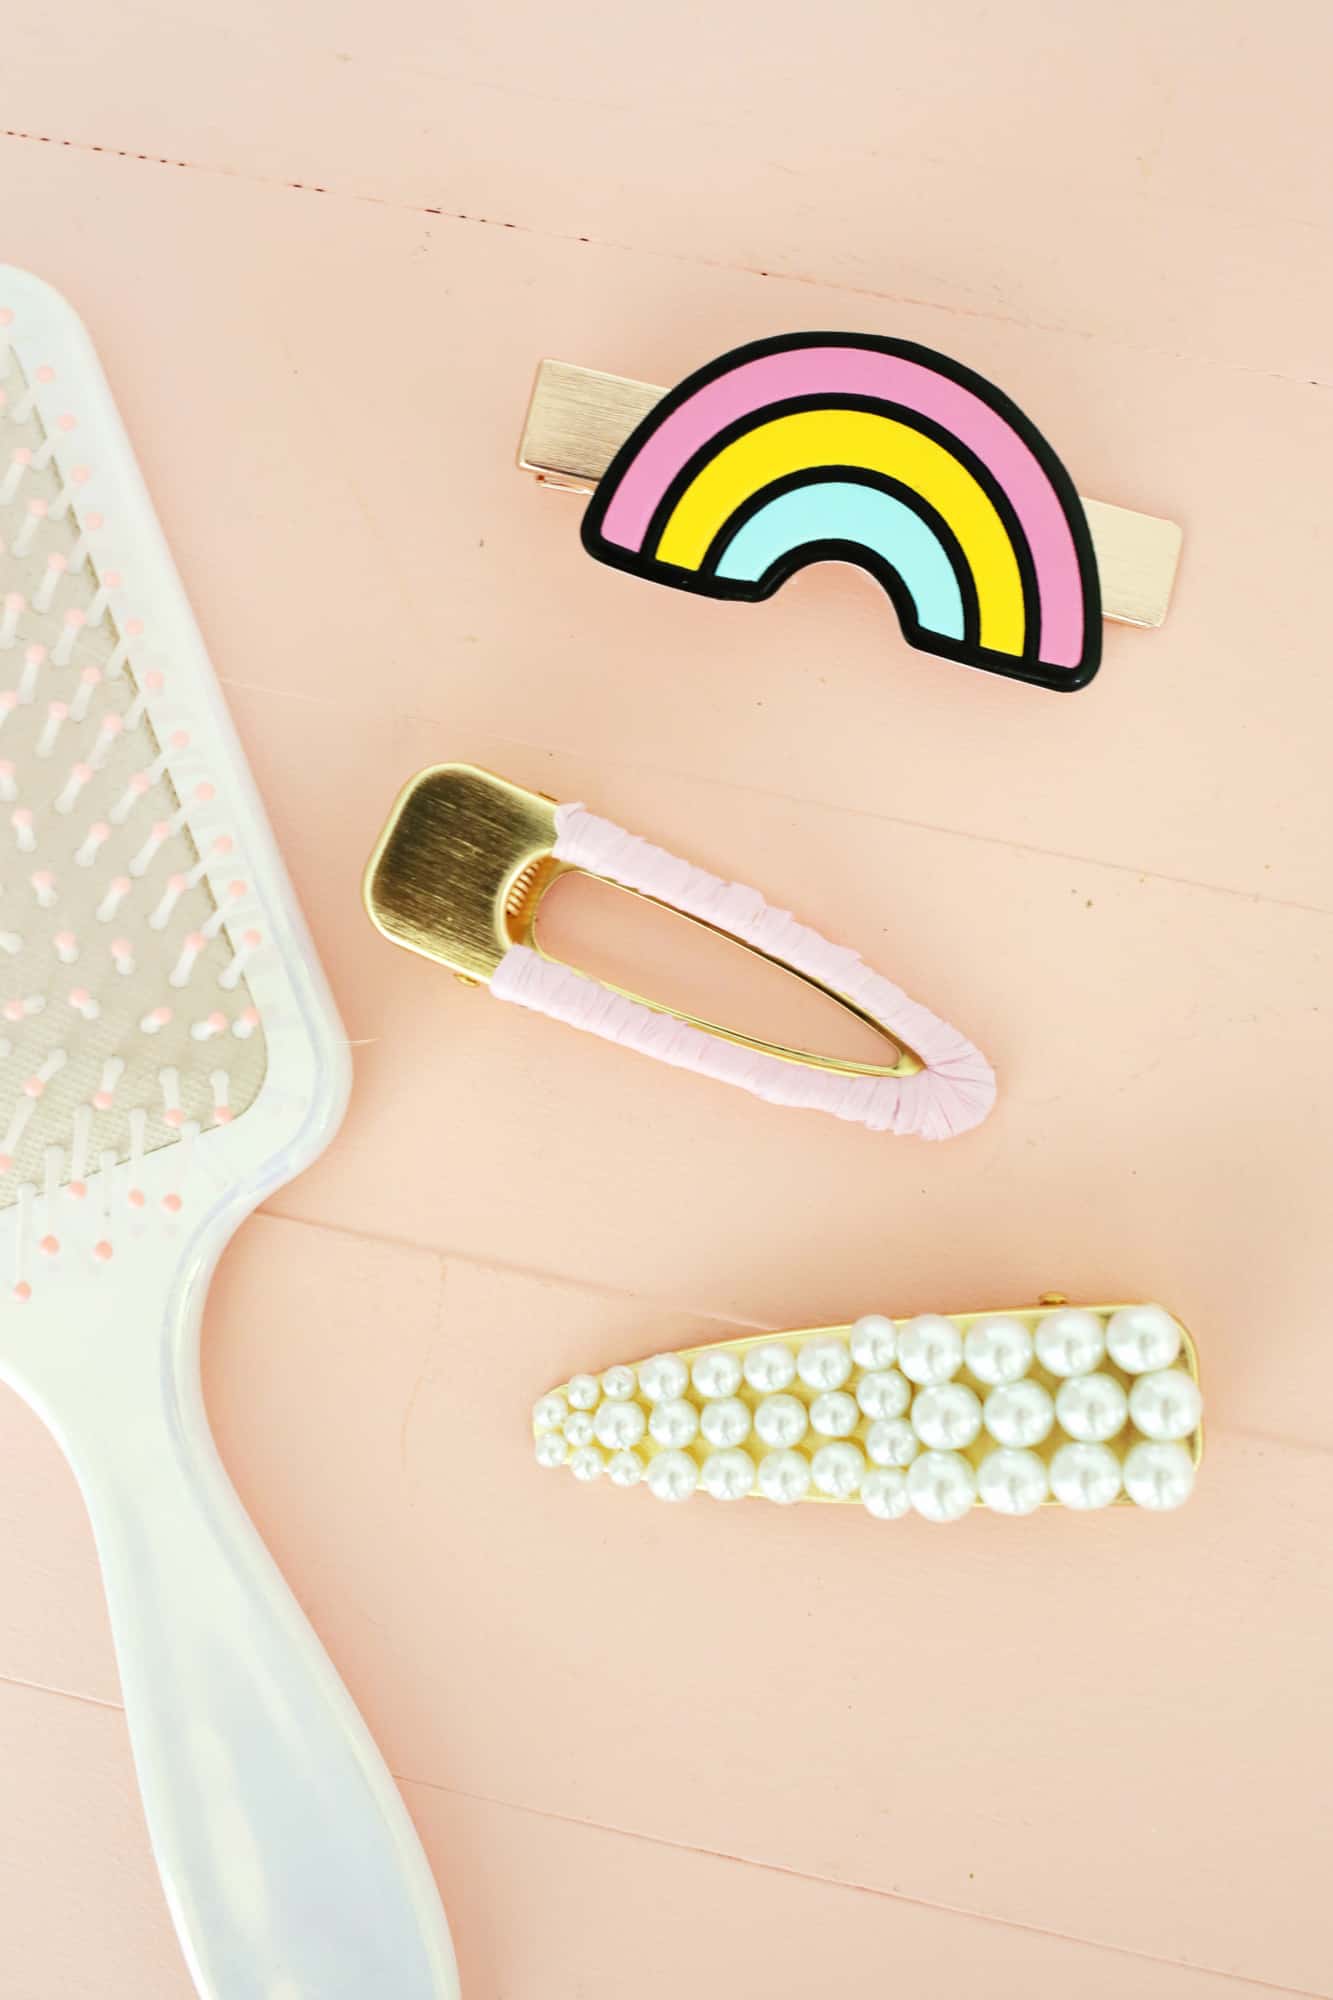
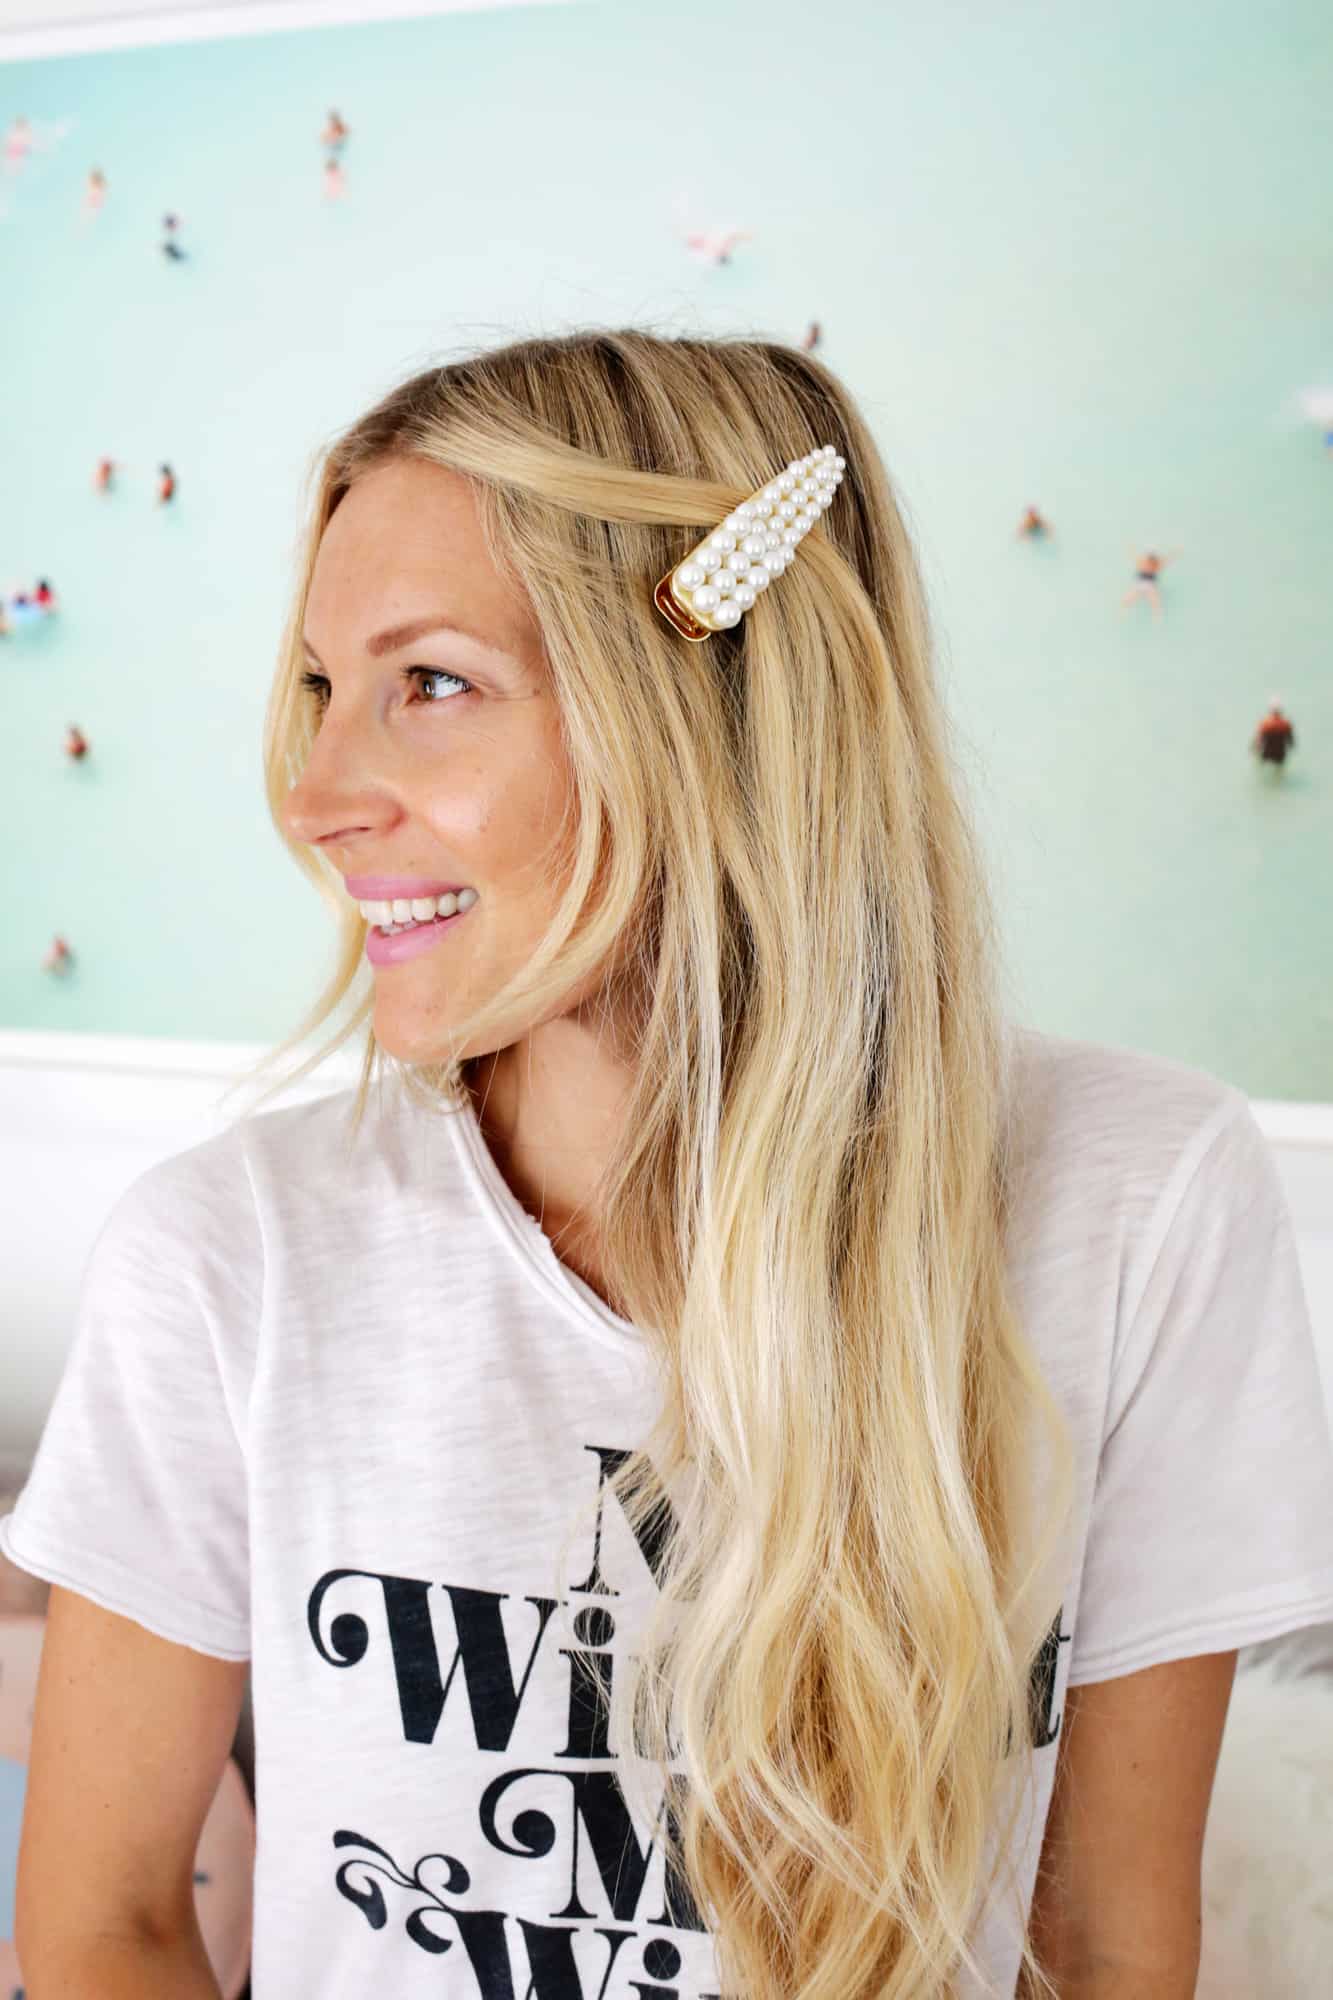 Pearl clip: You can use all one size of pearl or you can use different sizes like I did. You can also choose to cover the entire thing or just do one side or even just one large accent pearl if you want different looks. Depending on what hair clip you get, you may be able to use hot glue to attach your pearls, but they popped off pretty easily when I tried that with mine, so I used the super glue gel instead for a stronger hold. If you get pearl beads that have holes in them for stringing, just make sure to place the bead with the holes facing the sides and not the top so you won’t notice them when the clip is finished. For larger beads, you can use your fingers to place them on dots of glue, but you may want tweezers or needle-nose pliers if trying to place really small beads. Let the glue fully set and your clip is ready to wear!
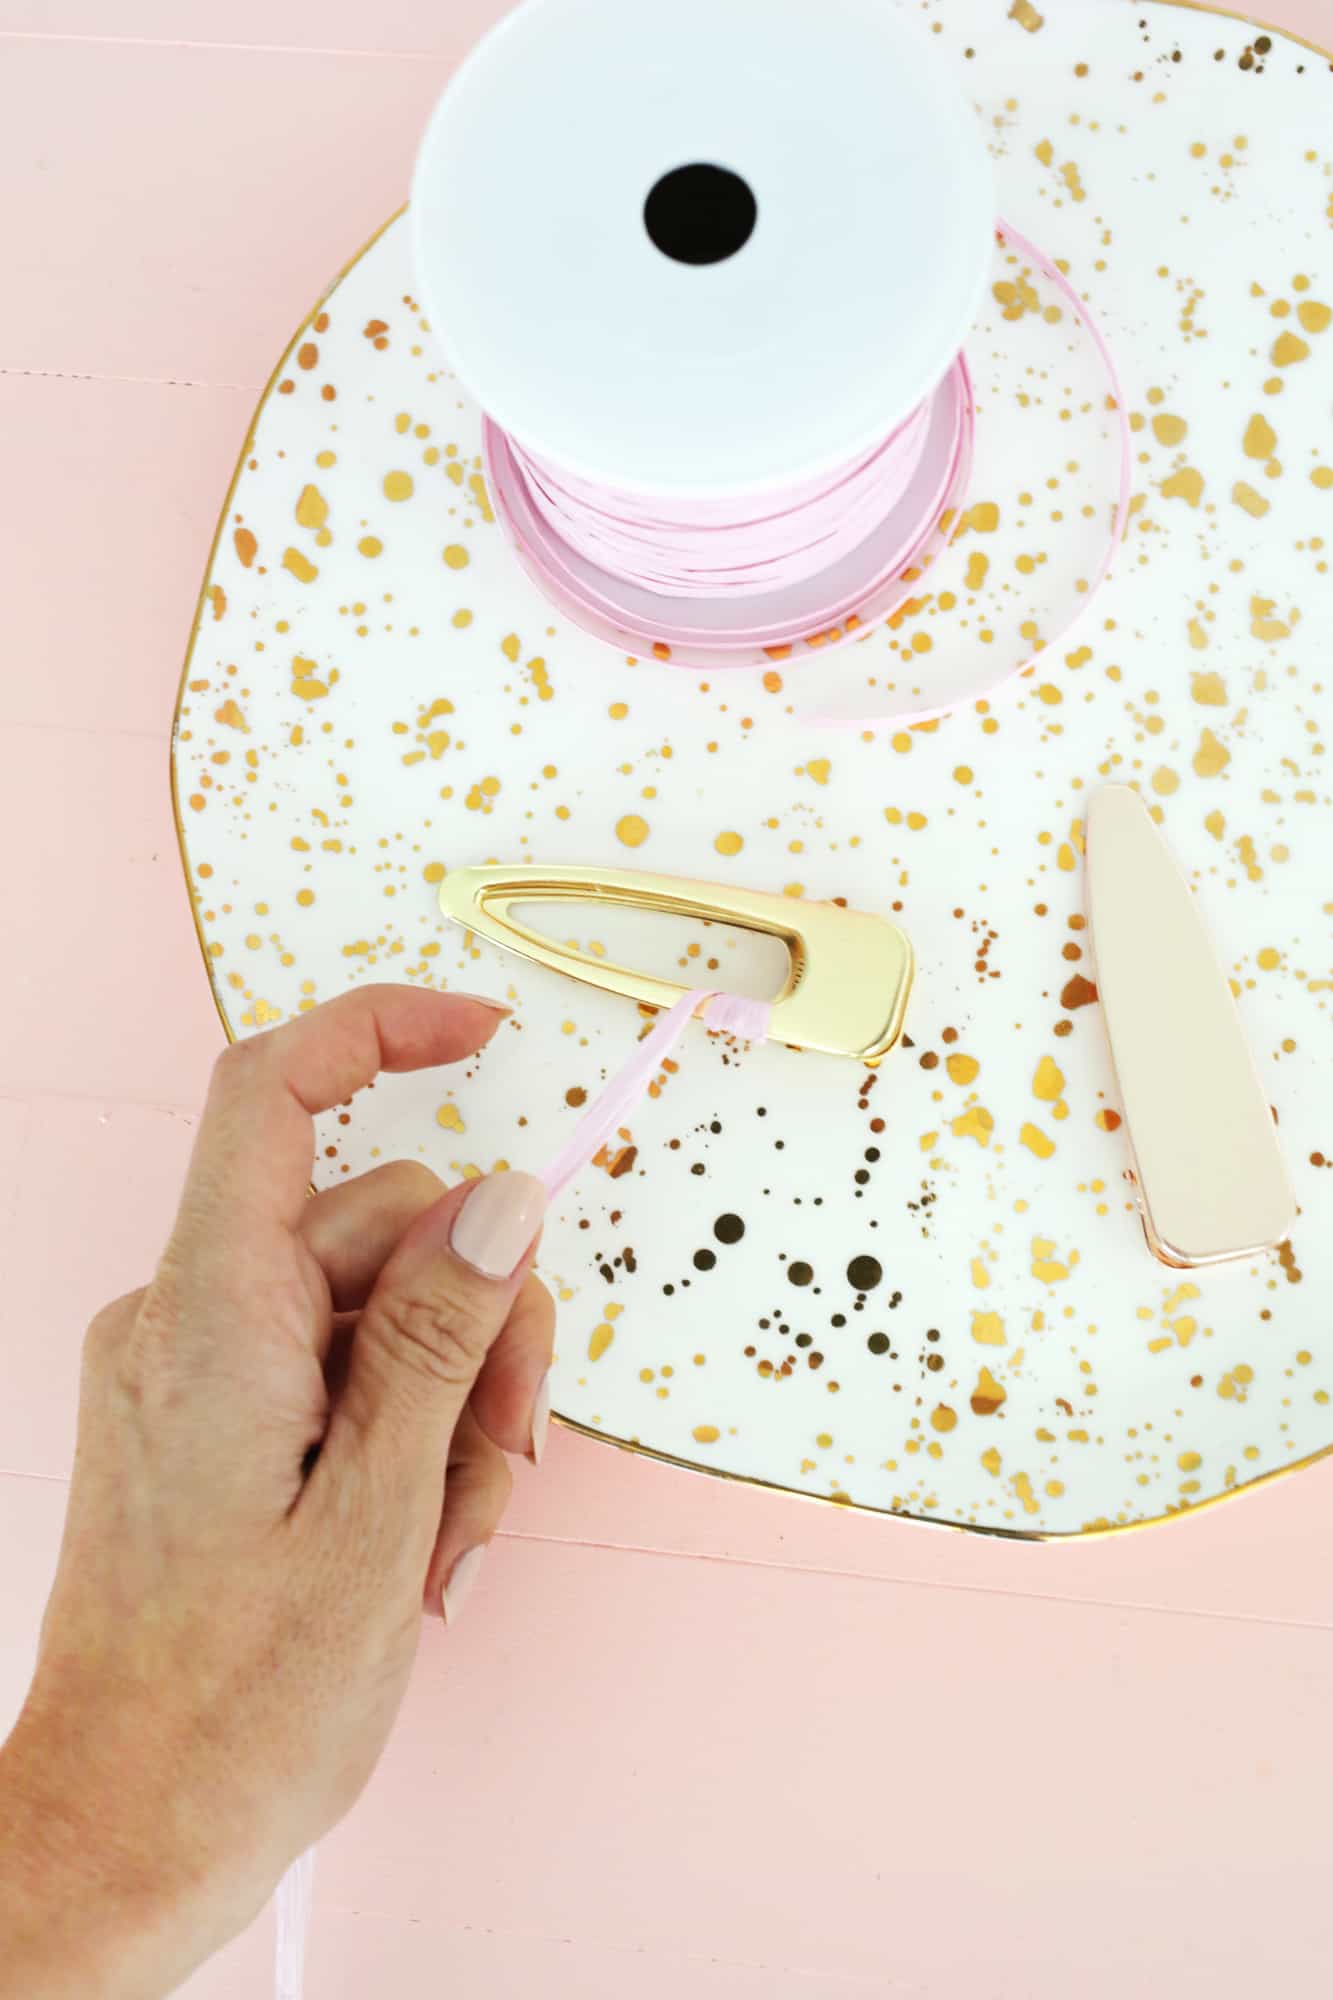

 Raffia clip: You’ll want to use either a rectangular clip for this one or one that has the cutout in the middle like mine does so you can wrap it around the frame all the way around. Hot glue worked well for this clip as I could glue it to the frame and then wrap it around itself a few times for stability and then just keep wrapping until the whole thing was covered. Glue the end in place underneath the clip and I would also suggest glueing it in place every so often as you wrap so it won’t all unravel if you let go.
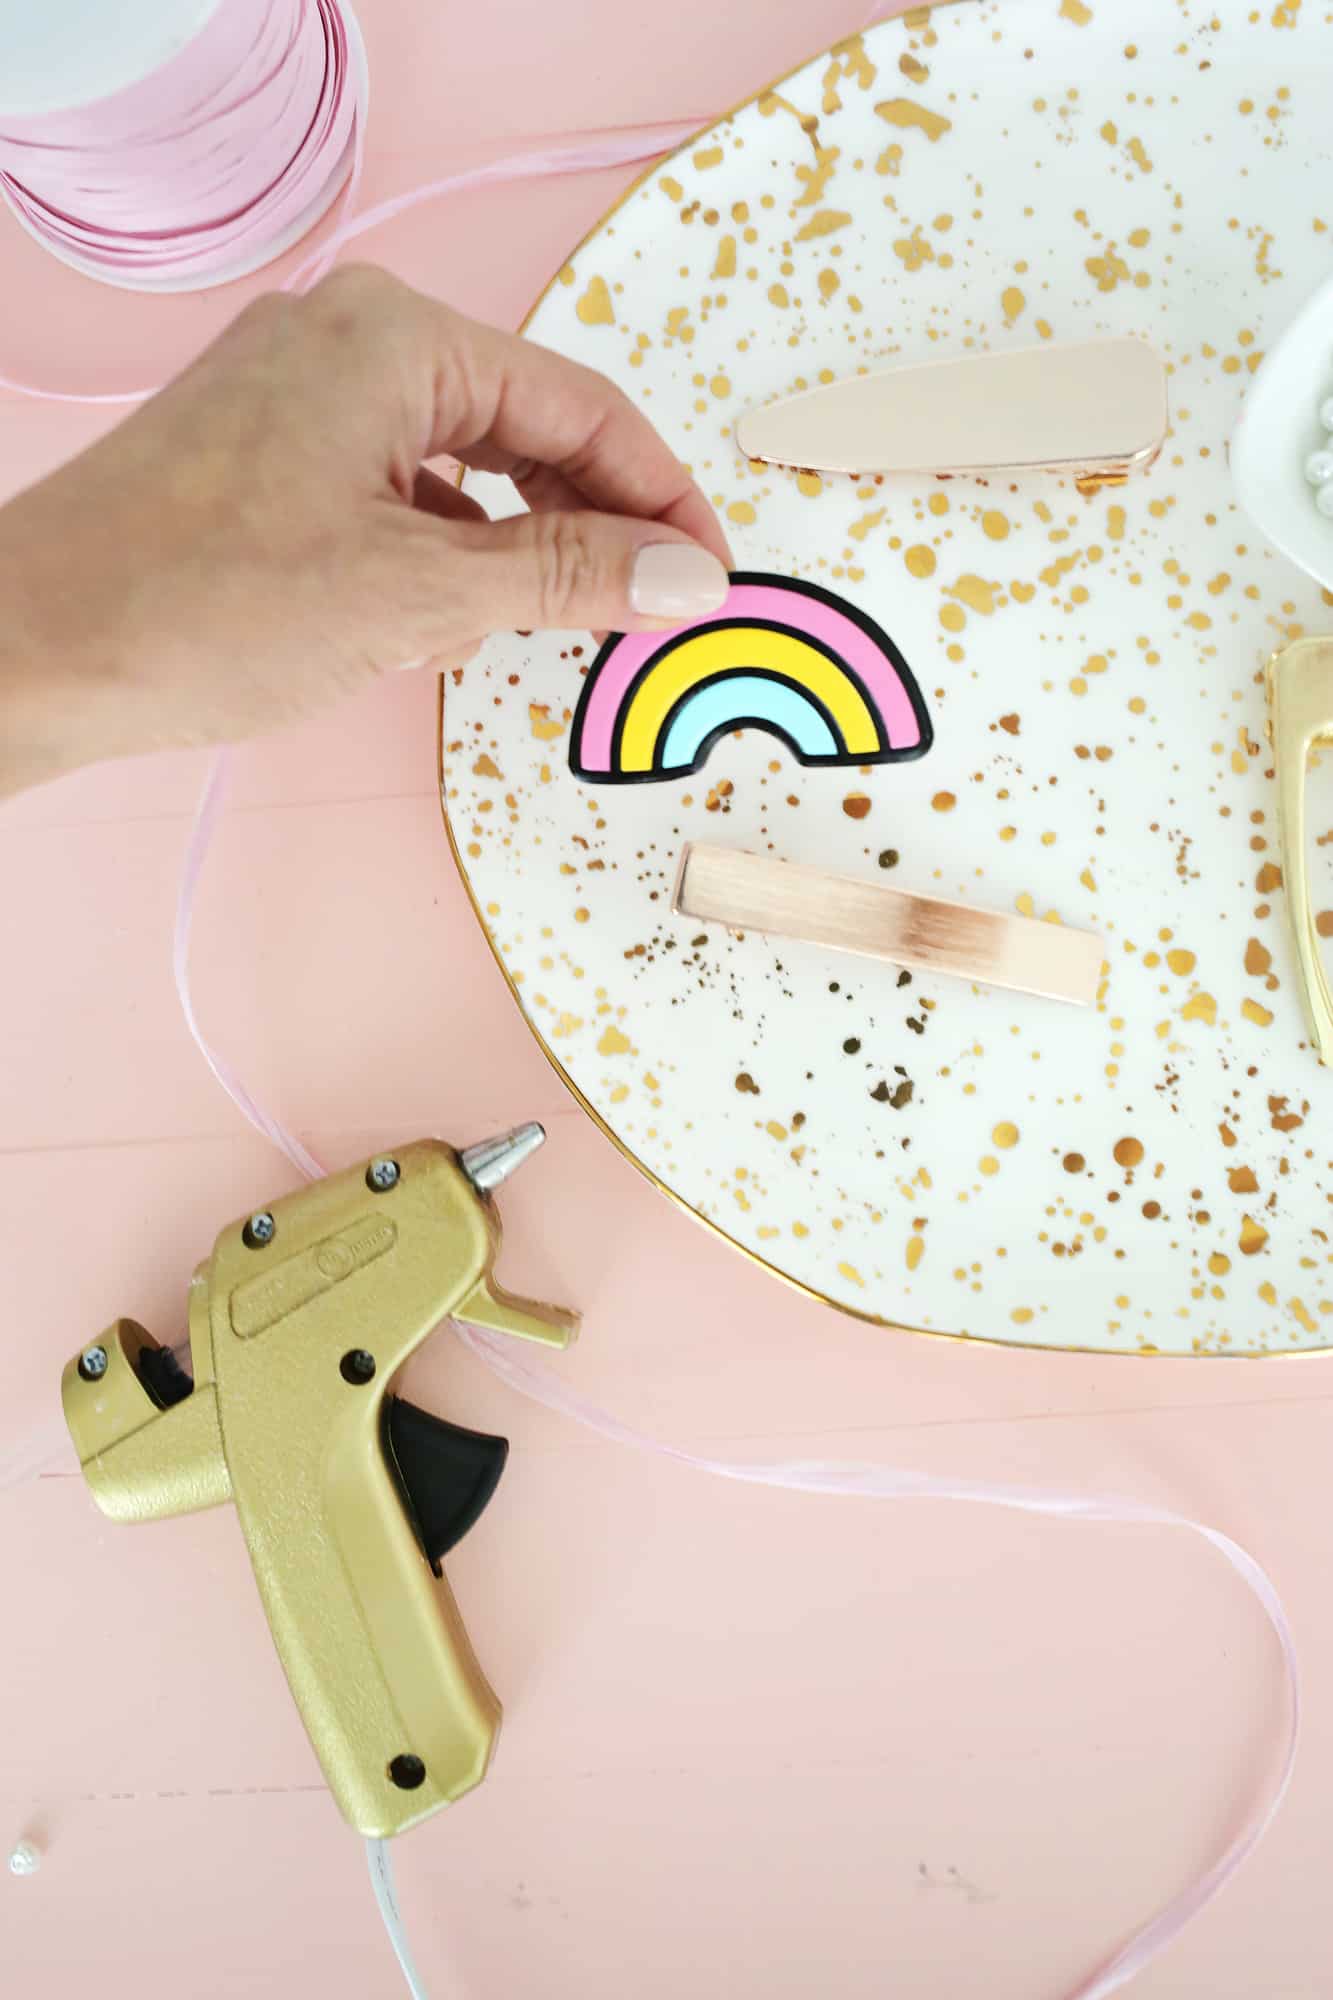
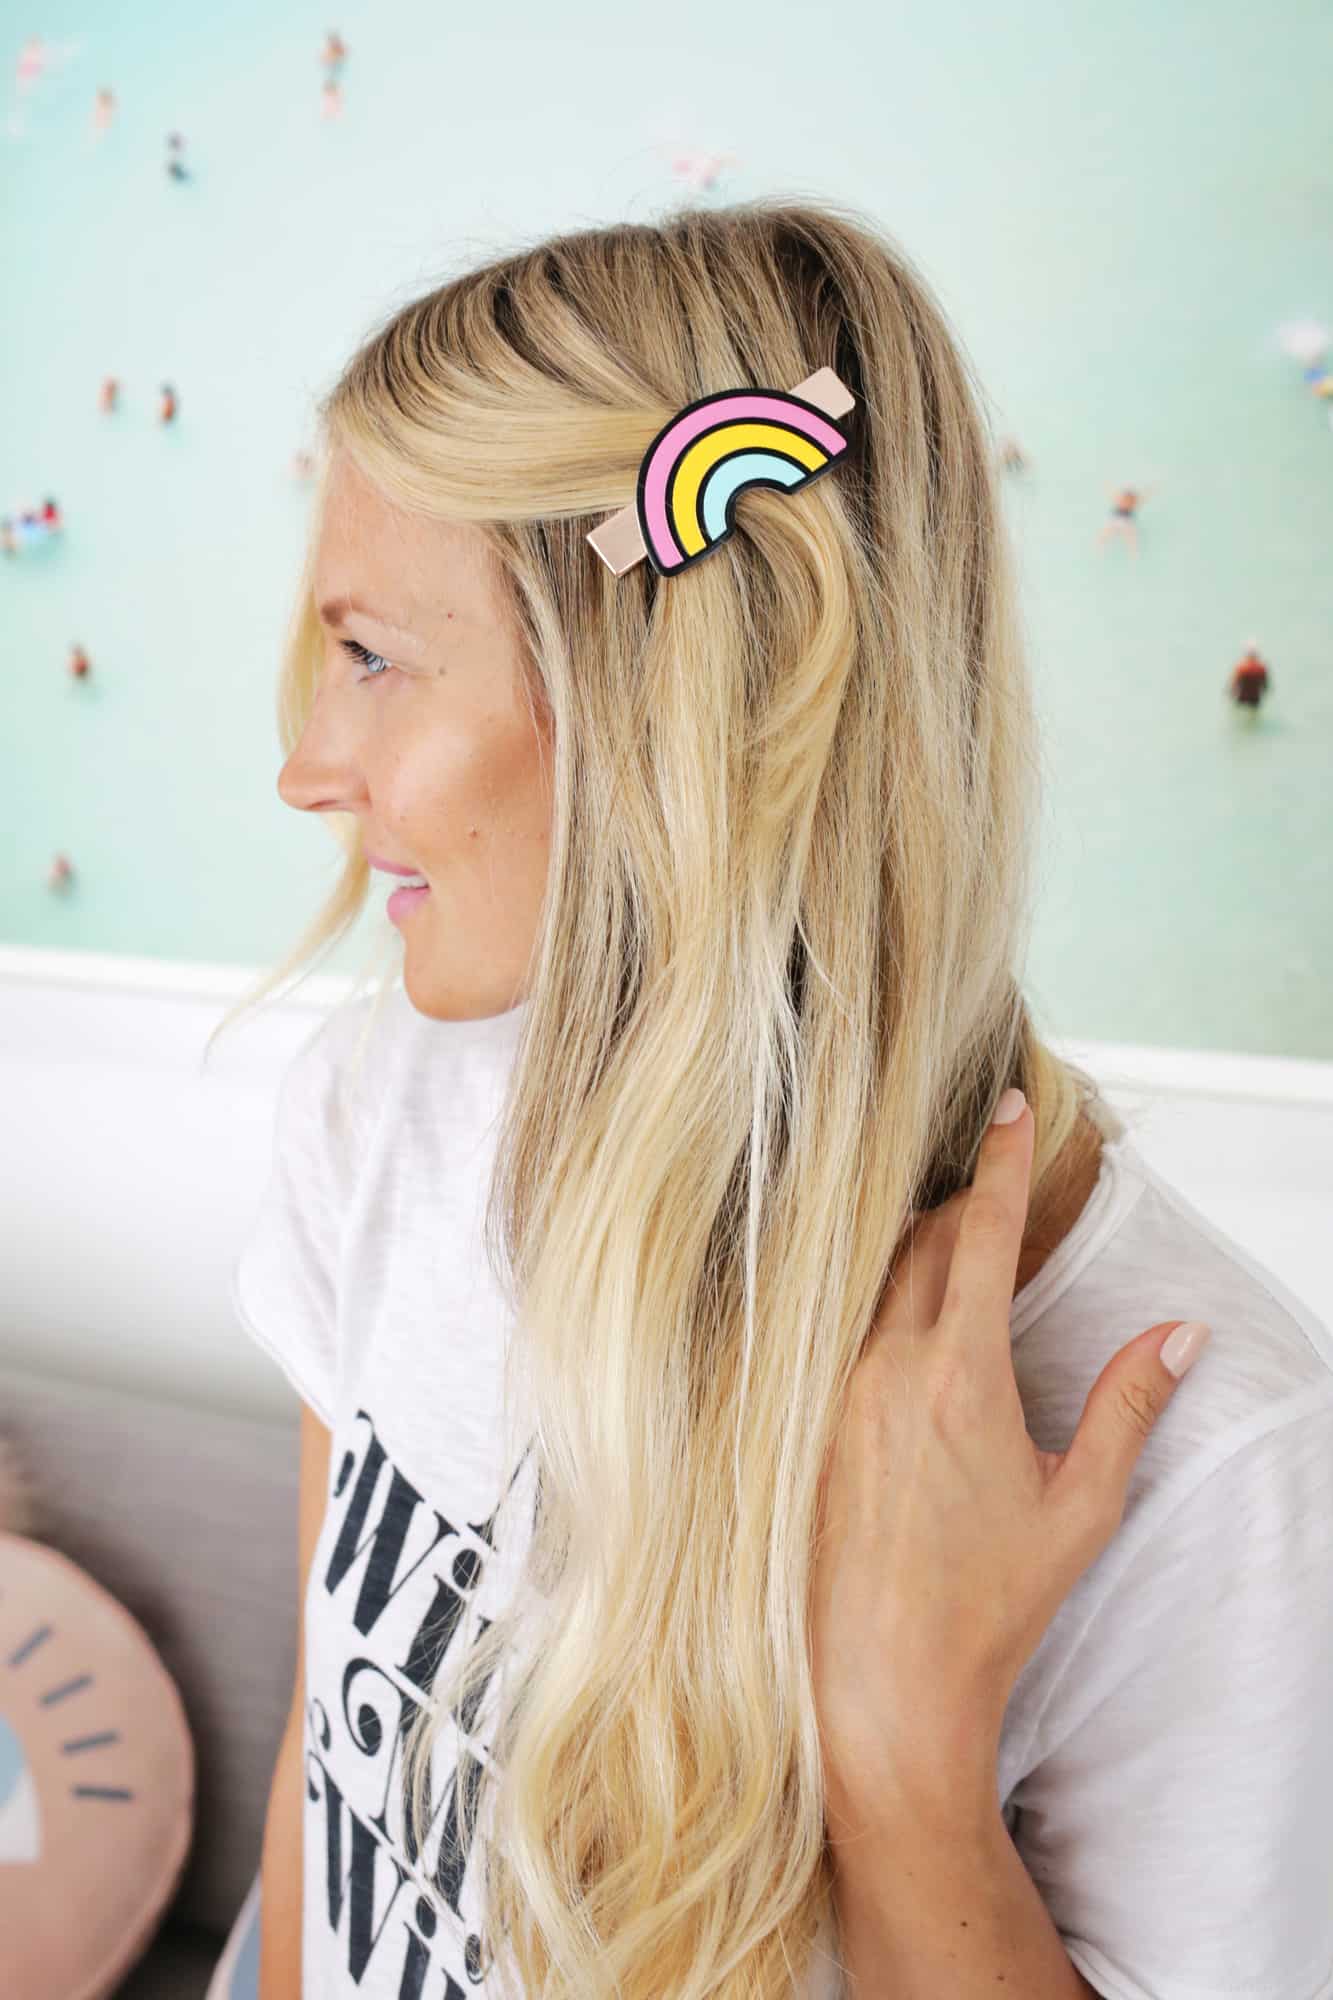 Statement clip: This one is the easiest and yet so fun! Just find a patch that you like that works with your shape and size of clip and glue it on to your clip! Super cute idea for kids too.
 My toddler saw all these clips lying out and immediately asked to have the rainbow one put into her hair. Can I just say oversized novelty clips are fun on adults, but also over the top cute on little kids too. … Hope you found a fun way to DIY the trends in your own personal style! These would also be great gifts or a fun craft for a girl’s night in as well. … xo. Laura
4 Comments
I have been LOVING the clip trend so much! Especially pearl clips, they’re so pretty! Great DIY! 😀
Charmaine Ng | Architecture & Lifestyle Blog
http://charmainenyw.com
Love this diy! I’ve been searching for the perfect hair clip at every shop I go to, but i should really just make my own
These hair clips are adorable!! Thanks for sharing!
-Kate
https://daysofkate.com/
Beautiful! The one with the ribbon is my favorite.