") With Valentine’s Day just around the corner, I thought it would be fun to share five cute and super easy homemade card designs I came up with. Some of these are loosely based on a few Happy Mail designs I worked on this past year. Each card showcases a different watercolor technique, all of which ANYONE can do. You ready?
With Valentine’s Day just around the corner, I thought it would be fun to share five cute and super easy homemade card designs I came up with. Some of these are loosely based on a few Happy Mail designs I worked on this past year. Each card showcases a different watercolor technique, all of which ANYONE can do. You ready?
 I’m working with our longtime supporters at Pentel for this post. I used their awesome watercolor set for each of these cards. I loved having so many colors to choose from as I tried to dream up some fun designs. 🙂

 This first card is probably my favorite. I just love how it turned out! I decided to make a square card featuring phases of the moon on the front (to go with my inside message). My moon phases probably aren’t perfectly scientific, as I simply cut them out based on an image from Google and altered it slightly as I felt it worked better with my overall design.
It’s not a science project, it’s a Valentine’s card. And that’s that. 🙂
 To give my moons some texture and the appearance of craters, I simply used table salt and nail polish remover. Just add while the paint is still very wet. Once dry, gently rub the salt away before cutting out the phases and adhering to your card. Easy!

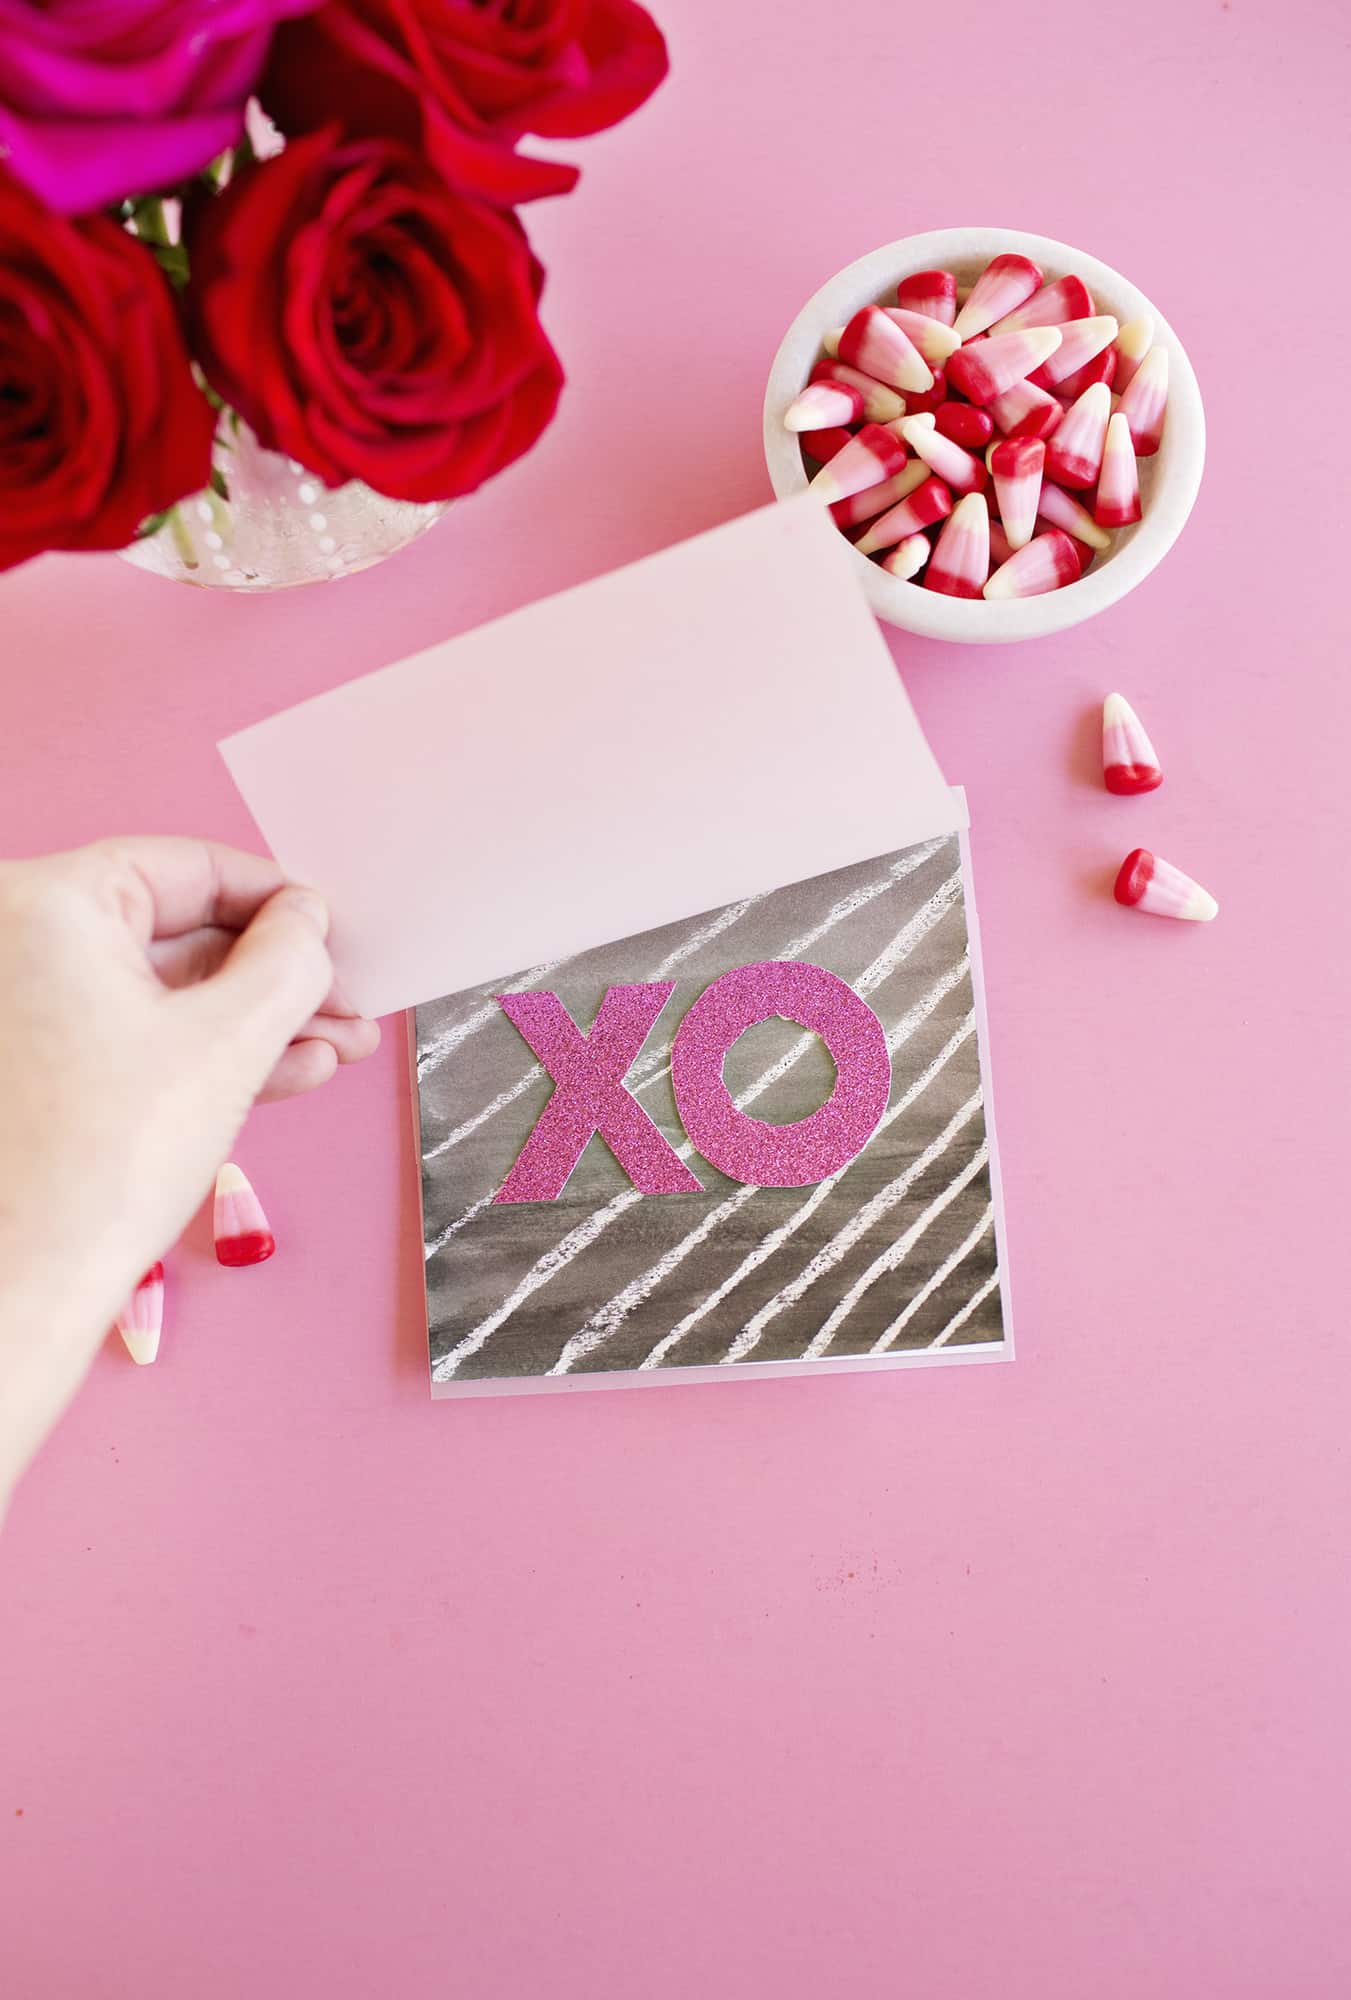 This graphic card has a few fun things going on. First I used a crayon resist technique with my watercolor paint. Then I cut out and added the “XO” from glitter paper. I also stitched some vellum to the outside so the card kind of has two layers. I did this with a sewing machine, but you could easily do it by hand or even use a stapler instead.
If you make Valentine’s cards this year and don’t use any glitter, you’re doing it wrong!
🙂
 Here’s how the crayon resist works: just draw your design in white crayon, then watercolor over the top. I tried out three different designs, but in the end I liked the black and white stripes the most.
 You can use water to thin out just one color and create and ombre effect to the front of a card. I then added some big, gold adhesive stickers to the front. You could also print over the top or add letters using stamps once the card is dry.

 This one is probably my second favorite, but I’m a sucker for polka dots. 🙂 I just used a Q-tip to add the watercolor polka dots, and once dry I added a big, glitter paper heart. You could use all sorts of different objects to stamp with here and the watercolor gives it a messy, imperfect effect.

 And last I got really messy with my paints and splattered around the edges of a card. I did this in my sink so it was easier to clean up. Once the card dried, I removed the paper from the center and added a short message.

 Bonus Card! This one doesn’t really use a specific “technique” as I simply painted eight different triangles solid colors to create a color wheel. I could have done this with construction paper or some other kind of paint, but I do kind of love how the watercolors give it more texture. I feel like the message in this one is perfect for that fun friend in your life. 🙂
Are you guys making cards this season? Any fun designs you’ve dreamed up? xo. Emma
P.S. If watercolor just isn’t your thing, you should check out this awesome hand lettering tutorial Elsie shared last year.
Credits // Author and Photography: Emma Chapman. Photos edited with A Beautiful Mess actions.

23 Comments
Lots of fun ideas thanks Emma. The polka dots and big glittery heart is definitely my favourite!
How cute is this!! Love how creative you are
http://www.littleblackshell.com
Art class 1. grade…oh my!
This is so clever, I really want to have a go! x
http://www.wonkylauren.com
These look like such fun!! I love water colour anything because it looks pretty and chic 🙂 I did a blog post about hand lettering and the crayon one would look quite nice with a hand lettering
Kathy xx
I love these! The polka-dot heart card is my favourite. I am super into cards this year, in fact thats what my last blog post was about 🙂
http://www.CheyanneFulton.com
You’re so creative! Love this!
http://www.llindatt.blogspot.com
All of these look like a lot of fun to create! I think XO is my favorite, but the moon one is a close second!
Oh this is so fun!!!! You could totally work on these while your little one is having a little paint session of their own! Its a win-win.
Such cool techniques, and the outcome looks amazing! I think I like the ombre effect best!
https://www.makeandmess.com/
I so much love making handmade cards! Emma, thank you for these amazing ideas! I’m sure I’m going to make some time soon!
just wonderfull <3 Love this!
Gorgeous! I will definitely be giving this a go!
Chloe xx
http://www.cloclocreative.com
These are all so darn cute! I love them!
These ar so cute!
http://www.sprinkleofroses.co.uk
This is perfect because I got some watercolor paints for Christmas and have been wondering what to do with them.
Also – you gave me one of my new most favorite quotes – If you don’t use any glitter, you’re doing it wrong.
These are all so cute! Also, how did I not know that Valentine’s Candy Corn were a thing! I need to go and get some!
Paige
http://thehappyflammily.com
Love these. Quick, easy and so pretty!
Love these techniques, I really need to get crafty!
Beautiful and creative ideas! I bet it I would take pleasure in doing some of these water colour designs!! 🙂 xx
Helen | Helens Fashion & Beauty Blog
Loving all of these! We made some homemade valentine’s this year too, and it’s so much more fun than buying a card!
And you’re right, glitter is a 100% MUST! Polka dot & glitter heart one is definitely my fave! 🙂
Happy (belated) V-Day!
Beautiful cards! I am in love with simple tips, guys. Surely gonna give them a try. Thanks for the inspiration.
As a watercolor lover, these techniques are awesome and I can’t wait to use them for all cards instead of just Valentines day ones! Thanks for the inspiration!
xo Savannah