 Hey, guys! Long time no… blog? I’m Sarah from Arrow & Apple, and it’s great to be back around on ABM. I’m pumped to share with you guys a little bit about the curves tool in the A Color Story app! I love the curves tool (you’d be hard-pressed to find a photographer who doesn’t) because it gives you a lot more control in editing the tones of your image and getting each image looking JUST right.
 You might be asking yourself, how is this different from using the exposure tool? Well with curves, you can choose one part of the image to change without affecting the rest of it! If you want to make your highlights brighter without making your shadows brighter, you can do that. Not only can you adjust exposure, but within the curves, you can boost contrast and change your color tones as well! You can create rich, red shadows, or a bright and cool image. There’s a lot you can do to come up with a look that’s just your own. Let’s get started – here’s a quick video to walk you through it!
Just remember – anytime you pull a point down, it’ll get darker. And pulling a point up makes that part lighter! Your points on the curve are the part of the photo you want to manipulate. So let’s say you want to just make your shadows lighter without really affecting the whole image – take the shadow point (bottom left!) and pull it up. Make sense? So in the photo below, my original photo seemed a little too light and slightly too blue to begin with. I used the curves tool to make it darker and give it more contrast by pulling the line down, and creating an S-curve (like we talked about in the video). After that, I switched to the blue curve and pulled the curve line down in order to bring a lot more warmth to the photo. It looks so much better and these are just minor changes!
 I hope that helps make it a little more clear for those of you who have never used curves before! And for real, don’t be afraid to try crazy things with curves because the more you use it, the more you’ll get a feel for how to manipulate your curve to get the look you want! It’s kind of like learning to read music – a little intimidating at first, right? But once you learn, you can sit down at a piano and play the song you want. 🙂 Let me know in the comments if you have any questions, and I’ll continue to share my favorite photo editing tips over on my Instagram!! xo – Sarah
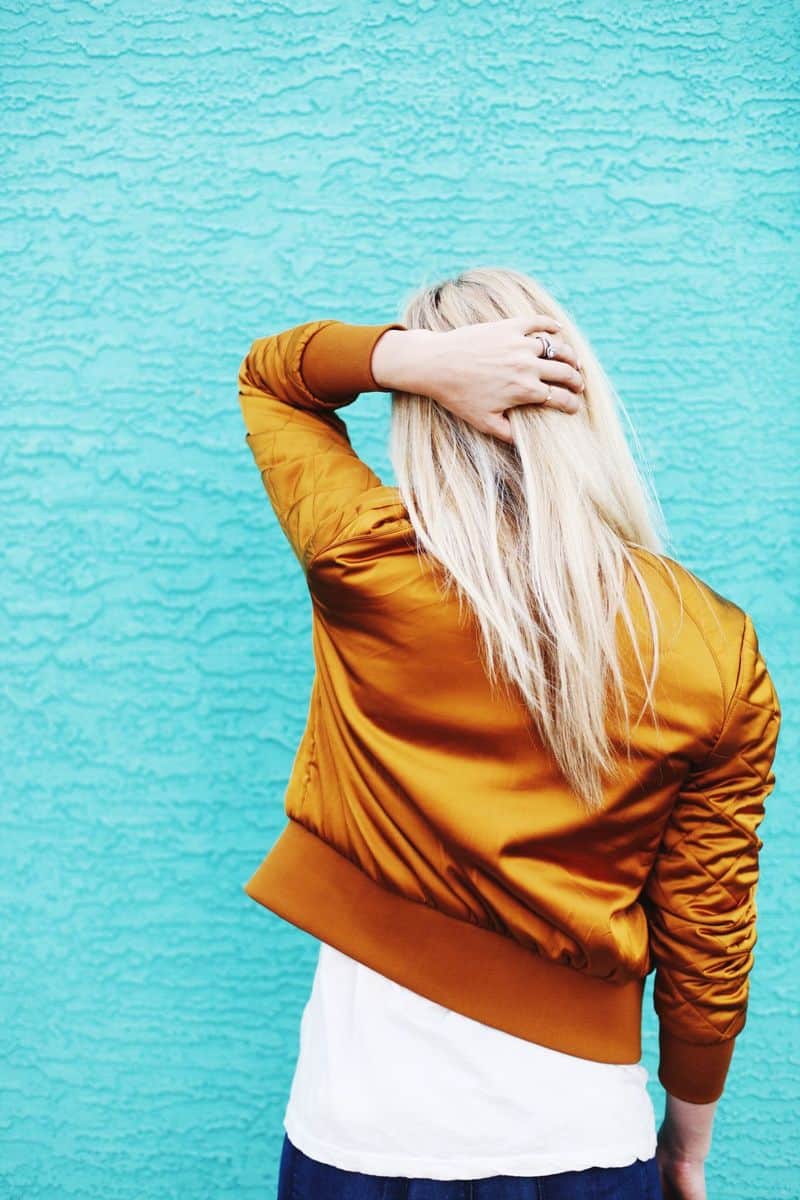
Credits // Author & Photography: Sarah Rhodes. Thanks to the lovely Laura Gummerman and Sarah Hubbell for modeling! Photographs edited with A Color Story app.
42 Comments
Totally needed this tutorial! This was so helpful; thank you!
Thank you very much for sharing!
Good tips it helps and can apply easily. Thank you for sharing!
Hi!
Do you do affiliate marketing I am going to promote your app on my blog and do facebook ads as well 🙂 I want to share it with people all over the world 🙂 Having a great time editing photos 🙂
Thanks!
Dell
This looks interesting and informative but the overpowering background thumping (can’t call it music) meant that I couldn’t hear the narrative.
Is it just my system as no one else seems to have commented?
The before/after buttons are in the bottom left of the app on the gray bar. Or if you just want a quick before/after view, after you’ve applied your edit, you can just touch your image to see the before.
Where is the before and after toggle? I always want to see how much better I have made it
Totally! Playing around with new ways to edit photos is one of my favorite things to do. -Sarah
Yep it’s exactly like curves in Photoshop! 🙂 -Sarah
Yay good! Glad you enjoyed it! 🙂 -Sarah
You are very welcome! 🙂 -Sarah
haha thank you Kelli! I’m flattered. 🙂 xo – Sarah
Such a helpful tutorial!
http://www.llindatt.com
Hey amazing tutorial! Thanks! Also, where’s the models dress from? It’s gorgeous!!!!! 🙂 X
Hi Joelle! It’s in the testing phase now. So very soon! We don’t have an exact date yet, but we’ll post on here and Instagram as soon as it’s launched! 🙂 -Jacki
Any idea when the app will be available for Android?
i’ve actually been waiting for this because i had absolutely no idea how to use the s-curve tool. thanks!!!
Cool. I had no idea how to use the curves tool. I definitely need to play around with it a bit and get the hang of things.
So so so helpful!!! Can’t wait to re-edit all of my photos. This is the best app 🙂 Any chance of unlocking any more new free features?
Oh. My. Gosh. Won’t even need Photoshop to edit photos anymore! I’ve always used (and loved) curves… taking it to this app was such a brilliant idea.
But yeah, first things first: I’m gonna make a support group for us Android users. 🙁 Cannot wait!
Is this like the curves tool in Photoshop? I love using this on my photos, it really makes them look so much better!
https://www.makeandmess.com/
Really informative, thanks Sarah! Can’t wait until the app is available on Android!
Thank you so much for the tutorial! I’ve been a little intimidated by this feature, but now I’m excited to use it!
Laura
http://laurelandfern.com/
This was soooo helpful! Curves was something that seemed useful, but I was not at all sure how it worked. Thank you Sarah!
Well, I’m kind of photography illiterate (and I’m mostly okay with that), but this gave me a nice schooling. Enjoyed, -thanks!
I have taken CLASSES in Lightroom that haven’t explained curves this well. Thank you so much.
This was really helpful! Thanks, guys.
Carrie
www.wearwherewell.com
Thanks Ingrid! <3 – Sarah
Haha! Thanks so effin’ much! <3 -Sarah
Thanks Pia! <3 -Sarah
Of course!! 🙂 Have fun playing around with it! -Sarah
Thanks for your kind words Dani! You can totally take this knowledge into Photoshop too, and you can actually go a lot crazier in Photoshop and add a ton more points if you want. It’s pretty cool! -Sarah
Yay!! Do it! It feels kind of empowering to know how to make your own look, right? -Sarah
Any time! Have fun practicing! 😉 -Sarah
Yes! Totally agree! It’s like Photoshop for your phone!
so good thanks!!!
Wow…. I was totally under-utilizing this feature. Thank you SO much!!!!
This app looks amazing, I can’t wait for it to be available for android!
Paula | www.namelessgap.blogspot.com
This was so helpful! I’ve used the curves function in both A Color Story, and also in Photoshop for years… I just played around with it until I figured out what adjustments seemed to do what I want. I didn’t fully know what they meant, though! I just sort of moved stuff around. I haven’t learned this so clearly in any other tutorials!
That was so effin’ helpful!!
beautiful photographs!
lunjasky.wordpress.com
Lunjasky bloglovin
Thanks for this super useful tutorial!
Just what I needed!