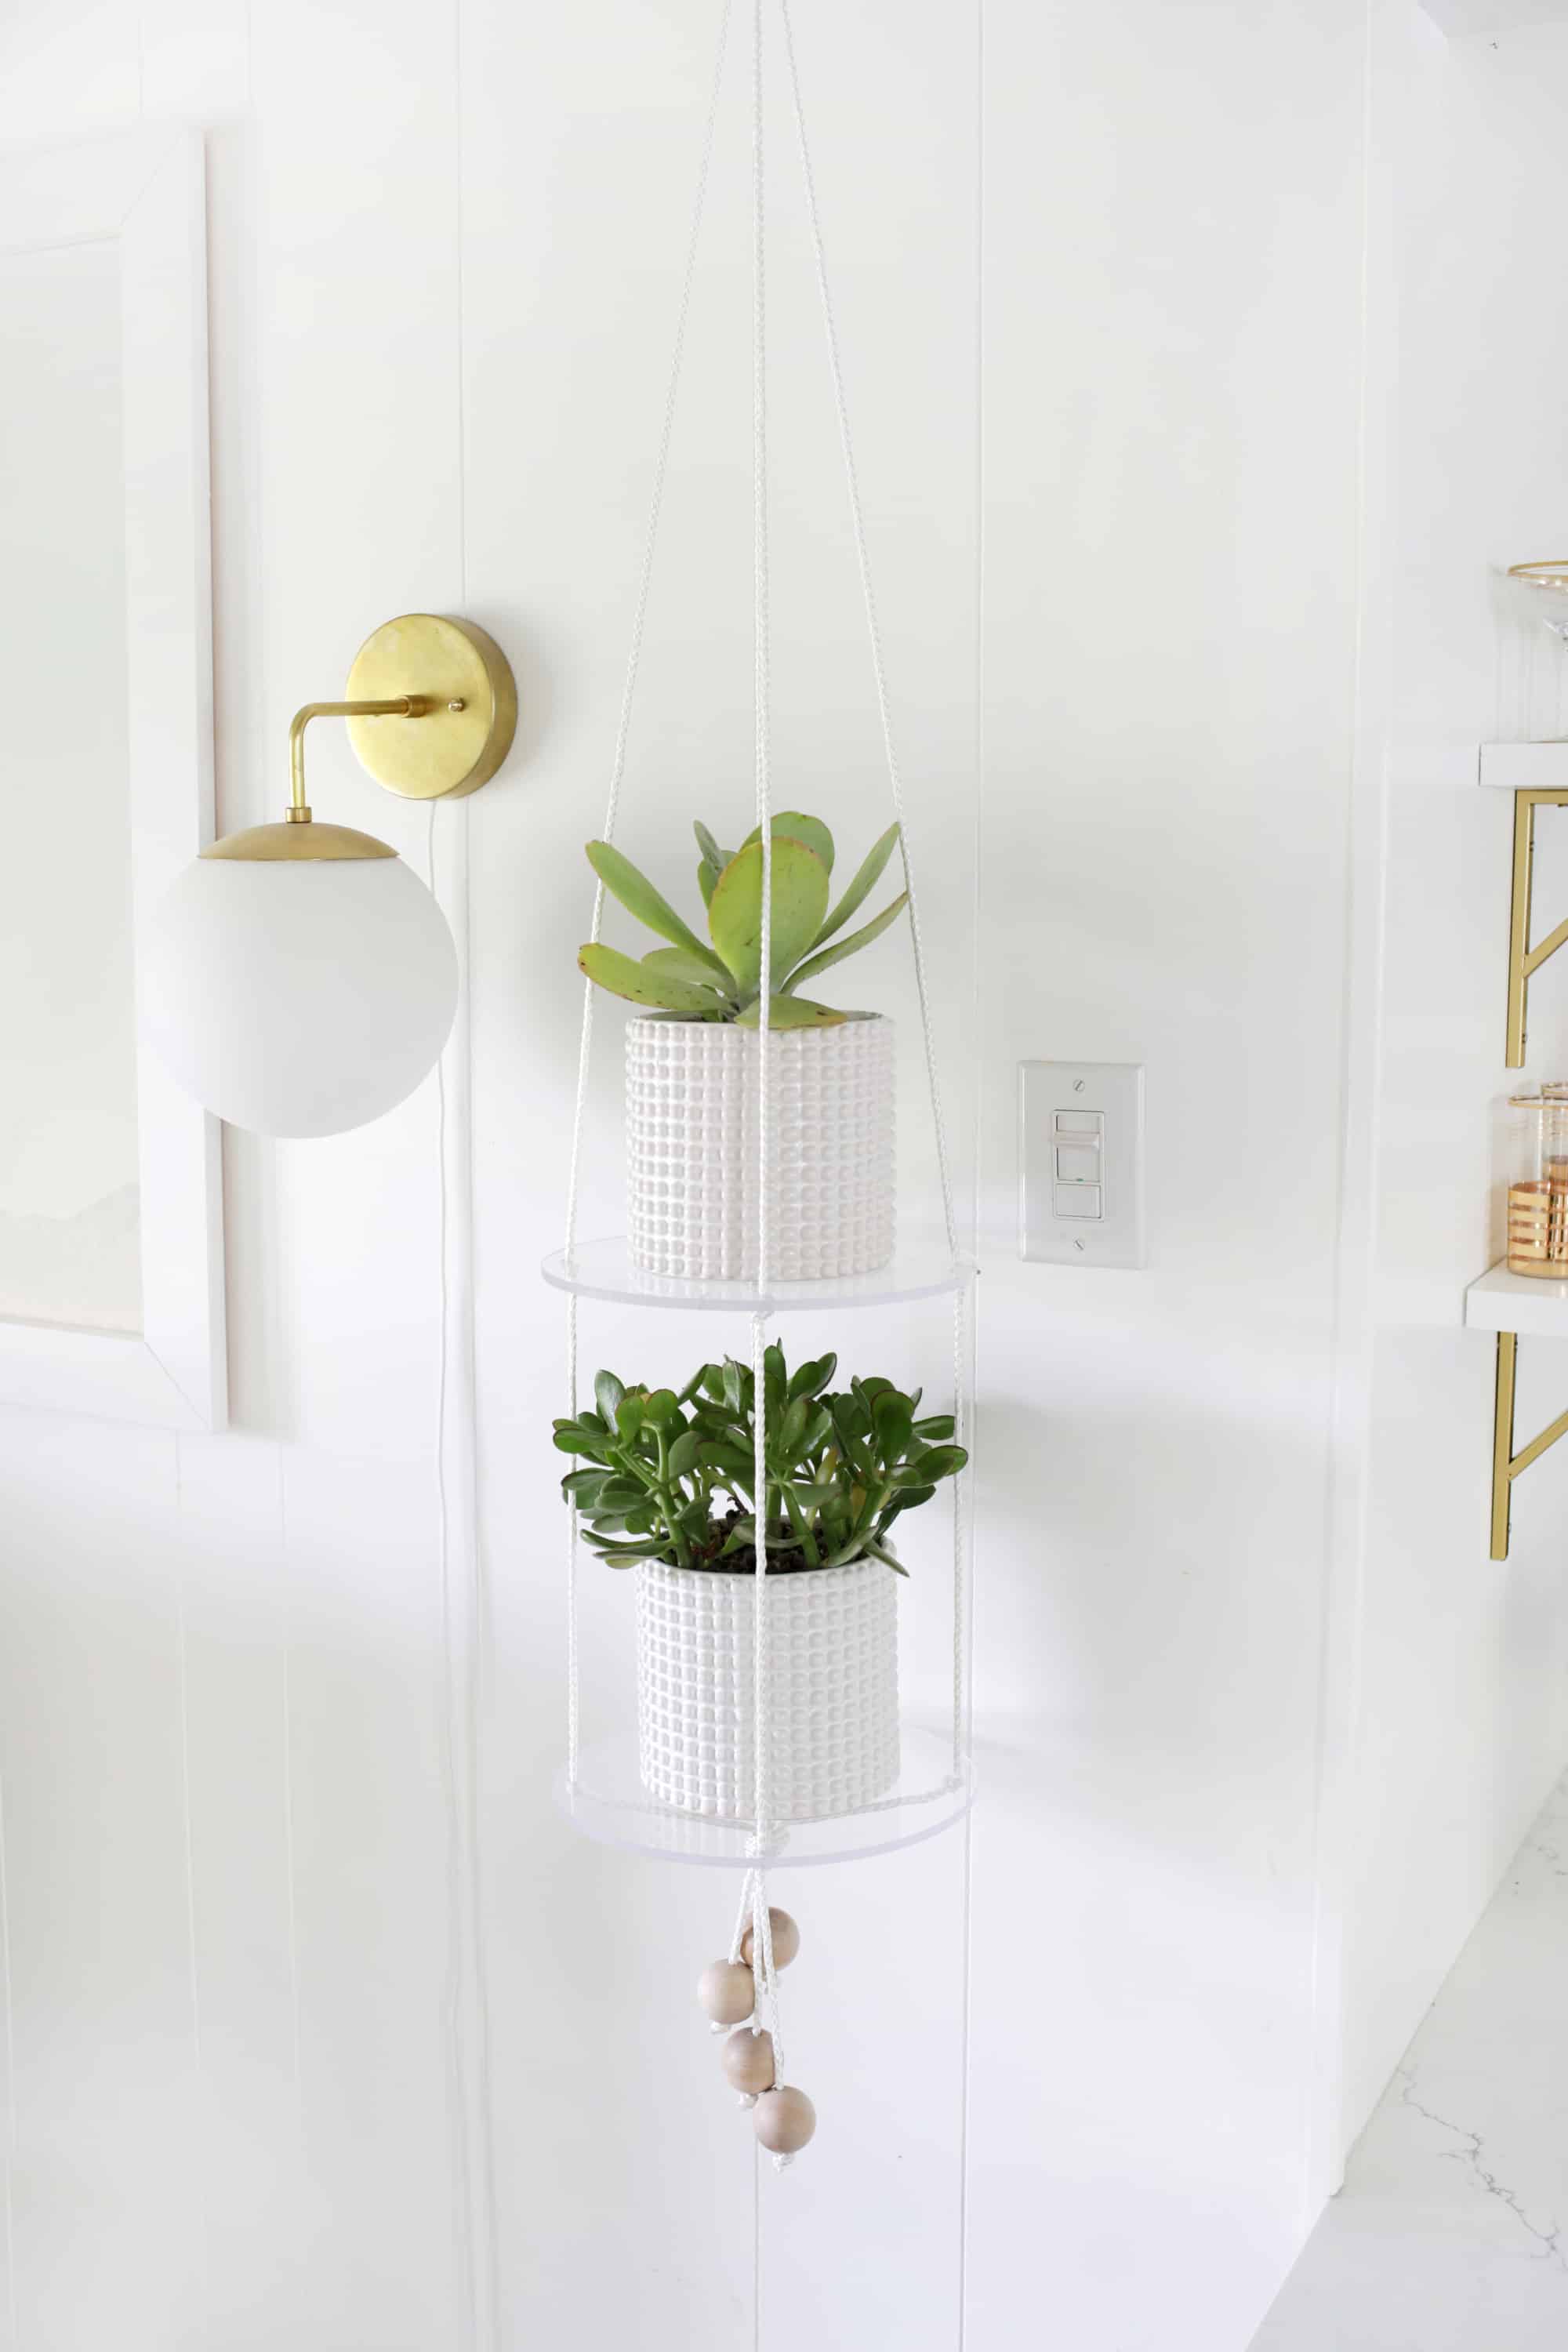
 We have a lot of plants in our home—they are a great addition to any space as they literally bring life into the room (they are alive!), some of them can help clean the air, and as an added bonus, they are cute too! Since we have a toddler roaming our halls, we’ve had to rethink our plant strategy by moving a lot of plants that we used to have on the ground up higher onto tables and shelves (some of you may have to do that because of naughty pets too). Another good way to get a plant off the floor is to do a hanging planter and I thought that it would be a cool look to do a two-tier planter with acrylic discs for a lighter look so that the plants looked like they were floating in mid-air.
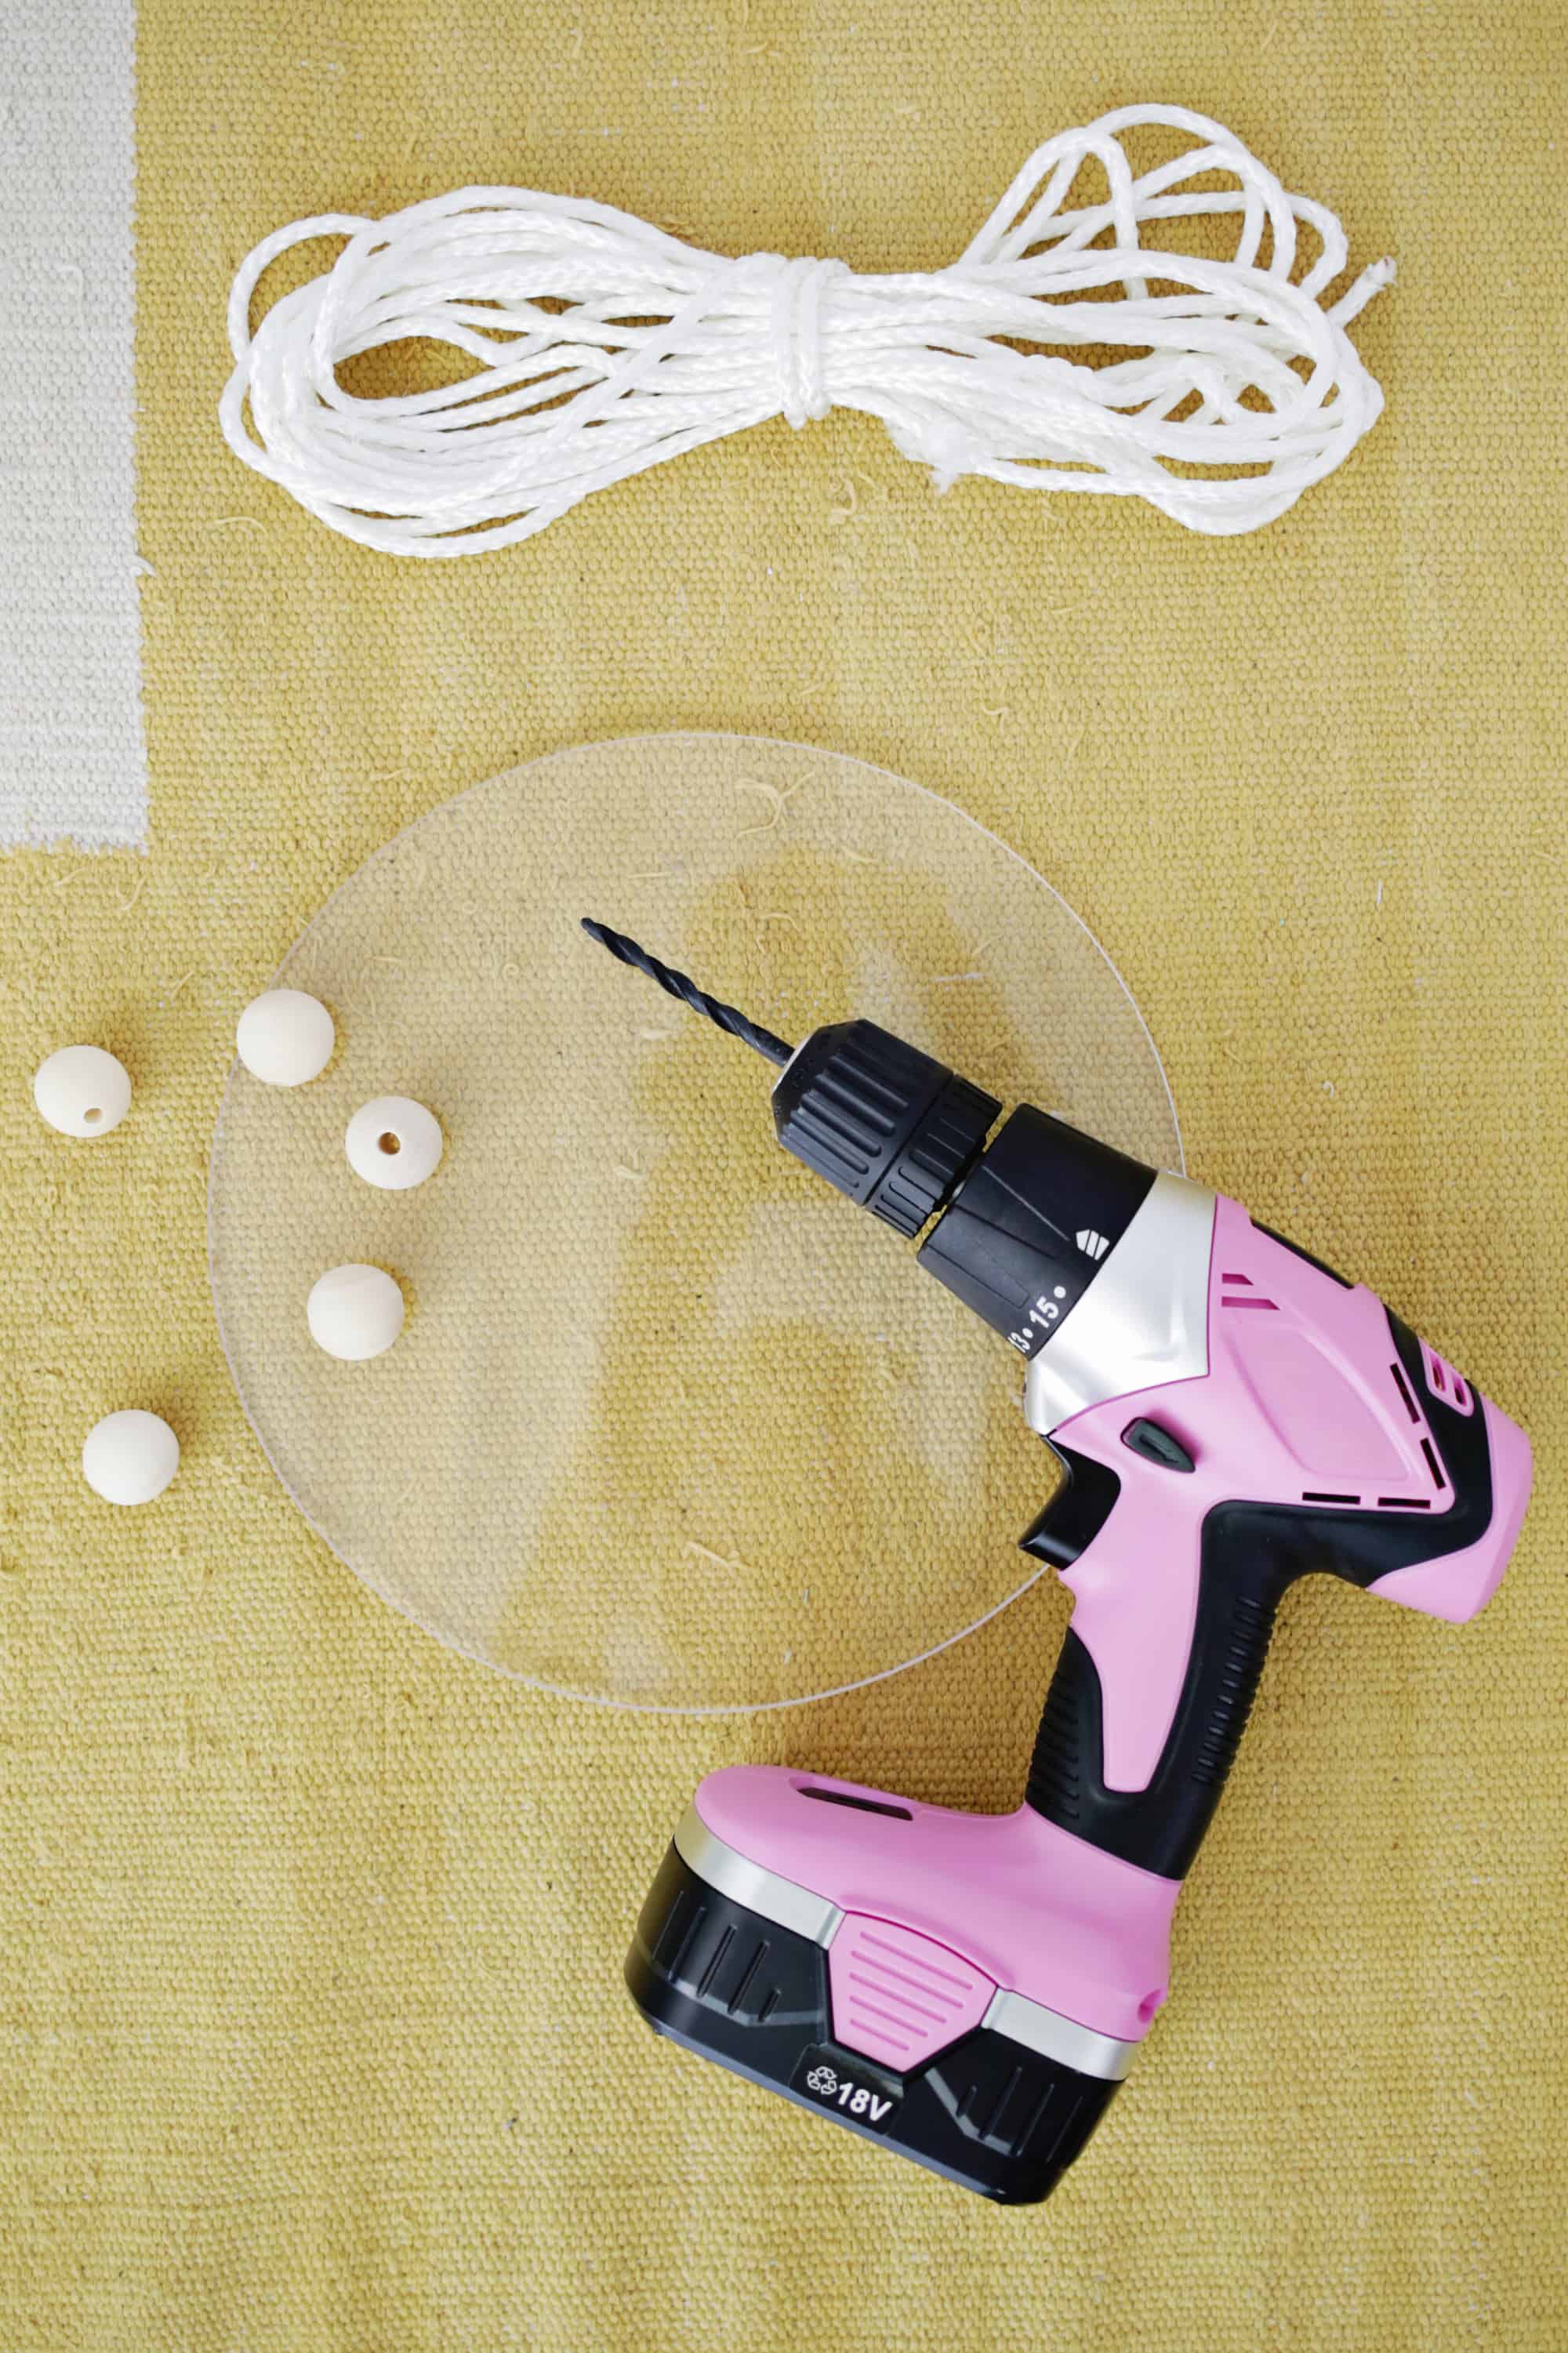 Supplies:
–10″ acrylic disks (2)
-thin nylon rope
-drill and drill bits
–wooden beads (at least 4 but you can do more if you want, and make sure your rope will fit through the hole diameter)
–ceiling hook
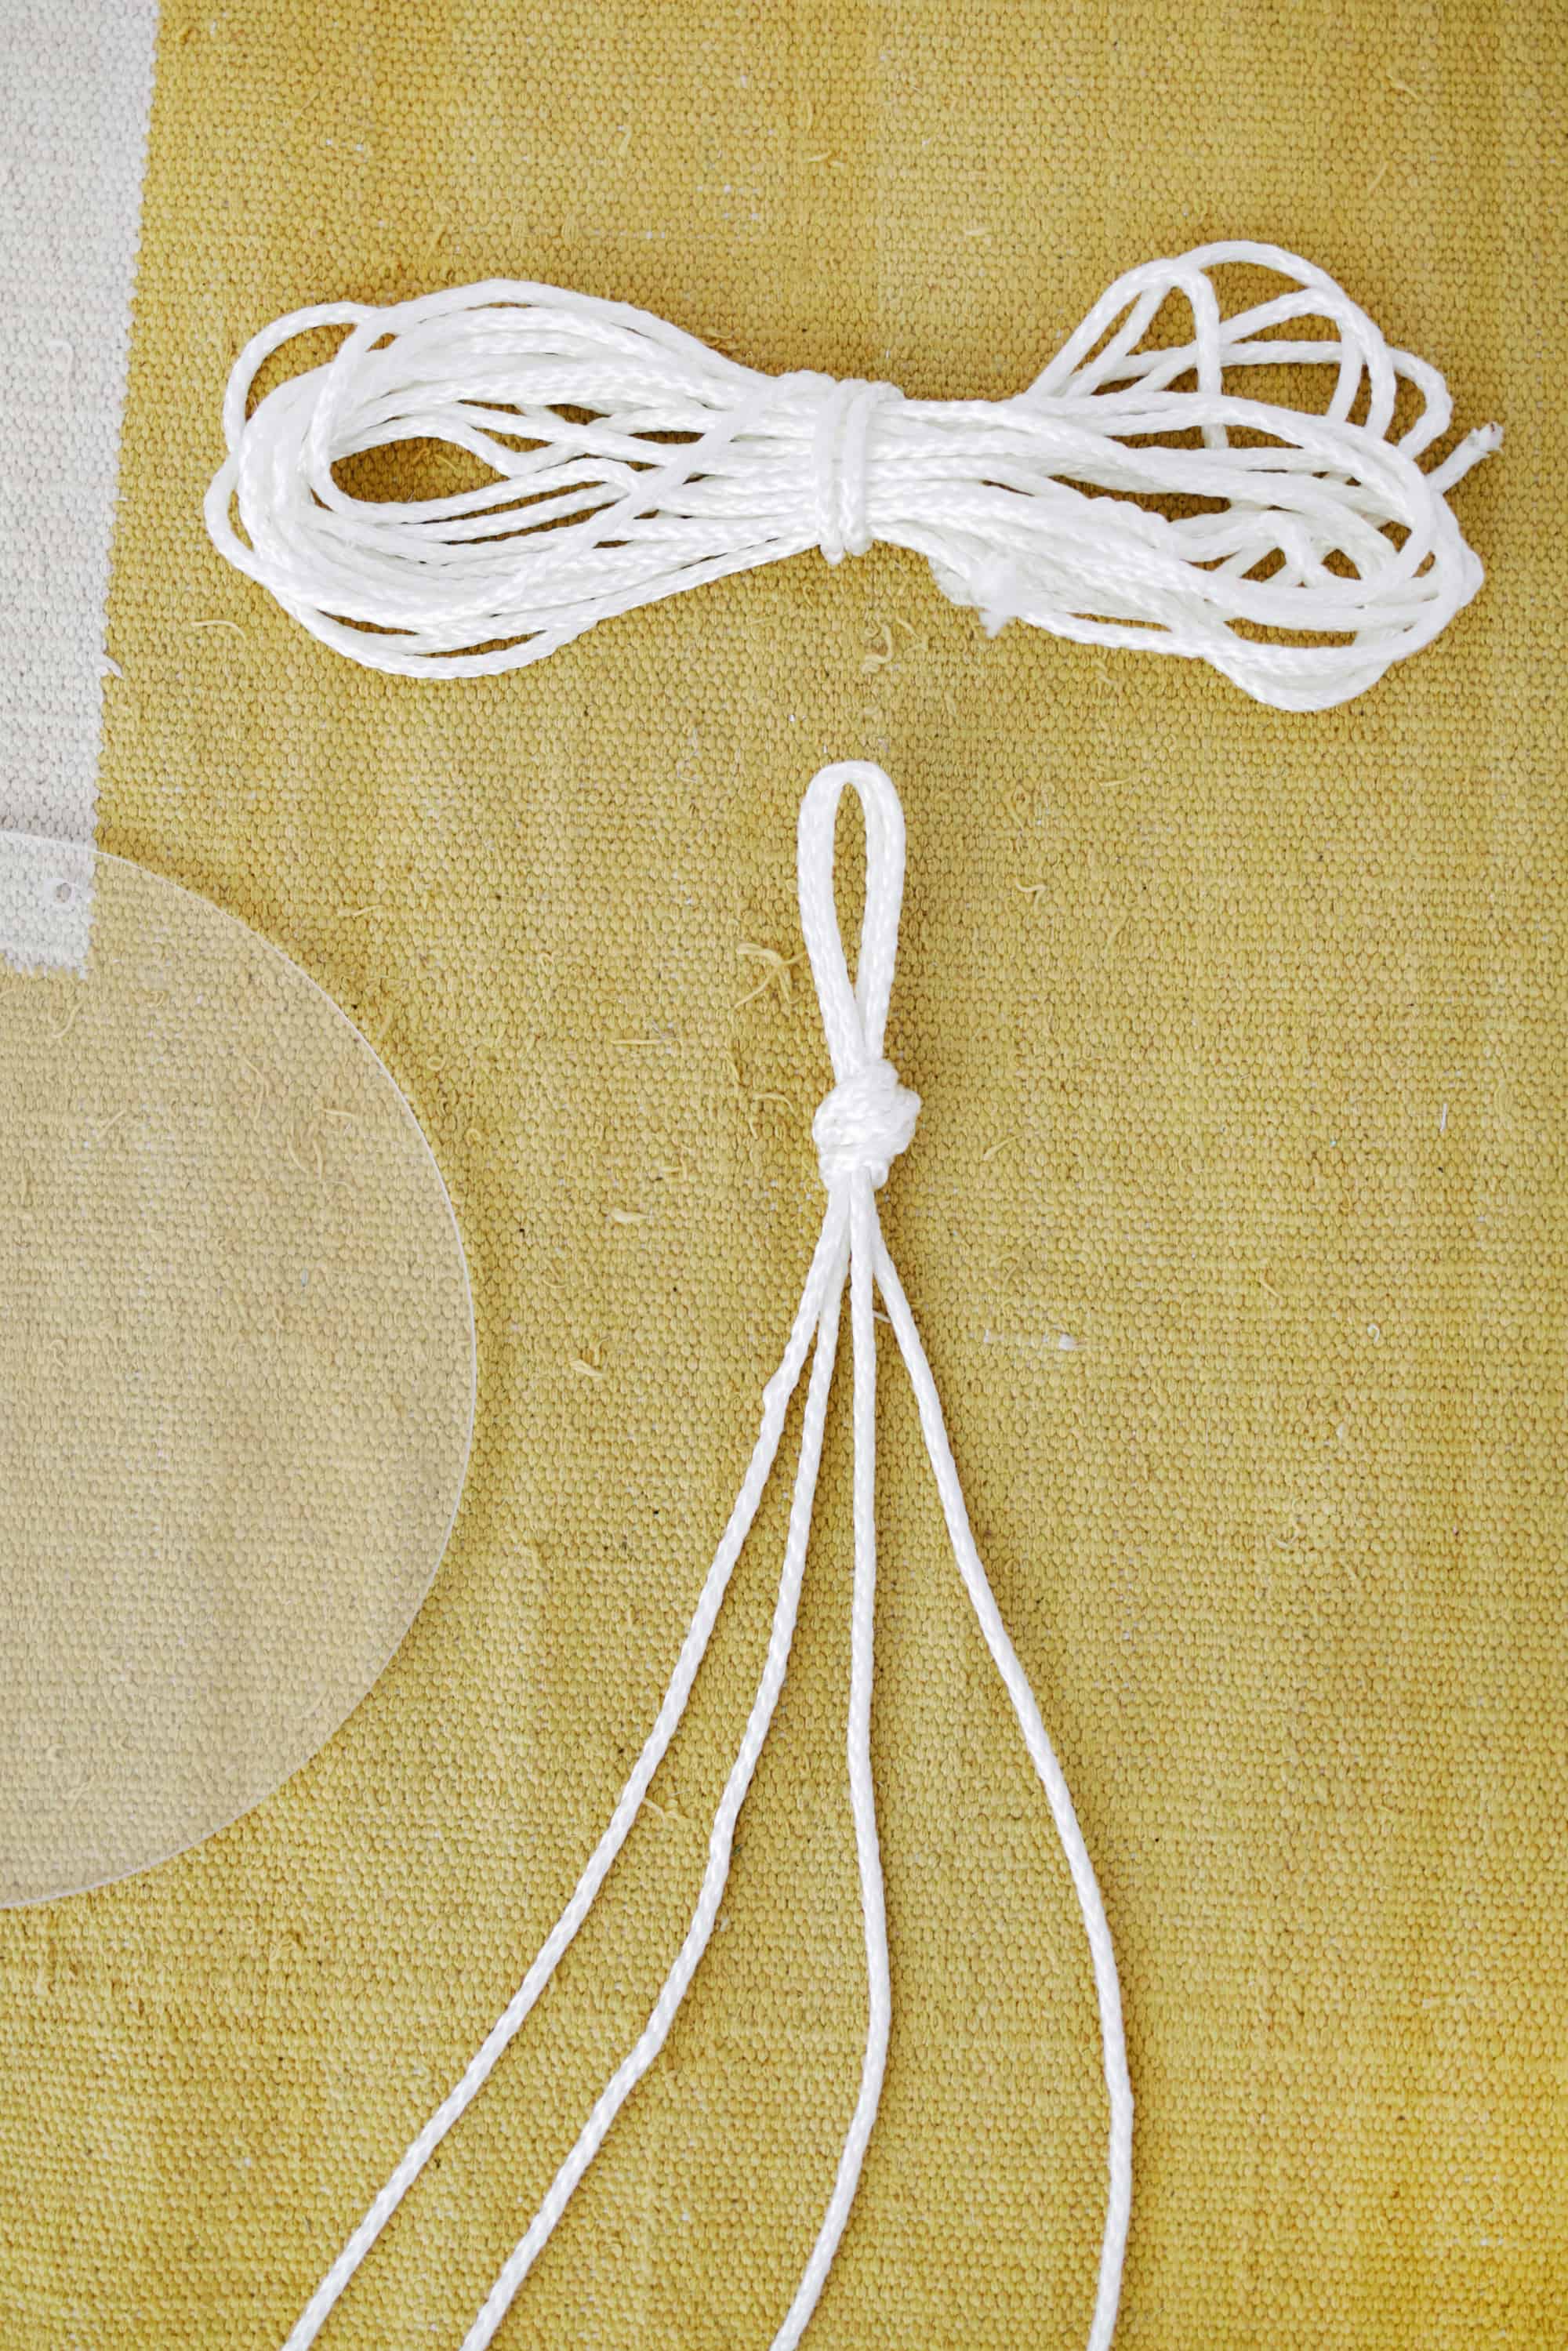 First, measure how far away you want your lowest plant shelf to be from your ceiling and add 12″ of length to that measurement. Double the measurement and cut two pieces of rope that are that length. Fold both pieces of rope in the middle and make a knot with a loop above it so you end up with 4 equal strands beneath the knot (the loop is what you’ll hang your planter from).
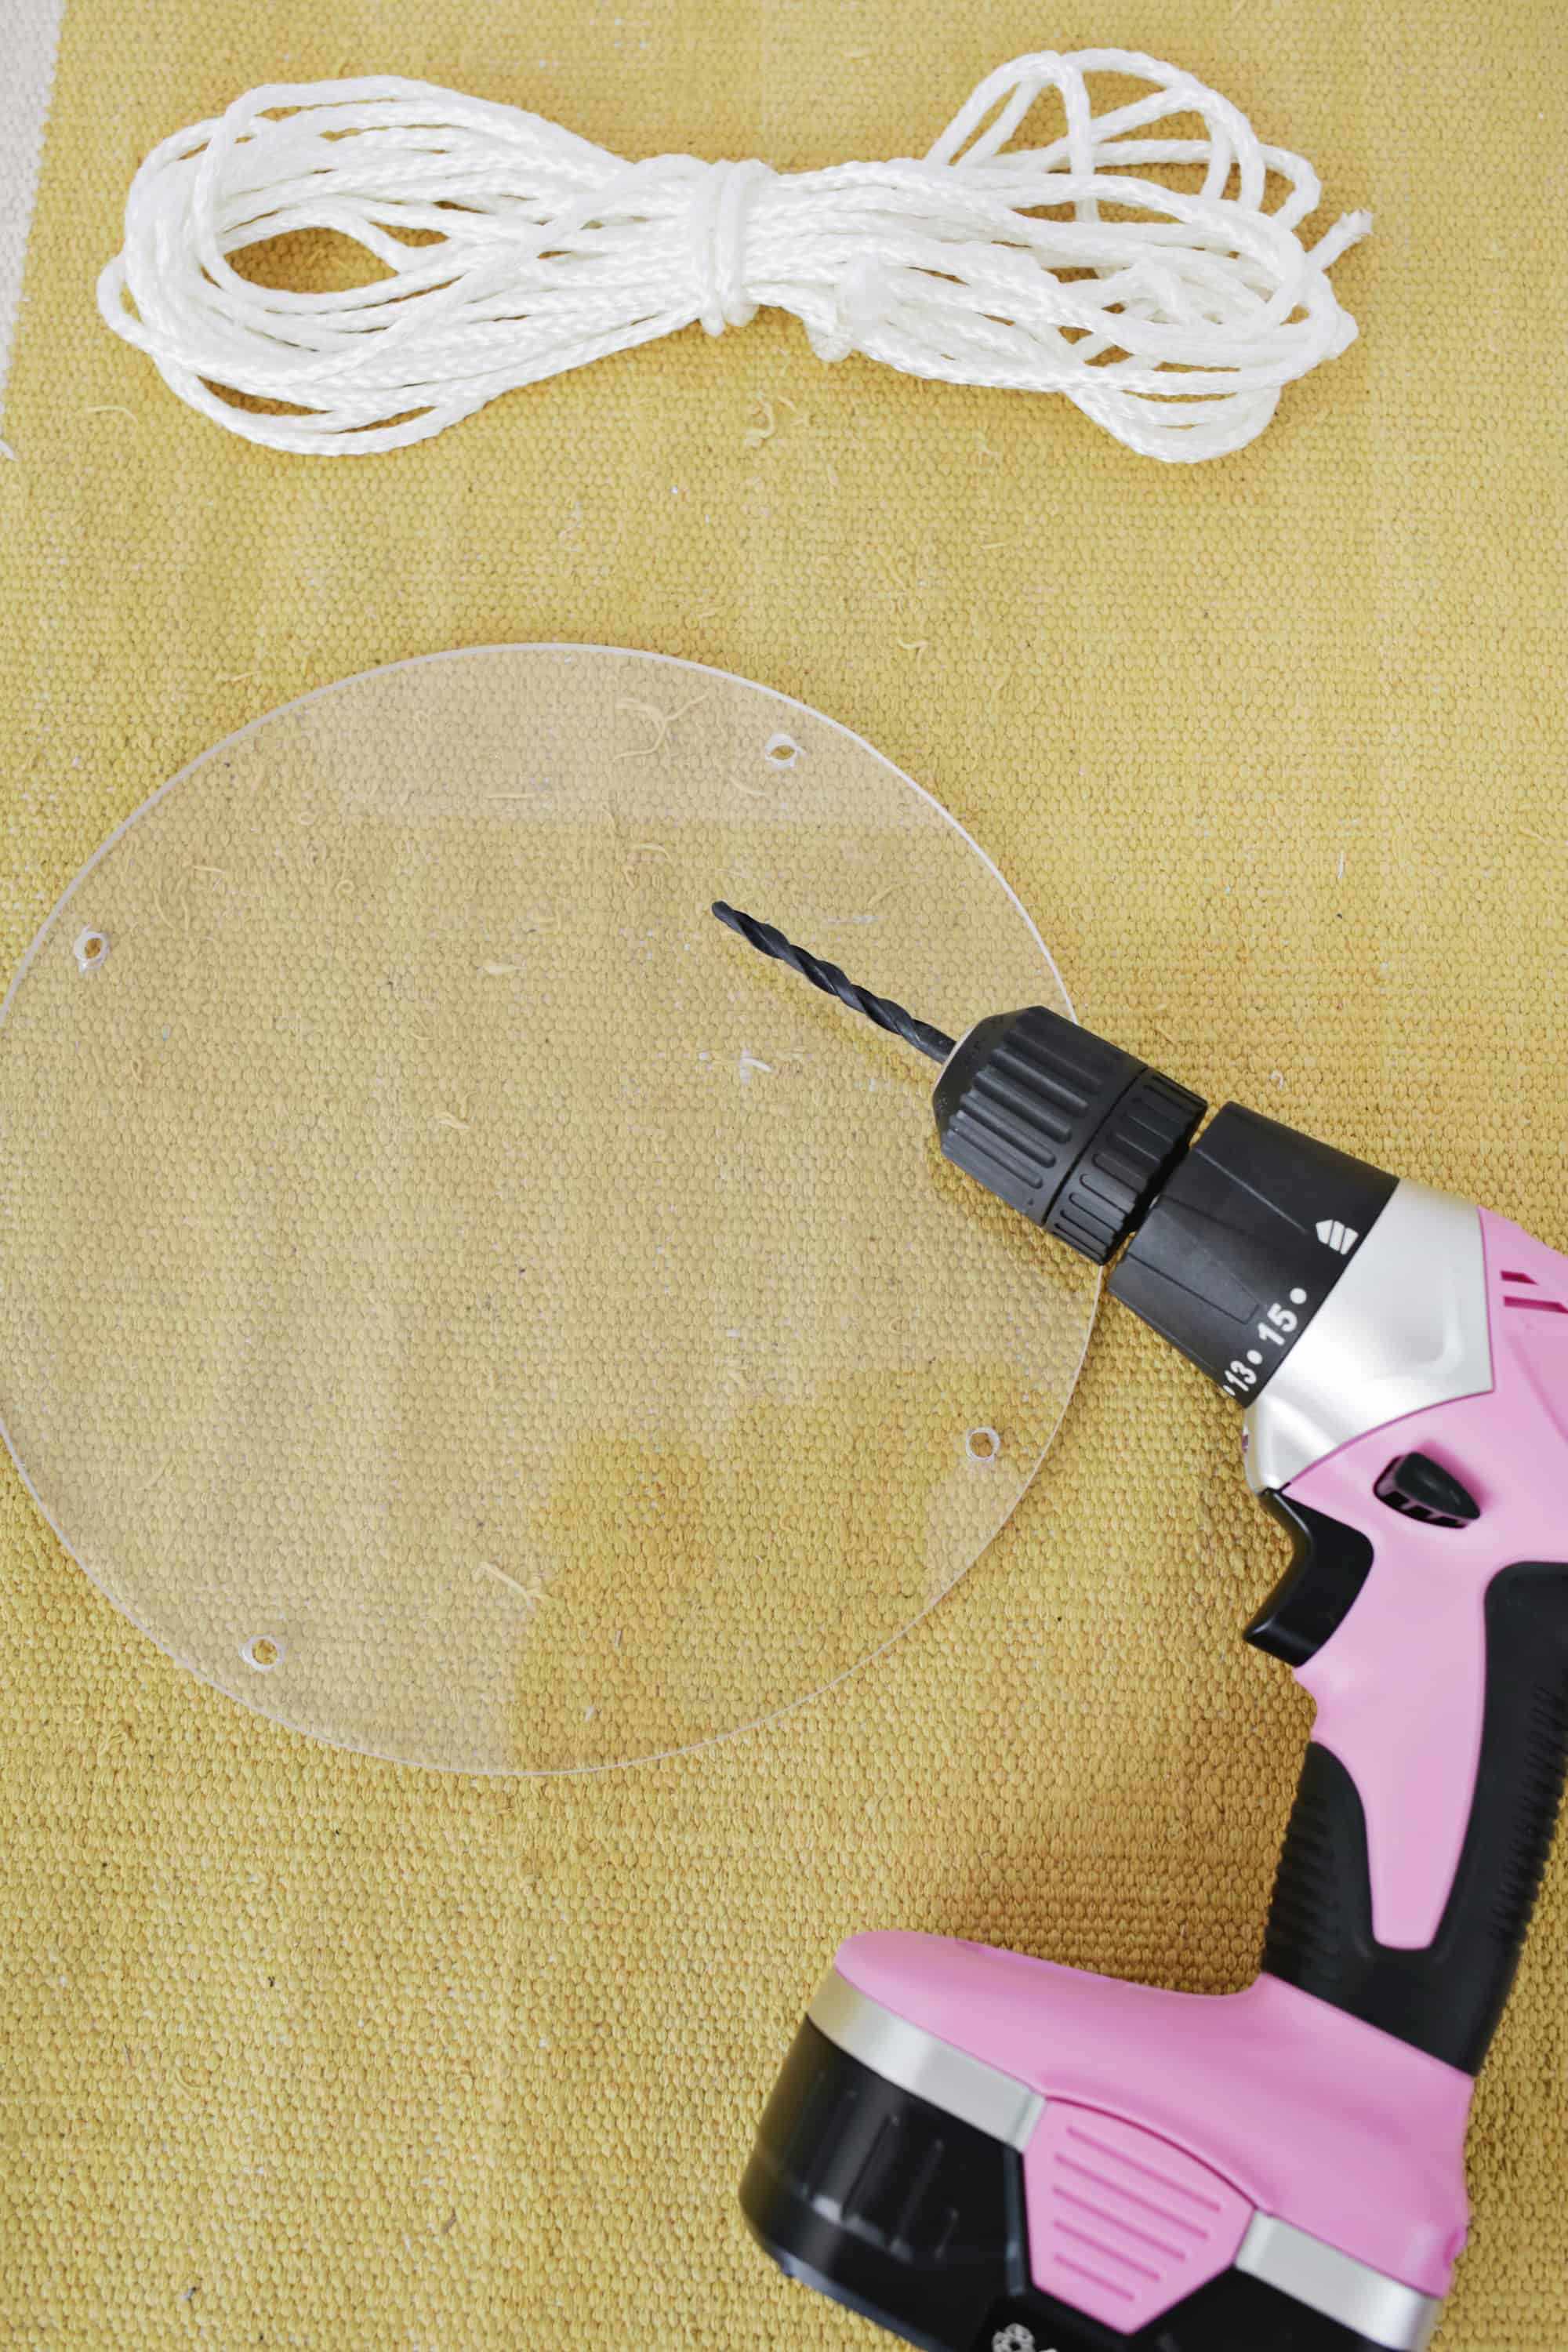 Use a drill bit that’s a little larger than the size of your rope and drill 4 holes into your acrylic discs an equal distance apart about 1/2″ from the edge of the circle.
 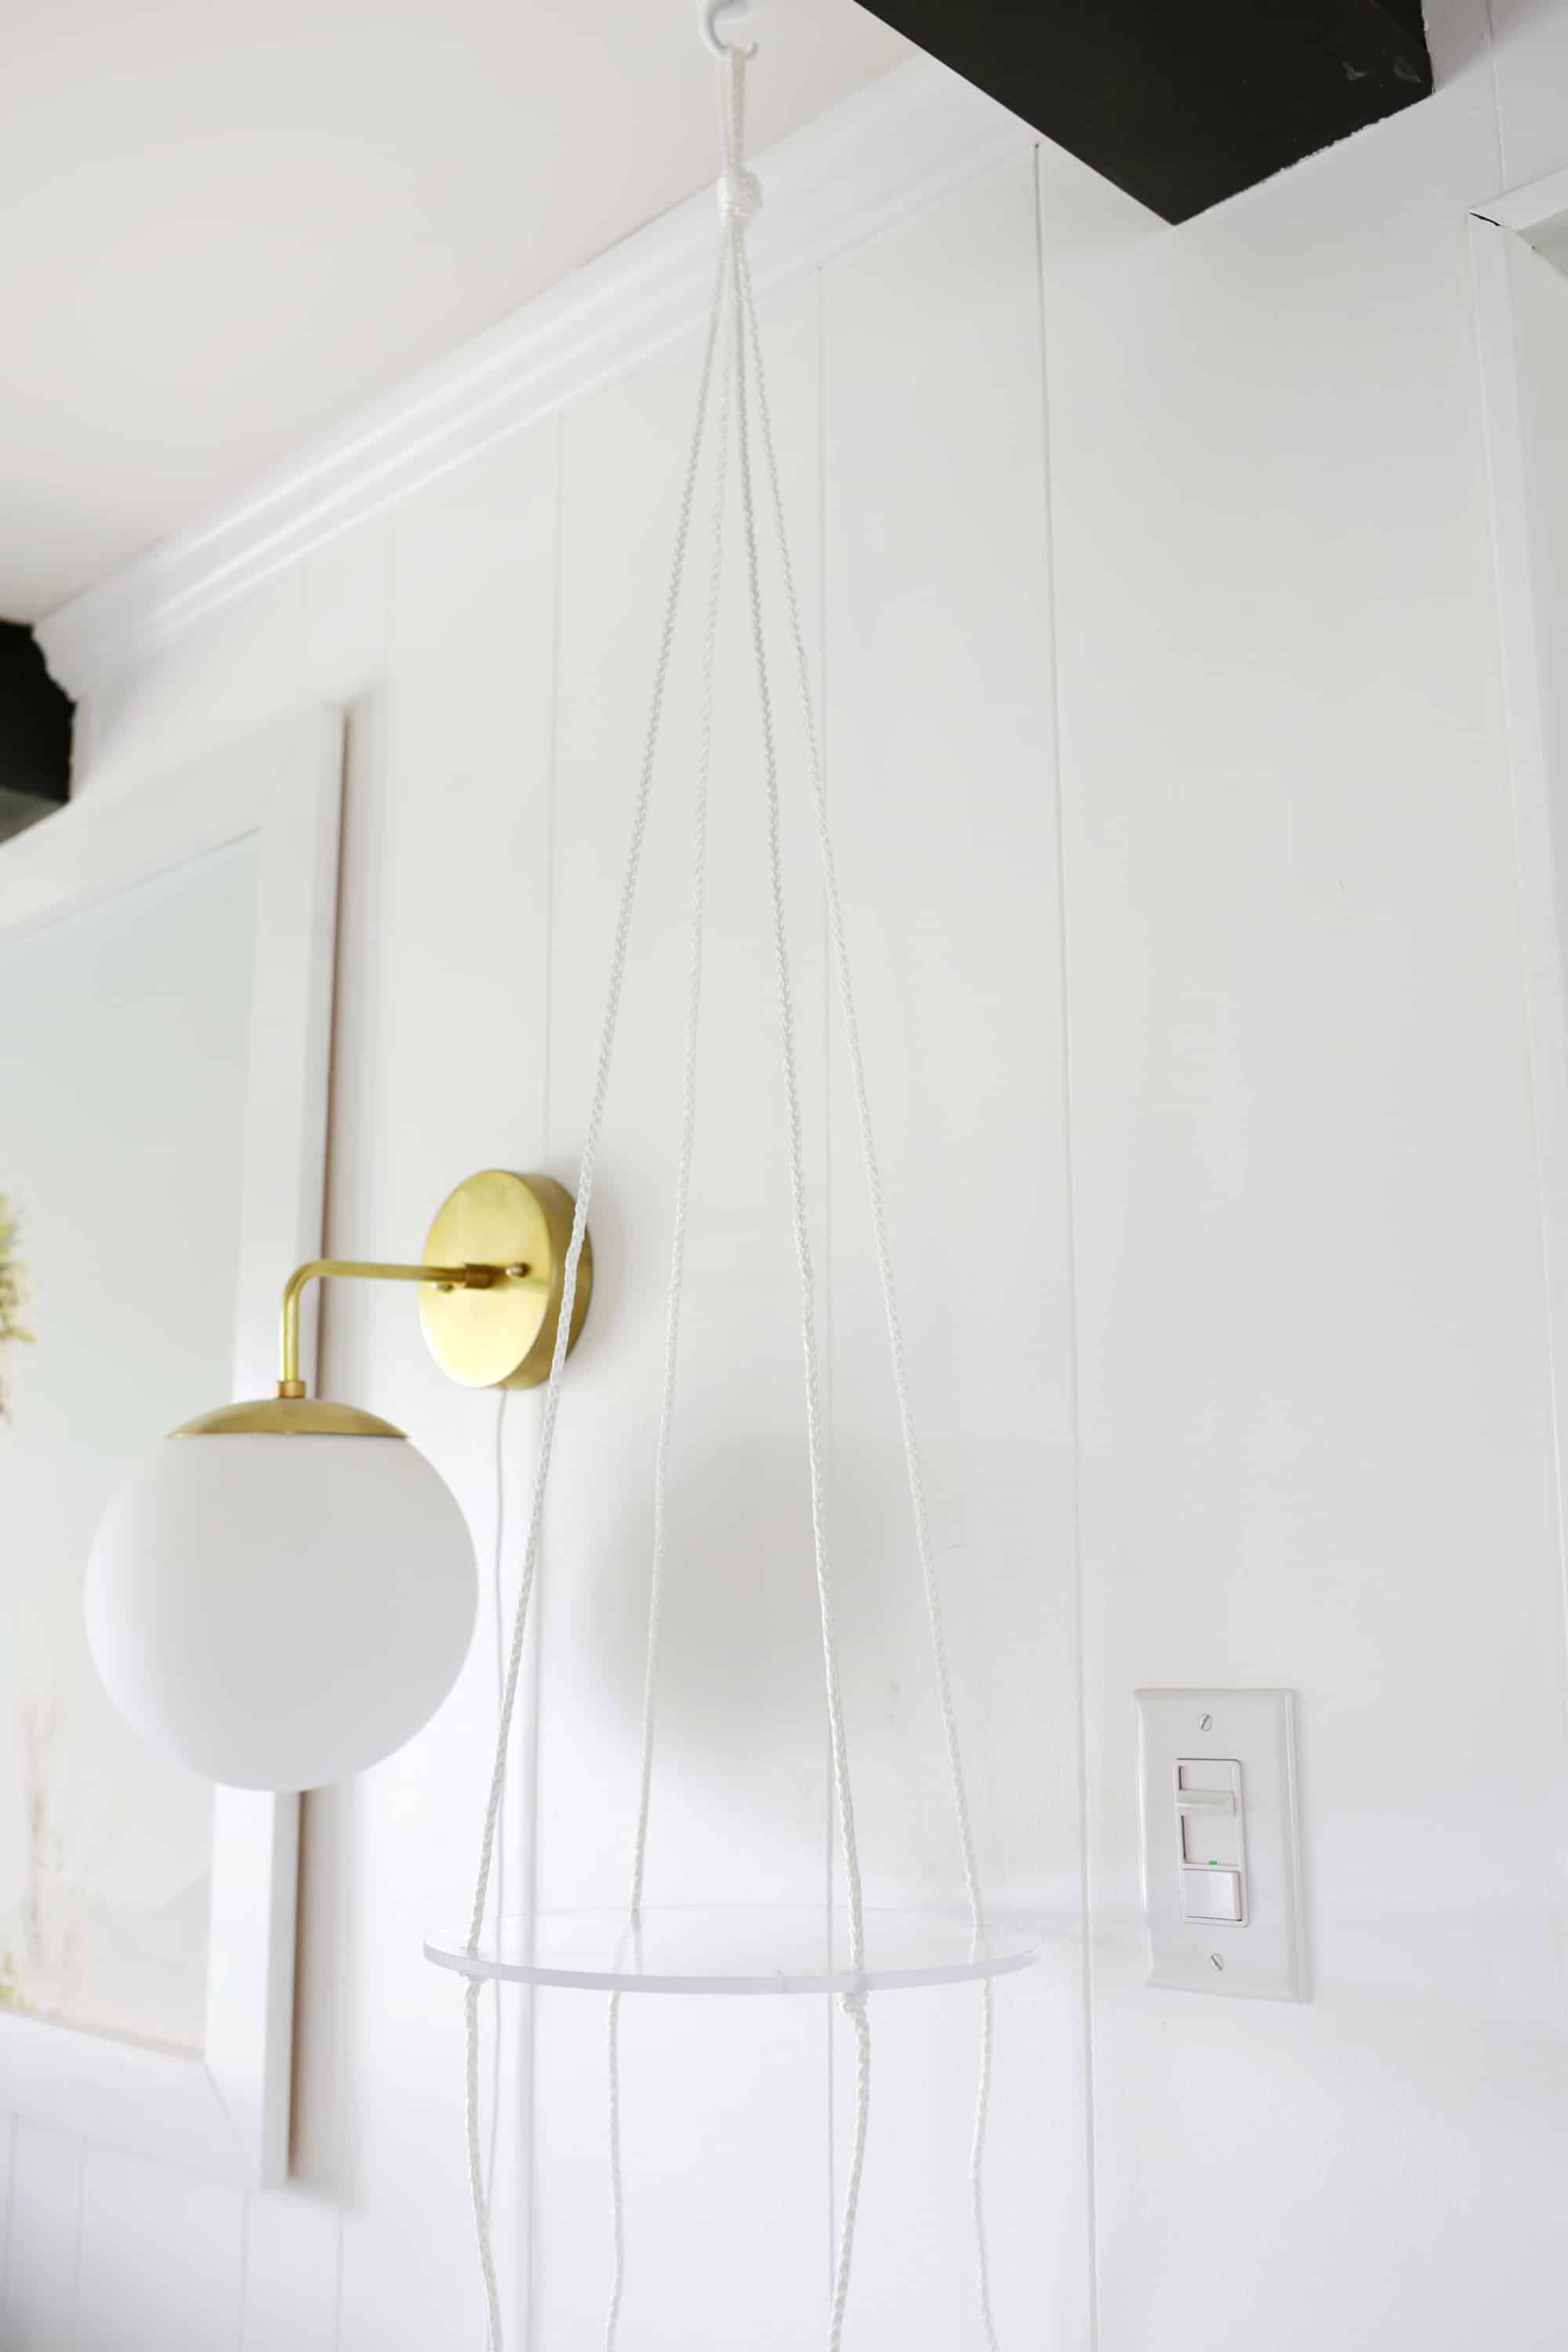 Install a ceiling hook in the spot you want your planter to go in and hook your rope loop into the hook. Thread your first disc with each of the 4 rope strands and make a knot with each strand below the disc so it sits at the height you want for your first shelf. You will probably need to adjust the knots a bit to make it sit level.
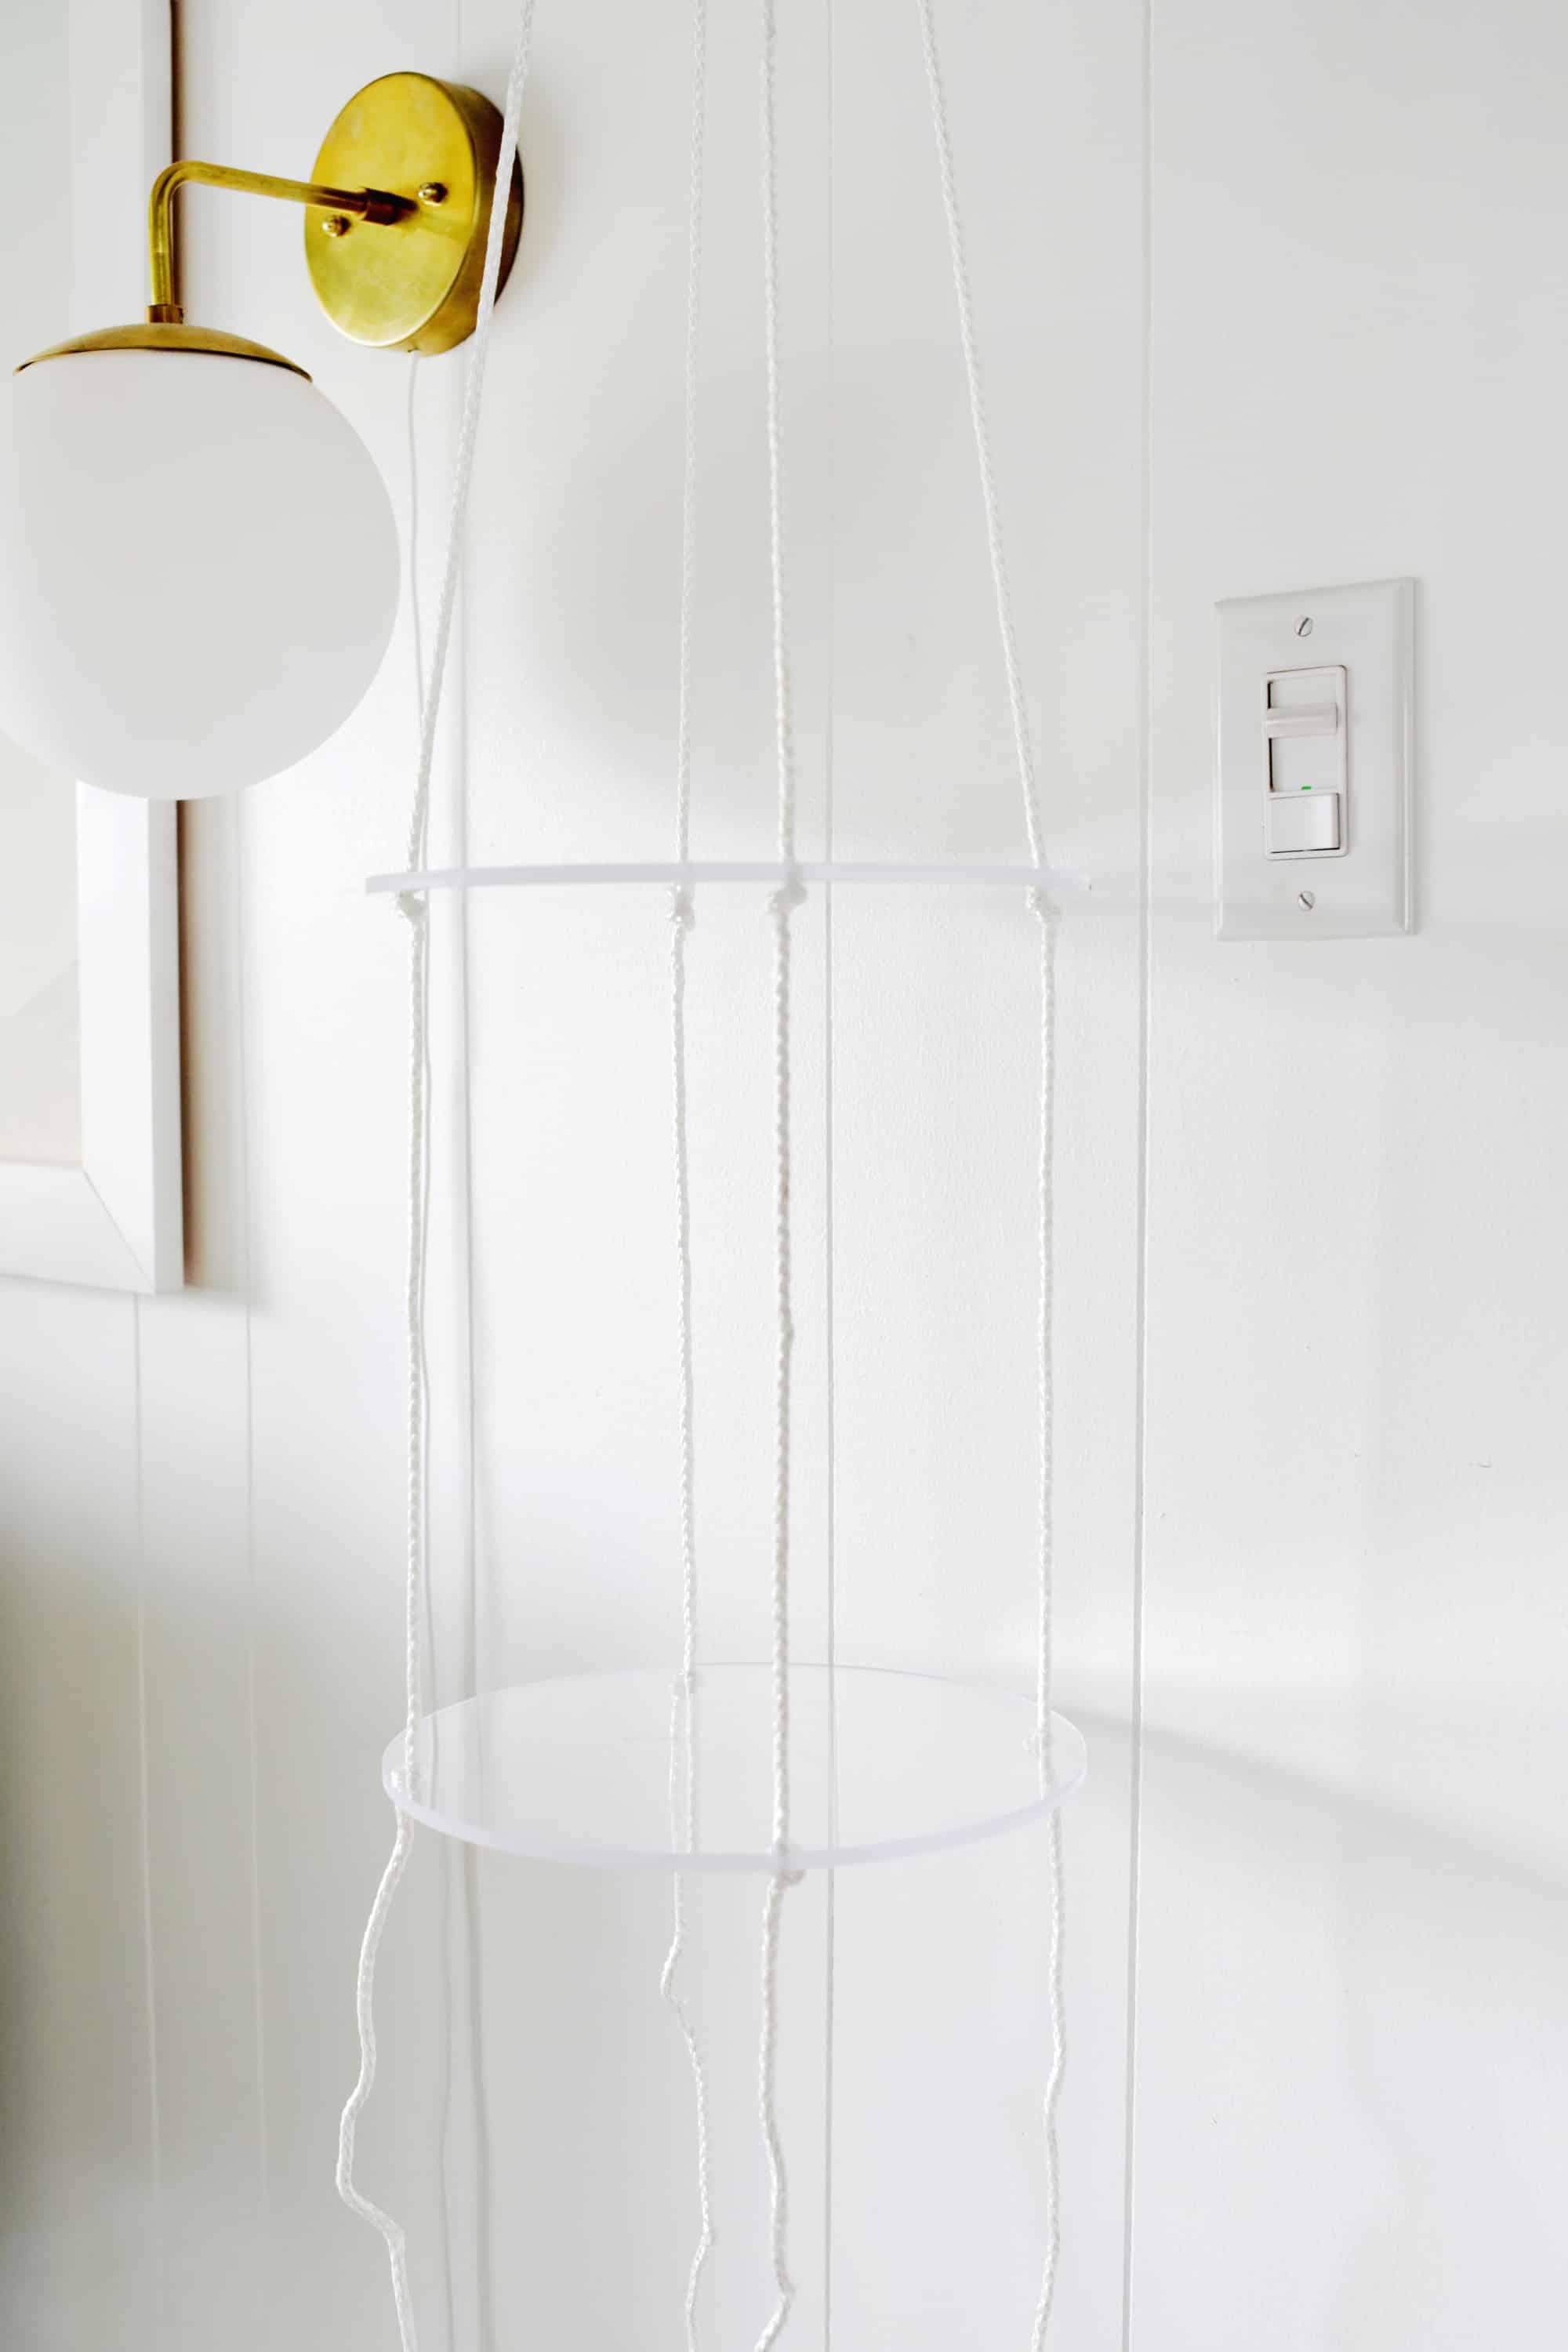 Repeat the process again with your second disc so that you have two level tiers.
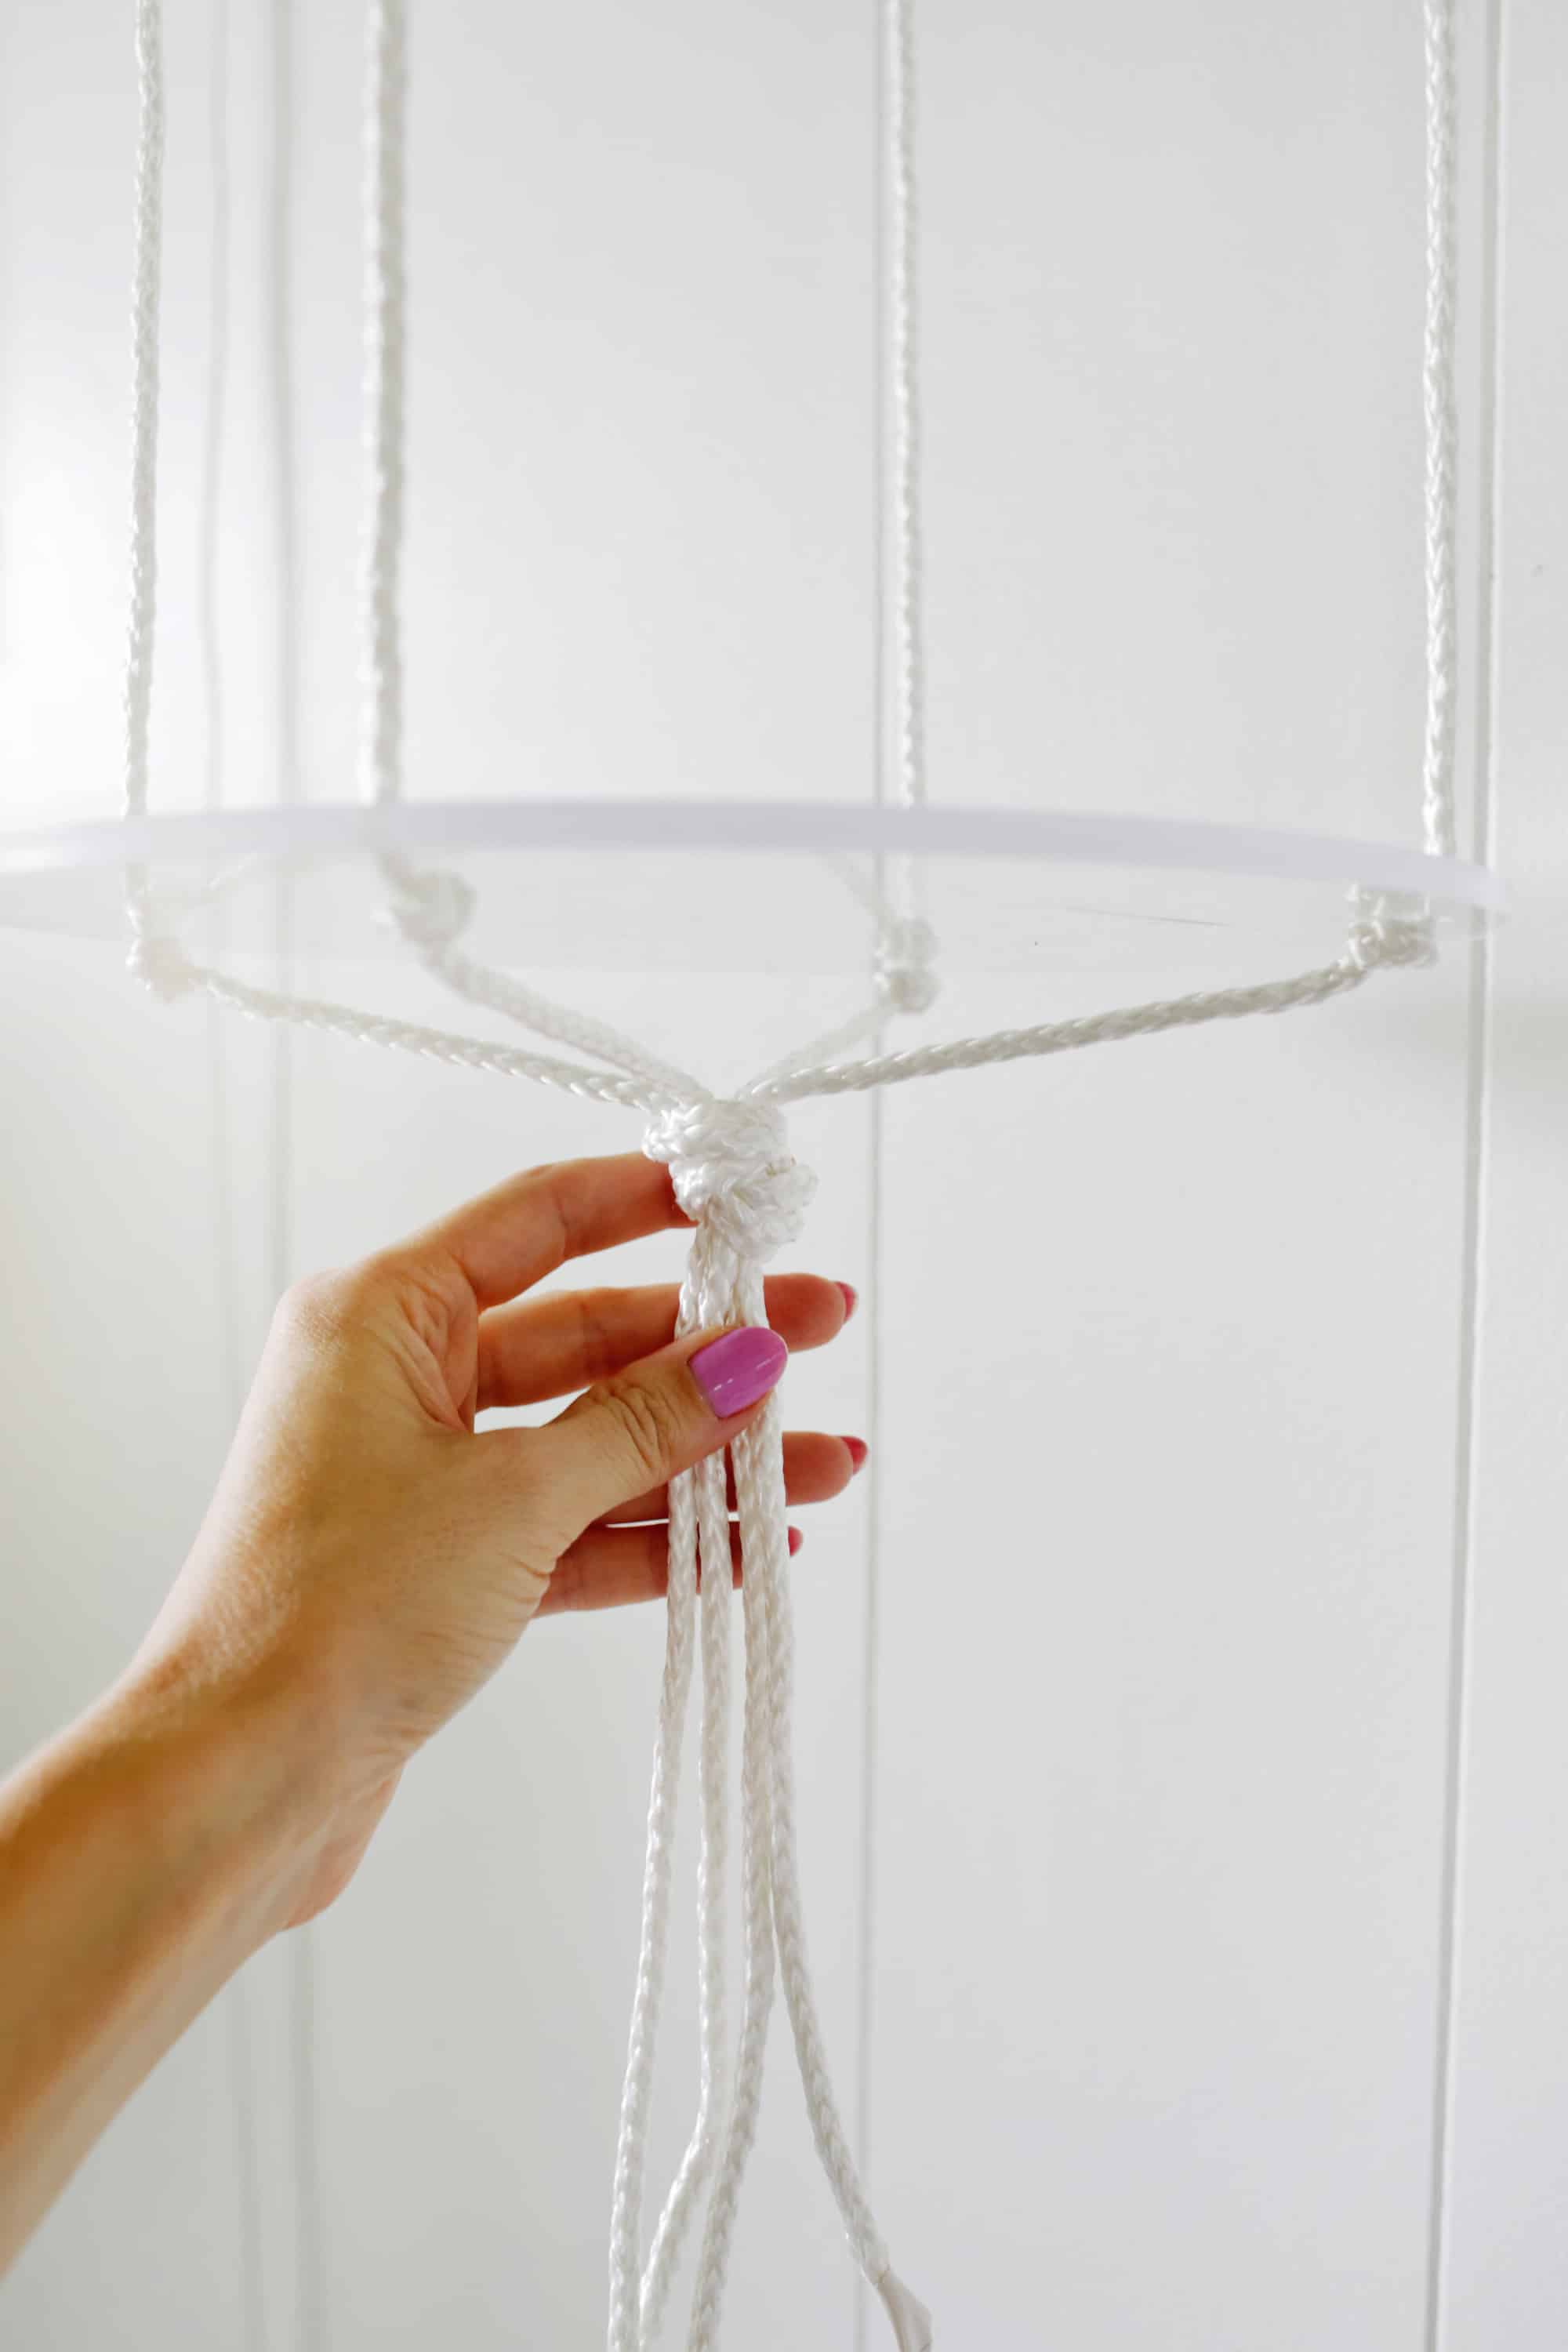 Make a knot from all 4 strands under the bottom of your second disc.
 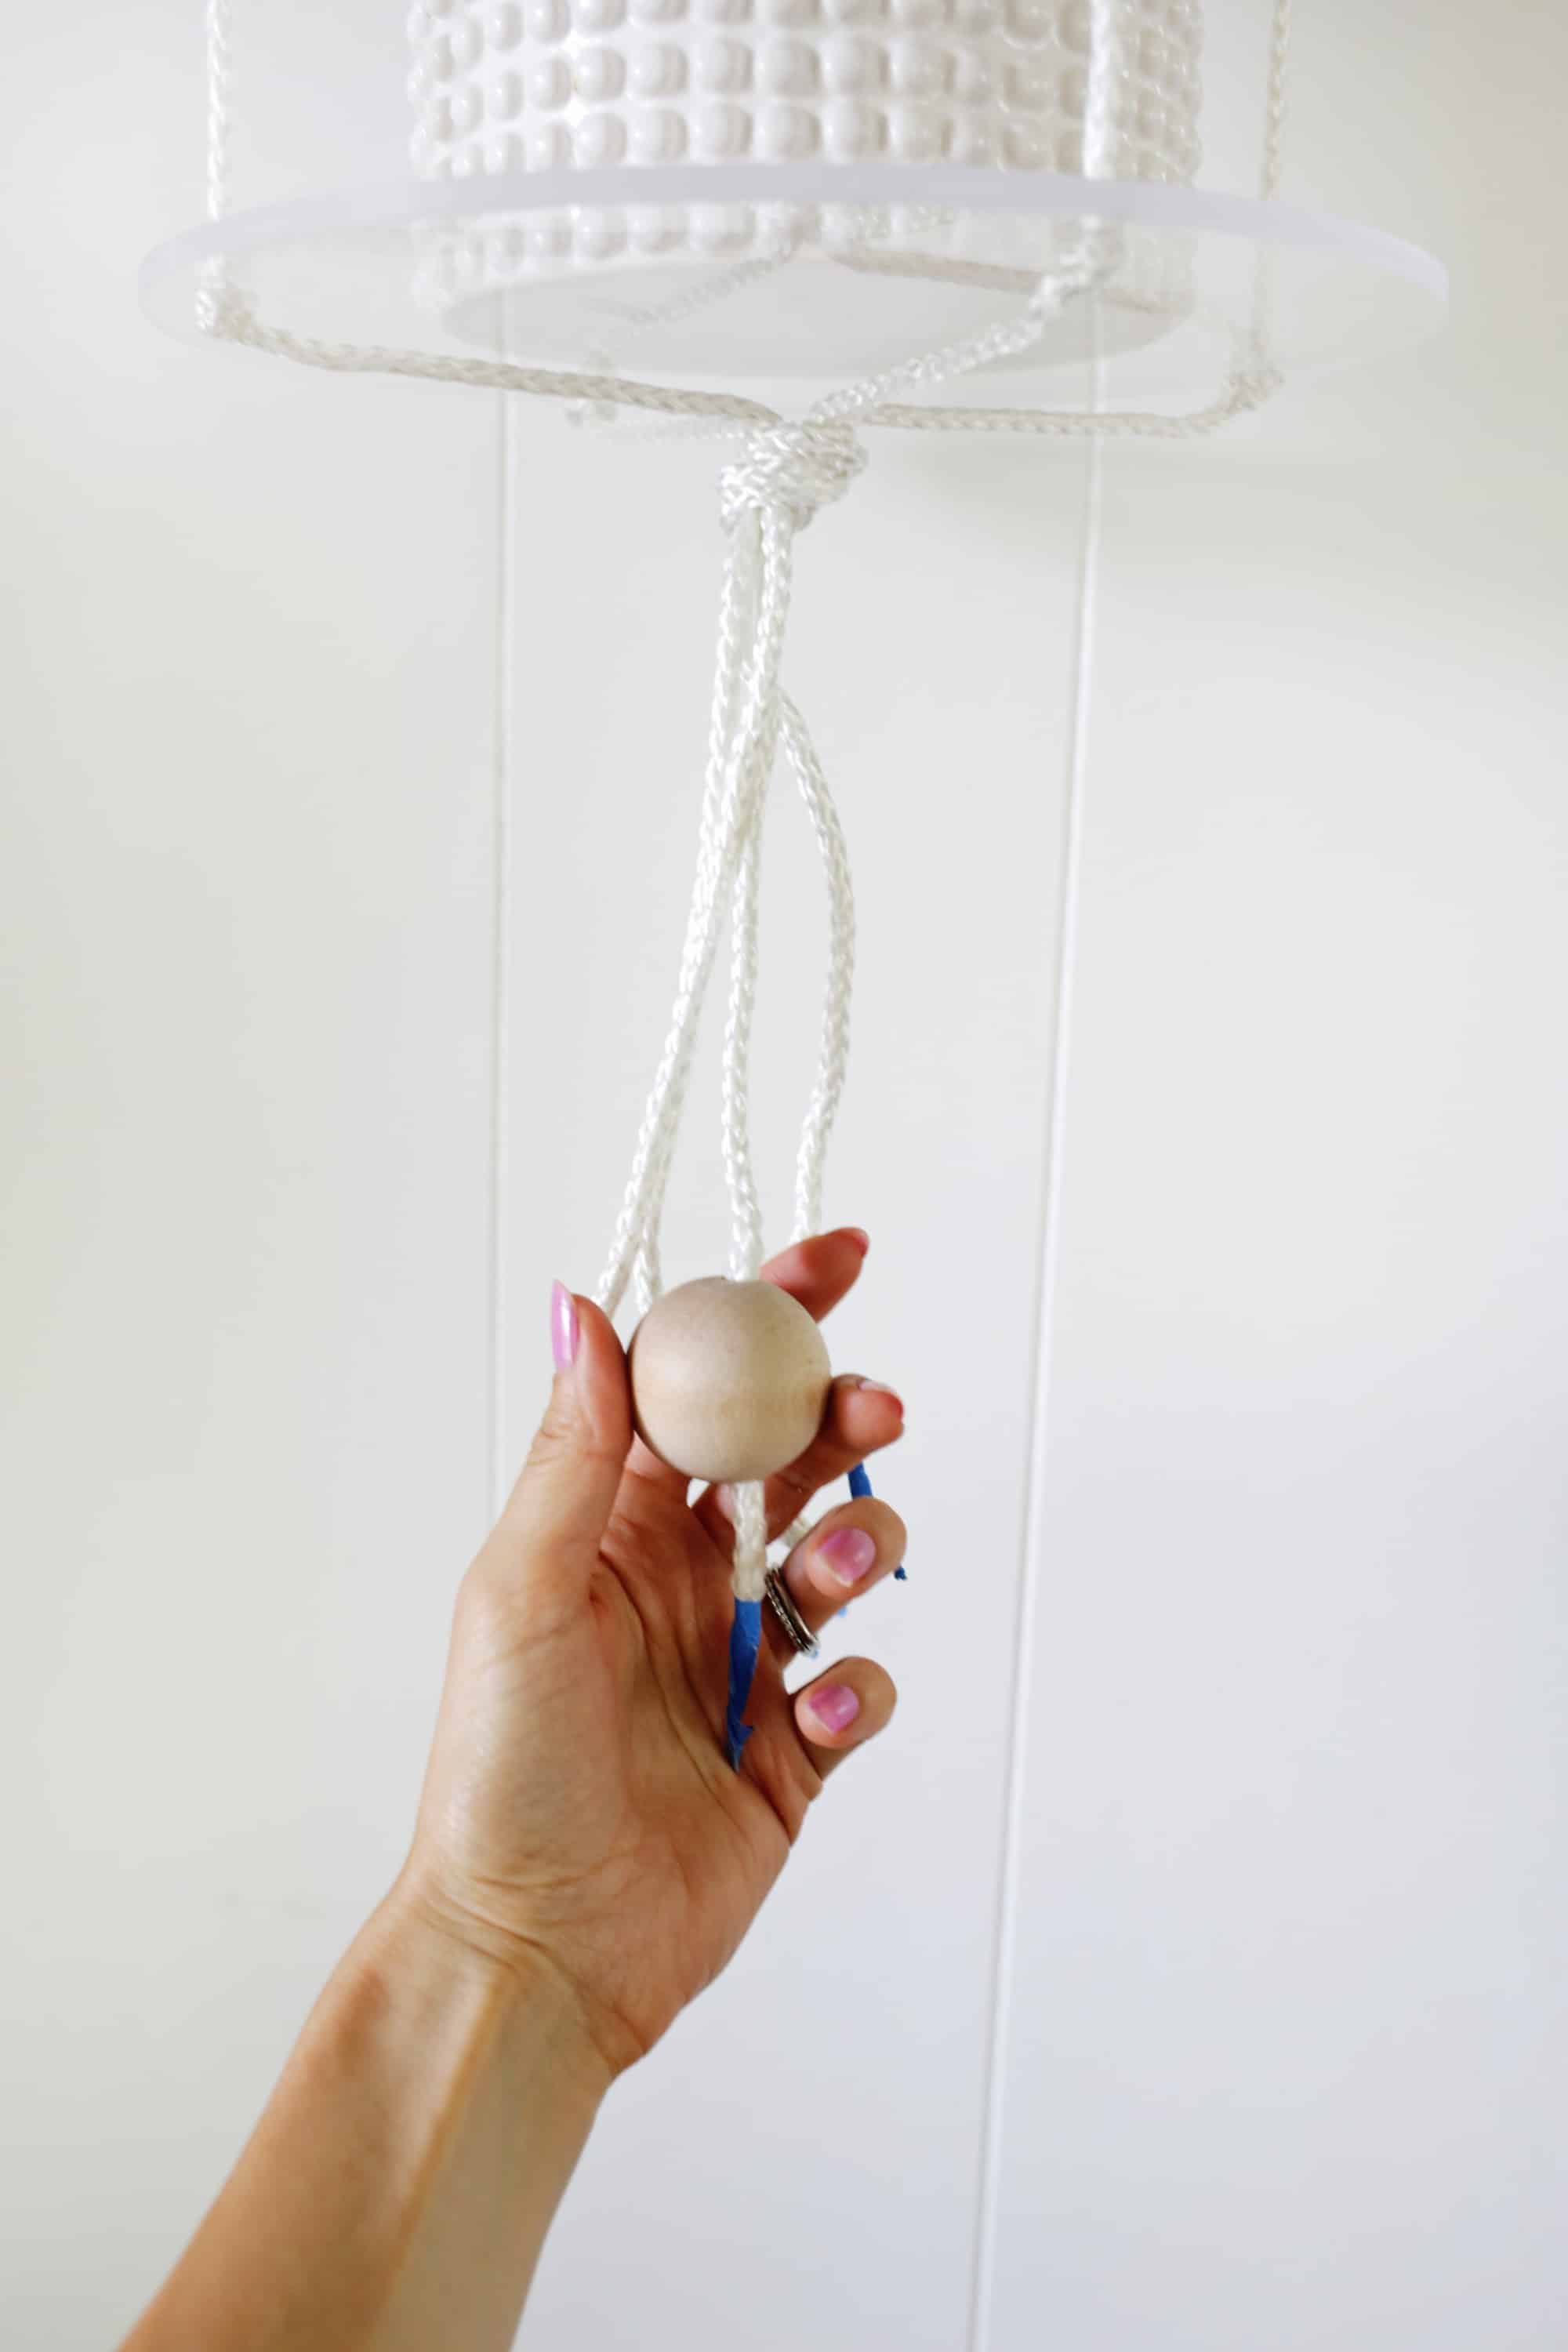 Thread your wooden beads through the bottom of each strand (it can help to put tape around the cut end of the rope like I did), make a knot after you’ve added as many as you want and cut the excess rope. You can also seal the cut rope end with a lighter held 1″ or so away from the bottom so it melts a little, but that’s an optional step. Add your plants and you’re done!
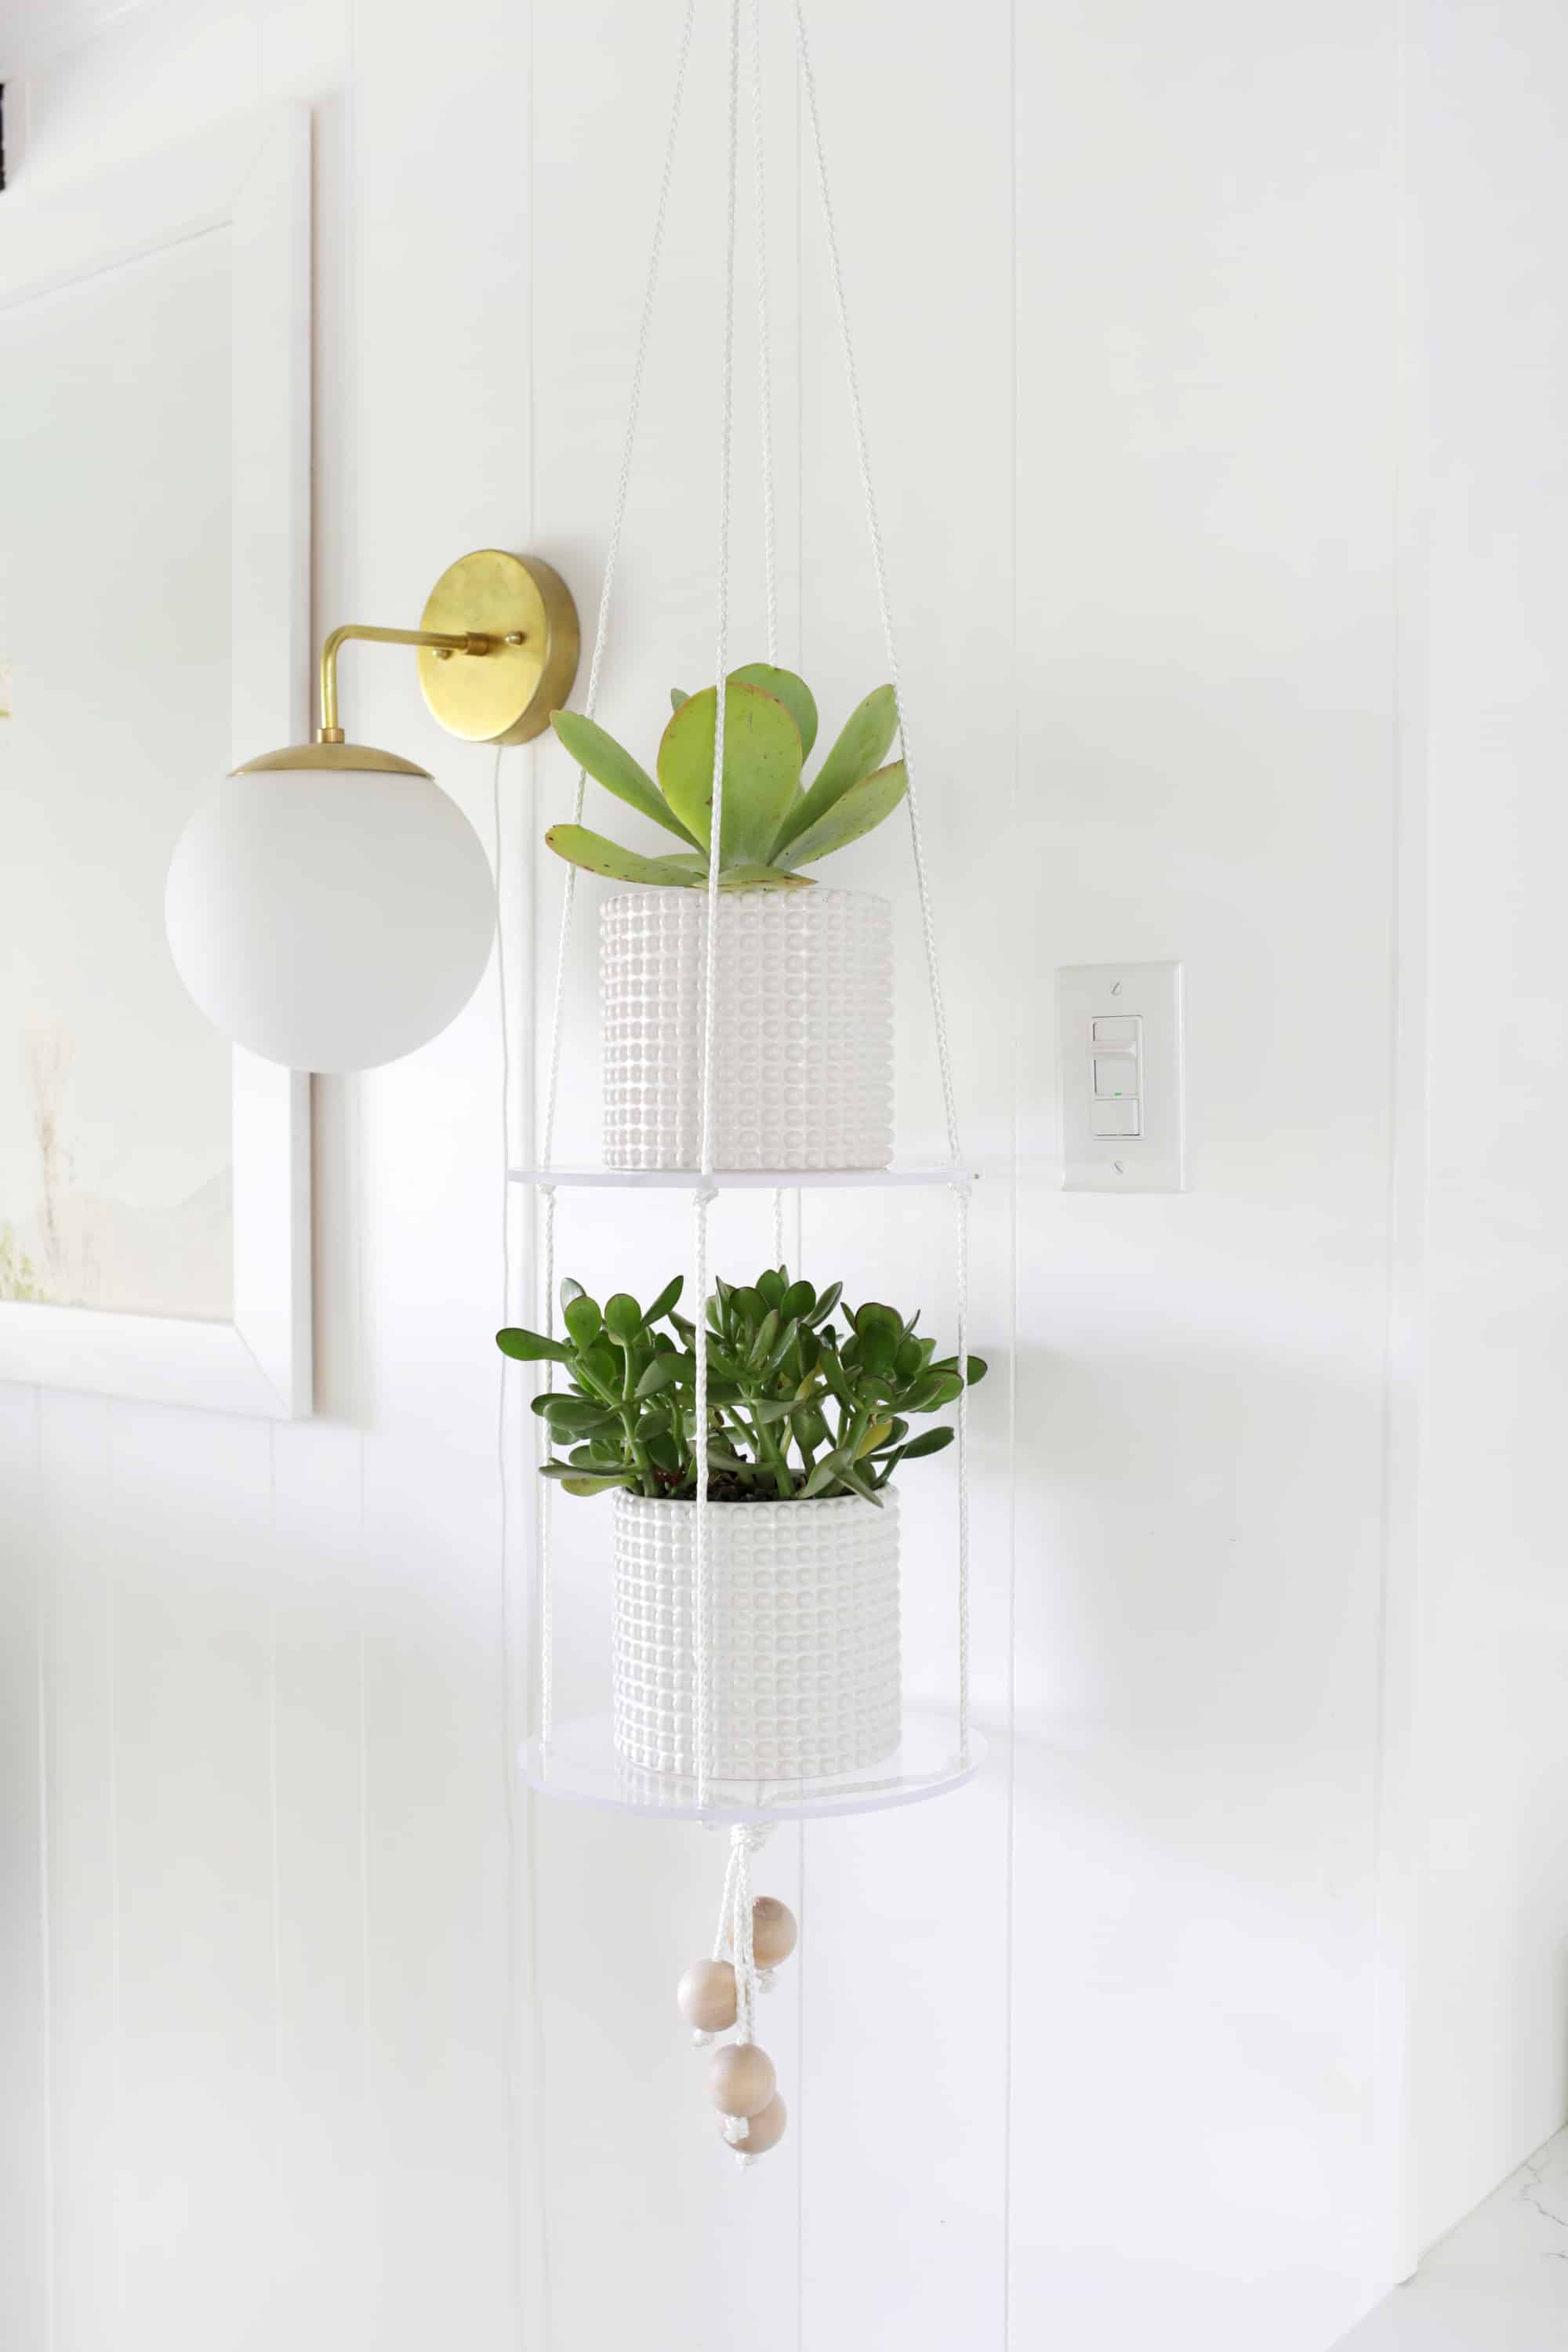

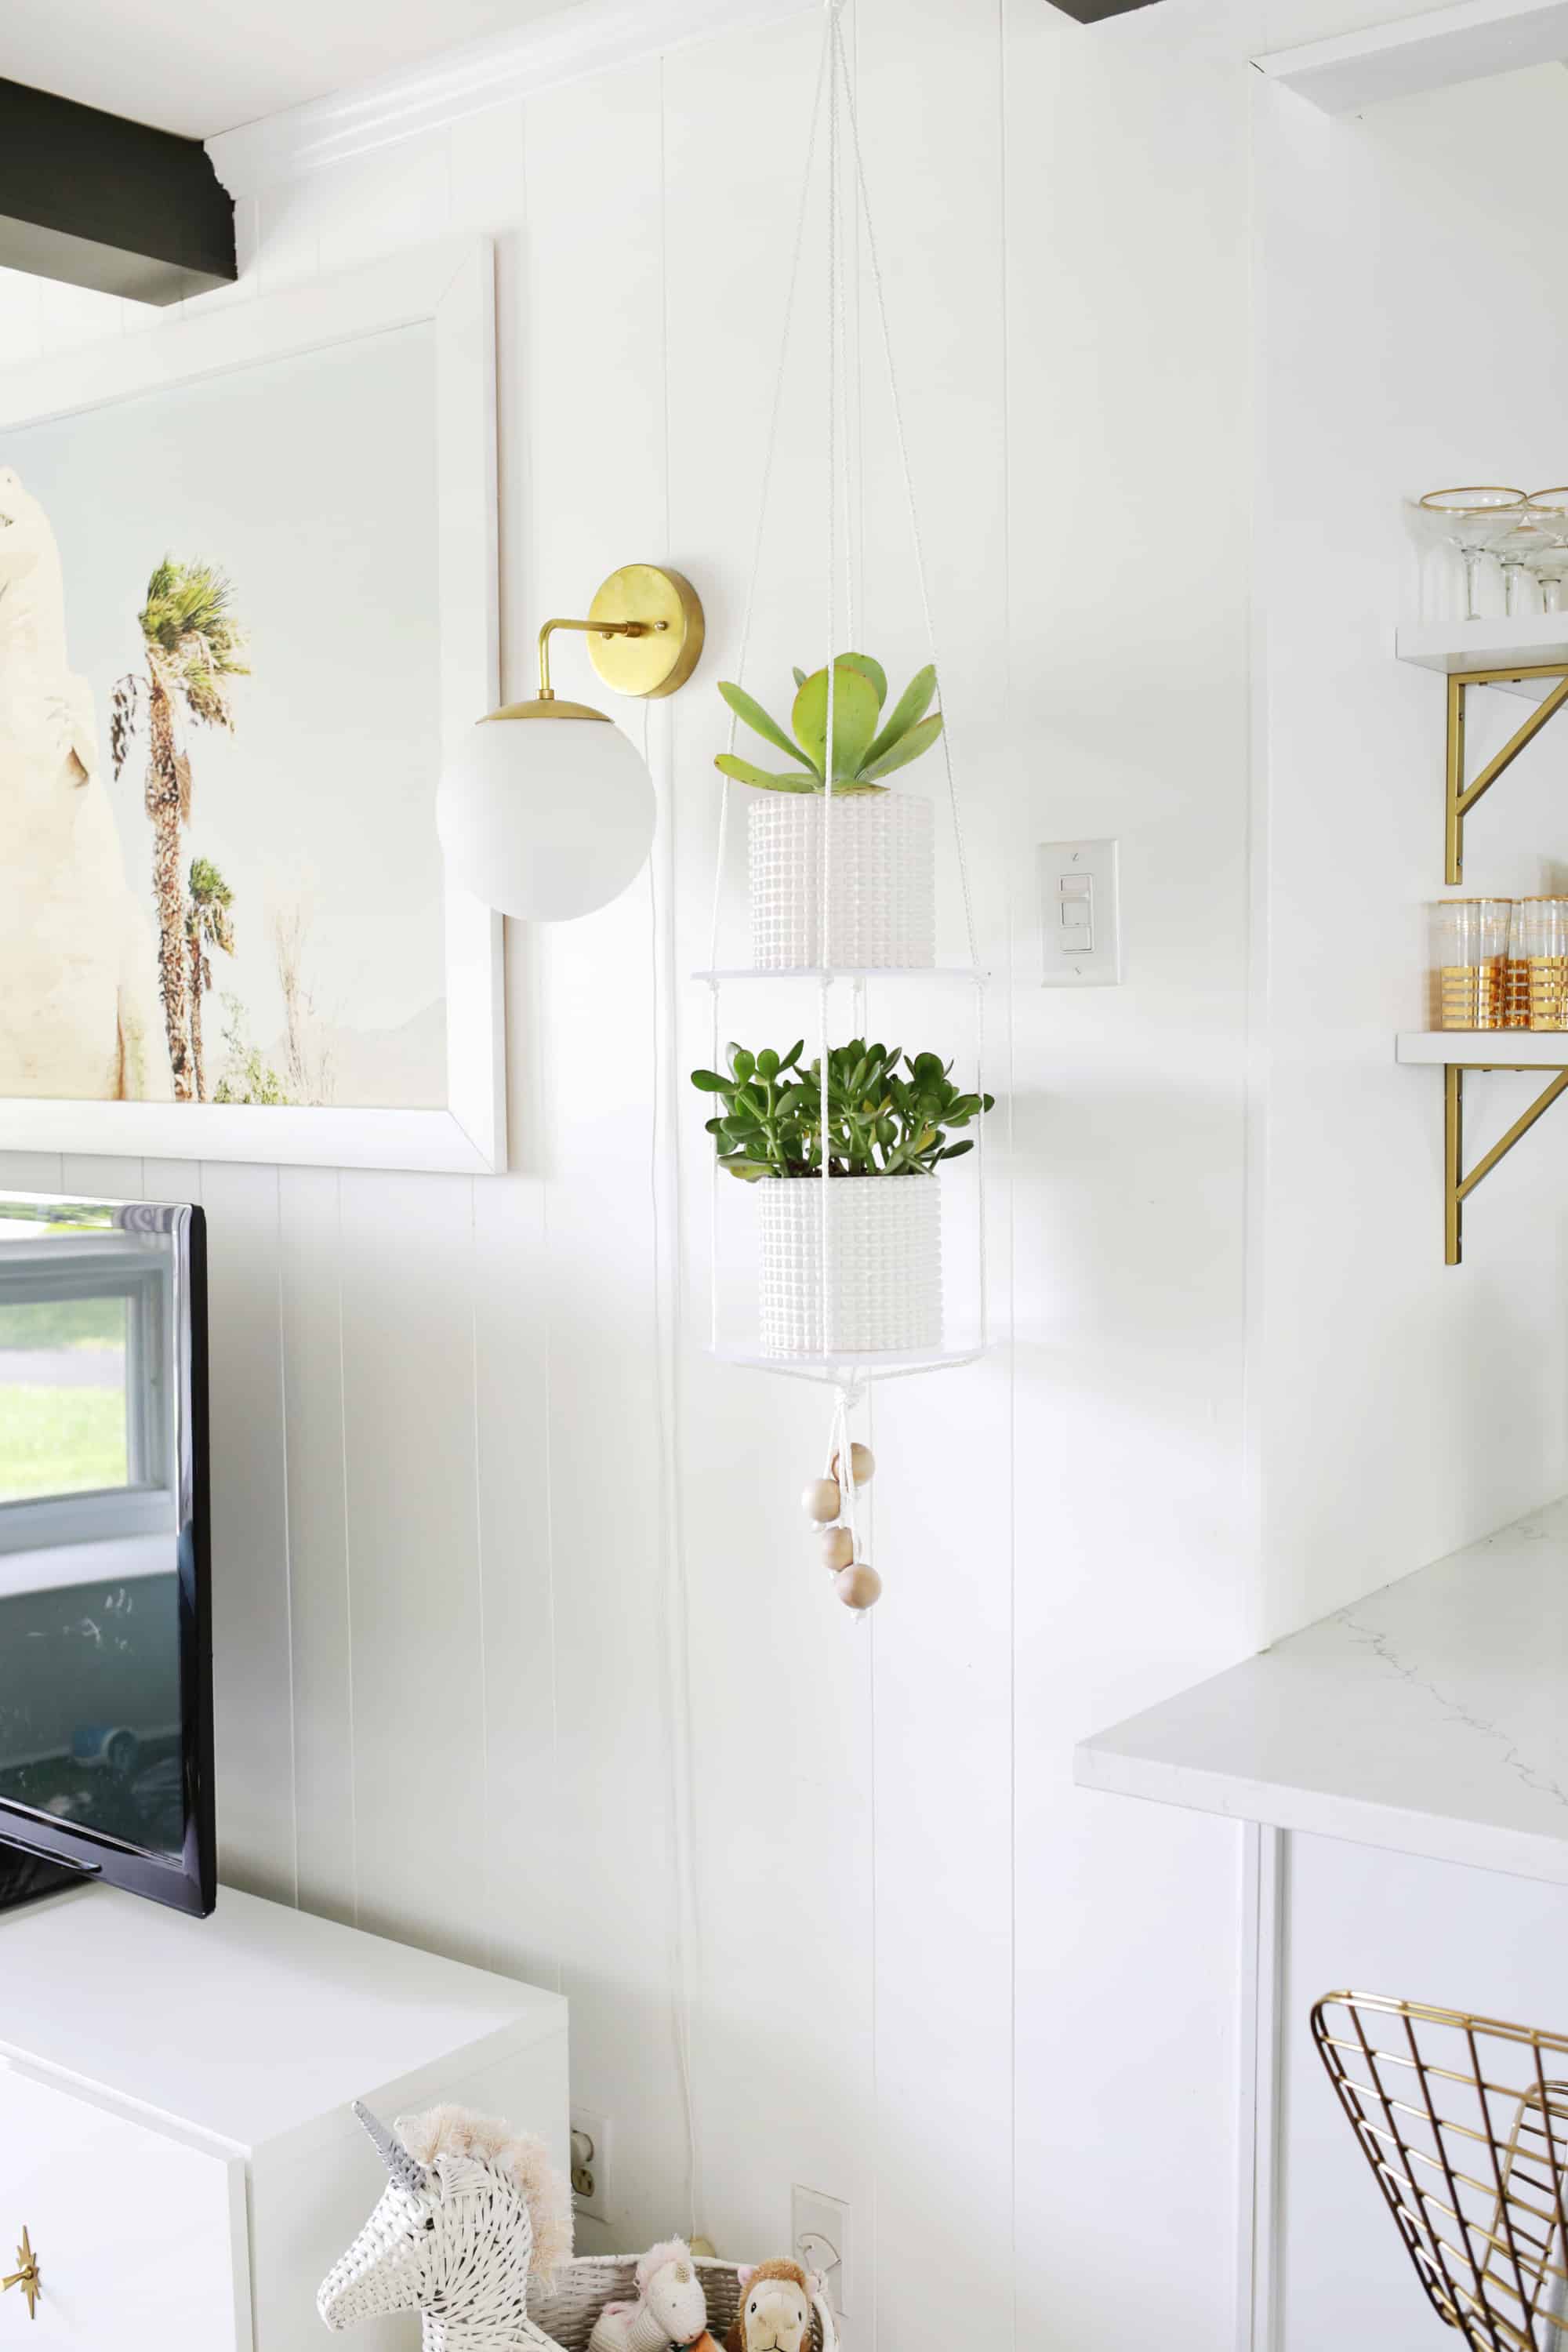 I love how light and airy this planter looks so that it adds some greenery to the space without feeling too heavy for the bright surroundings (those white planters are perfect for the shelves as well) and we have floor space beneath it for Lola’s unicorn toy box to try and keep her toys organized. And since the heights of the shelves are just determined by where the knots are, we could totally move the knots/shelf positions higher later if we wanted to (i.e. once Lola gets taller). This is a quick and easy way to add some green to your space in an interesting way. It’s clearly a winner, if you ask me! xo. Laura

8 Comments
Such a great, save-saving way to adding some green to a room! Thanks for the DIY! 😀
Charmaine Ng | Architecture & Lifestyle Blog
http://charmainenyw.com
I love this! My plants are starting to kind of take over my living room- this is a great idea to free up some surface space while still displaying my greenery in an aesthetic way.
xoKaelen | http://darlingmarcelle.com
These planters are so cute! I love them!
Paige
http://thehappyflammily.com
Love how simple and stylish this is!
https://www.makeandmess.com/
Oh my gosh,
This is brilliant! And so cute! I will definitely go hunting for acrylic rounds this week. Thank you for a great tip. xoxo
This is brilliant! I’m a huge fan of hanging plants because it gives a room more length but I haven’t found out how to hang more plants above each other, will give this DIY a try!
I absolutely love this hanging mechanism! It would be perfect for displaying knick knacks as well. The transparent shelf makes everything looks like it’s floating. x0x
http://jujusprinkles.com
OMG, I LOVE this idea! I don’t have the patience for macrame. This is so much simpler and cleaner.