 It’s true that having a baby can be pretty fun when it comes to dressing them and shopping for cute outfits. As if doing wearable DIYs weren’t fun enough when you make them for yourself, it takes it to another level when you can make a sweet outfit for a sweetie baby too. I can’t get enough of babies in rompers, so I thought I’d find a quick way to make a adorable outfit from an existing diaper cover—saving you half the work and time!
  Supplies:
– diaper cover
– 1/2 yard cotton fabric (I used this fabric)
– 1/2 yard of fringe trim
– fabric glue
– cutting mat, rotary cutter, and ruler
 OK! So, since babies can be pretty different in size and length at each age (something I’m realizing more and more as I try and find clothes to fit her), I didn’t want to do a pattern for this one and just talk about how I reached a solution that fit her instead. Once you have a diaper cover that fits your babe, put the diaper cover on them and measure out how tall and how wide you want your finished trapezoid halter shape to be (it can be really helpful to use a scrap piece of fabric for this part and safety pin it to the cover to asses the size). Remember that the diaper cover waistband has stretch to it, so you’ll have to mark where you want the halter fabric to cover when it’s on your baby and then fully stretch out the elastic so you can see how much fabric you will actually need to cover that area. Same sort of thing for the top of the halter where your neck tie will go through—you’ll want to make that several inches wider as well, so that it covers the area you want when it’s ruched later. Lola is 3 months old and weighs about 12-13 pounds and her finished trapazoid was 5 1/2″ at the top, 6″ tall, and 11″ at the bottom edge. Once you know what you want your finished shape to look like, you’ll want to add 1/2″ to each side edge, 1″ to the bottom edge, and 1.5″ to the top edge to allow for the finished hem. Now you can cut your shape out of your main material.
 Use an iron to fold in and press a 1/4″ hem on each of your trapezoid sides. Fold in another 1/4″ and press again. Use your sewing machine to sew your hem closed.
 Use an iron to fold in and press a 1/2″ hem on the bottom of your trapezoid (the side that will attach to the diaper cover). Fold in another 1/2″ and press again. Use your sewing machine to sew your hem closed.
For the top hem, use an iron to fold in and press a 1/4″ hem and then fold in another 1/4″ and press again. Use your sewing machine to sew your hem closed. Fold and press your fabric another 1″ and sew your hem with a 3/4″ seam allowance so you have enough of an opening to slide your neck tie through at the end. You should have a finished edge trapezoid now! Place your diaper cover inside out over a mat or a book that’s wide enough to keep it stretched out. Use your fabric glue to glue the front edge of the bottom of your trapezoid to the top inside edge of your diaper cover. Allow the glue to fully dry.
 Cut a 1″ strip the length that you want your halter top tie to be.
 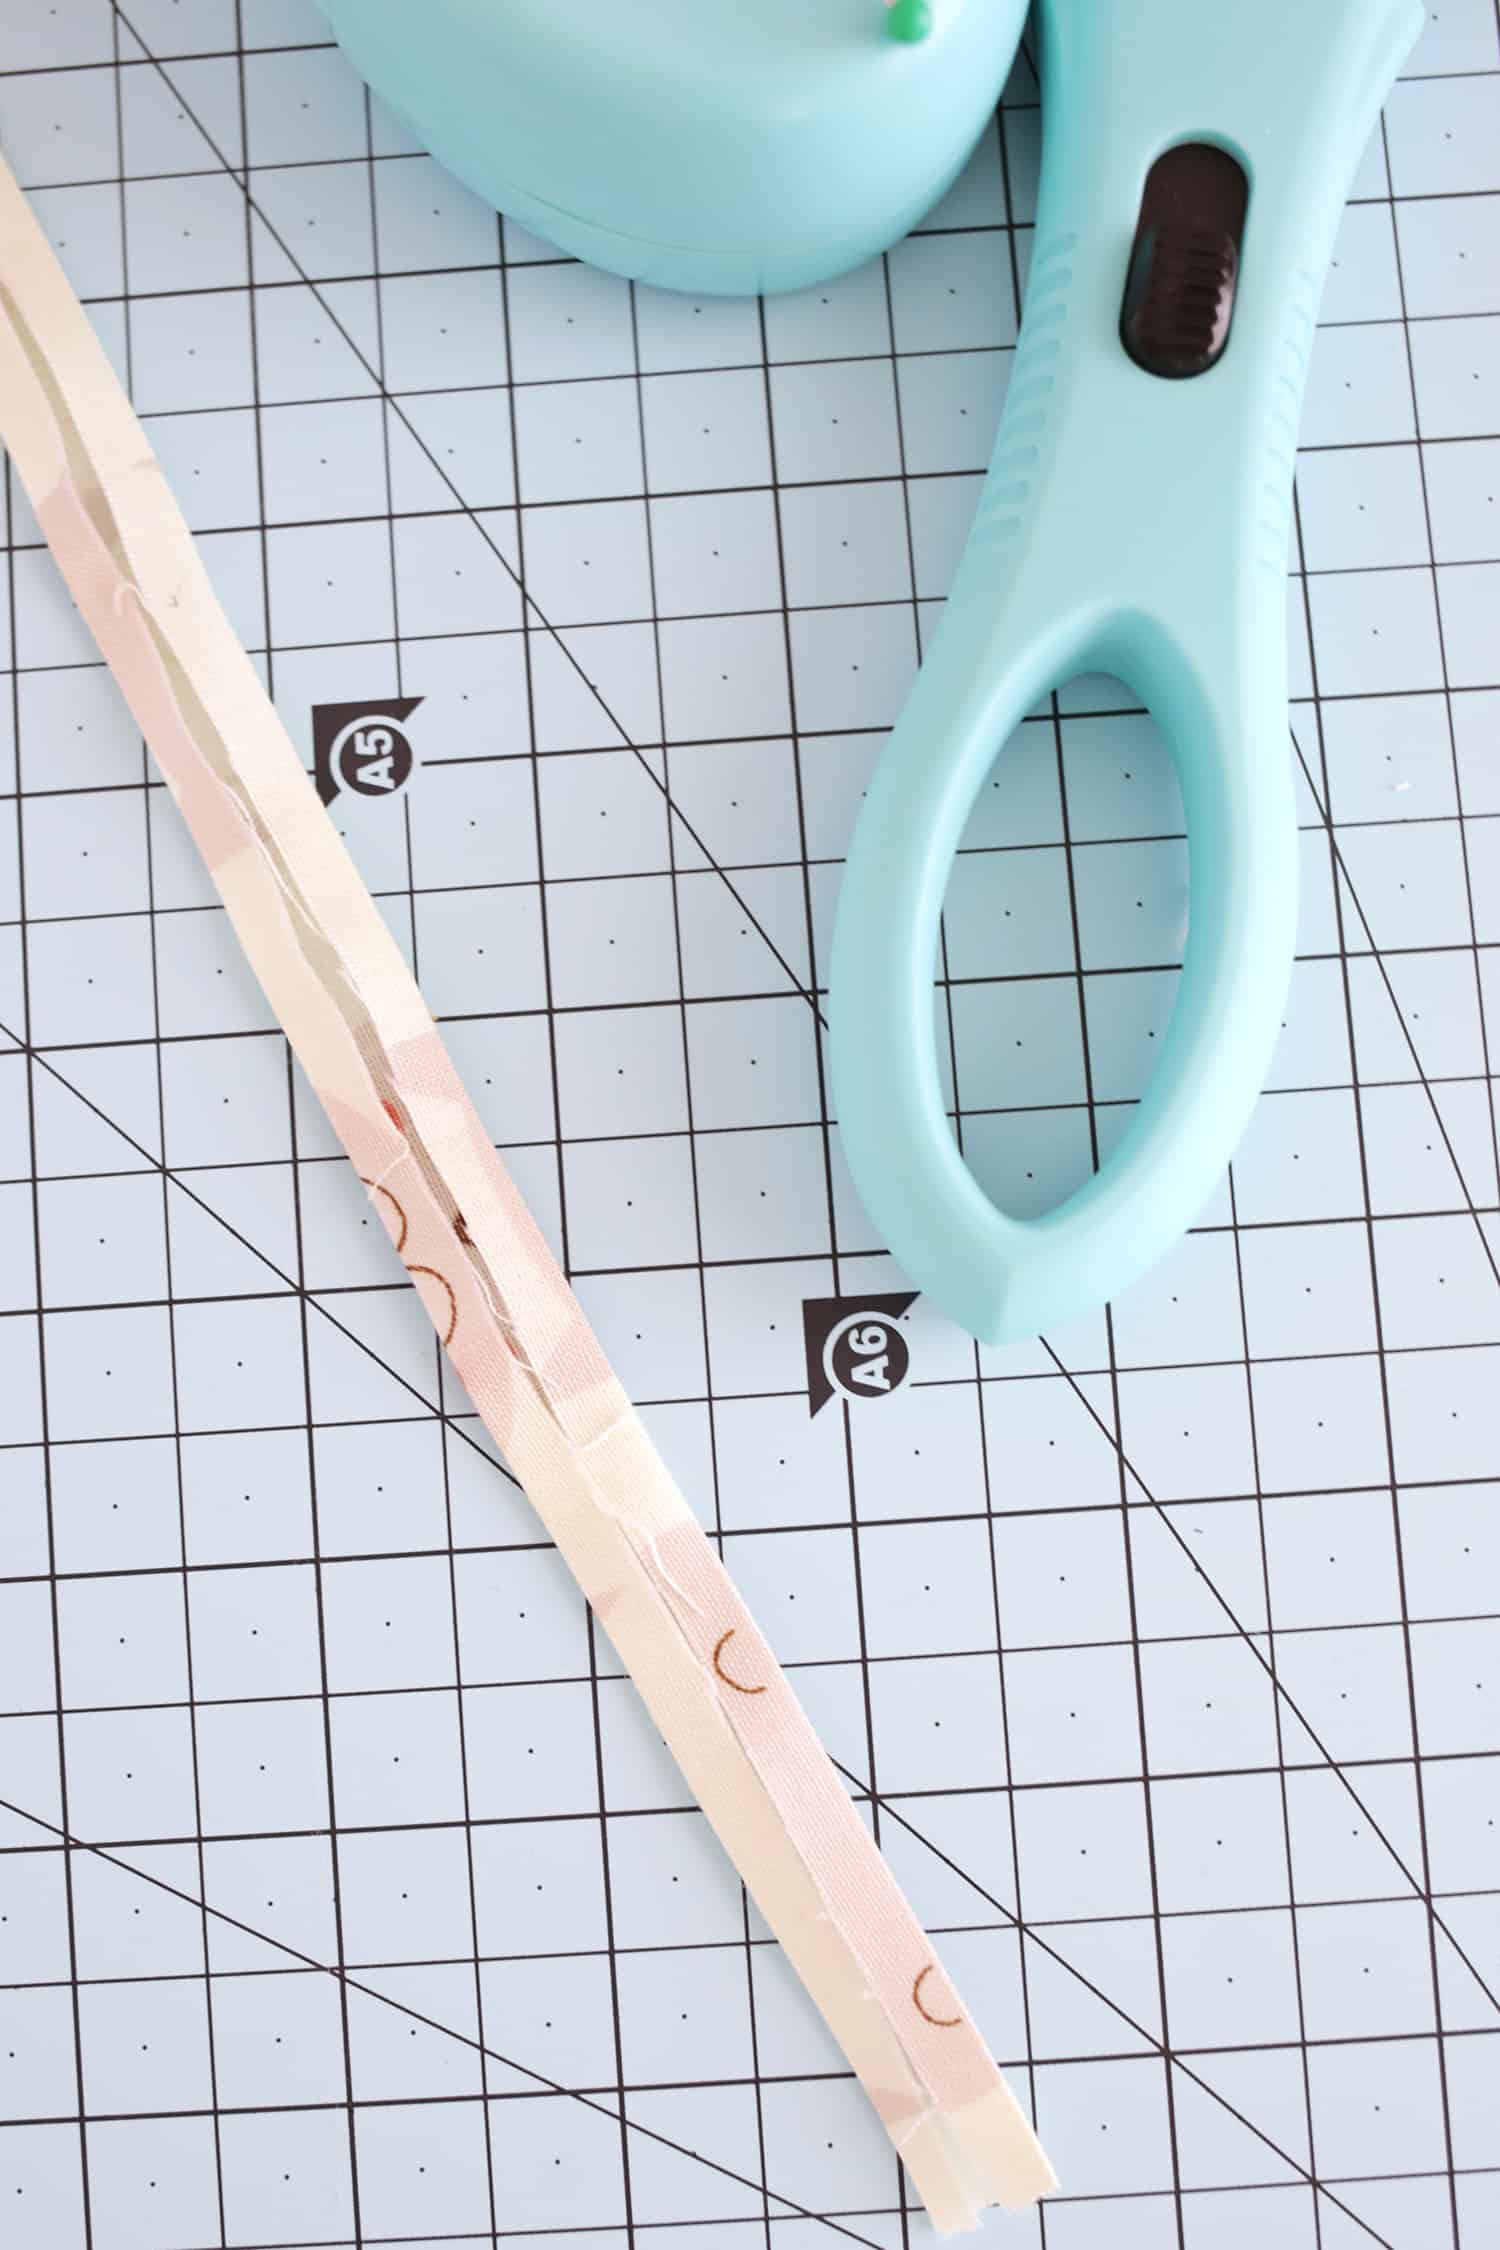 Use your iron to press in each edge a 1/4″ so that they almost meet in the middle.
  Fold it over again so you have a 1/4″ wide strip with the edges fully tucked inside. Sew down your strip to secure and use some fray check on the ends to keep them from unraveling.
  Turn your diaper cover right side out and slip your tie through the top seam opening and knot each end to keep it from slipping back through (you can attach a safety pin to one end to help guide it through the opening more easily). Use your fabric glue to attach your trim all the way around the stretched-out top edge of your diaper cover and allow the glue to fully dry. Now your outfit is ready to put on your cutie babe!
 Too cute!! This is a great DIY that’s a bit faster since you don’t have to make the diaper cover part, too (although you totally could if you wanted to), and you can make them look pretty different with multiple colors, patterns, and trim options. I’m all for making cute babies even cuter! Who’s with me?! xo. Laura
14 Comments
This would be such a cute, personal gift for a friend with a baby!
Charmaine Ng | Architecture & Lifestyle Blog
http://charmainenyw.com
Your baby is adorable Laura.
My only child right now is a dog but I had to read this blog post JUST to see your adorable baby omgggg she is so cute!! Those little chubby legs!
Love it!!! Where is that pizza toy from? So cute!!
You can get it here!
http://rstyle.me/n/crxtgxnr5e
Laura 🙂
I love piece are so adorable, i love idea thanks for sharing babe!!!!!!!
New post:http://thepinkpineappleblog.blogspot.com/2017/08/haute-couture-street-style-2.html
Blog:https://thepinkpineappleblog.blogspot.com/
So cute and your baby is beautiful!!
You make such cute babies Laura! This idea is so sweet and would be great as a gift!
http://victoriaspongepeasepudding.com
What an easy diy! And Lola is a total doll <3
Awww, this is beyond cute!
https://www.makeandmess.com/
Love it! I wish I had a girl to make this for! Maybe I’ll try altering it for a more masculine overalls look… Or make it for a friend 🙂
What a great use for those silly diaper covers! I have a drawer full that came with dresses and I never use them! Super cute!
So cute. Love it!!!!
I read some articles on this site and I think your blog is really interesting and has great information. Thank you for your sharing.