 So, I’ve been looking for a long brass vertical planter for a while now for my dining room and just haven’t been able to find exactly what I was looking for. At the same time, I’ve been passing those brass kick plates in the home improvement stores for years thinking, “Oh man, I have to find some DIY to use those for!” Finally, my brain connected the two ideas a few weeks ago and I realized that a brass wall planter was the perfect way to incorporate the kick plate into a project! Here’s what I did:
 Supplies
-3 small brass planters
-Piece of 7.25″ wide wood cut to 31.25″ tall (my wood was 3/4″ thick but any thickness will work)*
–6″ x 30″ brass kick plate
-epoxy glue and popsicle stick
-clamps (optional)
-drill and 3/16th drill bit
–#10-24 brass machine screws that are 1 1/4″ long (you’ll need 3)
–#10-24 brass wing nuts (you’ll need 3)
–sawtooth hangers or other mounting hardware to hang
-white paint and brush
*If you don’t have a saw to cut it yourself, you should be able to have the home improvement store cut it to 31.25″ for you.
Take your wooden board and paint the edges and most of the sides white or the color of your choosing (the middle is covered so I didn’t go all the way in).
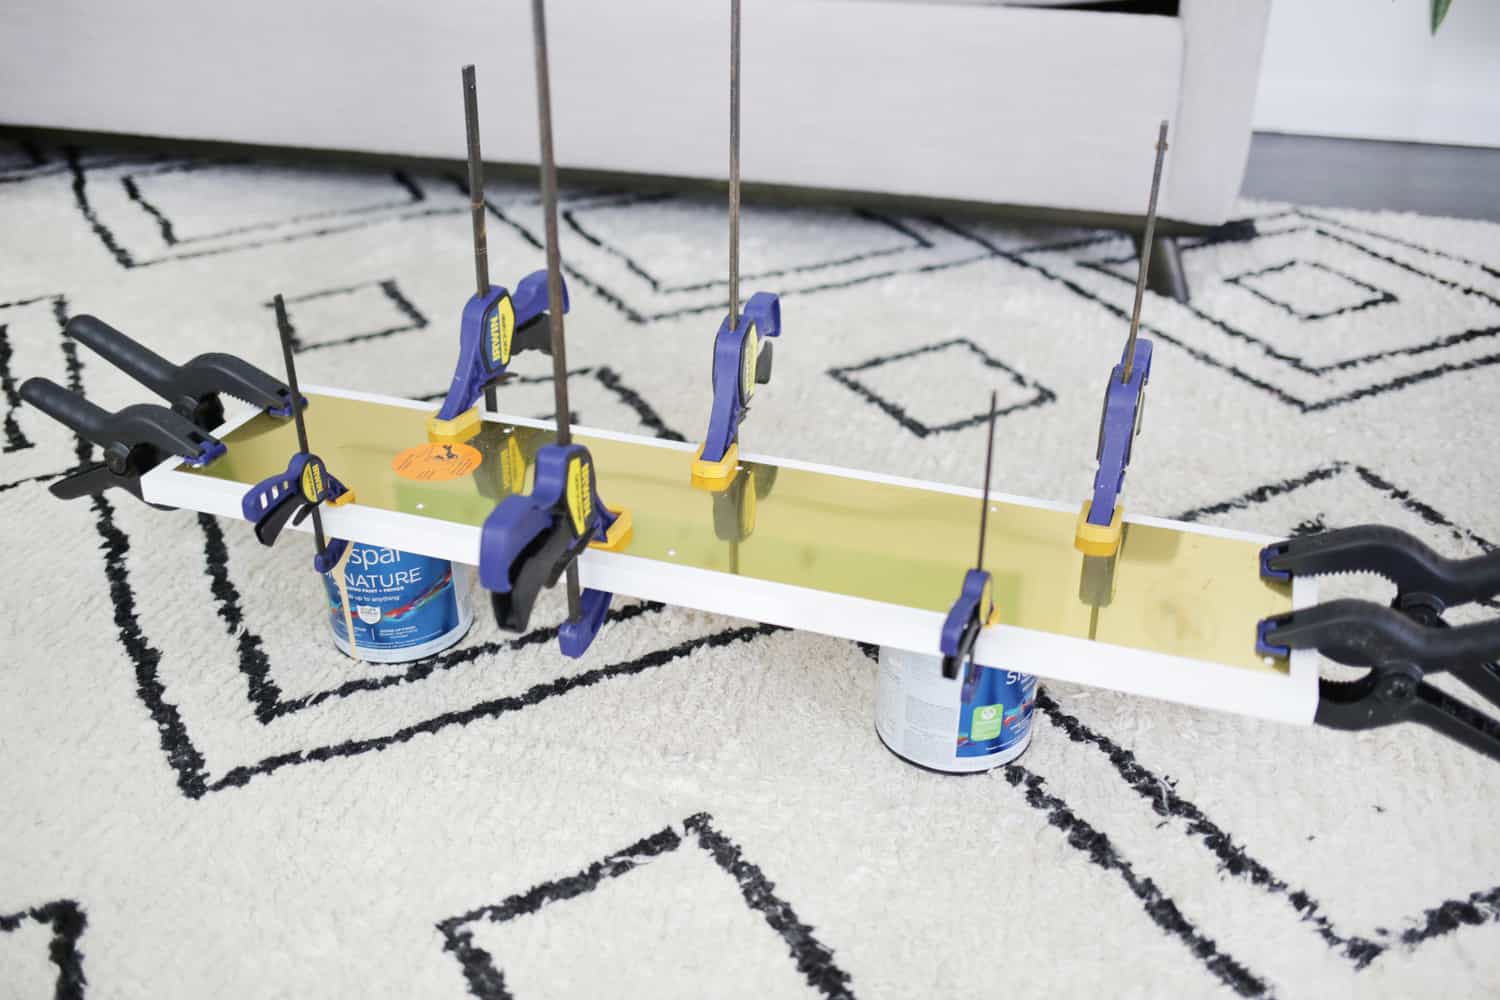 Once the paint is dry, spread some epoxy glue over the back of the kick plate with a disposable item like a popsicle stick and place the kick plate centered on the painted board. Use the clamps or place a lot of heavy books on the board while the glue dries. If you don’t want to use the glue, you can also attach the kick plate to the board with the brass screws that come with the kick plate hardware. So that’s up to you depending on which look you like. Make sure to leave the plastic film on the brass until the very end to keep it from scratching.
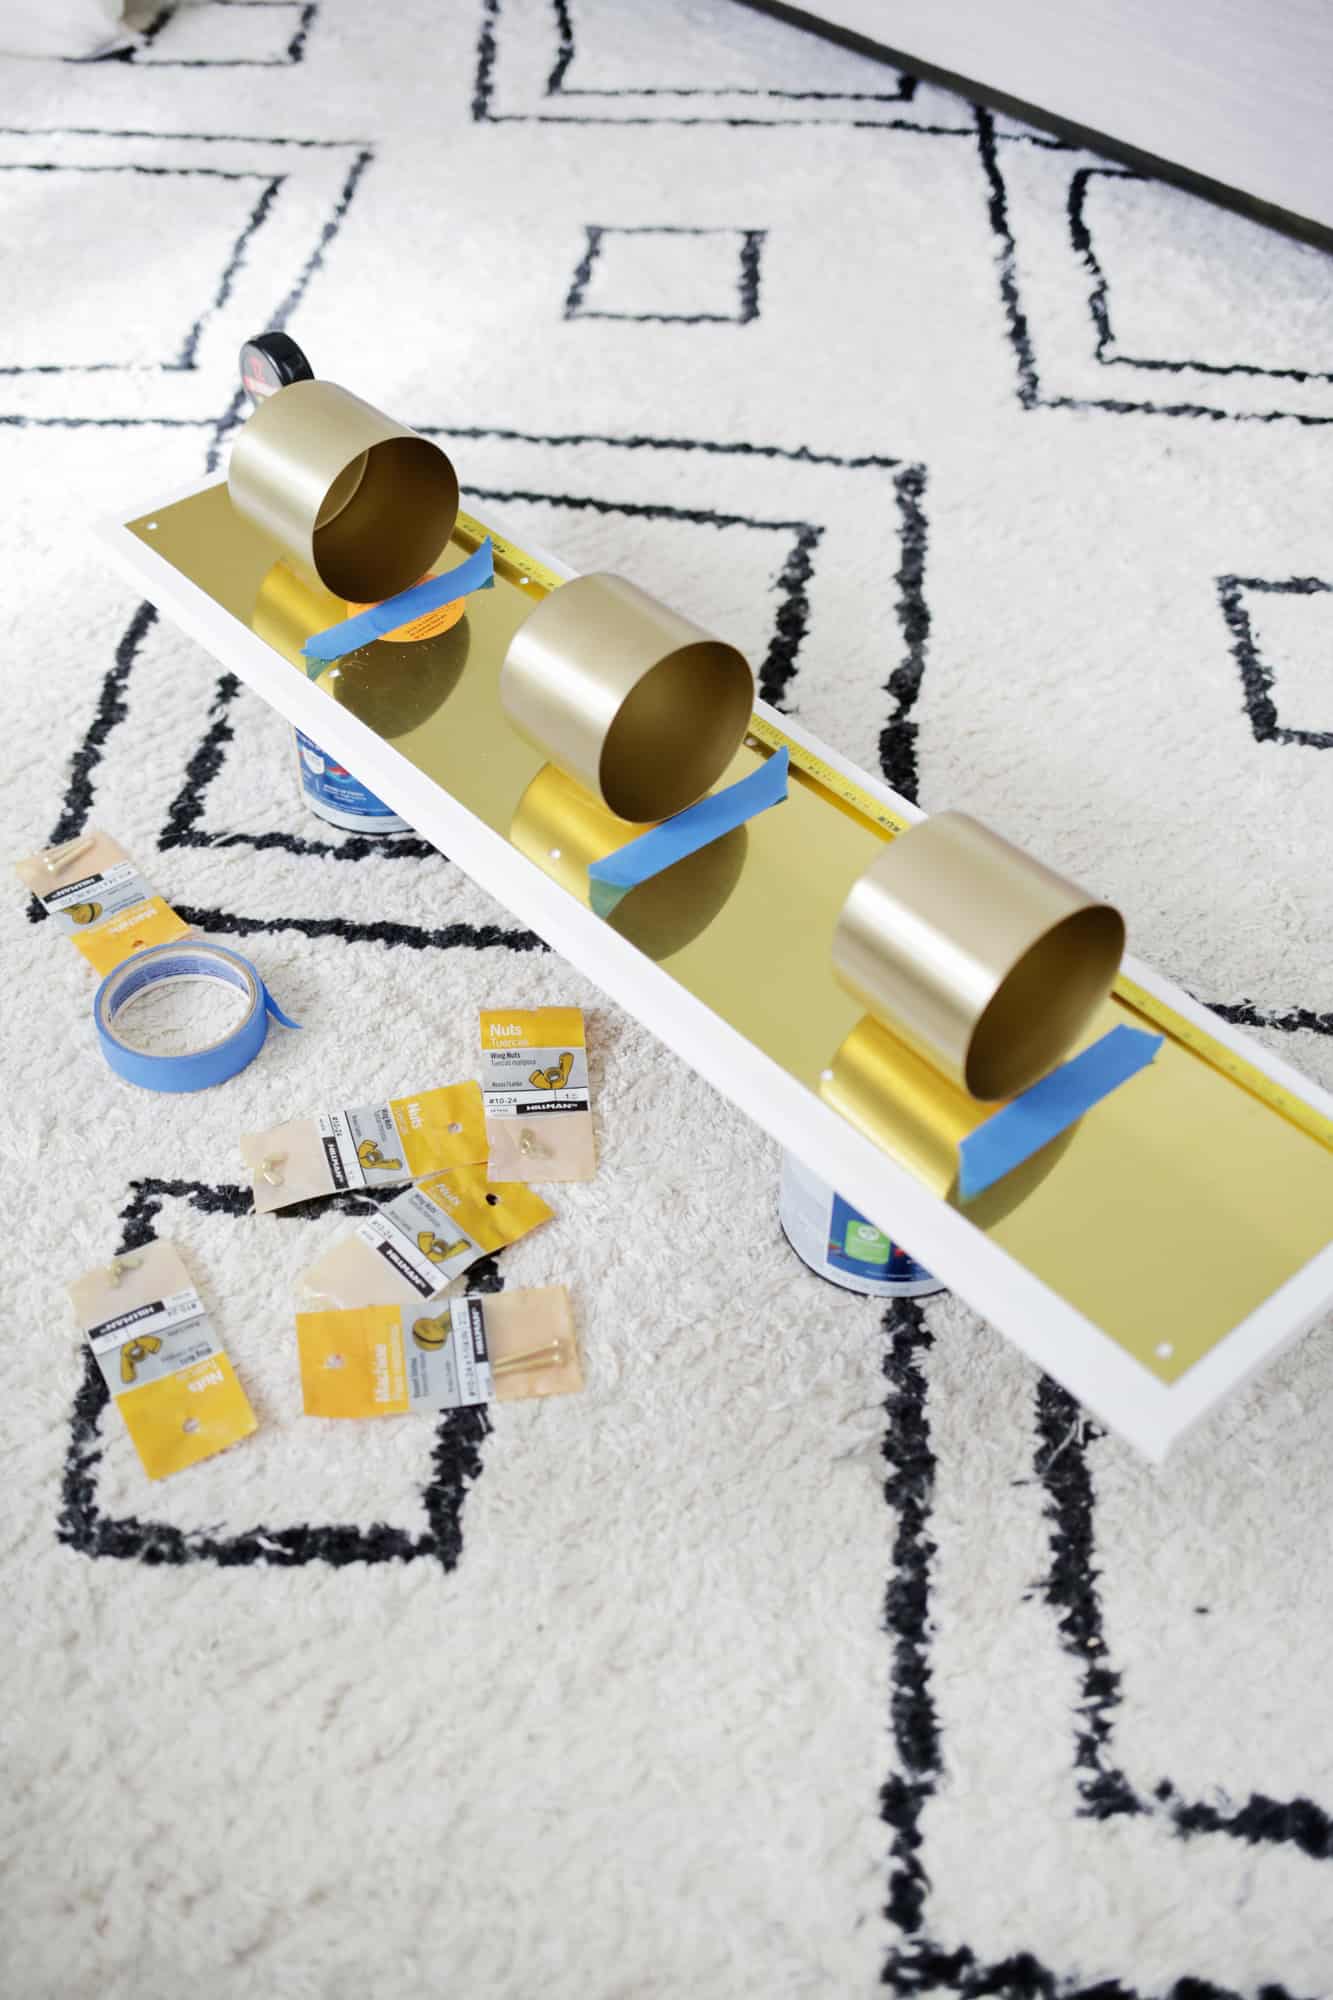
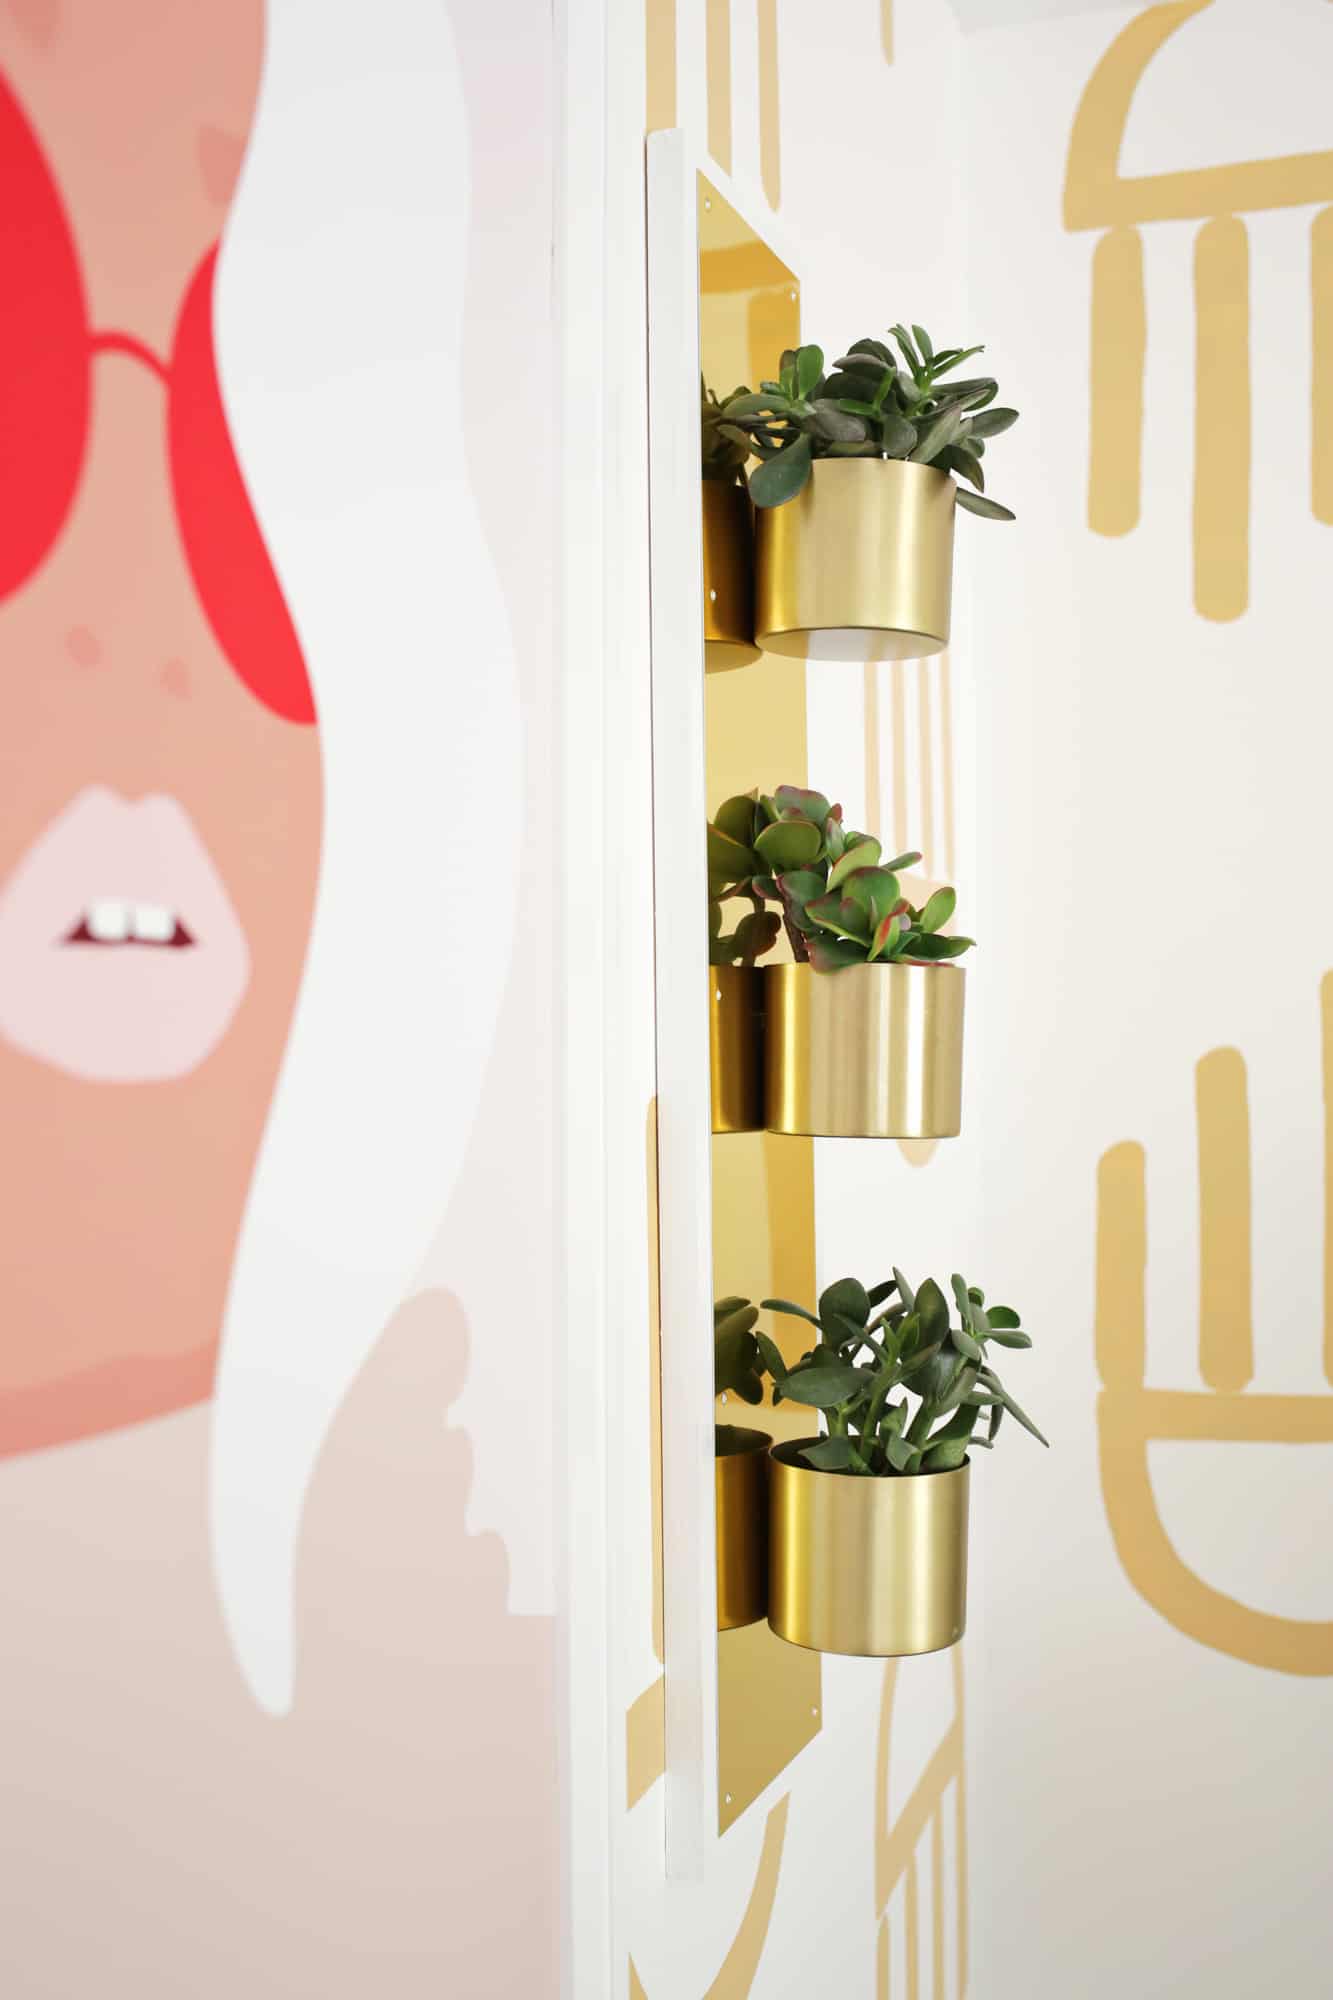
 When the glue has set, this is a good time to add your hanging hardware to the back of your board that will be the top edge. On the front, measure 6″ down from the top and mark that spot with painter’s tape or a marker on the plastic film. This will be the top edge of your first planter. Mark another line 9.25″ down from that line for the top of the second planter and another line for the third planter 9.25″ down from the second line. Mark a hole location 1″ down from each of those spots (make sure the hole is centered on the kick plate). This is where you’ll drill your three holes for the planters.
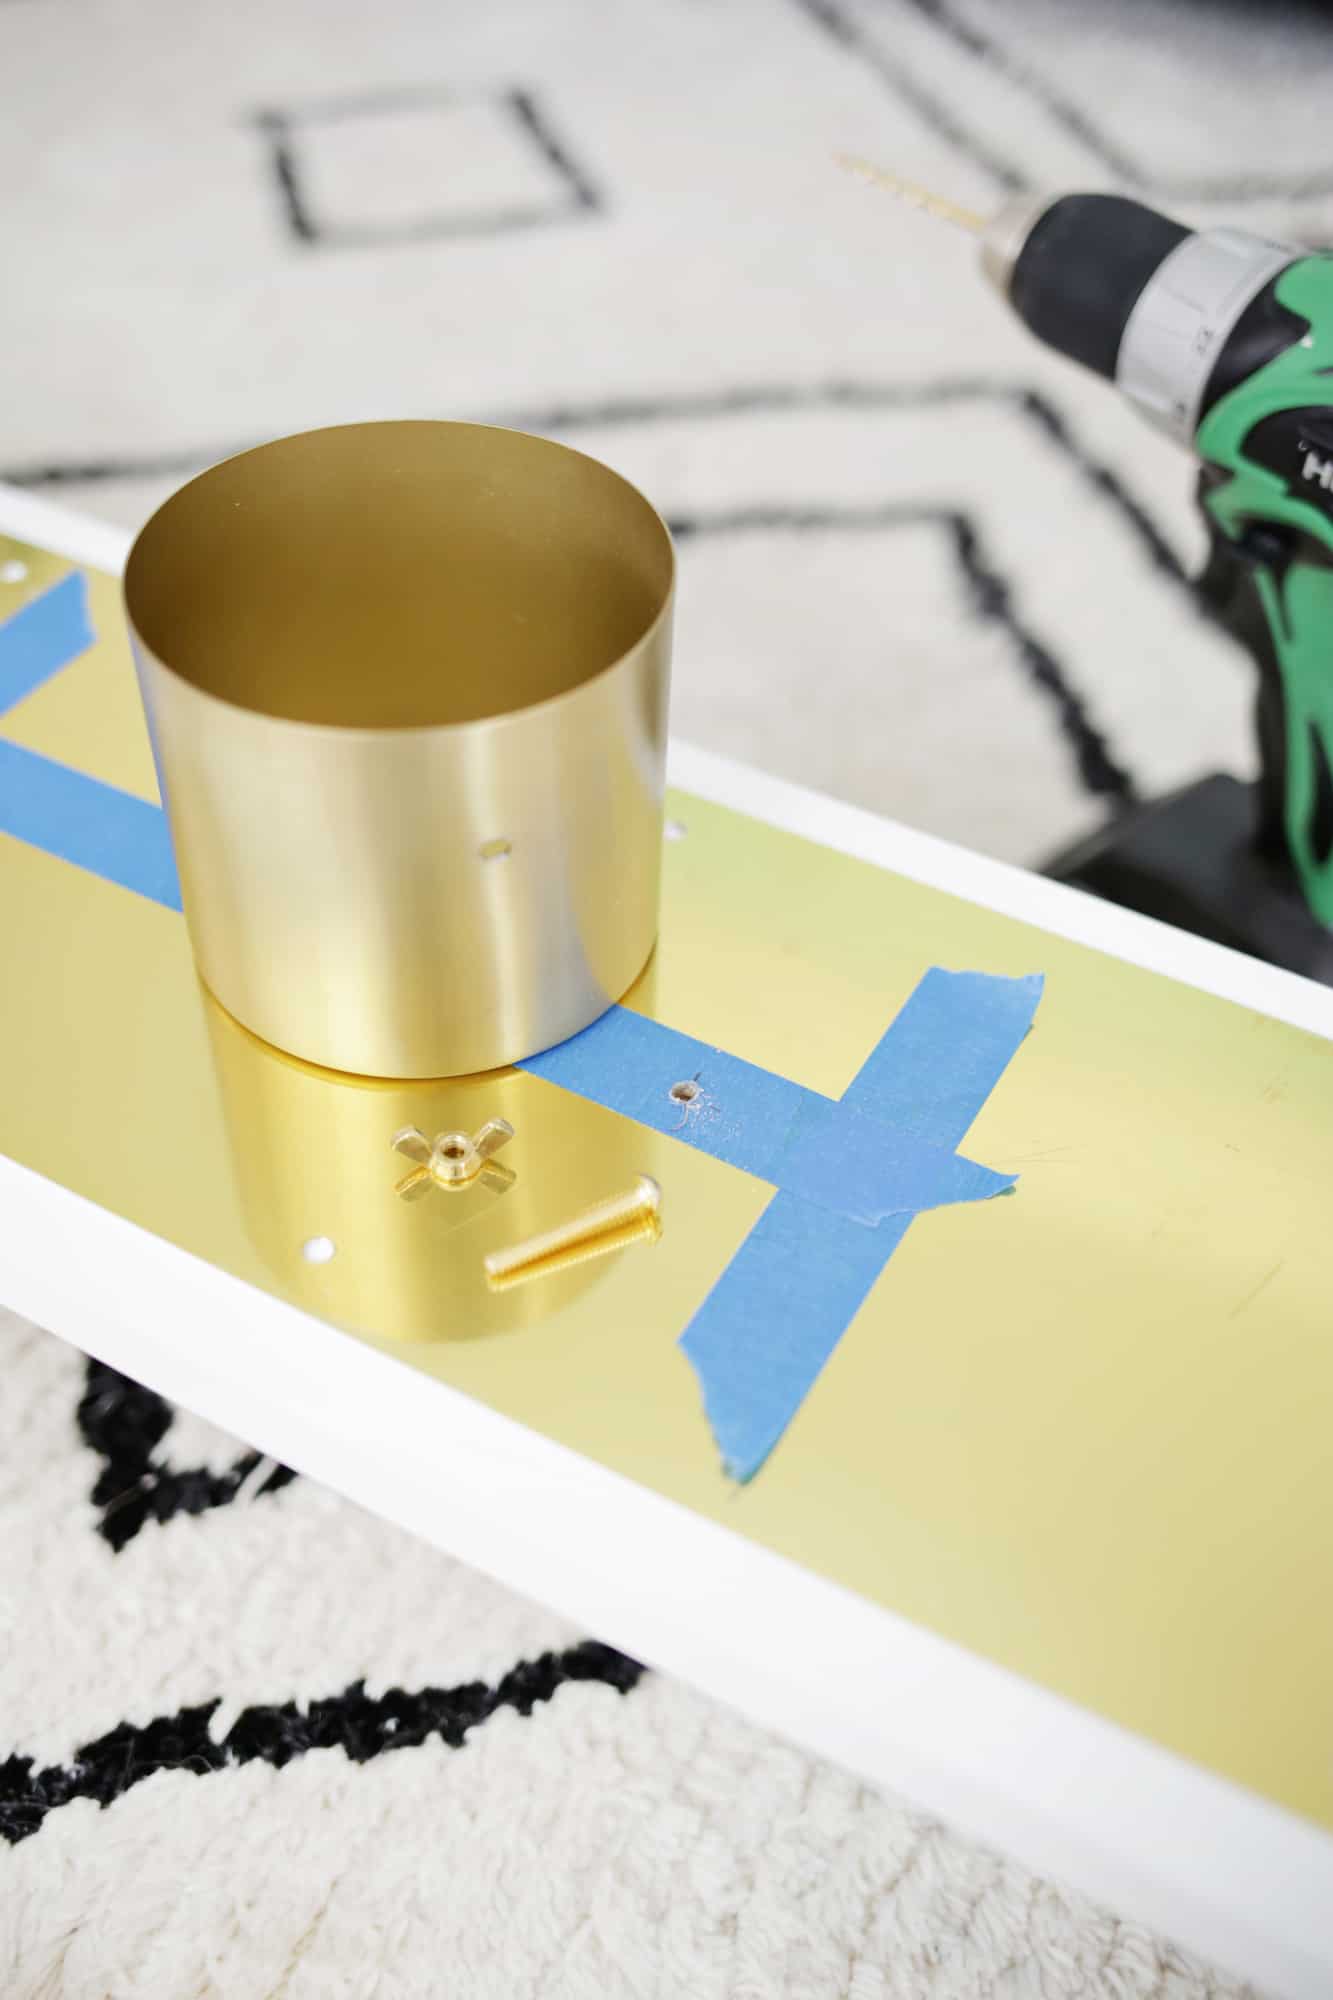 Use your 3/16th drill bit to drill a hole 1″ down from the top edge in each of your three planters (do this on a sweepable surface as you’ll get some metal shavings that fall from drilling so you can easily sweep or vacuum them up after). If you haven’t drilled through thin metal before, it’s really not difficult, just begin slow until the hole is well started and then you can pick up the drill speed and drill through.
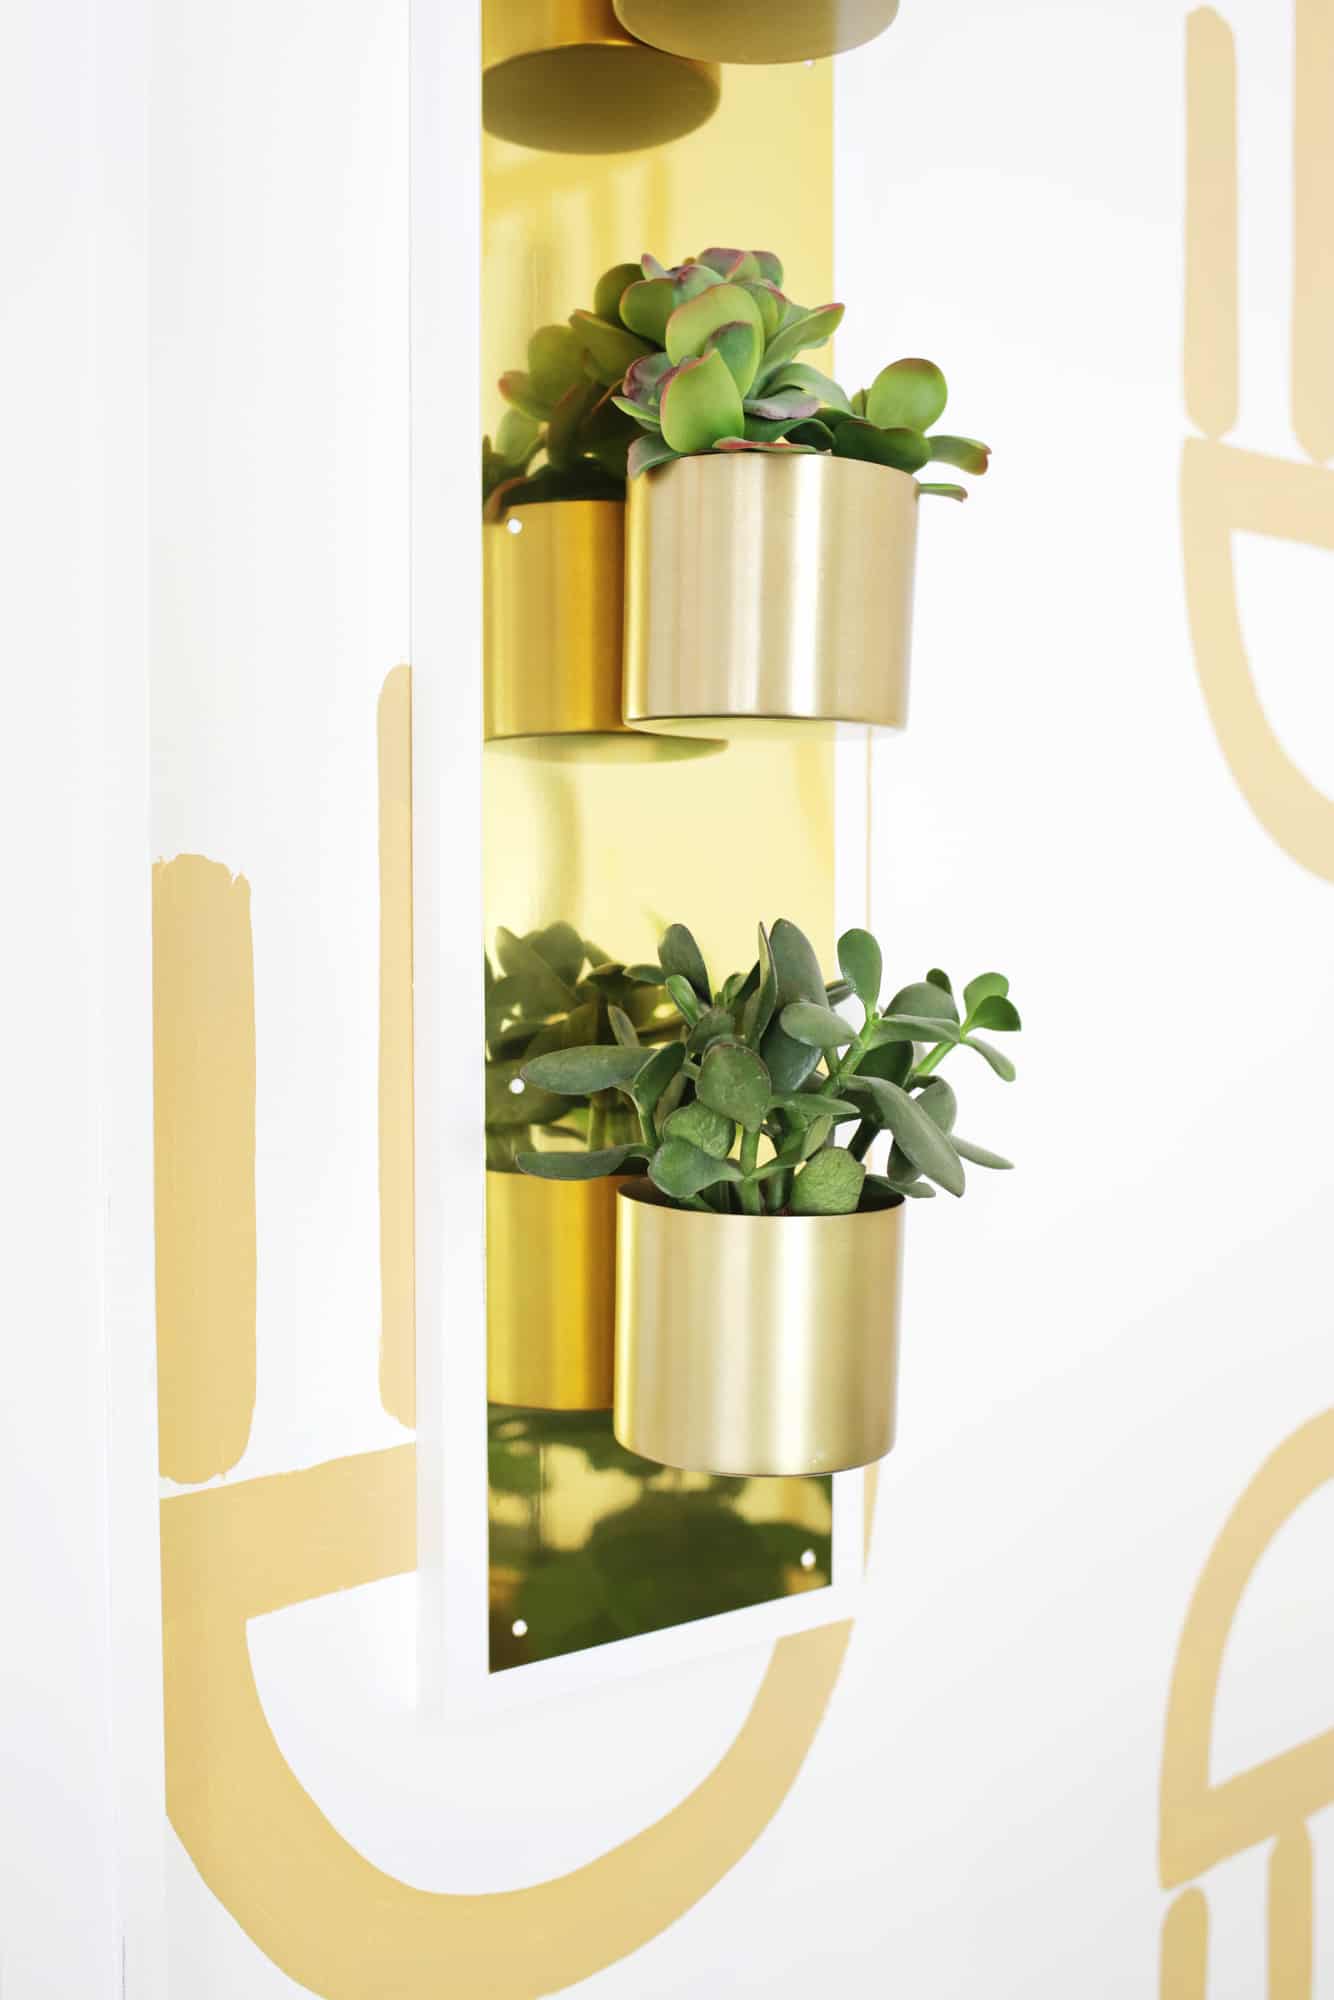
Drill through the three marked spots on your kick plate, clean up any metal shavings, peel off the plastic wrap on the front of the kick plate, and your planter is ready to assemble! 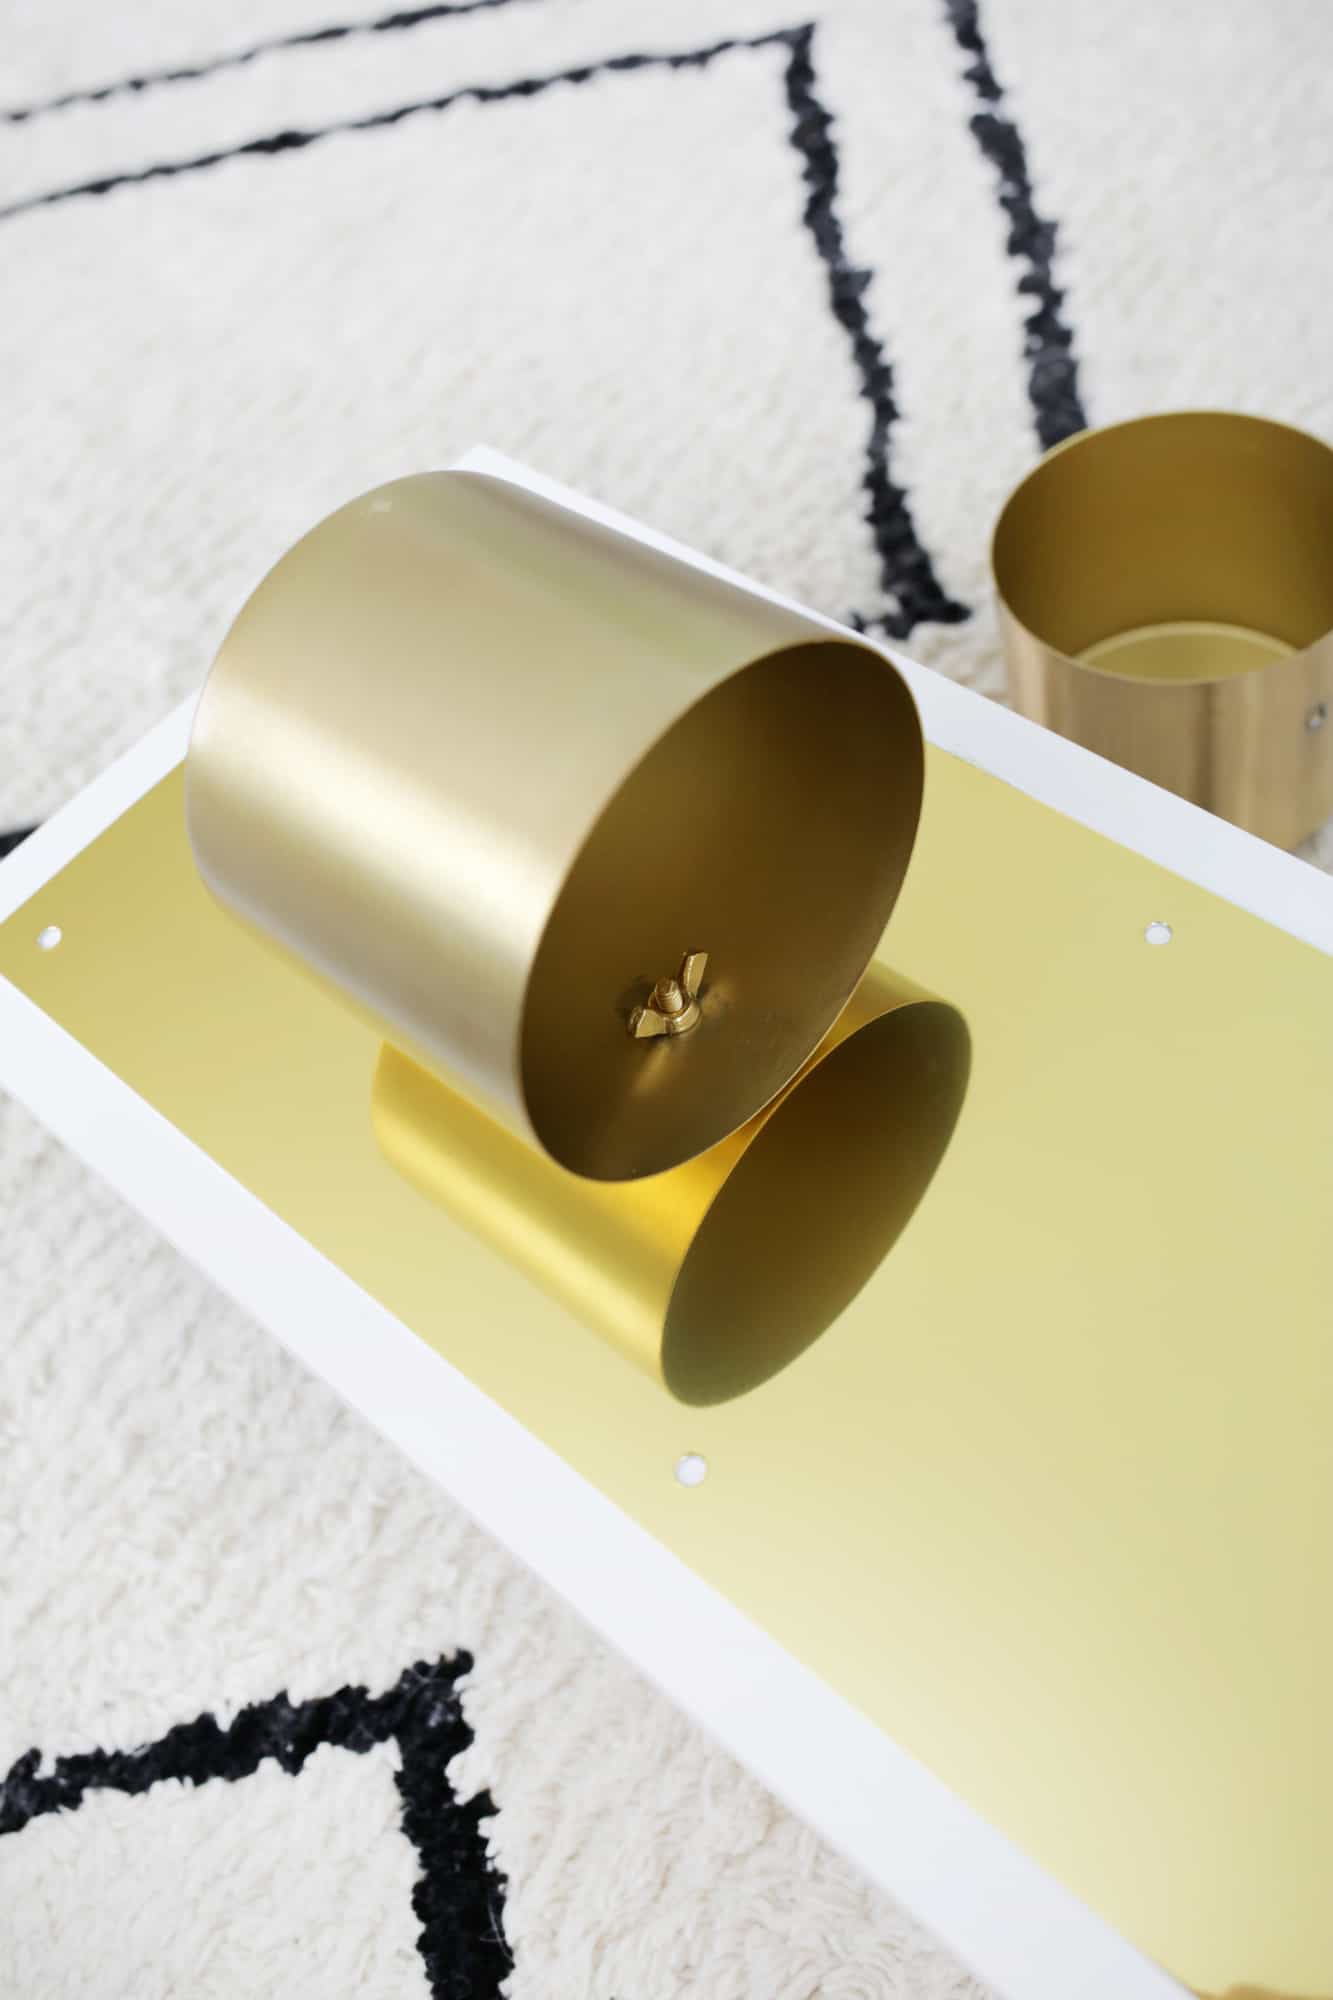 Simply thread your screws through the back of your kick plate and through the holes in your planter and attach with your wing nut to secure. Once all three planters are on, it’s time to add your plants and hang!
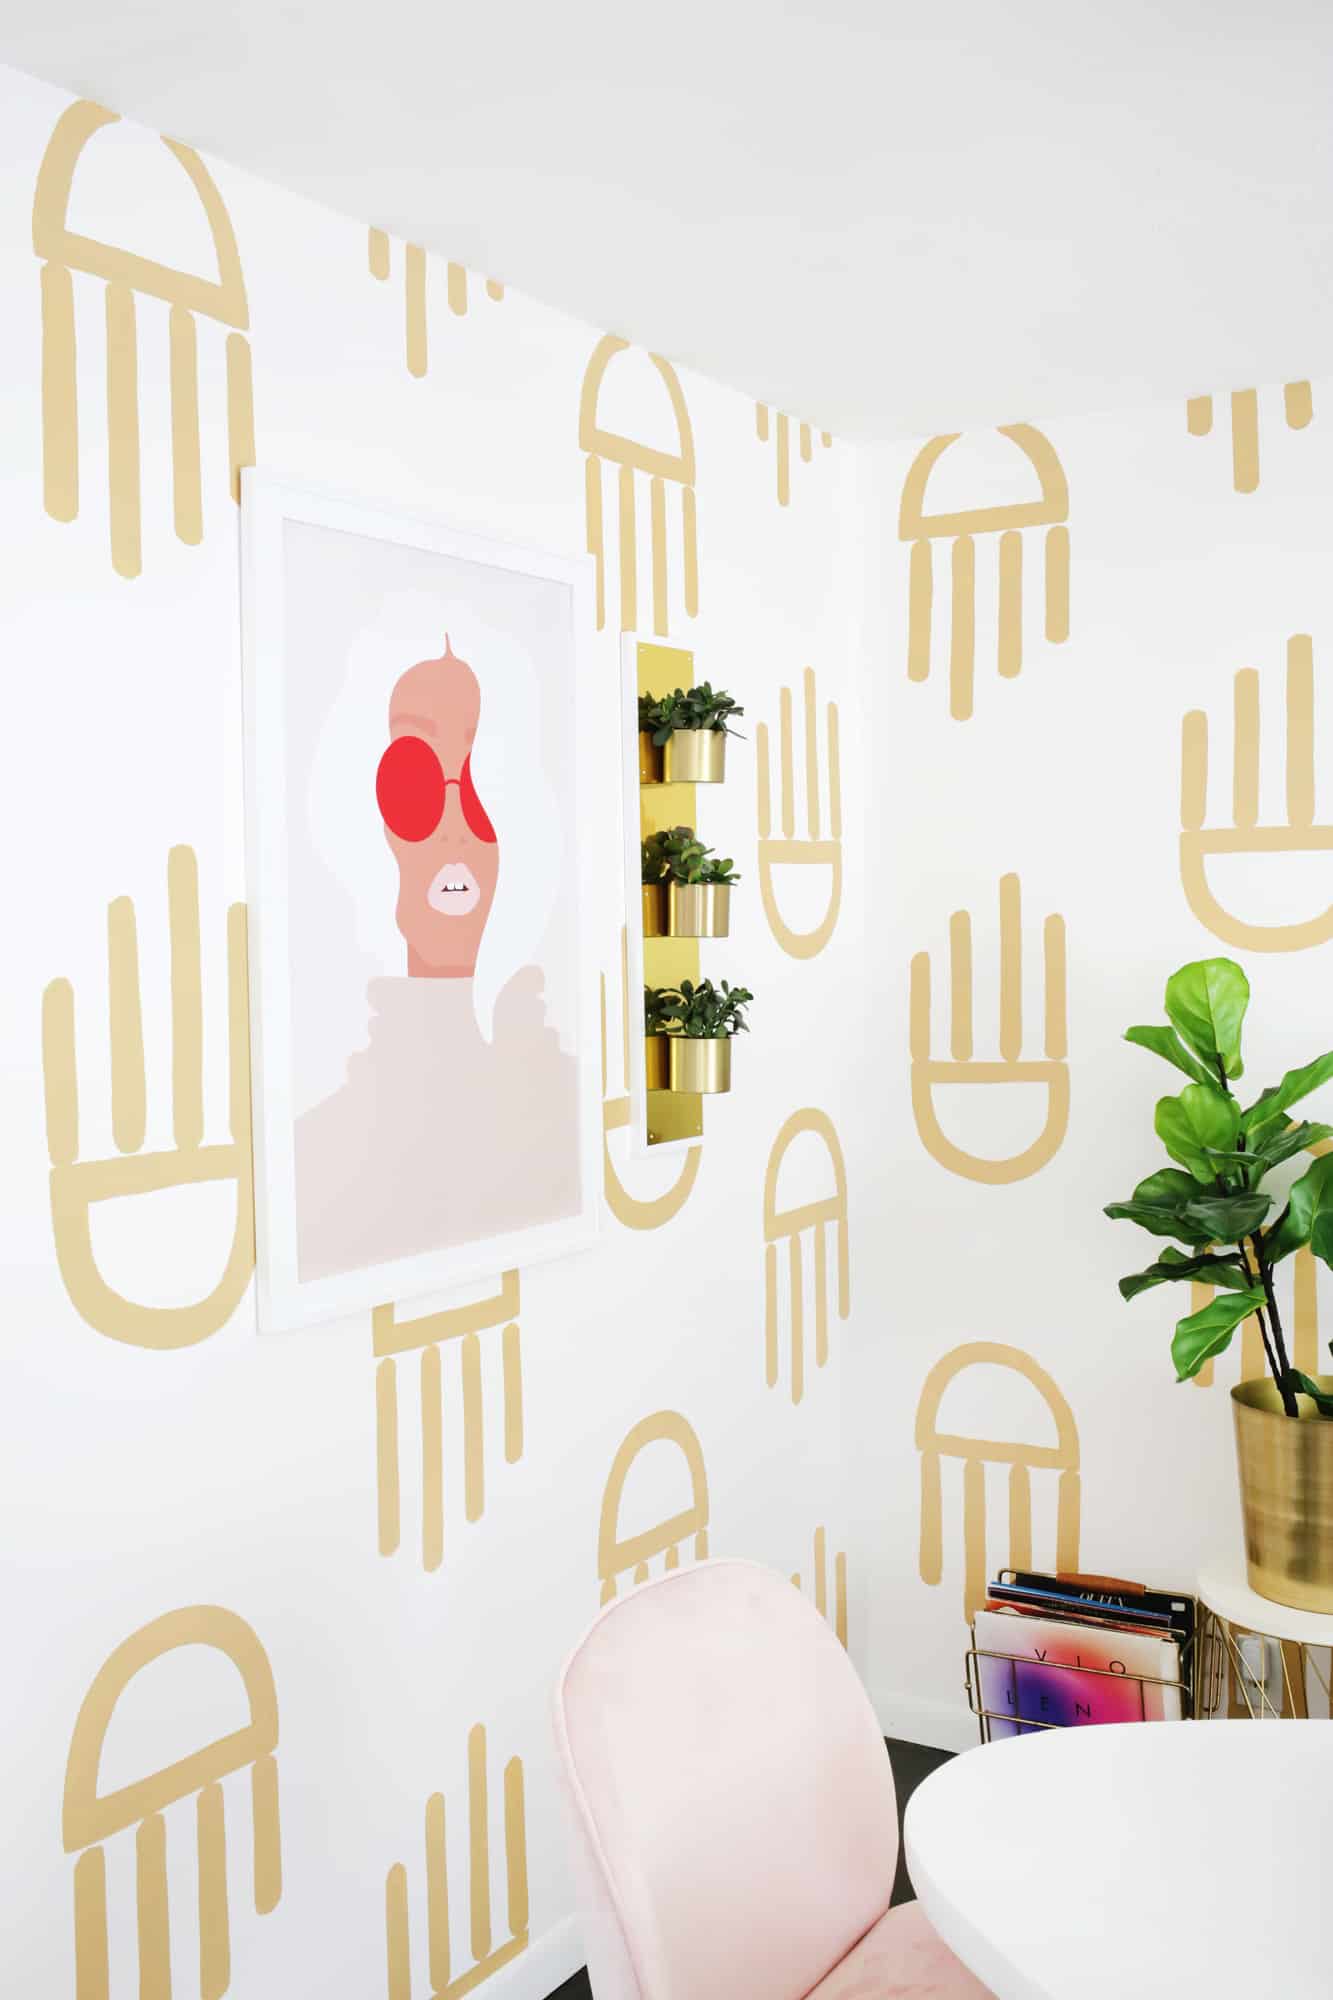

 Isn’t that so fun? I always love a DIY that doesn’t look like a DIY and this one fits the bill for me in that regard. I usually like to use faux plants in wall planters so I don’t have to worry about trying to water them in case I miss and have water running down my walls, but that’s just a personal preference. Wall planters are great at getting some greenery up off the floor and adding life and dimension to your walls, so I hope this one ends up in your home as well! xo. Laura
8 Comments
This is cute beyond words! ❤️✨
Charmaine Ng | Architecture & Lifestyle Blog
http://charmainenyw.com
I love it! You have a special knack for translating hardware store items into beautiful home decor.
Wauw that is really amazing!
Fabulous idea.. Thanks for sharing 🙂
Lovely! Where is that print from? I’m completely obsessed!
It’s from this artist but I don’t see it in her shop right now! It’s amazing though…
http://byisabel.com/
Laura
I can’t wait to try this! I’m always on the lookout for quick planter DIY’s and this looks perfect! Plus I’m obsessing over that wallpaper in the background *slow clap* 😉 Keep up the great work!
Absolutely stunning and very elegant!