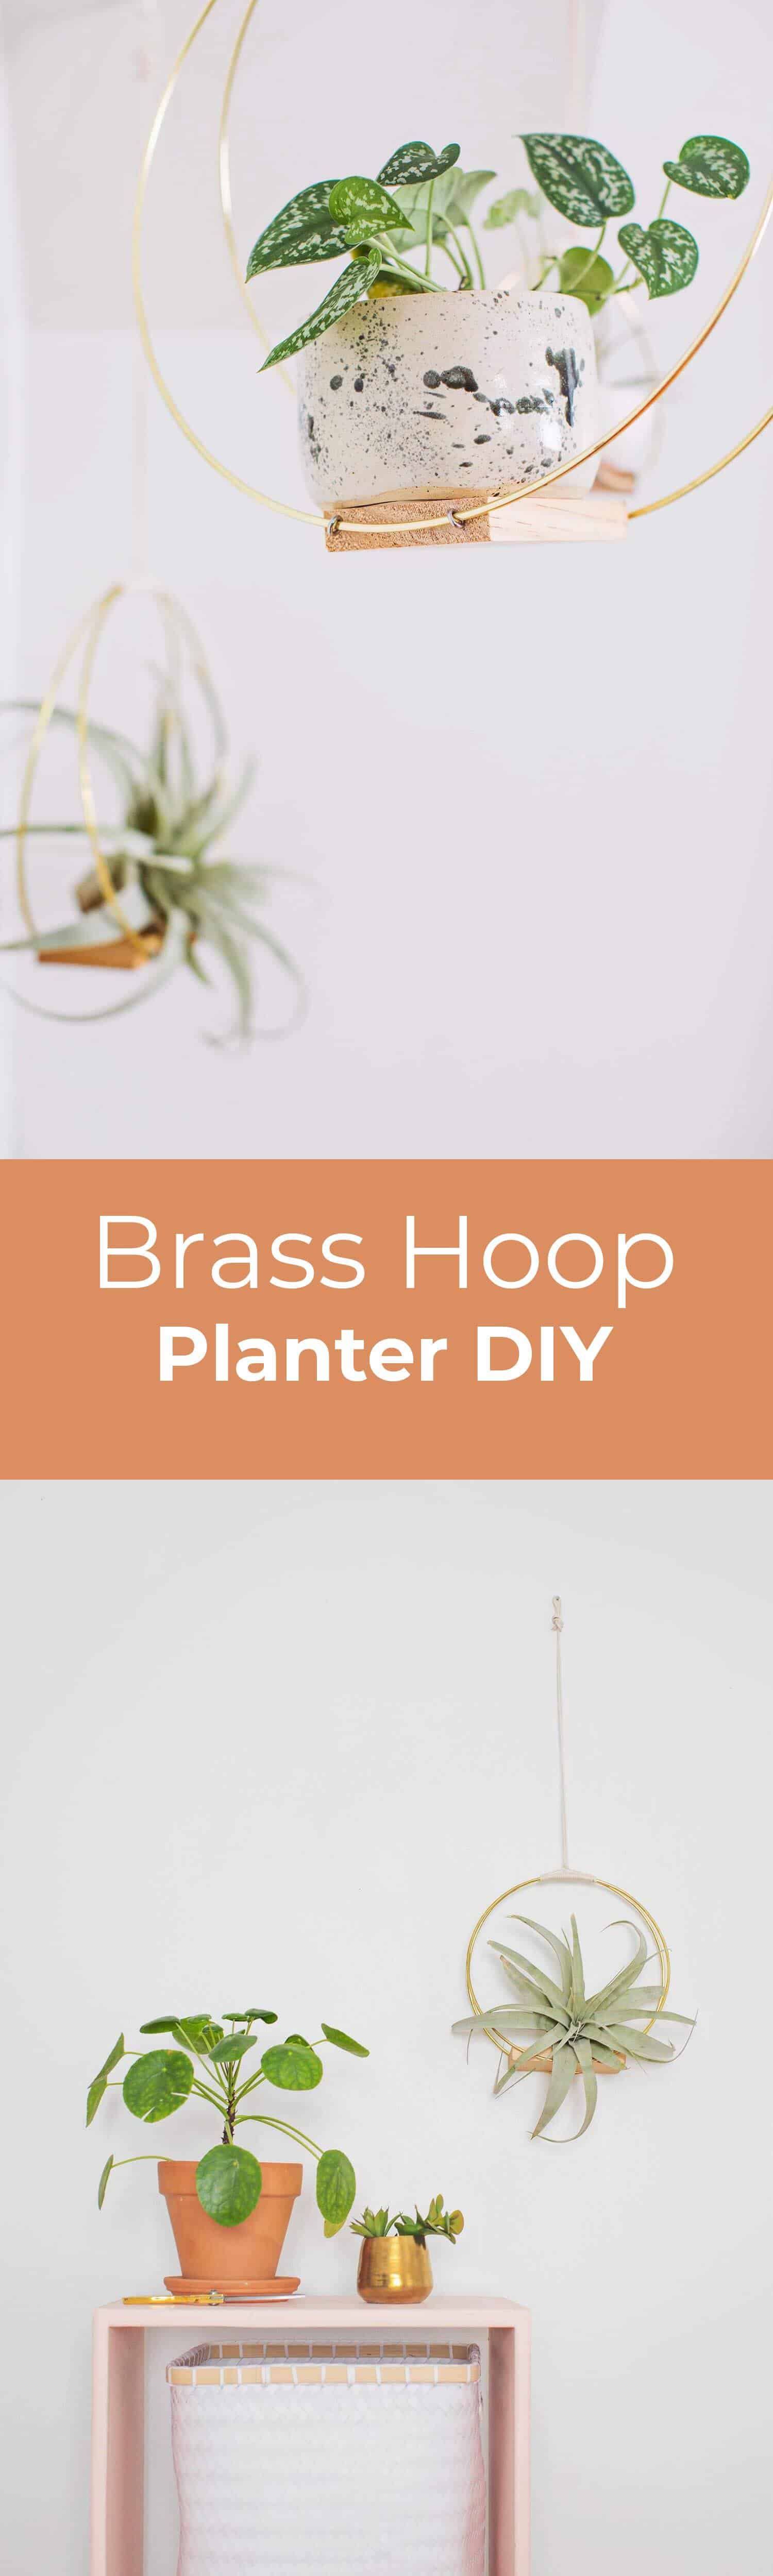
 This specific project came to me after seeing a photo of a mid-century log holder. I was in the shower and suddenly I realized how easy it would be to make a set of hanging planters in a similar silhouette! I tell you, shower time is sacred! The beauty of this project is you can make a tiny little hanging planter or a window full of giant ones and each one is so quick to put together. I finished each of my last two in about 10 minutes!
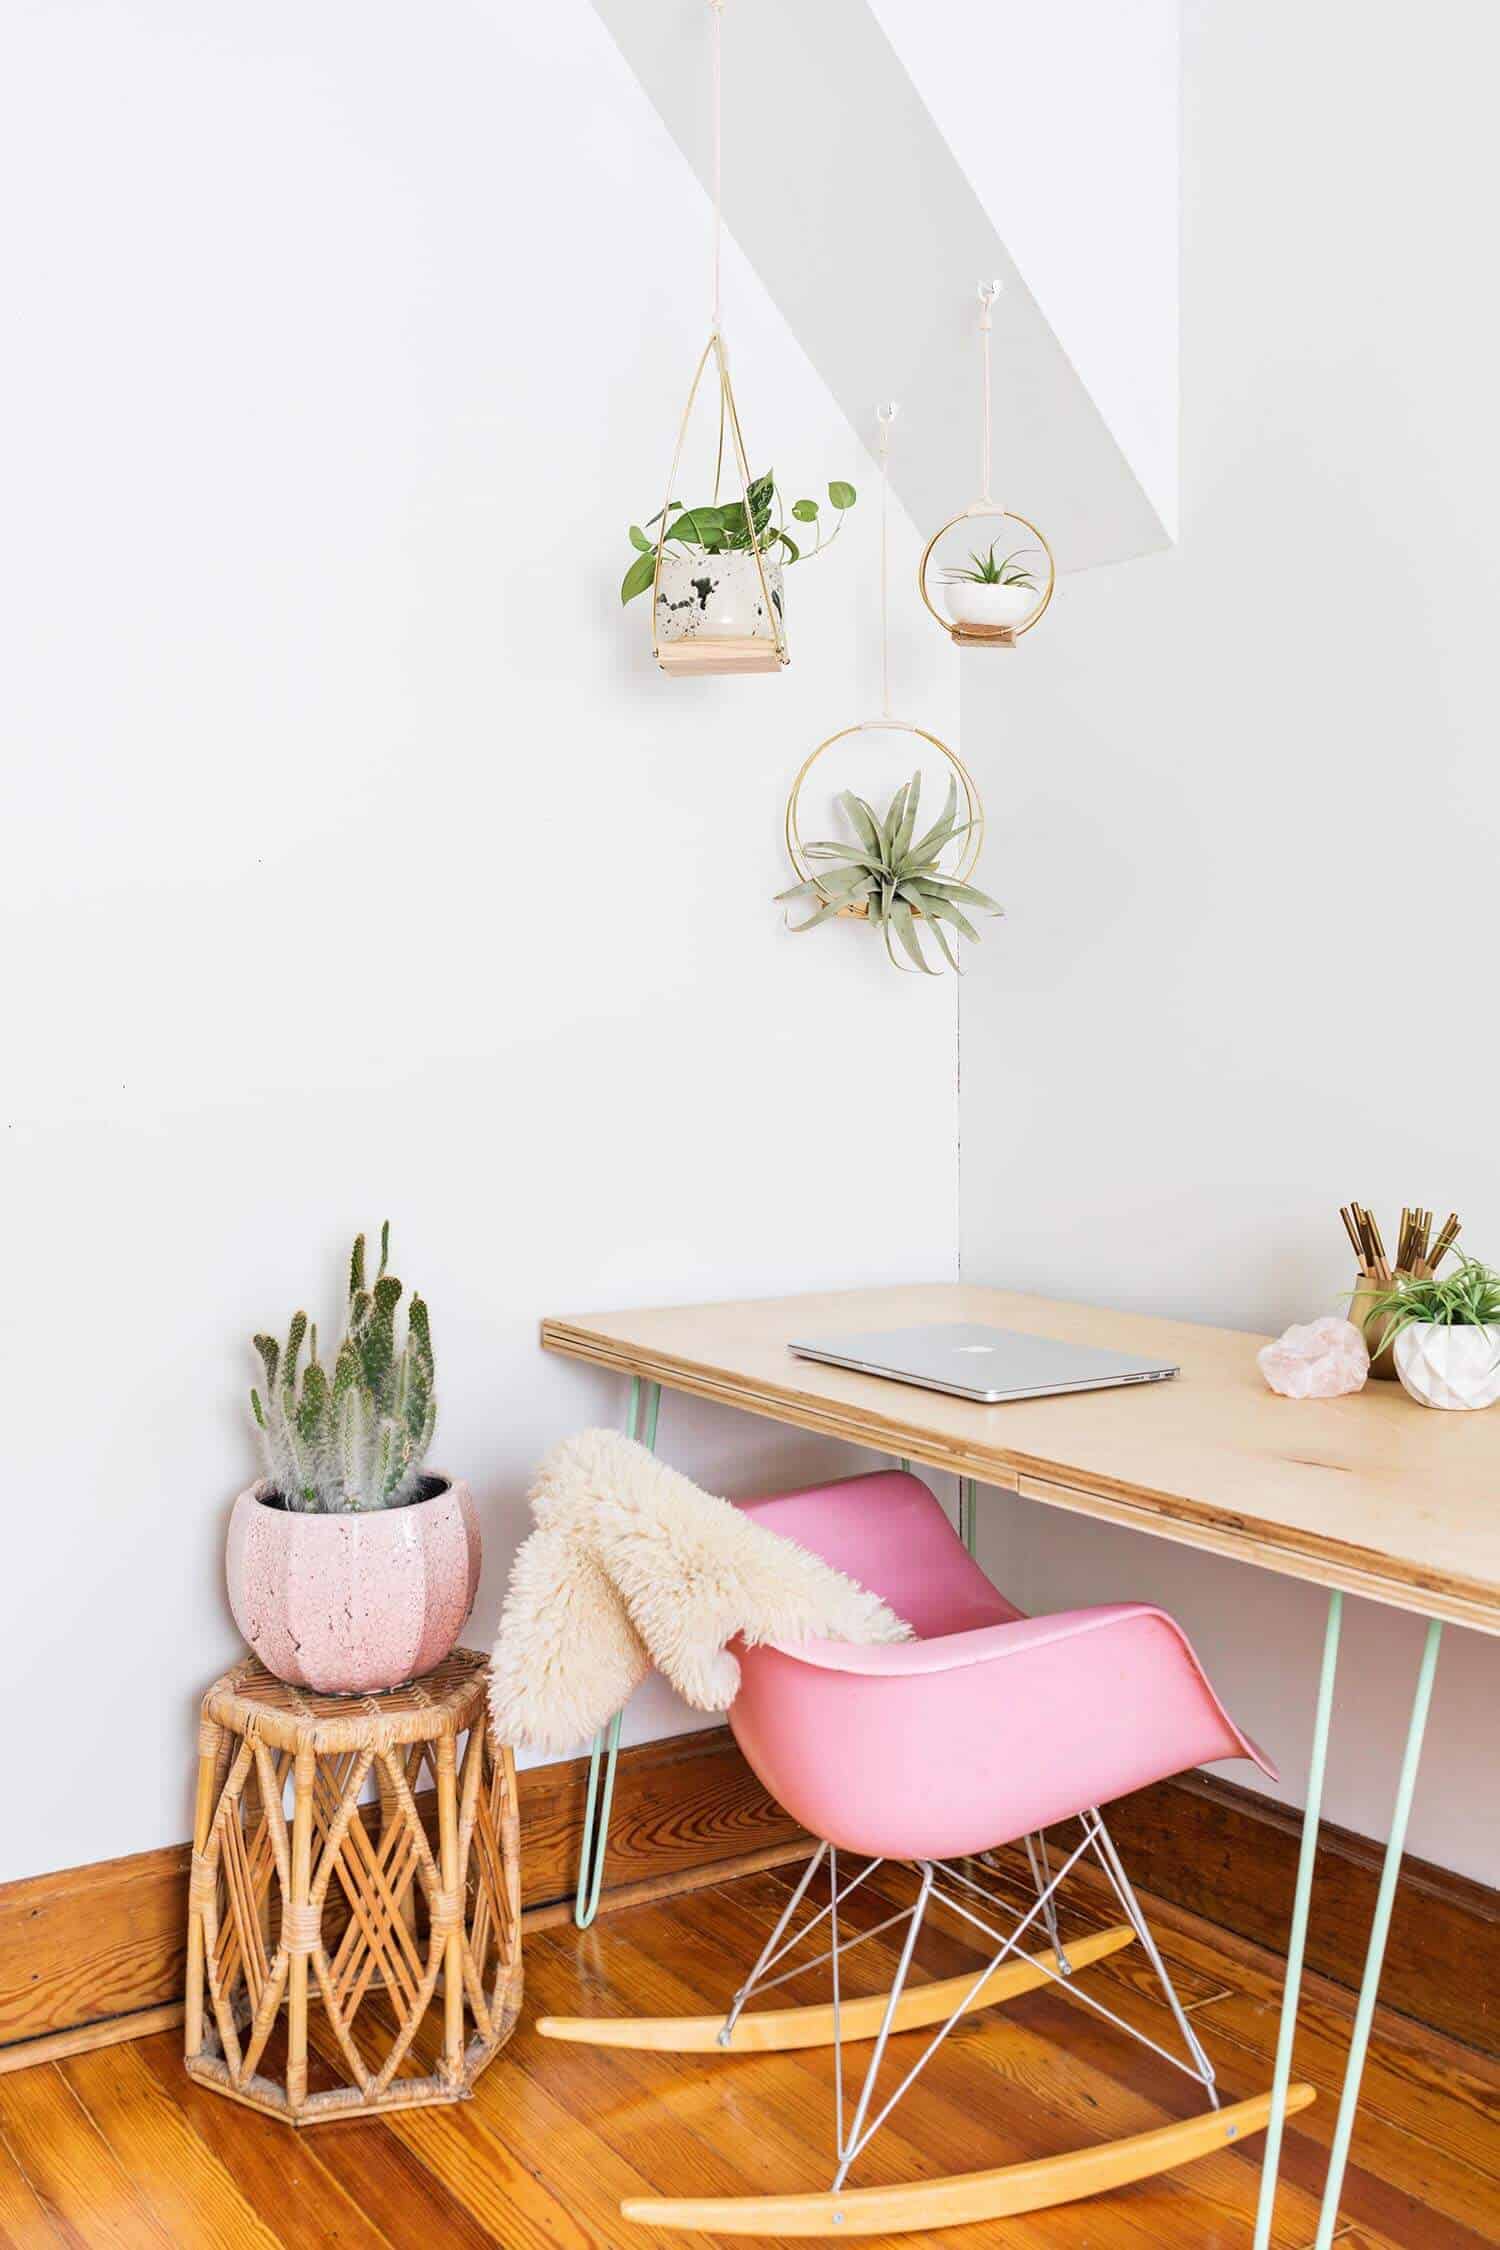
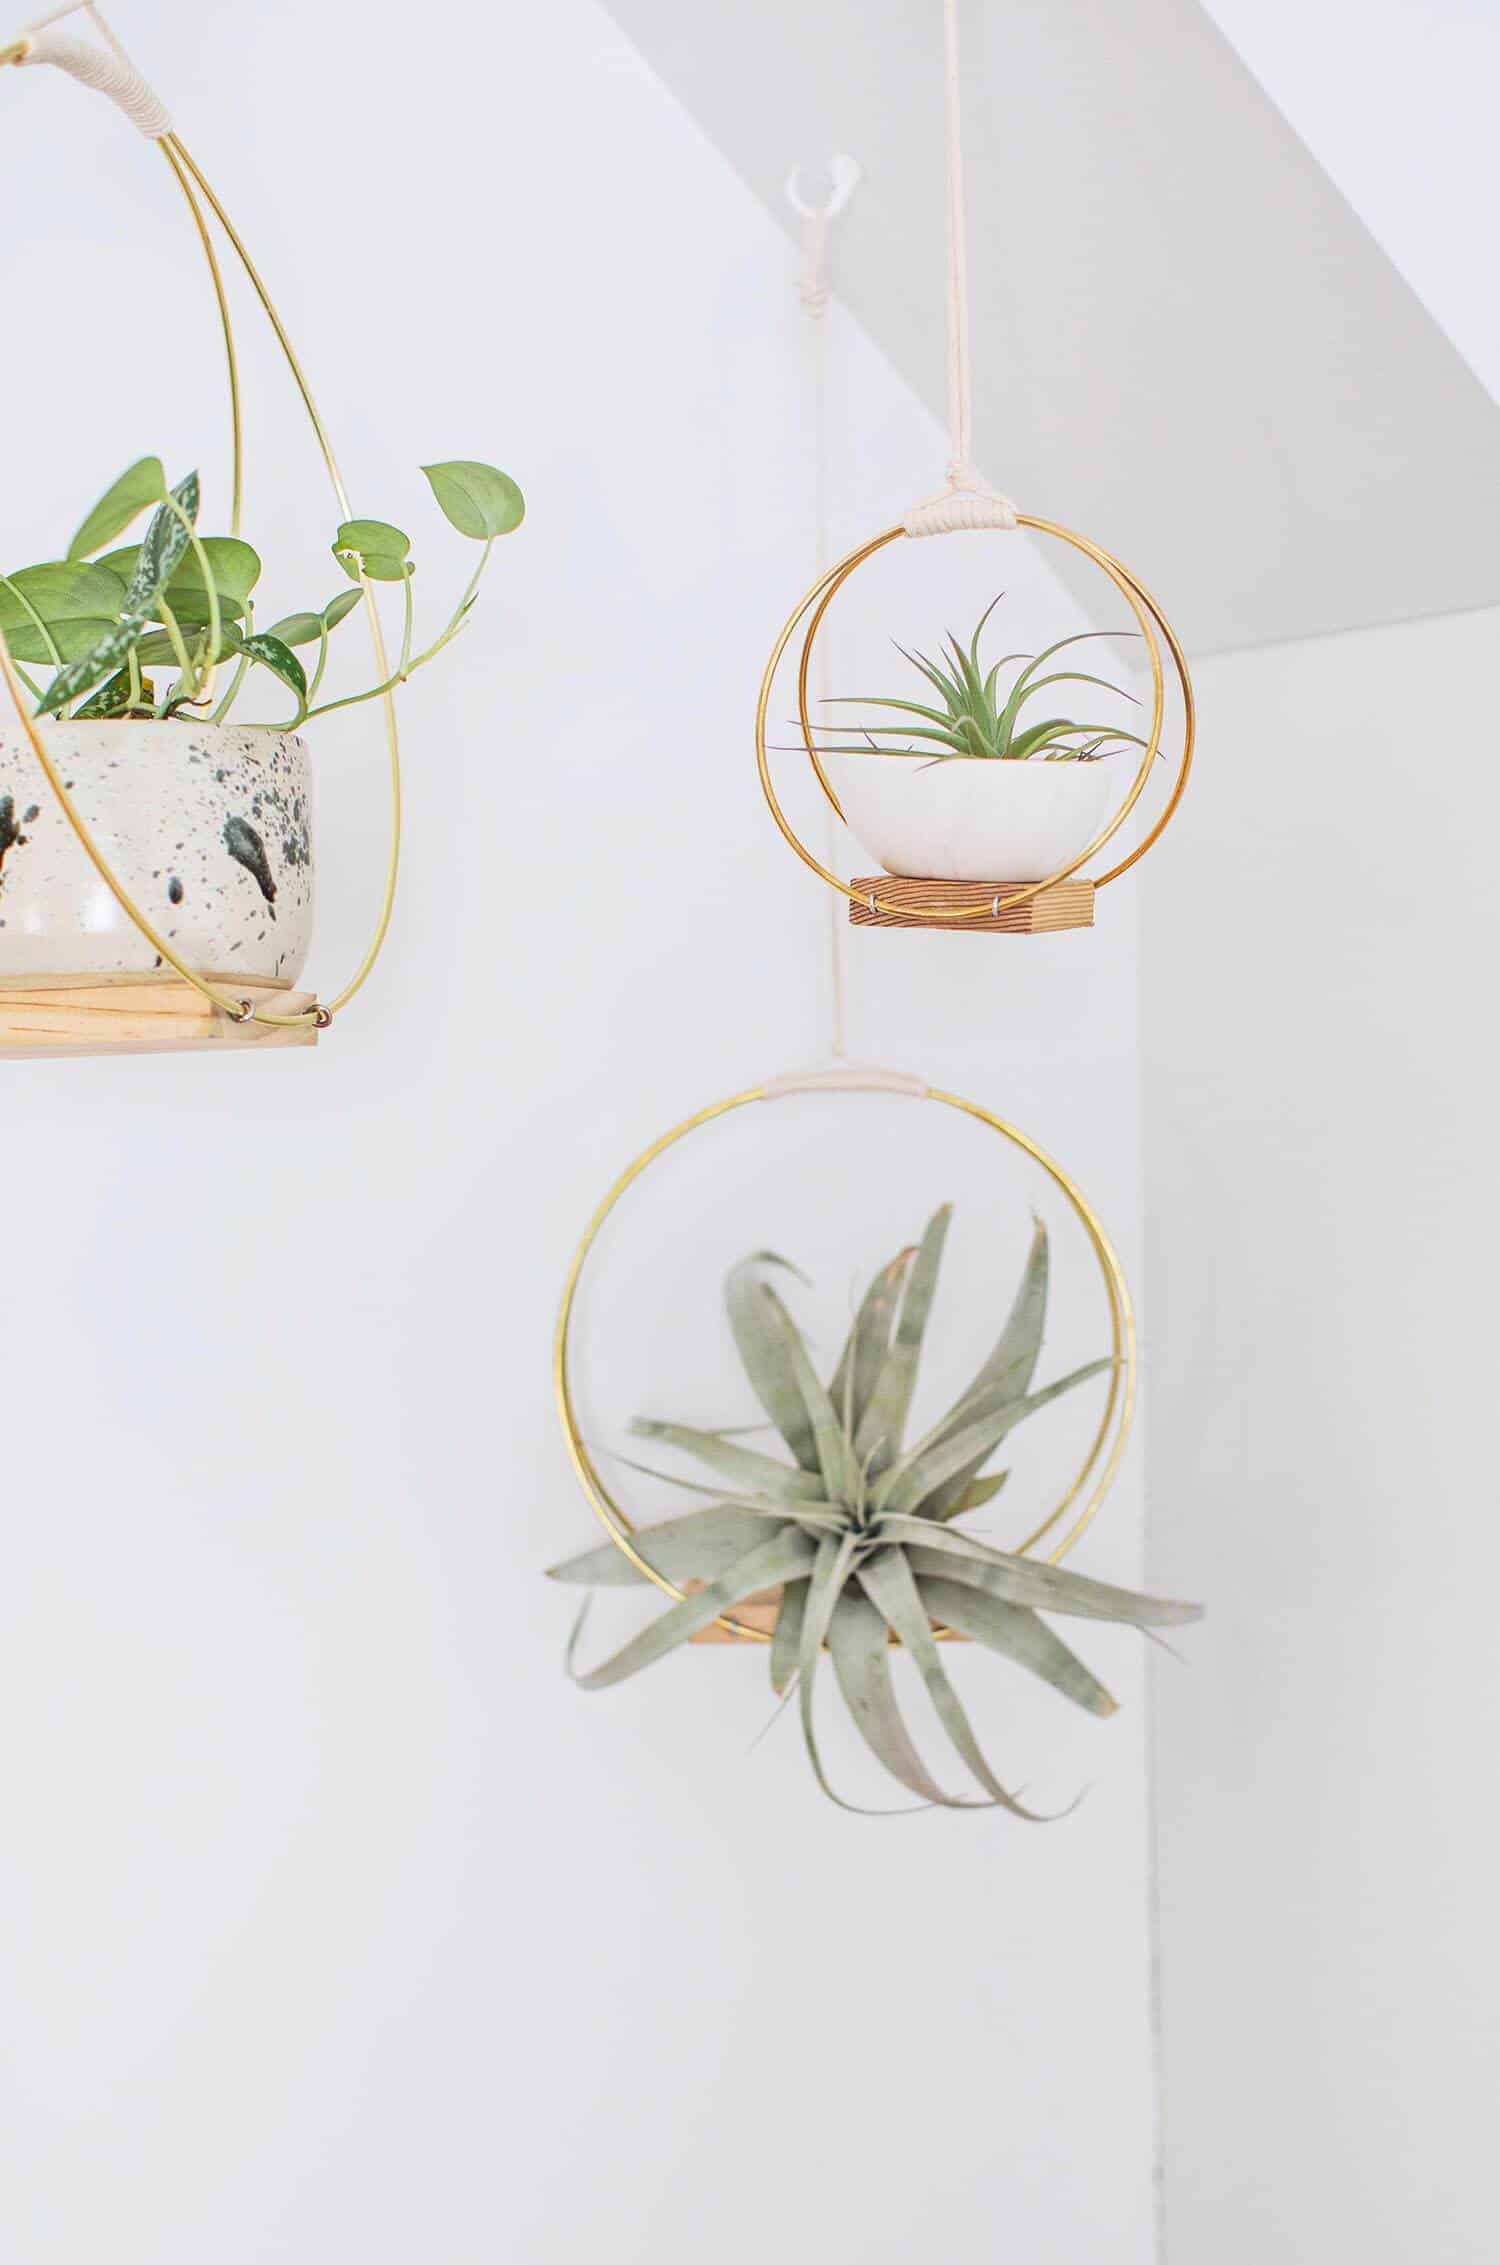
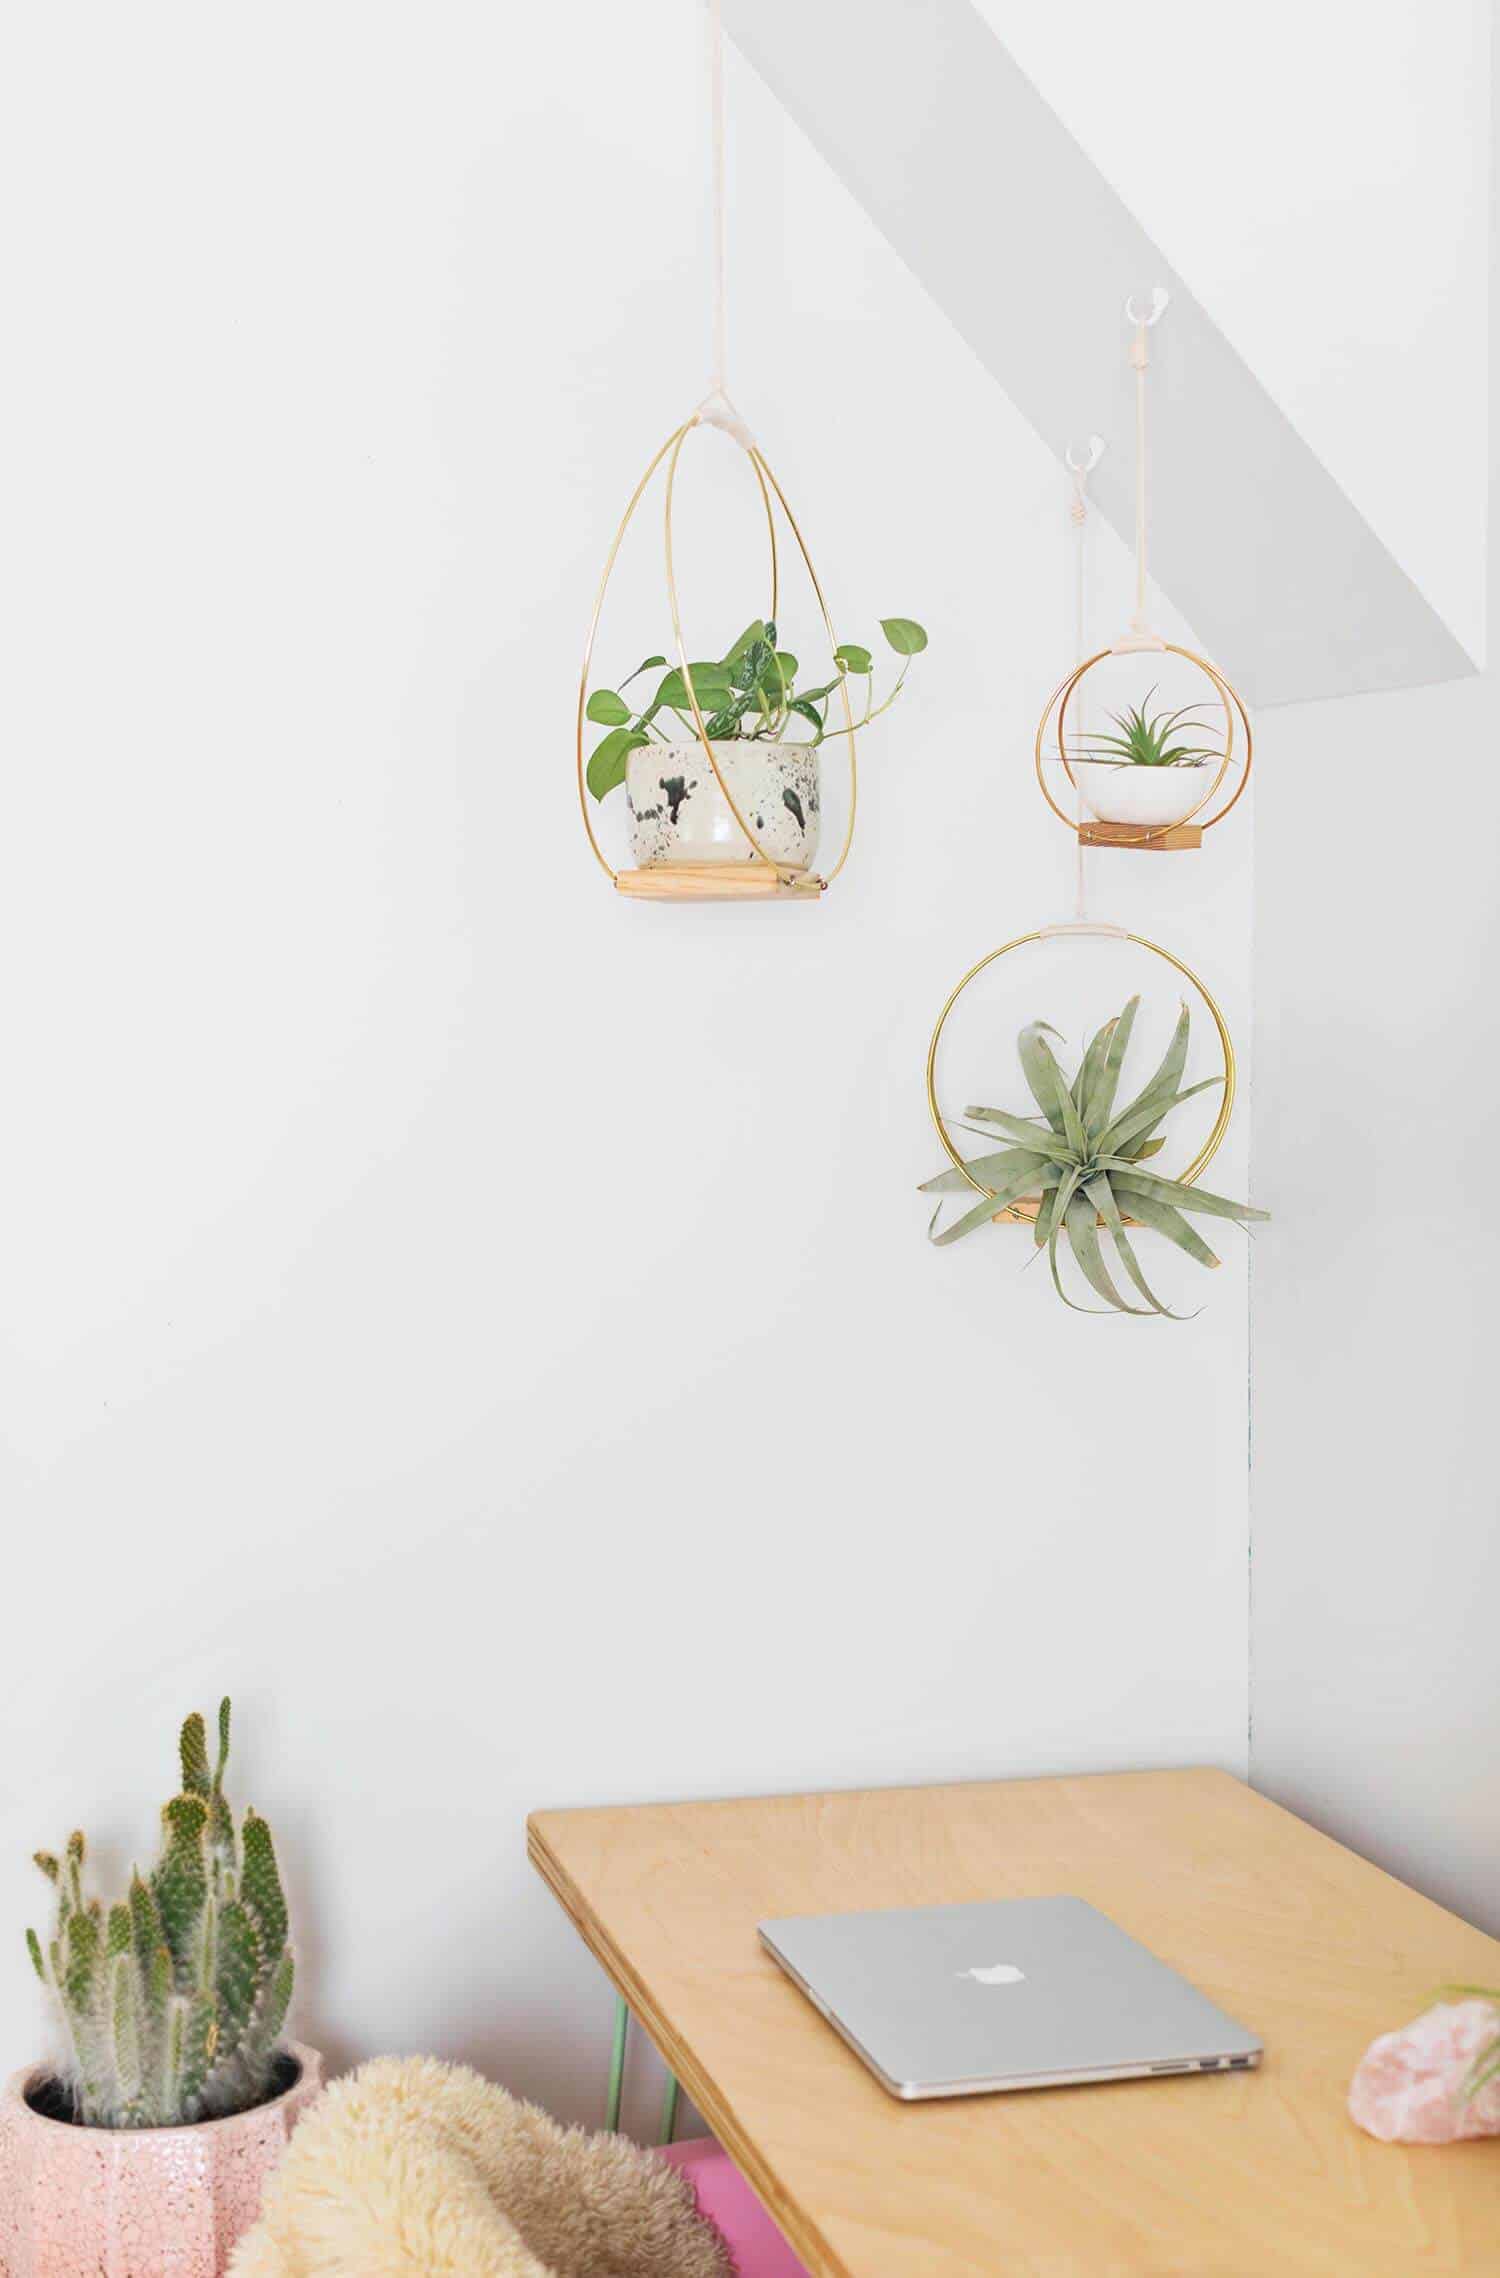
I styled them as a trio in my studio and love the extra desk space it freed up. You could easily hang one of the medium or small sizes on a wall hook as well. When choosing plants to showcase, keep in mind you’ll want some that are dramatic but that also allow plenty of room to see the silhouette of the planter. I tried a basket of cascading ivy on the largest one, but the hoops got lost in the vines. These are perfect for larger air plants or trailing succulents because you don’t have to take them down for watering as often.
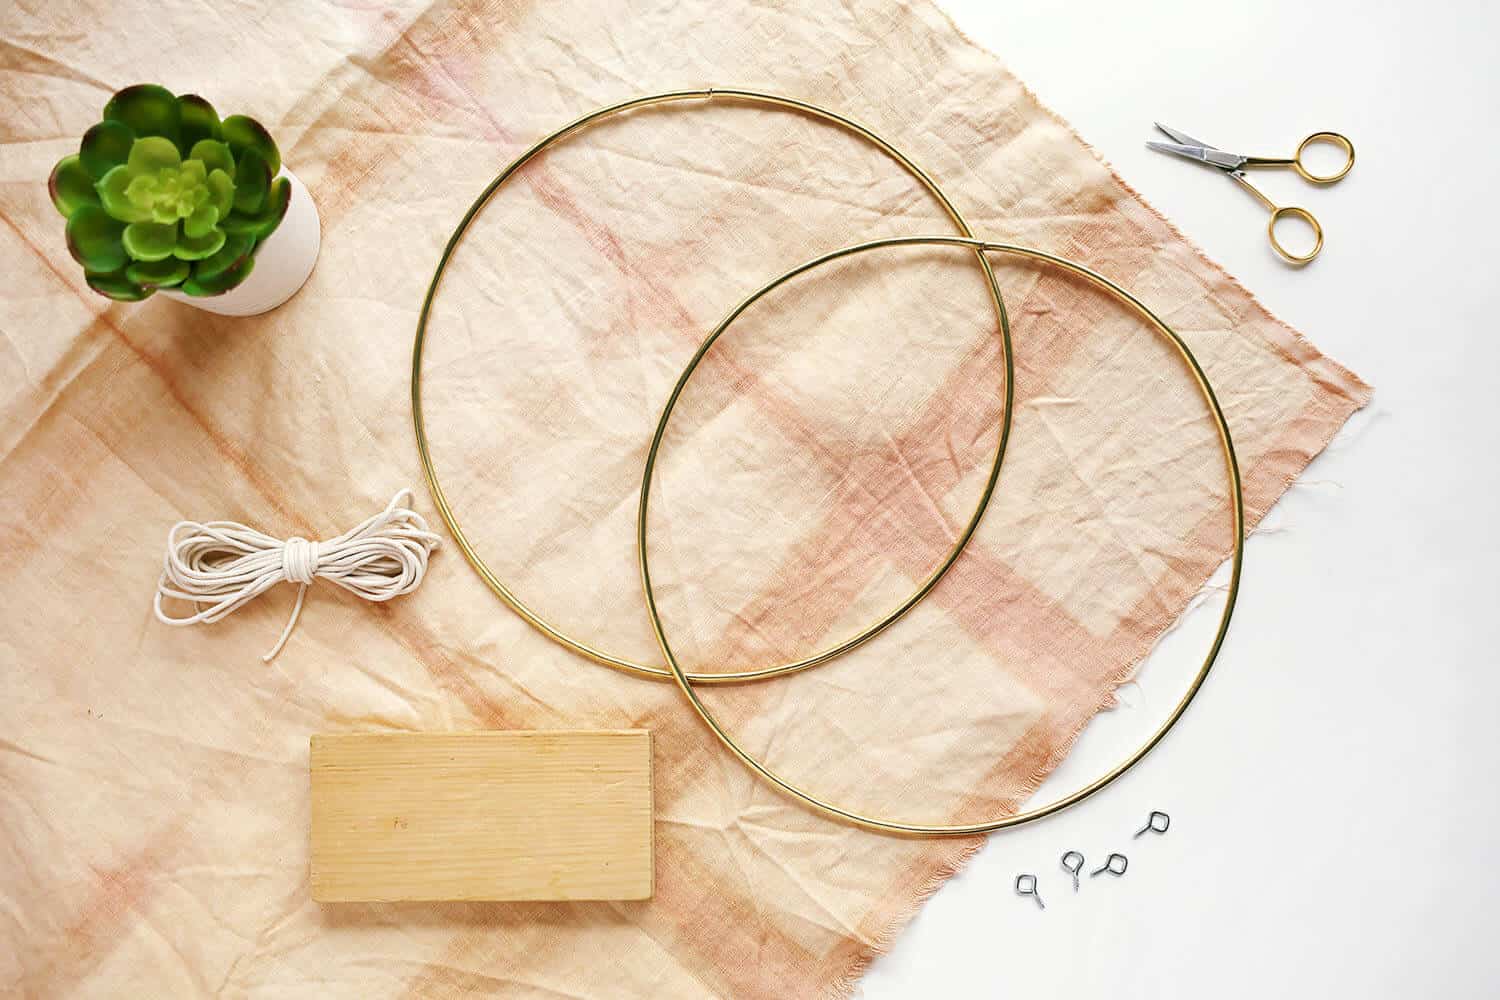 Supplies
-two 6″ gold hoops
-two 10″ gold hoops
-two 14″ gold hoops
-scraps of pine wood measuring about 1/2″ x 2″ x 2″, 1/2″ x 3″ x 3, and 3/4″ x 3″ x 5″
-hand saw (if cutting down scrap wood)
-sandpaper
–#212 screw eye hooks (4 per planter)
–5 yards of 6mm cotton cord
-electrical or duct tape (not shown)
-canvas or leather gloves (optional)
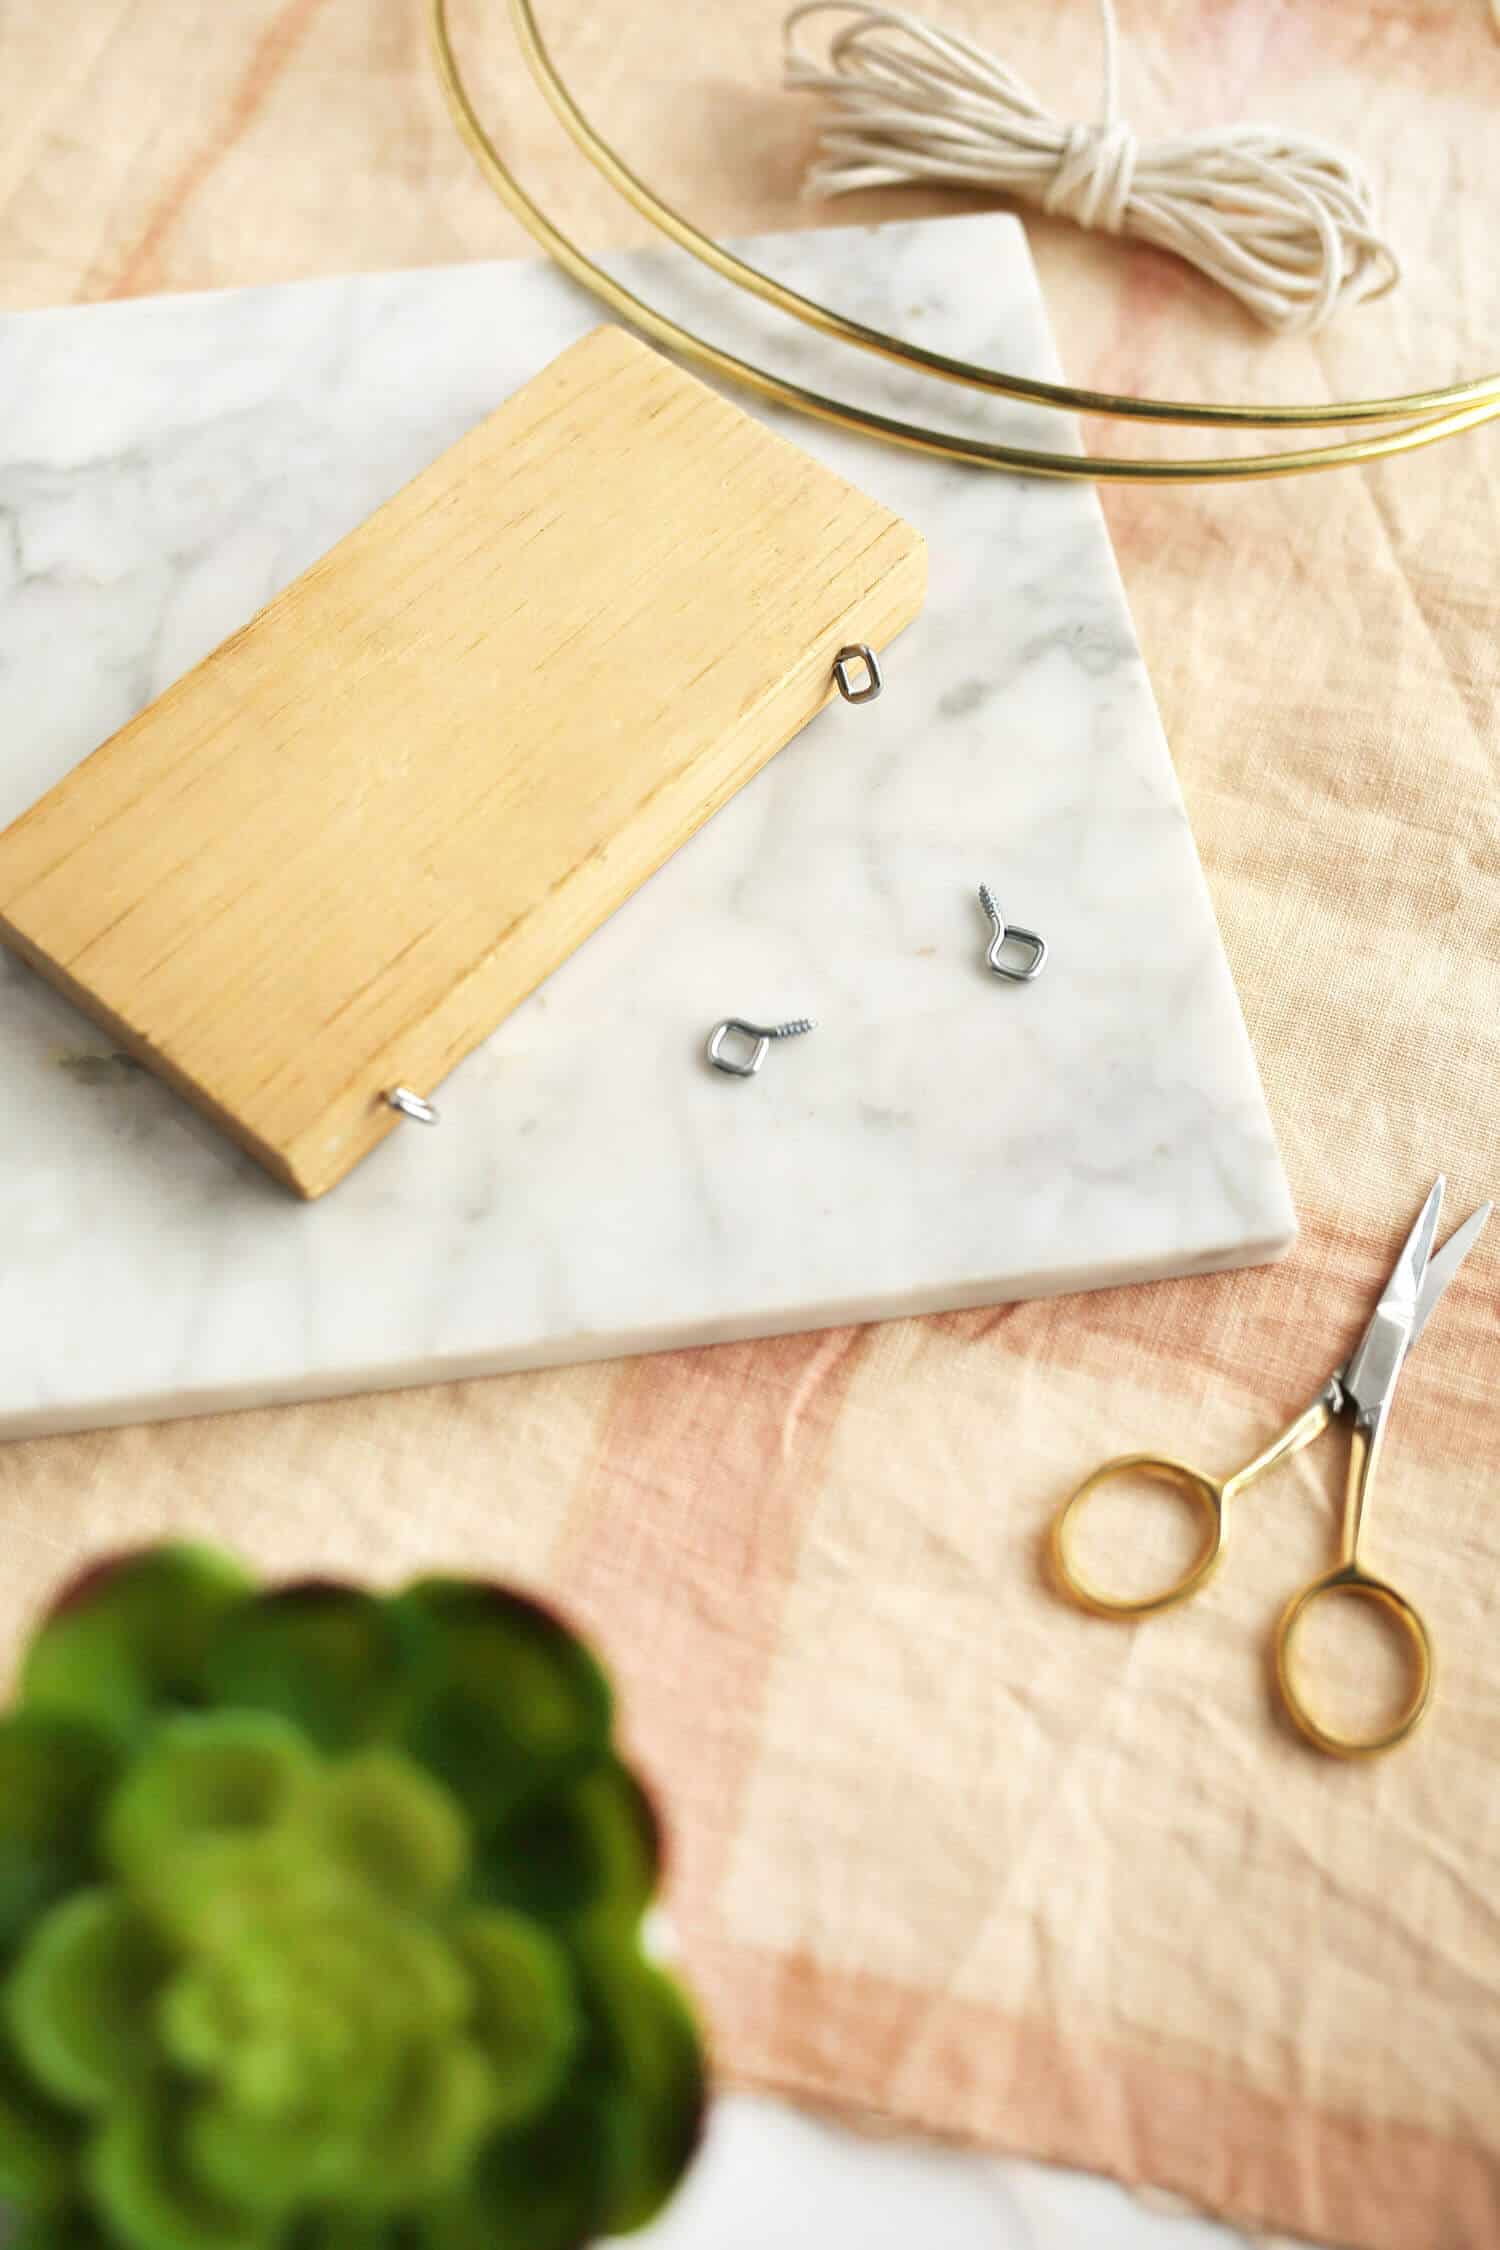 Add two screw eyes to opposite sides of each piece of wood so that they are about 1/2″ from each end. You’ll want to angle them so that they’ll easily slide over your gold plated rings.
Next, find the seam of your rings and gently push it against something until you hear it give a little. You don’t want to bend your hoops out of shape but you do need to apply gentle pressure in both ways until it snaps. Using gloves will ensure you don’t accidentally cut yourself.
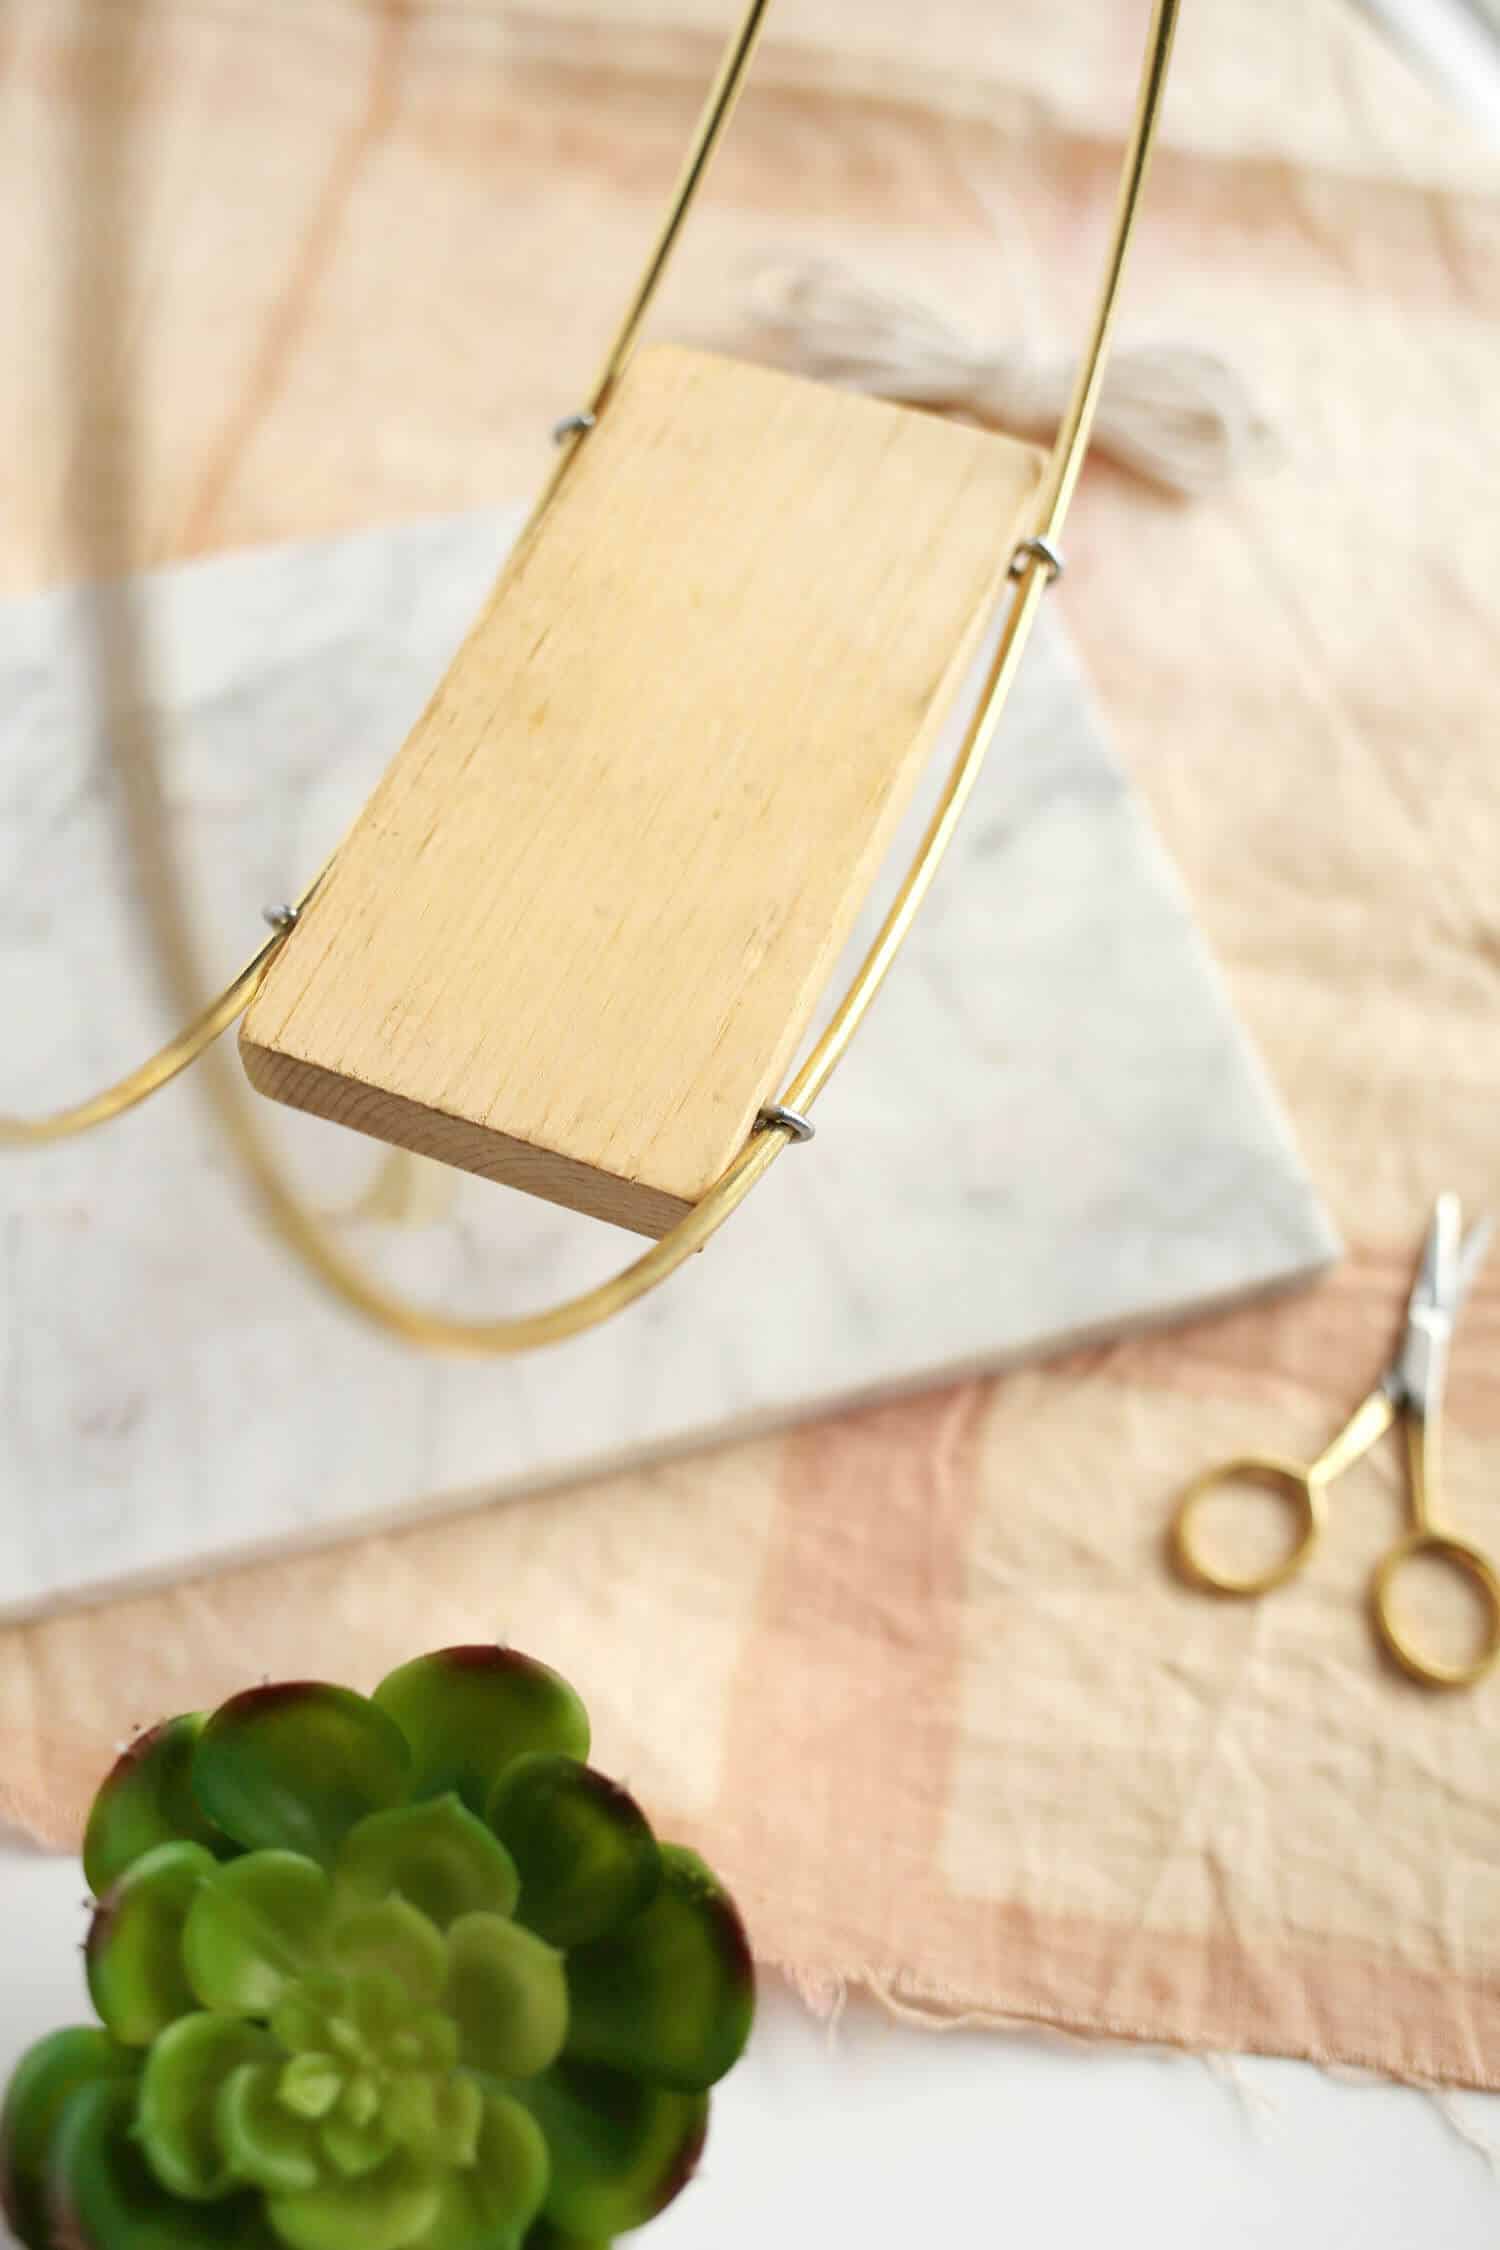 Slip matching rings through your screw eyes so that the seams of your hoops meet up at the top.
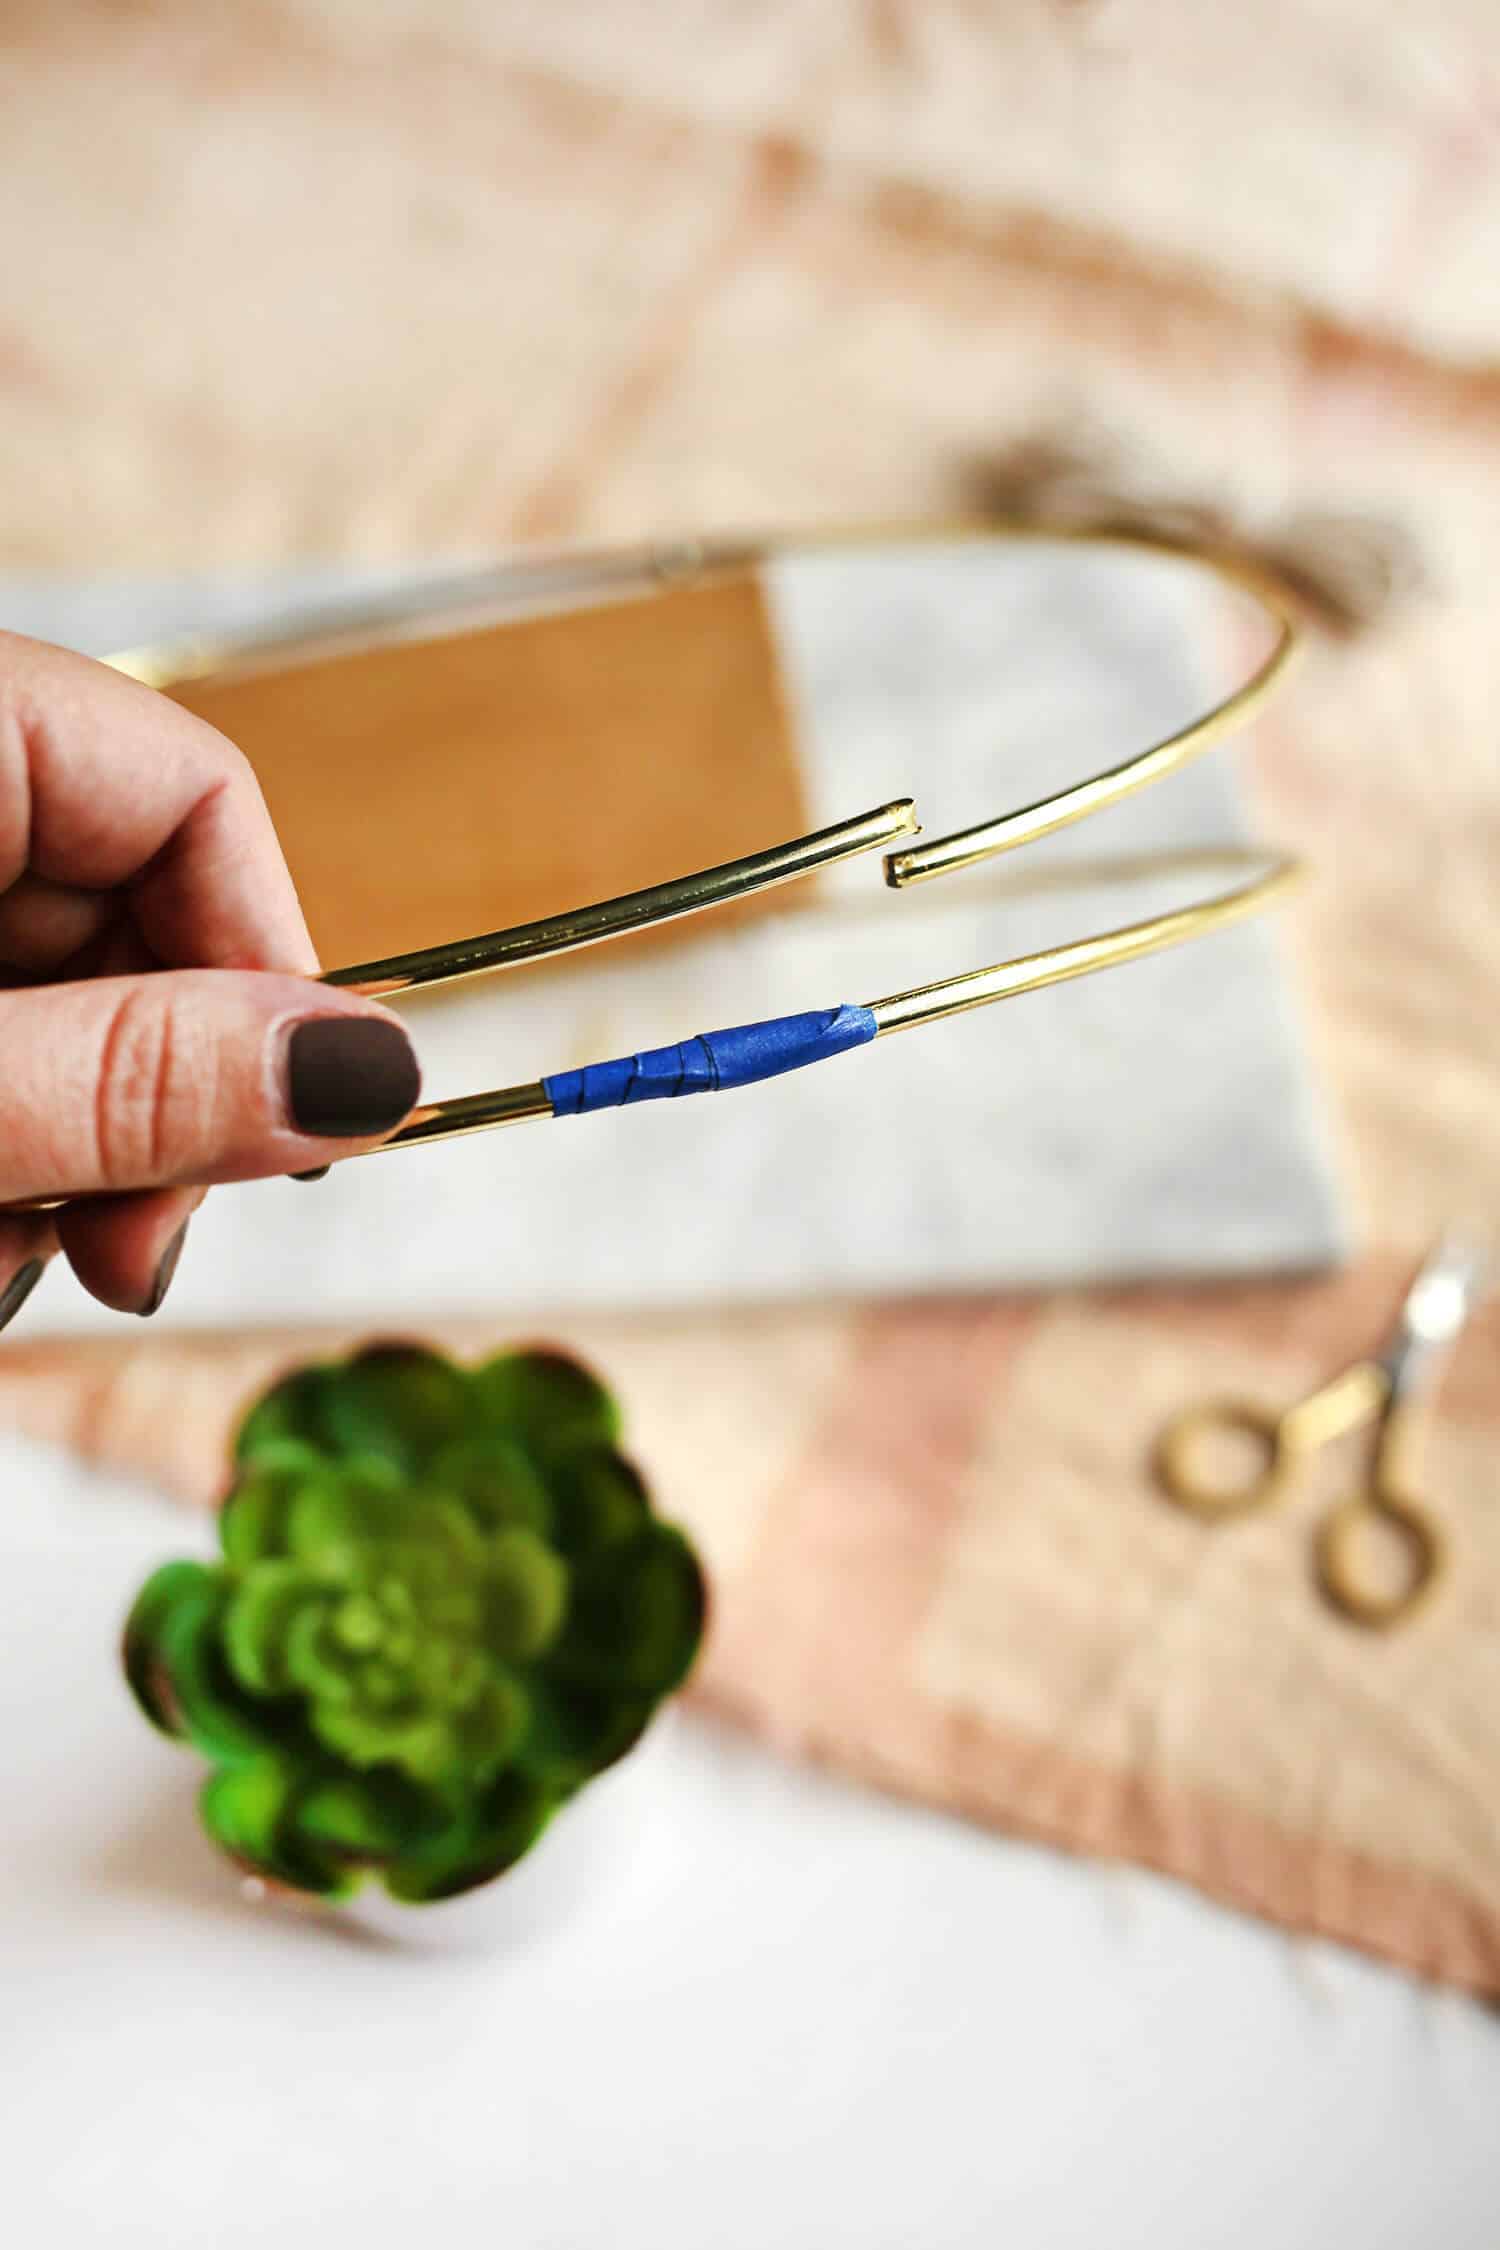 Wrap each broken seam in electrical tape just to bring the seams back together. You don’t want to wrap it too many times or it will be too thick. Repeat with the second hoop.
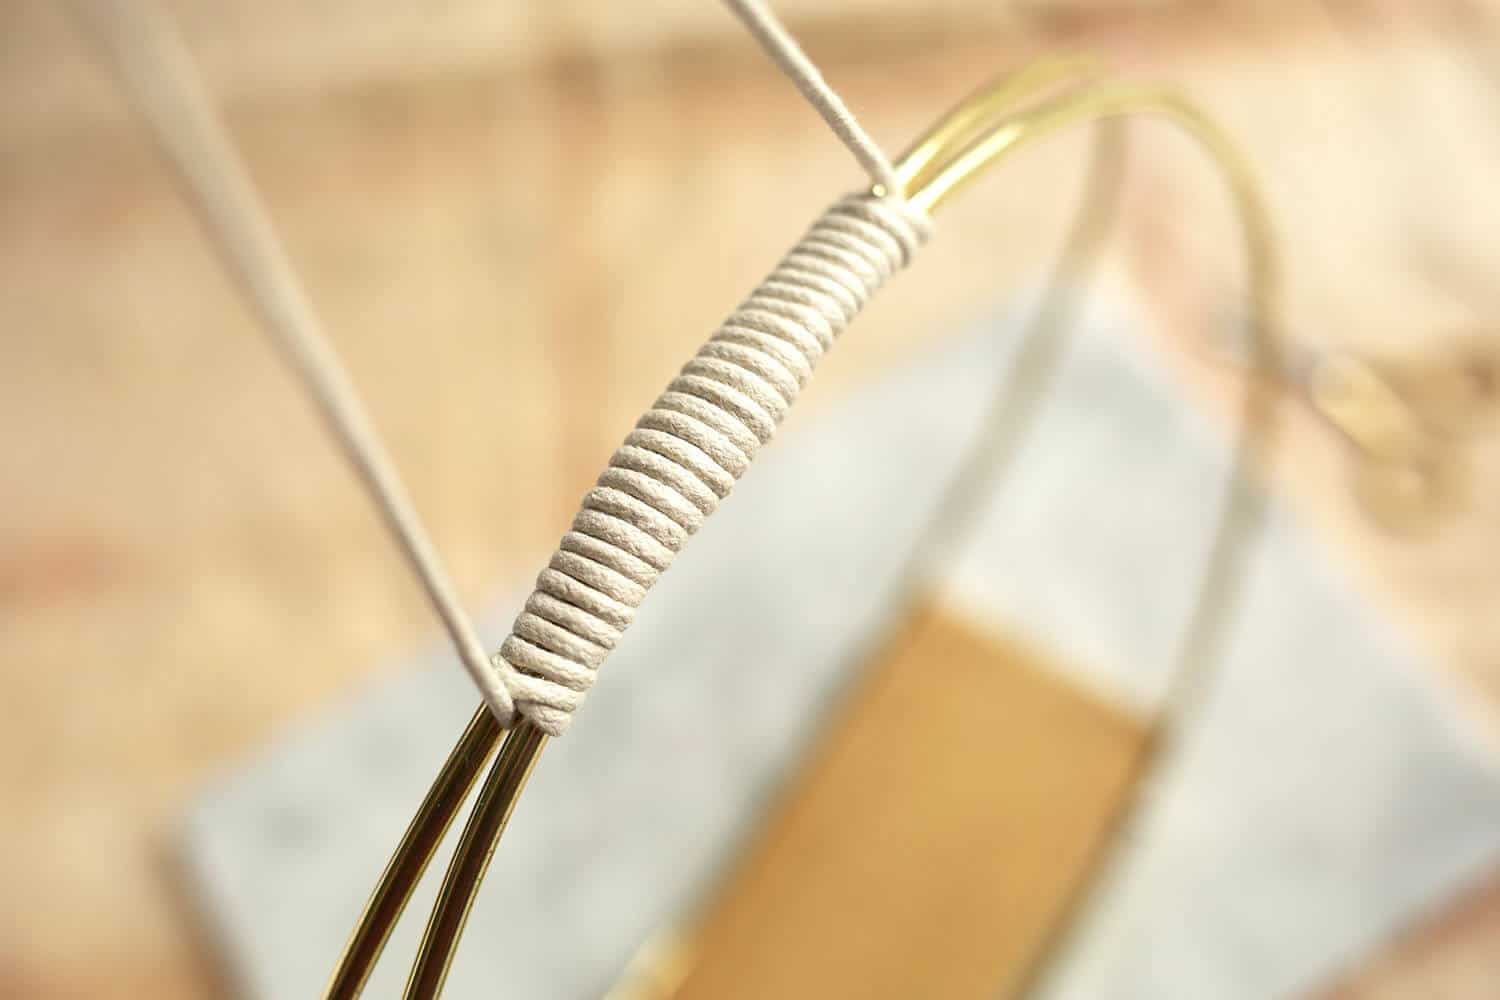
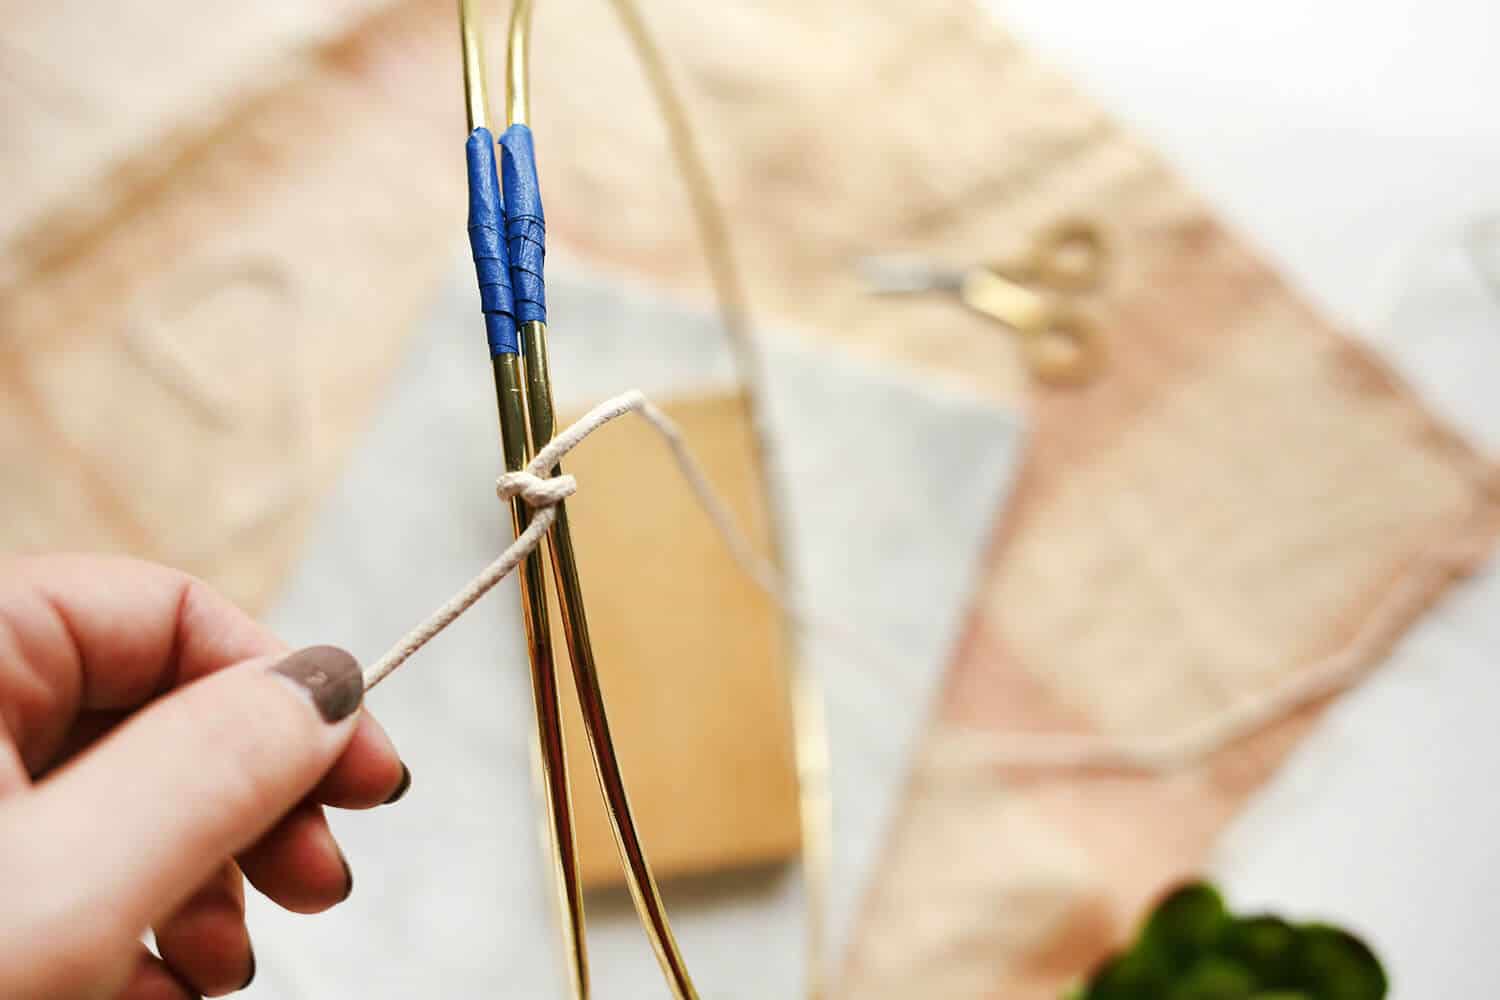 Cut about 2 yards of cotton rope for each planter (or more if you’re hanging them pretty high) and tie a knot about 1″ to one side of your electrical tape. One end of your rope should be about 2′ longer than the other.
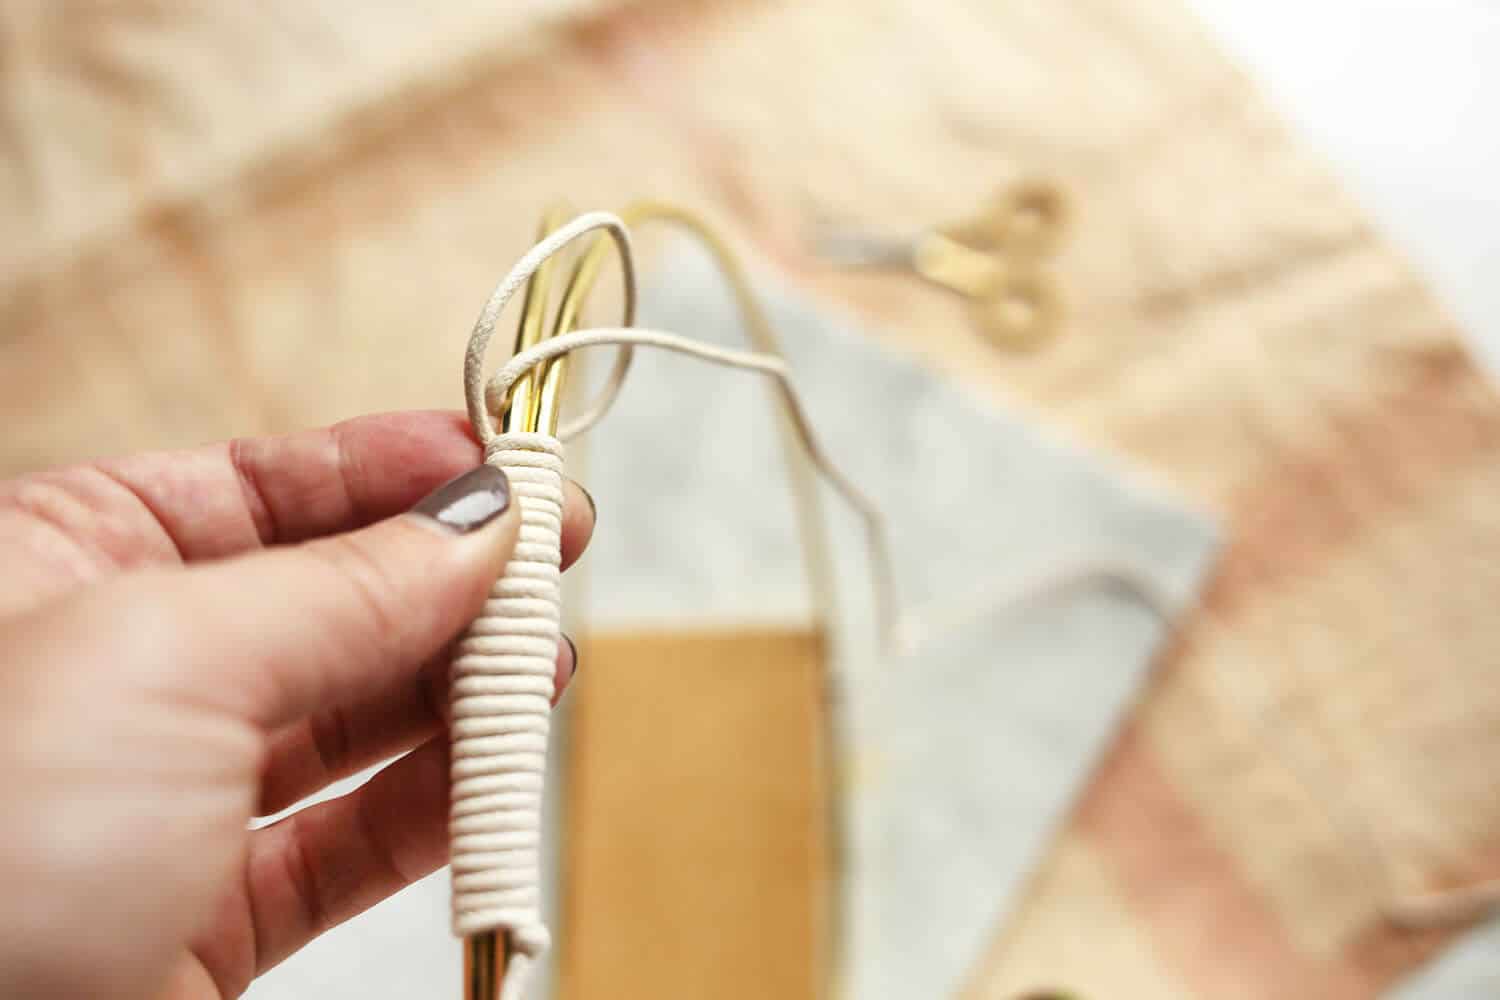 Take the longer end and wrap it tightly around both hoops until you reach about 1″ past the other side of the electrical tape and tie another knot.
 Then wrap each end under and back up through the two hoops and pull as tightly as you can. This will ensure your wraps stay taut.
 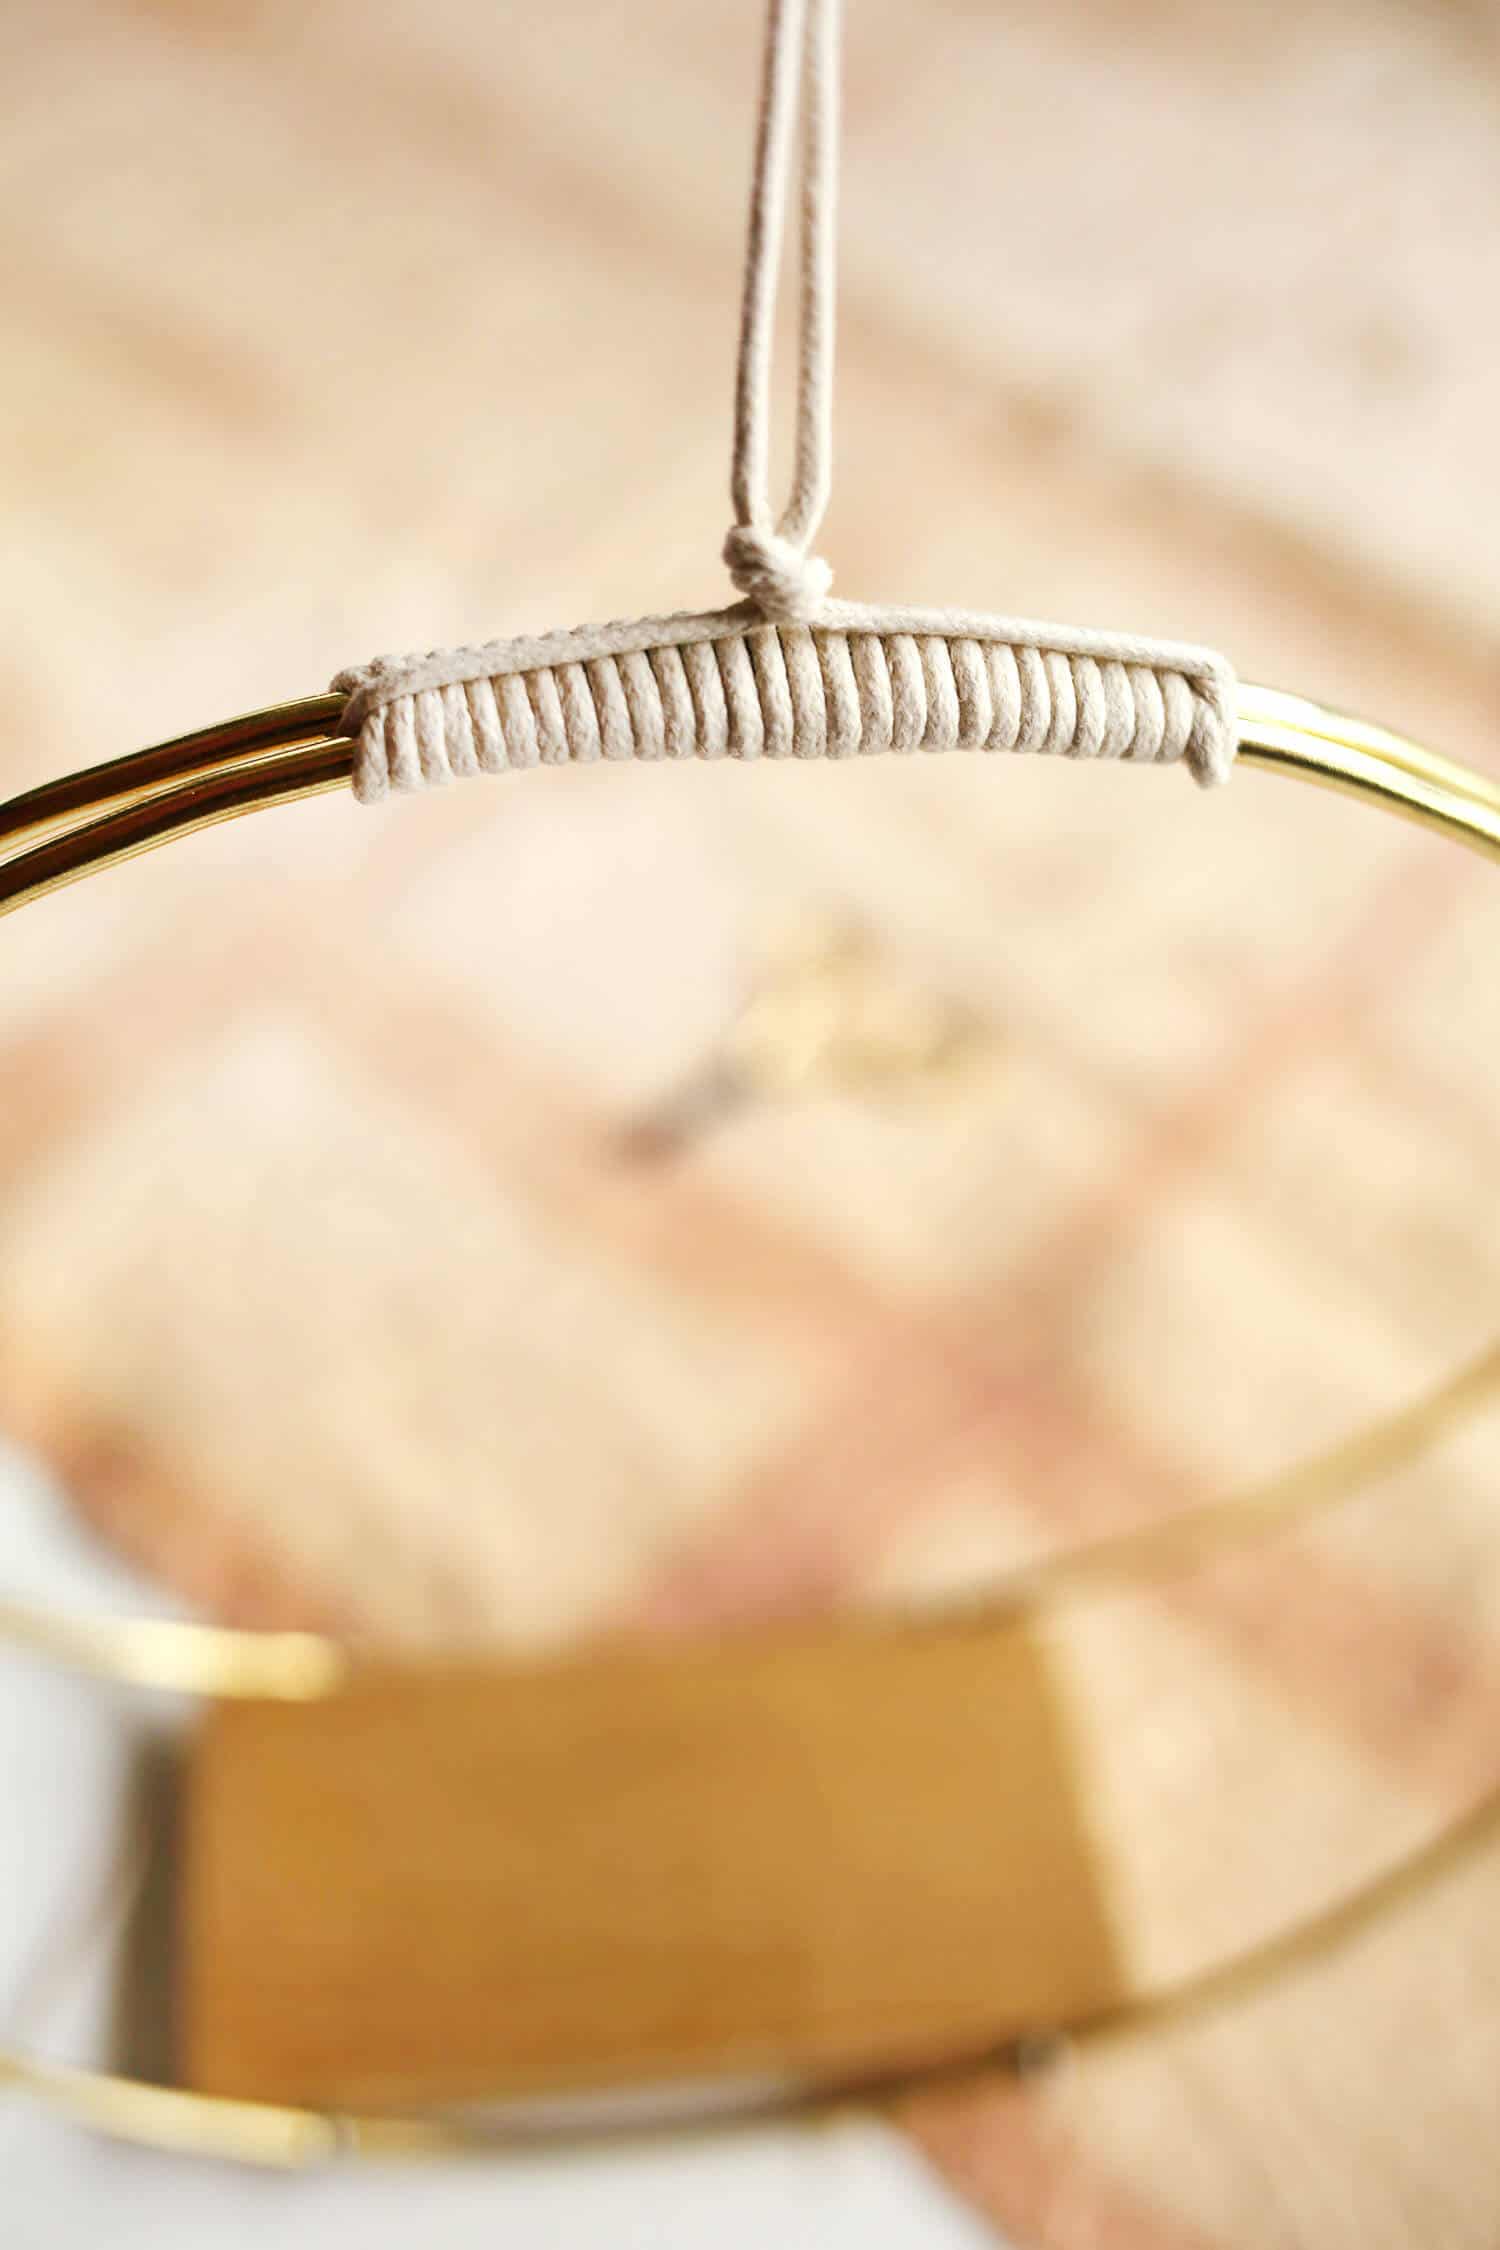 Bring your rope ends together and tie another knot in the center as shown. Measure how high you want your planter to hang and then tie another loop knot at the other end. Trim your ends.
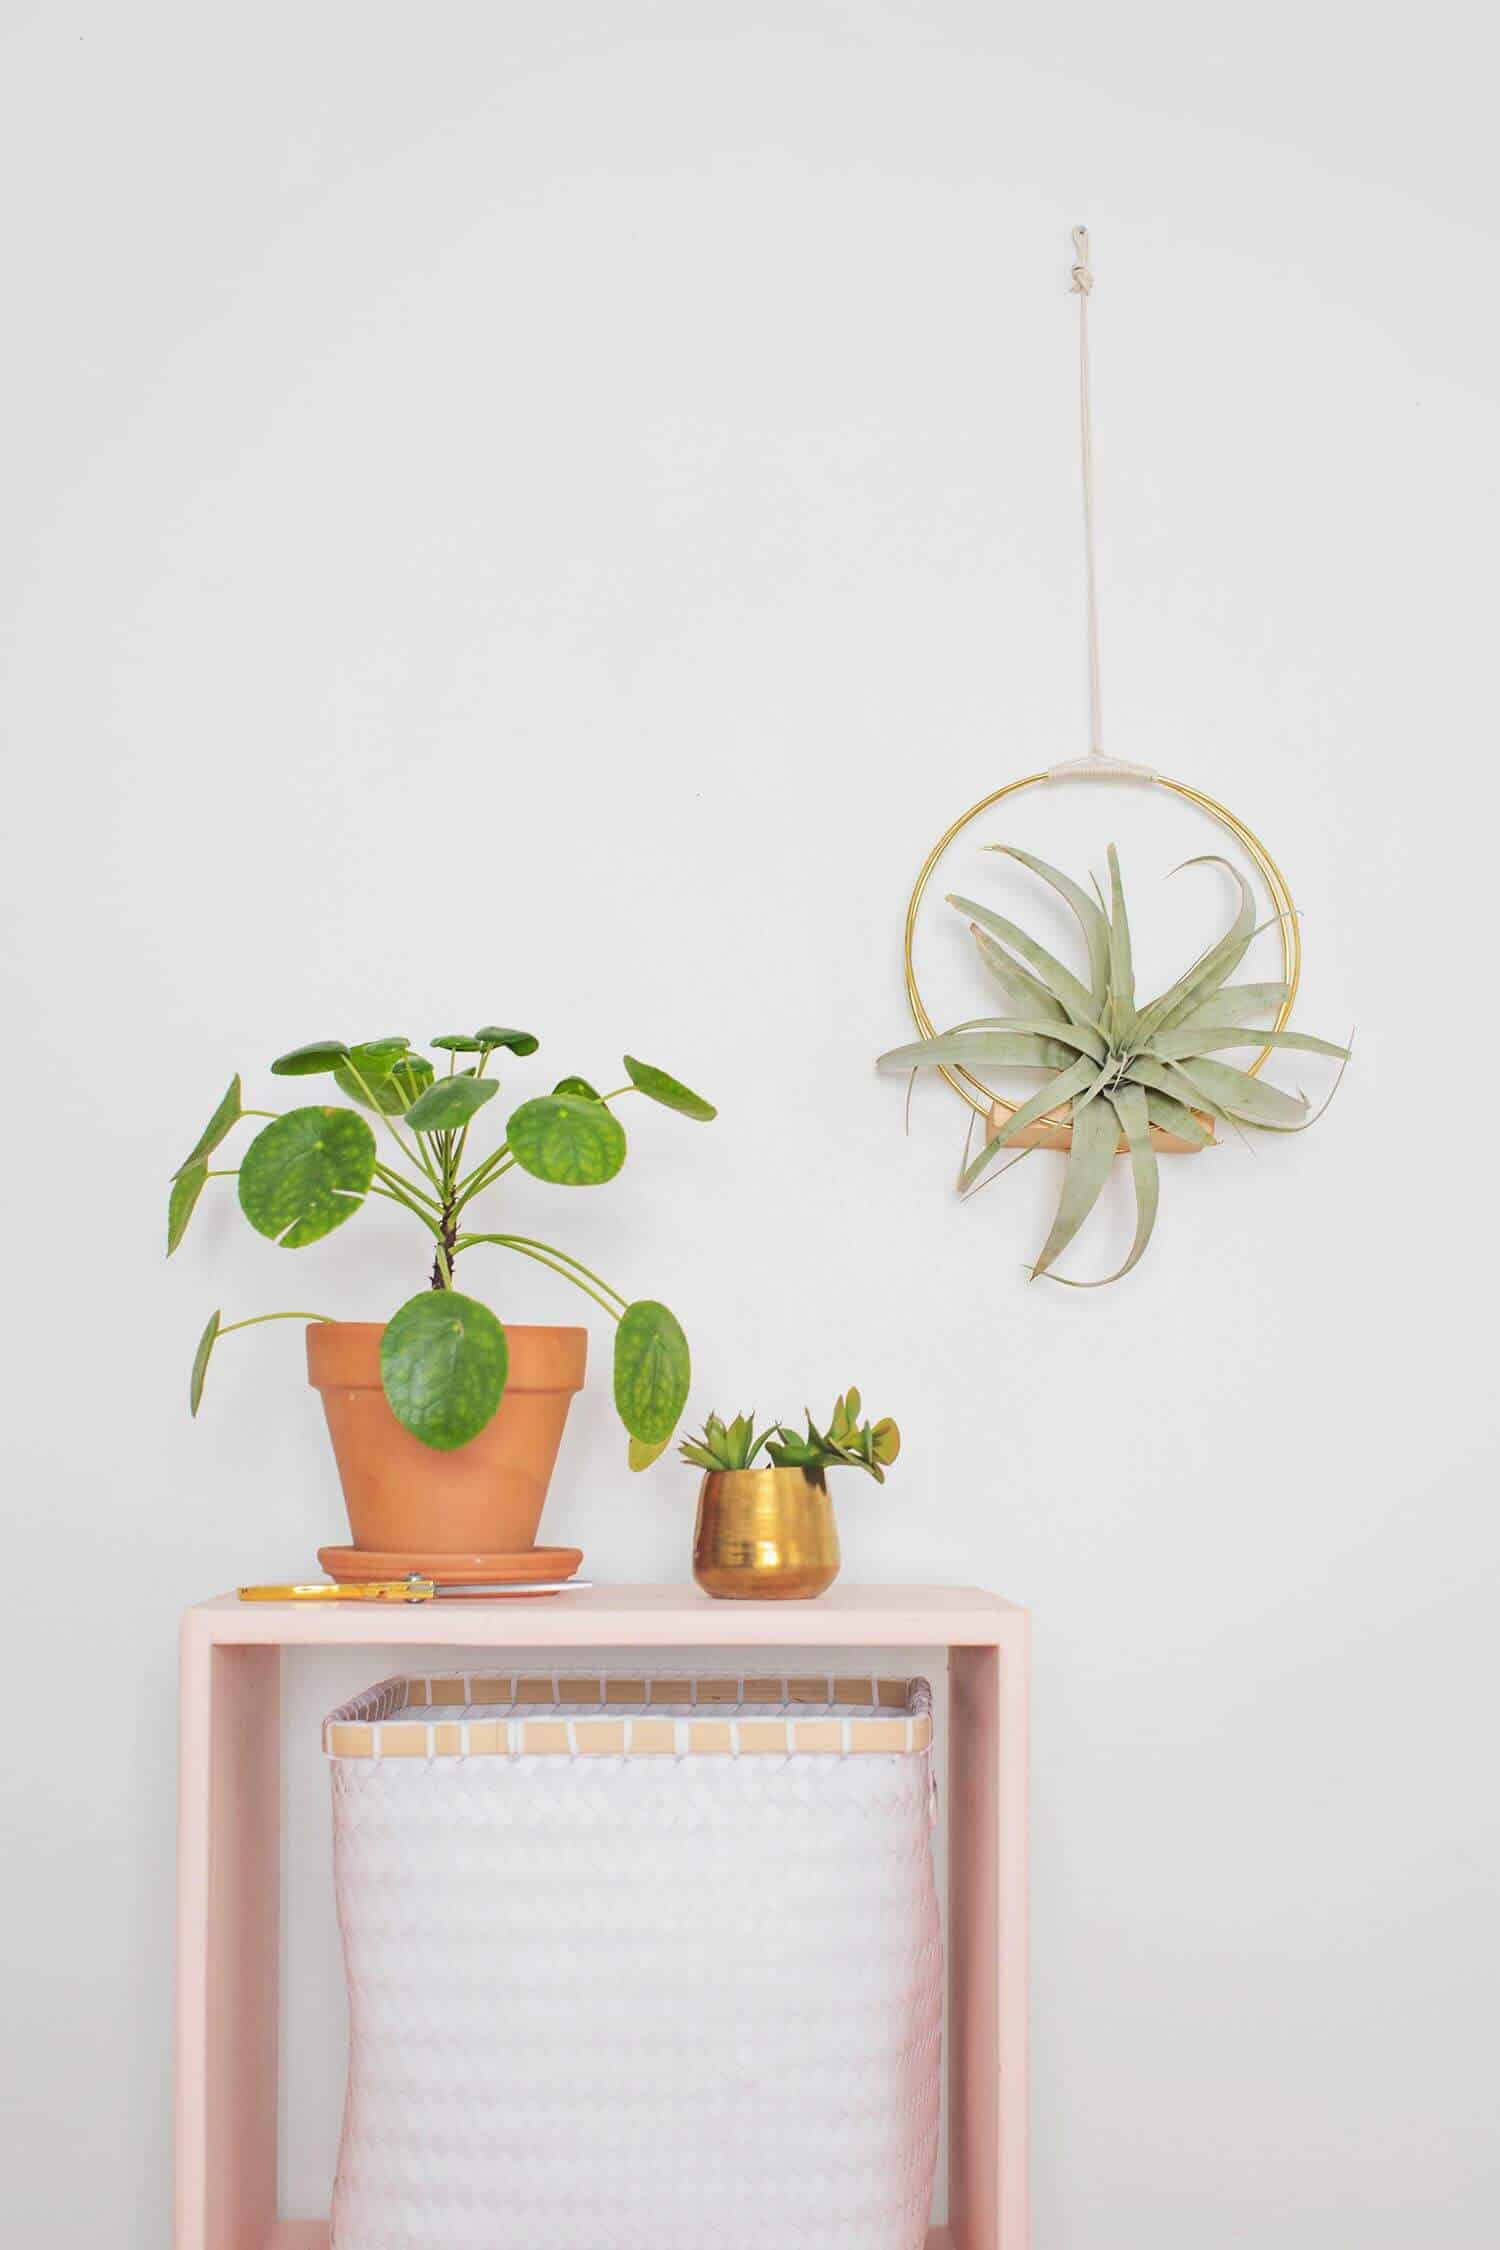
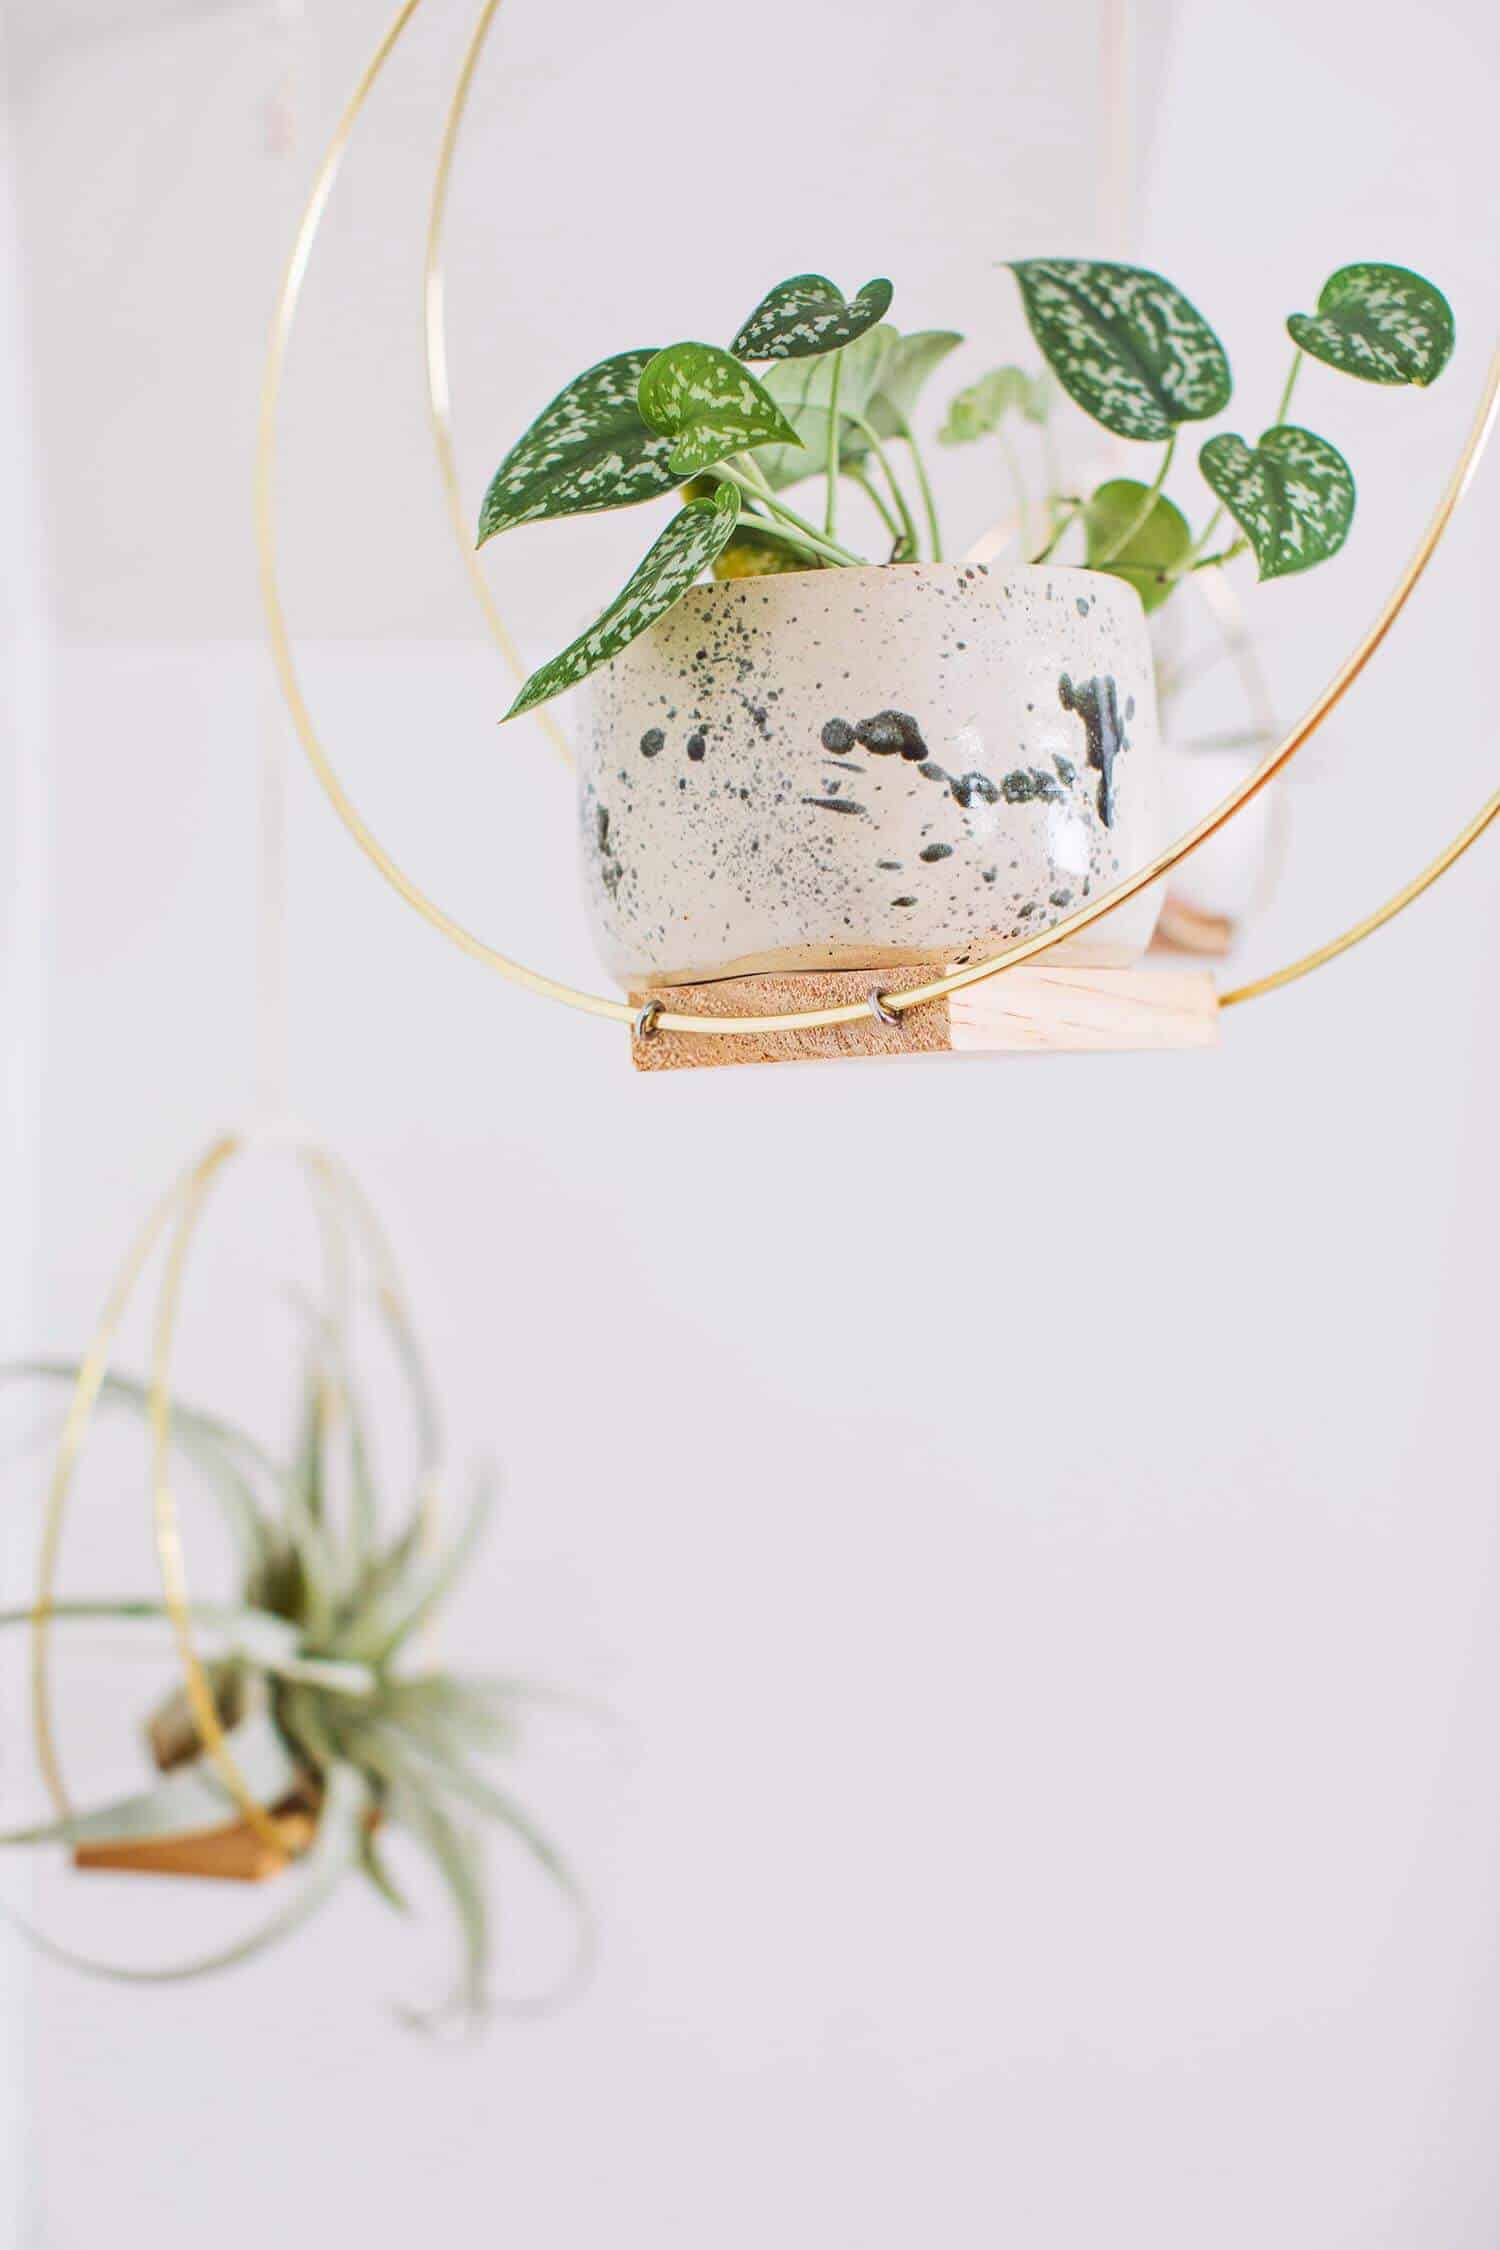
 Once you’ve found the perfect place to hang them, either together or separately, you’ll just need to swap out a few plants in small planters to see which one you like best. Enjoy these sculptural, mid-century inspired planters in a sunny space or stick a few faux succulents up there if you’re using them in a room with low natural light. We won’t tell if you won’t. –Rachel
 />
/>
50 Comments
These are absolutely adorable and look much more expensive than the sum of their parts. Plus they seem fairly uncomplicated to make.
I’m so glad you think so! Yes, probably one of the top three simplest DIY’s I’ve ever done! -Rachel
I love macrame plant holders, but I am kind of over them. This is super minimal and stylish update for all my small hanging plants. Thanks! I love A Beautiful Mess so much, especially during my home renovations – your taste and inspo are killer! <3
I feel that! Yes, this is another easy way to add some brass or gold to a space without needing to learn a completely new skill. -Rachel
These are so cute and so simple! I love how easy they are to make. I even have two gold rings laying around at home that I’ve been wondering what I could do with them – looks like I have a weekend craft project!
www,blissfuljaqui.com
Yay! And no extra trip to the craft store! -Rachel
I love these planters! They look very chic and modern, and I love how easy they are to make. Can’t wait to make some of my own!
-Helen
http://www.sweethelengrace.com
I’d love to see yours if you make some!! -Rachel
These are absolutely adorable ! love the simplicity of the design !
Right?! The fact that they literally take 20 minutes to put together is the best part!!! -Rachel
Those planters are so pretty! I love the way that you incorporate greenery into your home!
Paige
http://thehappyflammily.com
gah! these are too cute! I have a spare bedroom thats looking a little bare, I am definitely keen to make these.
Question: I clicked on the link for the eye hooks, but it does not specify how many eye hooks come in an order. Is that price for a pack of eye hooks, or is it the price for one single eye hook?
thanks!!
Michelle, Honestly, I’m not sure. I got mine at a local hardware store instead of ordering online so you might want to check out your local hardware store, too?
yep! that’s what I figured. Im surrounded by them haha. thank you 🙂
Adorable!!! My fam and I are doing a secret santa gift exchange. I think this would make the best gift ever and my fam is so into DIY, someone is bound to love it! If I lived on my own I’d SO make this for myself to ha!
Katie | http://www.sunshinestyleblog.com
WINNING!!!! So happy you love it and that you have a family who might love it, too! -Rachel
I love how sophisticated the DIY looks. It’s so simple to make too. Thank you for sharing! 🙂
Charmaine Ng | Architecture & Lifestyle Blog
http://charmainenyw.com
So glad you love it! -Rachel
I really love the simplicity of the design, I will try to make these this weekend, thanks for sharing!
Yay! We’d love to see yours when you’re done!! -Rachel
That is so so so pretty!
So beautiful!!!
x Mariya
http://www.brunetteondemand.com
I love these! Rachel, you always come up with the most beautiful DIY’s. Thanks for sharing and I look forward to trying this!
Well, what a great compliment!!! I’m so glad you enjoy them because it makes it all the more worth making more! -Rachel
They look soooo stylish, what a cool statement to show off your plants!
https://www.makeandmess.com/
Who knew brass rings had it in them?! Ha! -Rachel
easy but lovely
The best kind of projects!!! -Rachel
I am sure this is going to be one of those huge favorites like those clay ring bowls everyone made. I am so making this!!
Wouldn’t that be fun!!!! You’re so sweet! -Rachel
Love how beautiful and sleek these are! The metal against the wood with the string details are so lovely. Thank you for the detailed steps– can’t wait to try making one of these!
xo,
katrina
http://steadycatalog.com
I love that you appreciate those details, too!!!
I love idea, this blog its really cool
https://thepinkpineappleblog.blogspot.com/2017/12/5-textures-you-should-try-on-this.html
Yeah, it’s the best!
I love these. I have always wanted to add something like this to my house. I will definitely have to try this project.
xoxo
Stacey
@stylingsofstacey | http://staceylyynn.wixsite.com/stylingsofstacey
Do it! Do it! 😉
-Rachel
These are absolutely the best idea I’v seen! Great thinking!!! Thanks!
Well, thank you! It’s always great to hear an idea has been well received!!! -Rachel
This is seriously so cute, I love it! Thanks for sharing <3
https://www.myblackcloset.com/
You’re welcome! This may be one of my favorites from 2017!
Such a beautiful DYI! It’s so gorgeous x
http://www.serenbird.com
Thank you so much!
Wow these really are stunningly beautiful. Think these are next on my list of crafts to try for my home. Thanks for the inspiration.
E x
http://elfeelgoodsvintage.uk/
These are lovely and I am gathering the materials to make them. I was wondering if the dimensions of the wood pieces were on the small side, however. I just got the 3 in your list from a friend with a woodworking shop and was surprised at the size. Could you please clarify? Thanks!
Hi Jet! The measurements look correct, but just make sure your planter will fit on them and adjust accordingly. <3
Thanks for your reply! Cheers!
Okay, these are totally adorable!! I have such a small apartment, and plants on every single surface, it is honestly starting to get out of control. I love the idea of these hanging planters, and you’ve made it so easy to follow along! Adding these to the project list!
Cute pics! I love them very much and shared them
Hi there,
There just look too cute! I’m going to be making them soon – how much weight do you think they will stand , are there any restrictions? I’m not putting huge plants but not tiny ones either…Thanks alot!
Could you share what size the screws are? The link here is unavailable and the listing doesn’t specify. Thanks so much!