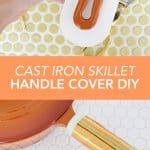
 We partnered with JOANN on this post, and if you’ve ever cooked with cast iron before then you know two things: First, it can take a little bit to get used to the different process of care and cleaning (and how to get it to be non-stick when cooking!). Second, the handles can get really hot if you go to move the pan!! For that reason, it’s a good idea to have a handle cover to pull out when it’s time to move or adjust the pan so you can keep your hands away from the heat. I wanted to make a few covers to fit the different handle lengths I had and thankfully a quick trip to JOANN gave me access to all the supplies I needed! I probably could have spent all day picking through the patterns of fabric, but I found a colorful striped pattern that looked cheery and I was quickly on my way home to sew!
 Supplies:
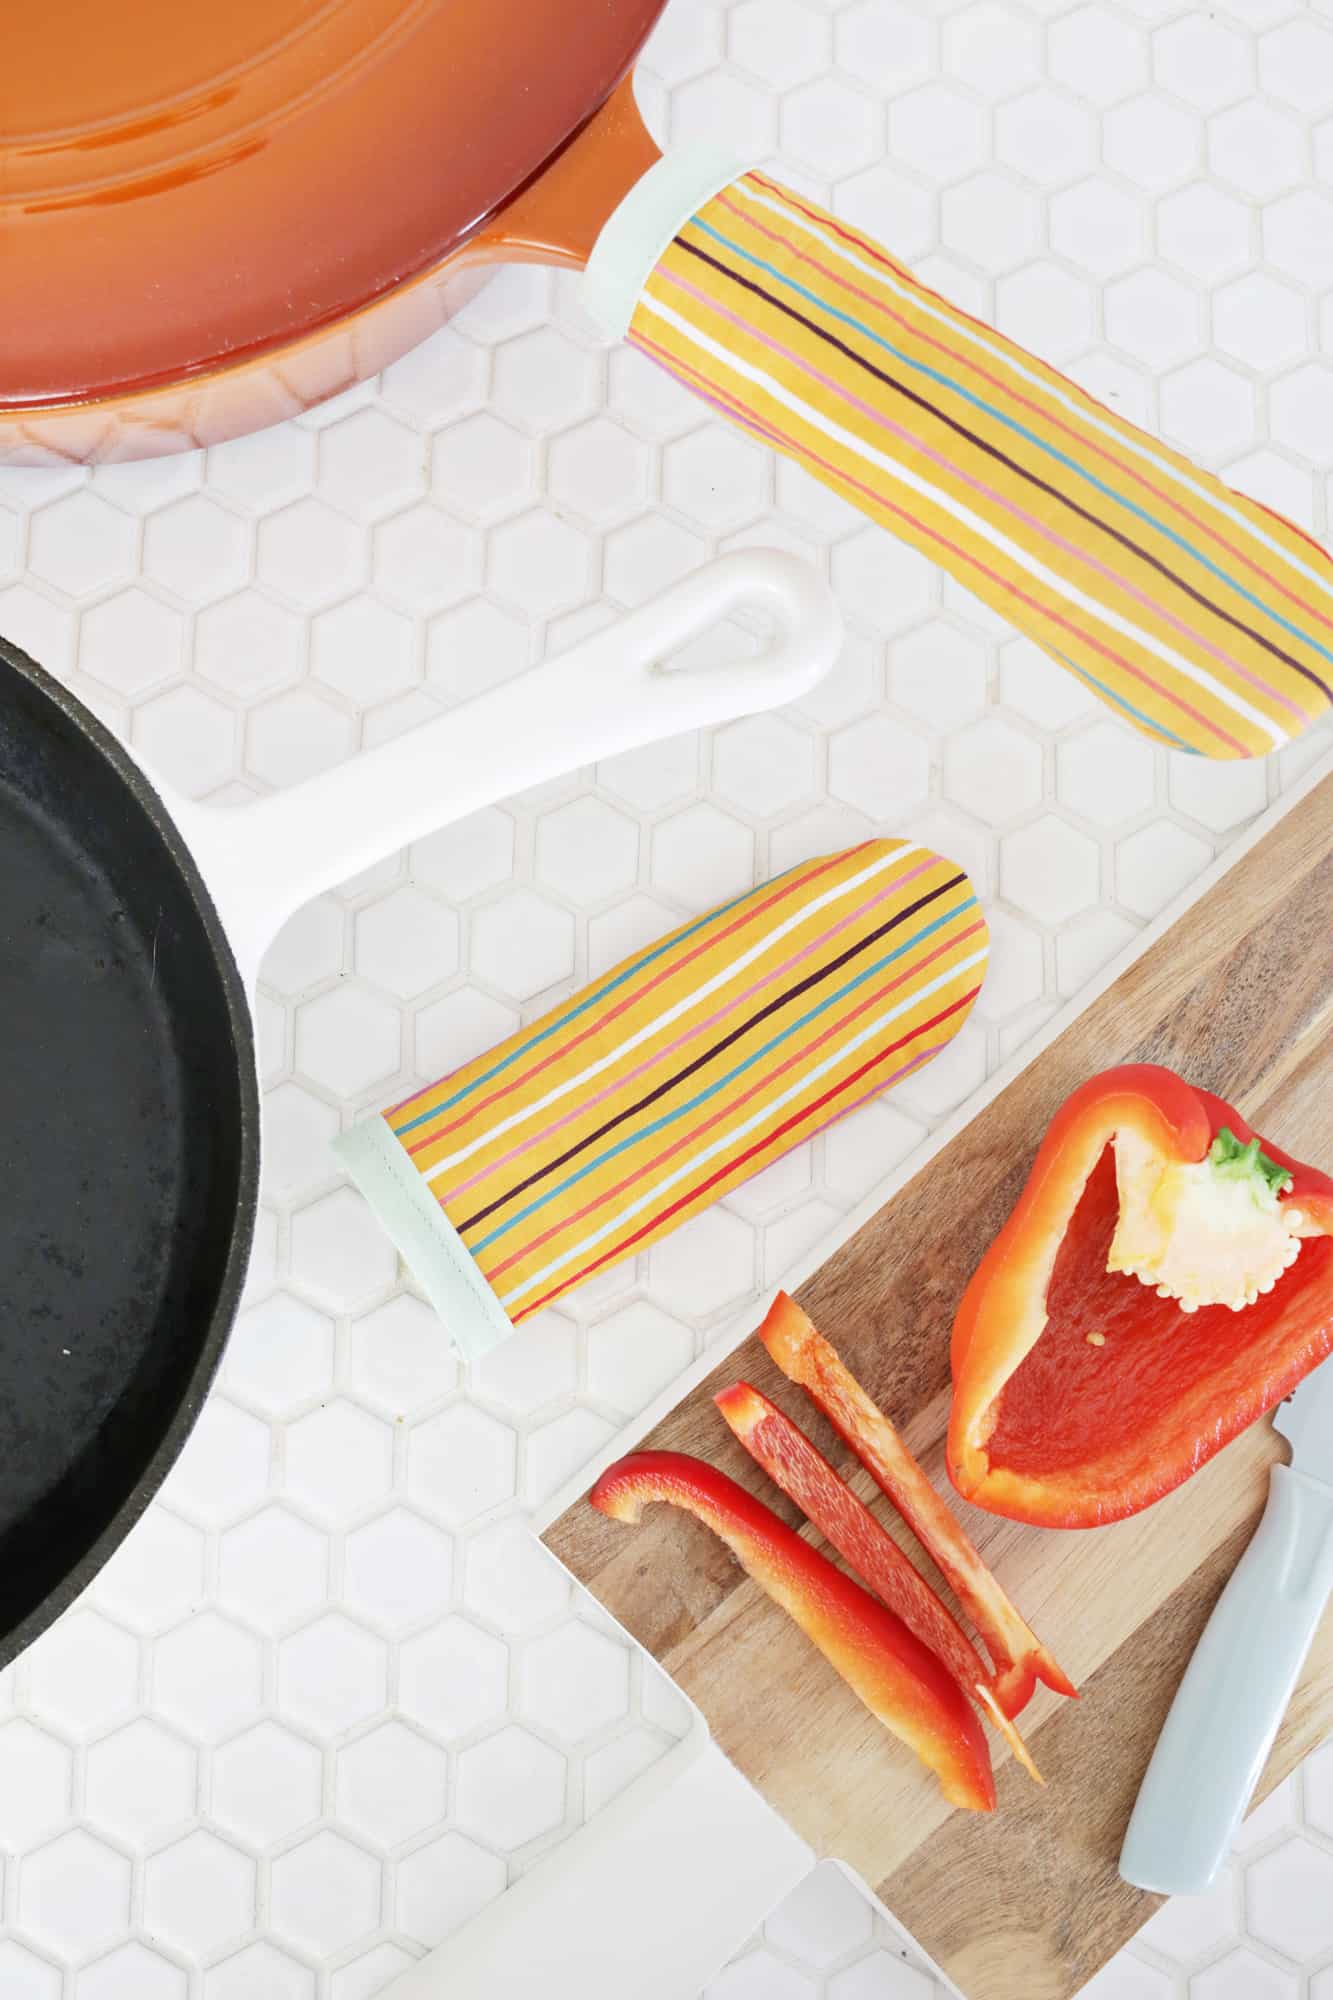
–Insul-Bright batting (or other heat resistant batting)
–cotton fabric (1/4 yard should be enough to make several, as you only need a small amount)
–1/2″ bias tape in your preferred color
–fabric scissors
-sewing machine
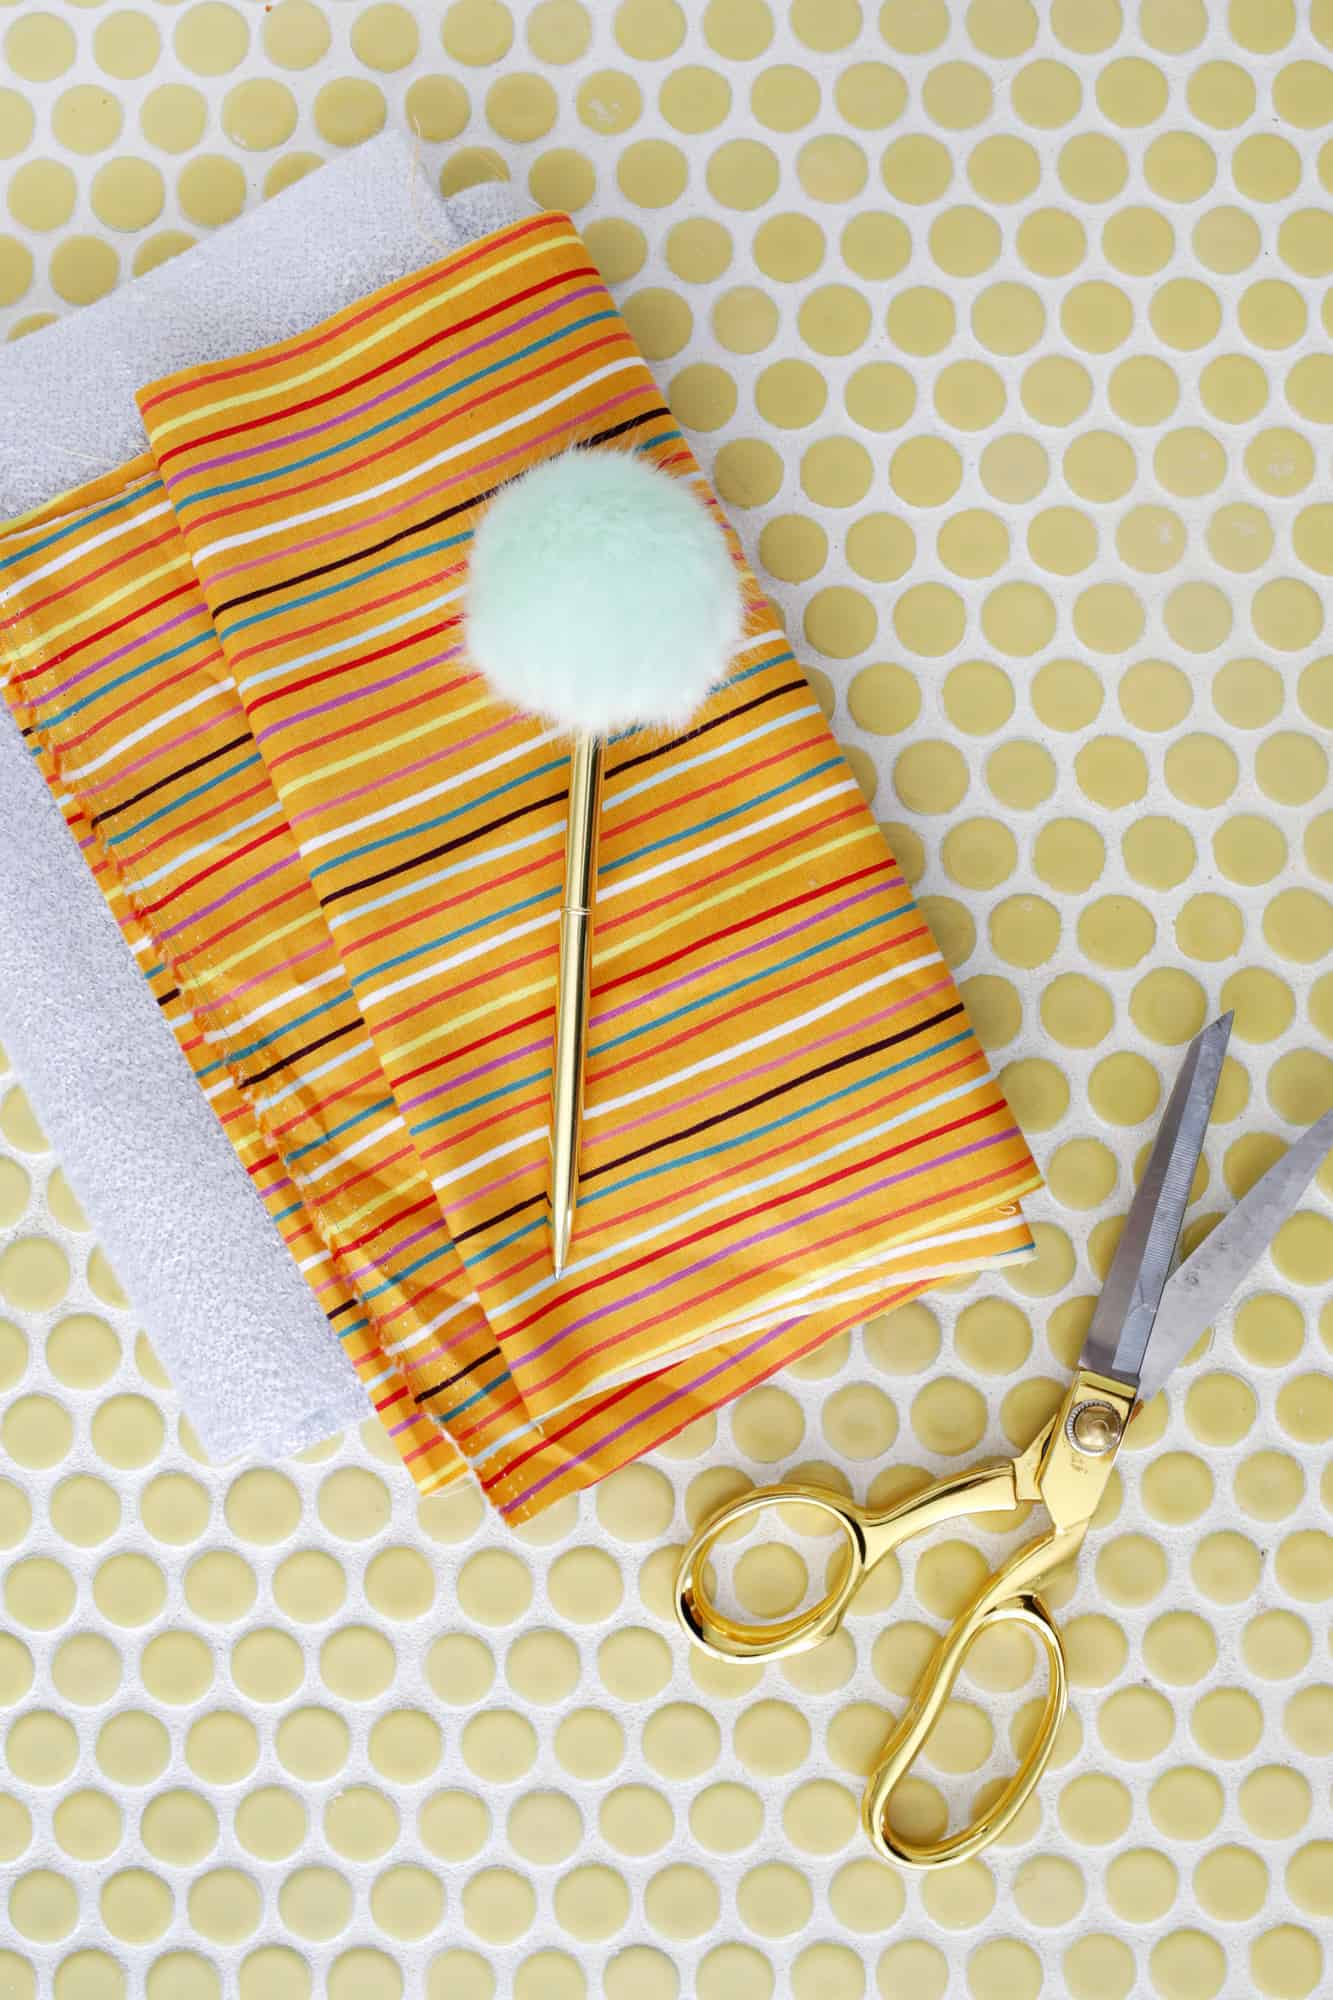
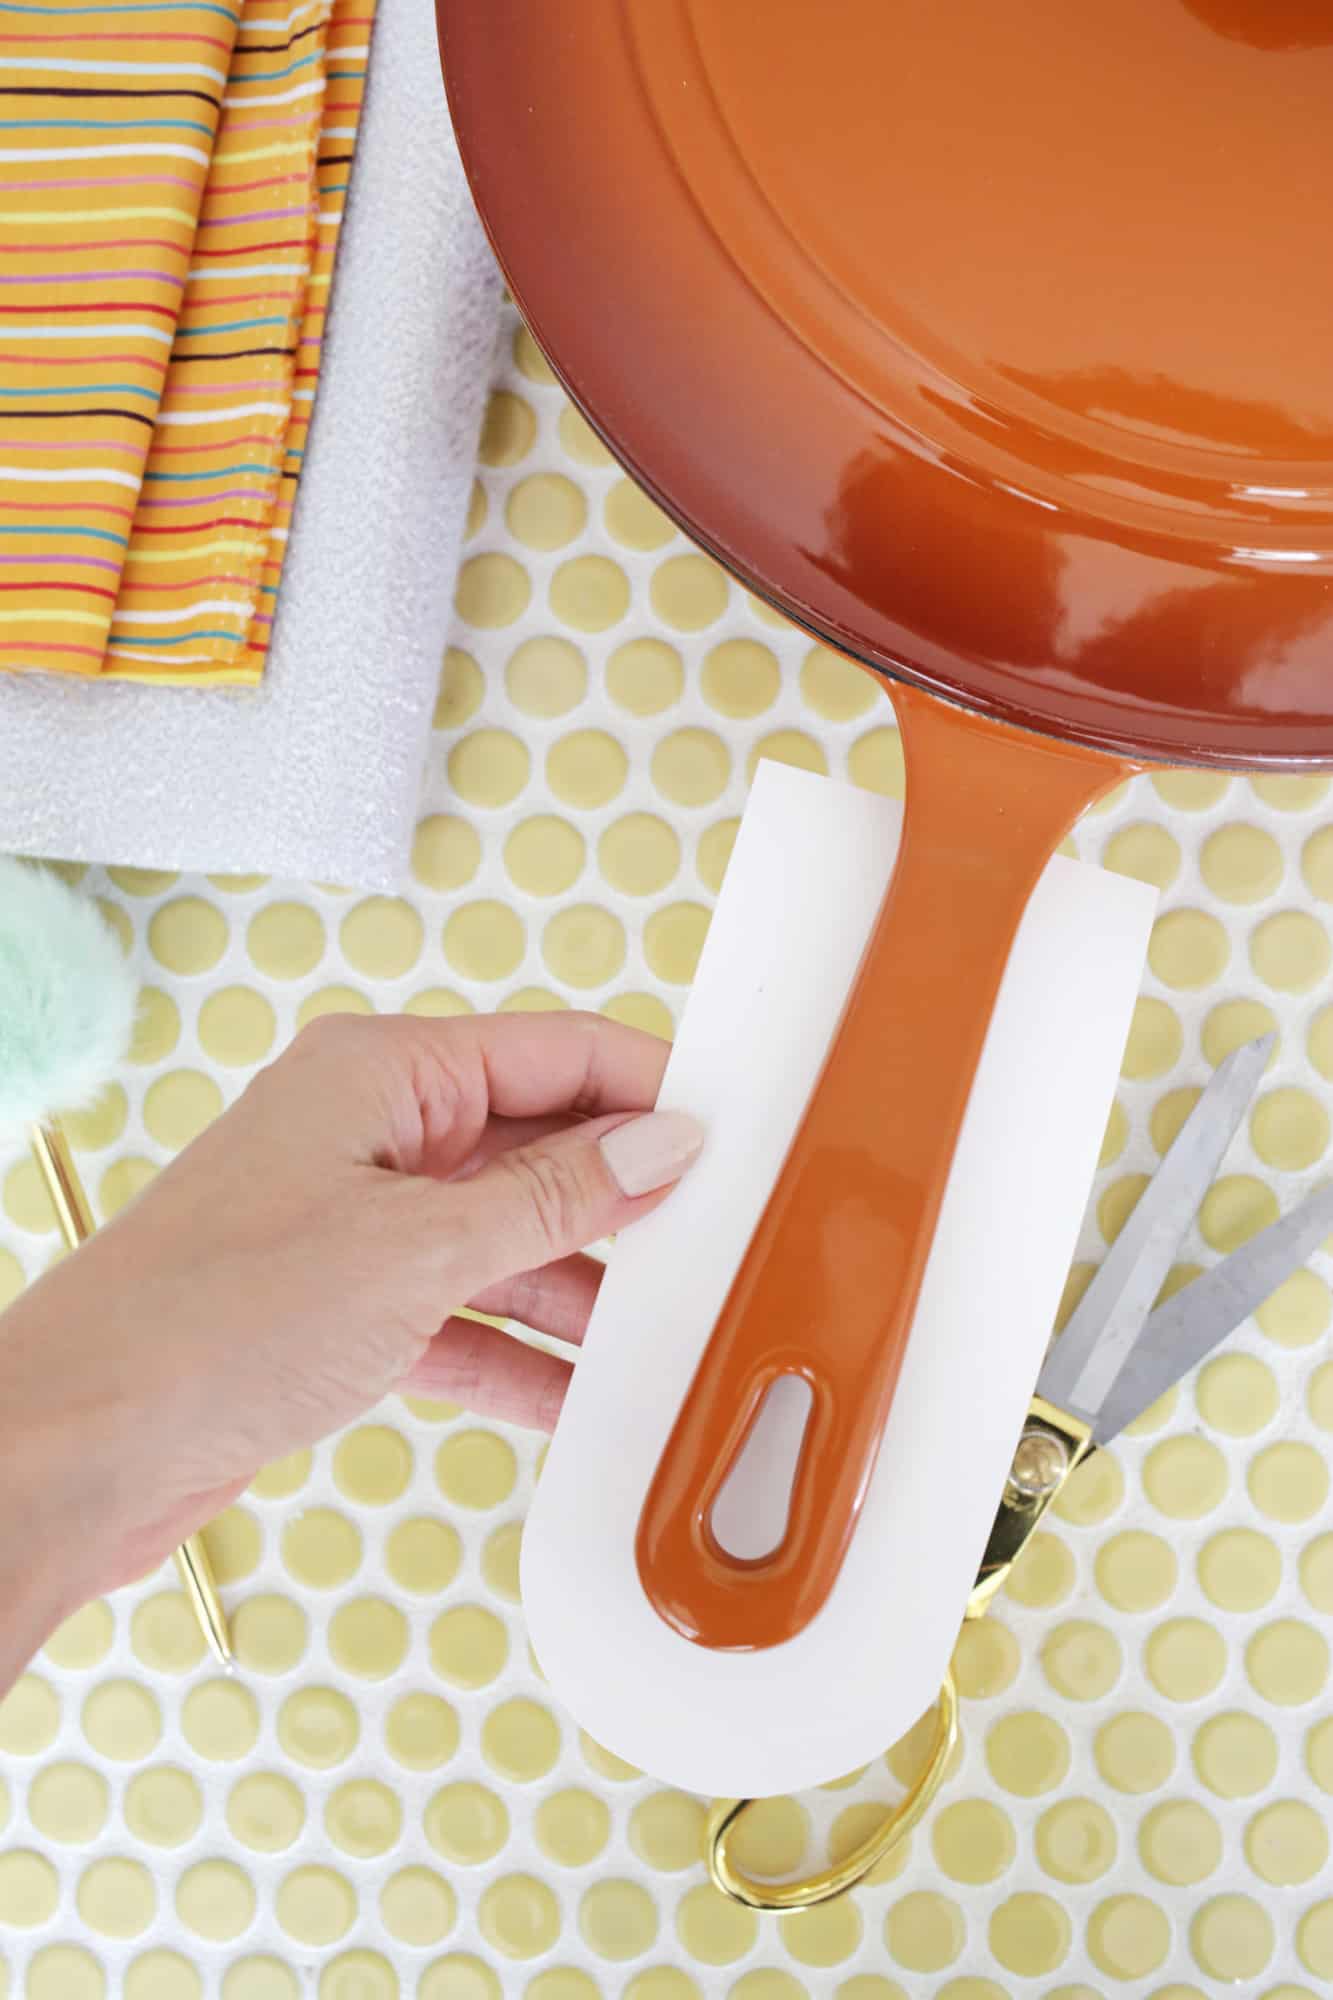 First, you’ll want to make a template for your particular skillet as they come in all sorts of sizes and shapes. Draw a “U”-shaped template that can cover the area of your handle with about 1/2″ to spare on both sides for the seam allowance. I made mine 3″ wide and 7″ long and it fit both pans I have, although I did take an inch off the length for the smaller pan (you can trace a glass or small bowl to get a good rounded edge on the end of your template).
 Use your handle template and cut 4 layers of the shape from your cotton material and 2 layers from your Insul-Bright so you have 6 layers total. Stack 2 stacks of fabric so that both have a cotton layer right side down, an Insul-Bright layer in the middle, and a cotton layer right side up. Pin your 3 layers together with straight pins and pin a strip of bias tape across the top edge of the stack.
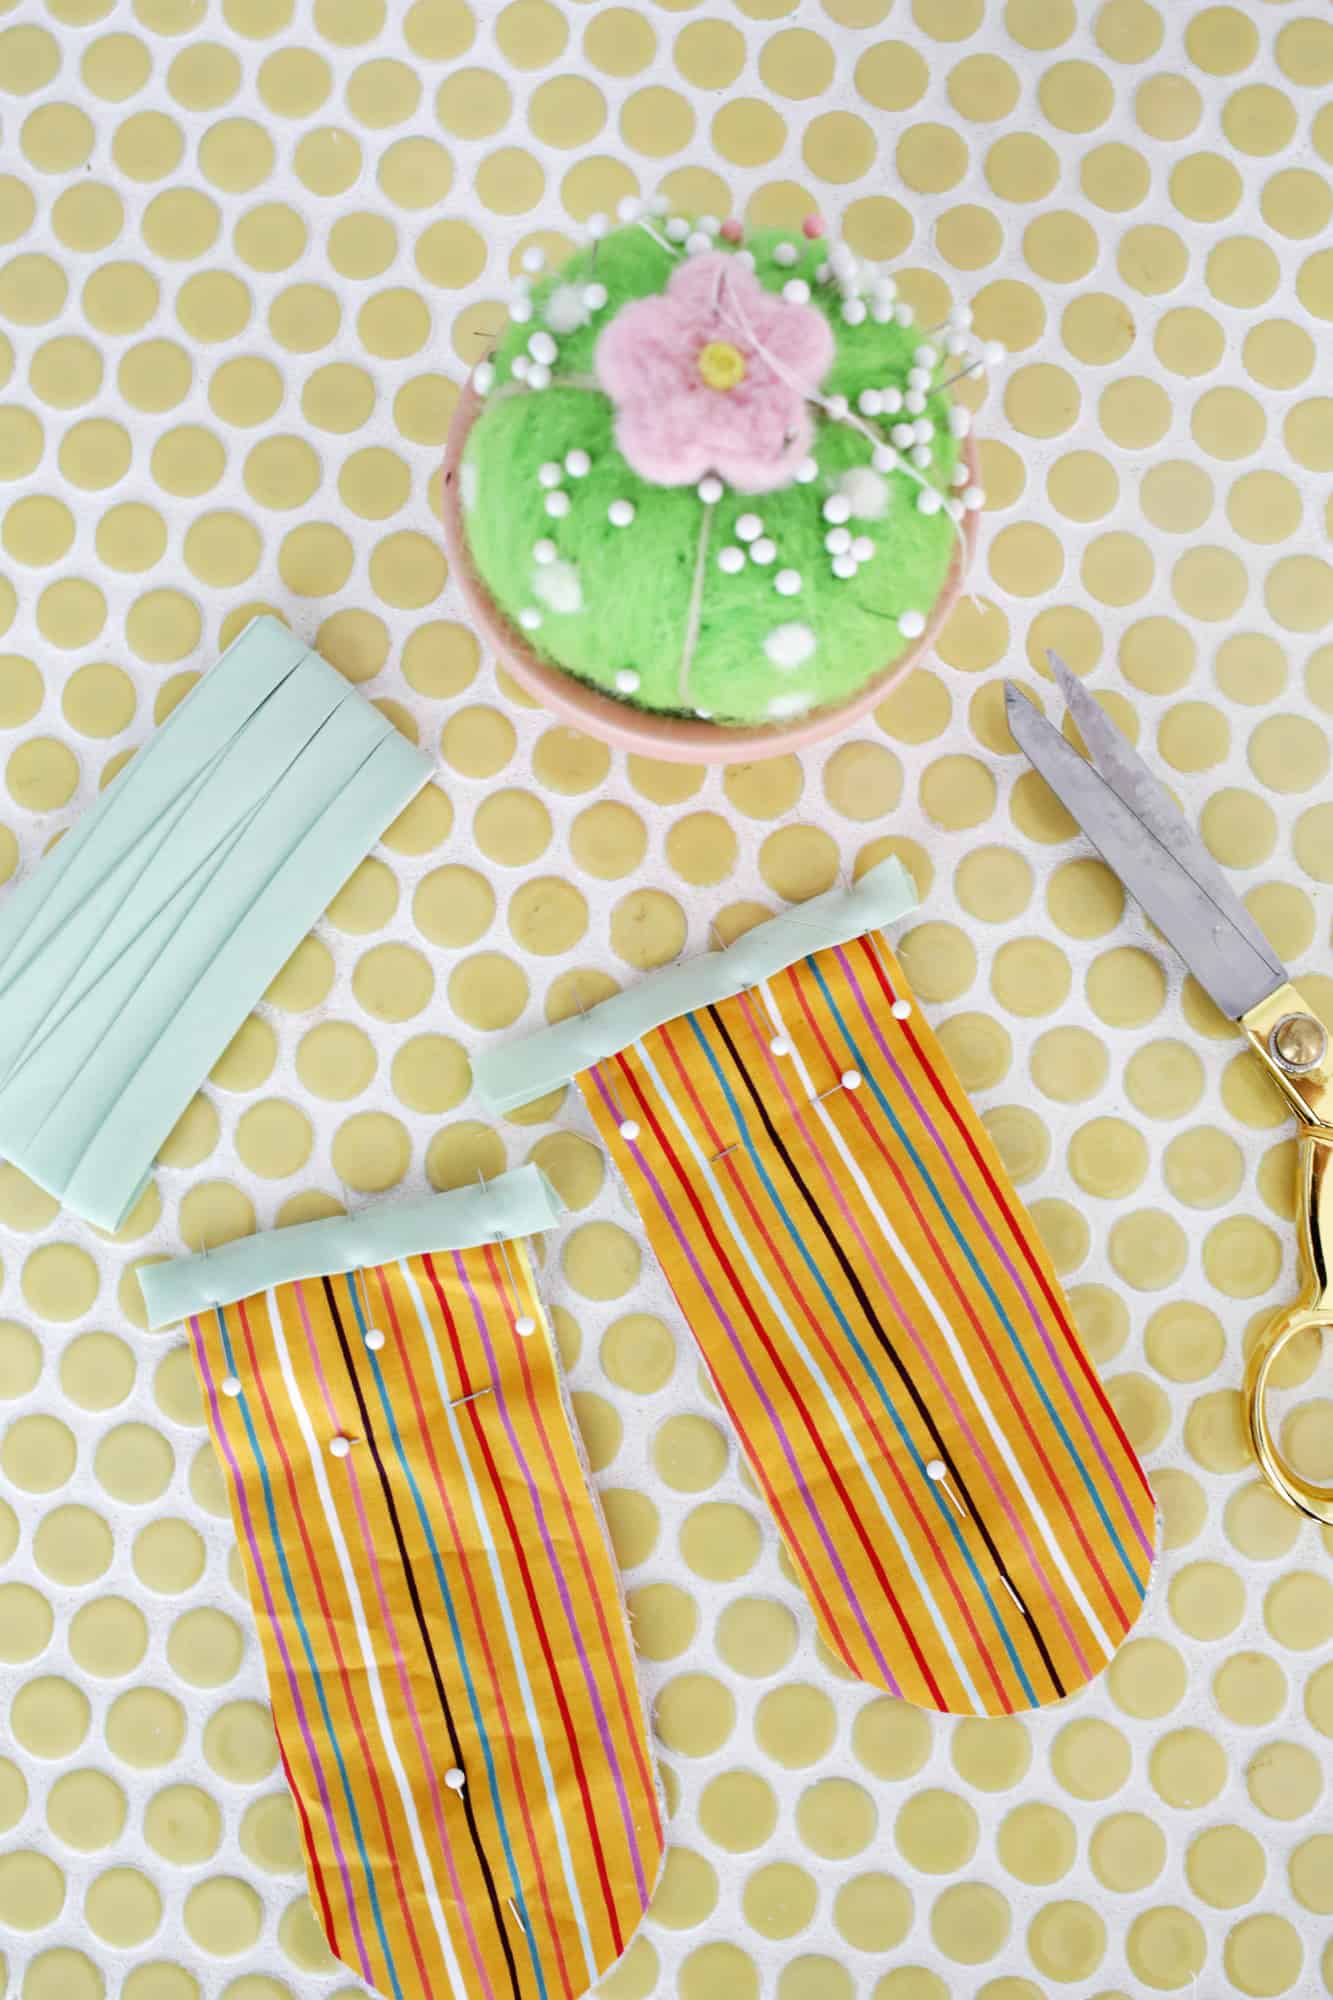
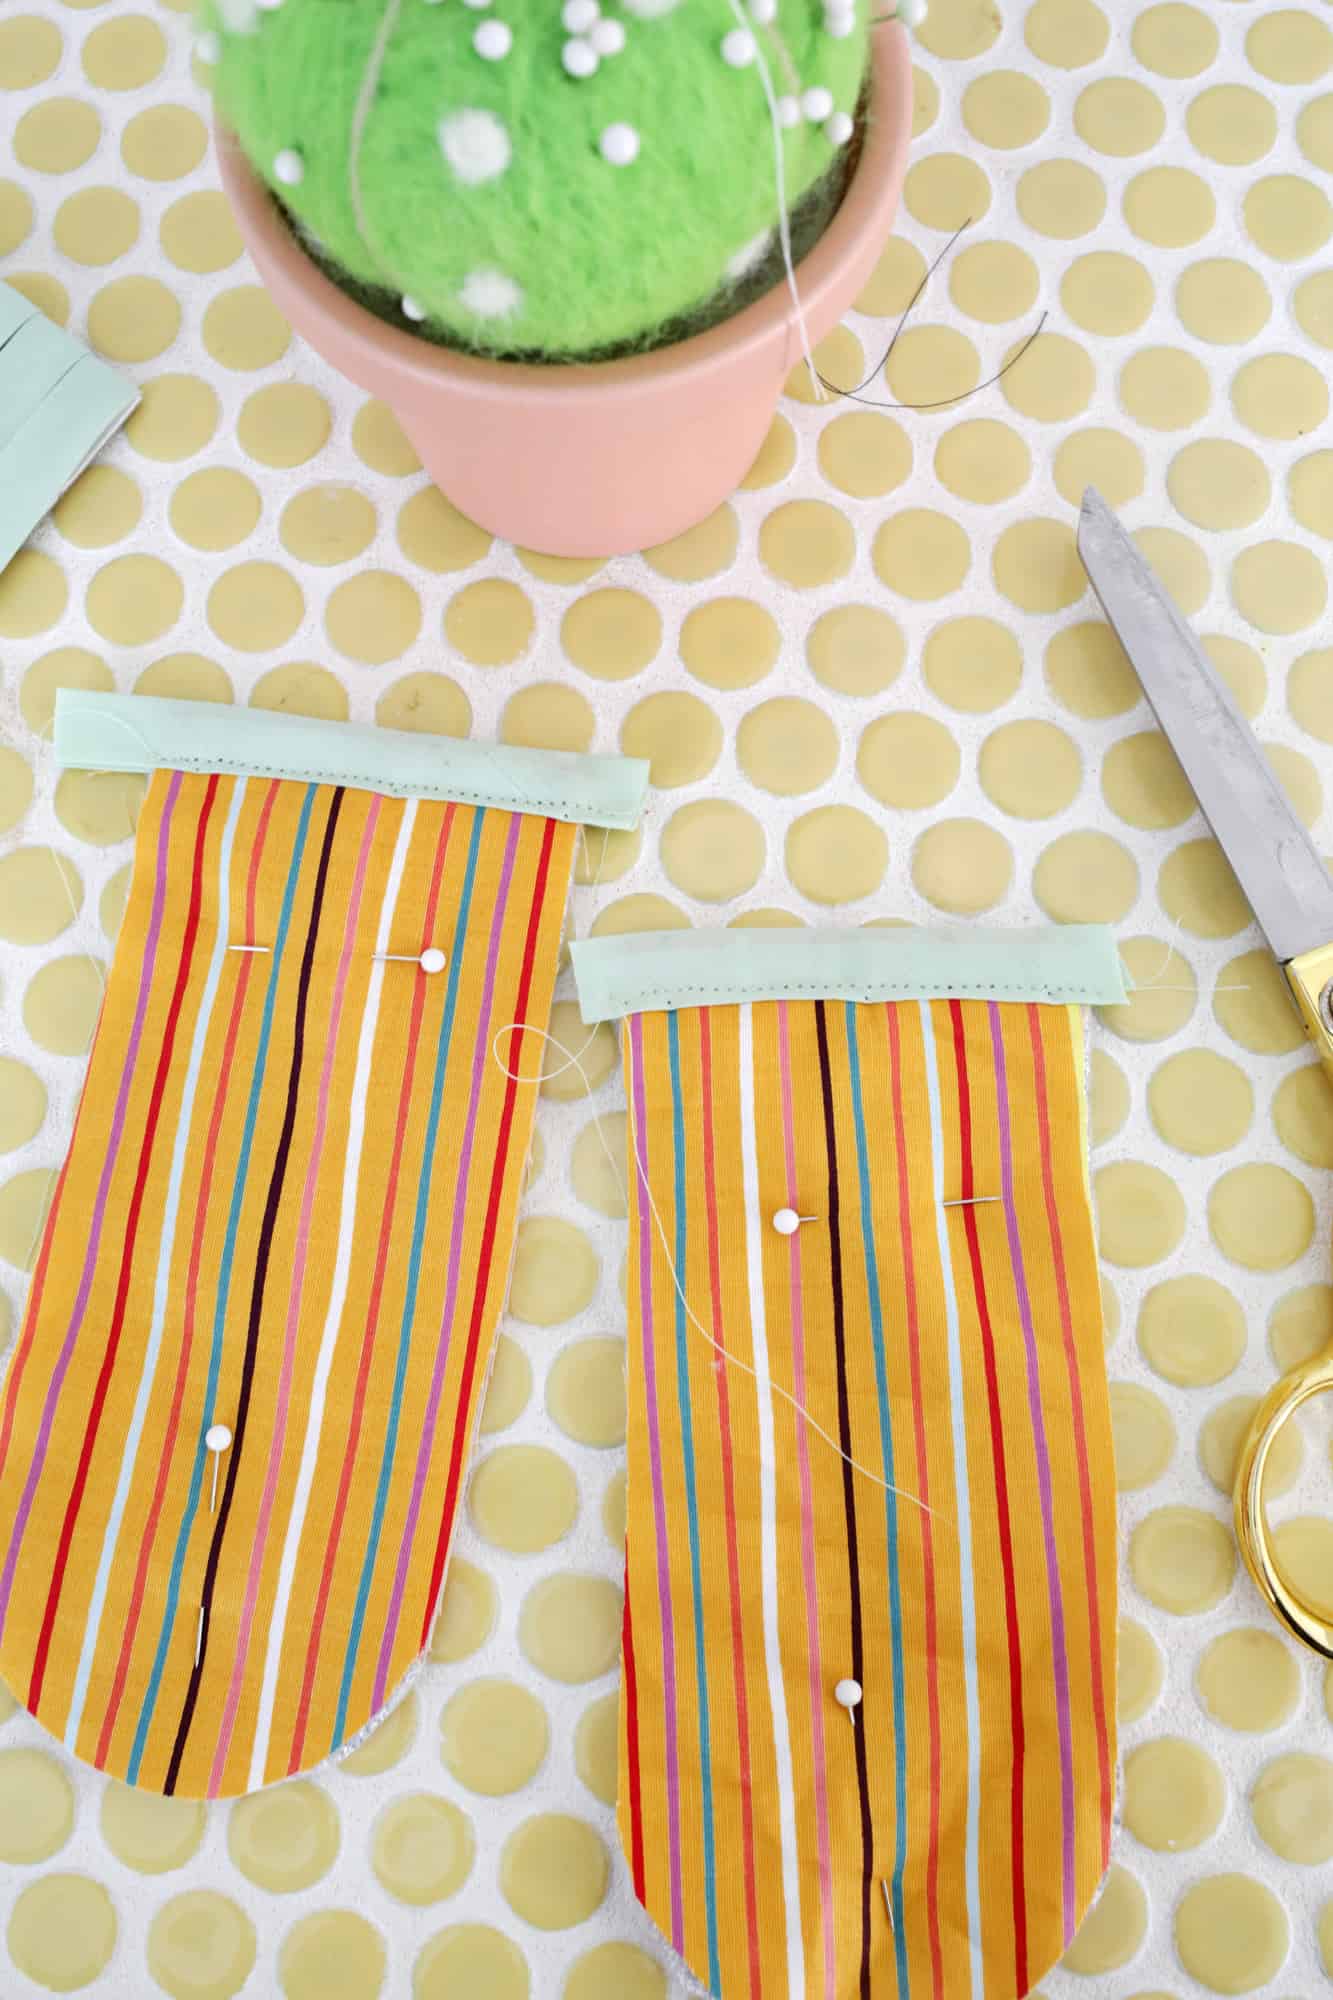 Sew across the bias tape to attach it in place on each stack.
Stack the two stacks on top of each other and pin in place (if you have a different fabric pattern on the inside and outside of your handle cover, face the outside patterns together in the middle of your stack so they will be on the outside once you turn your handle right side out). 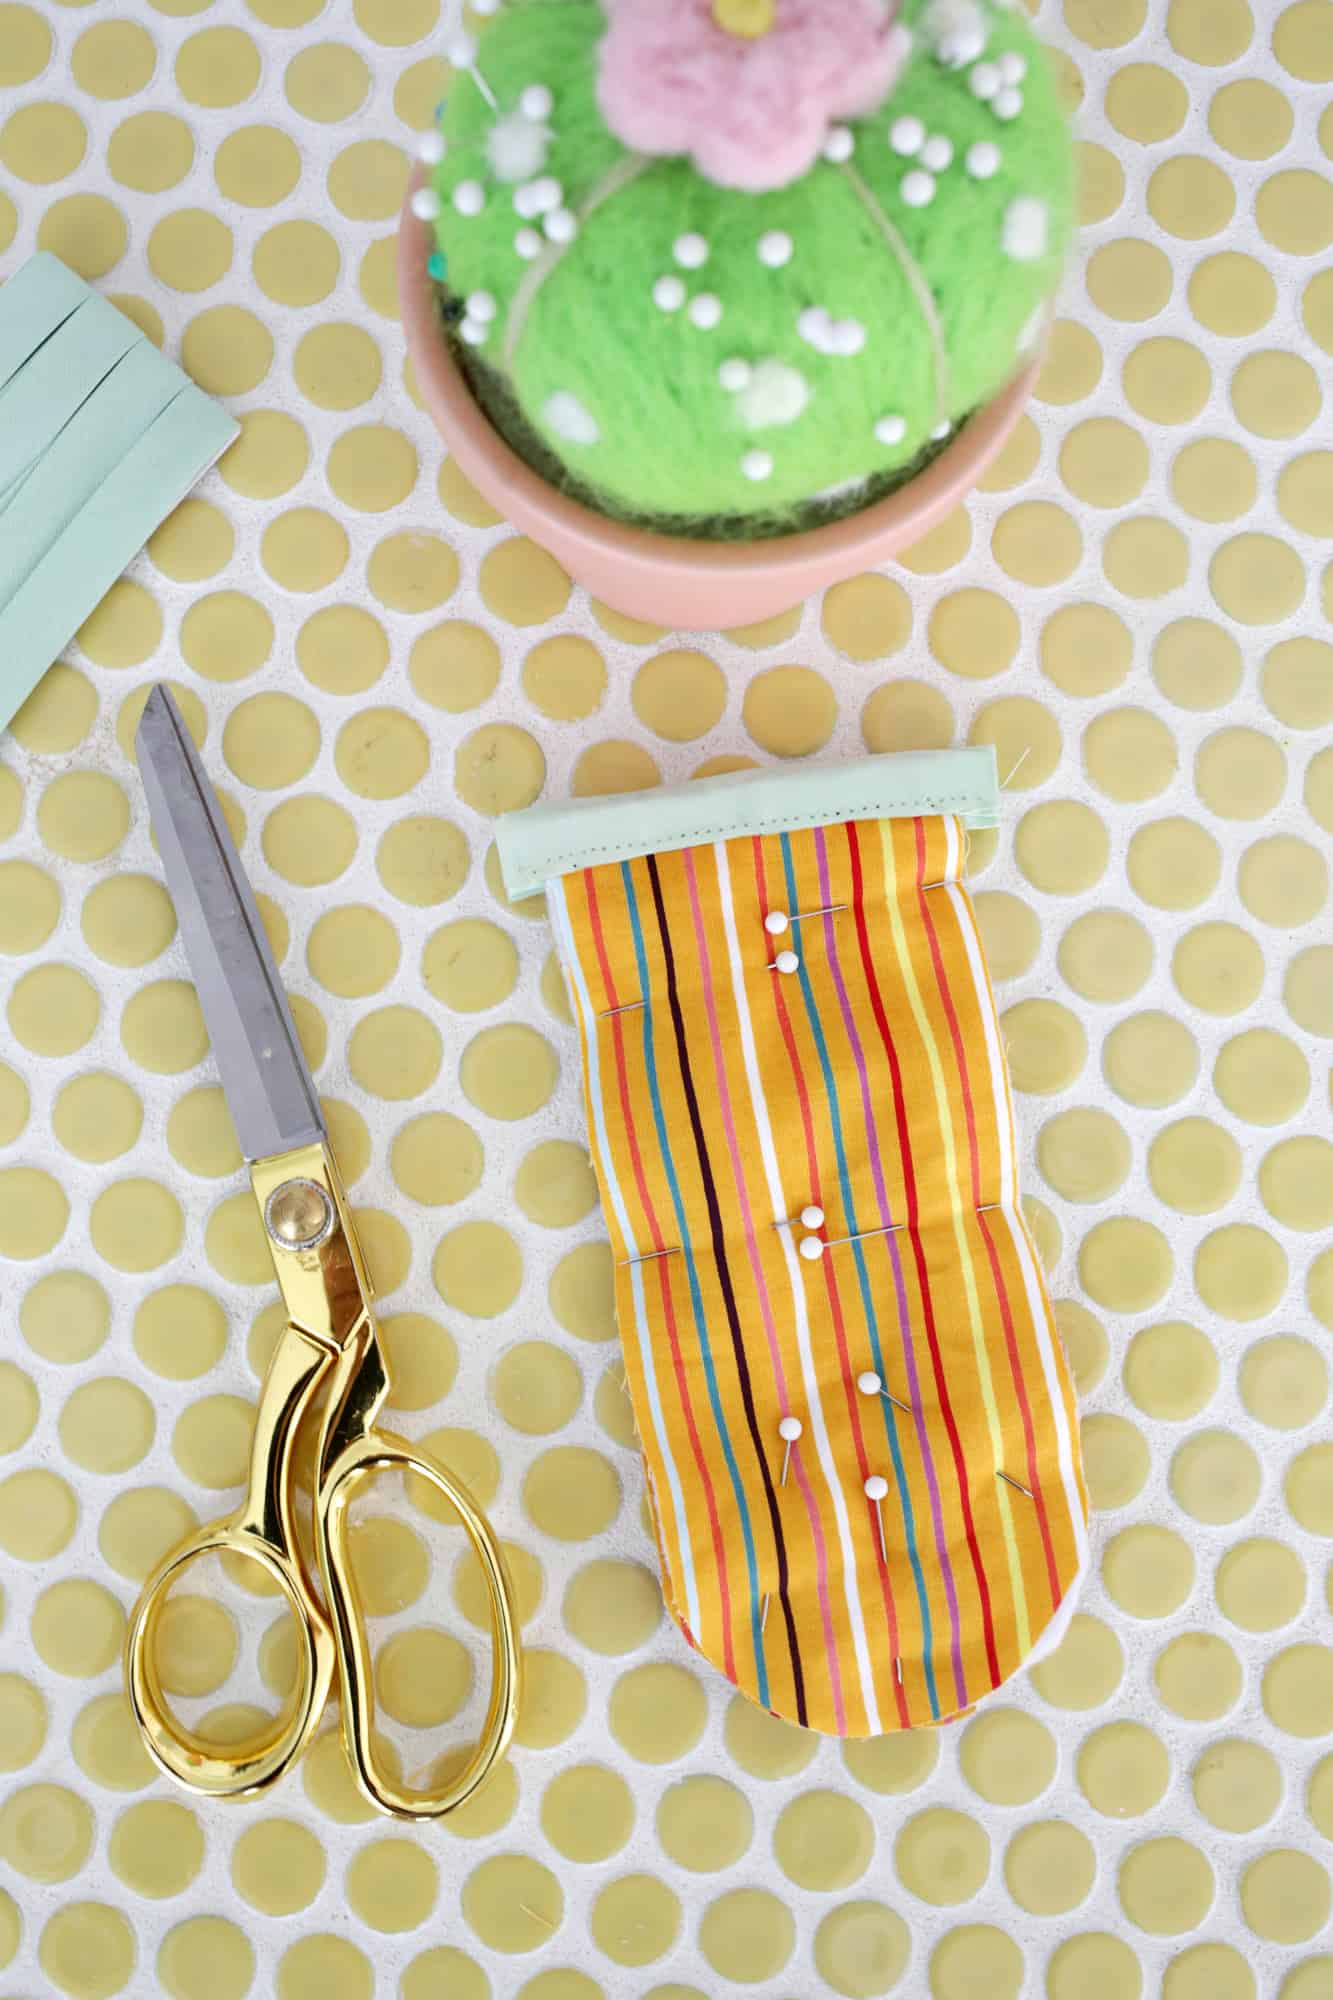
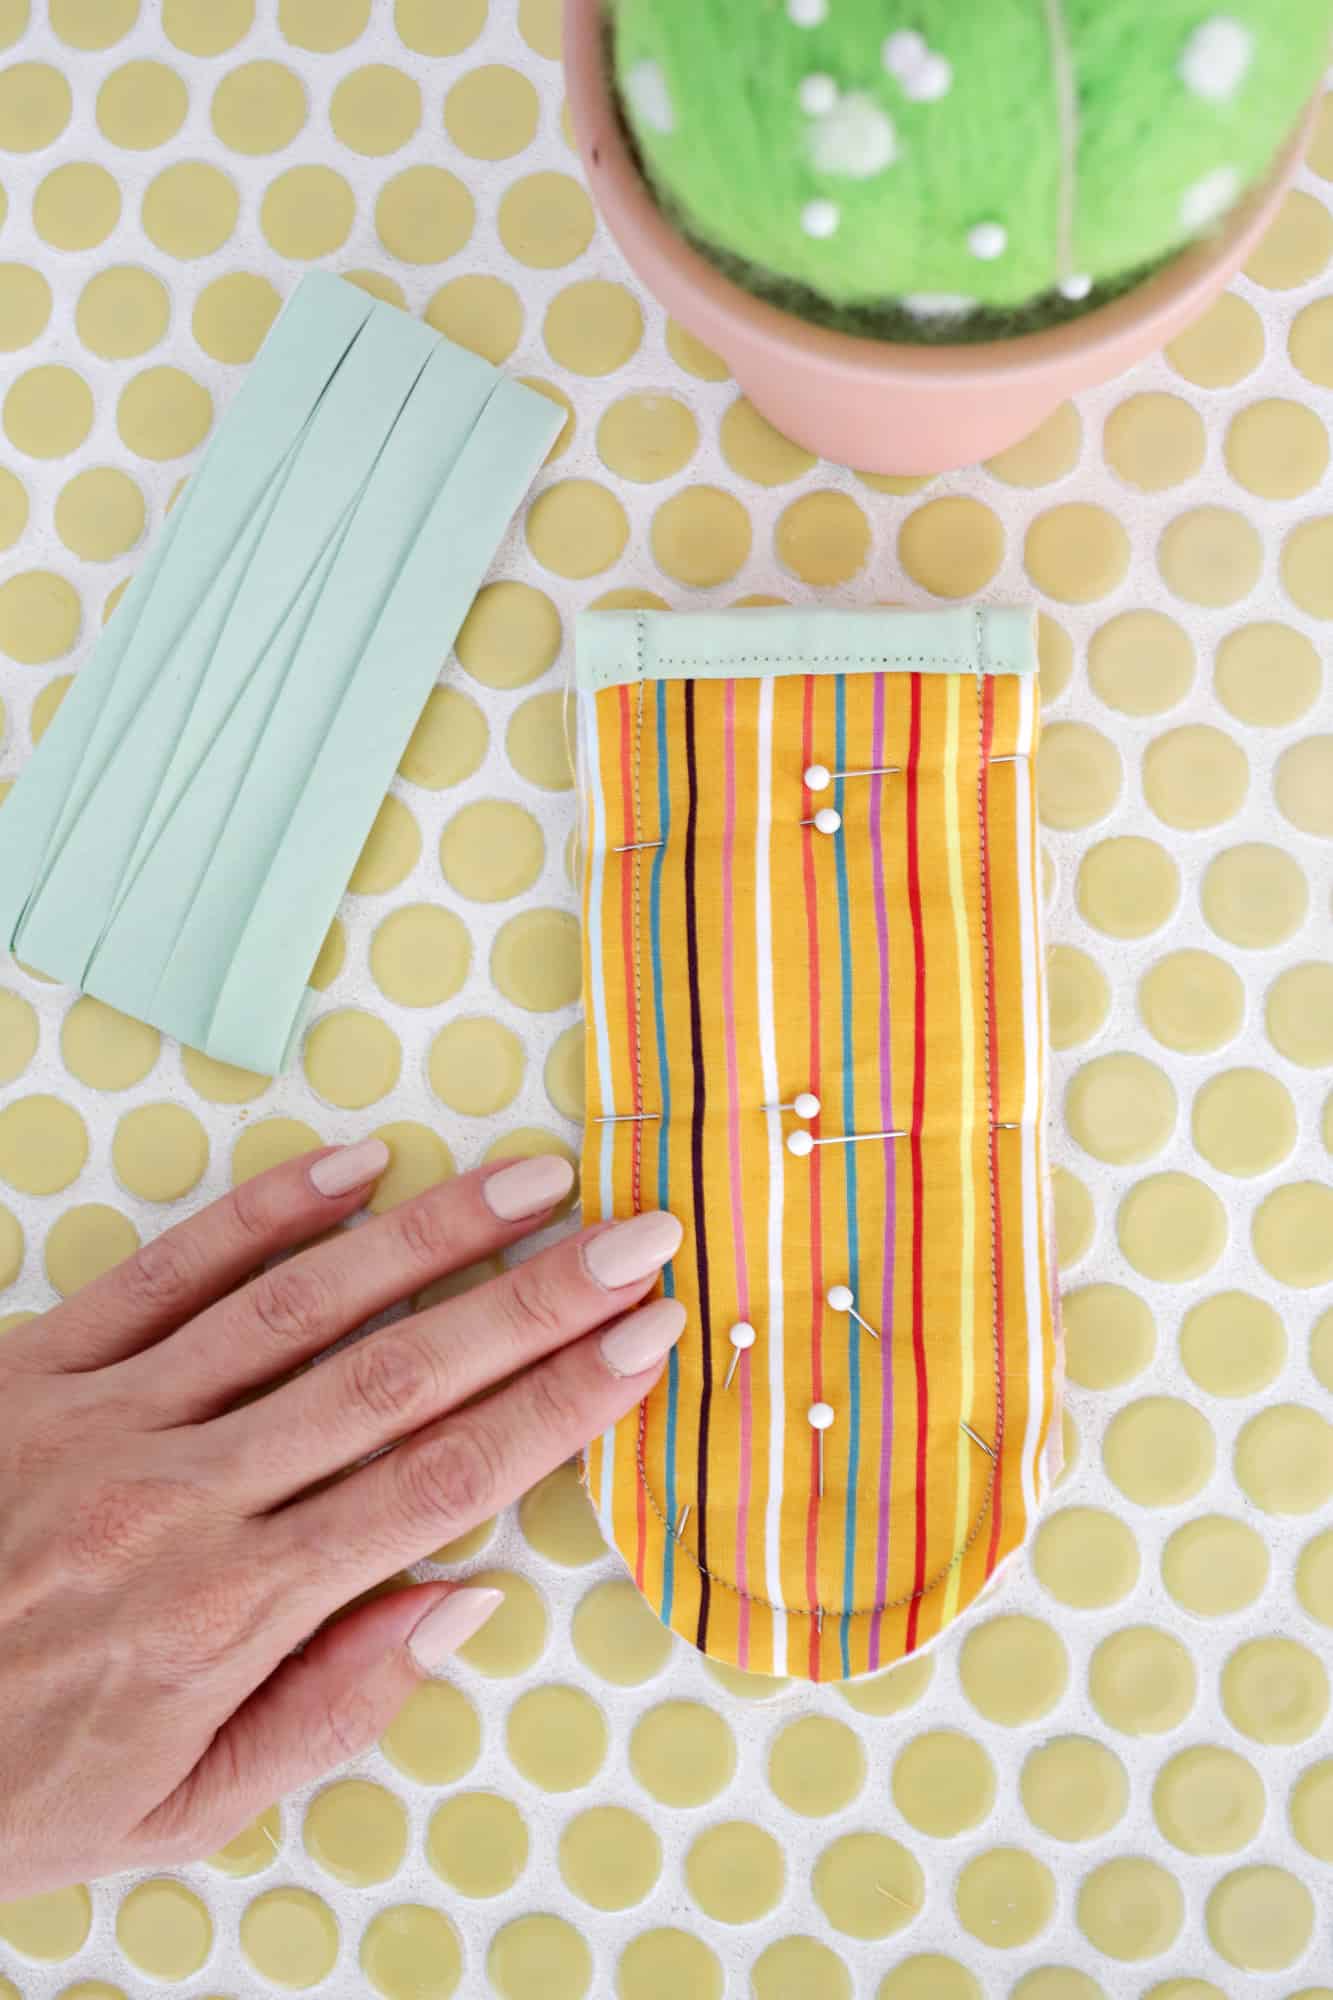 Sew around the outside of the “U” shape with a 1/2″ seam allowance, leaving the top bias tape edge open.
 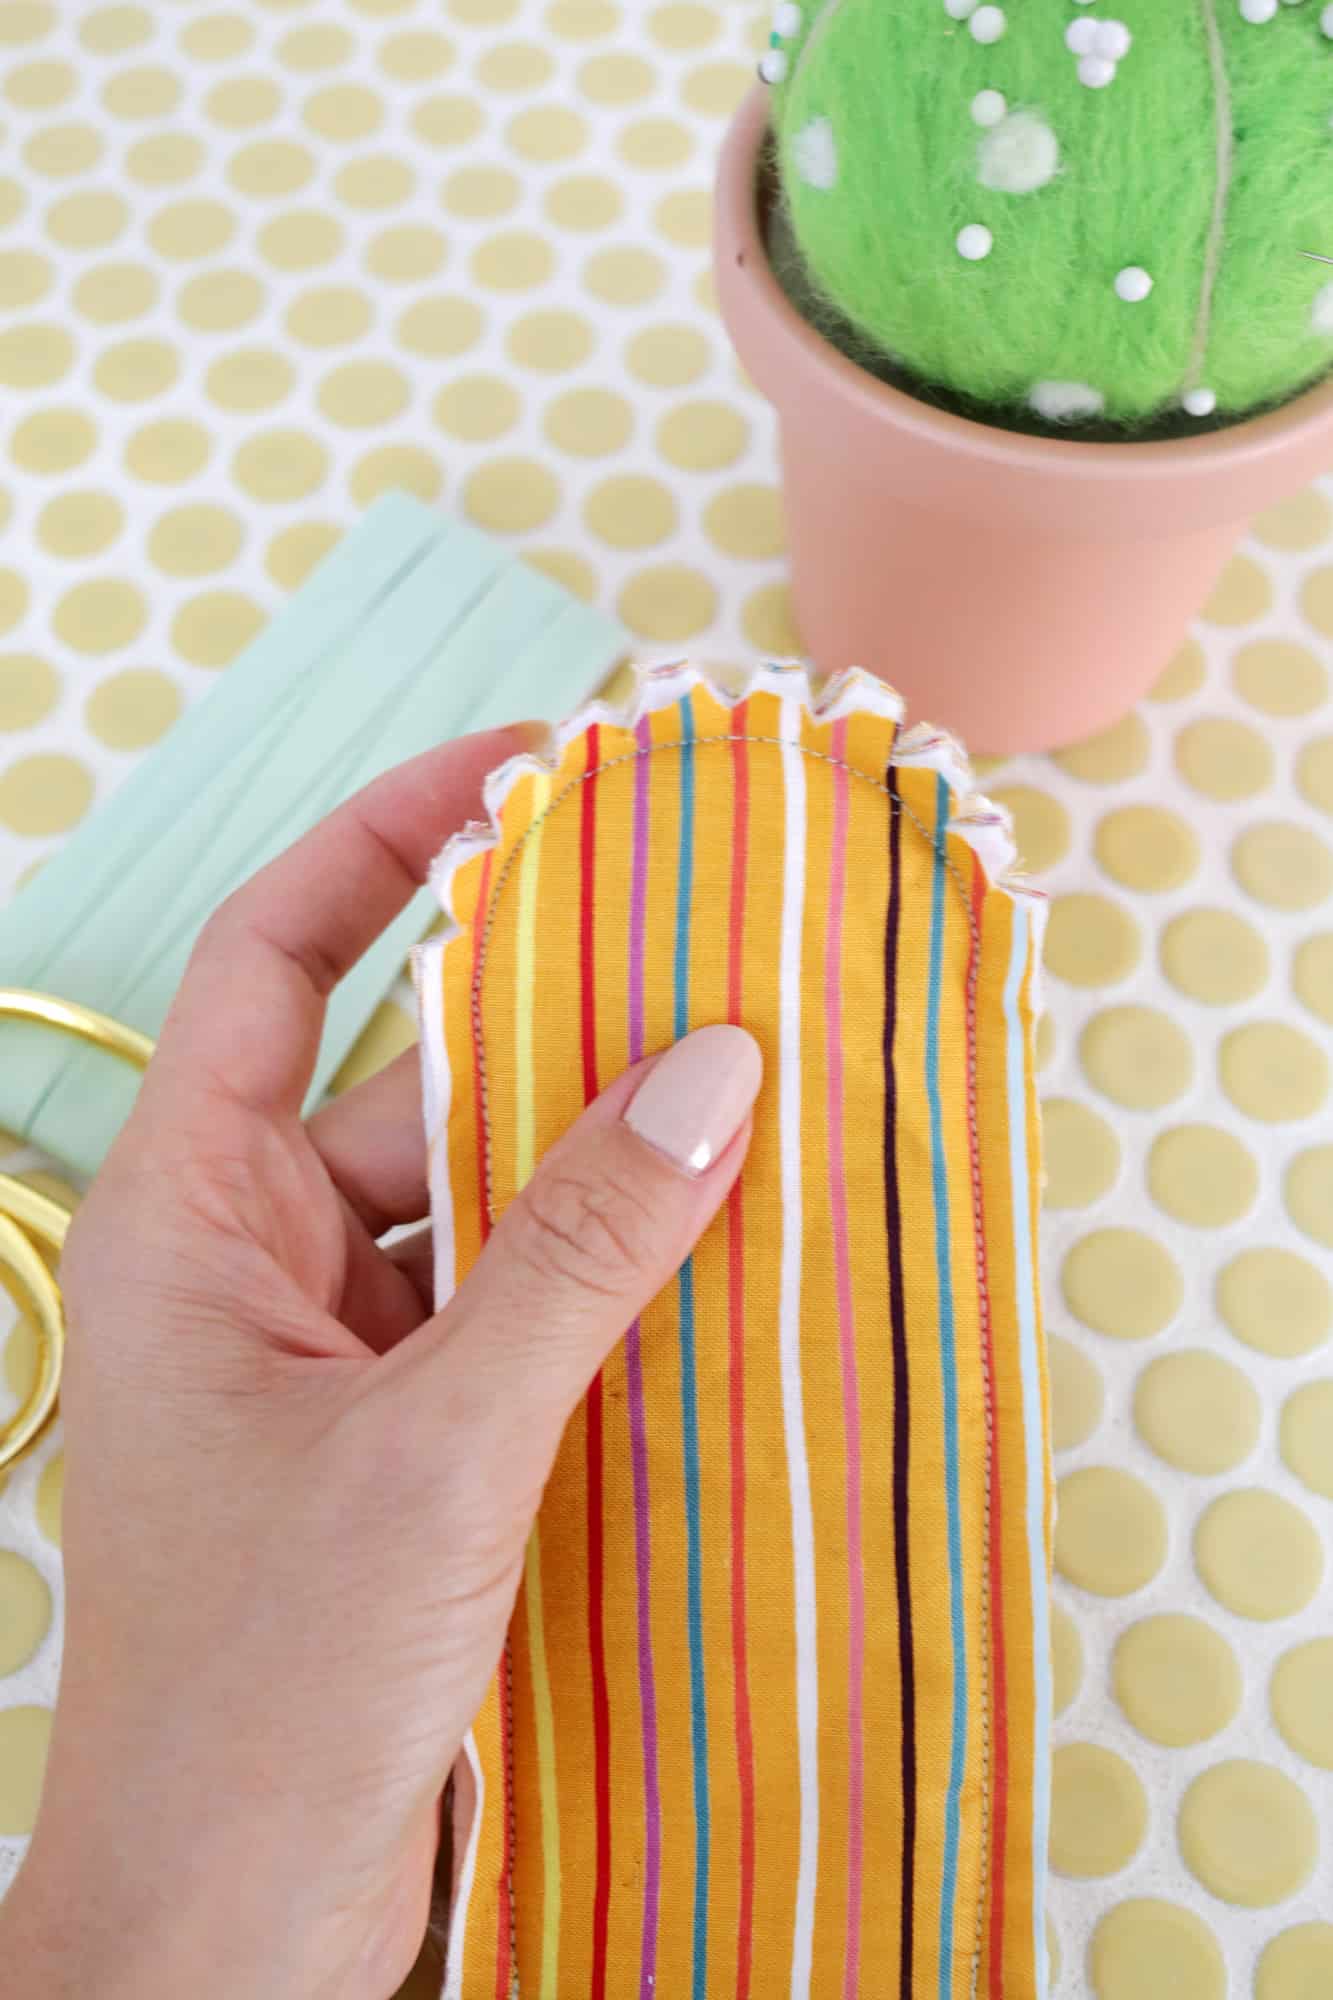 Make some “V” shaped notches around the rounded end of your handle cover with some scissors and turn your handle cover right side out. If you want to, you can top stitch around the “U” shape again with a 1/4″ seam allowance (also a good option to do if your cover is a little too wide for your handle), but otherwise your handle is ready to use!

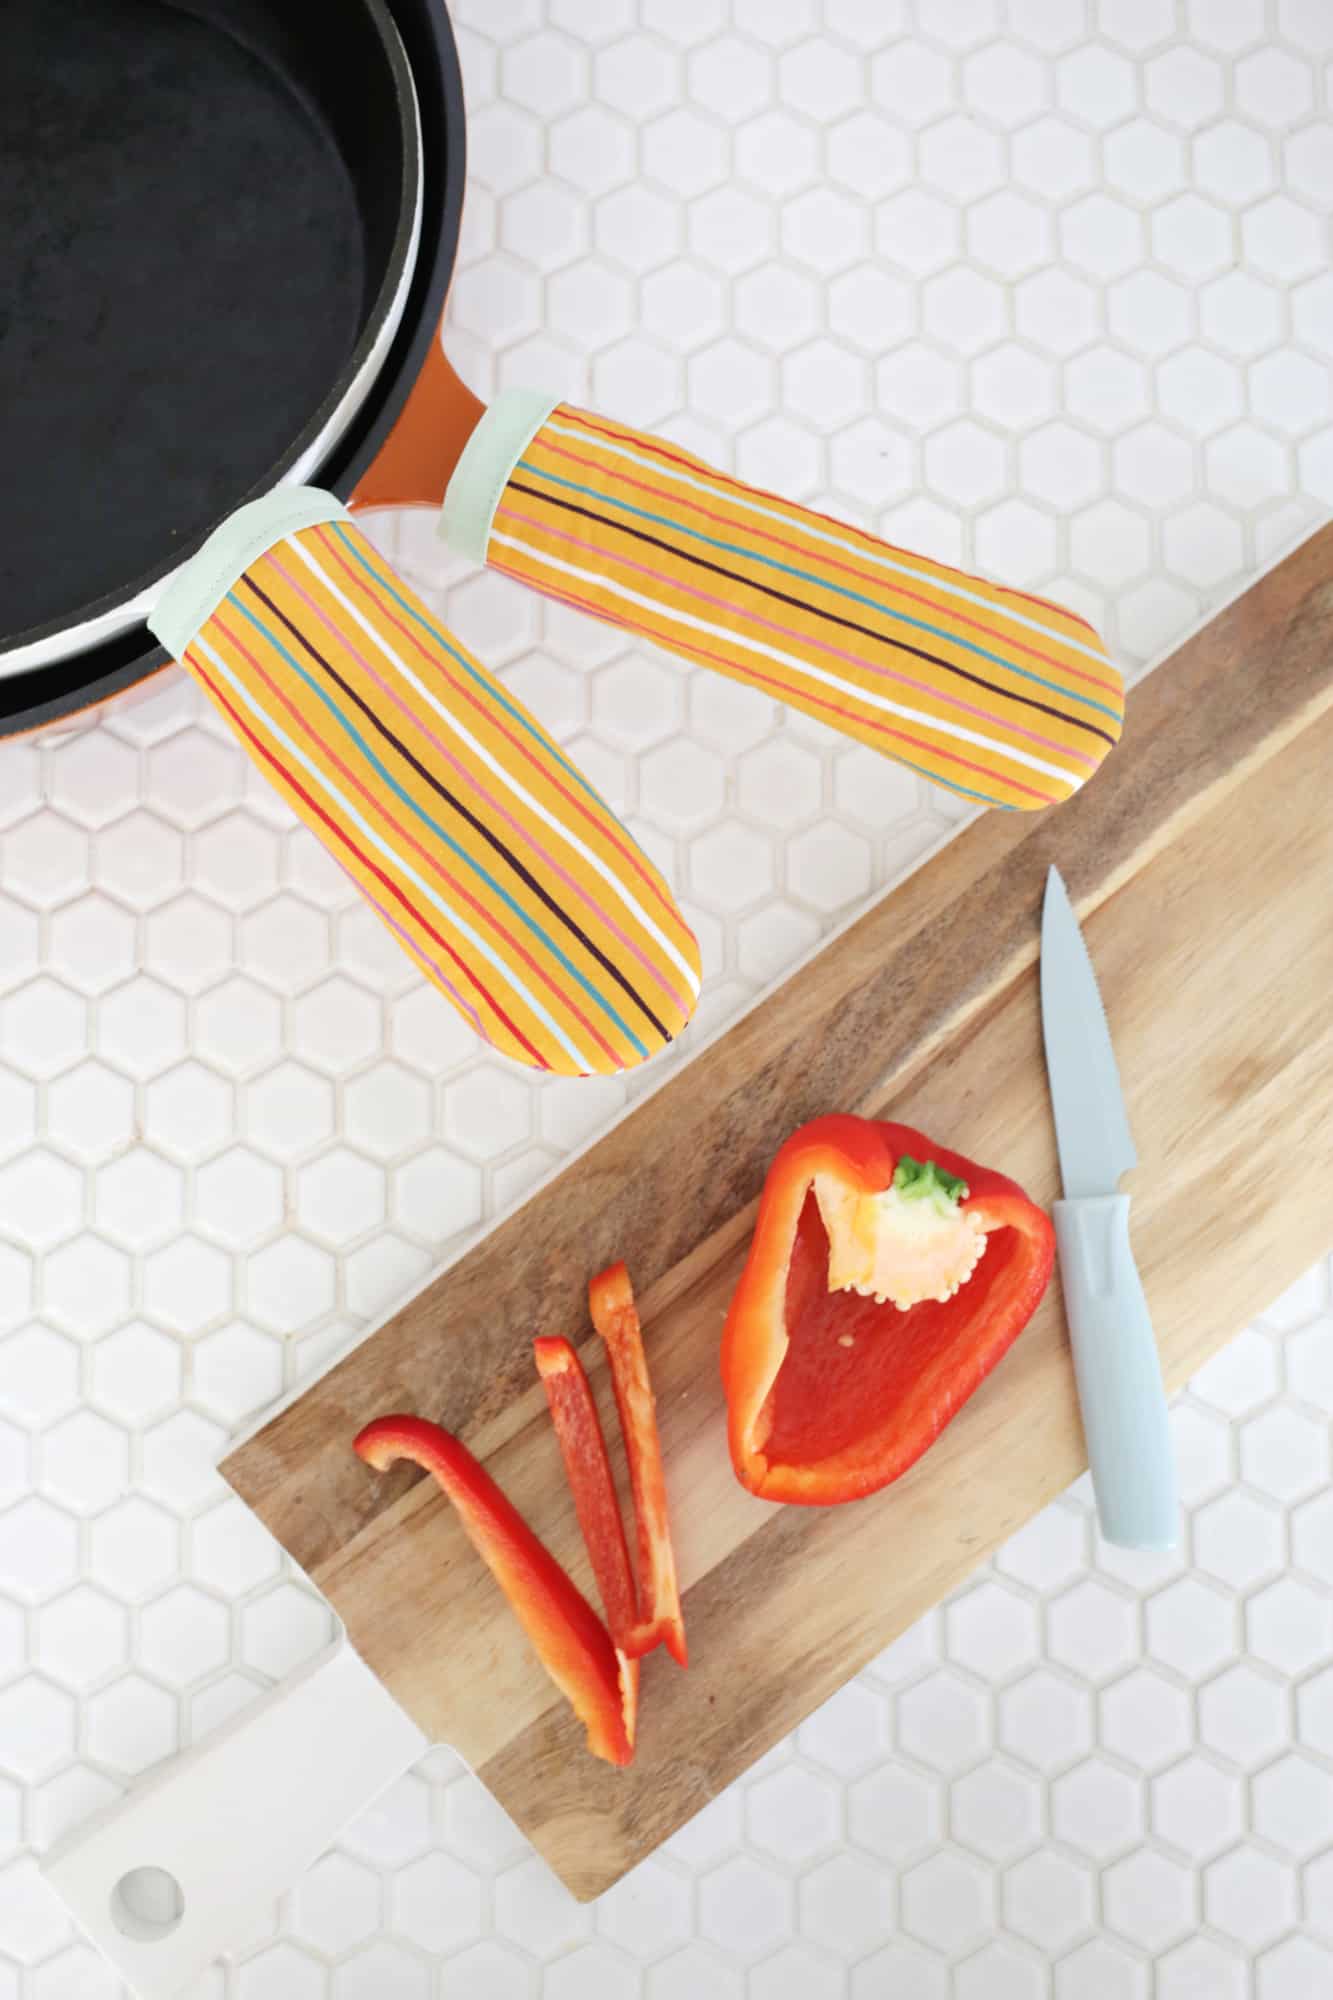 Pretty simple, right? I love that these were pretty quick to make, so it was easy to make a few at once for different sized handles. I will note though that you’ll want to be a little careful trying to use this for a high oven temperature with a heavy cast iron pan—I was baking bread in my large pan in the oven and this handle cover wasn’t quite thick enough to deal with the super high heat of the oven combined with the weight of the pan. I used a silicon pot holder instead for that scenario, so I would say these handle covers are more for stove cooking where the heat isn’t as extreme on the handle directly. These would also be a great gift for a cook in your life and you could even pair them with a new pan for a housewarming/wedding present as well! Happy sewing! xo. Laura
8 Comments
I swear you guys can be the dullest accessories look good! Such a cute cover and so easy to make too! ❤️✨
Charmaine Ng | Architecture & Lifestyle Blog
http://charmainenyw.com
Thank you!!
Laura 🙂
Hi! Where are the scissors from please?
JoAnns!
Laura 🙂
Wauww!! I have a lot of cast iron handles and a gas stove!
Thanks ever so much for the best idea this year:-)
I need to make a couple of these! Thanks for the great idea!
I keep saying make them never do, thanks for keeping it on mine. Maybe soon I’ll get to mine!
I made mine our of a square pot holder. Fold in half and sew. It already had a hanging loop so it is handy and ready to hang. Been using it for over 4 years now.