 Oh man, with just a few weeks to go until my due date, I’m getting down to the wire with finishing all my nursery projects and making sure everything is ready for #Gummerbaby’s arrival! I did want to add in at least one handmade pillow/plush into the space before Baby came, and since we always have a cat theme happening at Chez Gummerman, a kitty seemed like the perfect pillow for the job. We hope she loves her “cat siblings”as much as we do, so introducing lots of kitty faces around the house might be good training for her to get used to!
 Supplies:
-1/2 yard of yellow cotton fabric
–small sheet of pink felt
–black and white embroidery thread
–pom pom trim
–fabric scissors
–pillow stuffing
–fabric glue
–cat face template
–iron-erasable pen
–medium weight iron-on interfacing (optional)
 Fold your yellow fabric in half and cut out an oval shape that is about 10″ tall and 12″ wide. You should have two ovals—one for the front of the face and one for the back. If you feel that your cotton fabric is too thin, you can also cut out and iron on a layer of interfacing per directions to give your ovals more weight.
 Cut your ears out from your yellow fabric (cut two patterns of each ear) and your pink nose, cheeks, and inside ear shapes from your felt. Glue the felt pieces in place and allow the glue to dry. Once the glue has set, use a sewing machine to go around the edge of each felt shape to give your pillow more of a finished look.
 To complete your ears, place the right sides of the fabric patterns together (so the pink middle will be on the inside), and sew around the outside edge with a 1/2 seam allowance leaving the bottom open. Turn your ear right side out when done and iron flat.
 Use an iron-erasable pen to draw in the kitty’s eyes and mouth, and then use embroidery thread to sew the lines into the fabric. I doubled up lines on the lashes to make them stand out a bit more. If you want to add some whiskers, just sew three white embroidery threads coming out of each cheek circle in a radius pattern.
 Pin your pom pom trim about 1/4″ in from the edge of your face (pom poms facing inward), and sew or glue the trim in place. Securing the trim separately first will help it not slide around when you add the back panel onto the face later.
 Add your ears along the top of your face behind the pom pom trim and sew those in place.
  Make sure your pom poms and ears are tucked inward and pin the back oval panel onto the top of the face with a 1/2″ seam allowance. Sew almost all the way around the face to secure the two layers together, but leave a few inches open so you can turn the pillow right side out.
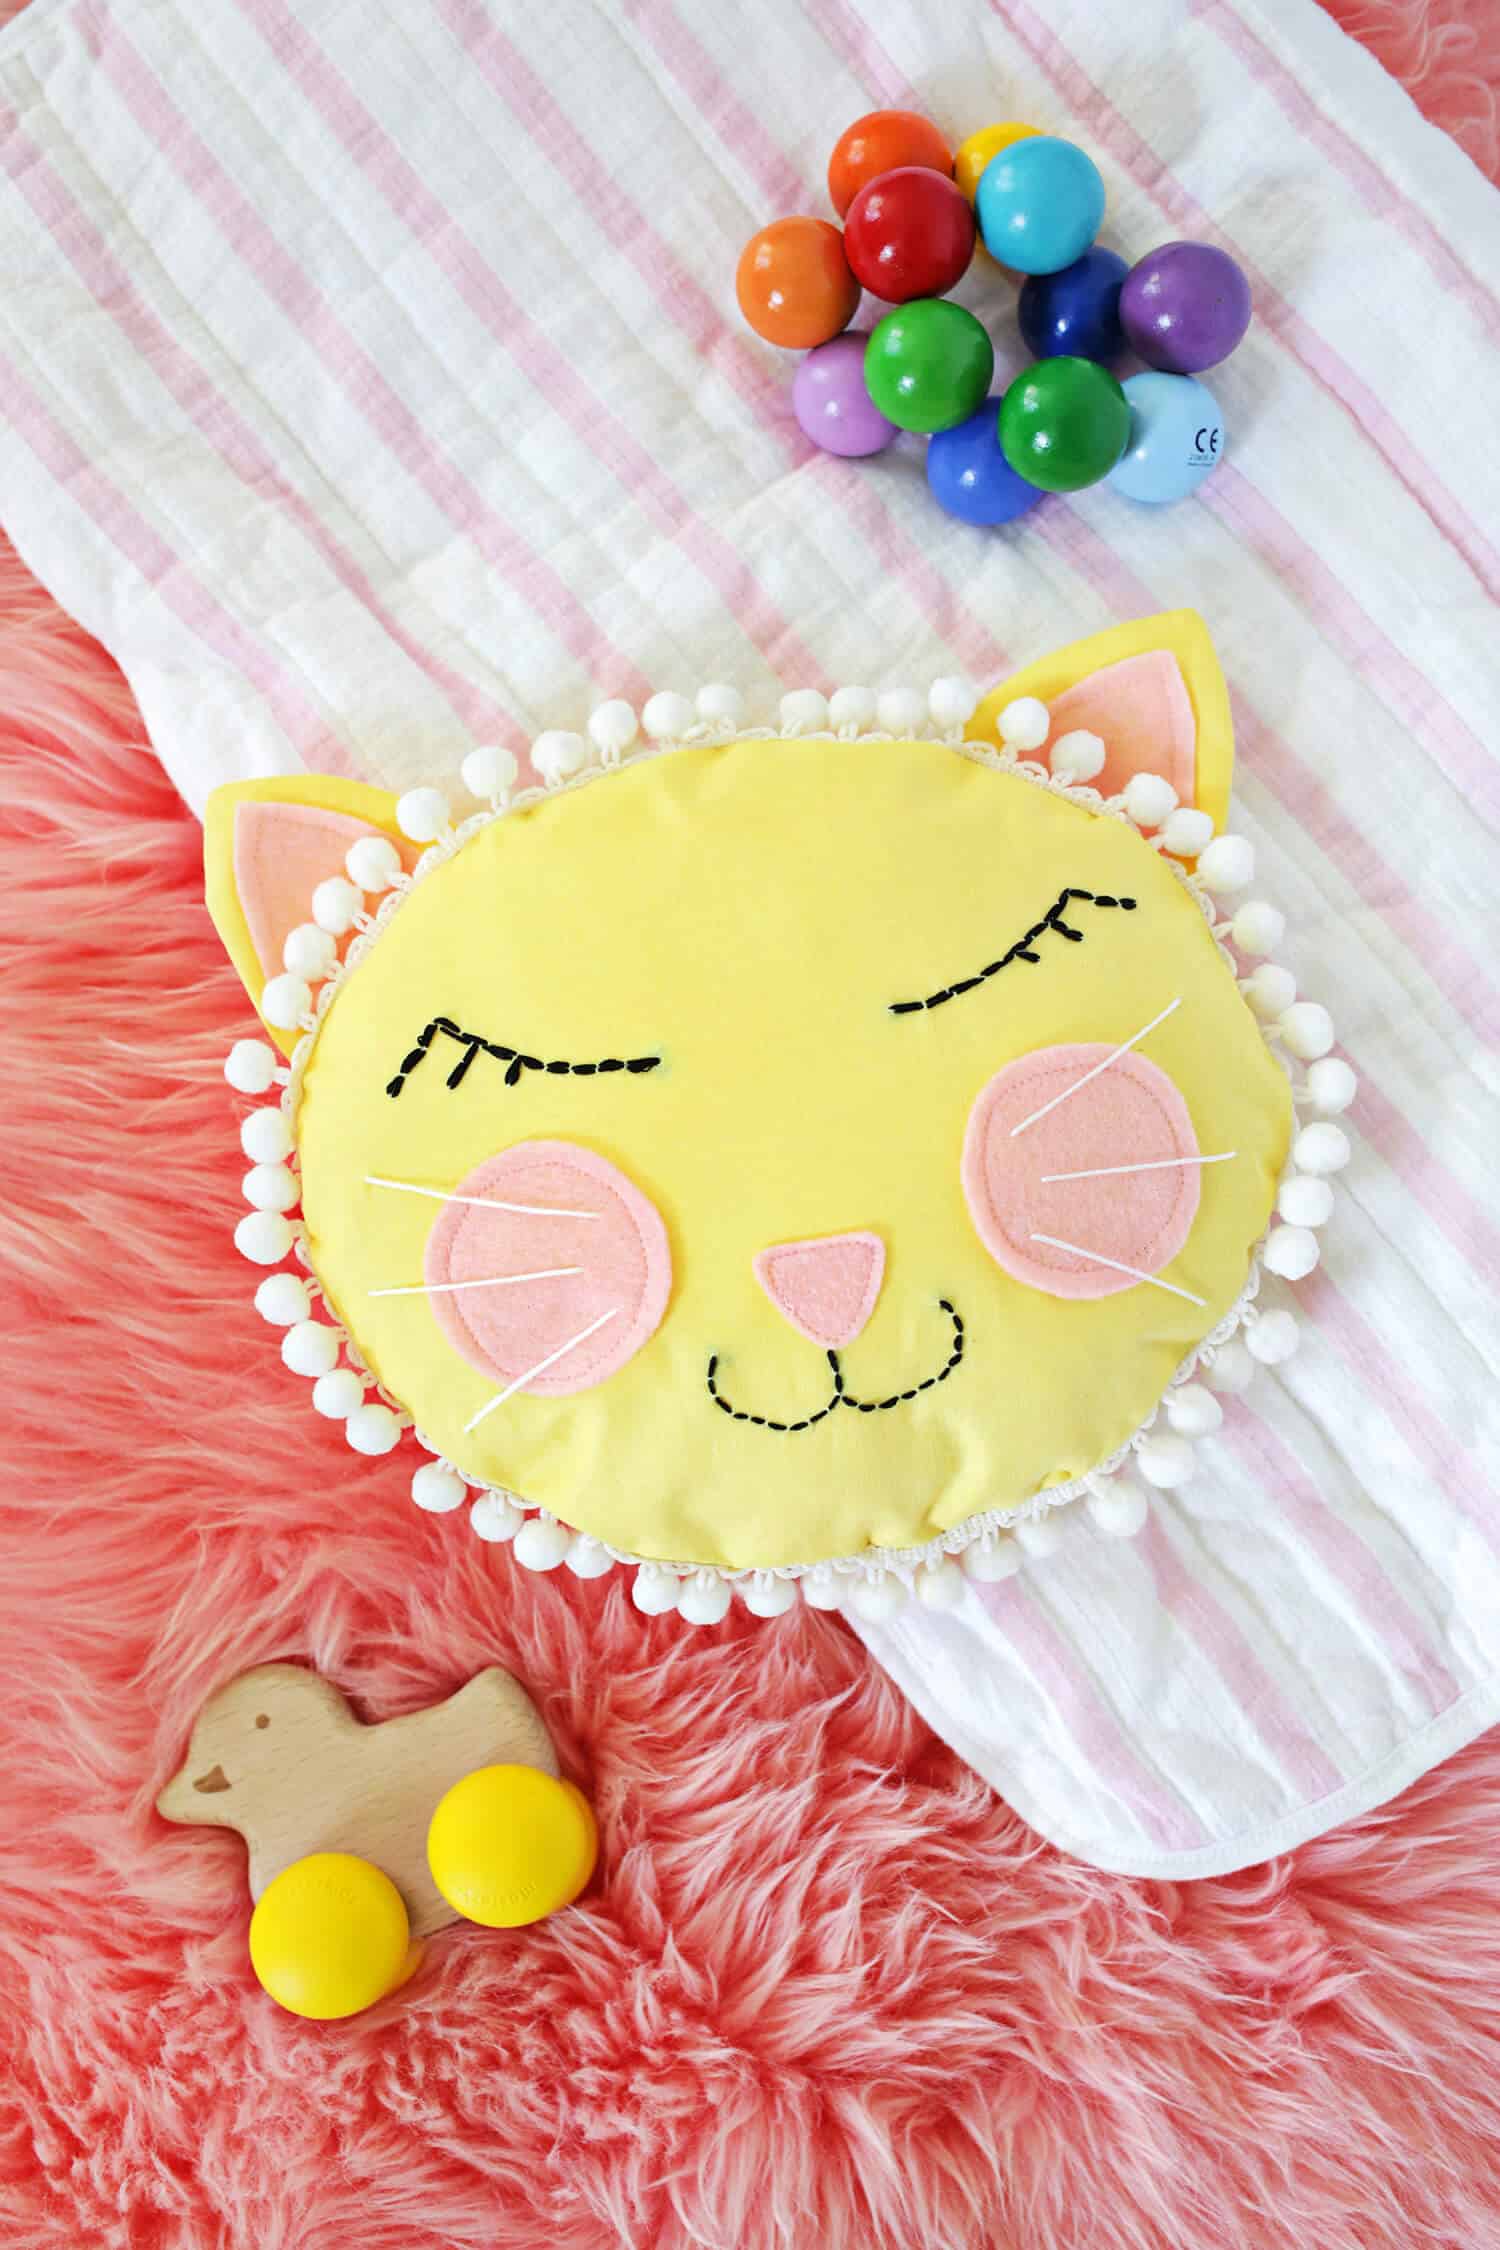
 Once you’ve sewn and turned your pillow right side out, stuff with whatever pillow fill you like to use (I’ve gotten into using this organic cotton filling for pillows lately), and then glue or hand sew your opening shut with a hidden stitch. Your kitty is now ready for the catwalk!
 Awww, what a sweetie. I like that he’s just kiddish enough to fit perfectly into the nursery, but I wouldn’t really think twice about seeing this on a regular chair in a living room as well. Of course, feel free to tweak the color combo to whatever you need for your space, or you could also do a fringe trim around the head to make him into more of a lion feel (which would be super cute too now that I think about it!). Hope this pillow has you fe-line fine! xo. Laura
20 Comments
This is super-cute and sweet! I wish I knew how to sew when I see little projects like these. One of these days I’ll make time to learn 🙂
~Laurali Star
http://www.lauralistarxo.com
The pillow looks like something I’d find in store in Japan! Very cute, flowery look!
Charmaine Ng | Architecture & Lifestyle Blog
http://charmainenyw.com
Aww how cute!
ADORABLE!
This is the sweetest! Looks like the perfect gift for the baby shower I have coming up!
Juliette
https://namastaytraveling.com
Your posts about getting your life and home ready for your baby are making me less intimidated by having children some day. I’m about to turn 30 and I’m still terrified of the thought!
http://www.mycolorfiles.com/
This pillow is adorable! A little owl face one would be cute too.
http://www.kindoflovely.com ♥
This is beyond adorable!
https://www.makeandmess.com/
Well done! The white pom pom trimming makes it look really cute!
She looks so regal!
That is the cutest thing ever, my man would go crazy here if i started filling the appartment with all the cute DIY you inspire us with guys!! (but this one is top of my list now for sure!) 😉
xo
Melodie
http://www.happymelodie.com
The soft, sweet face of this cat pillow is to die for. Ideal for nursery home decor!
This is so cute! Thanks for sharing 🙂
This is so so cute! I also think you could use a back stitch for the eyes or while face for a bolder look?
Adorable, perfect to DIY a small gift for a new baby!
your DIYs are getting more and more kawaii! 🙂
So super cute! I’m sure little ones would have a fun sensory experience, too, with the different fabrics and pom moms.
Wow this pillow is sooo cute 😀 We love it! We have written about this project on our blog 🙂
Hello, Your posts about getting your life and home ready for your baby are making me less intimidated by having children someday. I’m about to turn 30 and I’m still terrified of the thought!
I want to get in contact with you about this pillow, have you got a e-mail address?