 I’m one of those people that lives for summer—even at its hottest and most miserable, I’ll take it over any day in the winter months! It’s my dream to someday have a house with a pool since lounging poolside (or, even better, beachside) is totally where it’s at for me. Of course, a good water day needs a good swimsuit and an easy swimsuit cover-up DIY as well! Here’s a simple way to make a cute cover-up in just an hour or two.
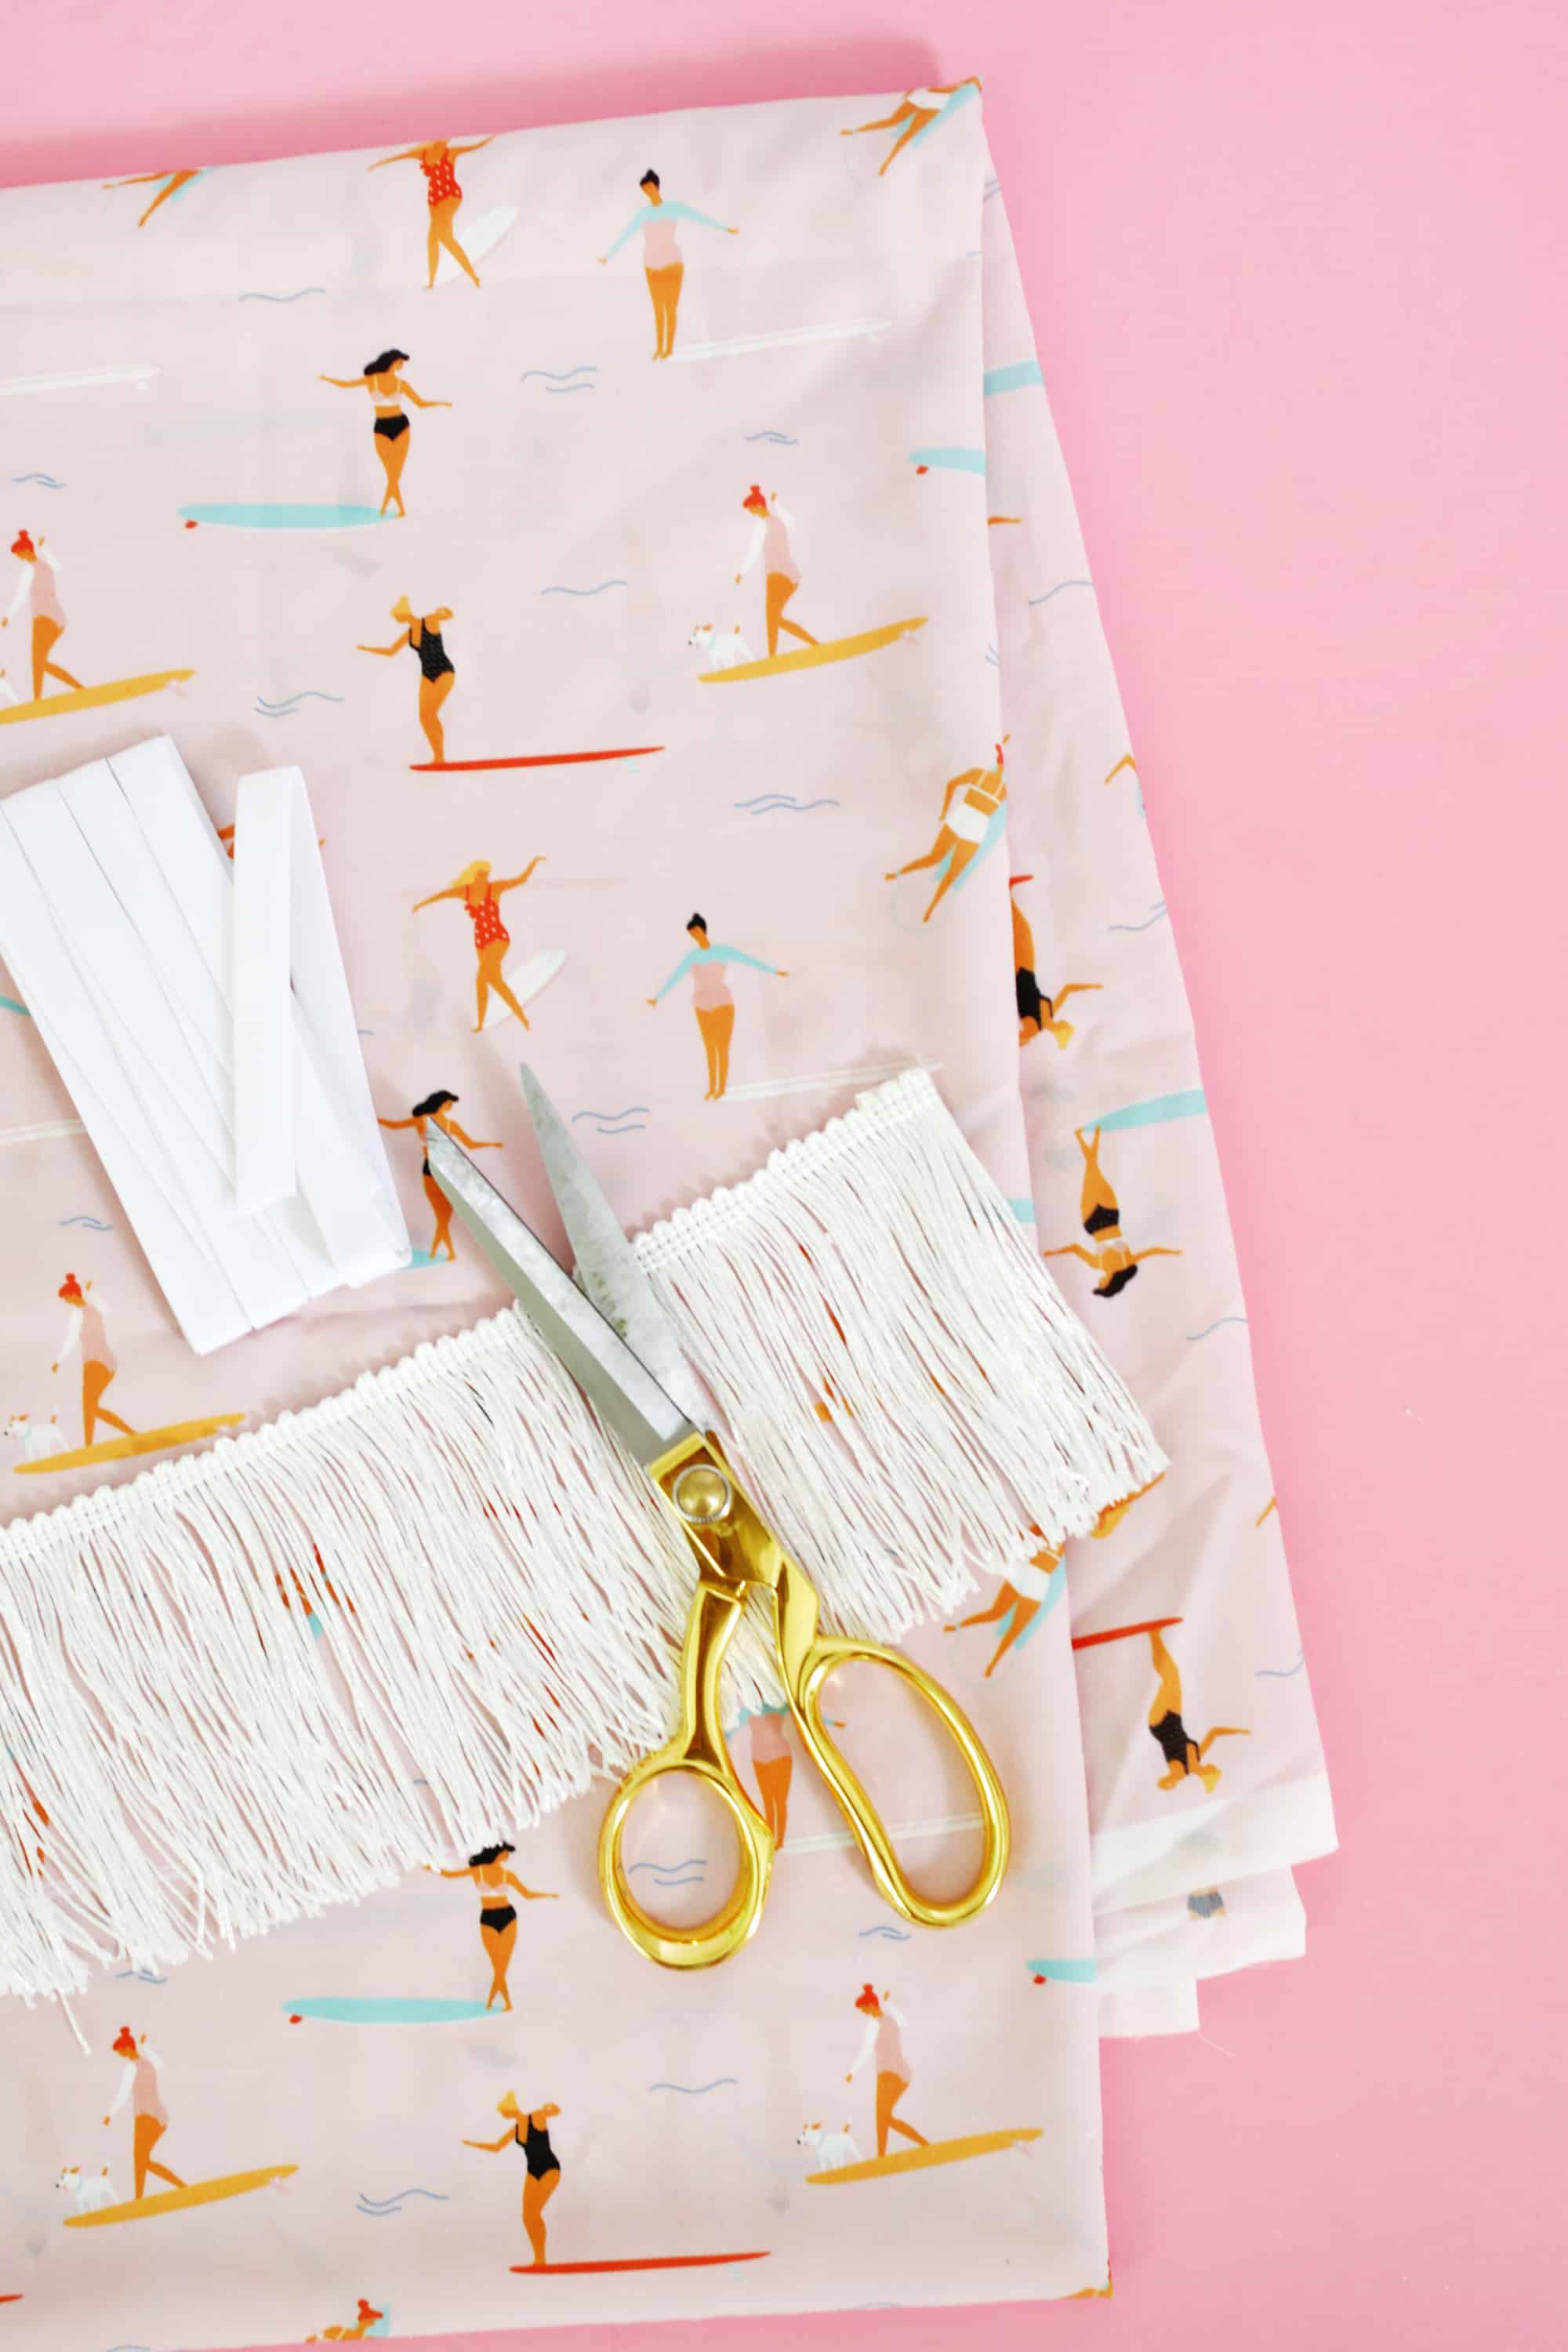 Supplies:
-lightweight fabric (like a chiffon or a lightweight linen—I used this fabric in a poly crepe de chine)
–1/2″ double fold bias tape
–craft paper roll for template
–fabric marking pens
-fringe or pom trim (enough to go all the way around the edge)
-fabric scissors
-straight pins
-sewing machine
 First, you’ll want to cut out your circle pattern. To determine how big your circle should be, measure from one wrist to the other, going up your arm, across your shoulder blades and down to the other wrist with a fabric measuring tape. Use that same measurement to see how long it would be in the front and back by placing the halfway mark of the measuring tape on your shoulder and assessing how far down the cover-up would hang in the front and back. Add more or less inches to your measurement to make it the length you want.
Once the measurement is established, use craft paper to make a large circle template with the same diameter (you can tape several pieces together if you need to). To make a hole for the neck, you’ll want to cut a 7-8″ wide hole at the middle of your template. You can either do a regular circle for your neck or add a “V” shaped section to the front part of your circle for a V-neck style. If you want to do a V-neck but aren’t sure how deep to make the V, just make it on the shorter side and you can cut it deeper when your try it on after cutting the fabric out.
As a side note, I had just enough width in the fabric I bought to make a full circle for my measurements, but if you don’t see a fabric bolt that you like that’s also wide enough, you can connect two pieces together to make something big enough before you cut your circle (just decide if you want that seam to run across the shoulders or down the front/back direction first).
 Once you have your template cut out of paper, place it onto your fabric with the pattern going the appropriate direction on the front, and weigh the paper down with a few objects or books to keep it in place. Use a fabric marking pen to mark around the edge and around the neck hole. Use fabric scissors to cut out the material.
 Use straight pins to attach your double-fold bias tape around the neck hole (start at the middle of the back of the neck), folding the tape under at the end of the tape section when you overlap it with the beginning of the tape. Sew all the way around the neck hole to secure the tape about 1/8″ from the inside edge.
  Since your V-neck will look like a cross between a “V” and a “U” at this point (if you chose a V-neck instead of a regular scoop neck), you’ll want to turn it inside out and pinch the trim together at the deepest part of the V and sew a small line so that you create a little triangle section …
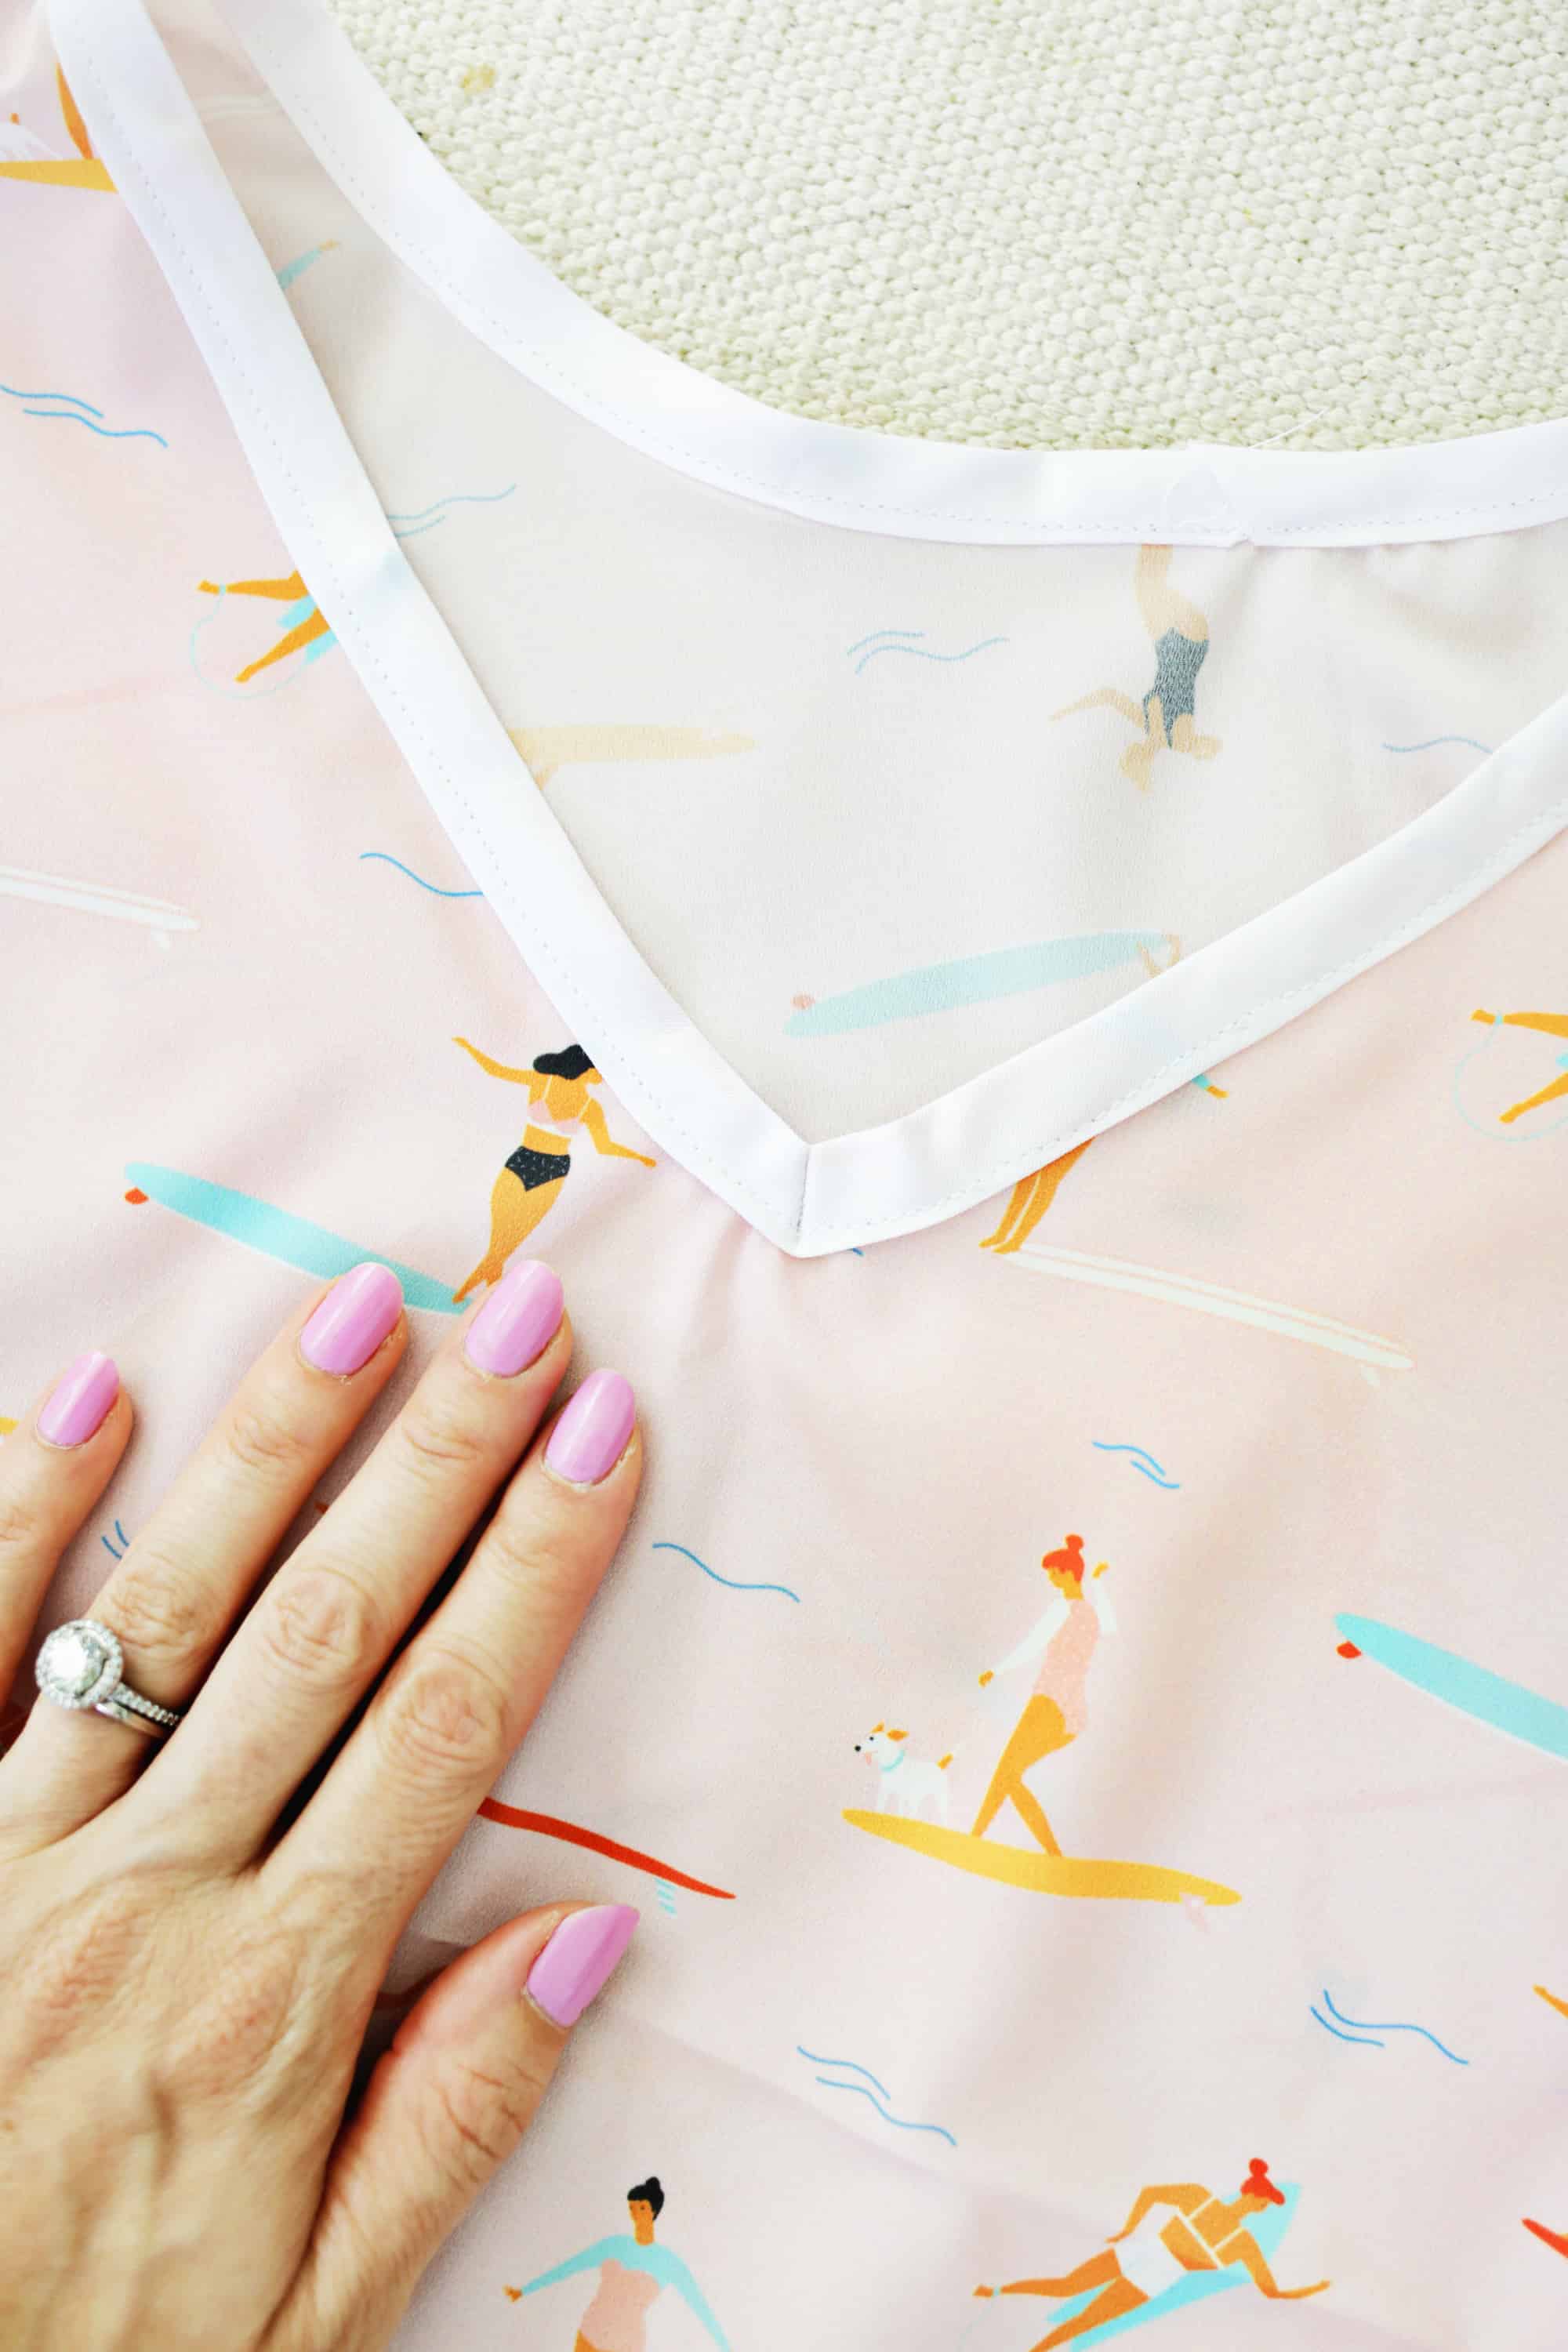 … and once you unfold it and flip it right side out, it should look more like a “V”!
 To finish your outside edge, you can fold your fabric under 1/4″, and then another 1/4″ and then press with an iron to flatten the fold all the way around. Sew around the edge of your cover-up to secure getting as close to the inside edge as you can. You can also serge the outside edge instead if you have a serger (if you sew a lot you should totally get one, they are great!).
 Pin your fringe (or pom trim) onto the top of the edge of your cover-up (overlapping back where they meet up again) and sew all the way around the edge. Try your cover-up on and pin the front and back together in two locations (one spot on each side about 6″ under the armpits) so that the cover-up will show your shape a little more and stay in place and not slide to the front or the back when you’re wearing it. Tack those two spots together either with your machine or a needle and thread and your cover-up is ready for the beach!

 Such a darling swimsuit cover-up DIY! And I think it goes perfectly with our flower sunnies and a cute cooler bag, if you ask me. That print is absolutely perfect for summer and this type of cover-up is pretty classic too, so you can wear it for years to come or make a few different colors to match different swimsuit options (I’m always into having more than one option for things). Hope you have a good excuse (like a fun beach trip!) to make yourself a cute cover-up! xo. Laura
Credits // Author and Photography: Laura Gummerman. Photos edited with A Color Story Desktop.
P.S. Those cute sandals were made with some pom poms and these sandals!

7 Comments
The cover up is the cutest – I think what really makes it is the cute print! Summer ready! 🙂
Charmaine Ng | Architecture & Lifestyle Blog
http://charmainenyw.com
This cover up looks so cool, what a perfect pattern!
https://www.makeandmess.com/
I too live for summer in all its hot glory. Give me the hottest day over cold winter anytime.
Love the cover up and the fringe detail!
This coverup is the cutest! Seriously! So cute! I’ve made a few lacey cover-ups on my blog but never anything like this. I love how it turned out and yes, the print is incredible. 🙂
This is such a cute project! And that fabric is adorable!
Laura
http://laurelandfern.com.com
This summer cover-up is the cutest! I love how simple it is to make.
This is such a cute cover up! Nice design and patterns. This is very summer-like! Thanks for imparting this DIY fashion! 🙂