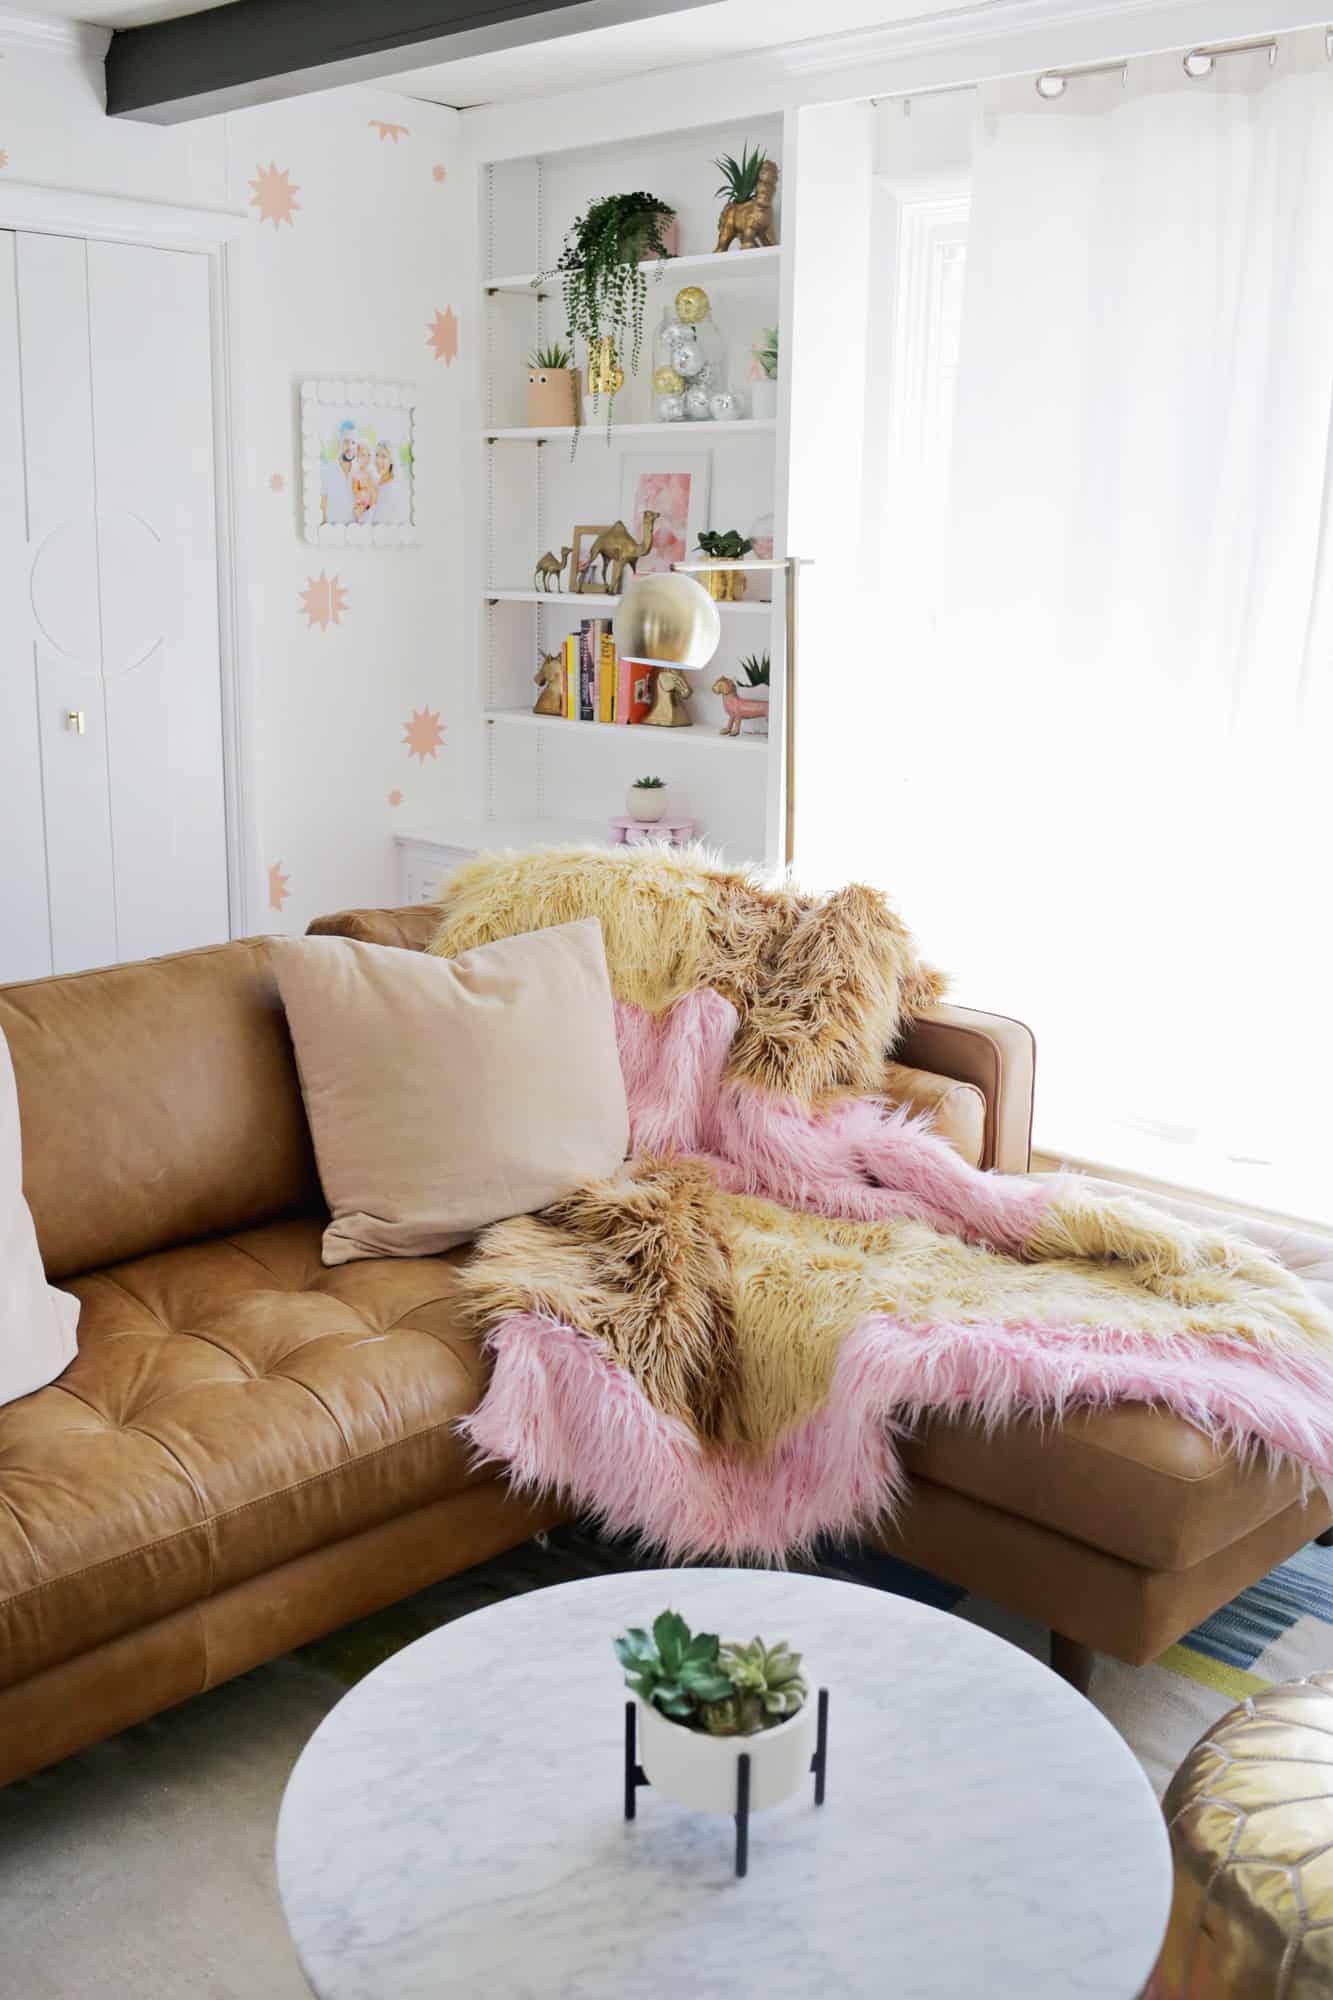
 I love doing mini refreshes of rooms from time to time, and we added a new couch and did a really fun wallpaper design in our den recently, so I’ve been on a bit of a kick making fun items to help renew that space. Pillows are a great way to bring a fun color scheme or vibe into a room, but throw blankets are another great way to add a useful item that also has some personality as well. I love seeing statement furry blankets in rooms and I use them all year round, so I thought it would be fun to make a throw that went with our newly renovated den vibe we’re creating … here’s what I did!
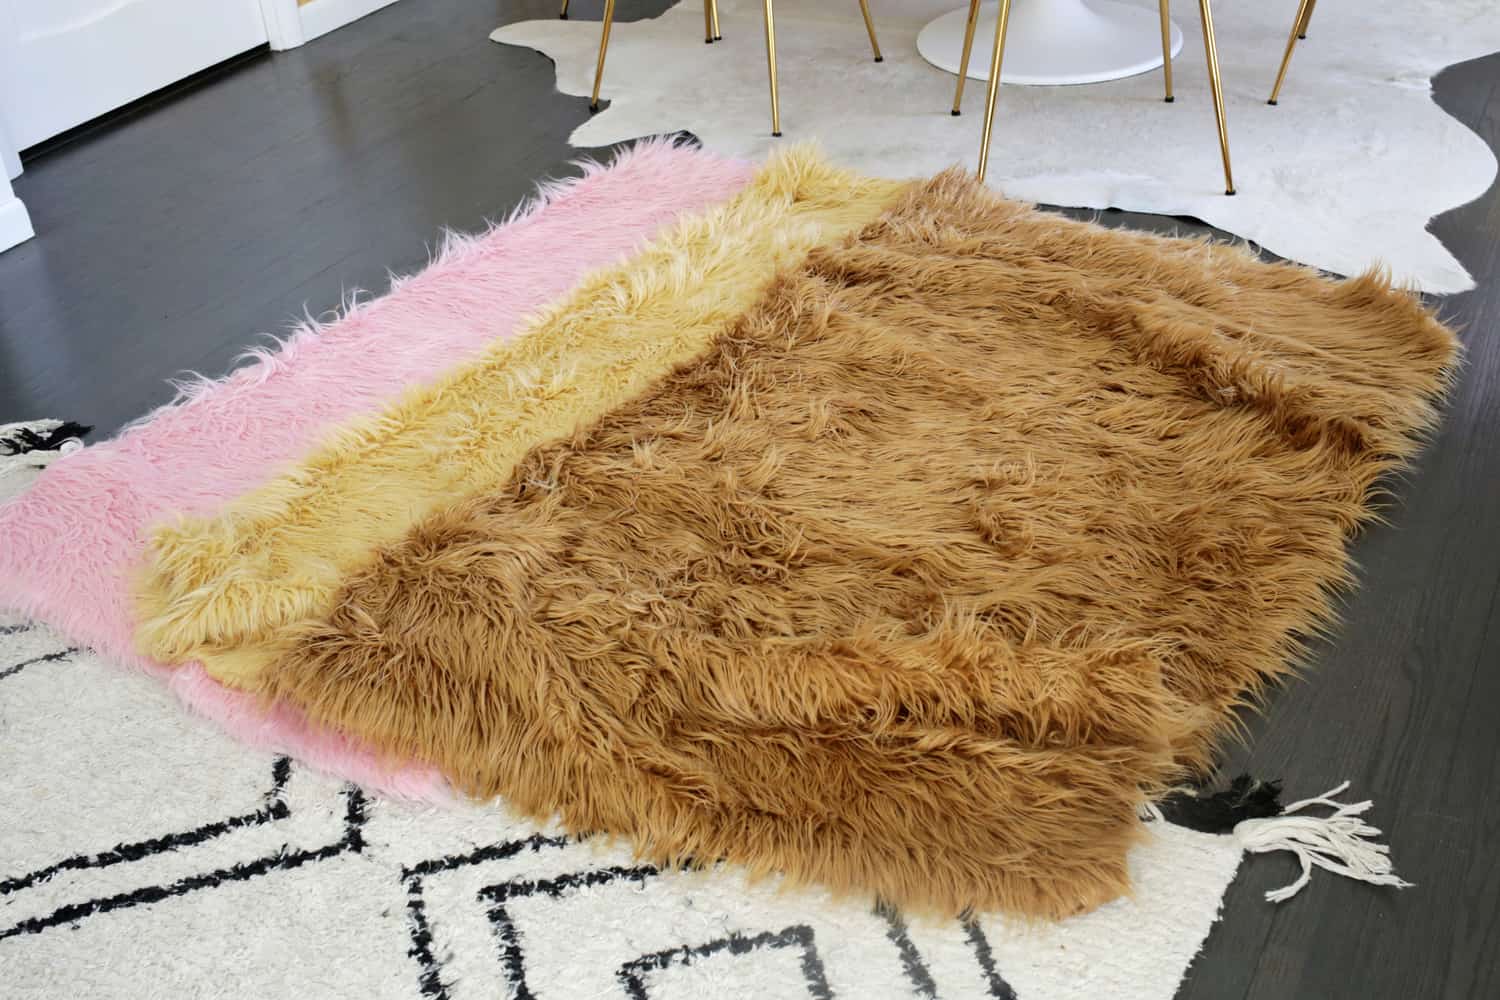 Supplies:
-faux fur in various colors (I used these tan, camel, and pink colors)*
–wide bolt velvet (2 yards)* I got two yards of the beige color
-straight pins
-fabric scissors
-marker and ruler
-sewing machine
*Keep in mind whether you want a washable blanket or not and choose fabrics accordingly. A lot of faux fur and velvet choices are machine washable, but need to be air dried rather than put in a dryer. Prewash fabrics that can be washed before starting. ALSO, if you can find colors you like at local fabric stores, you can usually buy just the amount of that color you need. That can save a lot of money unless you have other plans for the extra fabric if a shop makes you buy a full yard at a time.
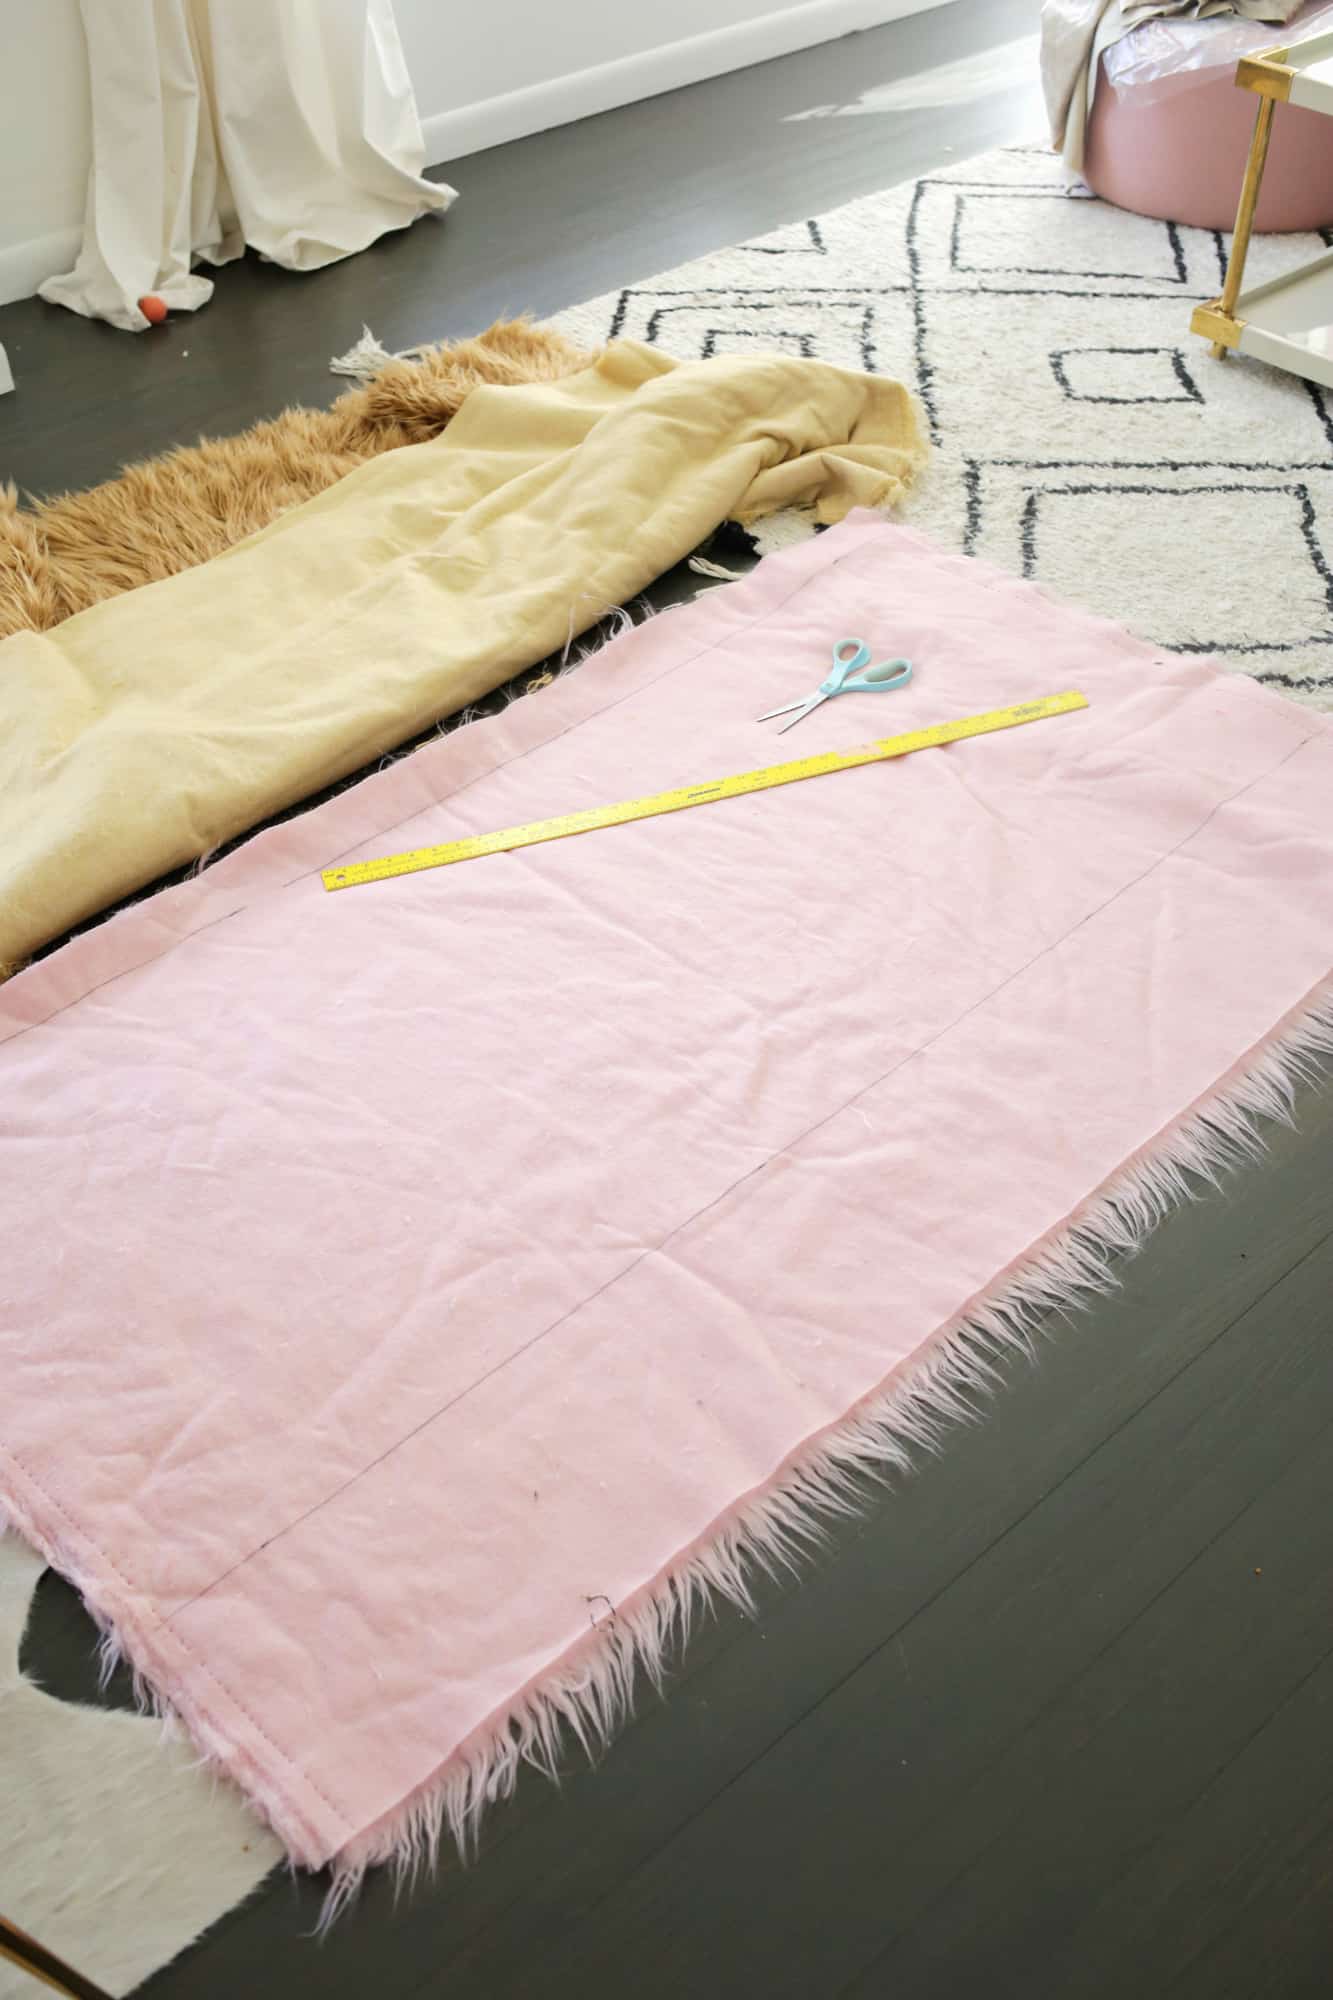 Lay out your fabric and make note of which way the fur is oriented (if you need to draw arrows on the back, you can as they will be hidden inside once the blanket is done). I’ll mention the colors that I chose for my blanket, but you can swap my colors for whatever colors you want to use. Cut your pink fabric into a 9″ x 56″ and a 24″ x 56″ wide strip. When cutting furry material, it’s important to flip the fur furry side down and slide the bottom of your scissor blade along the underside of the lining as you cut with small cuts, rather than just chopping it as you would a normal material. Cutting small cuts with the blade close to the lining helps to just cut the lining that the fur is attached to rather than the fur itself. And you want to keep your fur intact so it will all blend together and look like it’s one blanket.
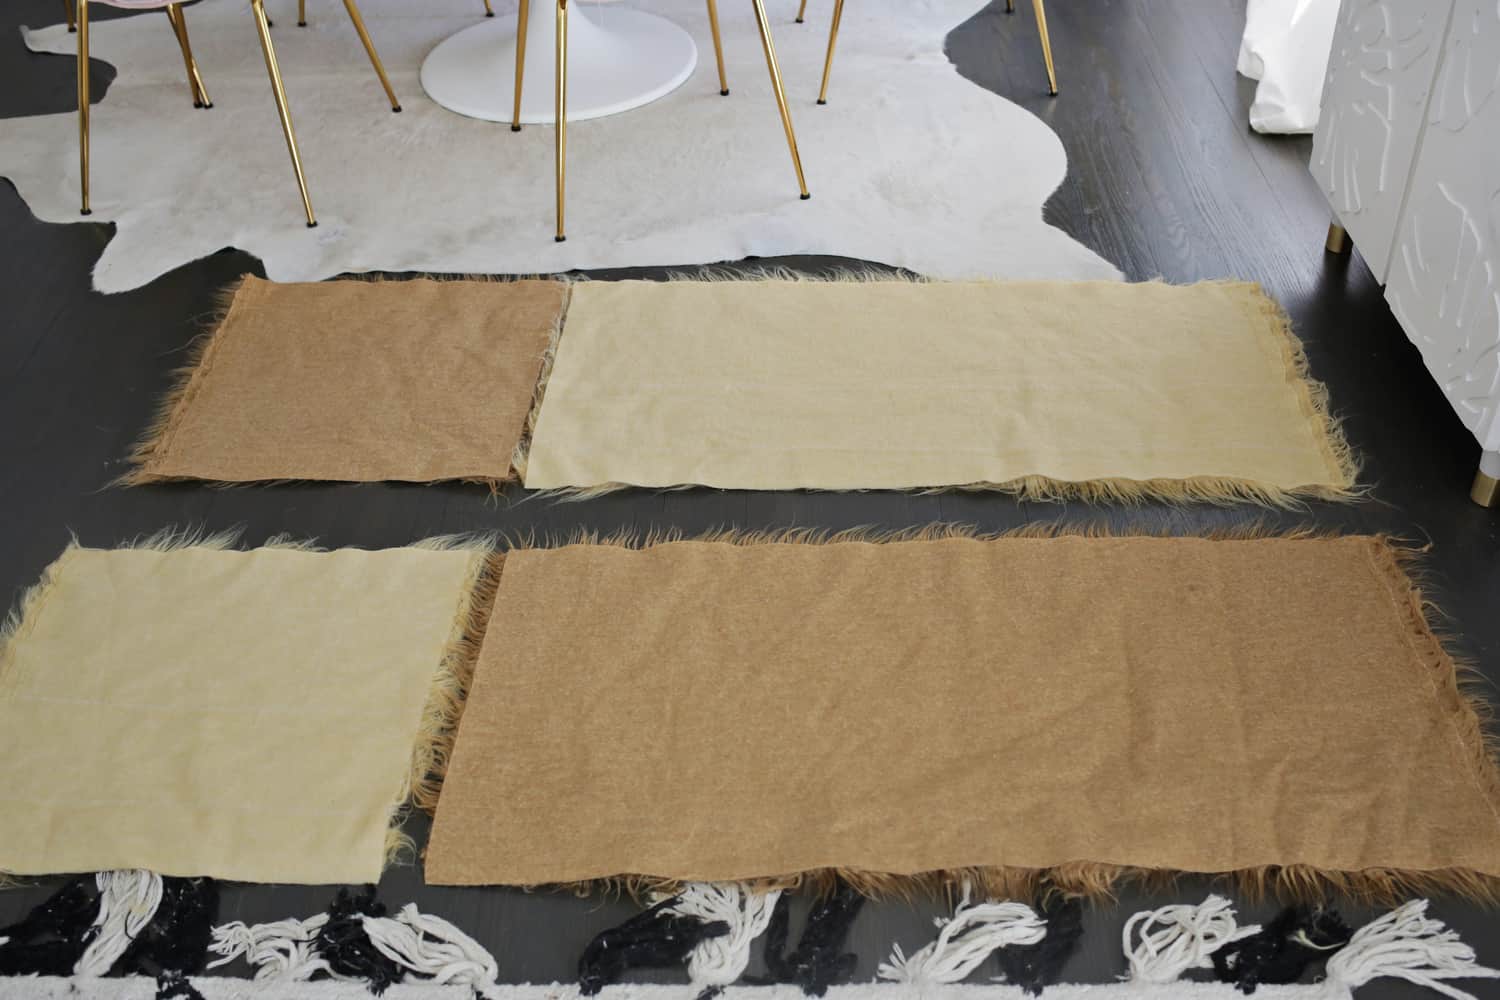
Once my pink was cut, I cut my tan and camel colors into 21″ x 56″ wide strips and then cut off 1/3 of each color and swapped places with the alternate color as you see above to give it an extra color blocked feel.

To attach your pieces to each other, make sure the furs are falling in the same direction, face the fabrics right side together, and then pin the edge that you want to sew. Make sure (this is very important) to tuck all the fur inside of the seam and away from the cut edge as you see in the photo (so you basically want to brush it with your hand/fingers away from the edge). This will keep your fur looking rather seamless once you open it right side out again, so you’ll want to make sure to do this every time you join two pieces together or it can look wonky. Sew down your seam with a 1/2″ seam allowance.
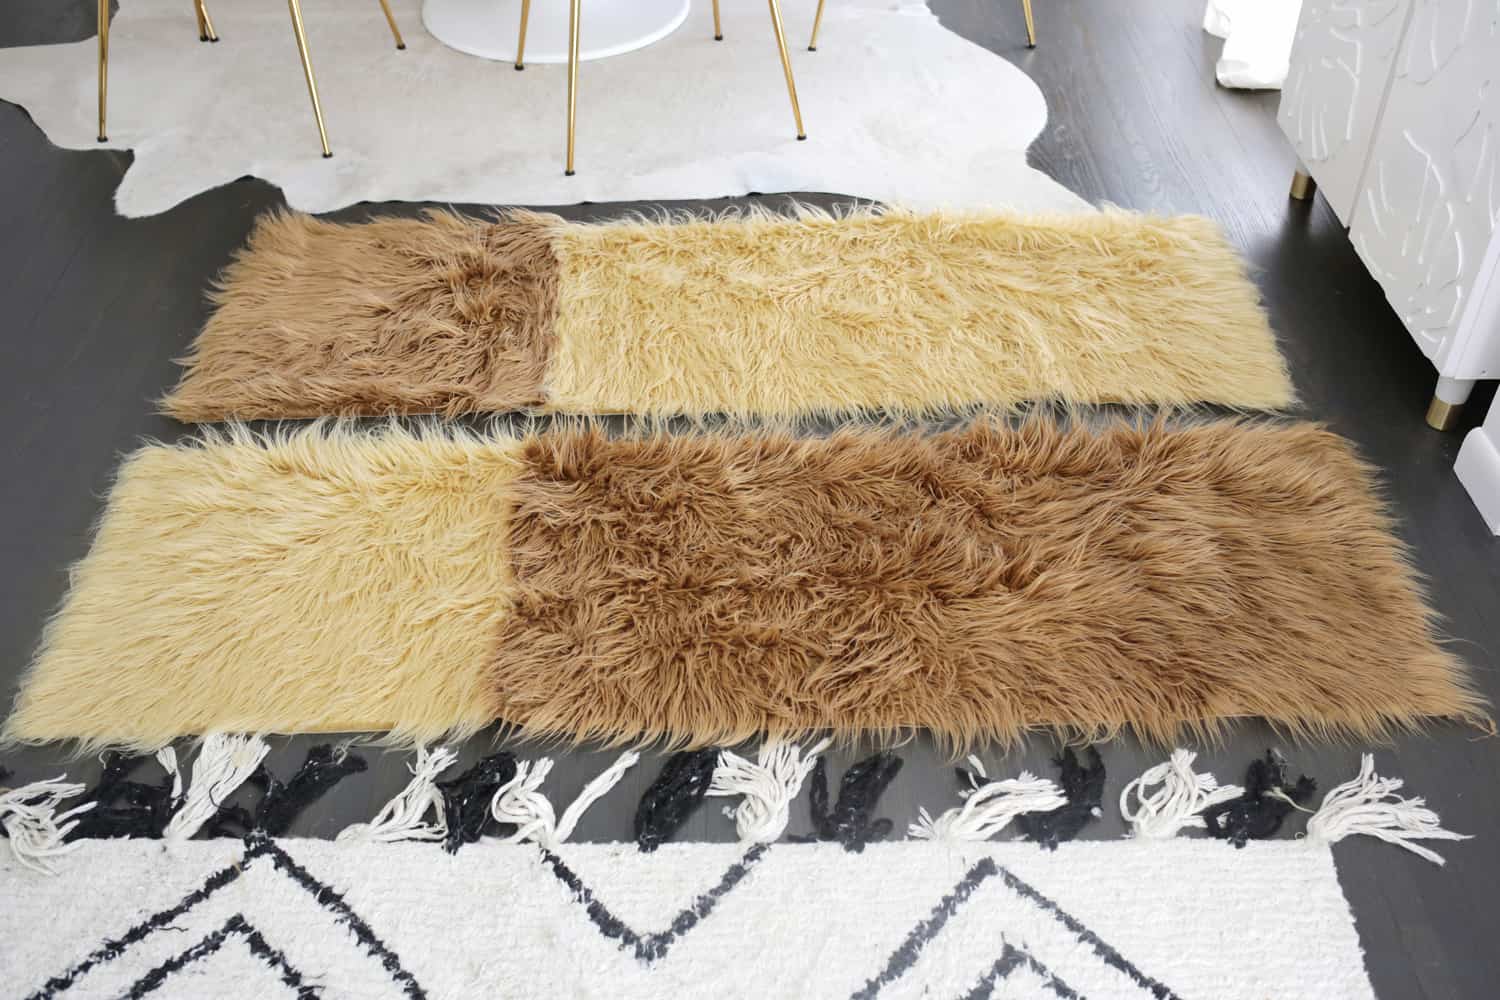 Repeat with your other set of tan/camel fabrics so you have two color blocked strips.
 Pin and sew your larger pink strip between your two tan/camel strips (remember to tuck in your fur!) and then attach the smaller pink strip to one of your tan/camel strips so you have the configuration above. You should have a 56″ x 72″ patchwork blanket now!
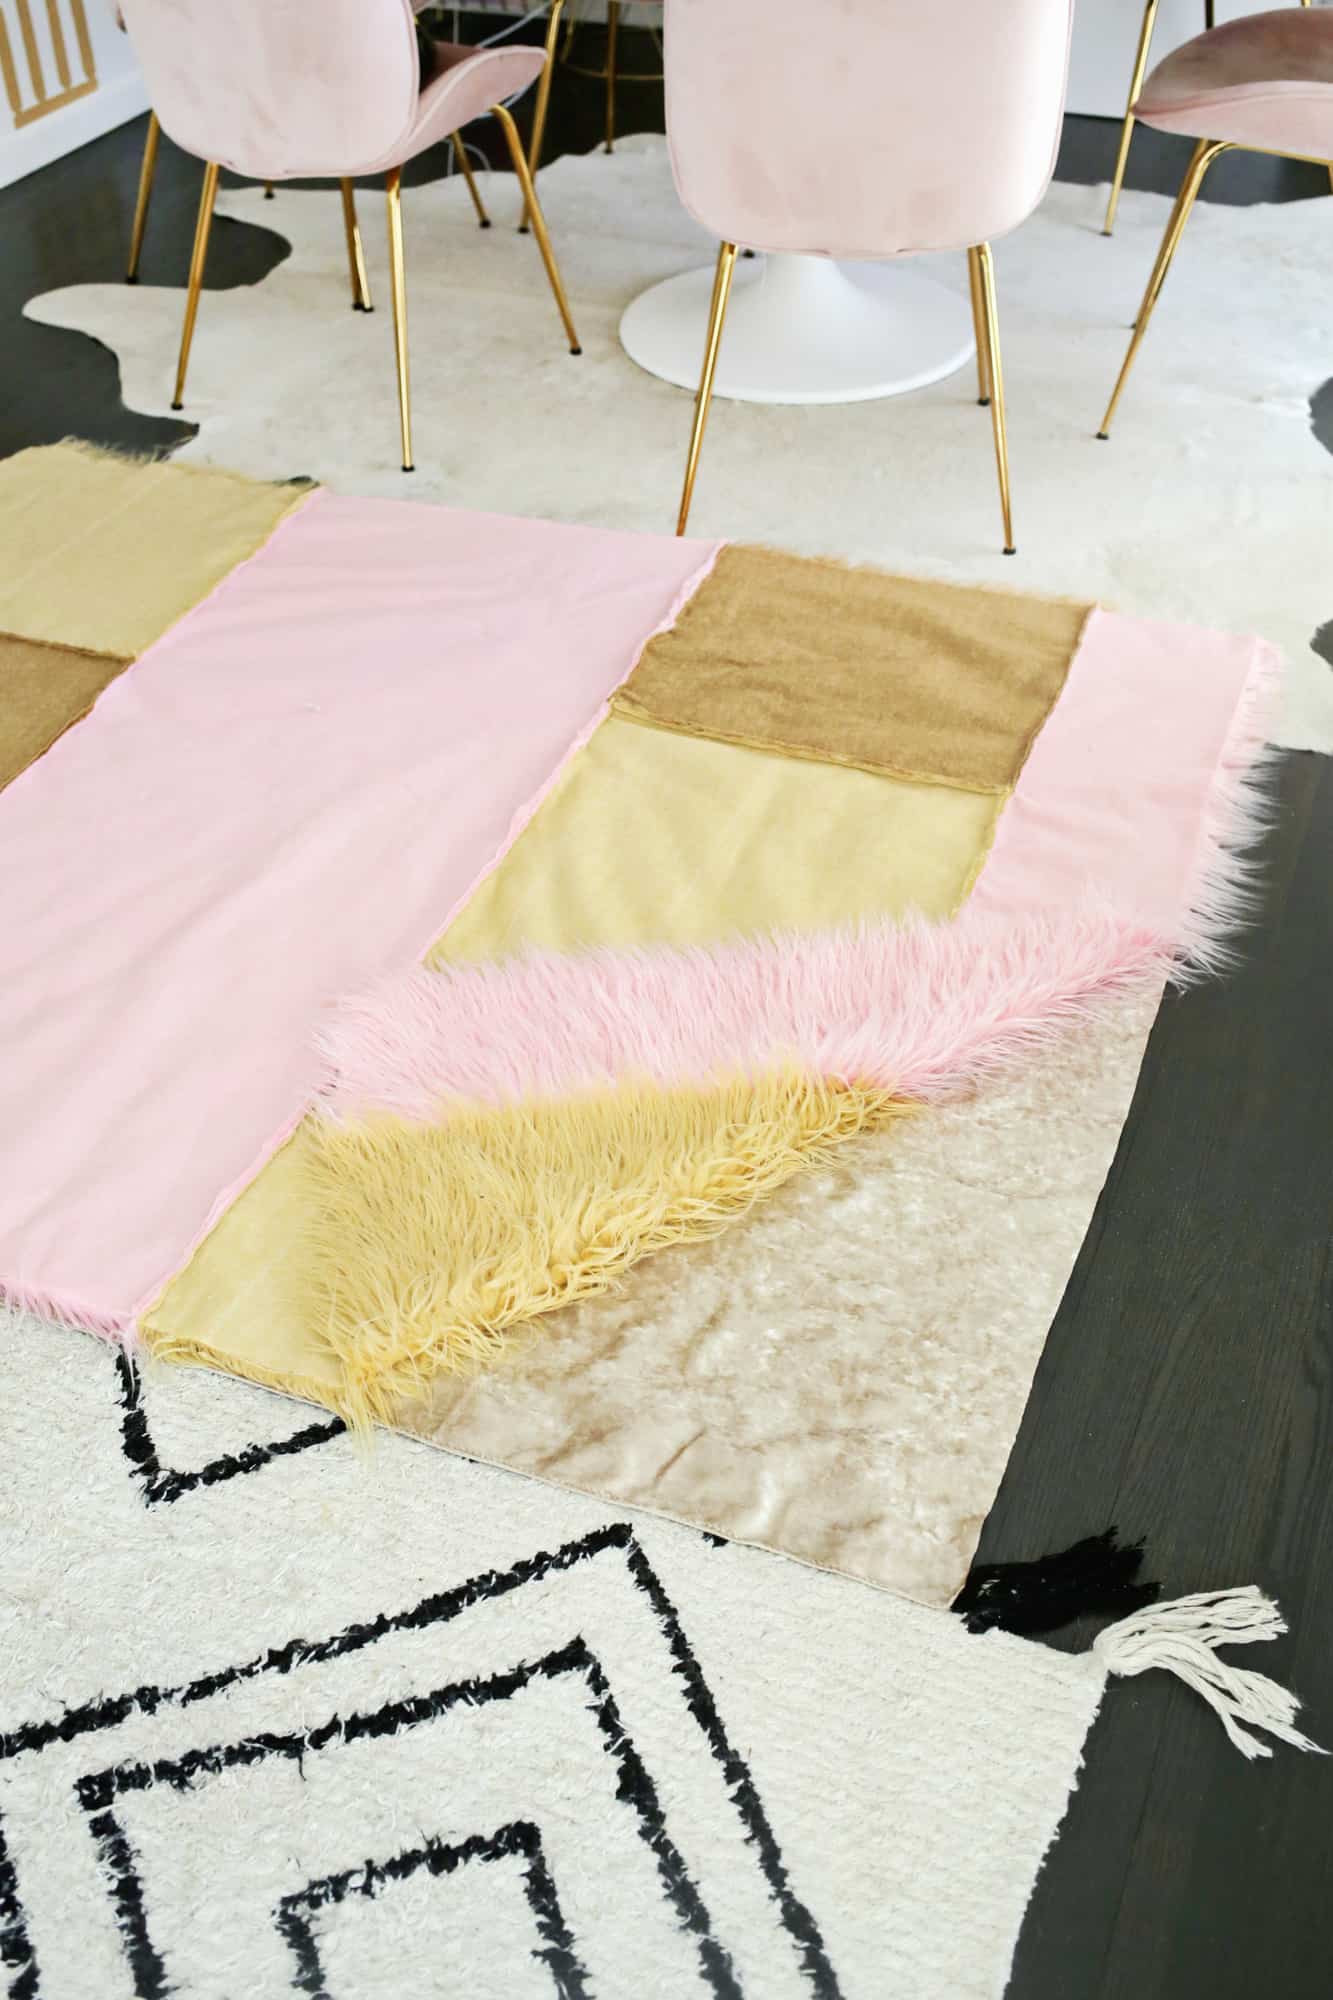
Cut a piece of velvet that is 56″ x 72″ also and lay it on the furry patchwork, right sides together, pinning them around the edge while remembering to tuck the fur inside of the layers.
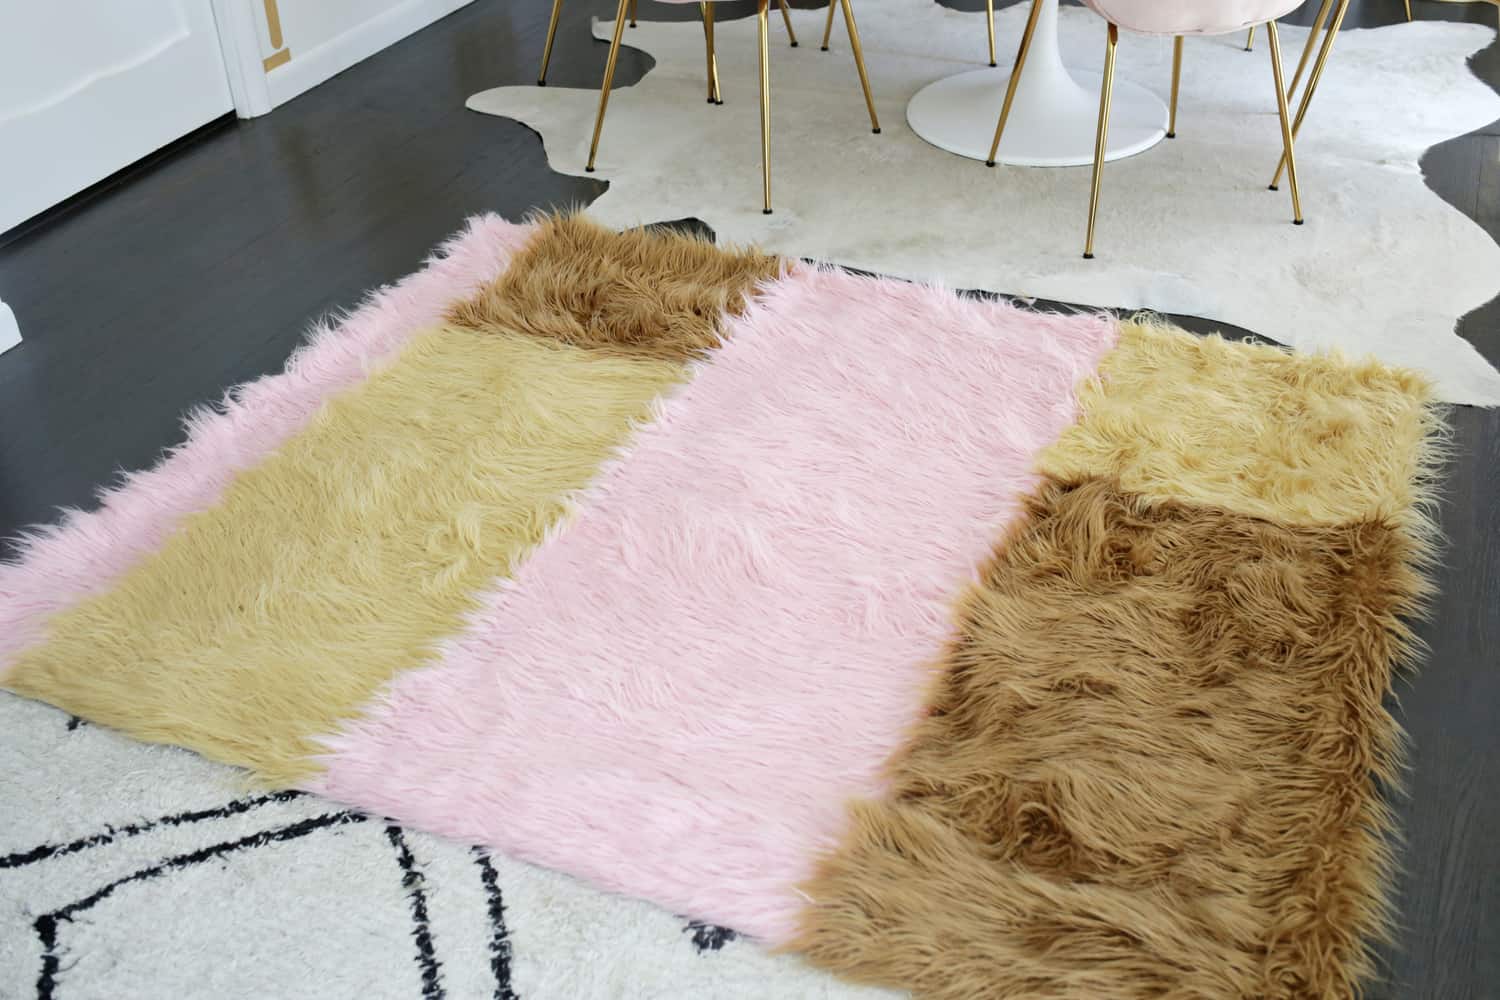 Sew around the edges with a 1/2″ seam allowance, leaving a 6-8″ gap so you can turn the blanket through that gap right side out and then hand stitch the gap closed once the fabric is turned through.
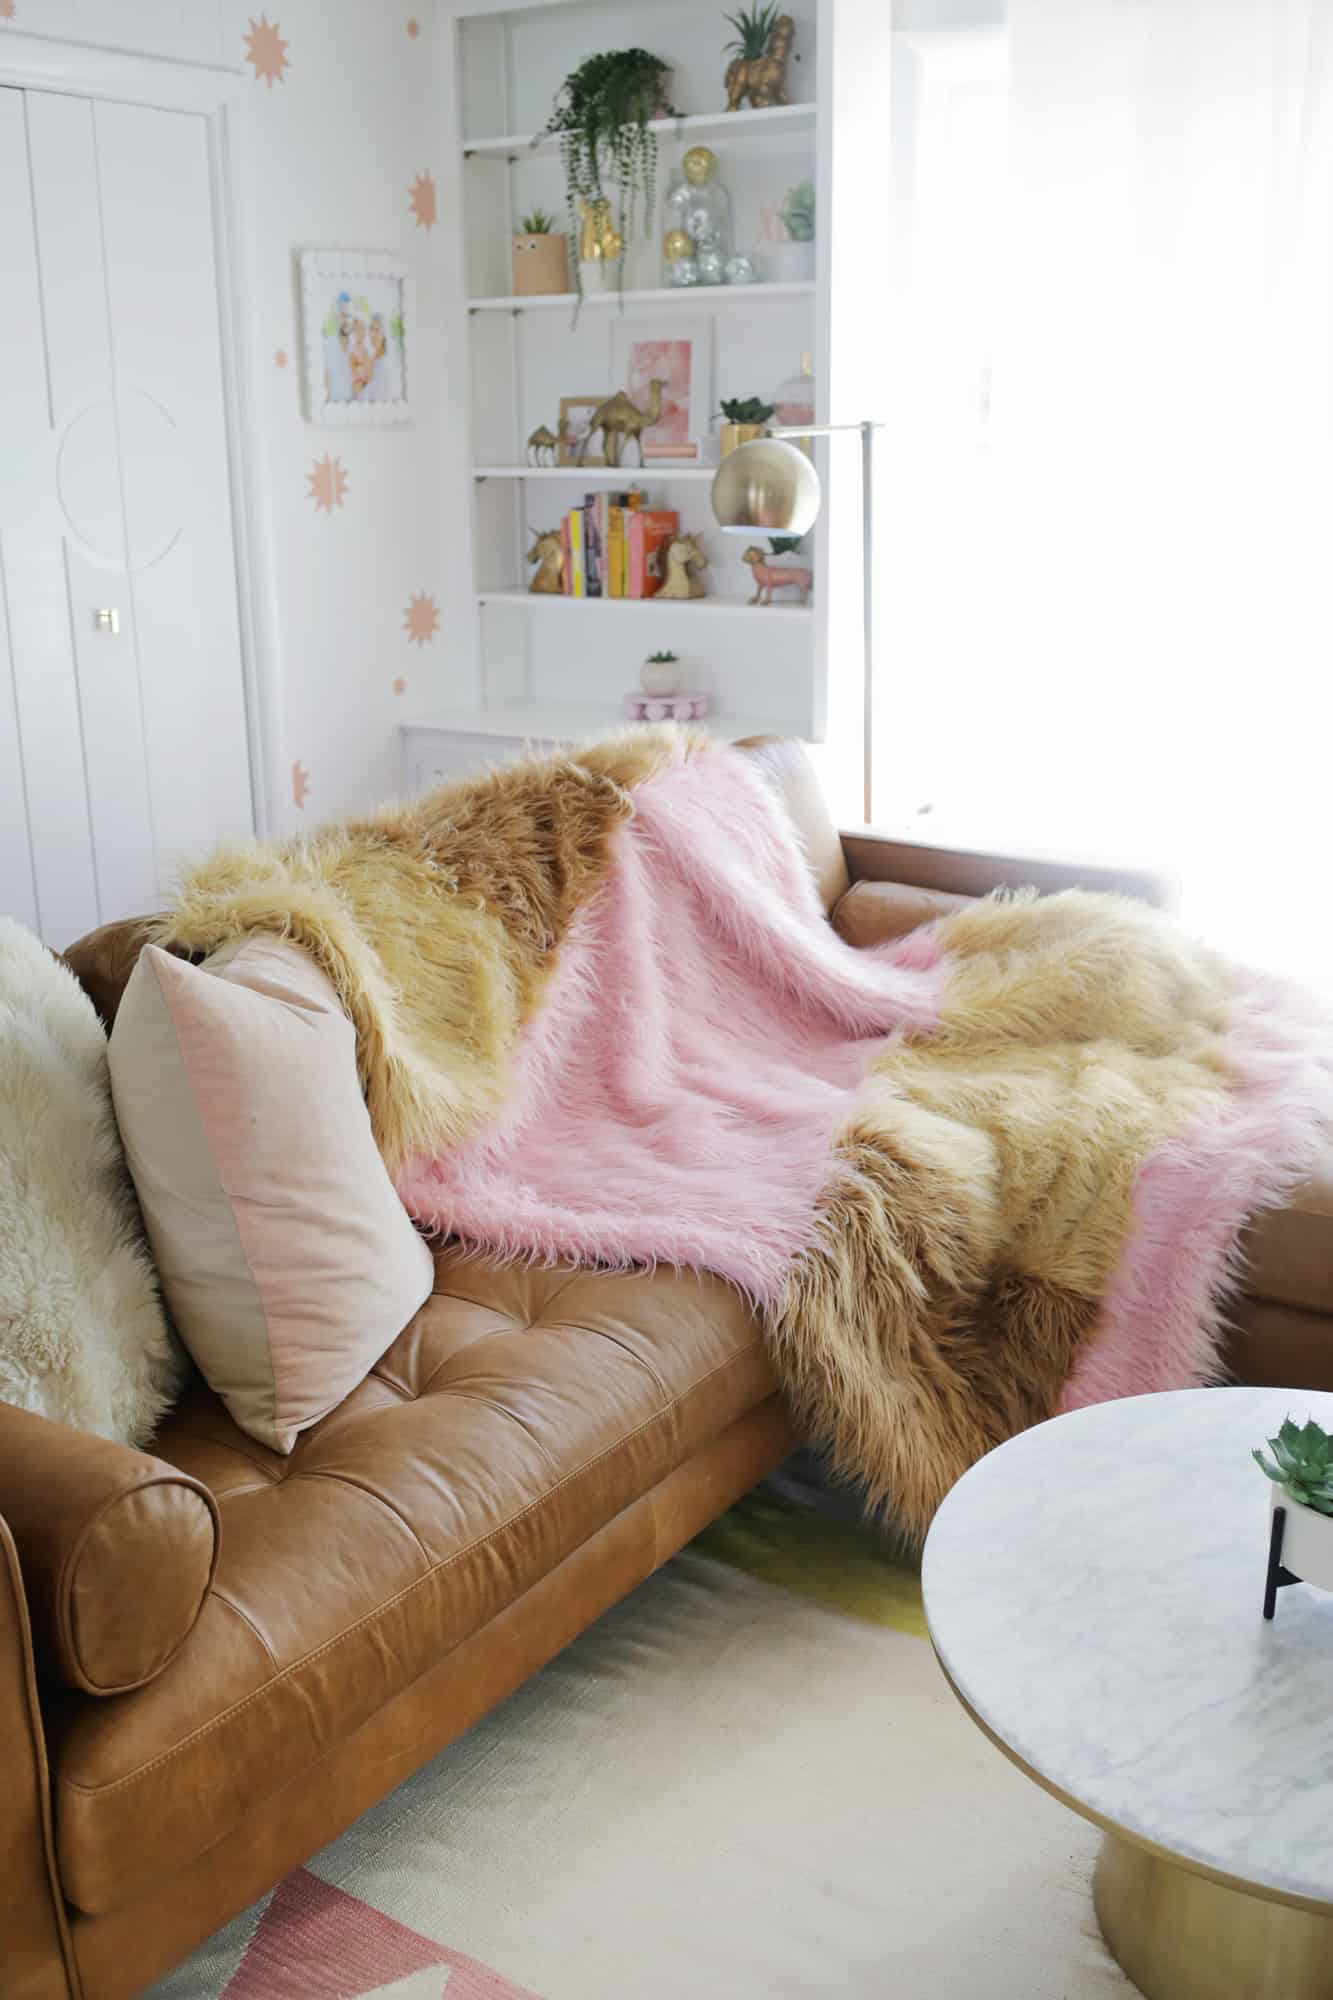
That’s it! Your blanket is now ready to use!

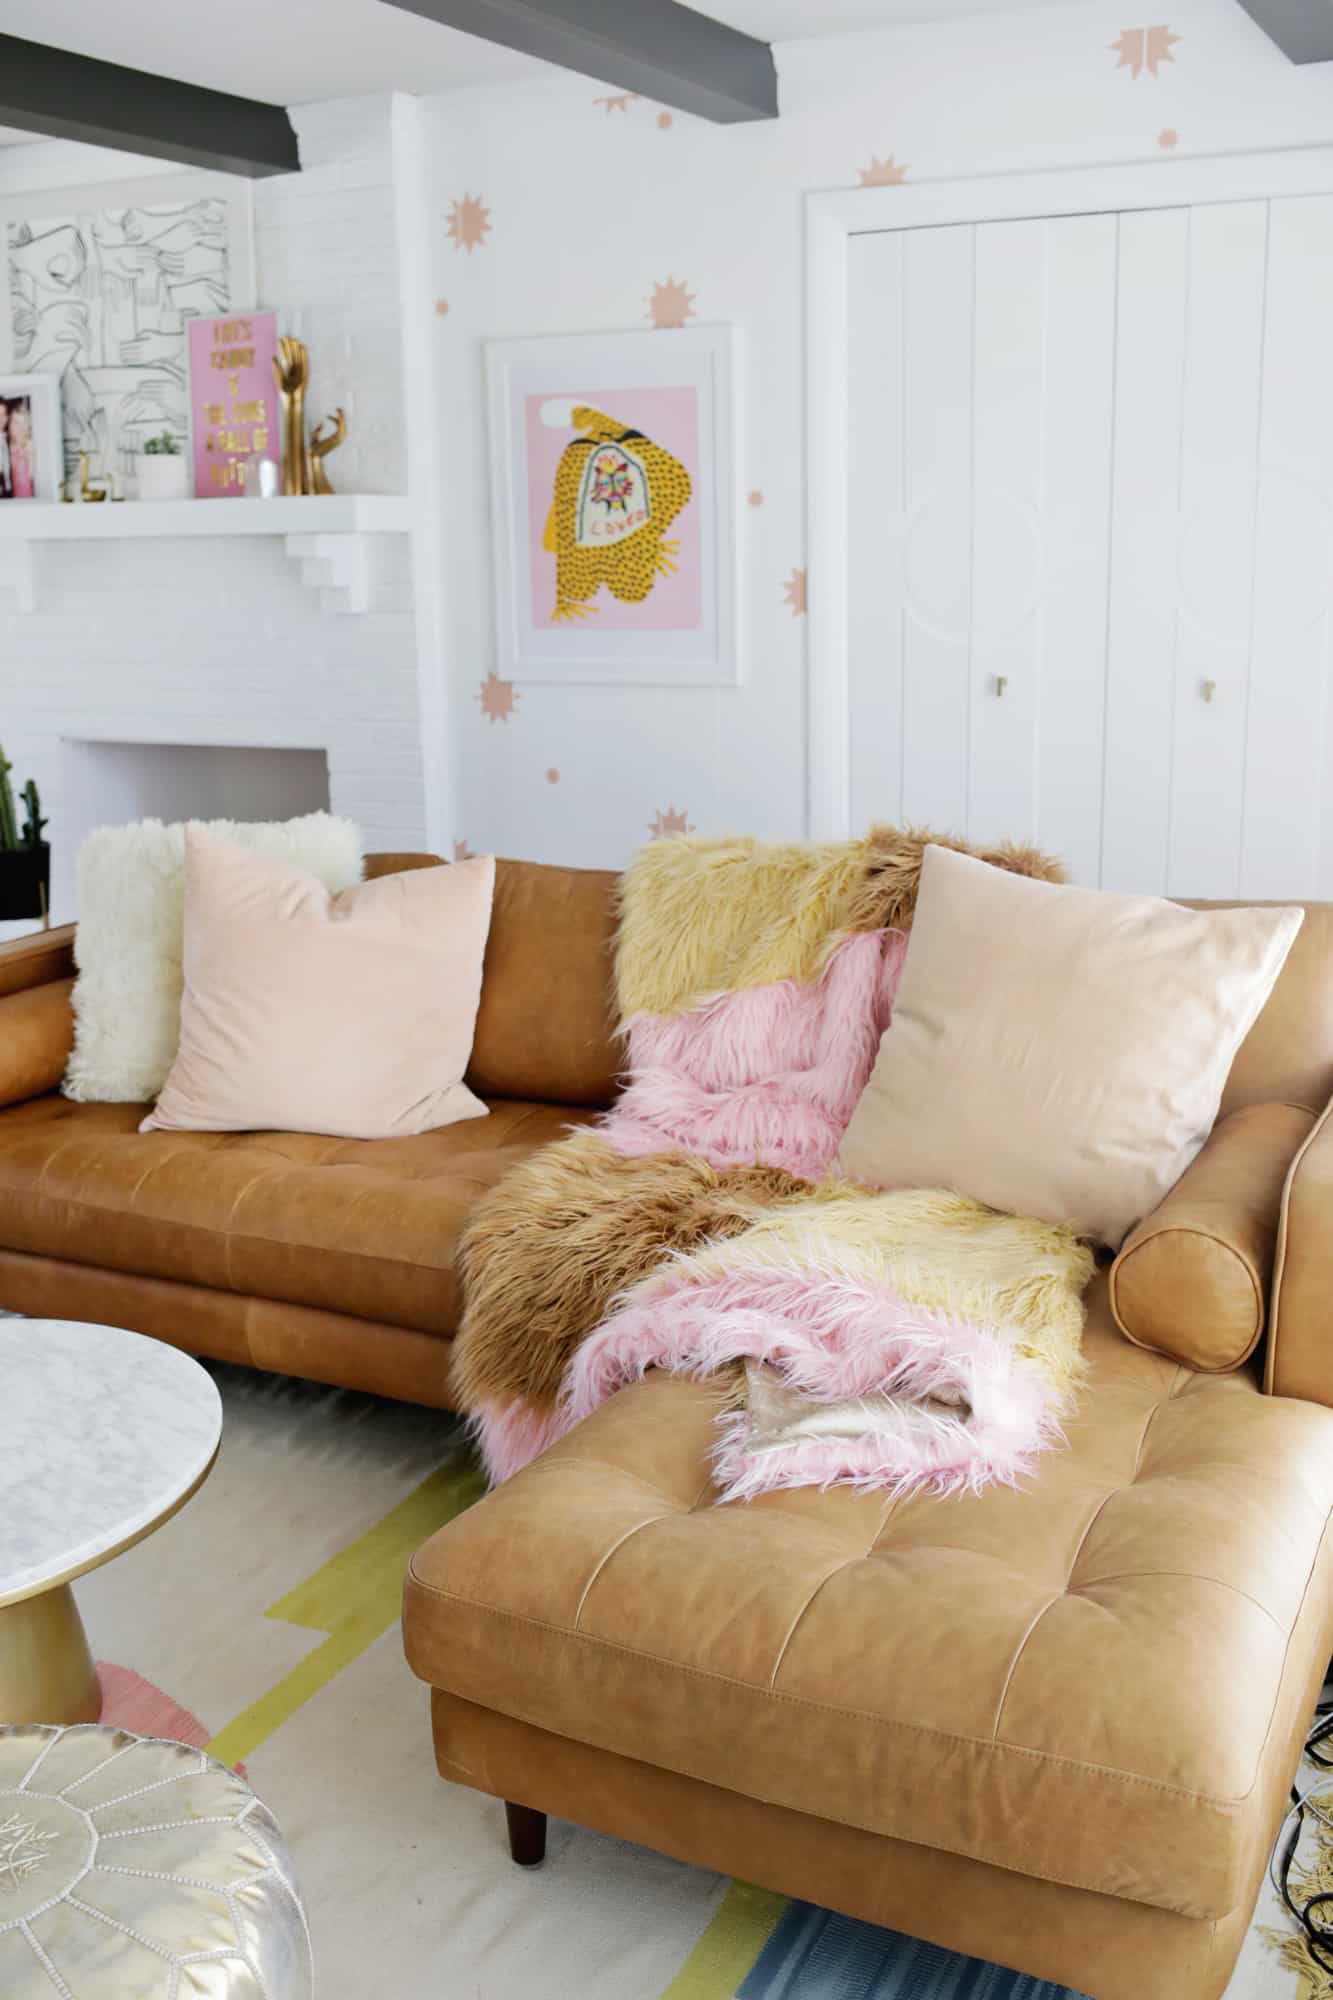 How fun is that?! I chose fur colors to compliment the beautiful new leather couch that we got recently and I think it looks so pretty on the caramel leather. We realized rather quickly after having our daughter that spills are an everyday thing now (at least once a day!), so having a leather option that we can easily wipe up has been a big plus for us too! Definitely lots of toddler snuggle time will be had under this blanket in the future and we usually share a morning milk/coffee/toast combo on the couch each morning that we can use this during as well.
A nice thing about working with large pieces of fabric is that you can also reuse them for other projects too once you want a change. So even if this blanket isn’t needed anymore at some point, it will most definitely be made into several toddler winter coats or a lion costume or something fun. If you love furry blankets as much as I do, I hope you get a chance to make one too! xo. Laura



9 Comments
You guys! Your DIYs never fail to amaze me. What a beautiful blanket, I can’t believe it’s handmade! ❤️✨
Charmaine Ng | Architecture & Lifestyle Blog
http://charmainenyw.com
This is so cute! I didn’t know I needed this in my life until I saw it????????
http://www.sundaydahlias.com
That blanket is so cute, and seems relatively easy to make! Thanks for sharing, hope you are having a lovely day!!
-Kate
https://daysofkate.com
That blanket looks sooooo cozy, I need this on my couch!
https://www.makeandmess.com/
I love that this looks like Neopolitan ice cream!
I was thinking the exact same thing Barbara! The blanket is super cute!
I love it! Seems relatively easy to make which is even better!
It’s so cute! And it looks so soft! I bet my cat would steal it 🙂
love this fluffy fur blanket and colors you used!
I want one!!!!
will have to try it out, thanks for sharing!