 Traveling with kids can be fun, buuuuut it’s not always easy. Leaving the house with toddlers in tow (even for short trips and errands) can be tricky, so it’s always a good idea to have snacks and activities nearby to occupy them as needed. I’ve had some sort of crayon wallet for Lola in her bag since before she could even hold crayons, and they have totally saved us time and time again as we’ve needed a distraction for her while we wait for food at restaurants or travel in the car. I’ve always wanted to make my own and it’s super helpful to have these spread out throughout your belongings (one in diaper bag, one in car, etc.). We are partnering with JOANN to create this cute project and I love that I could get everything for my project all in one trip to their store—saves this busy mom a lot of time! They also have a large kid’s section in JOANN and I’ve found so many family-friendly projects in their stores (it’s a great place to go if you need a present for a kiddo as well!). OK, let’s get to making our wallet!
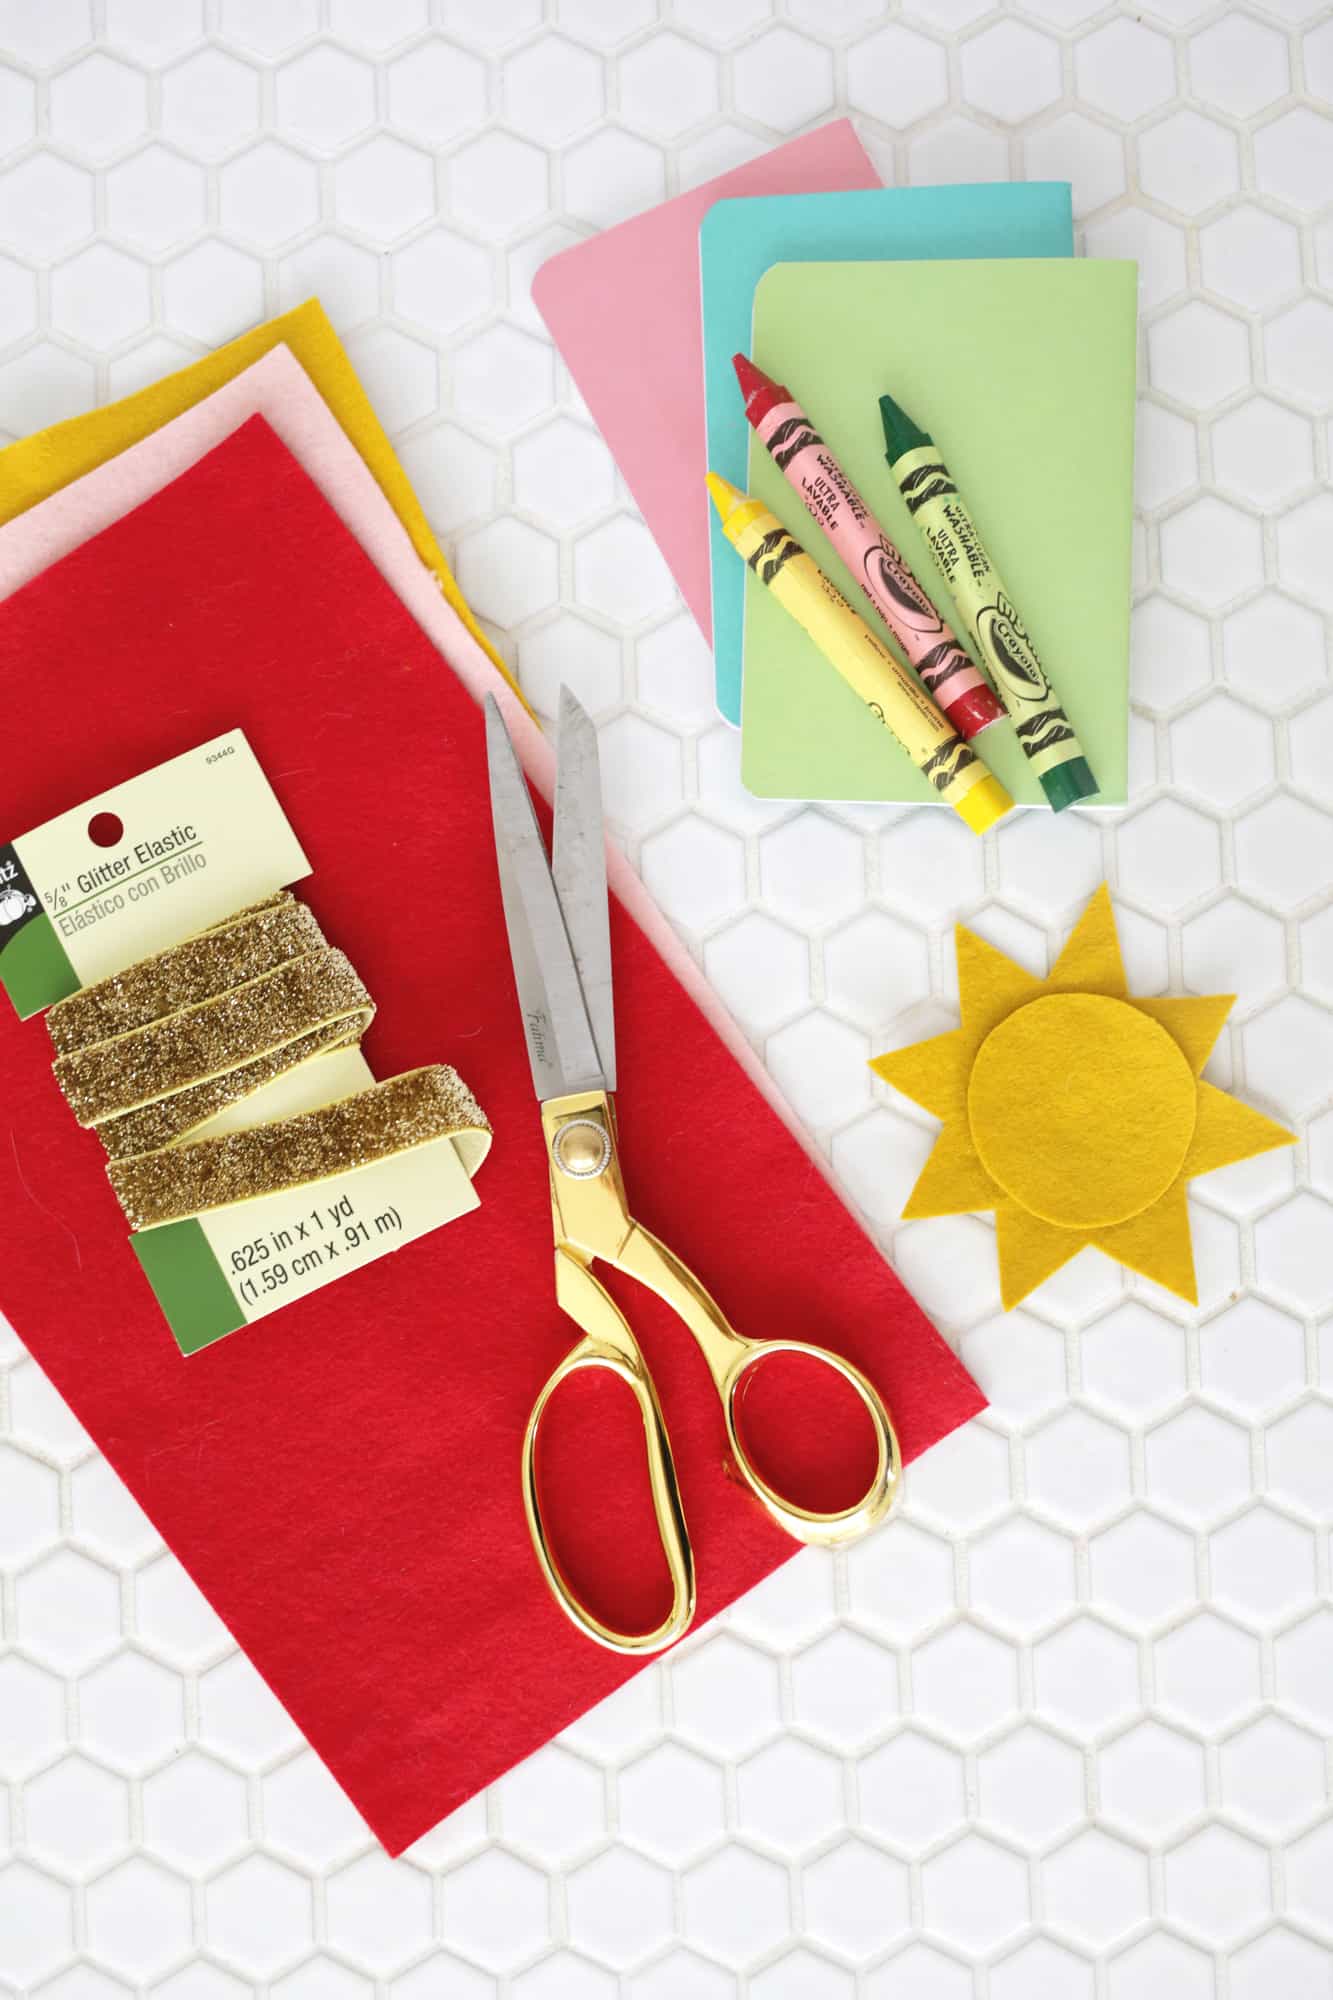 Supplies:
–felt in 3 colors
–fabric scissors and straight pins
–double fold bias tape
–wiggle eyes and glue
–5/8″ glitter elastic
–1/4″ gold elastic
–shank button
–crayons (the triangle ones are my favorite for little kids!)
-small blank notebook
-sewing machine
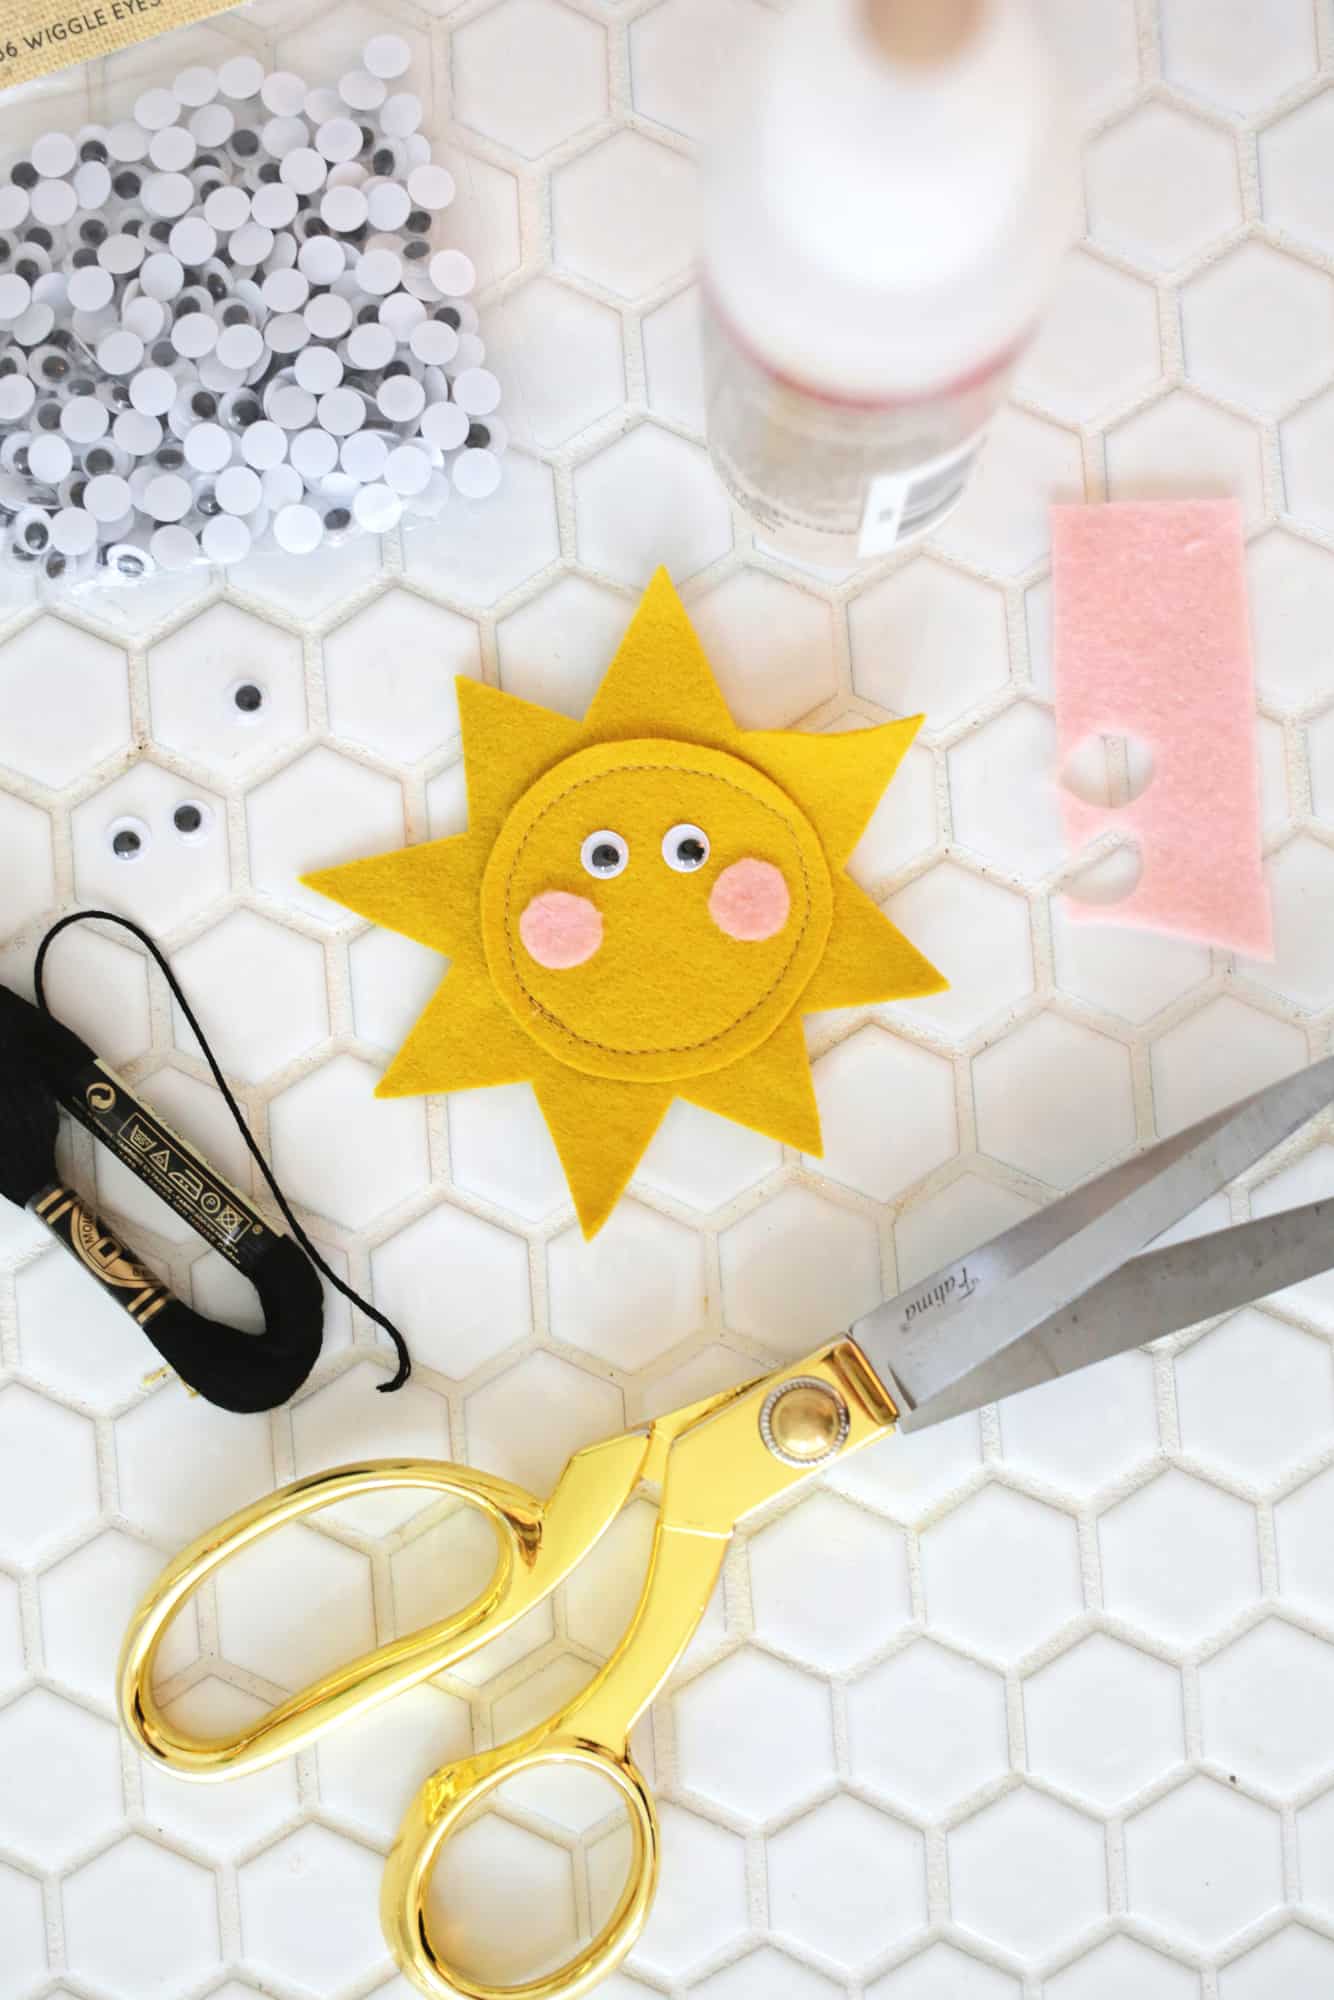
OK! You can either leave the front of your wallet blank or you can add a little felt detail or sew a patch onto it to make a little decoration for the front. I just cut out a little 4″ wide sun shape from yellow felt, sewed a circle on top, cut and glued smaller pink circles for cheeks, glued on some wiggle eyes and then added a smile with some embroidery thread. Easy and cute!
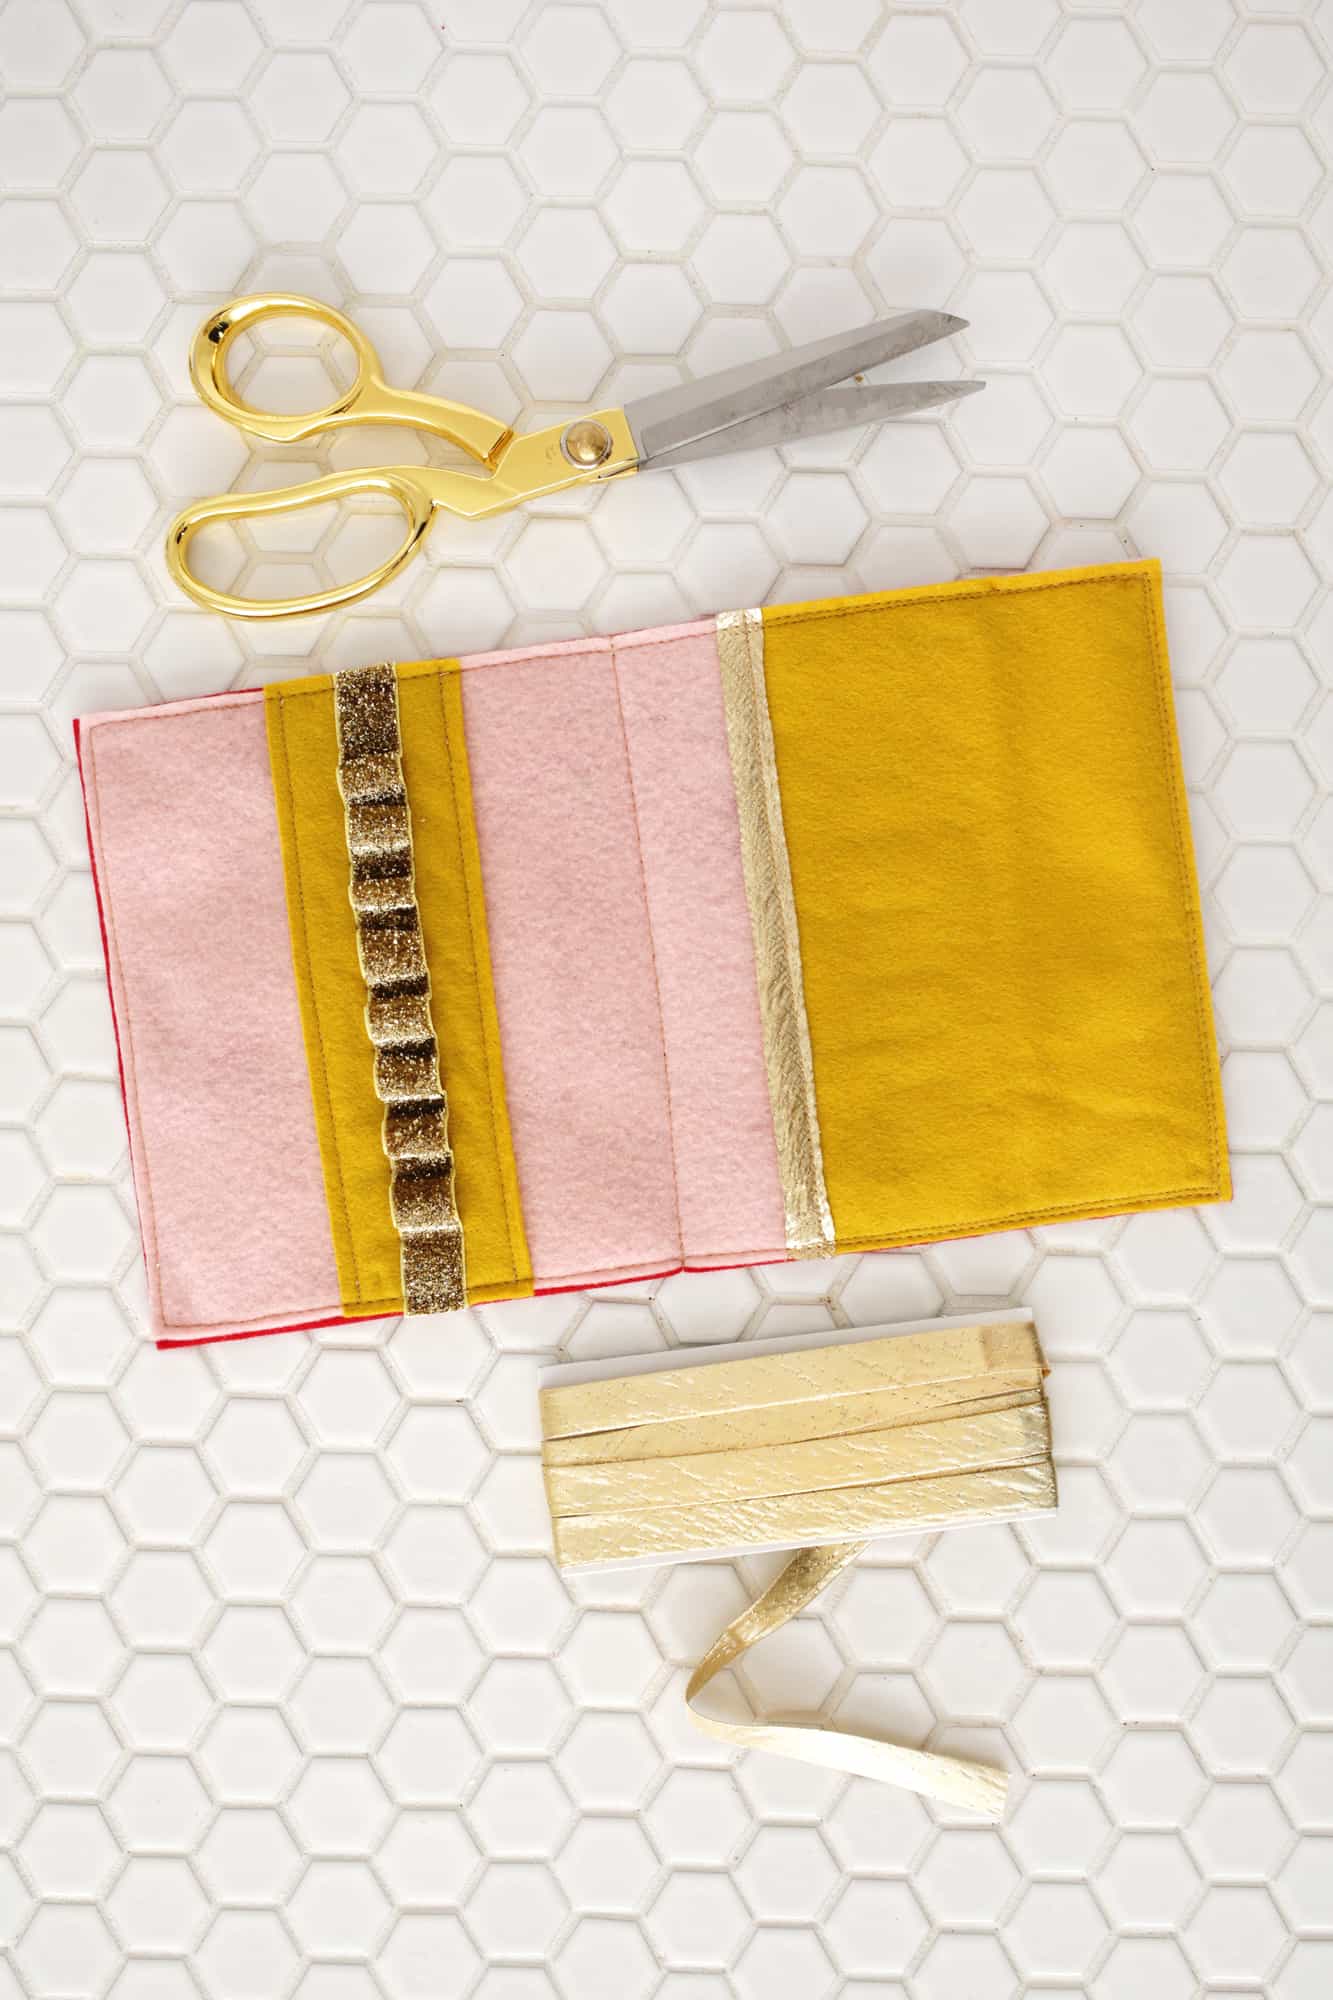
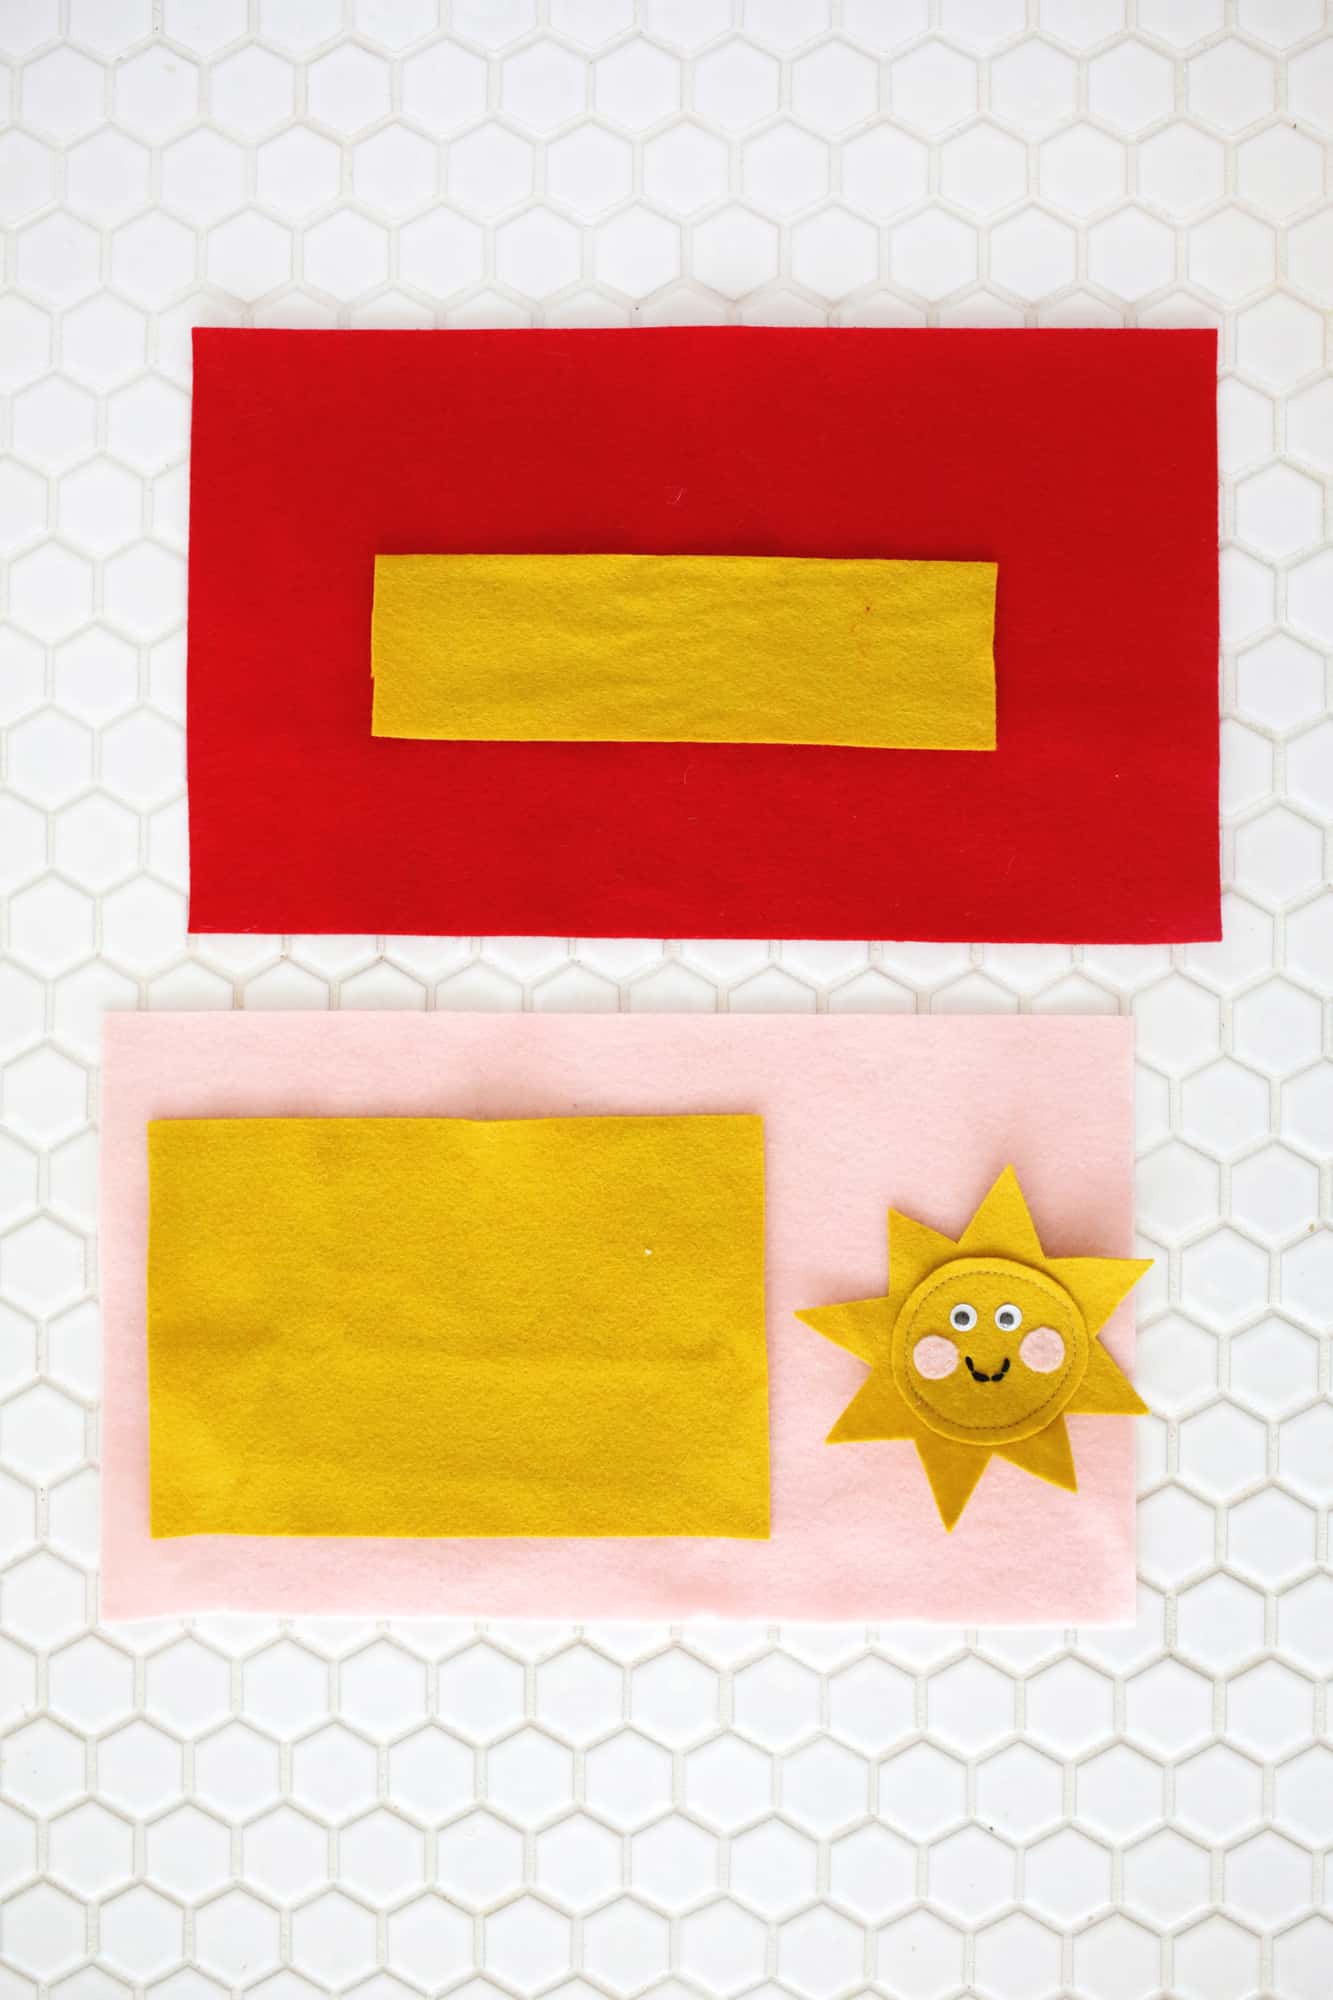 Next, you’ll want to cut two layers of felt that are 11″ x 6.5″ (the red one is my outside layer and the pink is my inside layer). You’ll also want a pocket that is 4.5″ x 6.5″ and a strip for the crayon area that is 2″ x 6.5″.
 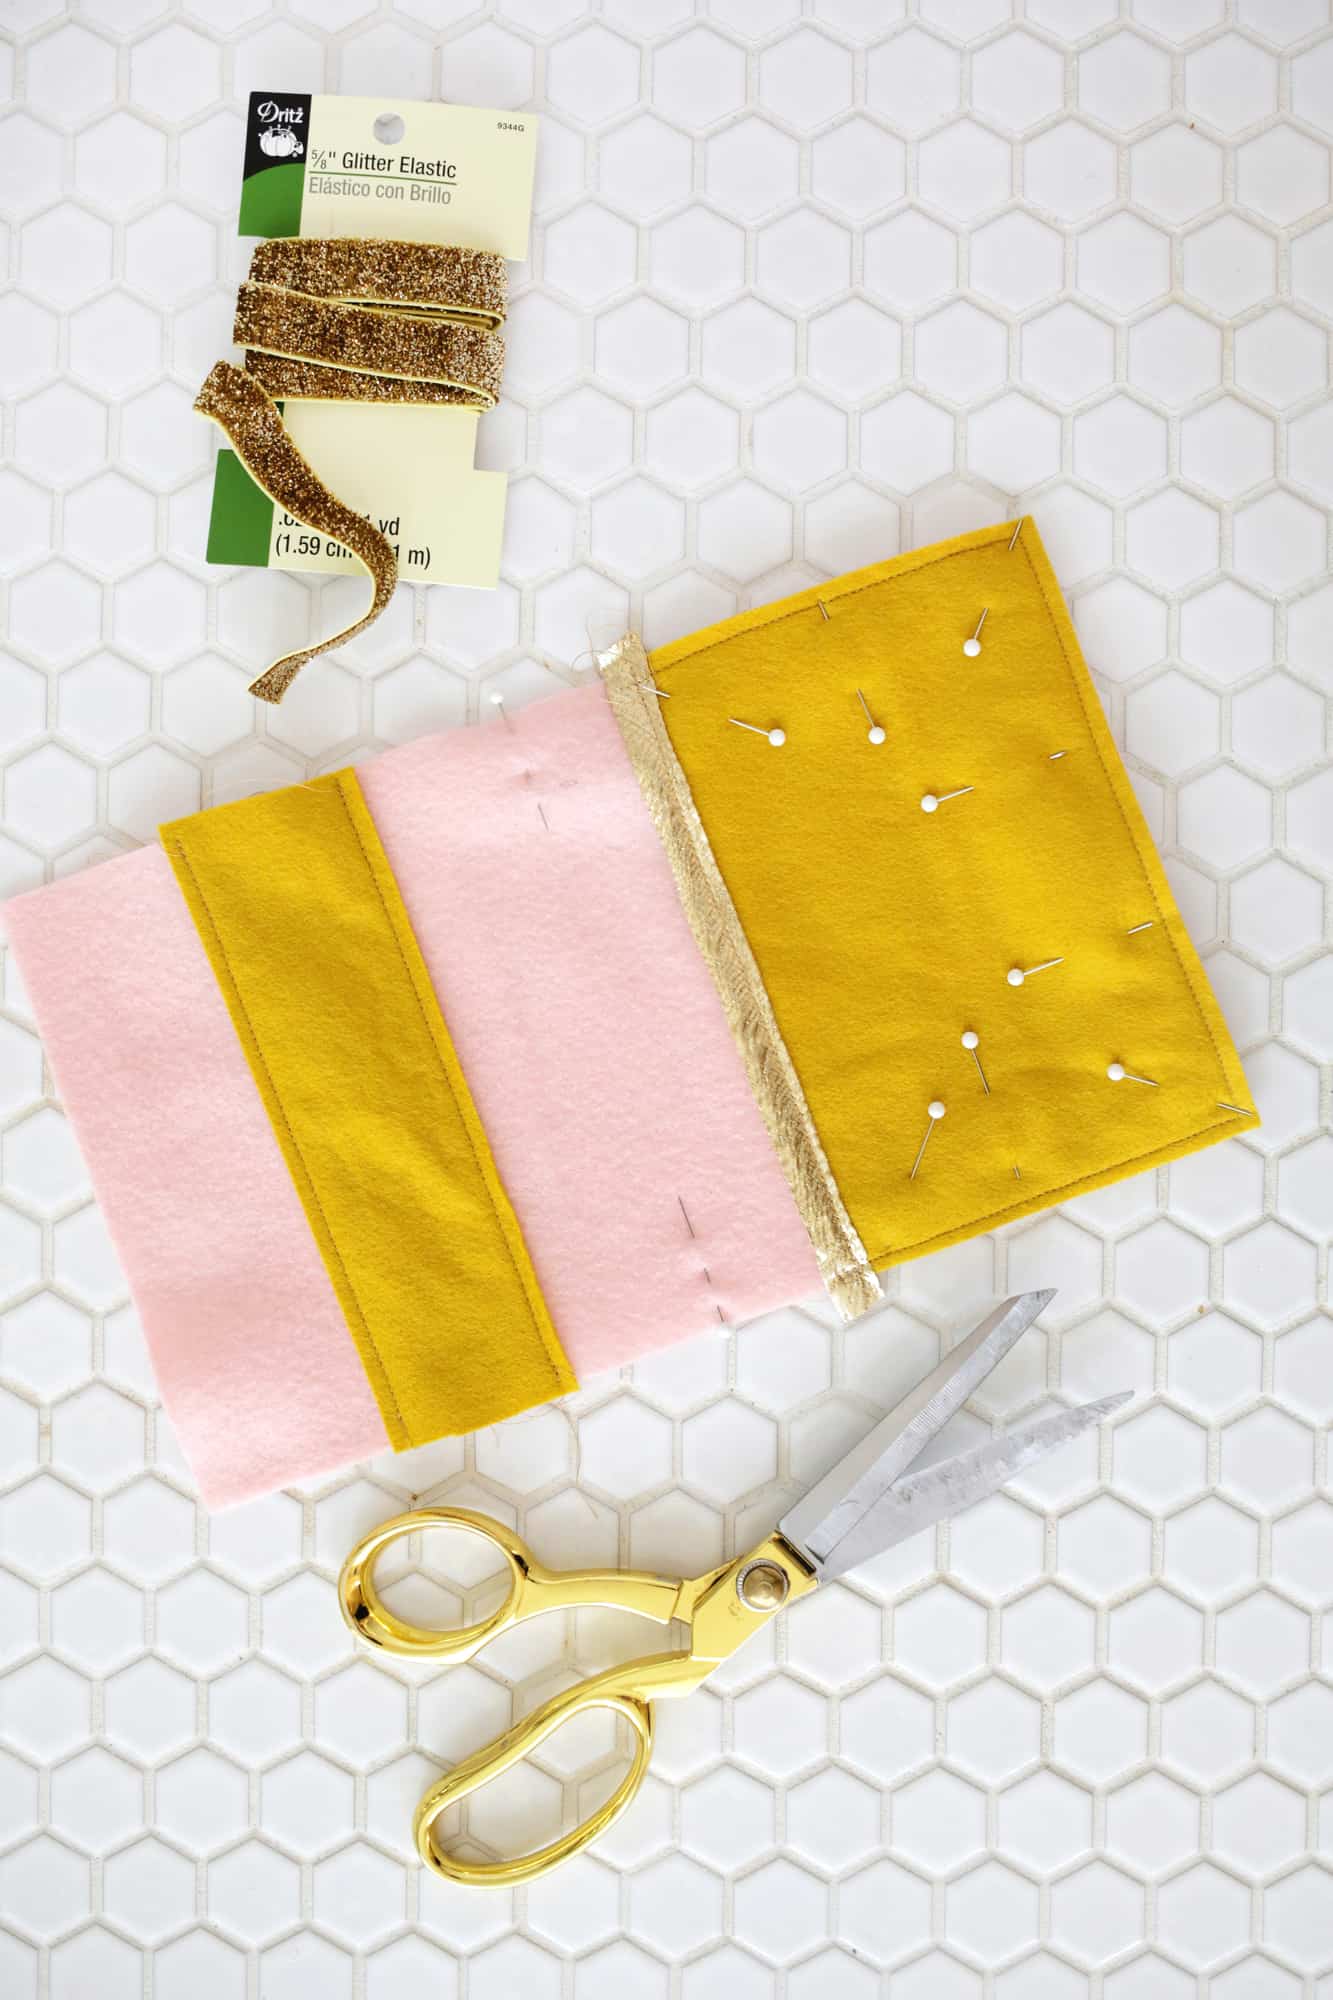 Fold, pin, and sew a strip of your double fold bias tape down the length of one of your pocket sides. Then pin your pocket in place, lining up the edges without the bias tape along the right side edge of your inside layer. Sew with 1/4″ seam allowance around the 3 outer edges to attach pocket to inside layer. Then, pin your crayon strip to the left side of your inside layer about 2″ in from the outside edge (you can mark where the middle of the layer is with a few pins for reference).
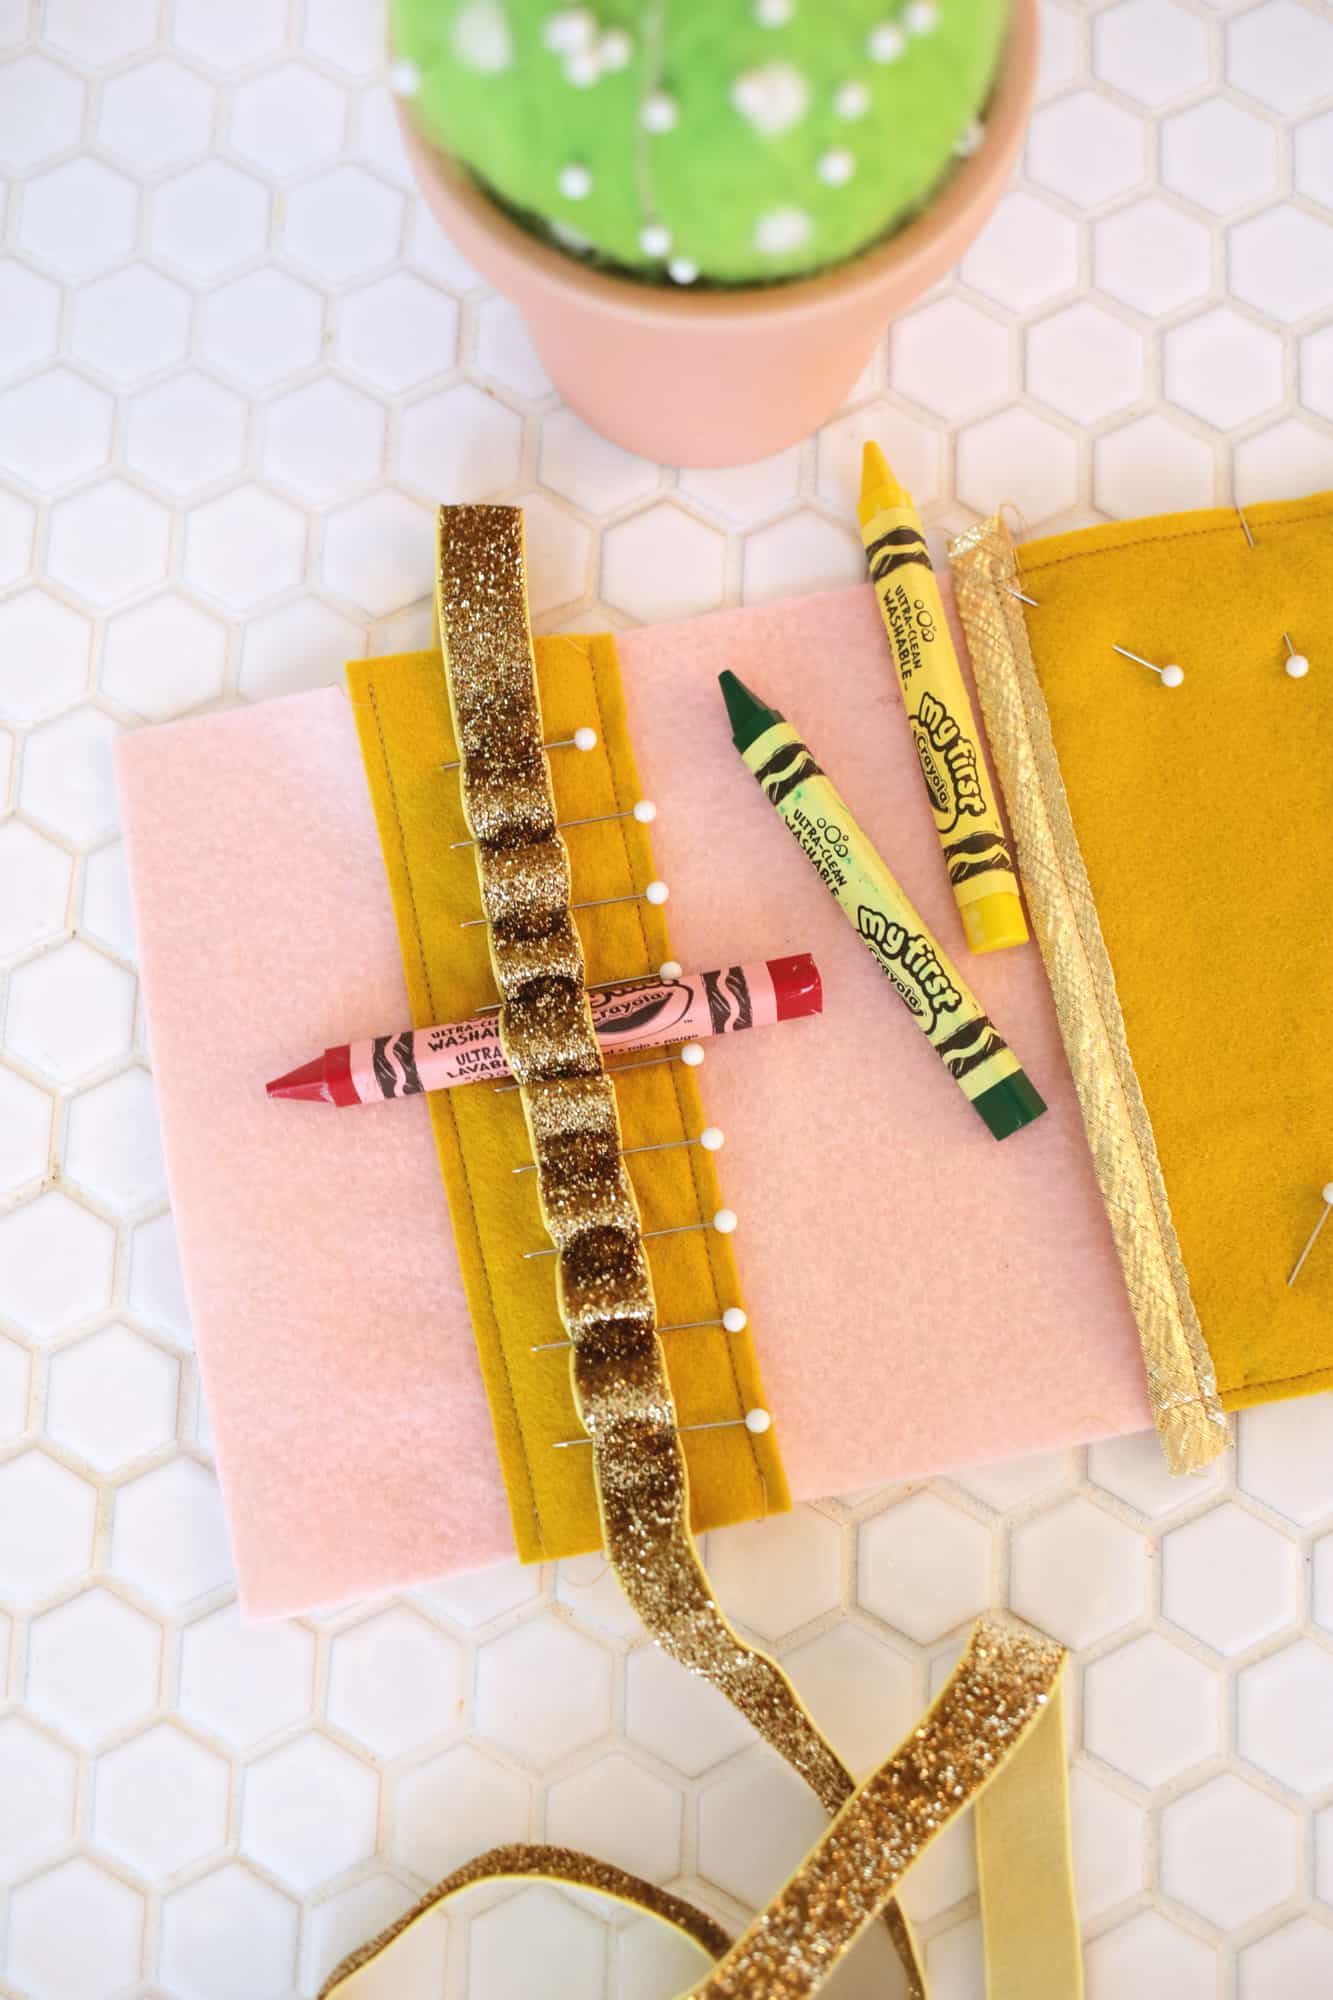 Next, use a pin to pin your 5/8″ elastic to the middle center of your crayon strip. Place a crayon next to the pin, under the elastic, and pin the other side next to the crayon so it creates a little loop for the crayon to be placed into. You want to pull a little bit so the elastic isn’t loose, but it doesn’t need to be very tight on the crayon to hold it. Keep placing crayons and pinning until you have spots for as many crayons as you can fit (mine fits 8 triangle crayons). Use your machine to sew across the elastic where each pin is and trim the excess off the edges.
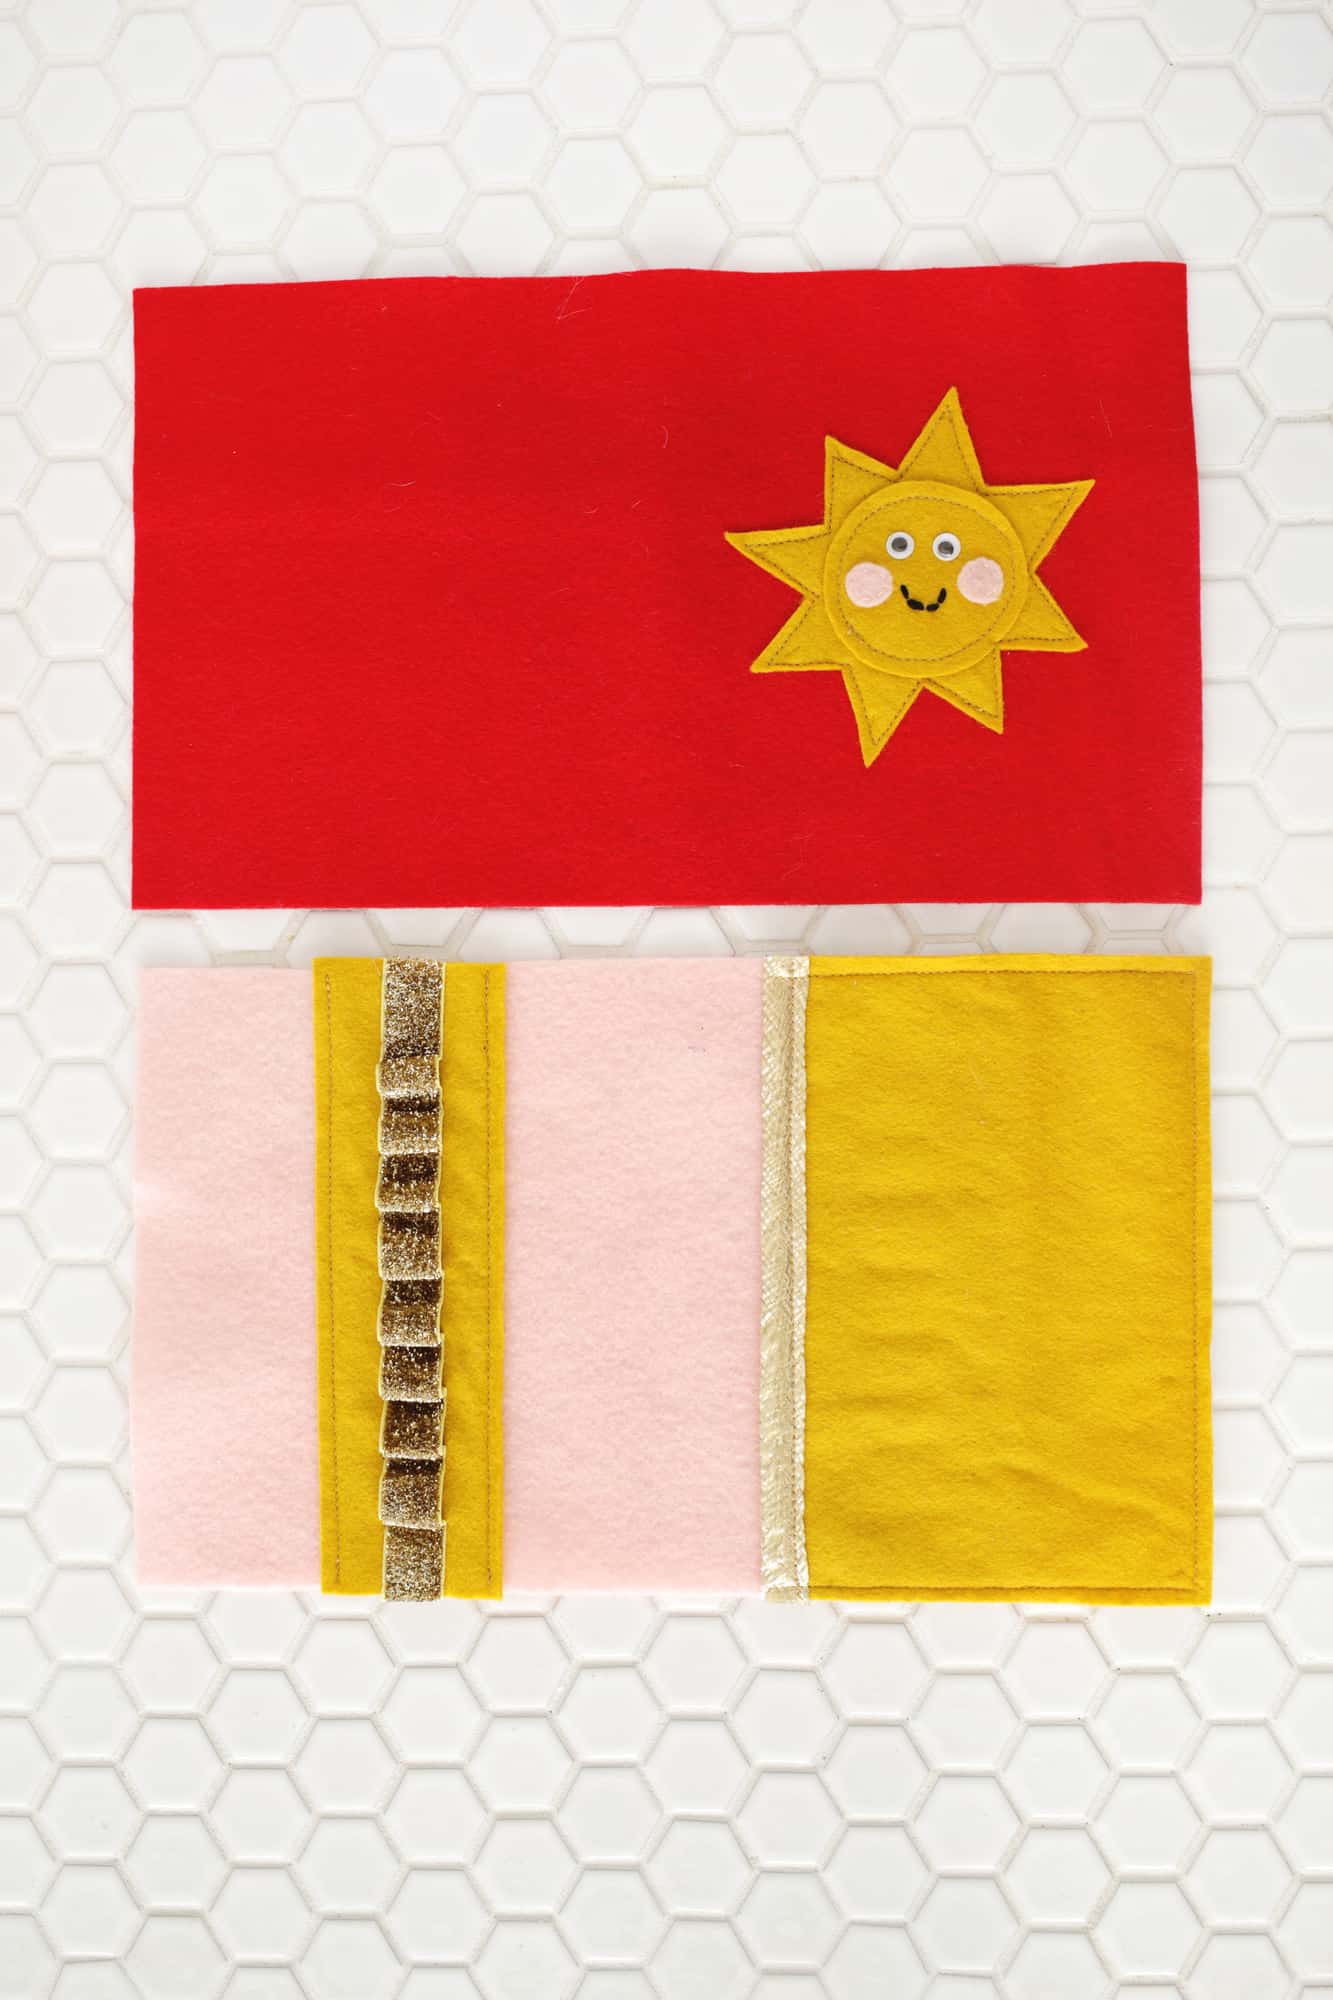
If you have a decoration to add to the front, sew it on so it will appear where you want it on the front panel (make sure to leave room for your button at the end!) and then you should have two panels that look like this!
 Place your outside layer and inside layers wrong sides together and pin and sew around the edge with 1/4″ seam allowance to keep all your layers in place while you add your bias tape. I would also sew down the middle line of the wallet as that helps the little book close more easily.
 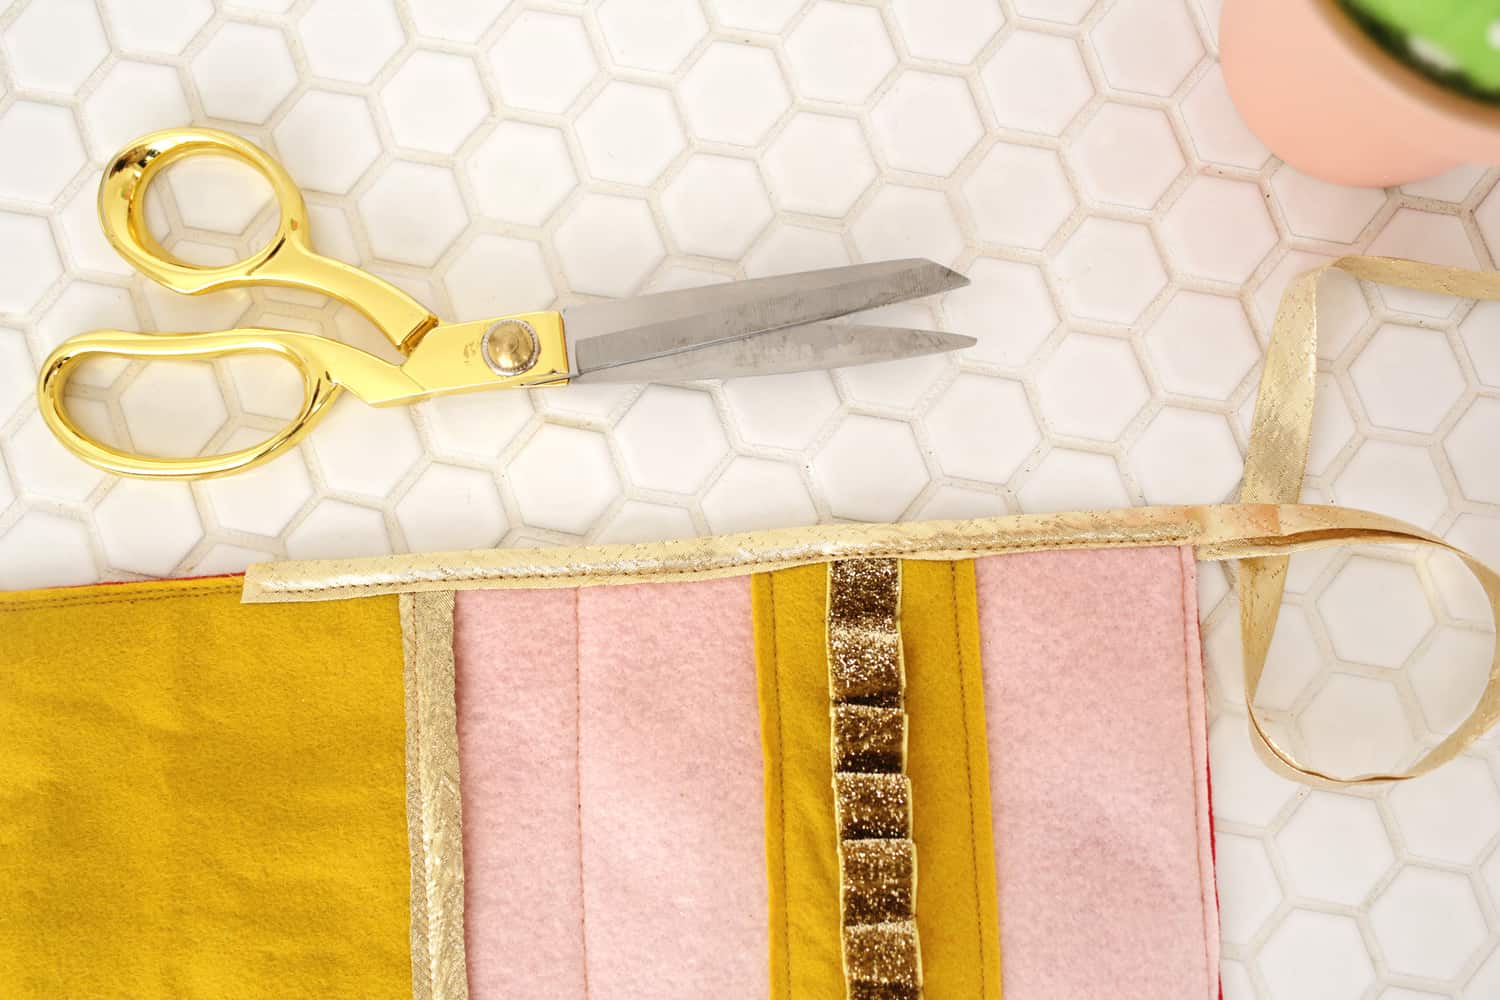 Next, fold under the beginning 1/4″ of your bias tape (so it doesn’t unravel) and pin your bias tape to straddle one edge of your wallet and sew until you get all the way to the end of that side.
 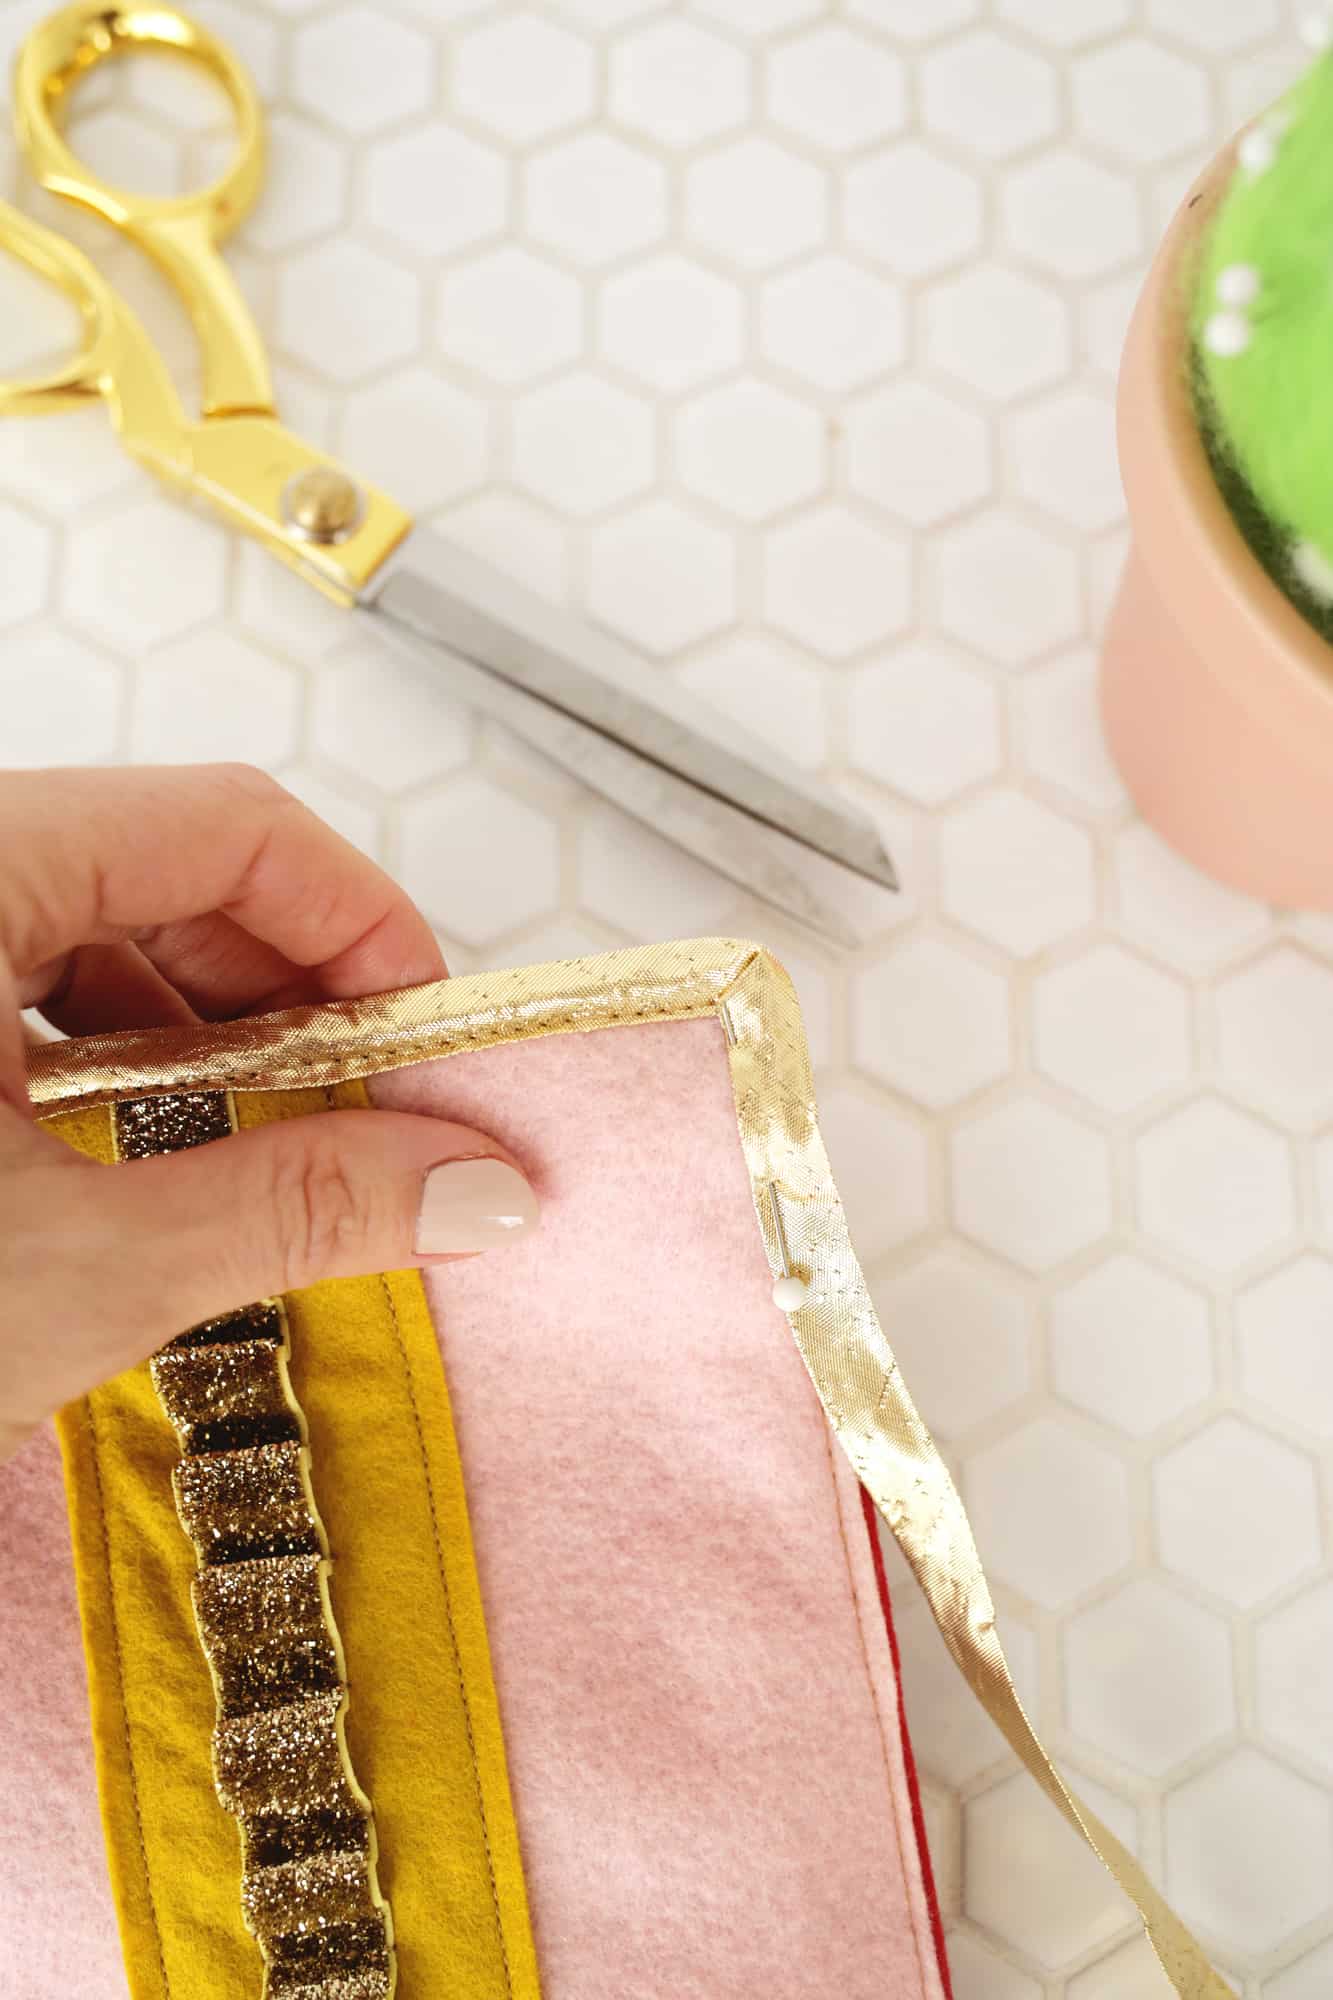 Then, continue folding down and pinning your bias tape down the next side and you’ll see that the corner has a neat 45° angle look to it. Repeat for each side until you get back to the beginning. You’ll also want to add your elastic loop on the back side of your wallet, so make sure to look at that step below before completing the bias tape step.
 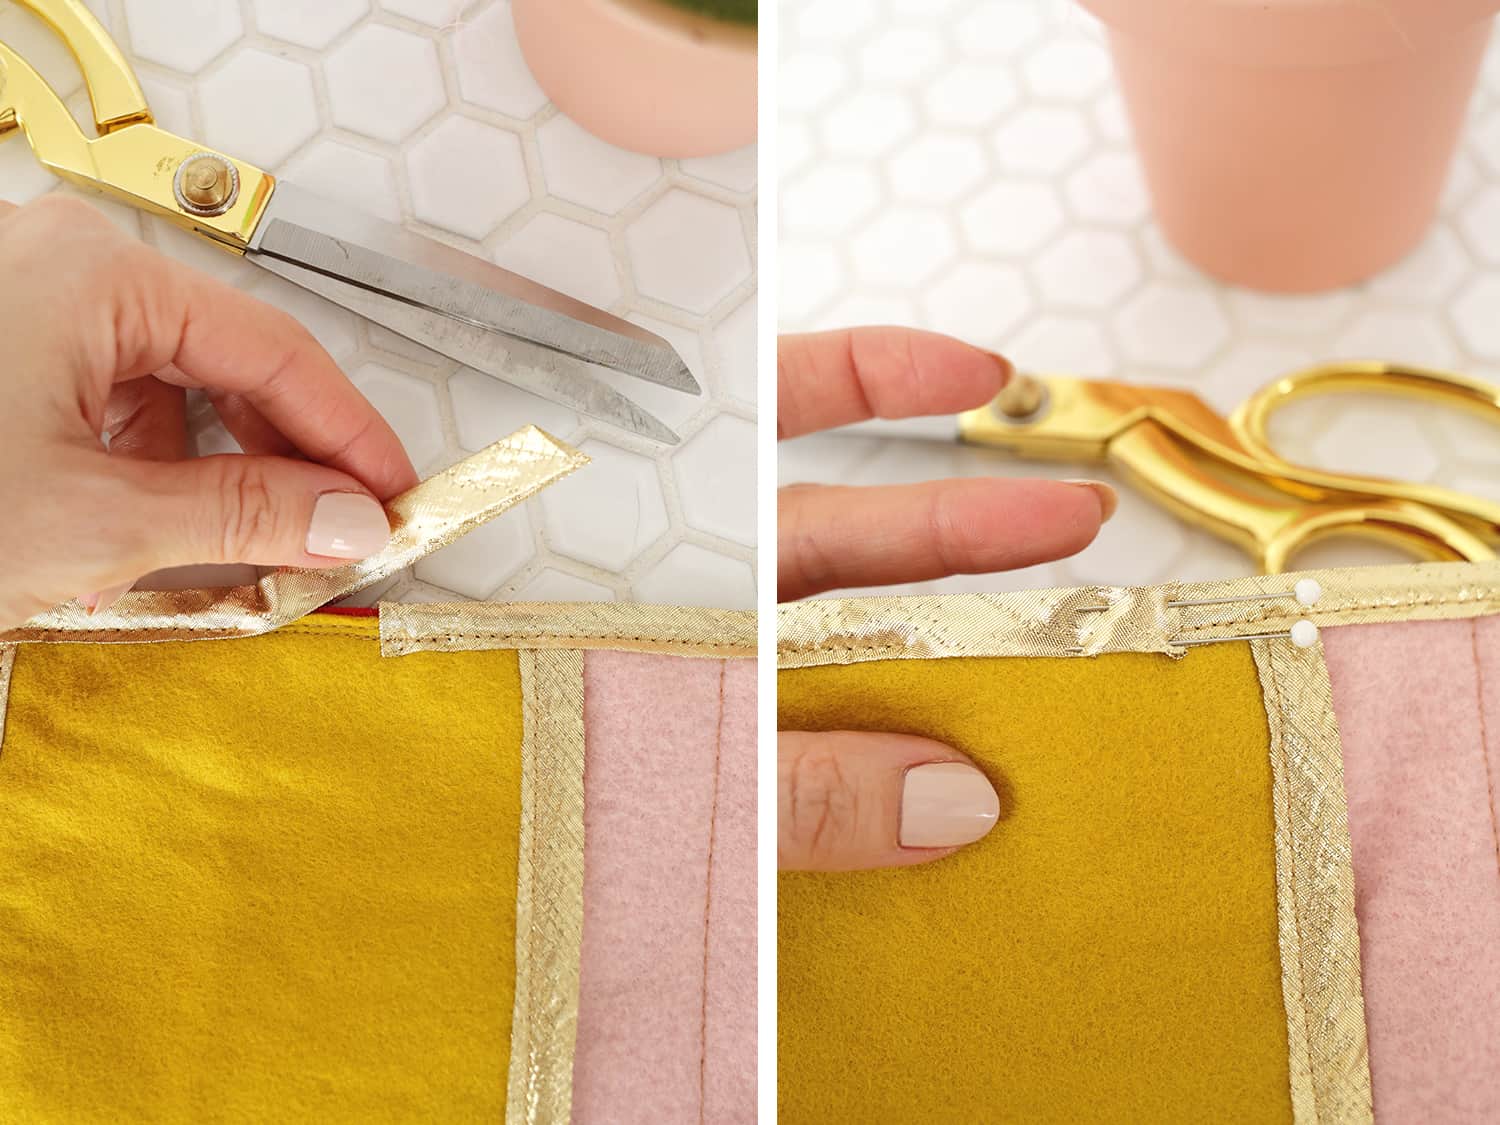 Once you reach your starting point, cut the end of your tape so it goes past the starting point about 1″ and fold under the last 1/2″ so you have a folded edge to end with. Pin and sew in place.
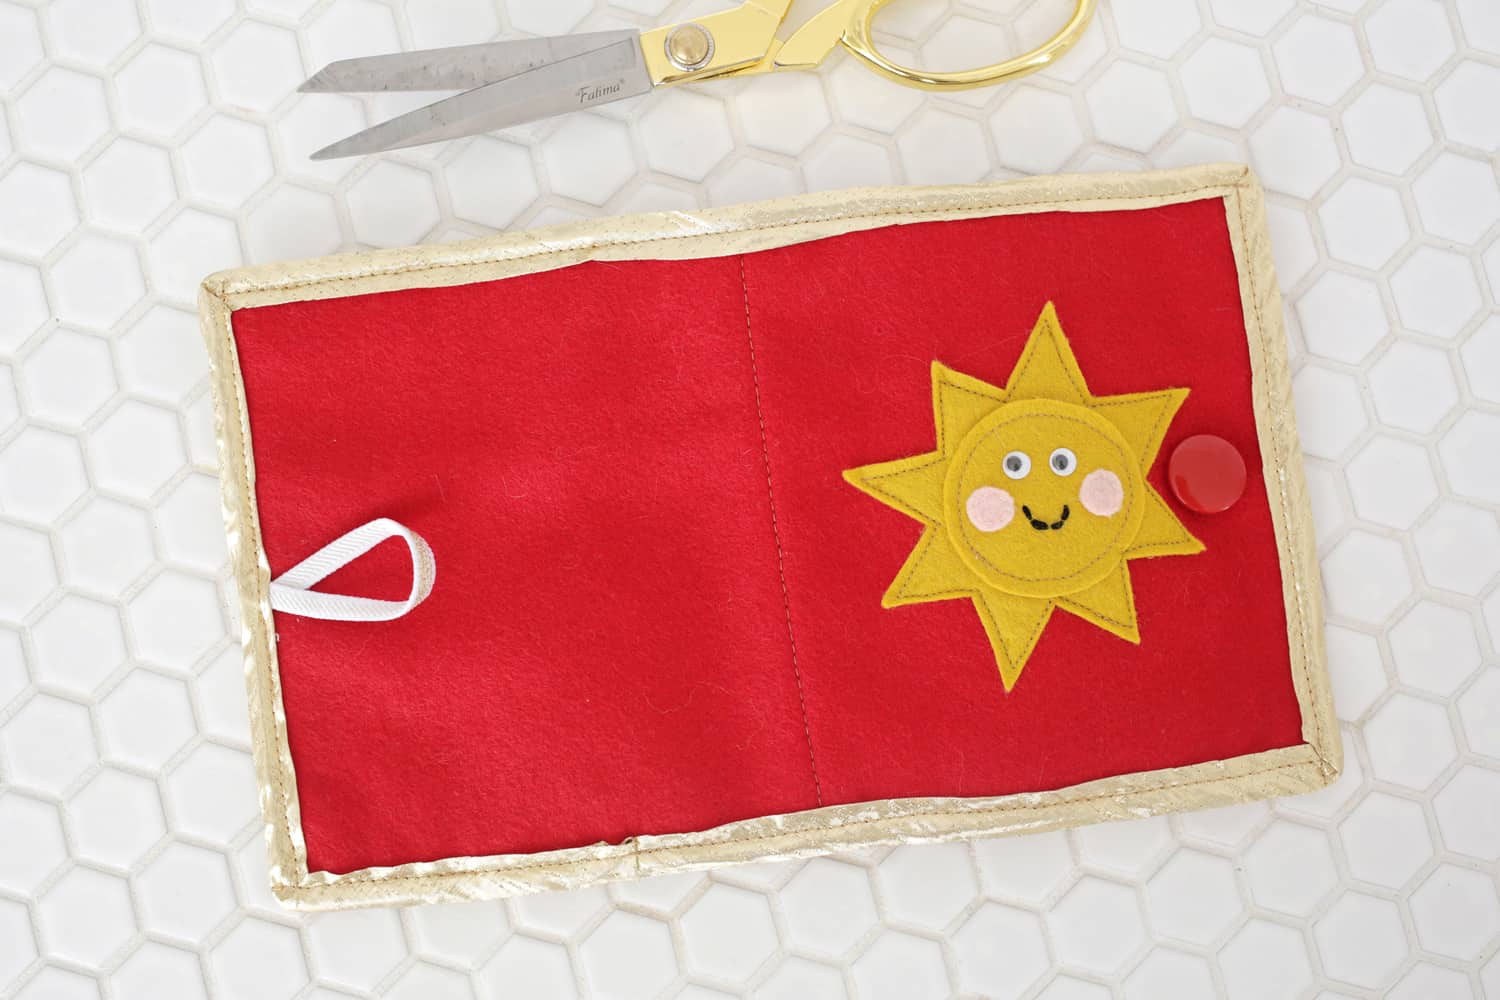 To add the elastic loop, cut a 5″ long piece of 1/4″ wide elastic and cross the ends to make a loop. When sewing the left side of the outside panel, stick the ends of the elastic loop into the bias tape as you pin it so it will be sewn together in place after sewing.
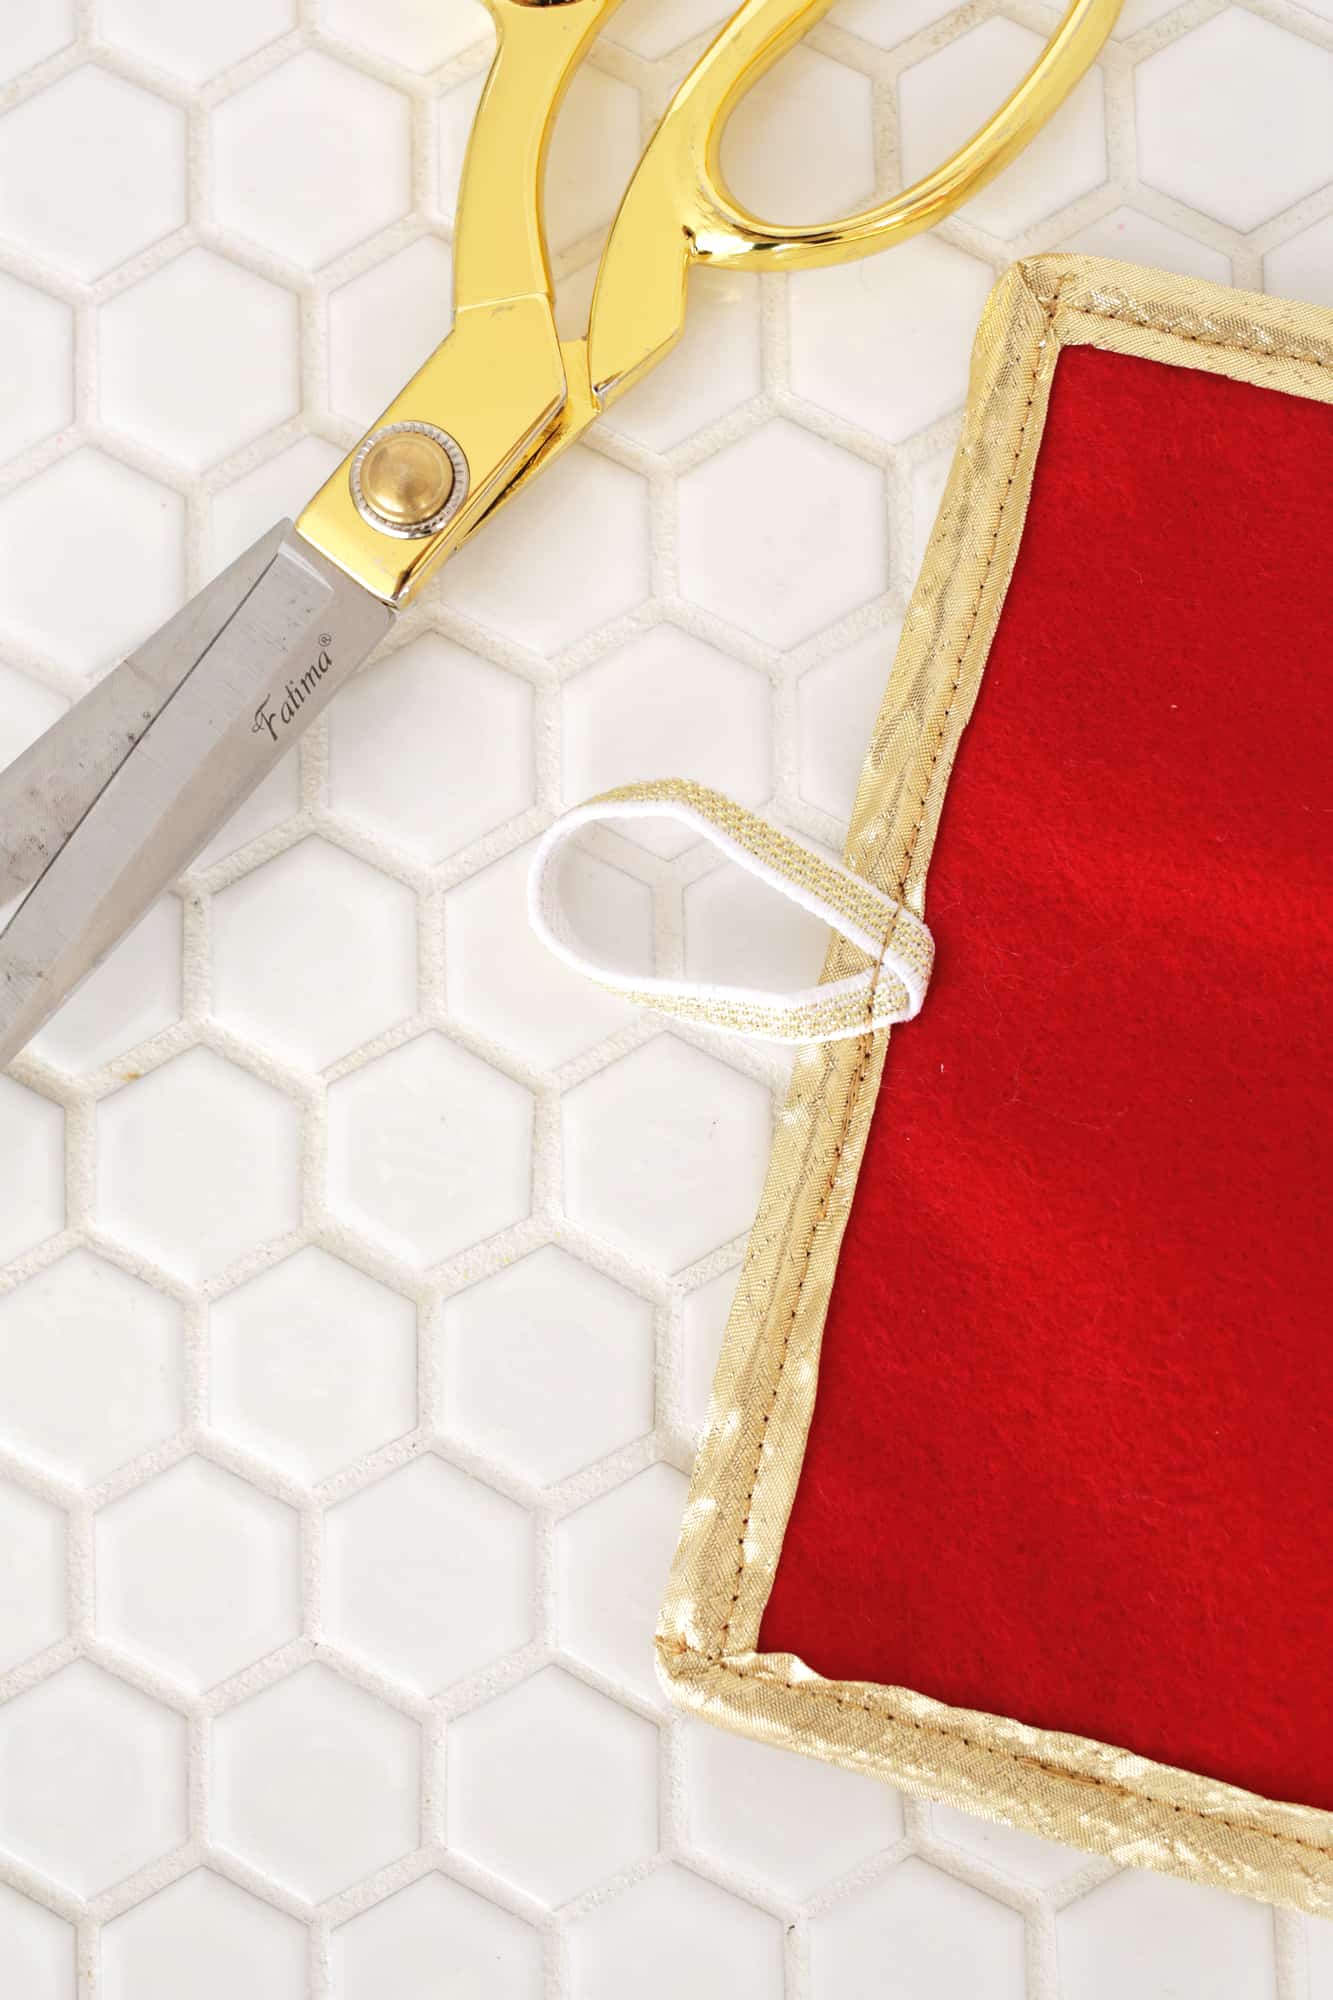 Once you’re done sewing the bias tape, you can fold the elastic back the other way and sew that section down so it will face the direction of the button more easily when closed (this is an optional step but makes it easier for kids to close on their own).
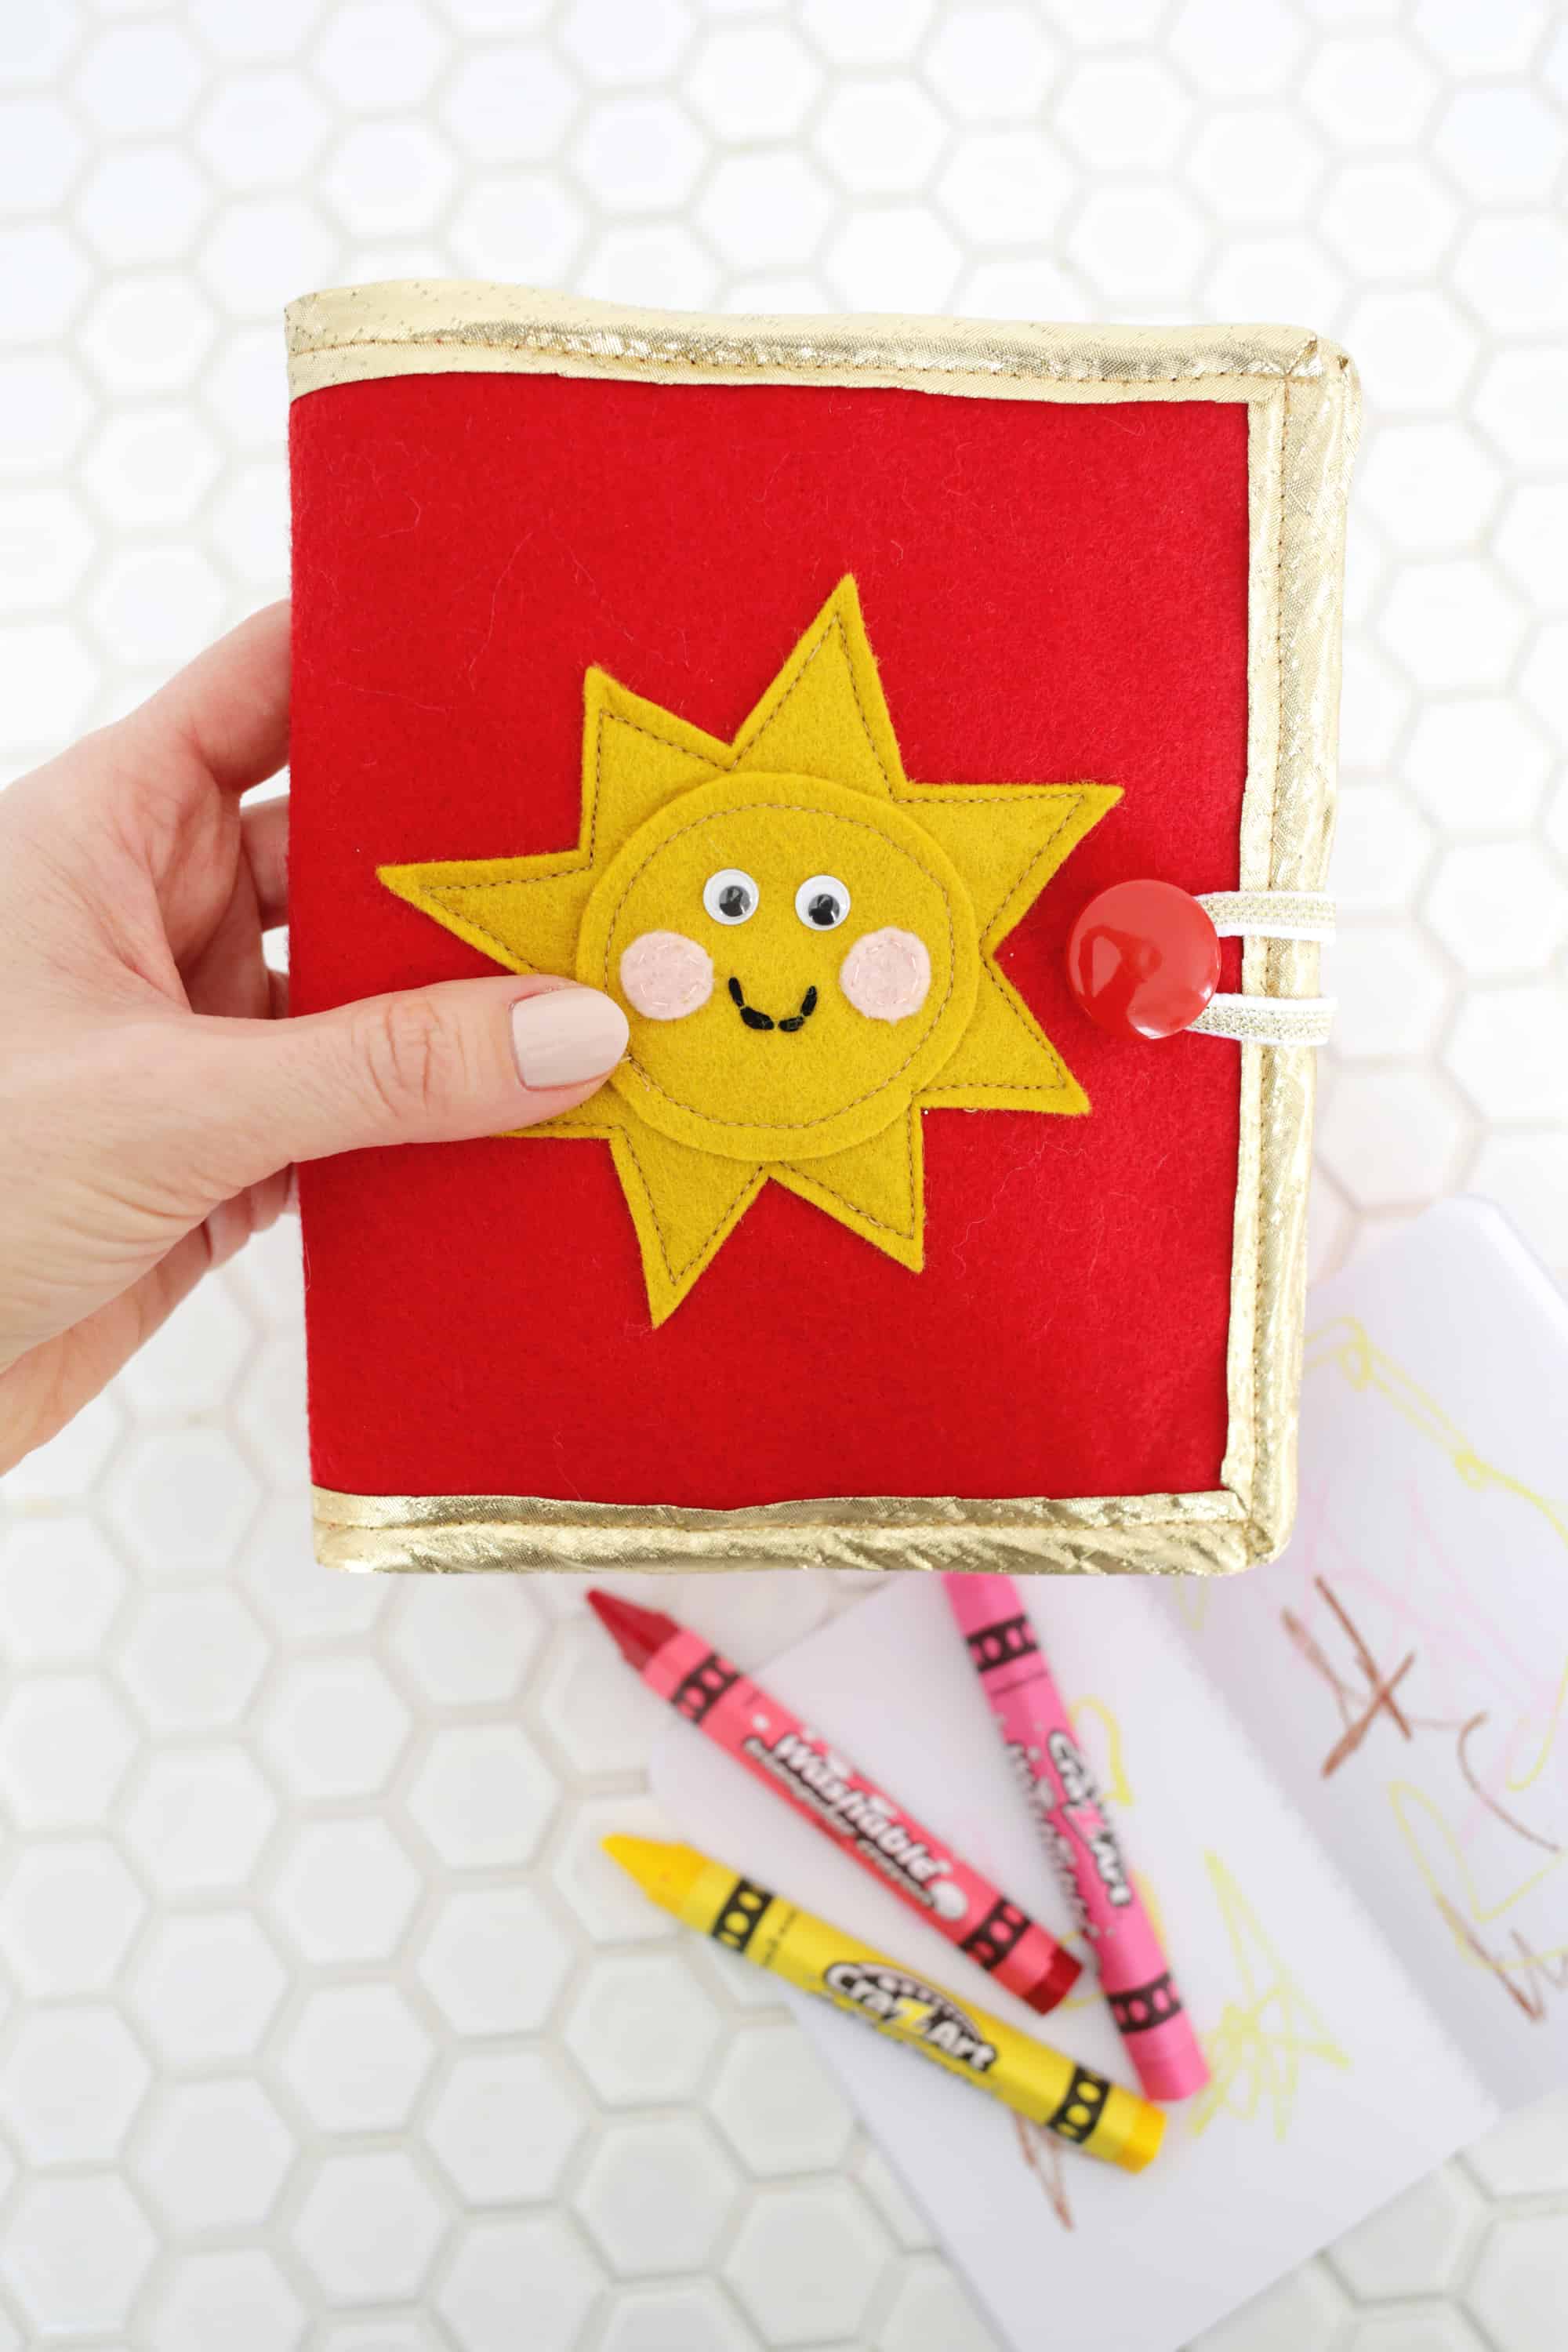 Sew your button to the front of your wallet about 1″ from the edge and your wallet is ready to fill with crayons!
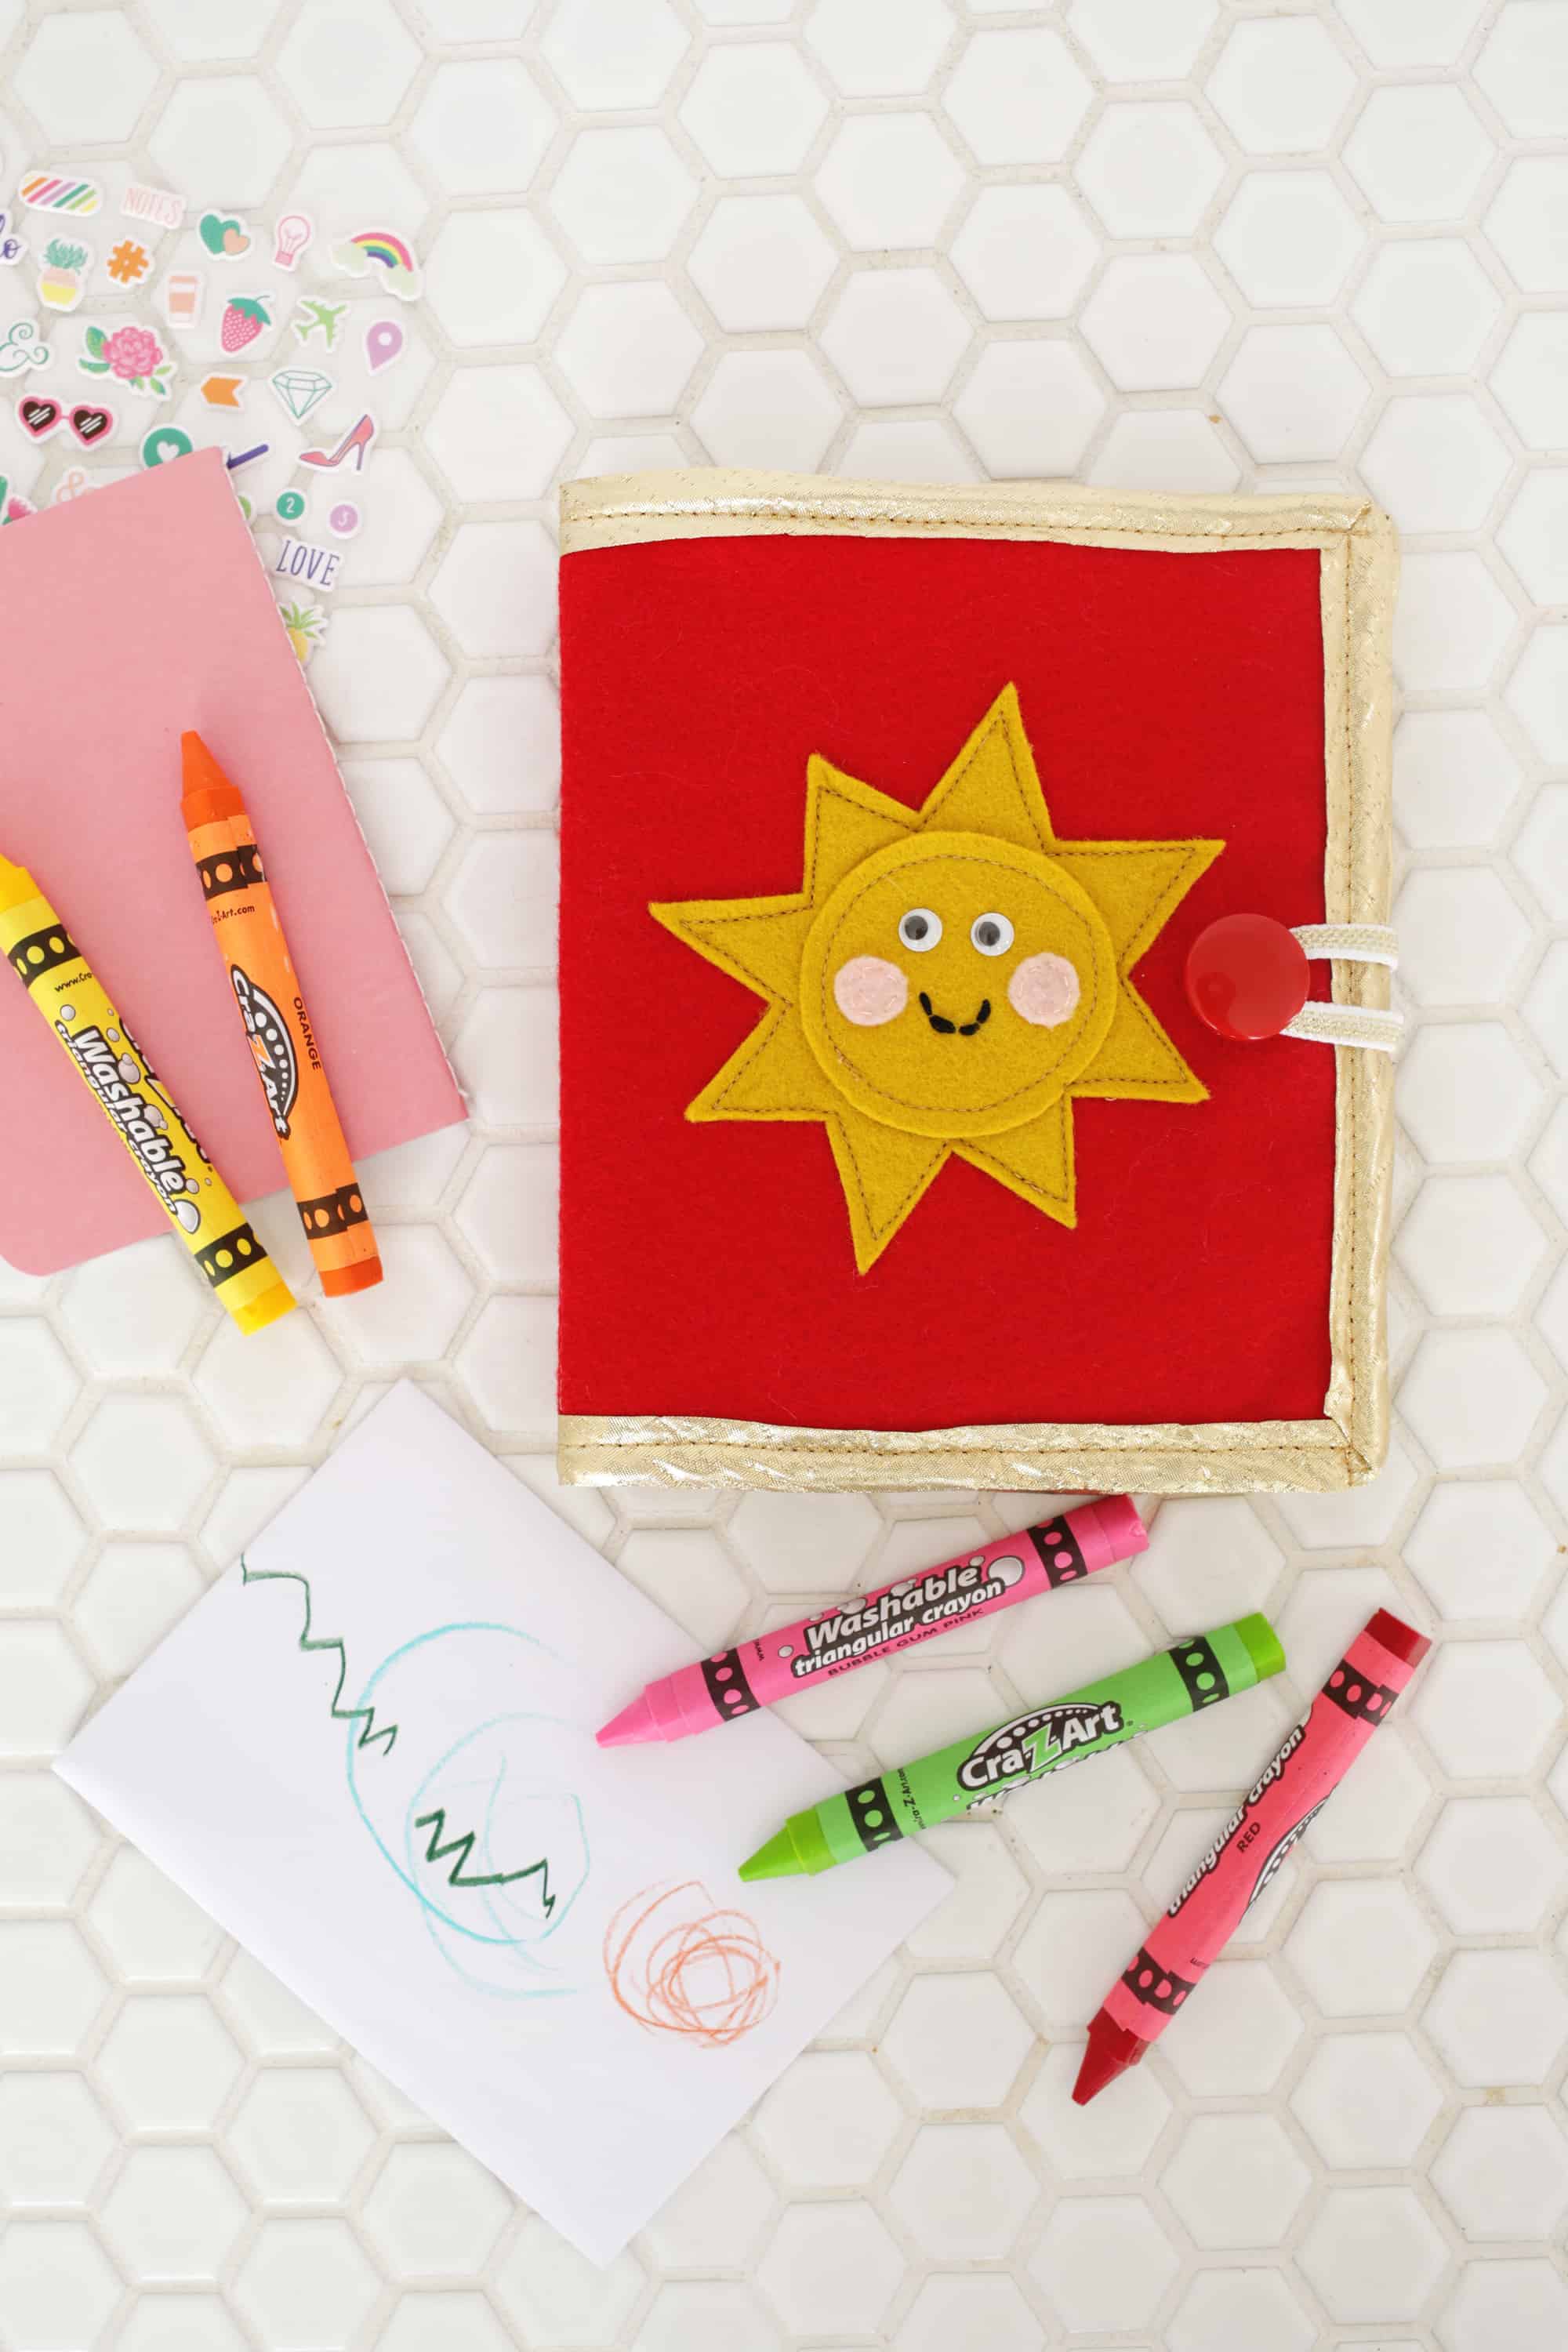
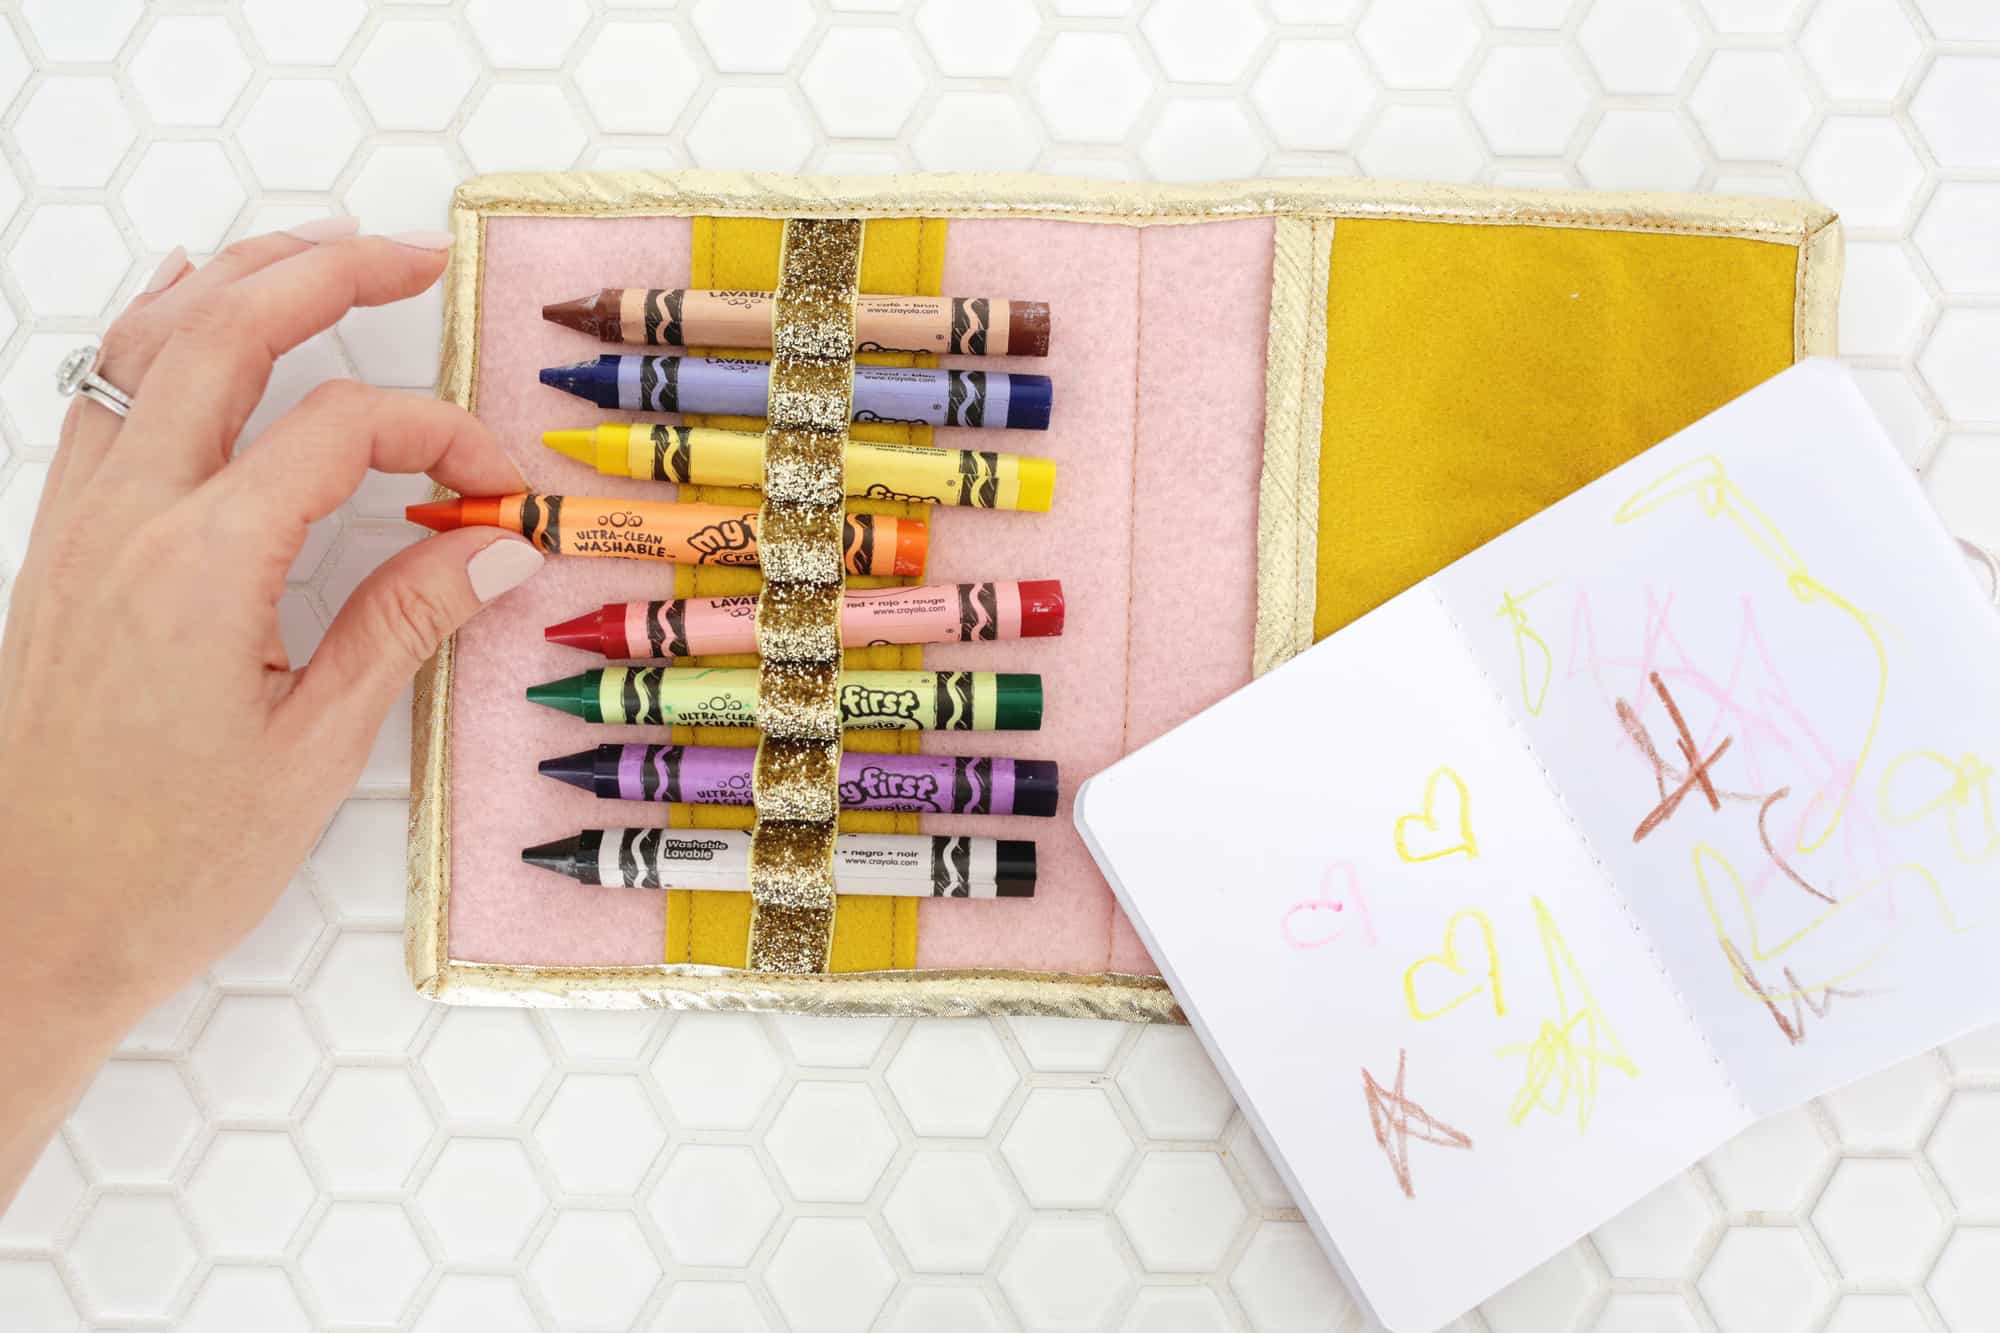

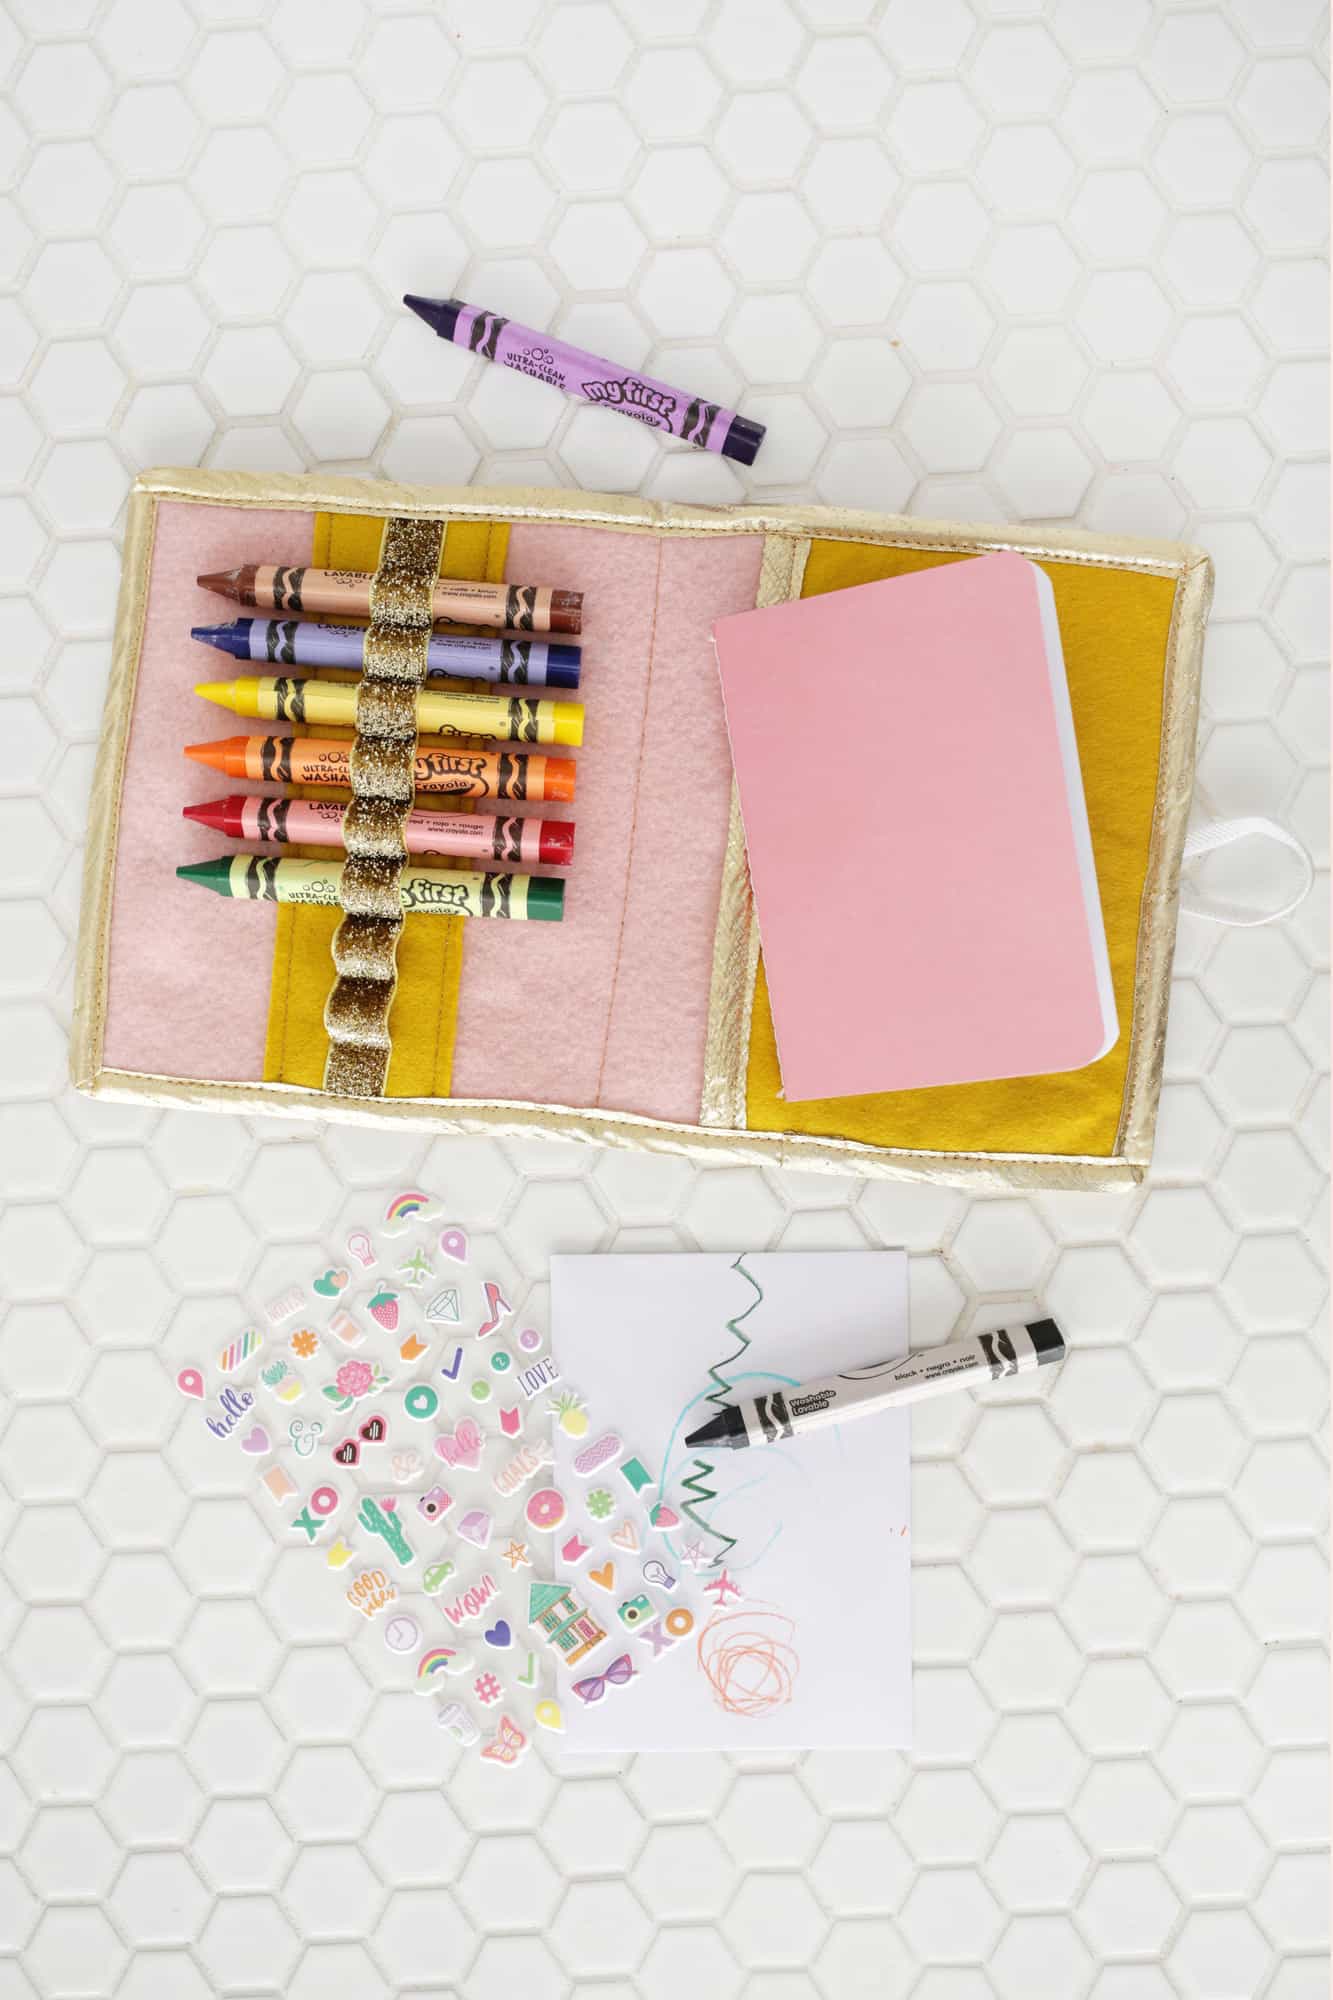 I love how this came out! Lola was eyeing all the crayons and paper I had out for a few days, so she was thrilled when this was done and she was finally able to get in there and draw. Putting stickers in the paper pocket is also a must for toddlers, so fill that bad boy up with some cute ones! These would make great birthday or holiday gifts for kiddos as well and if you want to up the age range a little, you could make it a little bigger with a bigger notepad and smaller slots for colored pencils as well. Happy sewing! xo. Laura
6 Comments
This is so adorable, Lara! Thank you for this! When I get some time away from my littles, I’m definitely going to try to make this for them.
Super cute! I miss the days of colouring with crayons!
Charmaine Ng | Architecture & Lifestyle Blog
http://charmainenyw.com
This is absolutely adorable!!!!!
This is so cute! I recently made a waldorf style crayon roll up case for my kiddos but I would love to make this one too!
Wow, this is unbelievably cute and clever. And so much love put into it with all the details!
I really like the decorations that you make very useful to learn