
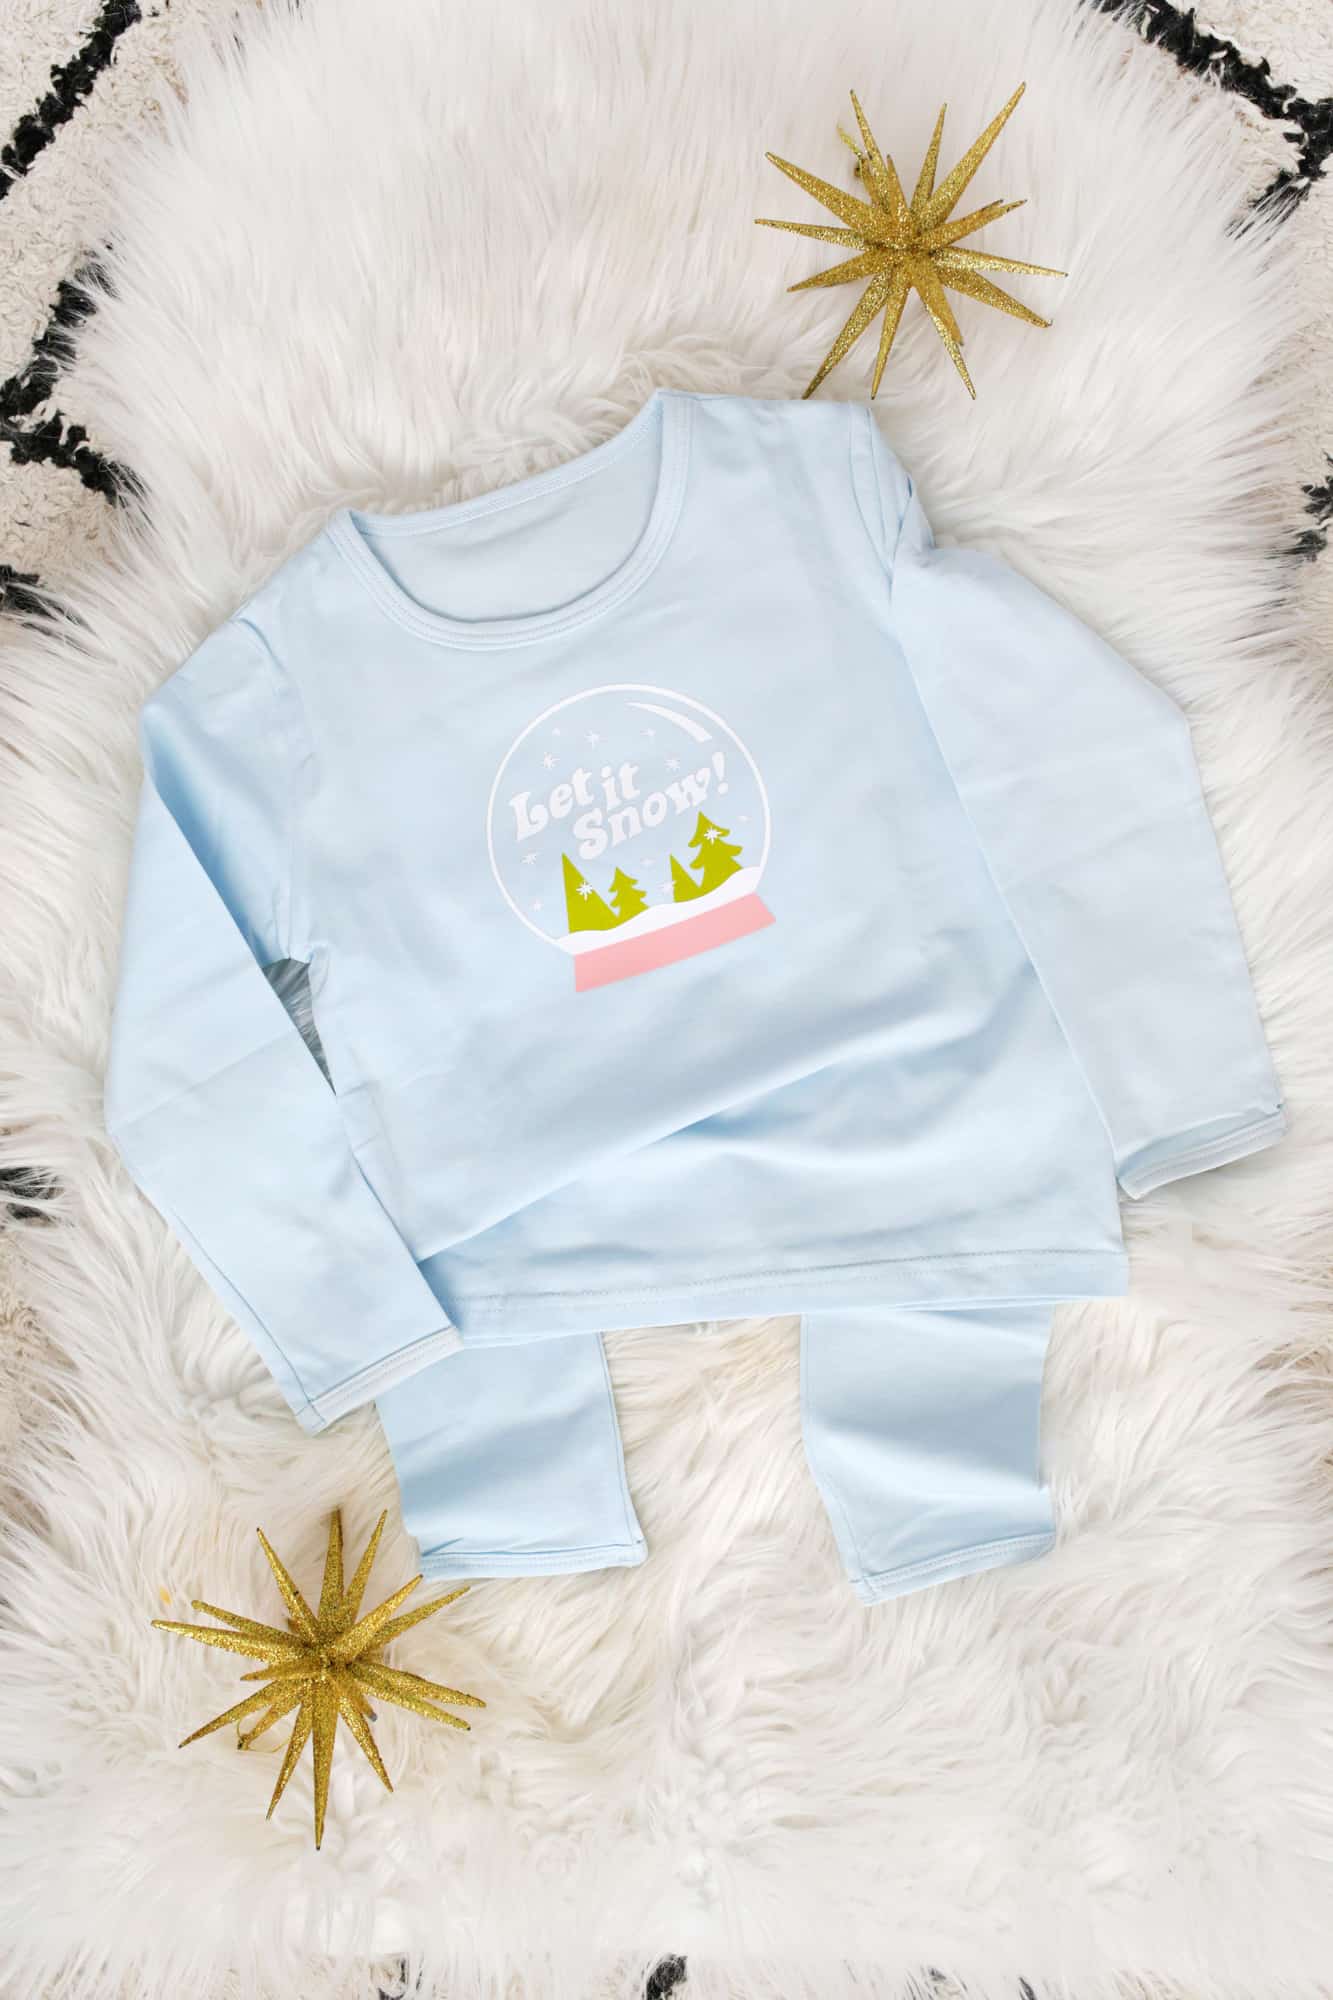
 In case you haven’t gotten in on the fun yet, holiday pajamas are one of my favorite parts of Christmas morning. Even when we were kids, we would always get to pick out a new pair of pjs to wear to bed on Christmas Eve and that always made the Christmas morning scene feel extra special. In that spirit, I thought it would be fun to create a pair of holiday pjs for Lola to wear at night while we sit around the tree (preferably with hot chocolate) and listen to Christmas music. If you’ve ever tried to cut out iron-on vinyl before by hand then you’ll know what a task that can be and how amazing the Cricut cutters are! Just a few minutes in their Design Studio and you’ll be ready to iron on your design and get that holiday spirit started!
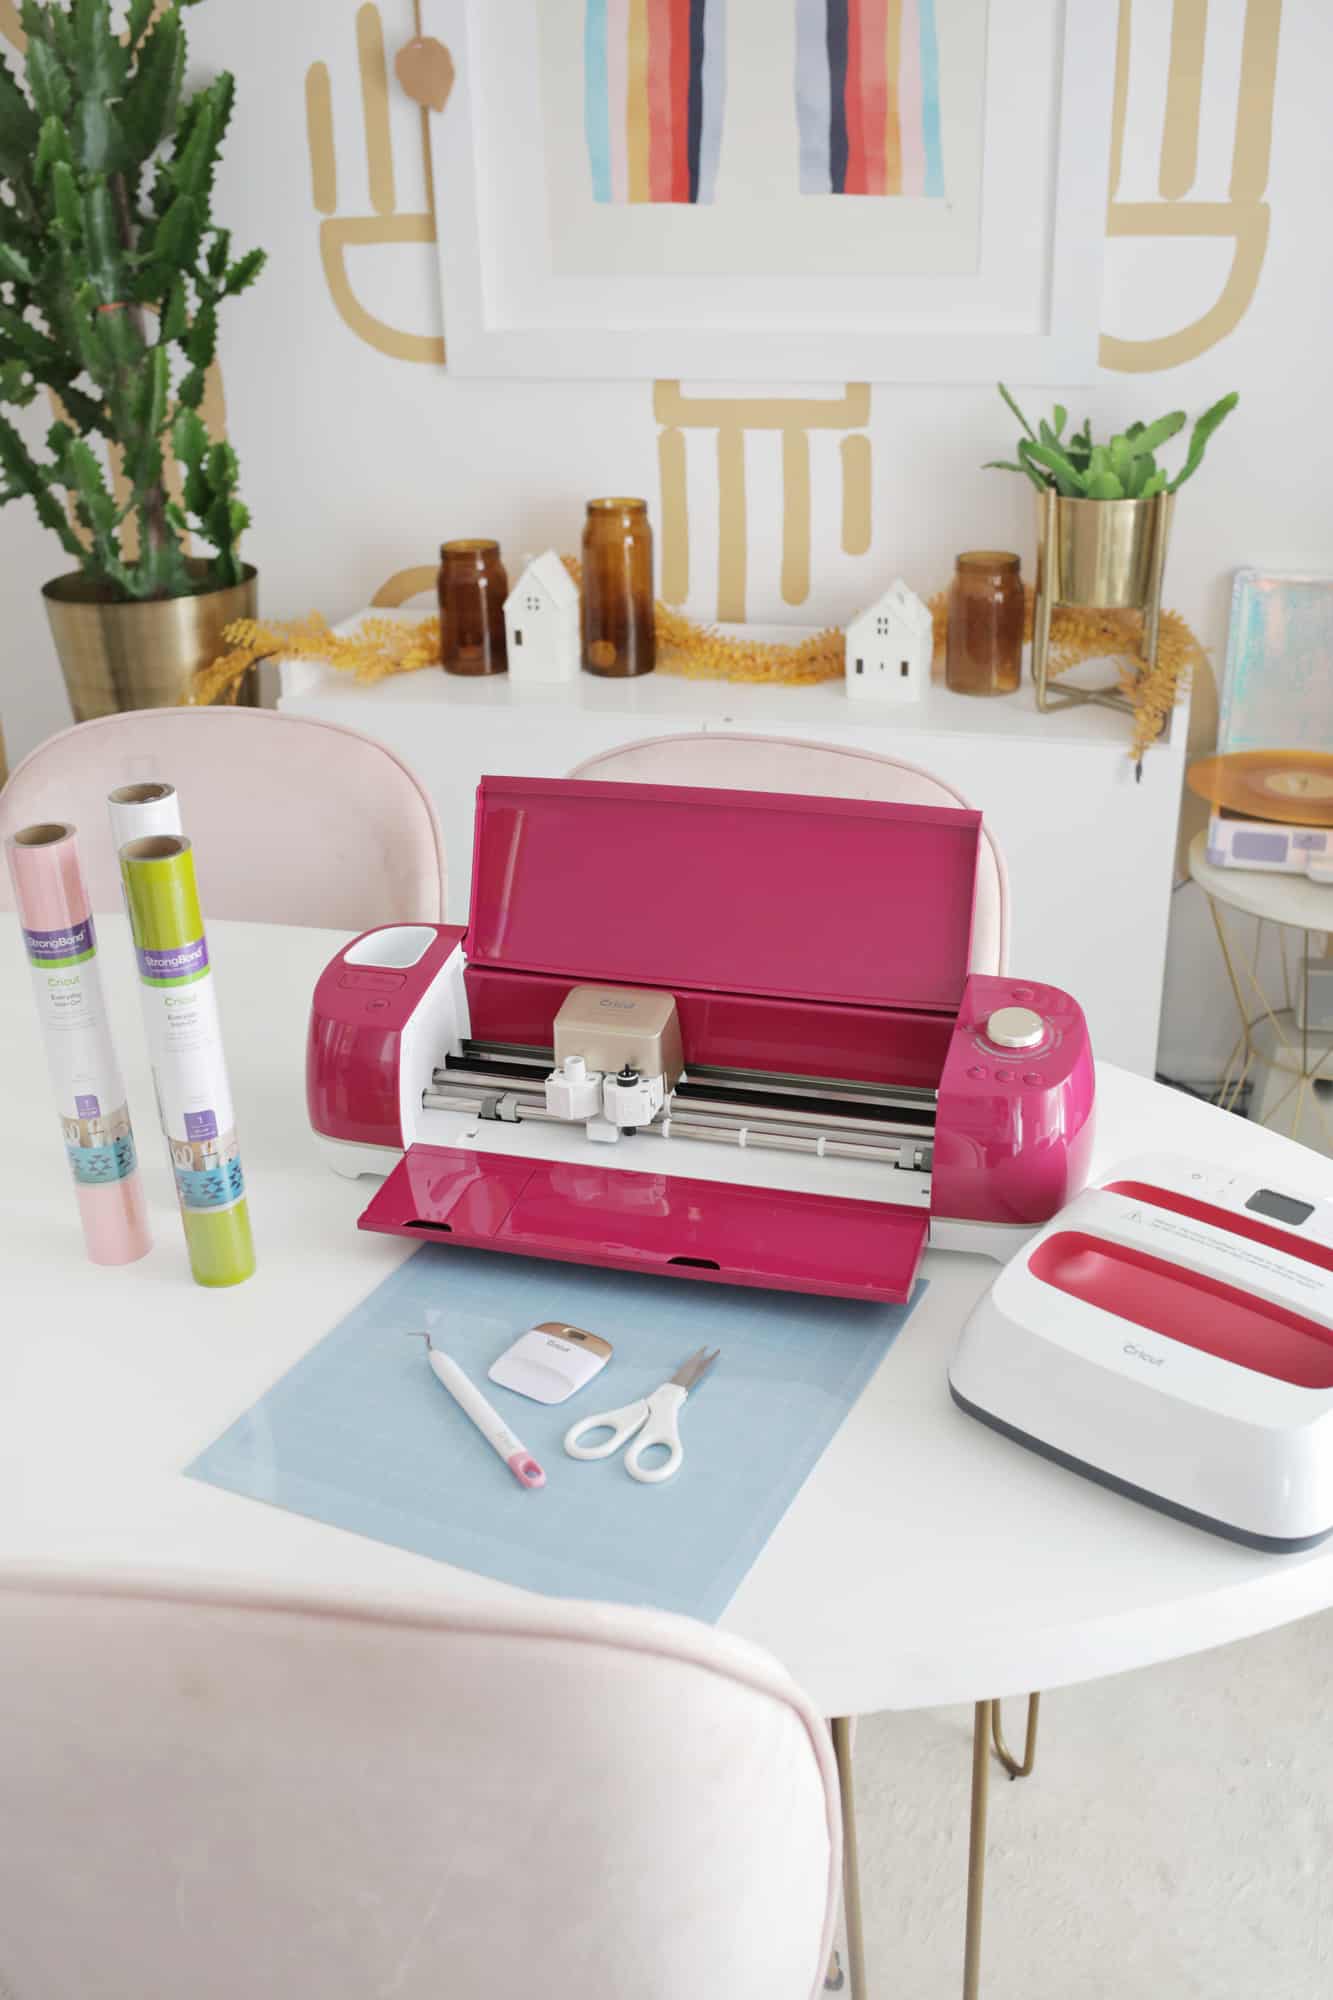 Supplies:
-Cricut Explore Air 2
-Easy Press (optional but so helpful!)
-Plain colored pajamas (I used these!)
–Cricut iron-on Everyday Vinyl (I used Avocado, White, Blush, and Glitter White)
–Let It Snow file (right click to download)
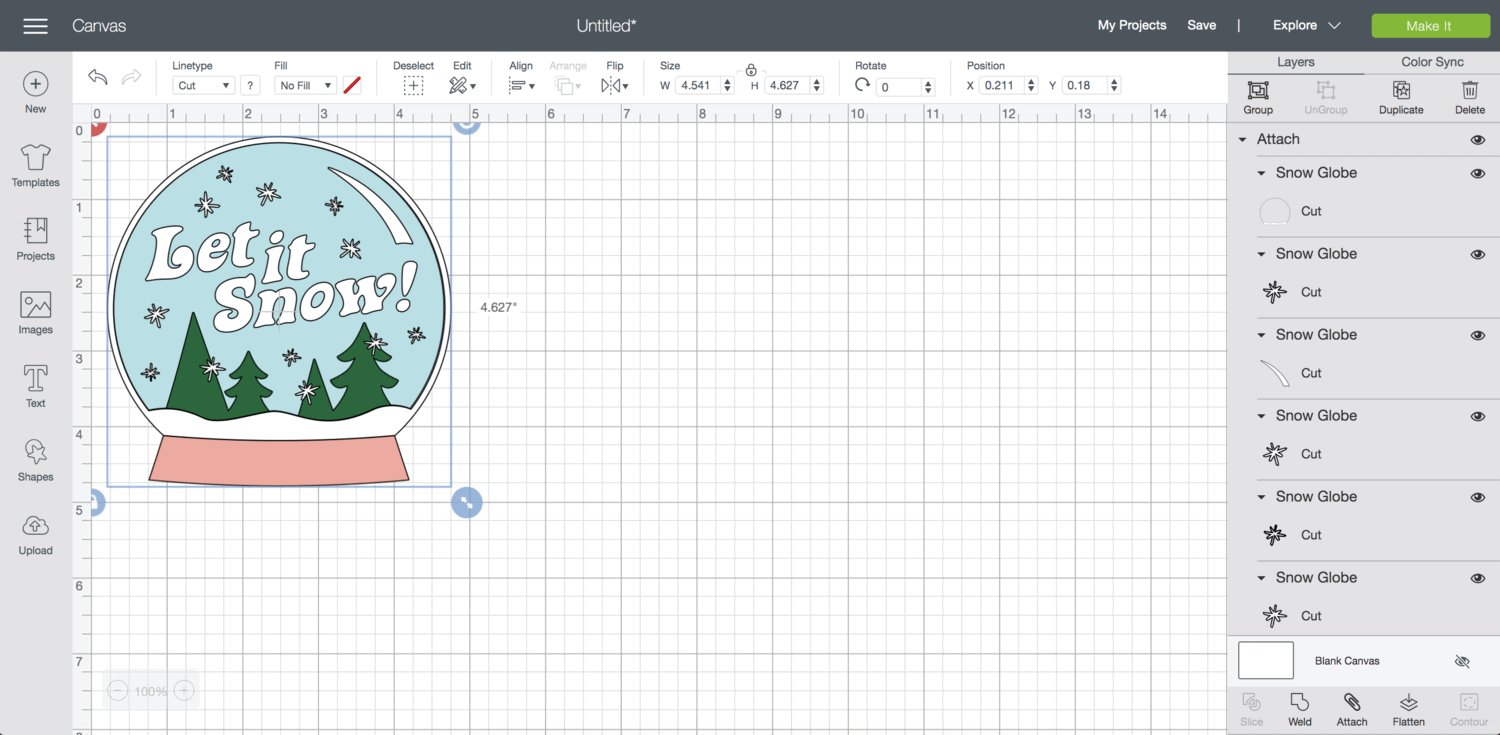 First, create a new document in your Cricut Design Space. Click the “upload” button in your bottom left corner and upload your Let It Snow design. Once your design is on your screen, resize the design to your desired size (I did a little about 4.5″ wide for mine) by pulling on the two little arrows at the bottom right of your selected image.
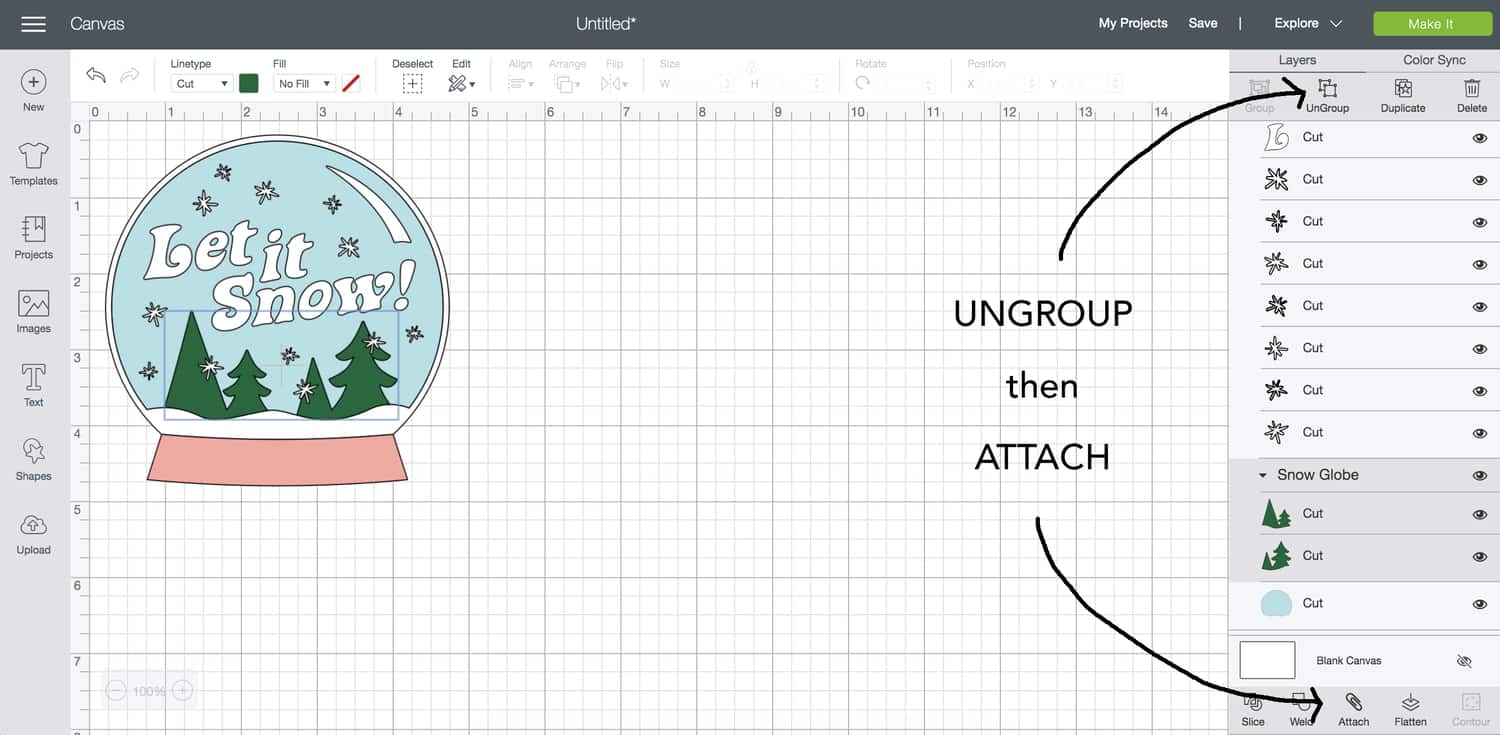 Go to the individual shape layers on the right side of the screen and select only the green layers while holding down the “shift” key. That will allow you to select more than one layer at a time so you can get all the green selected together. Once only the green layers are selected, click the “ungroup” option that appears directly above the layers and then on the “attach” option that will become available directly below all the layers. Basically, we are trying to keep all the green layers within that same proximity to each other, so we are unattaching them all from the larger group and then reattaching them together.
Next, repeat the process of selecting, ungrouping, and attaching the white layers as well. You can either group all the white snow globe/letter layers and the white snowflakes together to cut them all out of the same white vinyl OR you can do what I did and group the white snow globe/letter layers and the white snowflakes separately so I could use the regular white for the first batch and the glitter white for just the snowflakes. Cricut suggests you don’t layer more than 4 different layers for a design, so just make sure to keep it at 4 or under. The screen shots above show all the white as one layer, but it will appear as two layers in your cutting cue if you separate them.
Since I was adding my design to blue pjs, I used the blue of the fabric to be the background of my snow globe rather than cutting a blue layer. If you want to do that, just click the eye icon next to the blue layer to hide that layer and it won’t cut one. Leave it unhidden if you want it and it will appear in your cutting que.
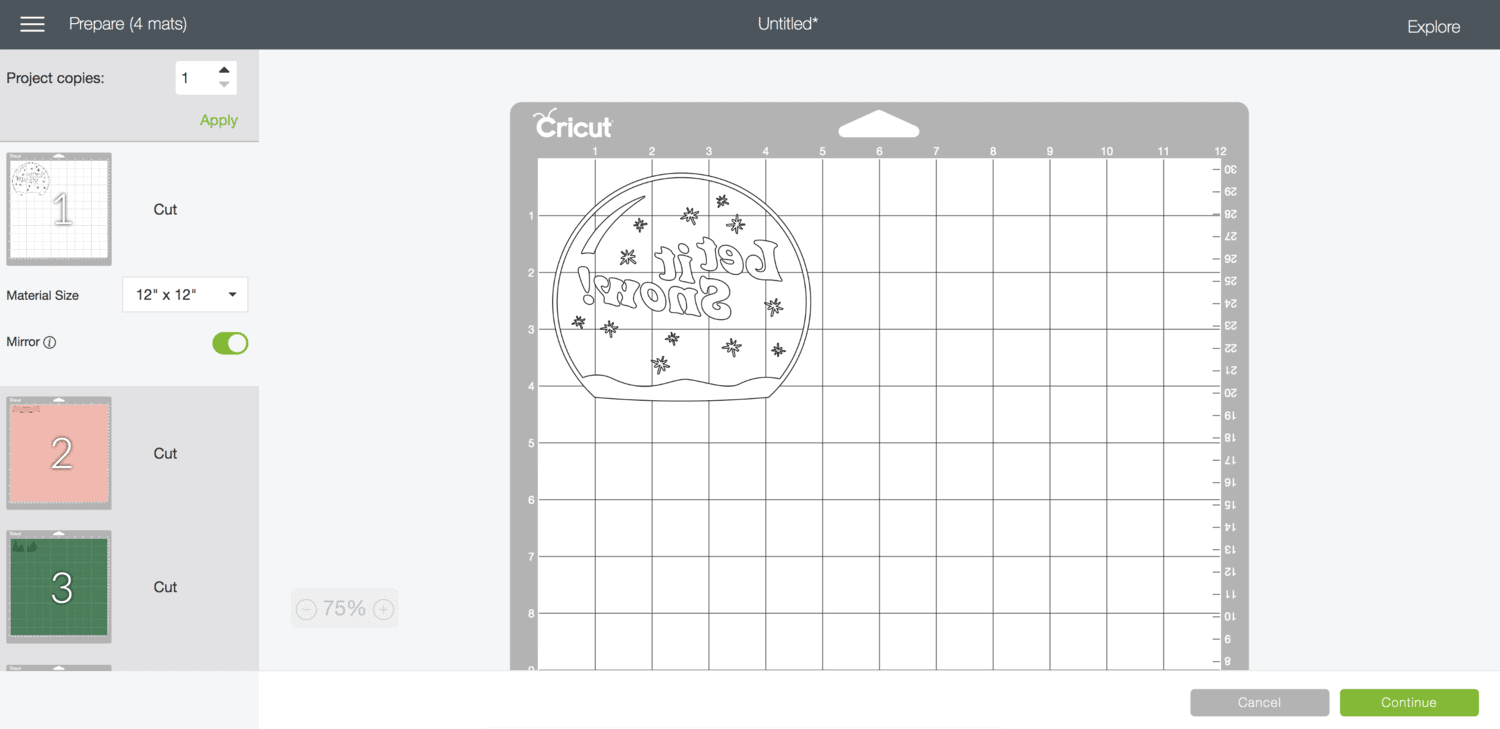 Click your green “Make It” button in the top right corner and it should take you to the cutting page where it previews your different colored cutting boards. Before you do anything else, make sure you turn on the “mirror” slider that appears at the bottom of each board (turn it on for each board) so your design won’t be backwards when you go to iron them on. (You can see above the white is all on one layer, but if you separate them to have one regular and one glitter white, it will have two separate boards in the cutting que for each).
Since you are layering designs, you want to make sure that each color will have a clear film big enough to cover all the other colors that may already be ironed on so you are protecting the vinyl you’ve already ironed. So I placed the snow globe design where I wanted it first and then placed all the other colors in the same spot in relation to that so they would all have the same amount of clear film around the edges.
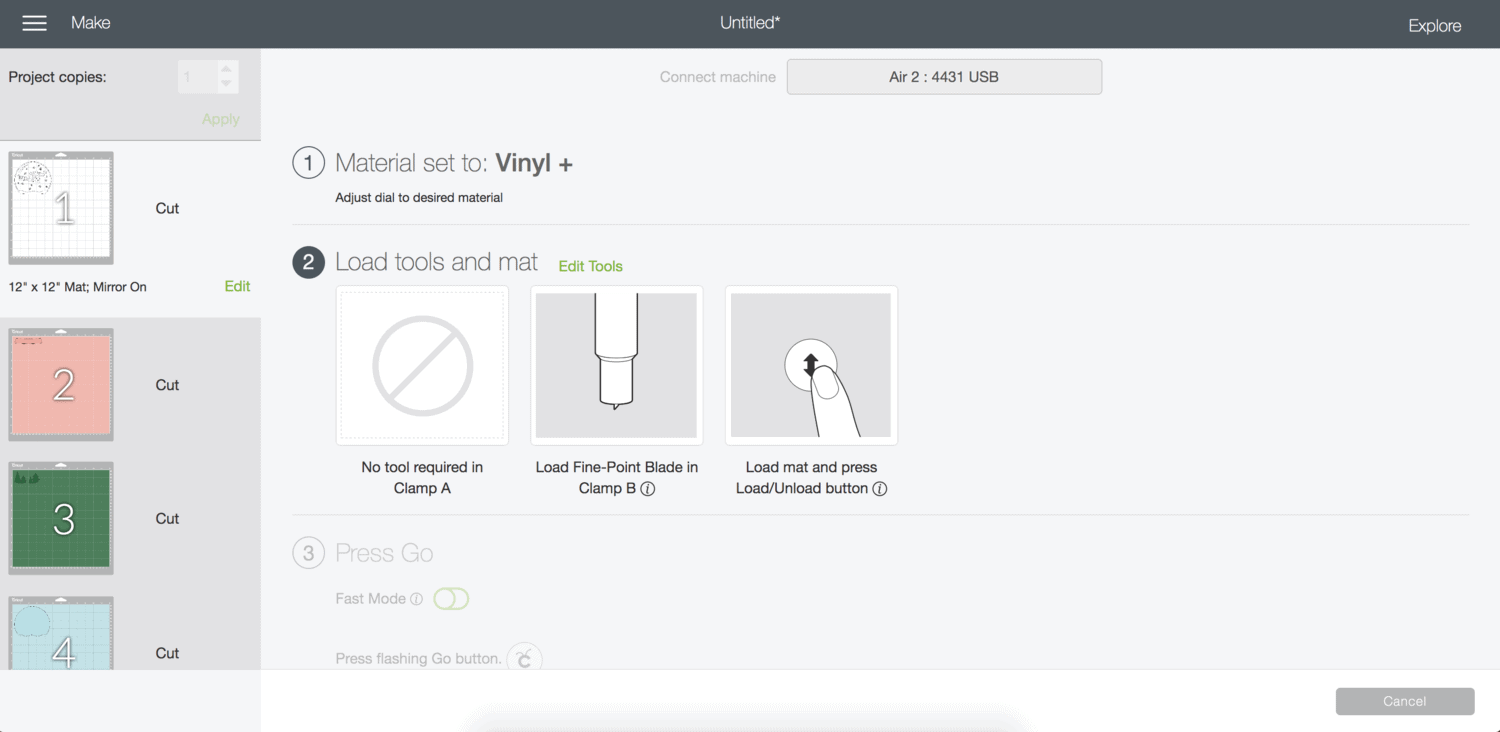 When you’re done lining them up, hit the green “continue” button at the bottom right of your screen and it will take you to the cutting screen. On your Cricut machine dial you’ll select “iron-on” for your material and prep your Cricut mat into your machine for the first color. You’ll want to load your iron-on vinyl onto your mat in the order they appear in the cutting cue (so white, pink, green, and then blue). I cut all my vinyl pieces to be 5.5″ by 5.5″ to save some vinyl since I knew by looking at the cutting preview that my design didn’t go beyond that mark and the vinyl would cover and protect all the previous layers as I added more on.
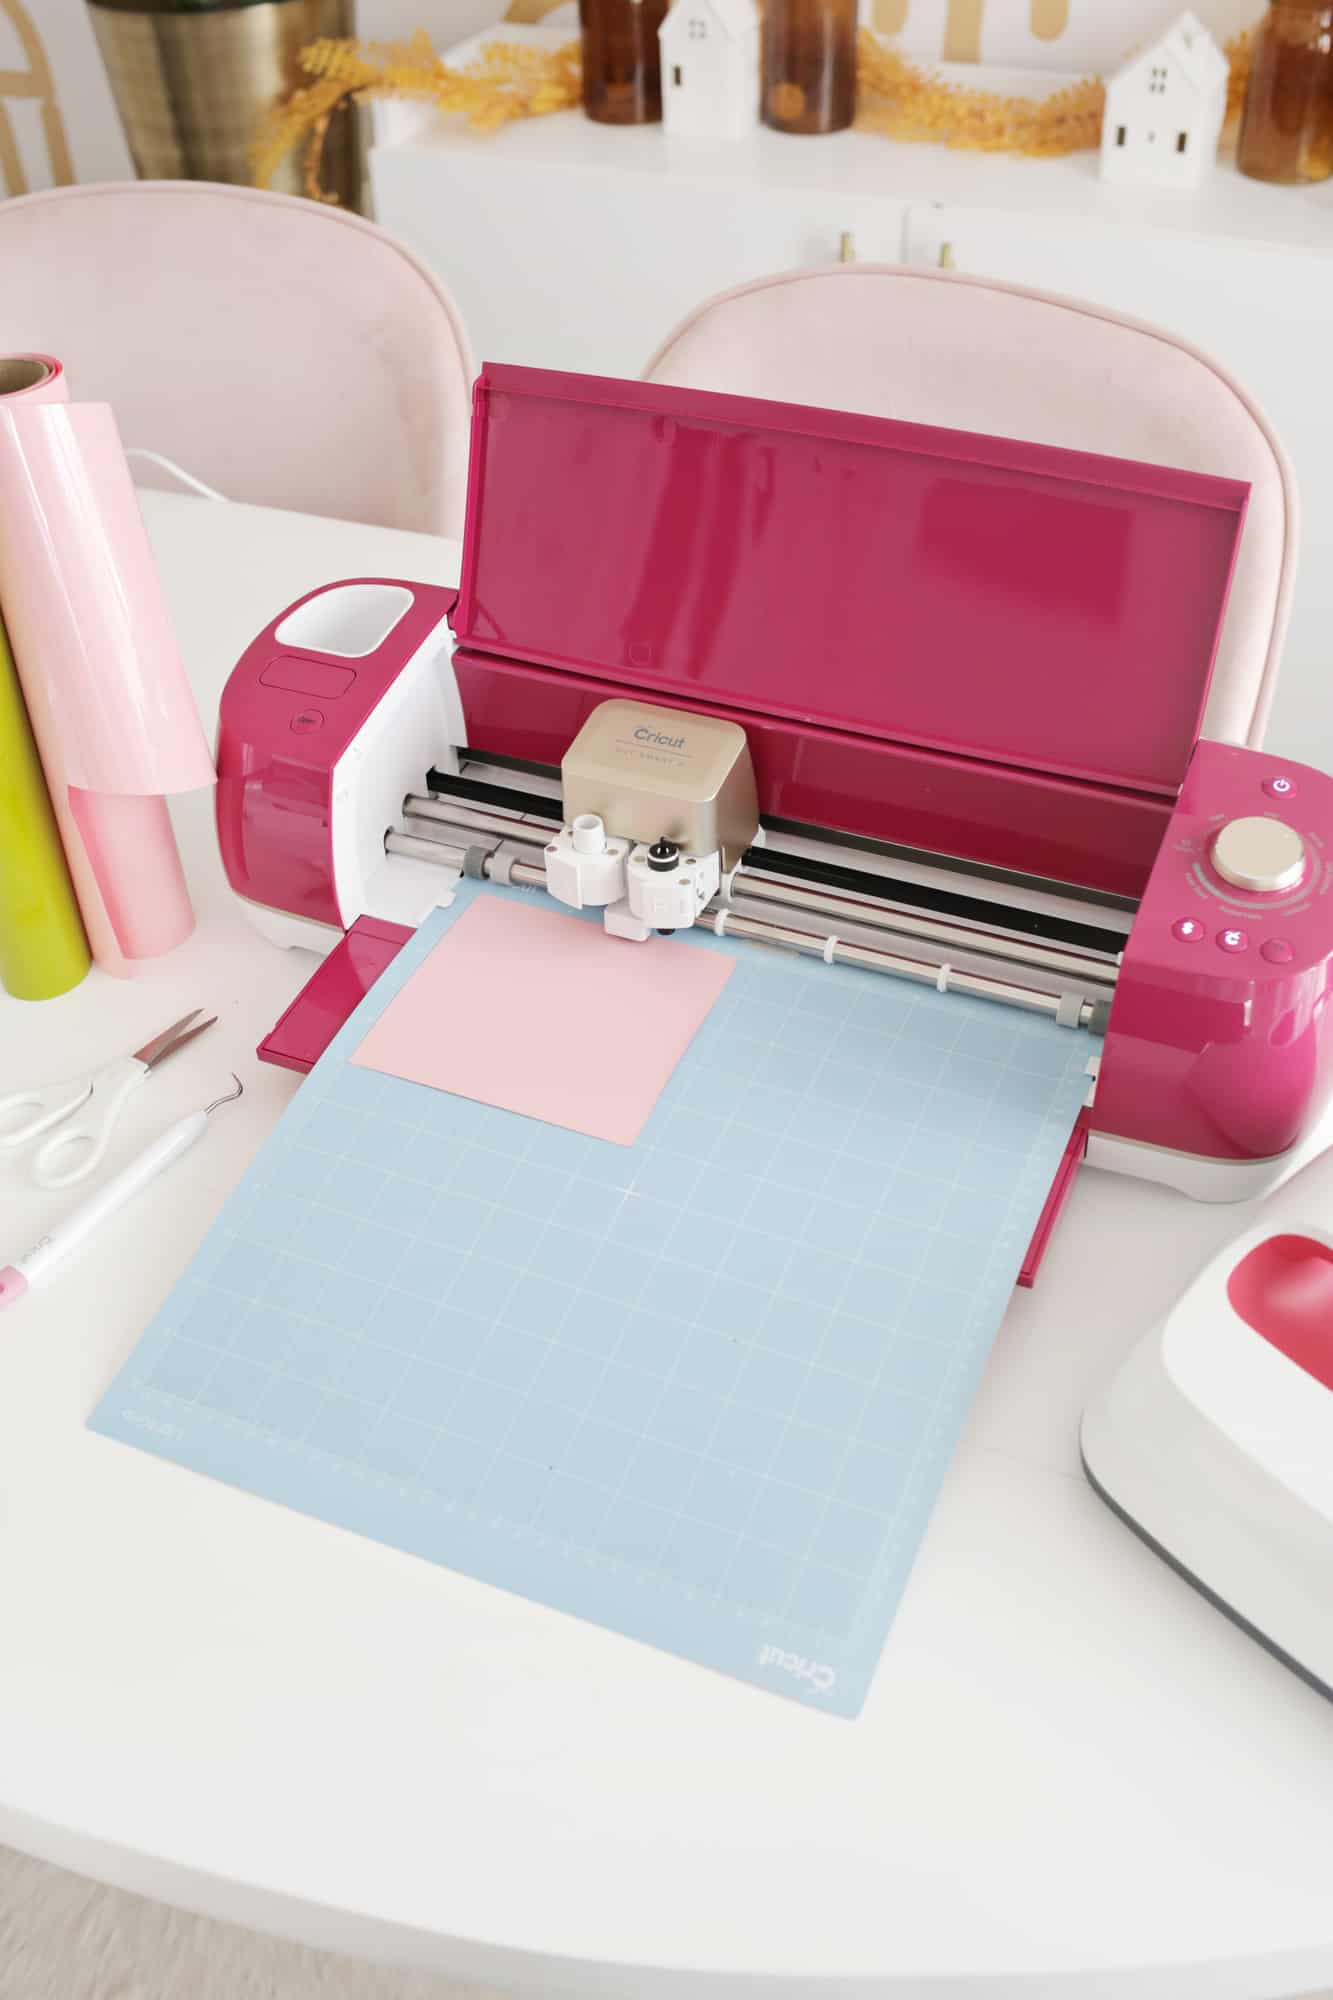 Place your iron-on vinyl shiny side down on your mat, aligning the top edge with the side that has the triangle hanging tab on it and load it into your machine by selecting the flashing arrow on your Cricut Maker. Once it’s loaded, hit the flashing Cricut symbol on your machine and let the Cricut do its job! Unload the machine, remove the vinyl, and load the next color until all your colors are cut.
  Once your colors are cut, you can use your weeding tools to remove the excess iron-on vinyl around your shapes. OK, now it’s time to apply!
 I basically followed this guide to layer multiple colors in one design and used this reference guide to know what temperature to set my EasyPress 2 to for my Everyday and glitter iron-ons. Glitter vinyl should always be applied as the last layer, so there’s an FYI on that if you choose to use a glitter white.
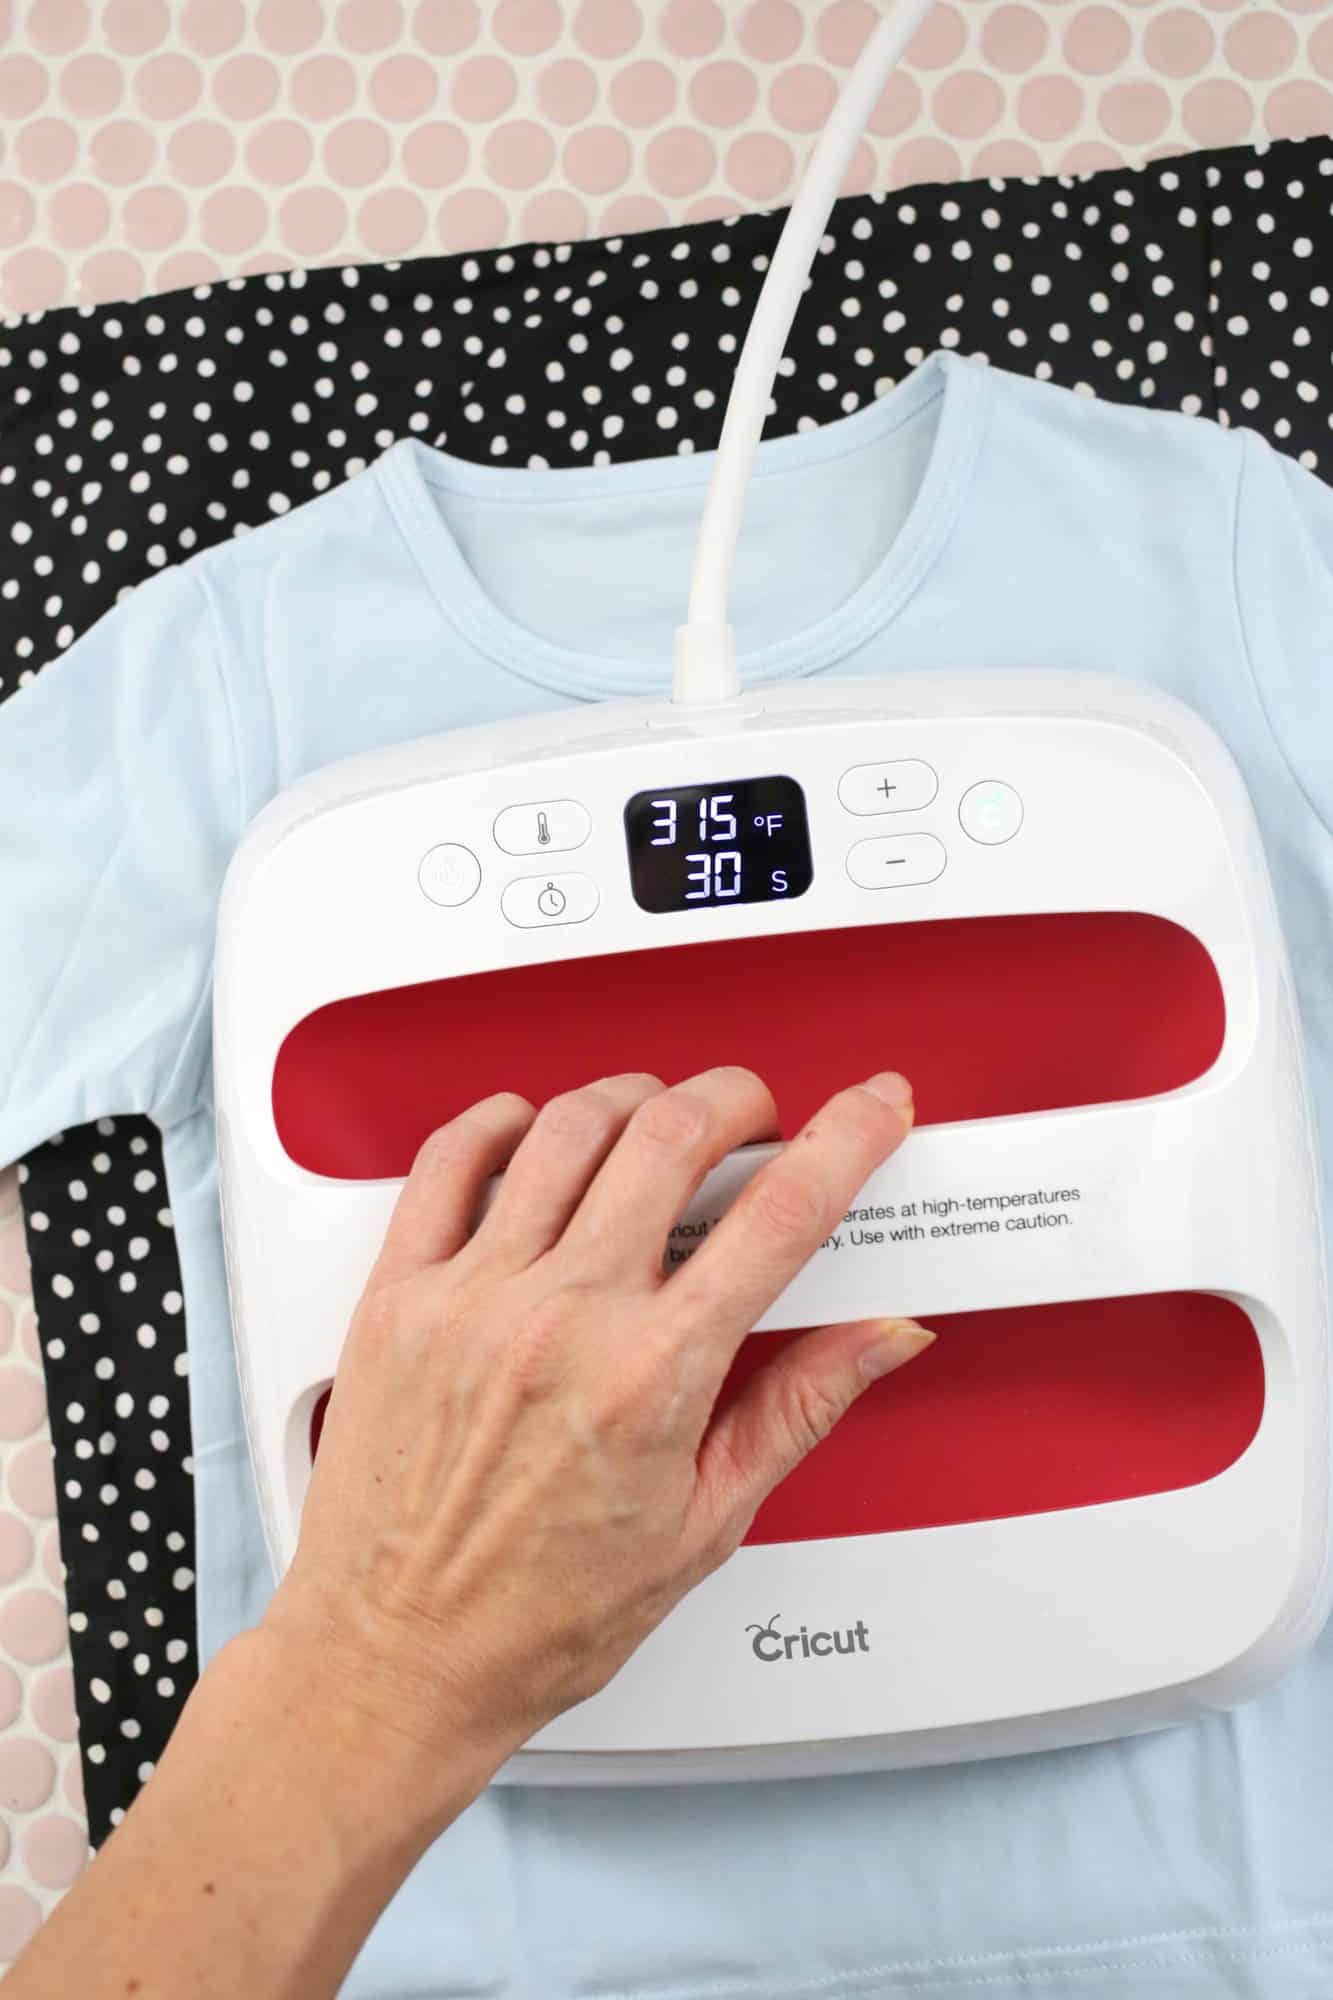
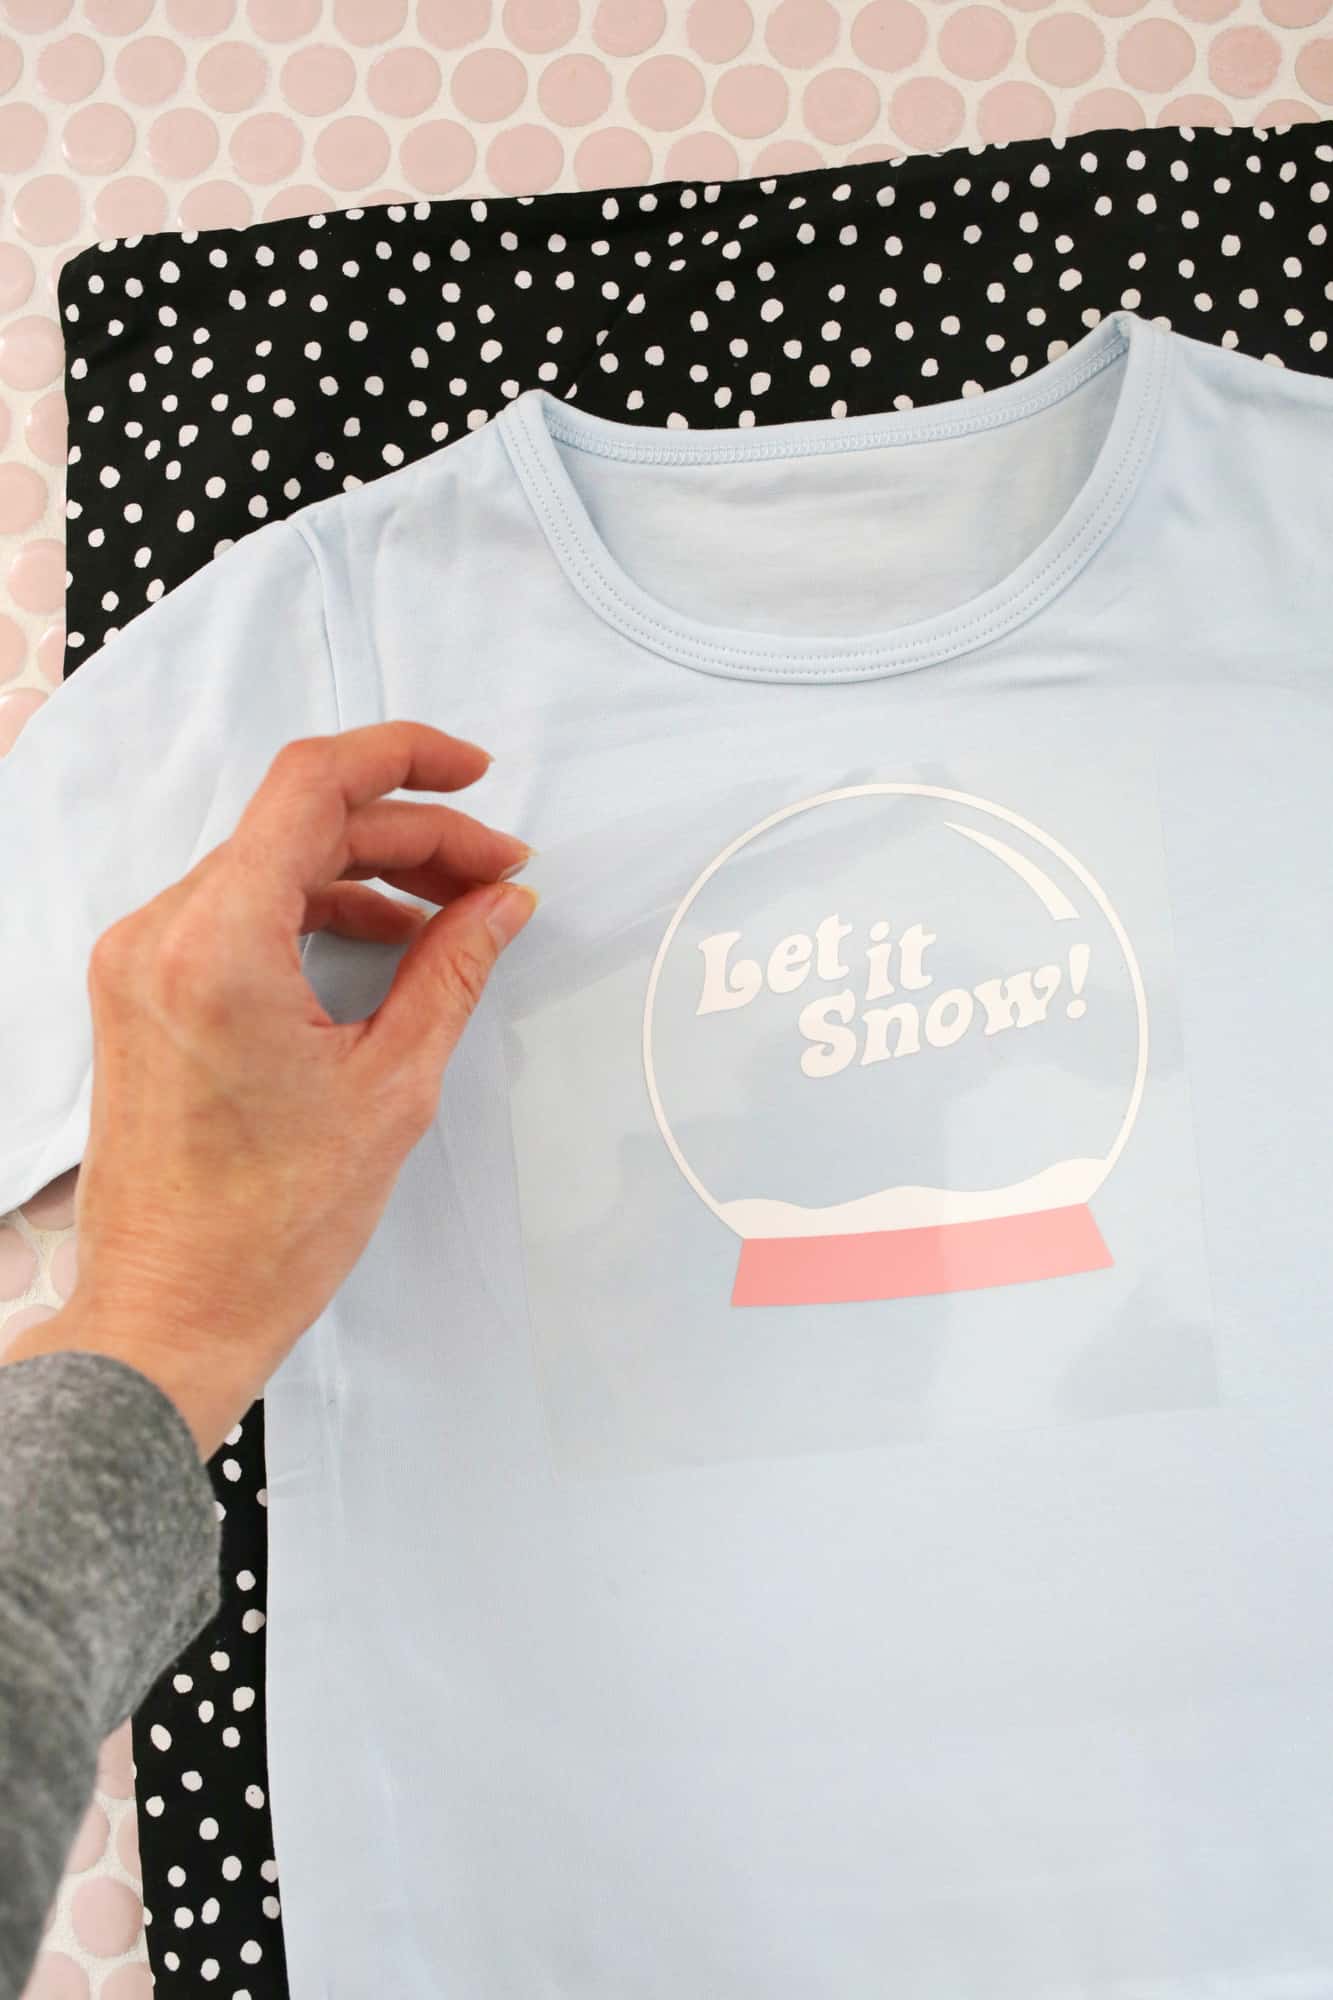
I set my EasyPress 2 at 330°, put down a towel on a hard and flat surface, placed my regular white layer down on top of my pj top, and pressed the EasyPress 2 down with two hands for 2-3 seconds. Then I waited until the clear film was warm (and not hot anymore) and peeled the clear film back. If all your white is in one layer (and not in two like mine are), then you’ll want to put down the blue layer first (if you are doing a blue layer), then the pink, then the green, then the white as the last layer.
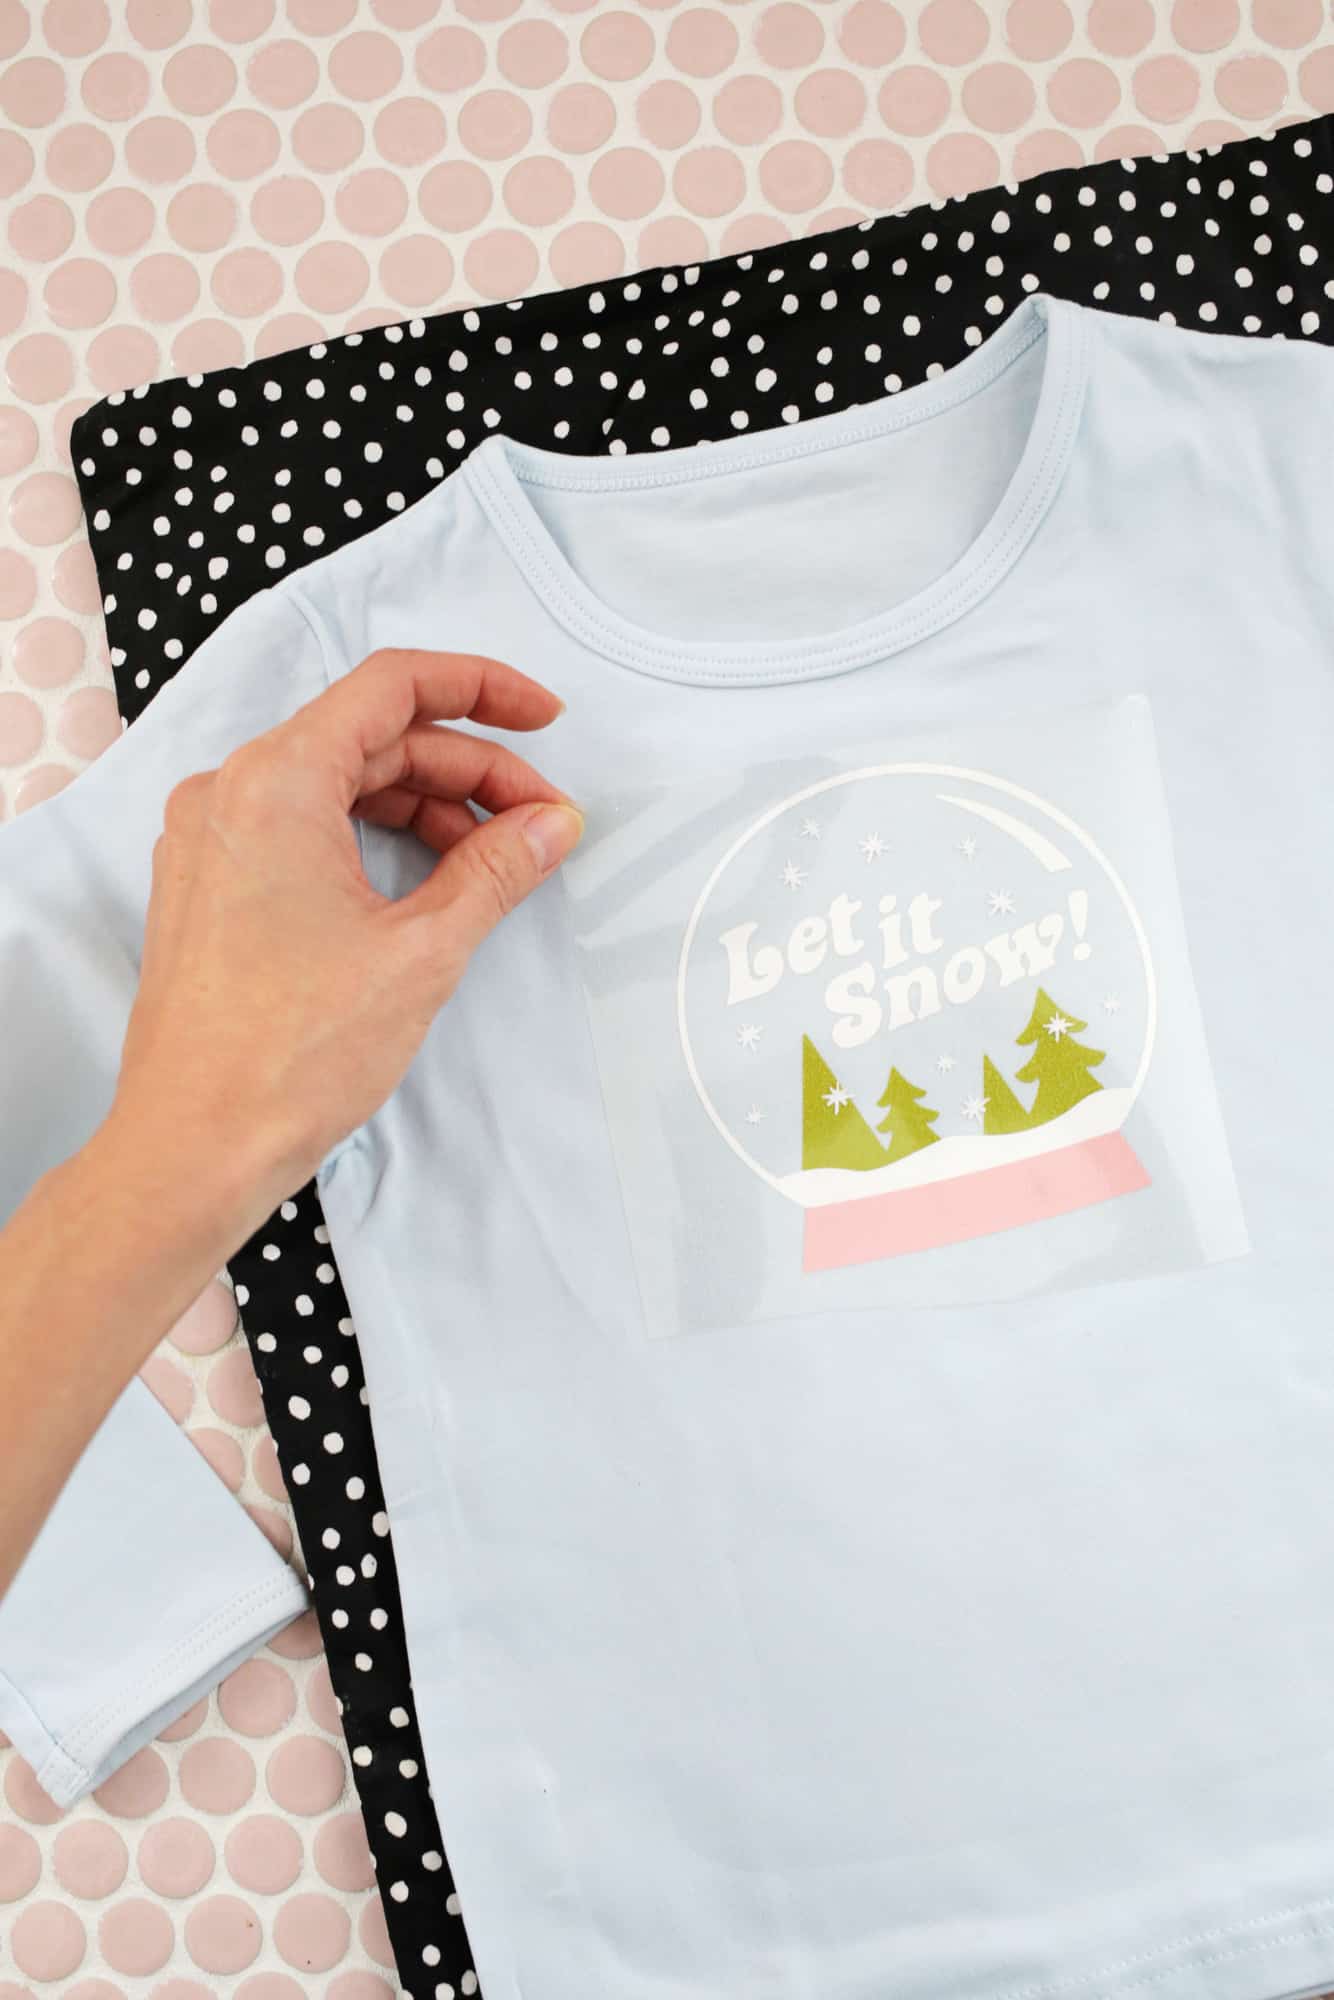 Then I added the pink layer and repeated, then the green layer and repeated. Since I was using the glitter vinyl for my snowflakes I added that layer last so I changed the EasyPress 2 temperature to 340° and since it was the last layer I pressed down for 15 seconds to set the whole design (do that for whichever color is your last layer). Then I flipped the pj shirt over and pressed the back of the design for another 15 seconds and removed the final clear film when the design was warm. The EasyPress 2 makes it super easy to set the temperature I needed, it covers the whole design at once, and it even has a timer on it so you can set it for a certain amount of seconds each time if you want—love it!
If you’re using an iron instead of an EasyPress 2, you can use this guide for the Everyday iron-on (set your iron to the cotton setting with no steam).
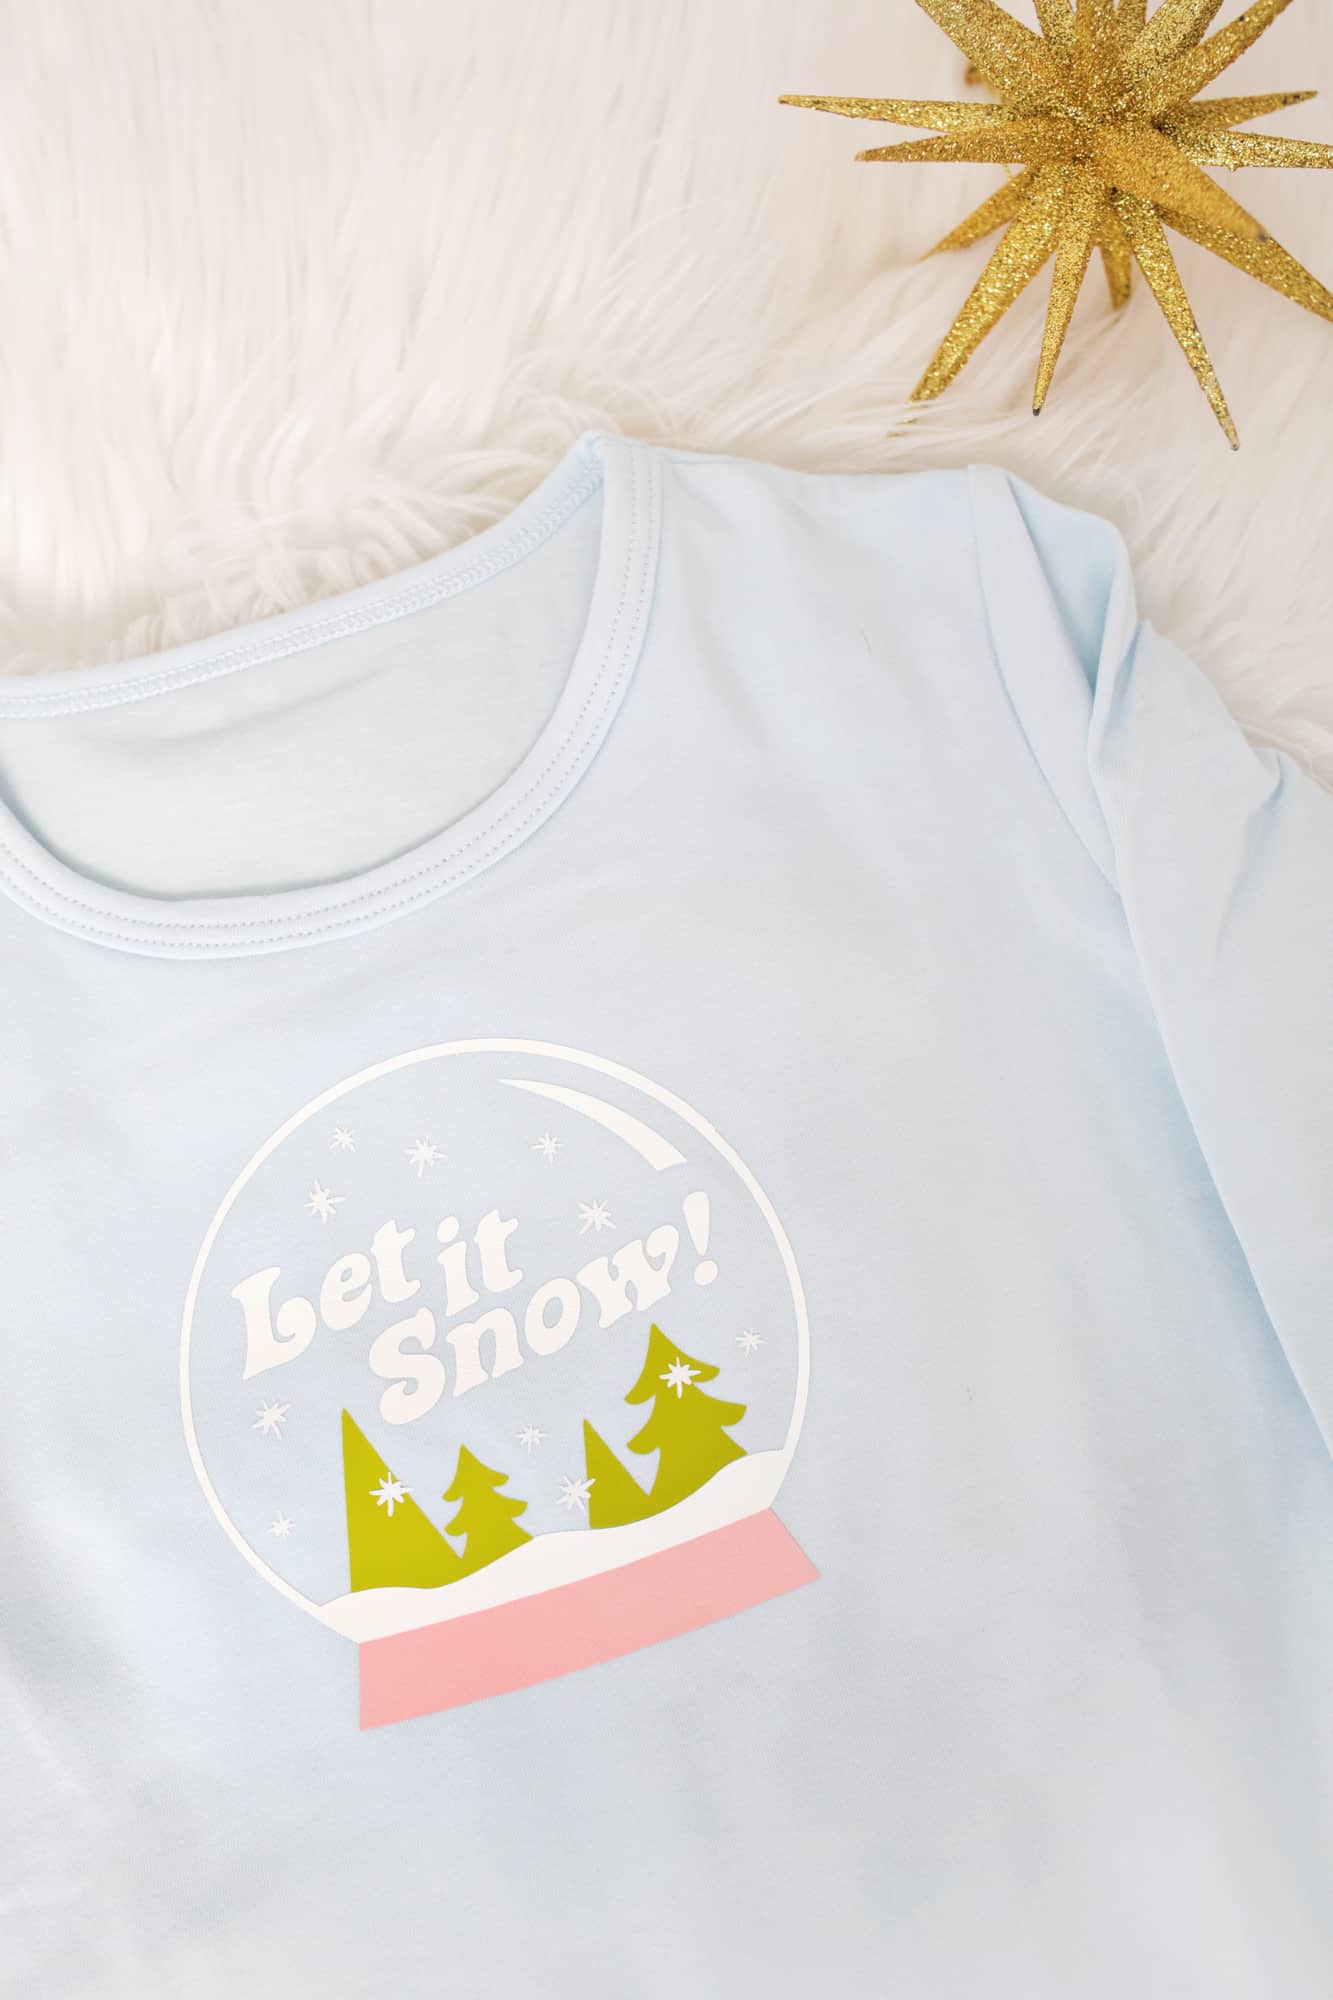
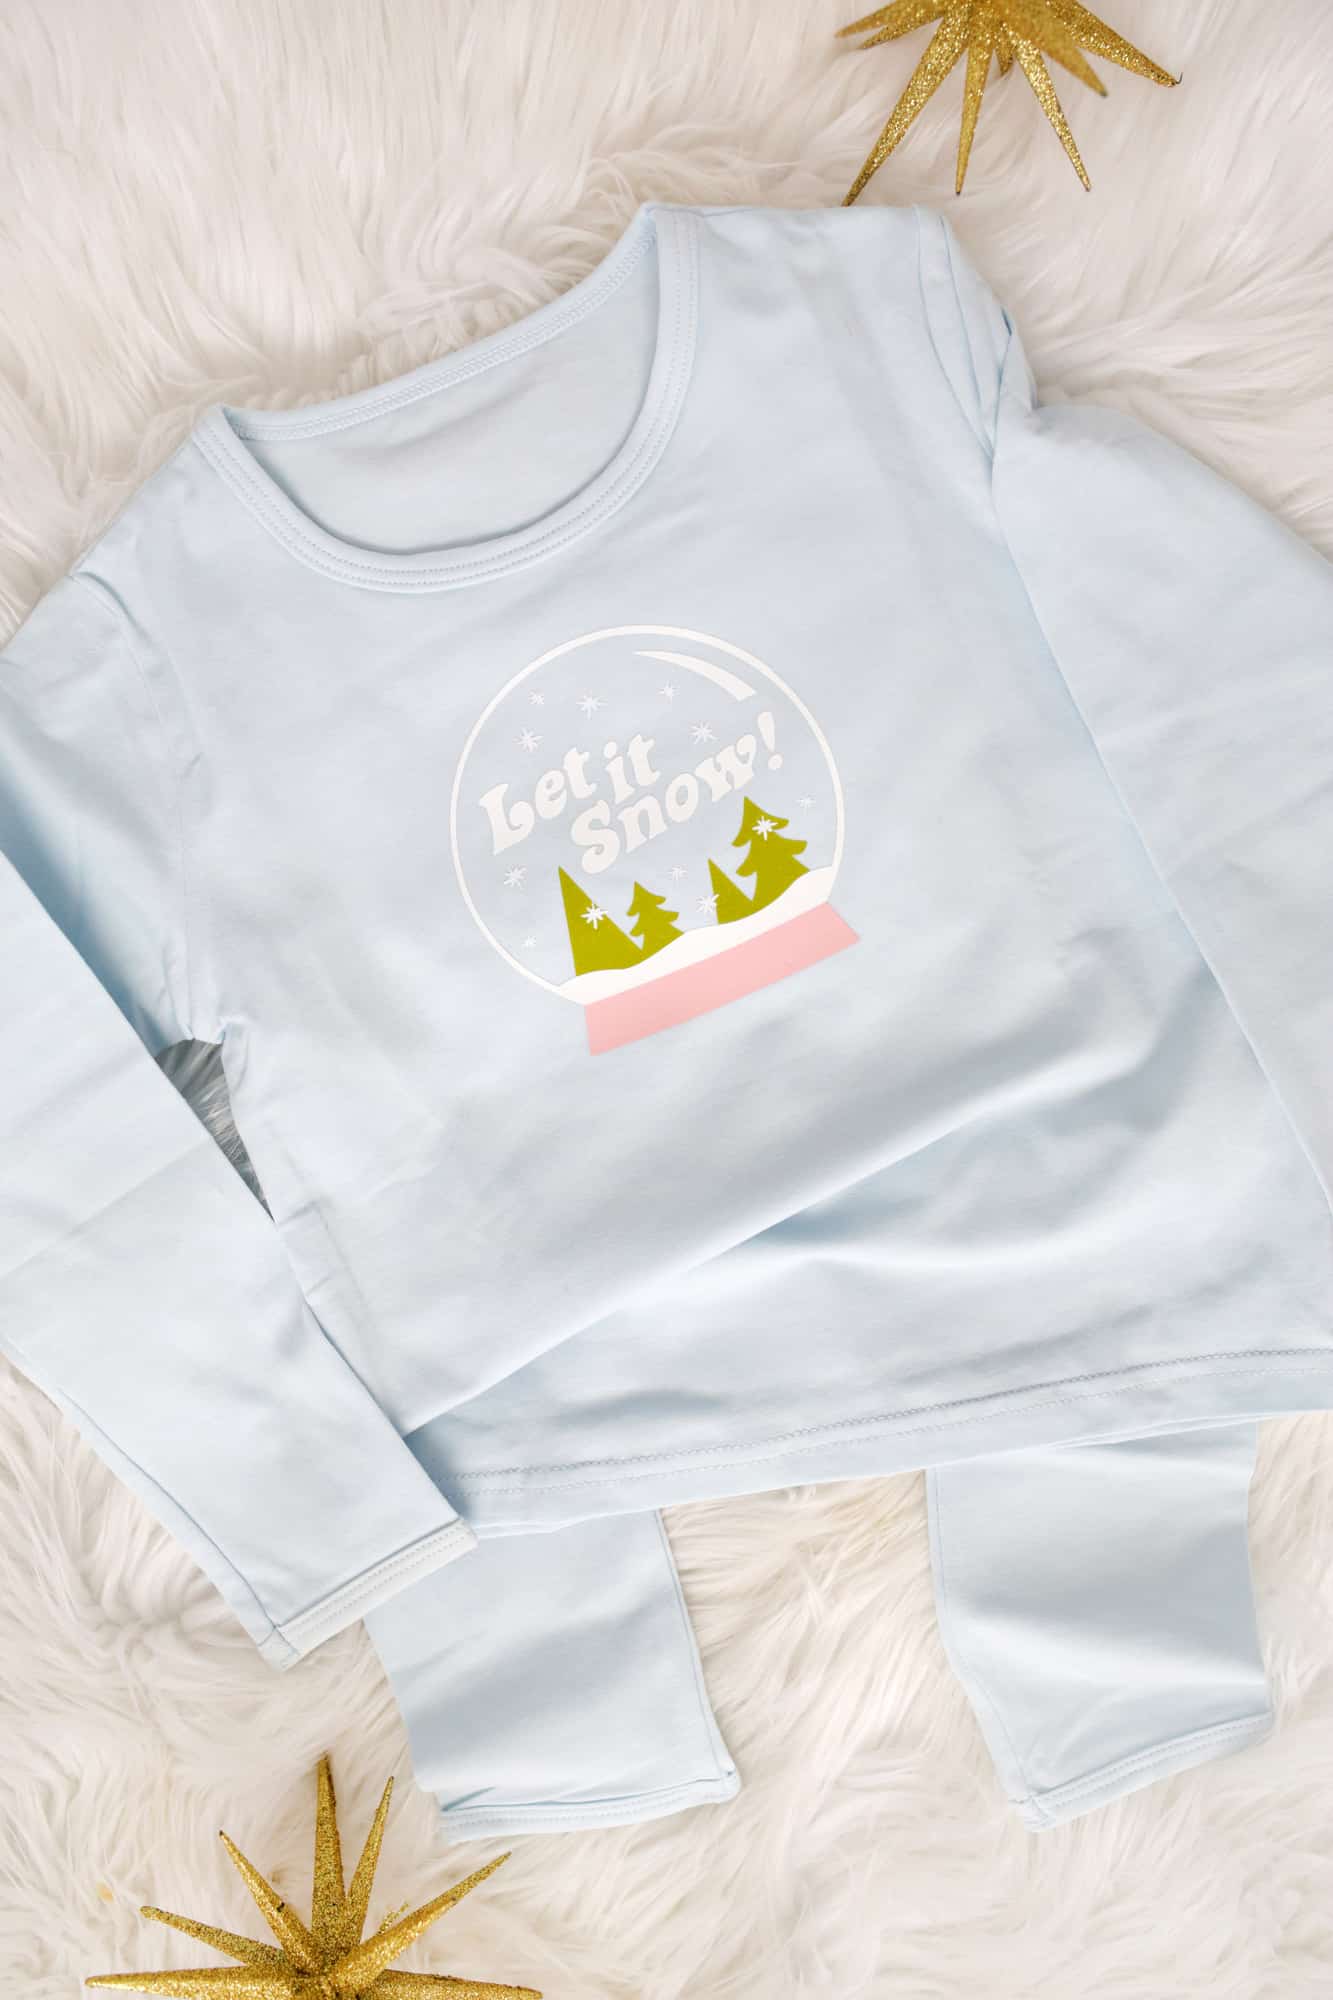
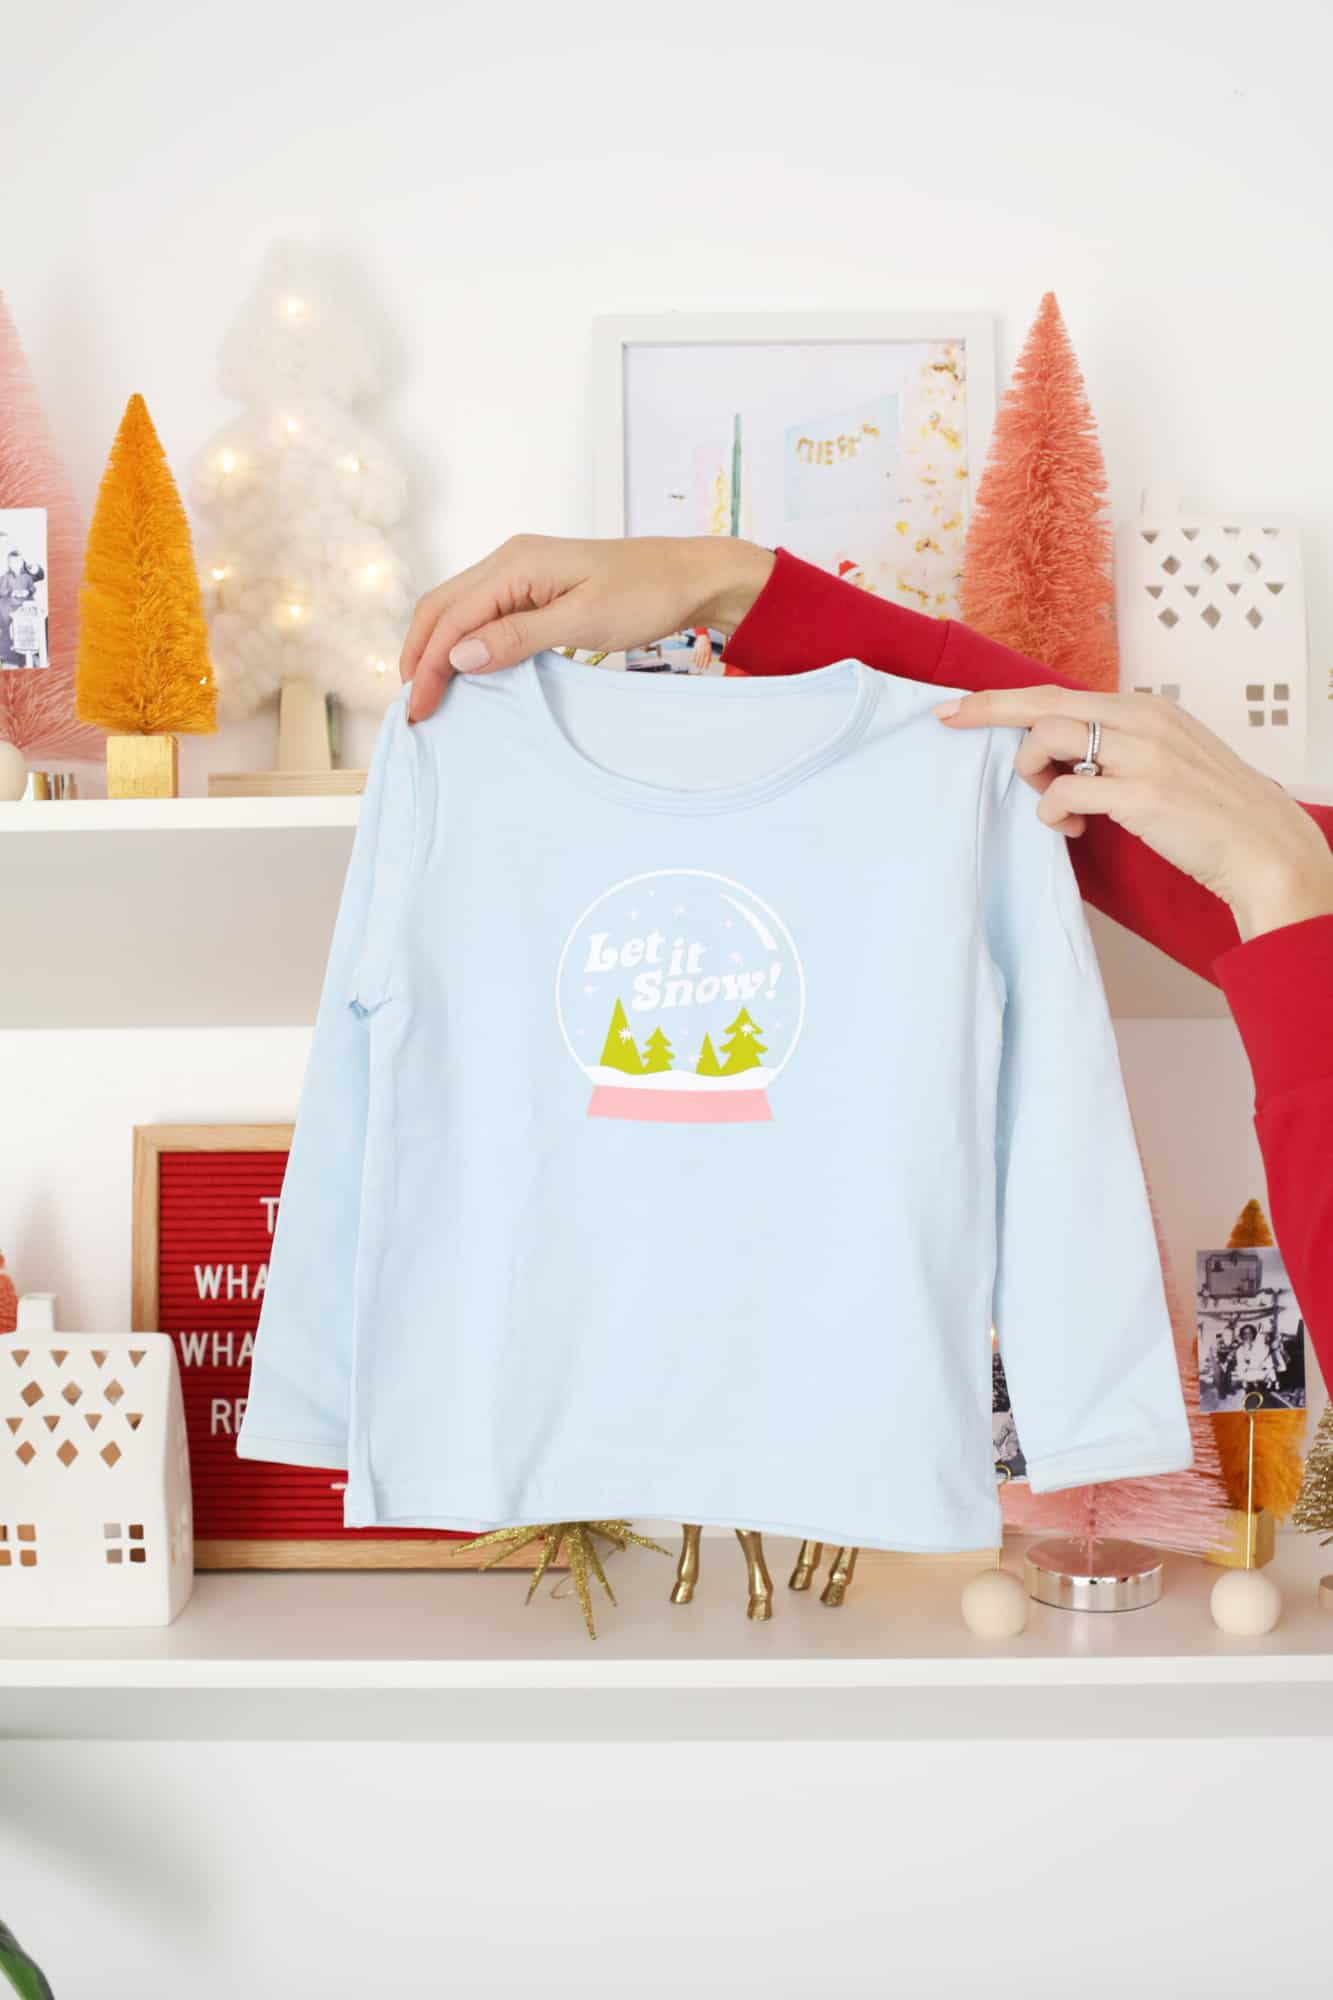 These turned out SO CUTE! You can totally make a pair of these for everyone in the family to have matching pjs (Christmas card idea, maybe?), give them as a gift, or even add the design to regular shirts/sweatshirts as well. I like that this design feels Christmasy but is also a general winter theme, so it can be worn in the months after Christmas as well. Hope this DIY makes your holiday season a little brighter! xo. Laura
3 Comments
This is such a great gift idea! Why haven’t I thought of it before? You girls are genius. ❤️✨
Charmaine Ng | Architecture & Lifestyle Blog
http://charmainenyw.com
This is such a fun and creative idea that’s so much easier than trying to find matching ones in everyones size at the store!
Paige
http://thehappyflammily.com
I love this idea, the options would be endless to make something personal for the whole family. I don’t have a Cricut yet but I’m enjoying reading different Tutorials about how they work, I can’t wait to get one now, I’ll be personalising everything. They’re great for anyone who might have a unique name or spells theirs differently. Thanks so much for the Tutorial. Merry Christmas xxx.