 Hello friends! Got a fun and crafty little photo frame DIY for you today. I don’t know about you, but sometimes I want a project that can keep my hands busy yet doesn’t necessarily take all my focus. In the past, I’ve turned to things like crochet and embroidery, just fun little crafts that you can complete while watching your favorite TV show or catching up on podcasts. And this photo frame project totally fits the bill, plus you can easily customize the look to fit your own home decor or even to gift. I think this would make a really fun Mother’s Day gift, for example. 🙂
I worked with Canon USA on this project, using my PIXMA TS8120 to print the photos I put in my frames. I love being able to print photos at home, especially when I’m only needing a few to frame for a project like this. It’s quick and easy, and I don’t have to wait for photos to come in the mail. I also love the new six ink colors this printer has because it really makes black and white photos pop. I realize these are ‘just photos of my dogs,’ but as a crazy dog lady, I appreciate the high quality of the prints. 🙂
 This photo frame project is very much inspired by vintage embroidered basket bags. I love the look of those bags and I love that they have come back in style over the last few years. See below for one I scored at a thrift store—and there are also lots for sale on Etsy that are just beautiful!
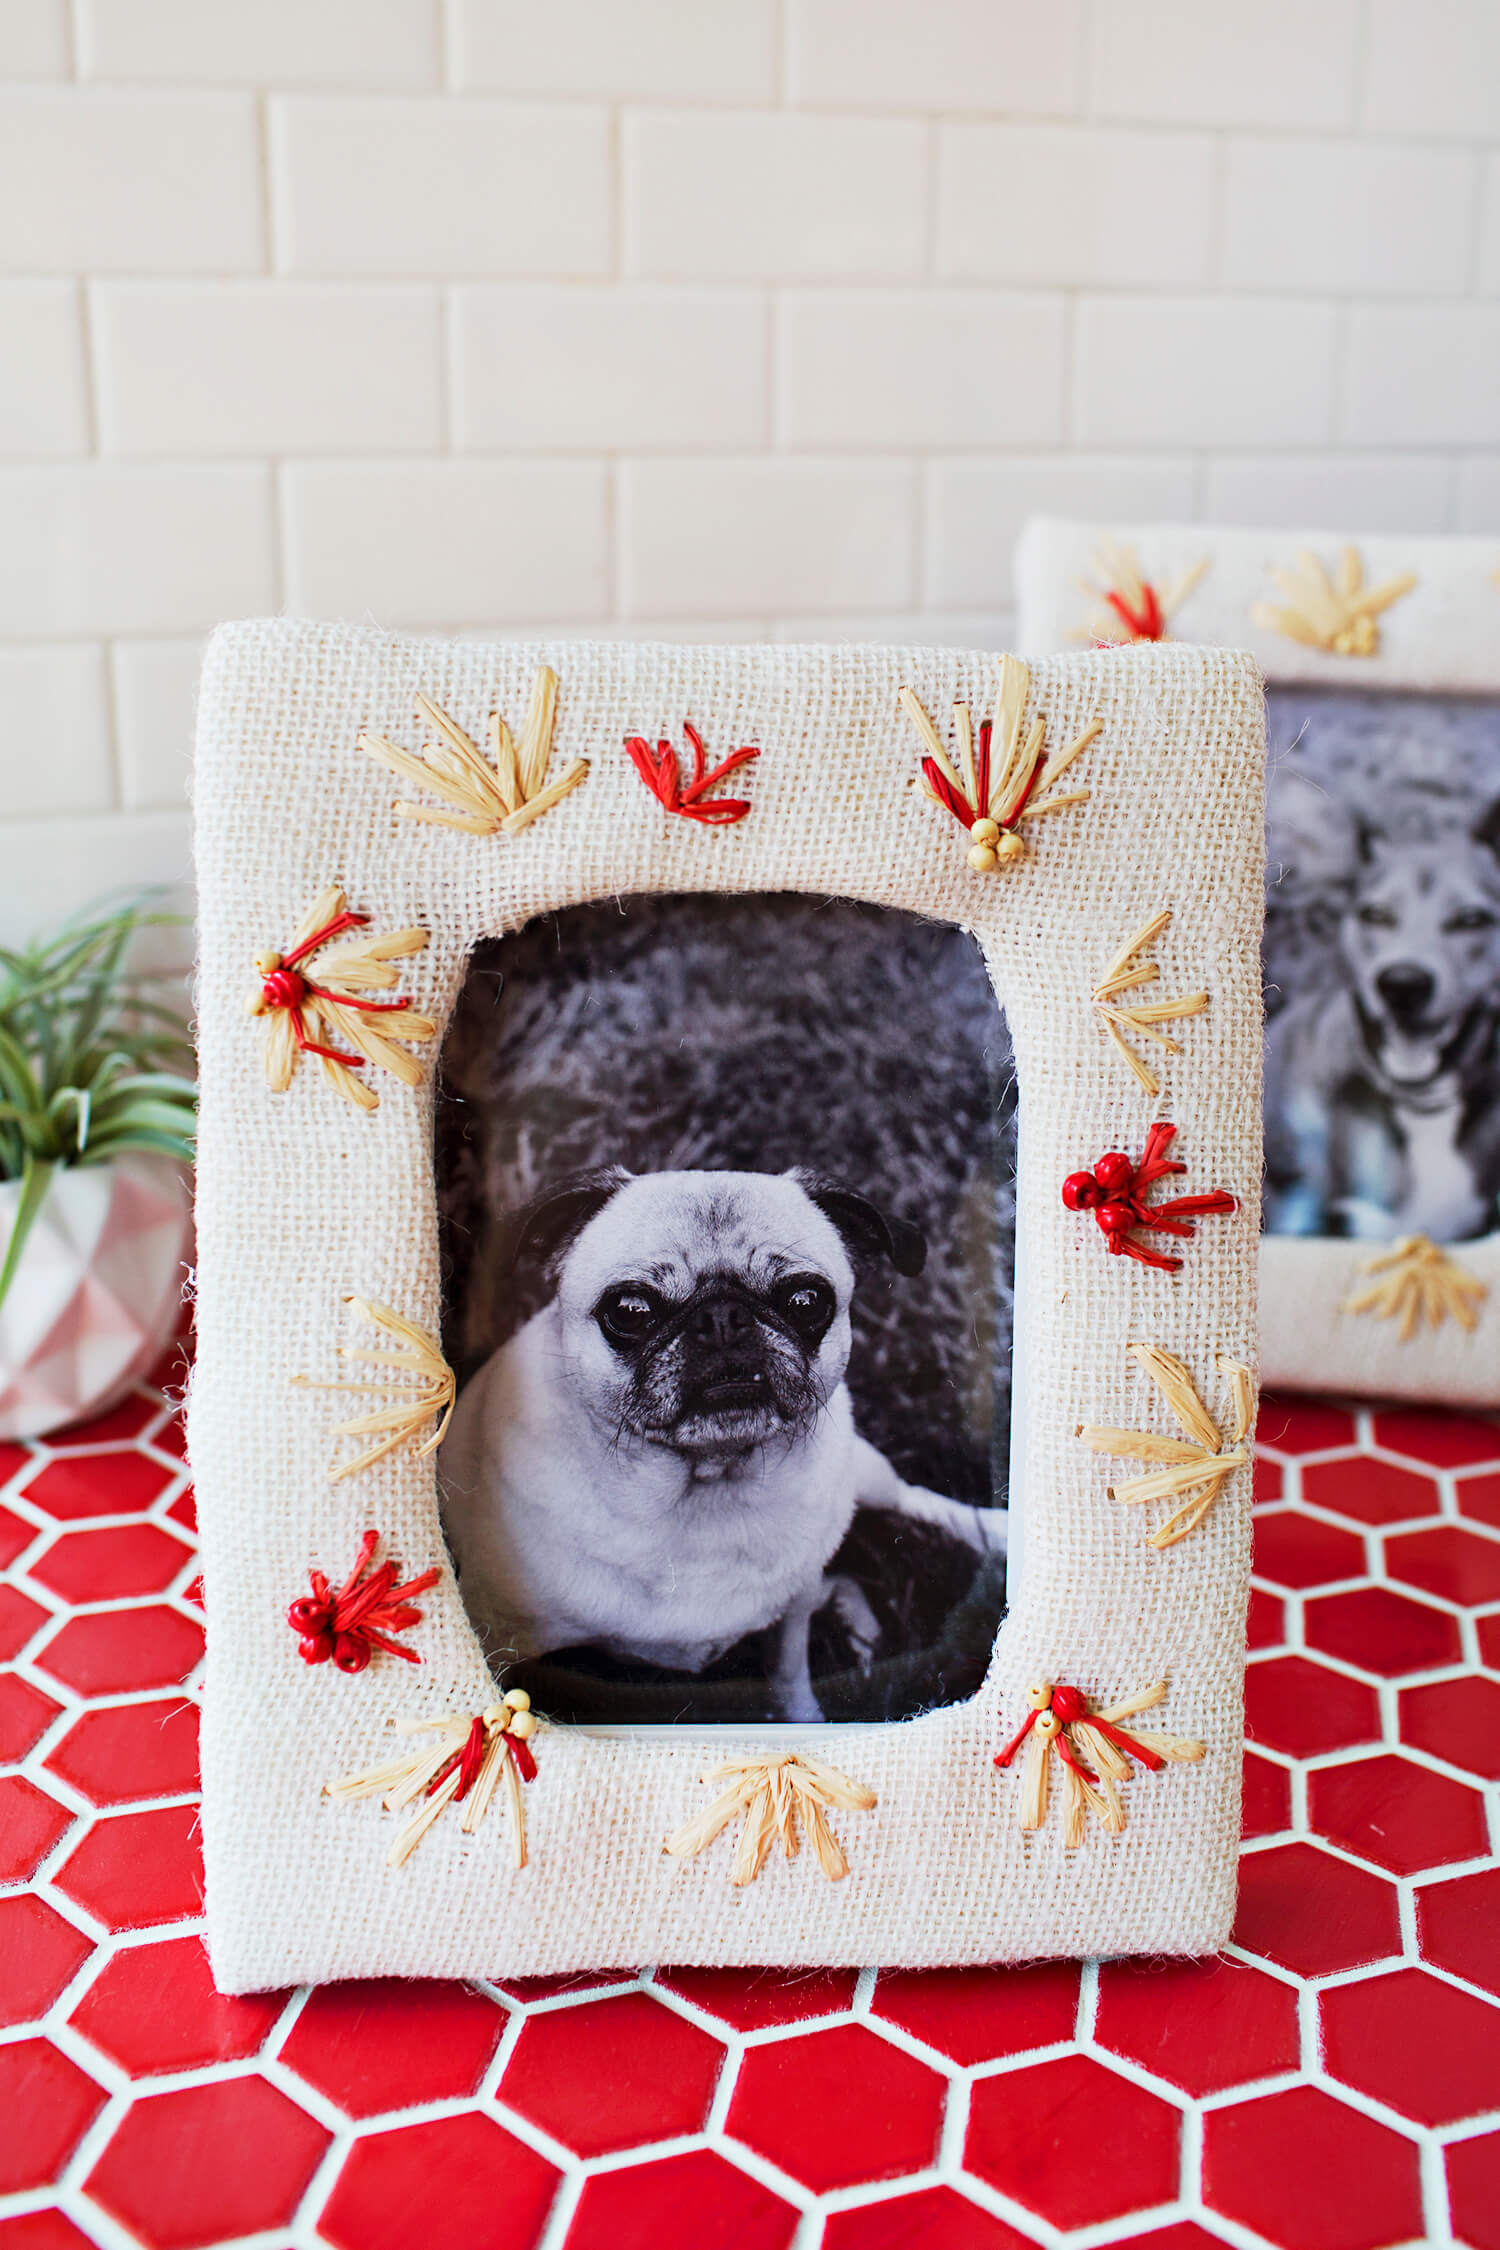
 I chose to use burlap as the base of my frame, and if you use brown burlap (the more classic color), I think it would look even more like a vintage embroidered basket bag. I have quite a bit of brown in my home already though, so I decided to go with a cream colored burlap instead. While I was shopping for my supplies, I saw there was also pink, green, and black burlap as well, which I think could totally work and make this project even more colorful and fun! I also chose to use raffia instead of yarn or embroidery floss, but you could easily change that up too. I guess my point is there are lots of options, but here are the basics of how to create a DIY embroidered photo frame:
In this video, you can see me make my photo frame from start to finish. But here are a few more helpful tips and tricks before you get started.
 Supplies:
-plain frame (I used 5×7)
-foam board
-1/2 yard of burlap
-raffia (I used tan and red)
-wood beads
-stapler
-glue gun
-scissors
-X-Acto knife
 Step One: Cut the foam board to fit the frame. This is what your burlap will wrap around, so you may also want to choose black or white foam board based on what matches your burlap more.
 Step Two: Embroider your design and add beads. You can add any kind of design you like but I aimed to create simple little floral shapes. Use the foam frame underneath the burlap to give you an idea of where your designs will fall (they should all be on the frame).
This is the part of the project that takes the most time, but you can easily do this while watching TV or something. I watched two episodes of The Office one night while I made this. Trey and I have been rewatching that show lately, and it’s still hilarious.
 Here’s a close up of what my embroidery and beads looked like. Personally, I like the messy, imperfect look as it feels natural alongside the supplies I was using. But if you’re an embroidery PRO, feel free to do your thing. 🙂
 Step Three: Staple the fabric to the foam board. This is kind of the mini version of upholstering a seat cushion or the top of a stool. If you’ve never done DIY upholstering before, think of it like wrapping a present. Don’t feel like the edges have to be absolutely perfect. But if you’d like to practice I would do so with a piece of extra burlap before adding the embroidery elements (so if you mess up you can just throw it away and not feel like you wasted your embroidery).
Step Four: Use a hot glue gun to glue the fabric board to the frame.
 Step Five: Print your photo and add to the frame. (I used semi-gloss paper.)
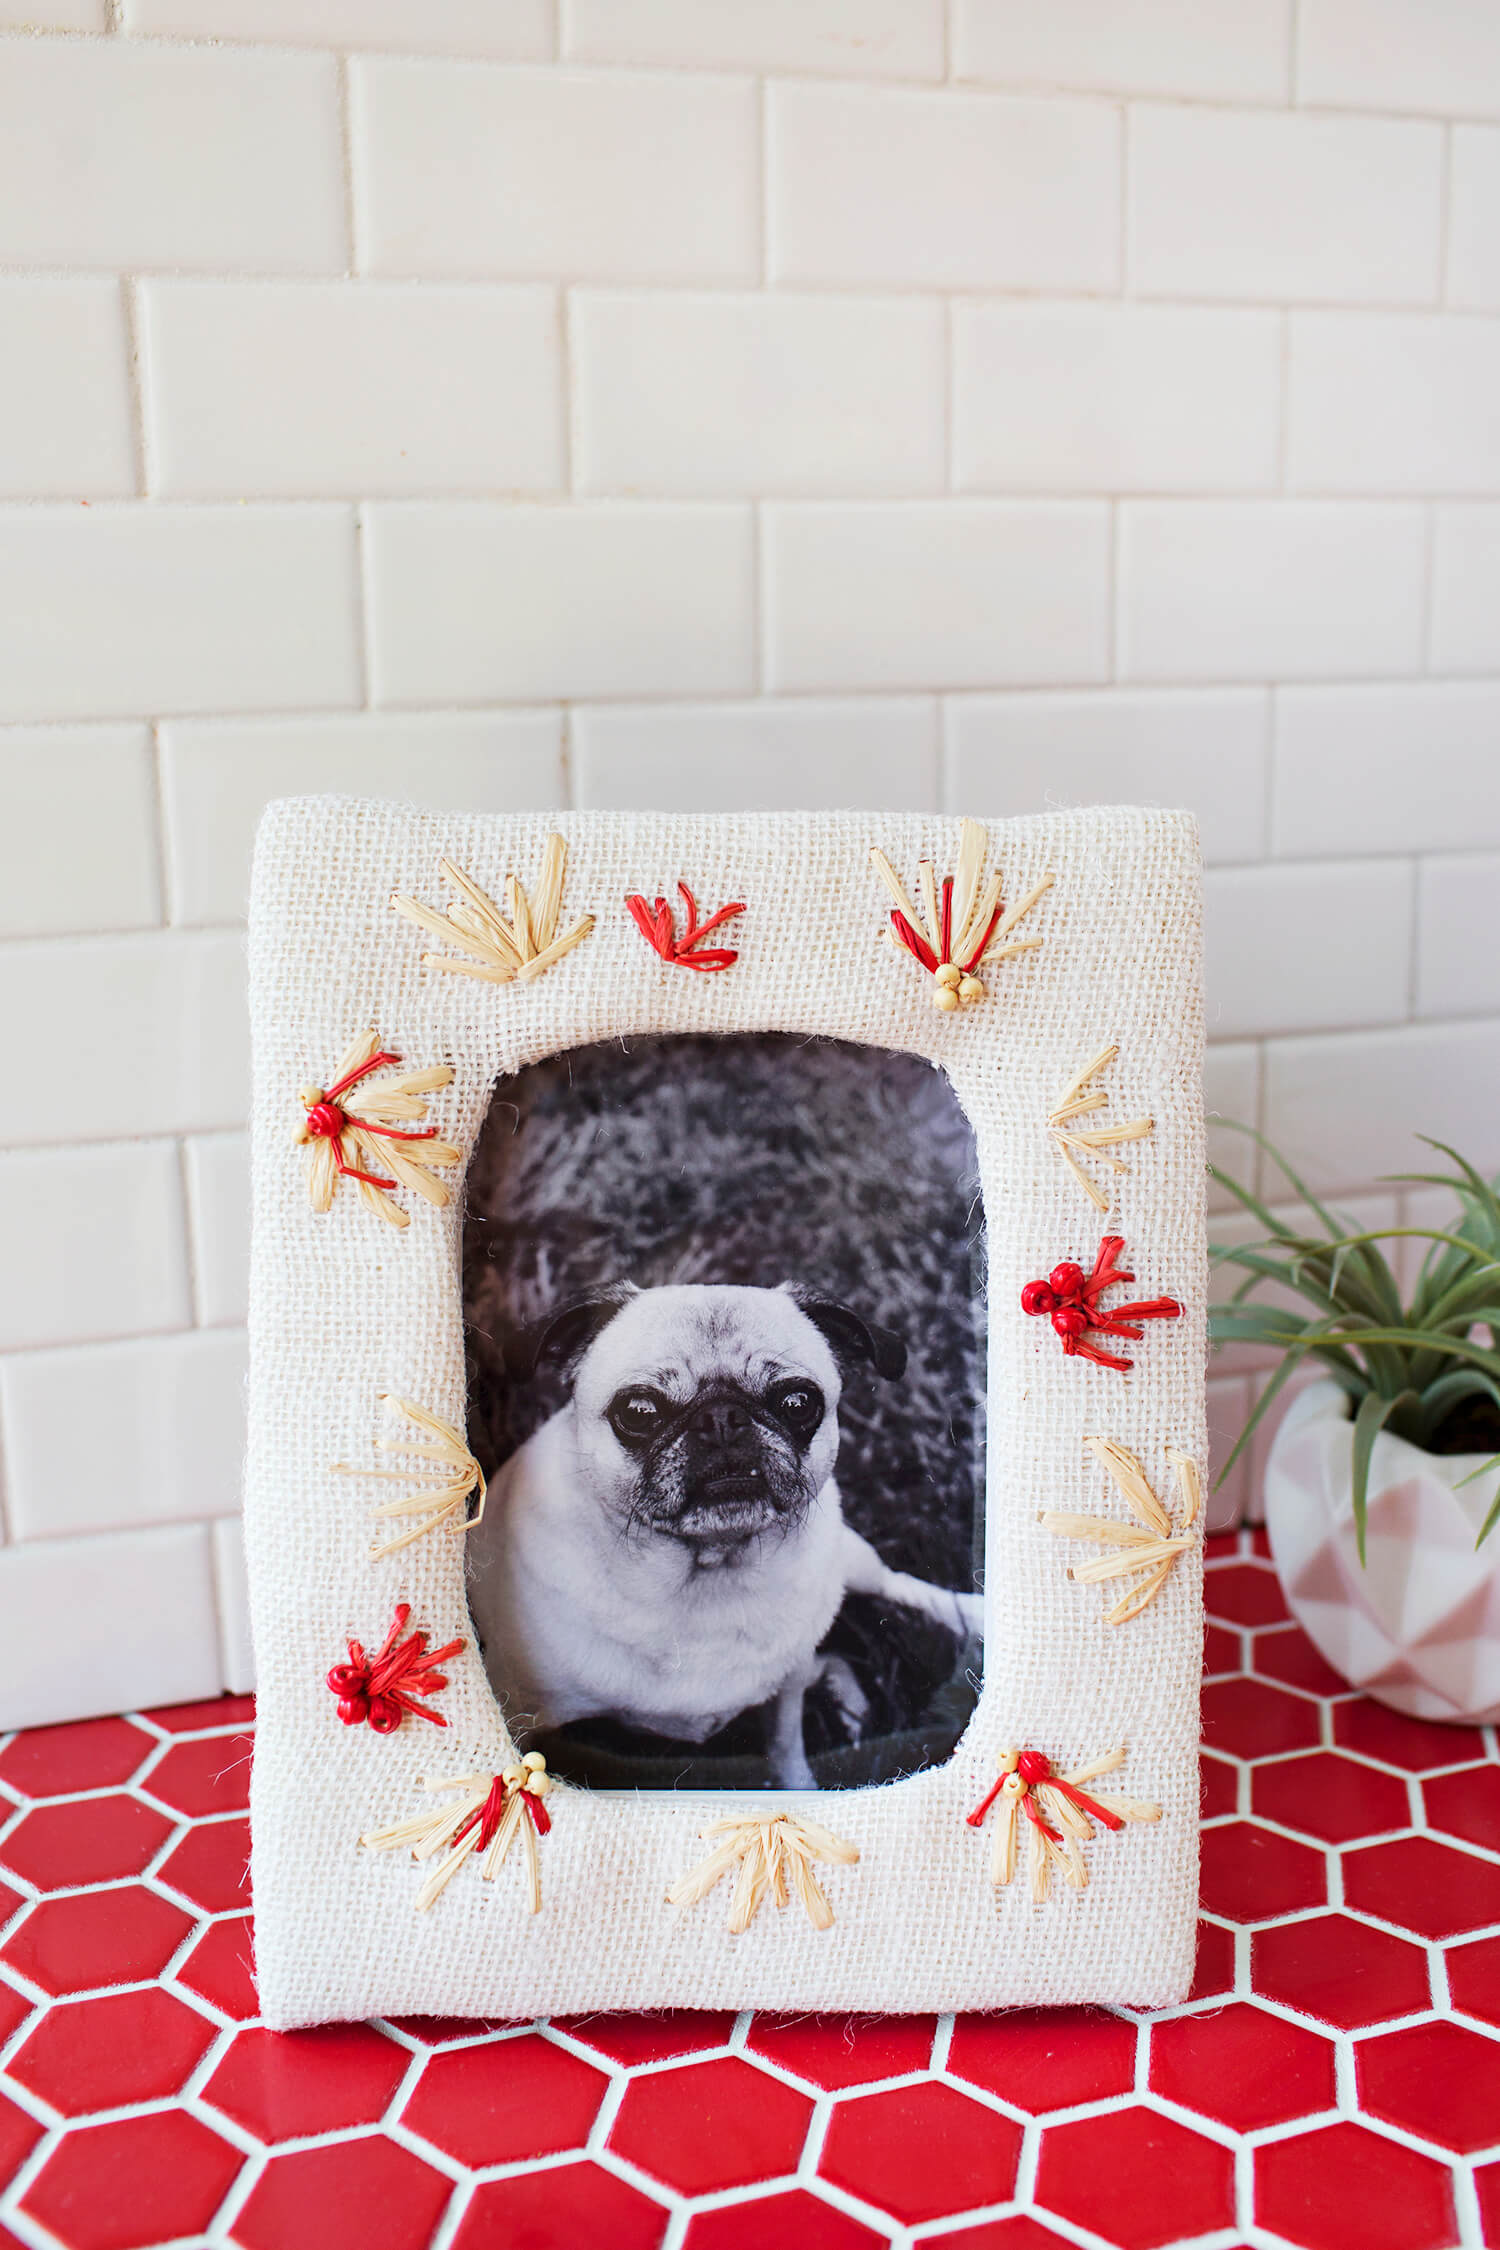
 You’re done! Super fun and easy—embroidery beginners don’t be afraid to try this one as it’s seriously very simple, but I really love how these frames turned out. Thanks for letting me share! xo. Emma

8 Comments
This is very creative. Also, love the photos you framed, so adorable! 😀
Charmaine Ng | Architecture & Lifestyle Blog
http://charmainenyw.com
These are adorable! I love them. I might save these for next year’s grandparent gift ideas.
Awe, thanks Rachel. With your skills and design taste I bet they’d turn out amazing. 😉
How super cute!
https://www.makeandmess.com/
These are so adorable!
Beckie // The Pale Tails
Thanks for the article filed with demo.
Love love and Steve look so handsome in their own decorated frames.
Ha! I think so too. 🙂