 You may have already heard (if you follow us on IG) that we are making a walk-through “haunted house” for the neighborhood kiddos families at our holiday house for Halloween this year! This is probably THE project I have been most excited about the entire year because I love Halloween, and also Elsie and I are just dying (spooky pun!) to create something for our hometown that aids in the creation of those magic childhood memories. 🙂 Today, I’m sharing just one part of the project with you—our DIY full moon photo backdrop.
I was beyond thrilled to get to work with Fiskars on this project. Not only are we (all) obsessed with their scissors and have been for many years, but their DIY tools cannot be beat! I used the Power Cut Shears and Staple Gun to complete this project and it made the process SO much easier. You’ll see I was using cardboard I already had (recycling from deliveries I’d received this year) and the Power Cut Shears made working with even thicker cardboards a breeze. You might have already heard me raving about the Fiskars staple gun in this post, but I’ve got to again because seriously this is the best staple gun. It’s basically the only one I can use one-handed which is super useful when you’re crafting. I loved the entire process of making this project, but the Fiskars DIY tools make it even more fun/easy. For real. OK, rant over. 🙂
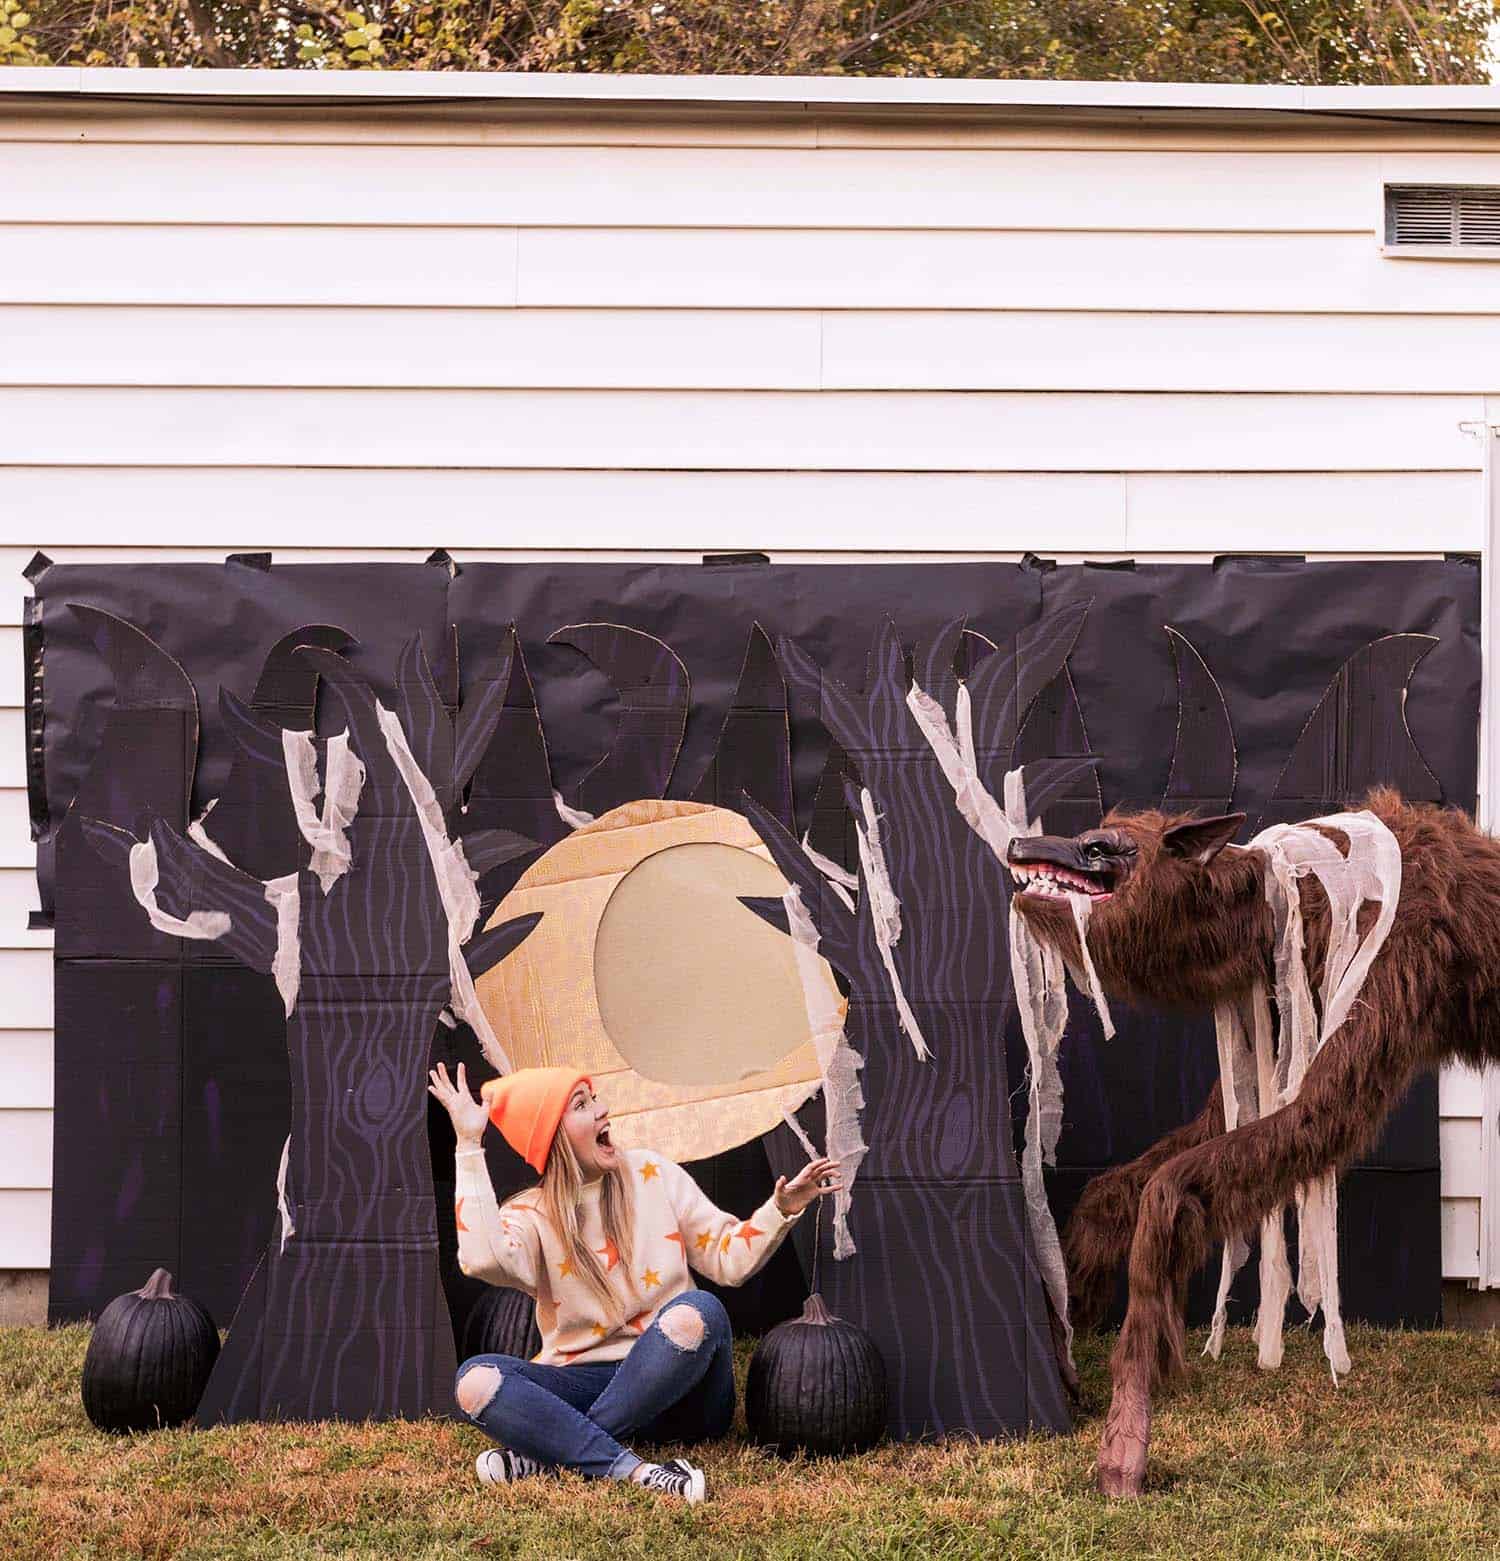
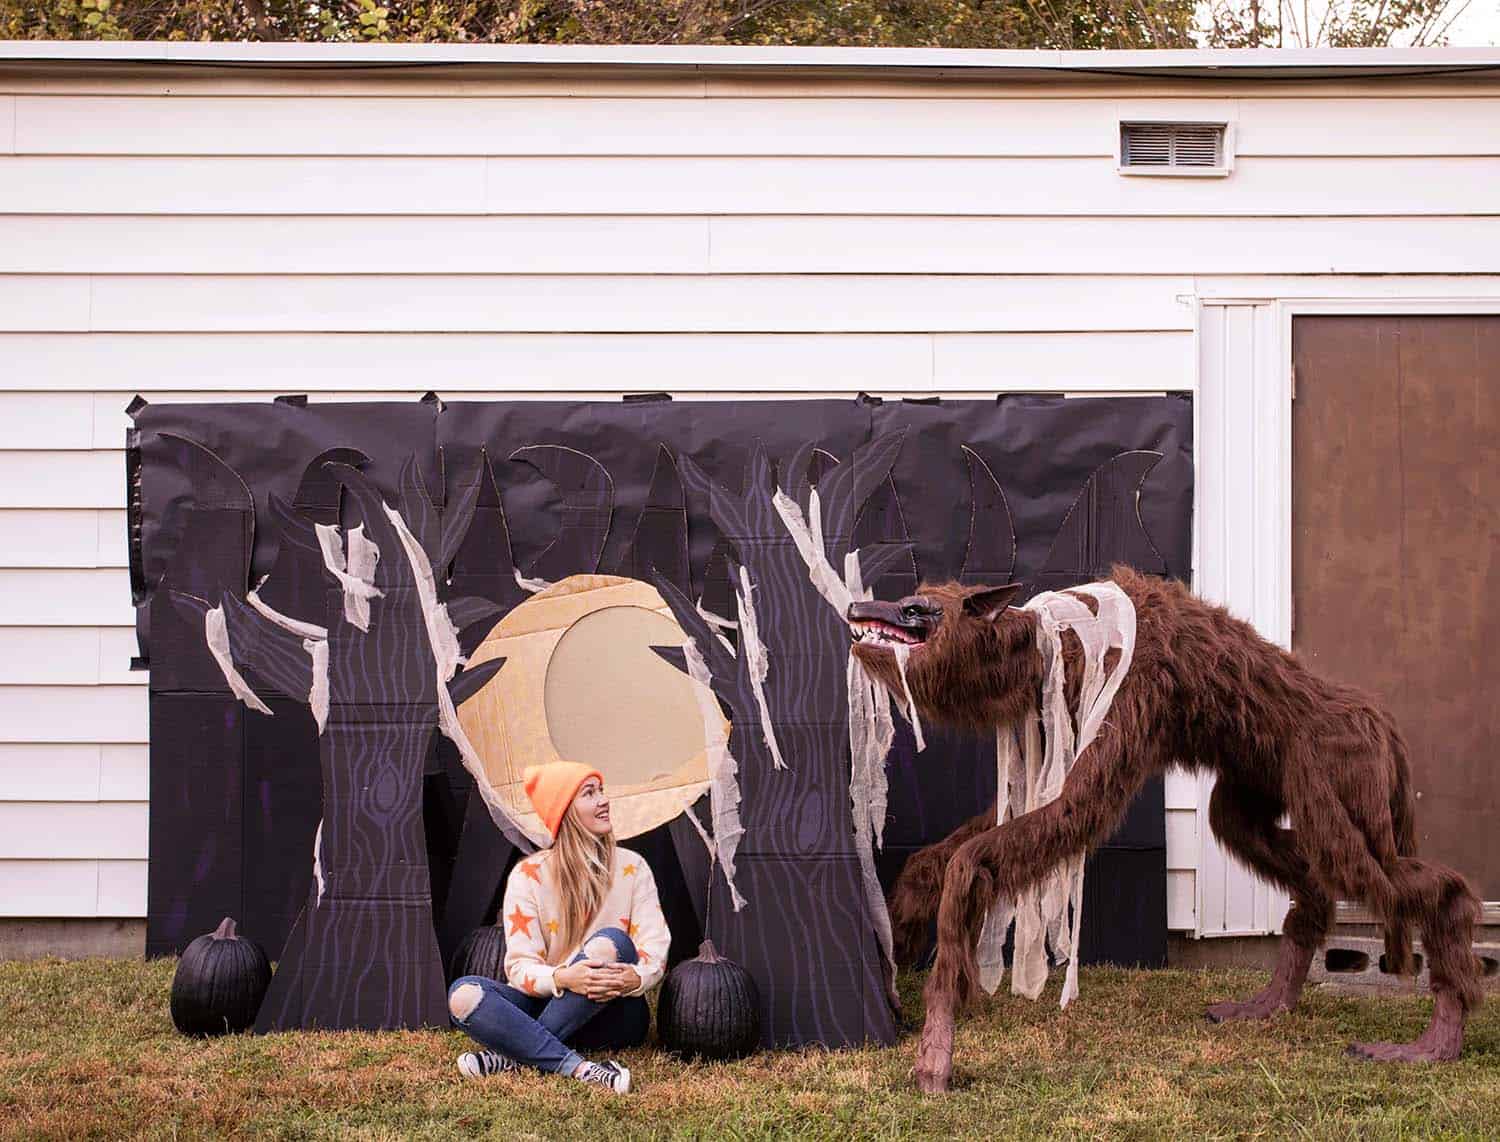
 Why a photo backdrop? This is what will be at the very end of our haunted house, in the backyard. We wanted a spot where families could grab a quick photo together. We landed on a spooky forest with a full moon and werewolf because, well, it’s Halloween-y for one. But also, it’s loosely inspired by the Goosebumps book, The Werewolf of Fever Swamp. Much of the haunted house is inspired by those books and we even have around 50 copies of various Goosebumps classics that kids can take in addition to candy at the end of the haunted house. It’s a readable treat. 🙂
You could absolutely customize this photo backdrop idea into a lot of different looks to fit any party (Halloween or otherwise) that you might be throwing. Here’s what you need.
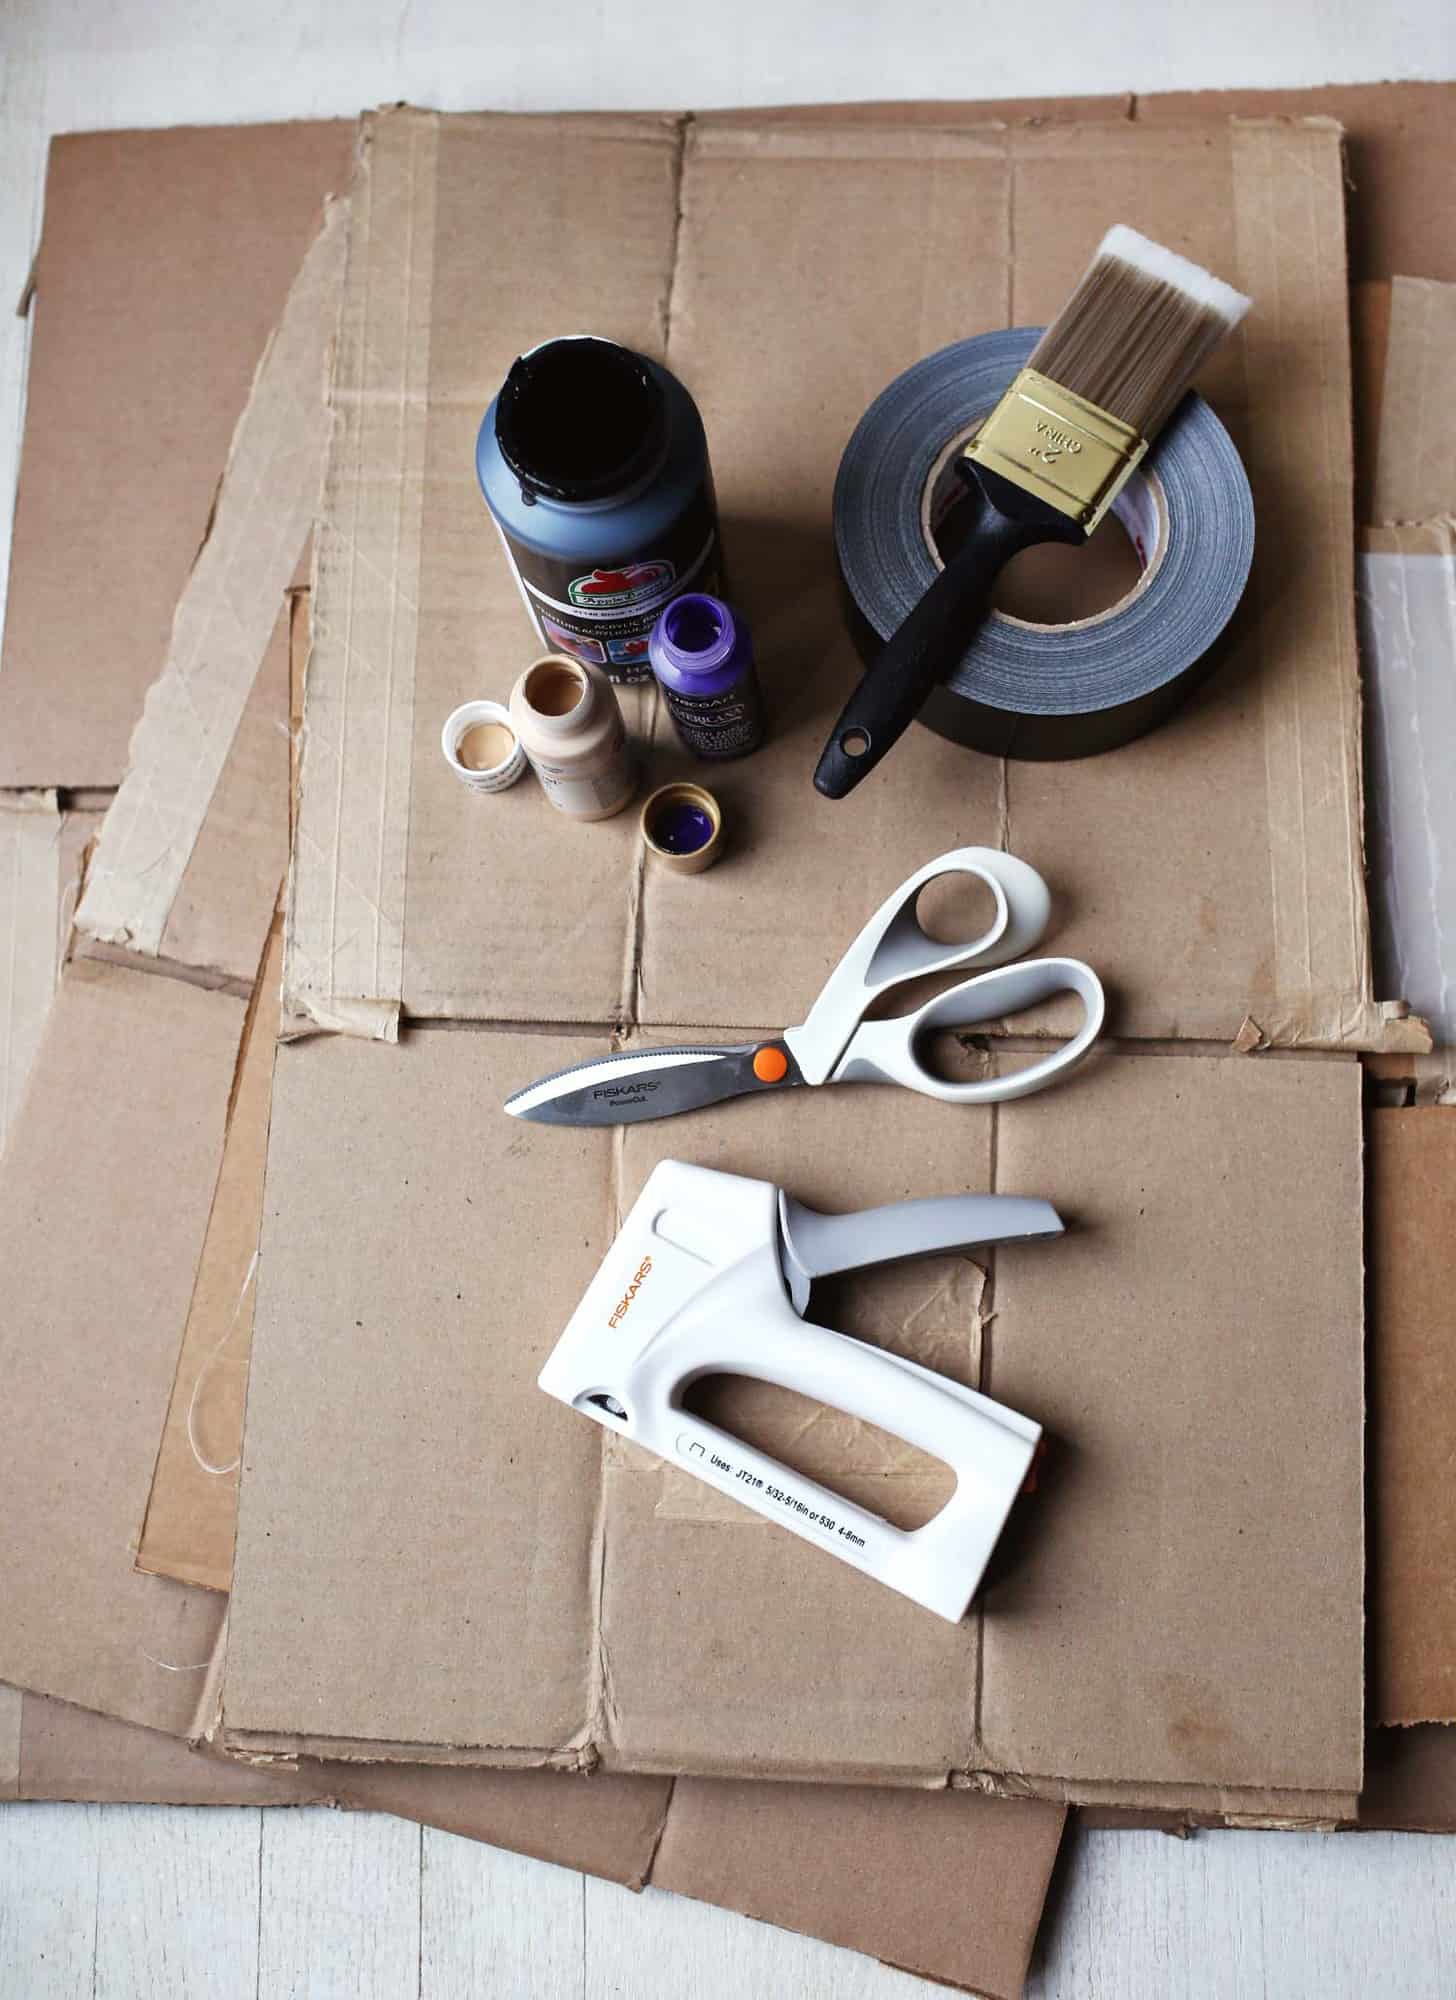
Supplies:
-lots of cardboard (just save it from deliveries if you order stuff online much—no need to buy it!)
-Fiskars Power Cut Shears
-Fiskars Staple Gun + staples
-a few wooden saw horses*
-paint + paint brush
-duct tape
-drop cloth
-fabric for moon
-small LED battery light (if you want the moon to “light up”)
*I bought my wooden saw horses at a big box hardware store (less than $20 each), but you could also build your own if you wanted to. Really there are a lot of options for how to make the elements of your backdrop stand out, but this was what I did and it was SUPER easy and pretty inexpensive. You can reuse the saw horses afterwards for, well, wood projects. I’ve also used them in the back as table legs or DIY tables.
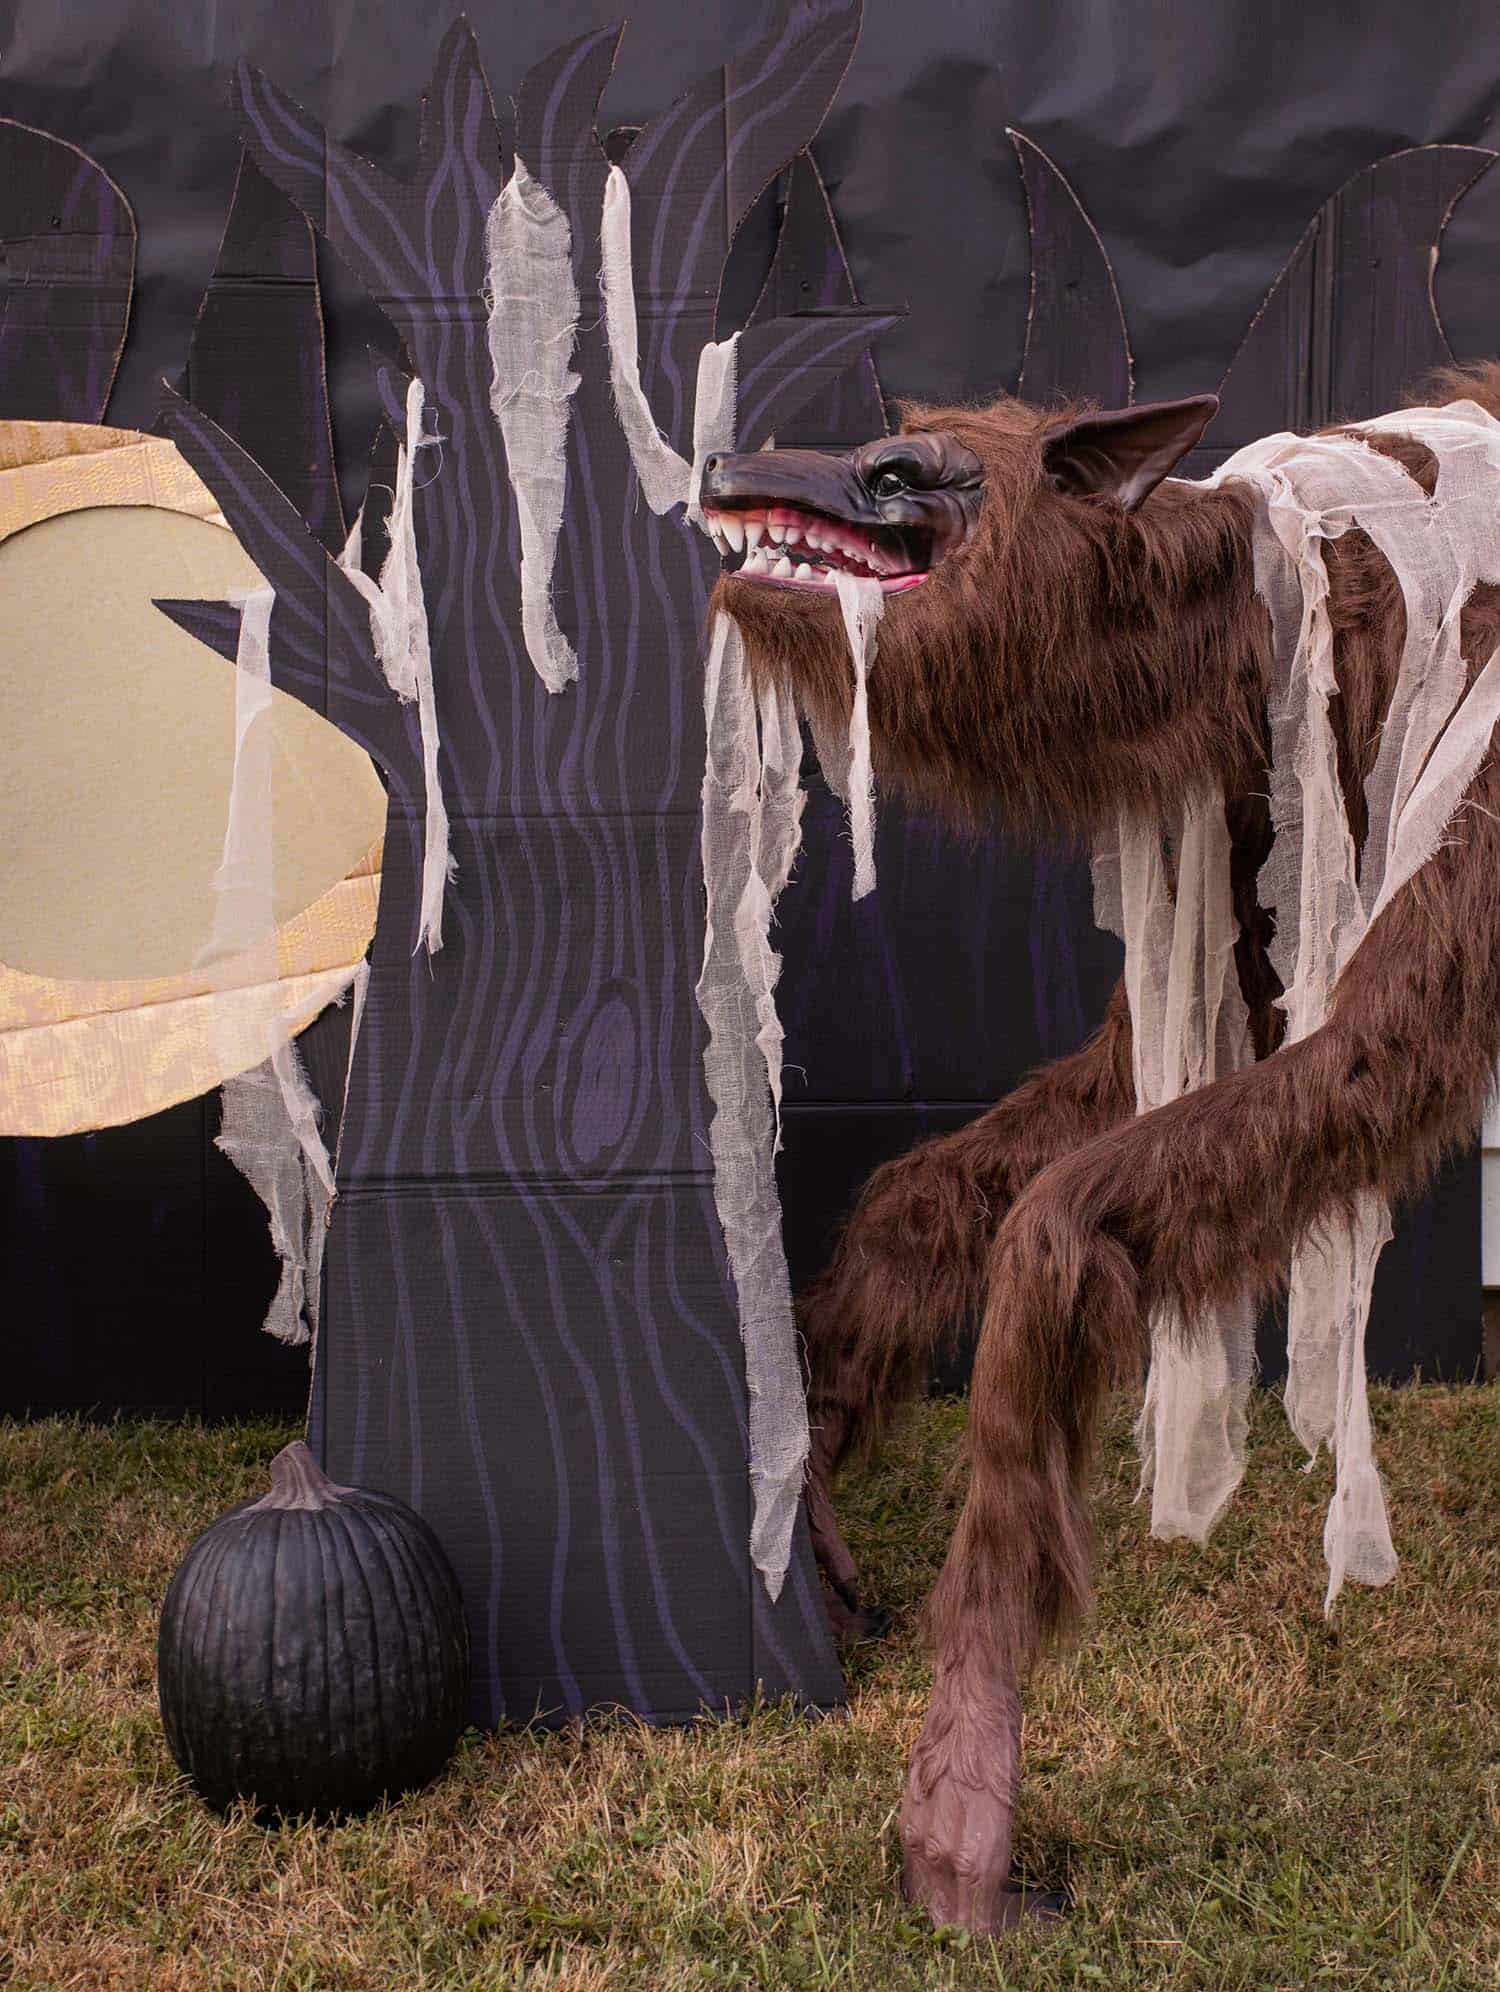
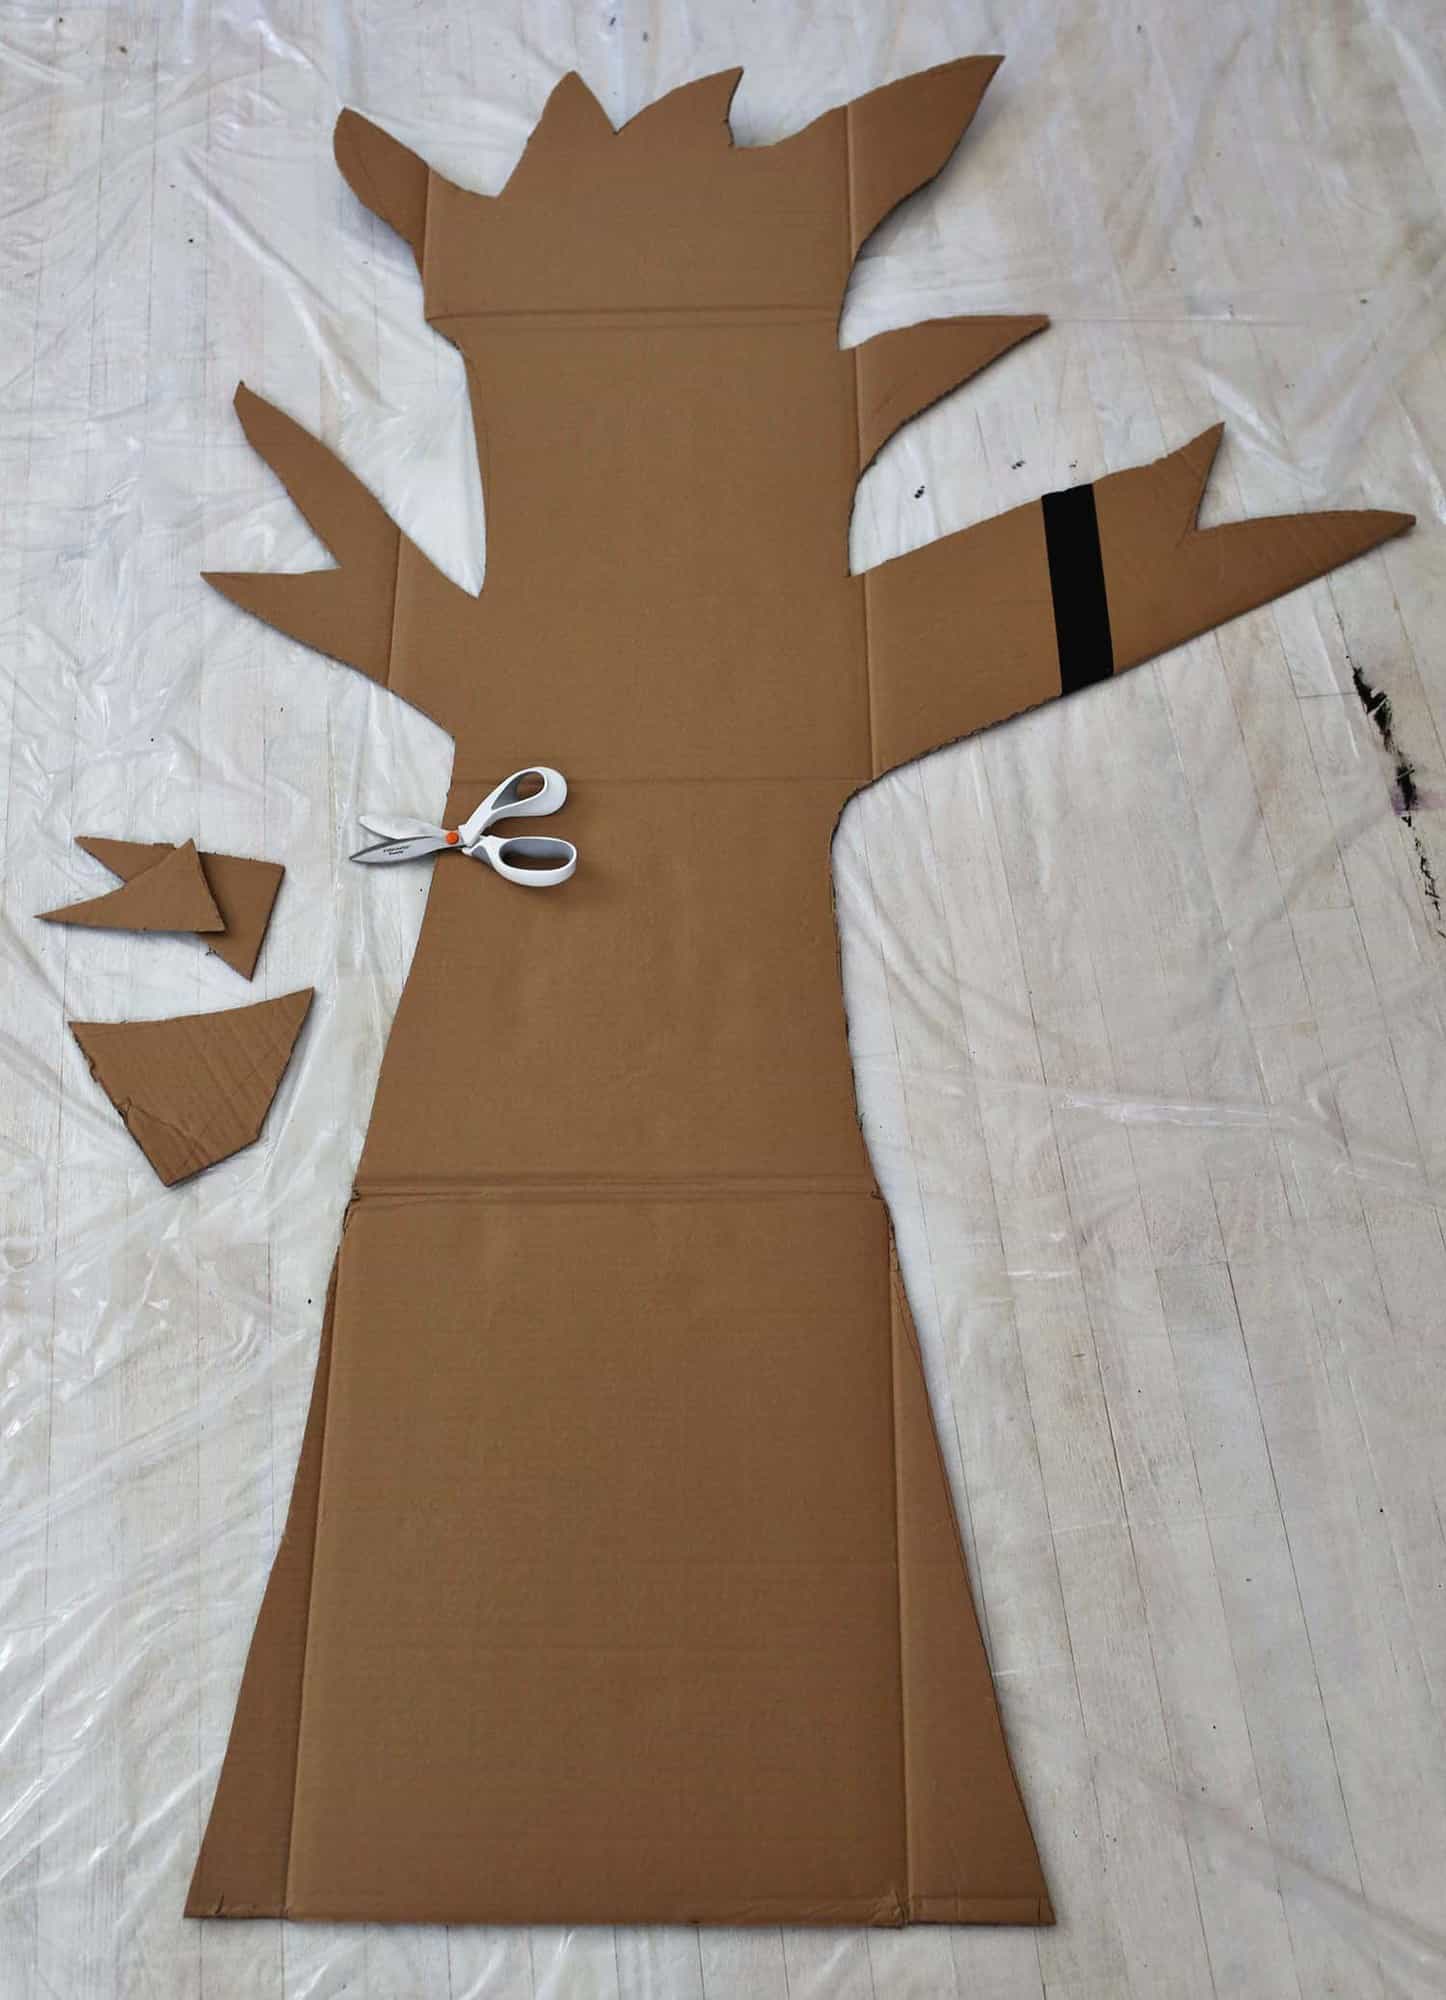
 Step One: Cut out all your cardboard shapes. For me this was a “forest,” which consisted of a background of trees and two trees that would stand alone. I also cut out the moon shape for the full moon in the middle. If needed you can duct tape your recycled boxes together. I was aiming for my forest to be around 6 feet tall.
Step Two: Paint the cardboard elements. I loved this part. It felt like making a school play backdrop of something. So fun!
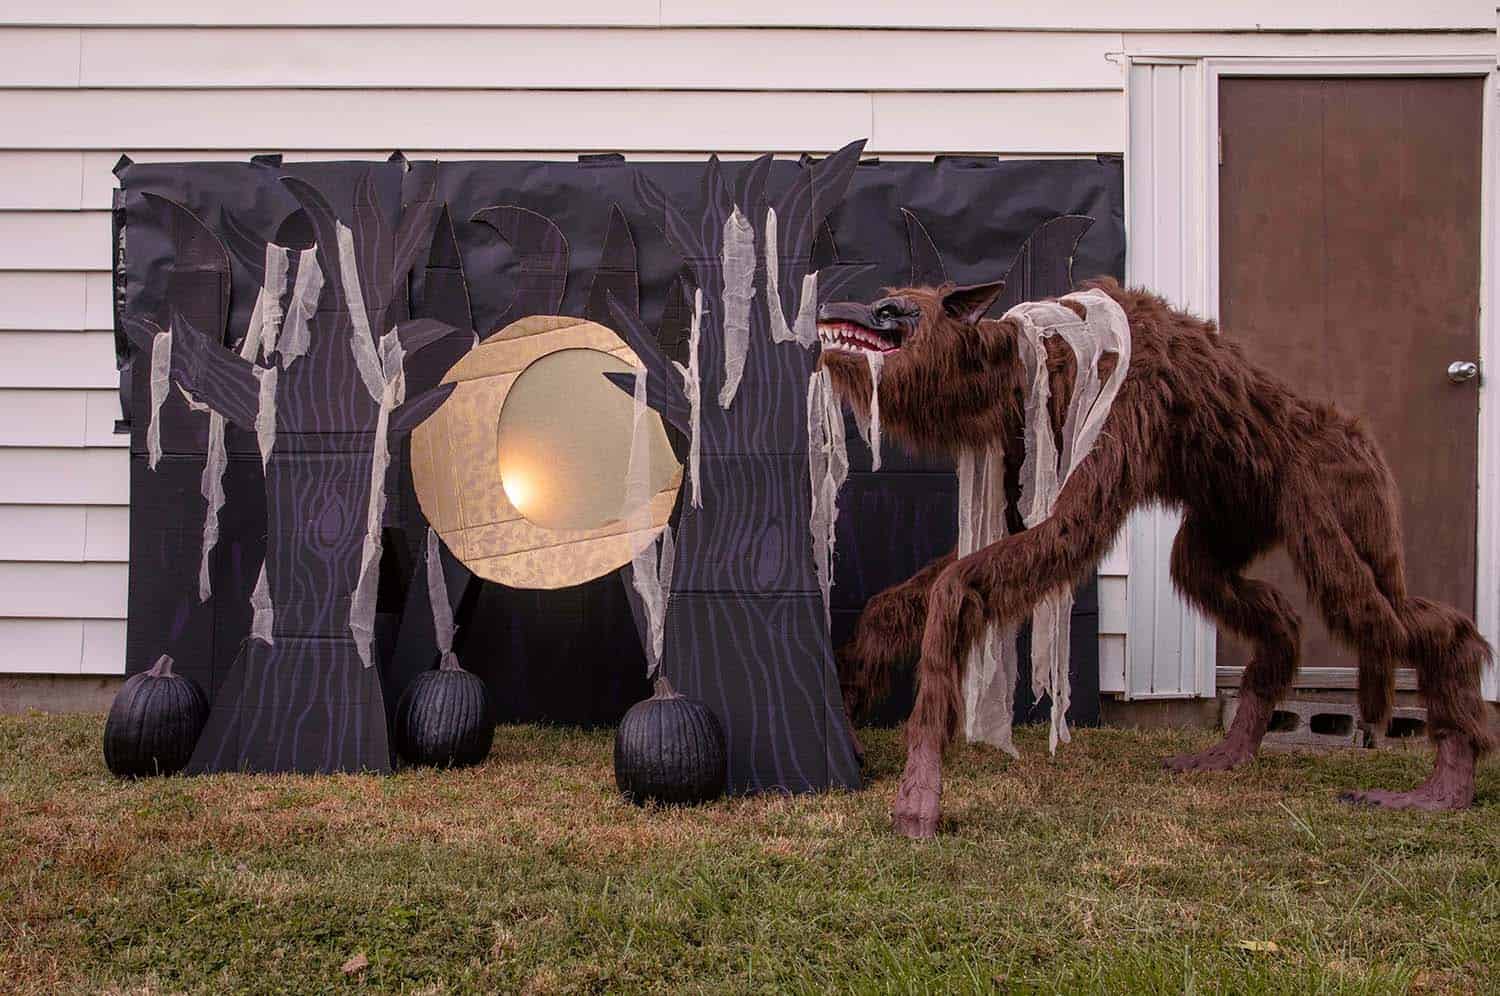
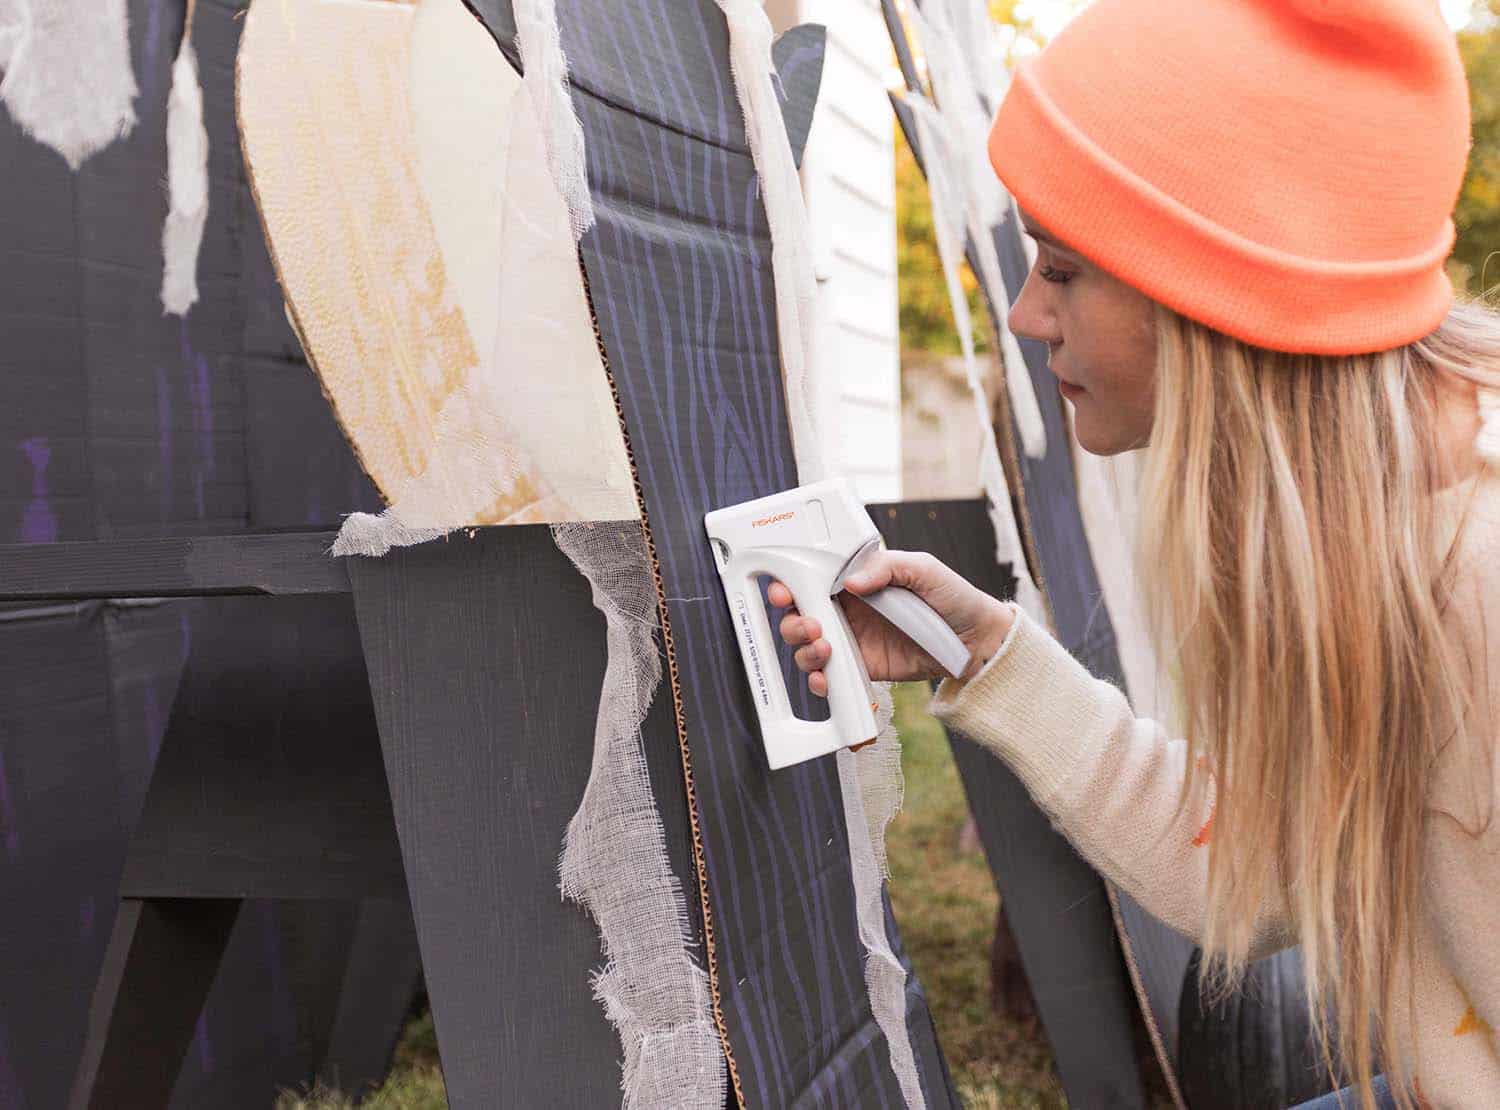
 Step Three: Assemble the backdrop. For me, I had a space the back piece could just lay flat against (I duct taped it in a few places to help it stay in place). I also added some black paper behind the back forest piece and I may make it a little taller on Halloween night in case we have any big families or tall parents coming through. 🙂 Then I also stapled the standalone trees and the moon to the painted saw horses. I stapled the moon fabric in place as well. Then I just added my little LED light behind the moon and set my werewolf in place. Ha!
 Excited to see families use this on Halloween night! Plus, this was super fun and a great way to reuse cardboard. I’d love to make a different theme of this kind of cardboard photo backdrop for another random party/event in the future. Thanks for letting me share! xo. Emma
6 Comments
This is SO cool! What a fun thing for your neighborhood. I showed my boys the skeletons in the bathroom and they thought it was so funny…well done with the potty humor ???? thanks for sharing the backdrop and that is so nice that your giving books out!! Happy haunting! ????
Ha! Yes, I think the skeleton on the toilet is going to be a kid-favorite. 🙂
So incredible! I bet your neighbours are impressed, haha! 🙂
Charmaine Ng | Architecture & Lifestyle Blog
http://charmainenyw.com
A walk through haunted house is THE coolest thing I have ever heard! So stealing this idea when we have some kiddos of our own! So many fun memories going through haunted houses at our schools Halloween festival as a kid, having it at home would be AMAZING! As for the Werewolf… that is the scariest damn thing I have ever seen in my life!!!! haha where did you get it?
He is a little scary, right? I keep calling him, ‘Lovers Jr’ after my pug… which somehow makes me less scary to me. The old Riddikulus spell. 🙂
I bought it from THD.
I made some custom decorations for my house a few years ago; I used coroplast sheets (think the corrugated plastic that political yard signs are made of) instead of cardboard! You can buy it at the big box stores in 4×8 sheets. That way, if it rains/sprinkles, the decor isn’t ruined!