
 Sharing a super easy and fun project with you all today! It involves three of my favorite things: photos, sewing, and GLITTER. I know, glitter is kind of controversial since it’s that one craft supply that manages to linger forever even after you think you cleaned it all up. Ha. But I can’t help it, I love it.
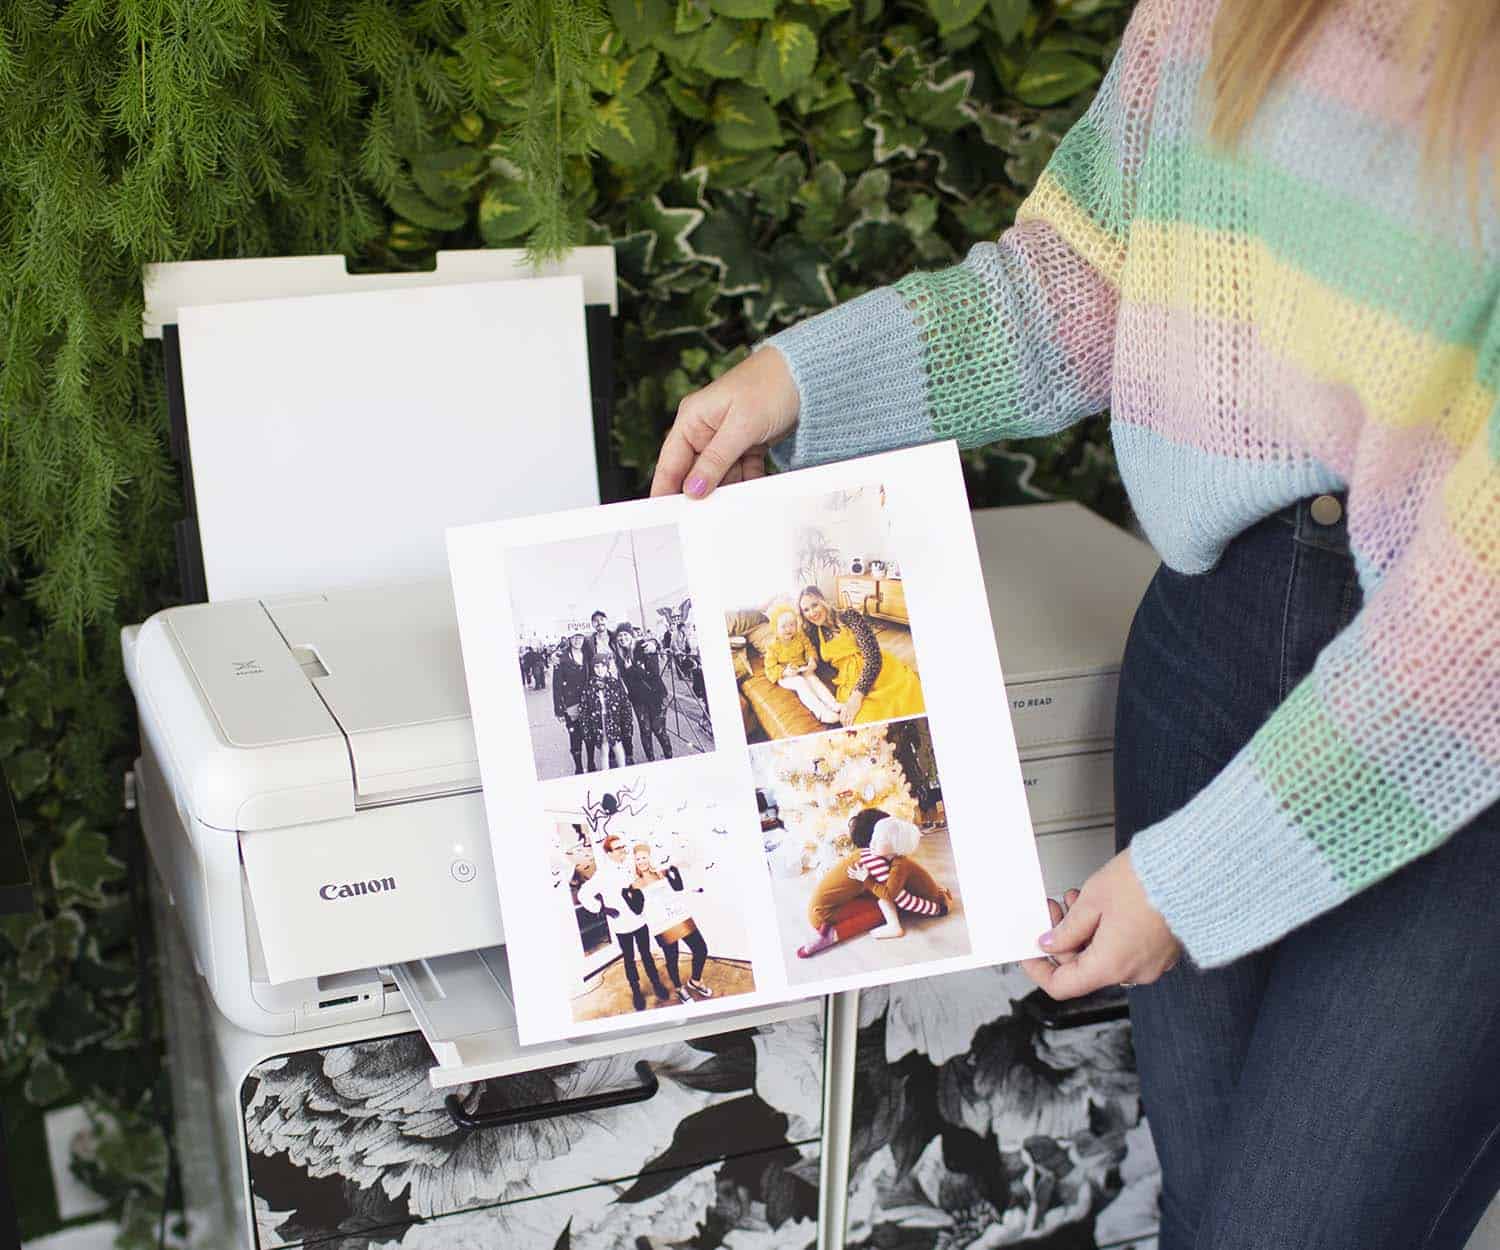
For this project, we’re working with Canon USA. I used my PIXMA TS9521C to print my photos. One thing I love about this printer is it can print a bunch of different sizes, including 12×12 among others. So I printed four 4×6 photos that I needed at one time. I’m pretty obsessed with this printer in general (for both crafting and printing high quality photos at home). This is the printer I used the most in our (FREE) mini course Print and Organize Your Life, which is still available if you’re interested in getting organized this season.
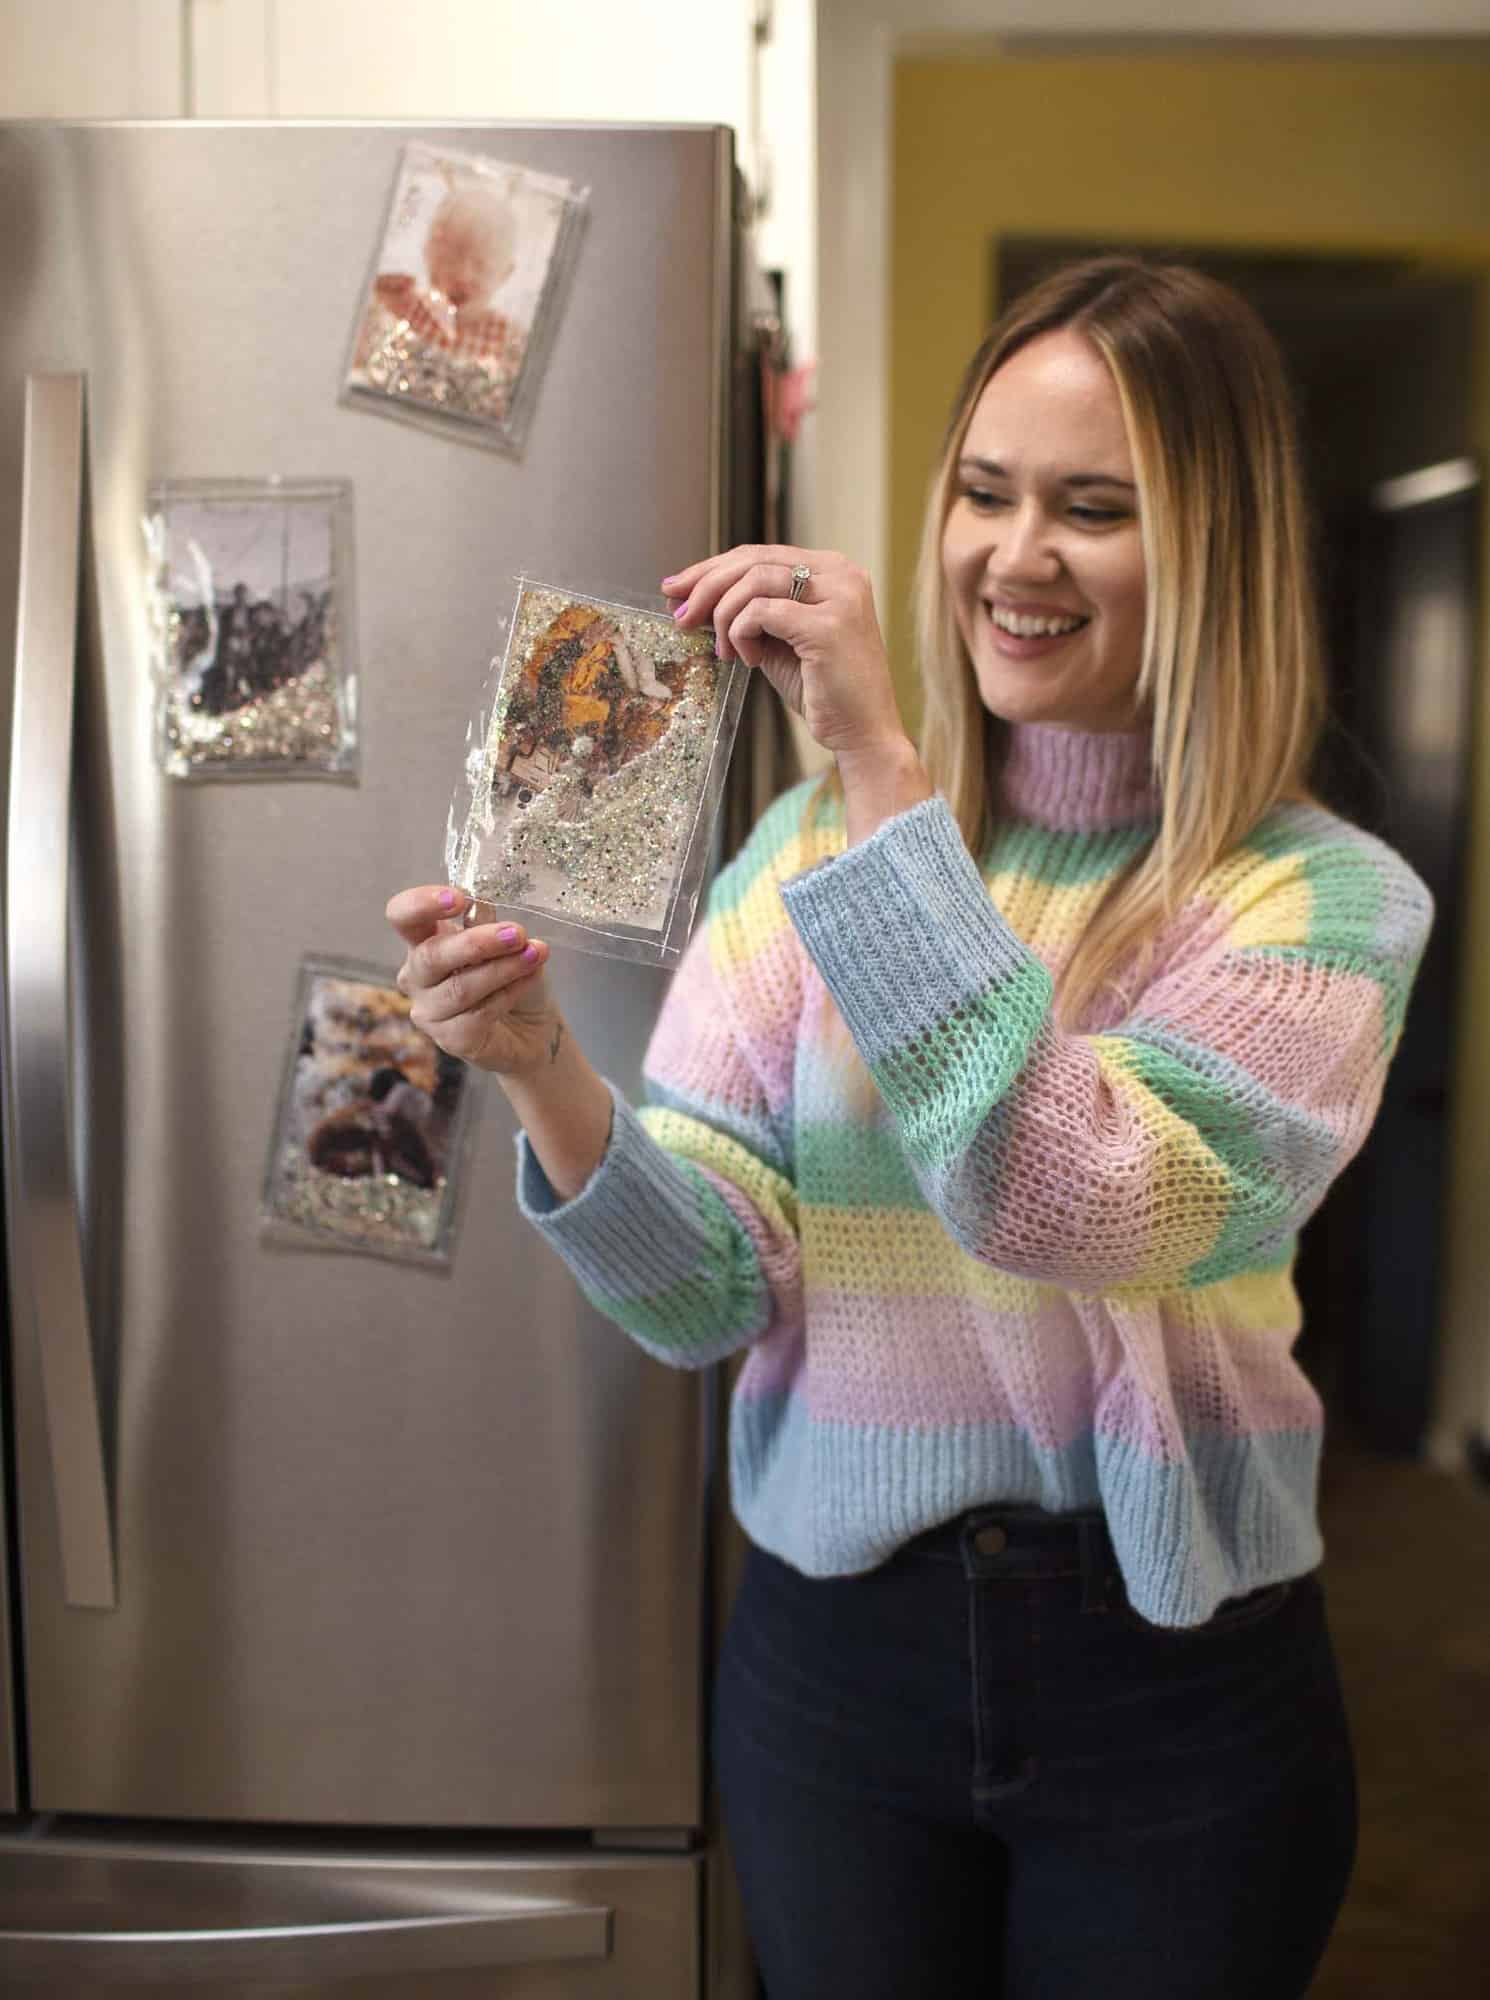
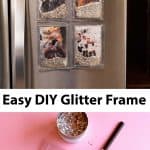
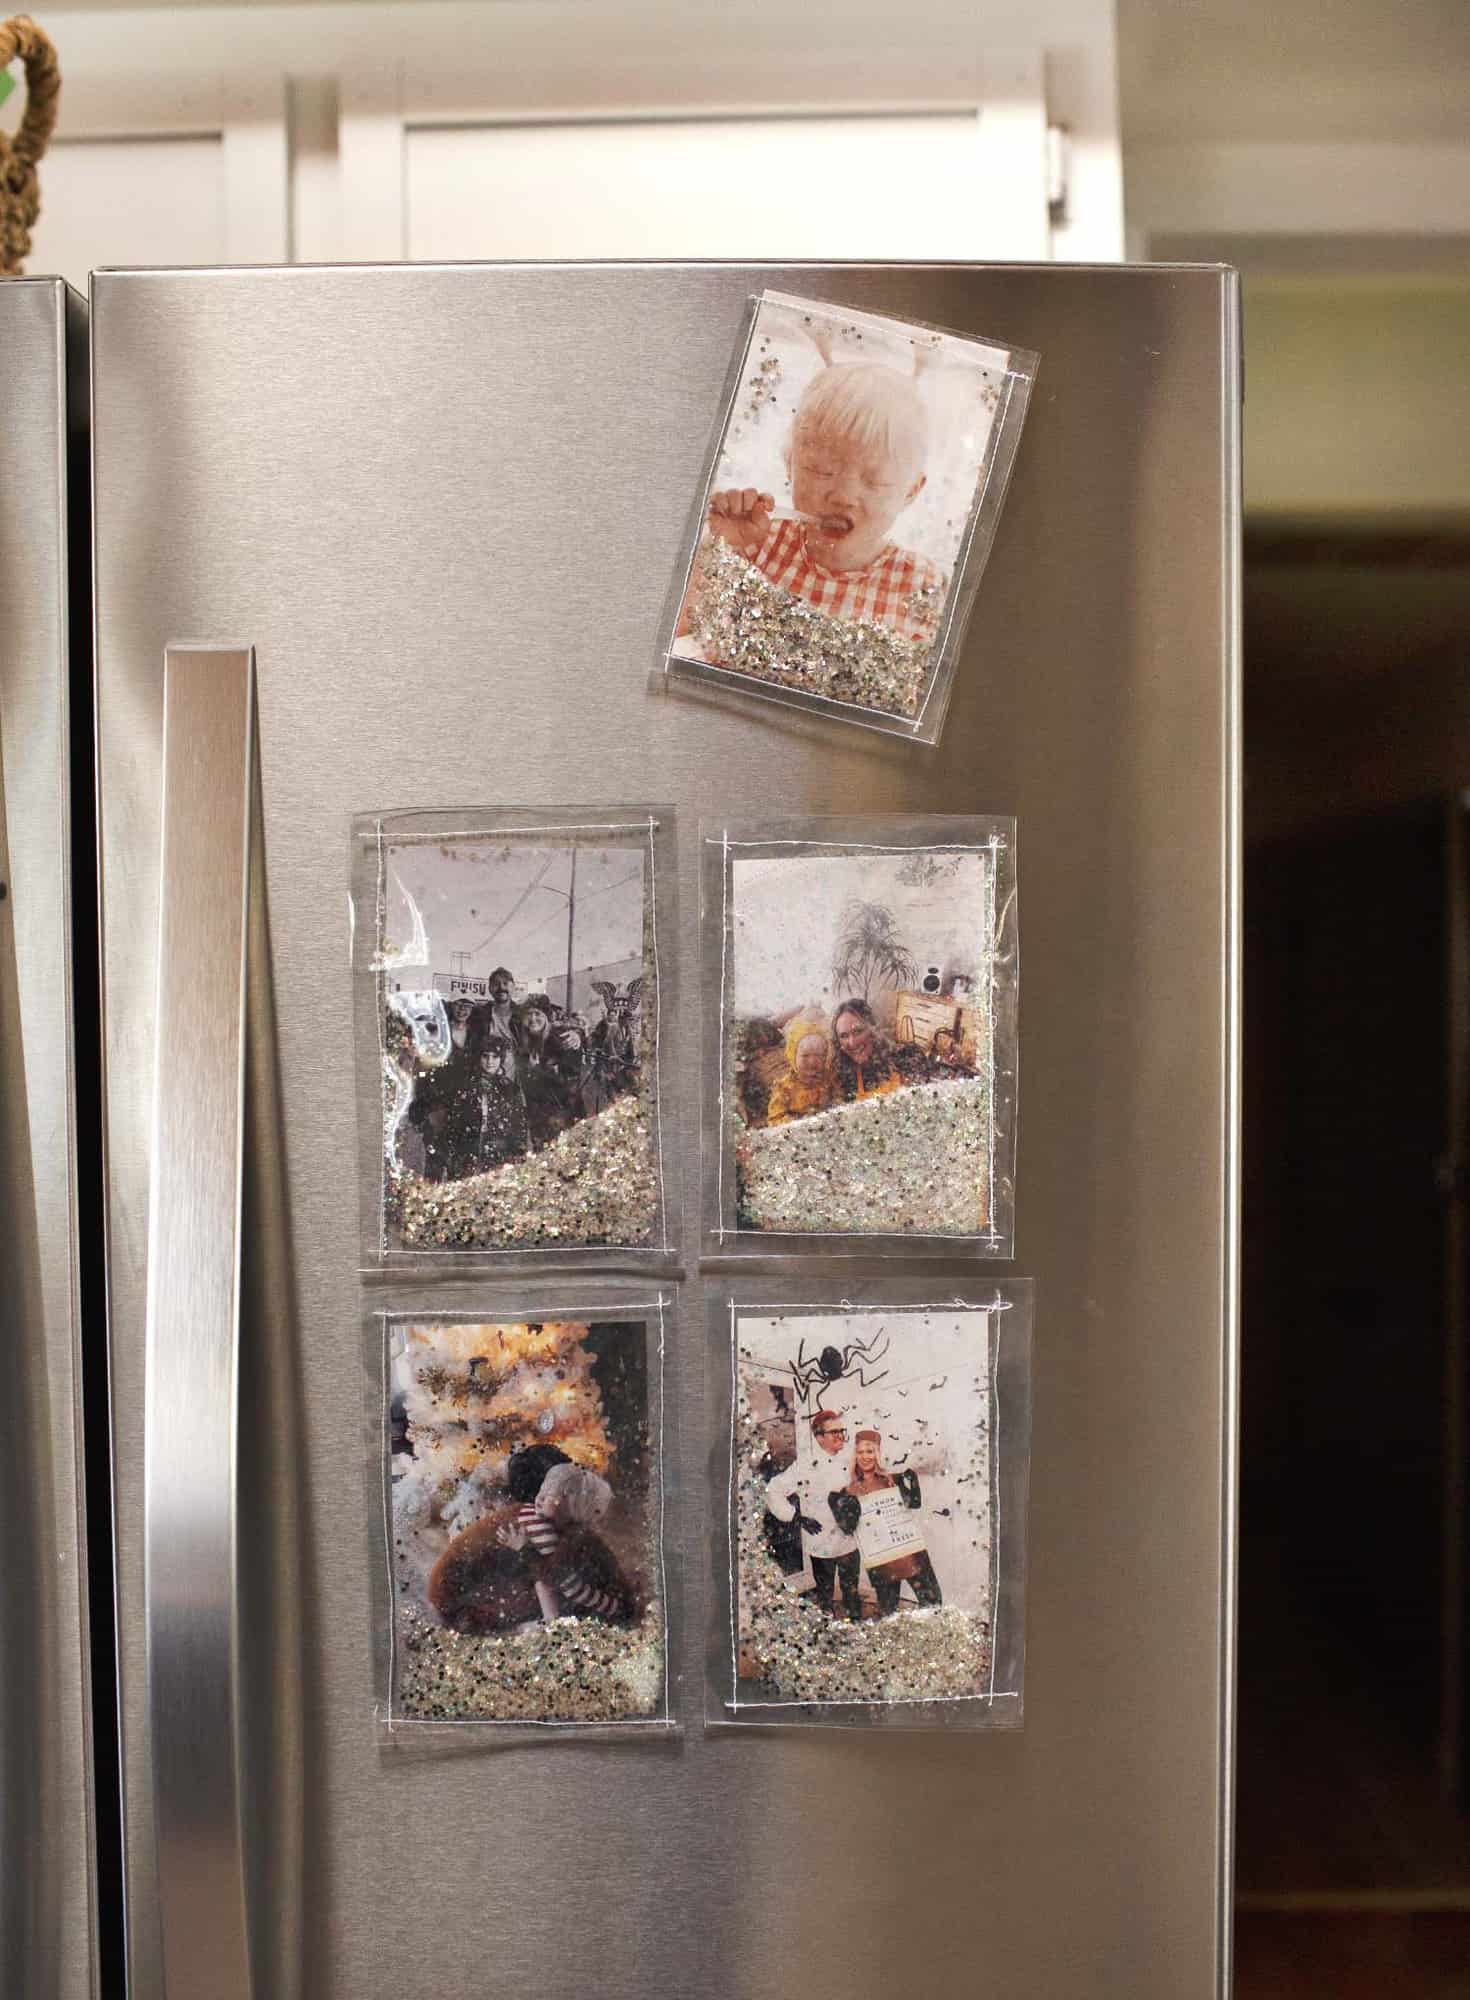
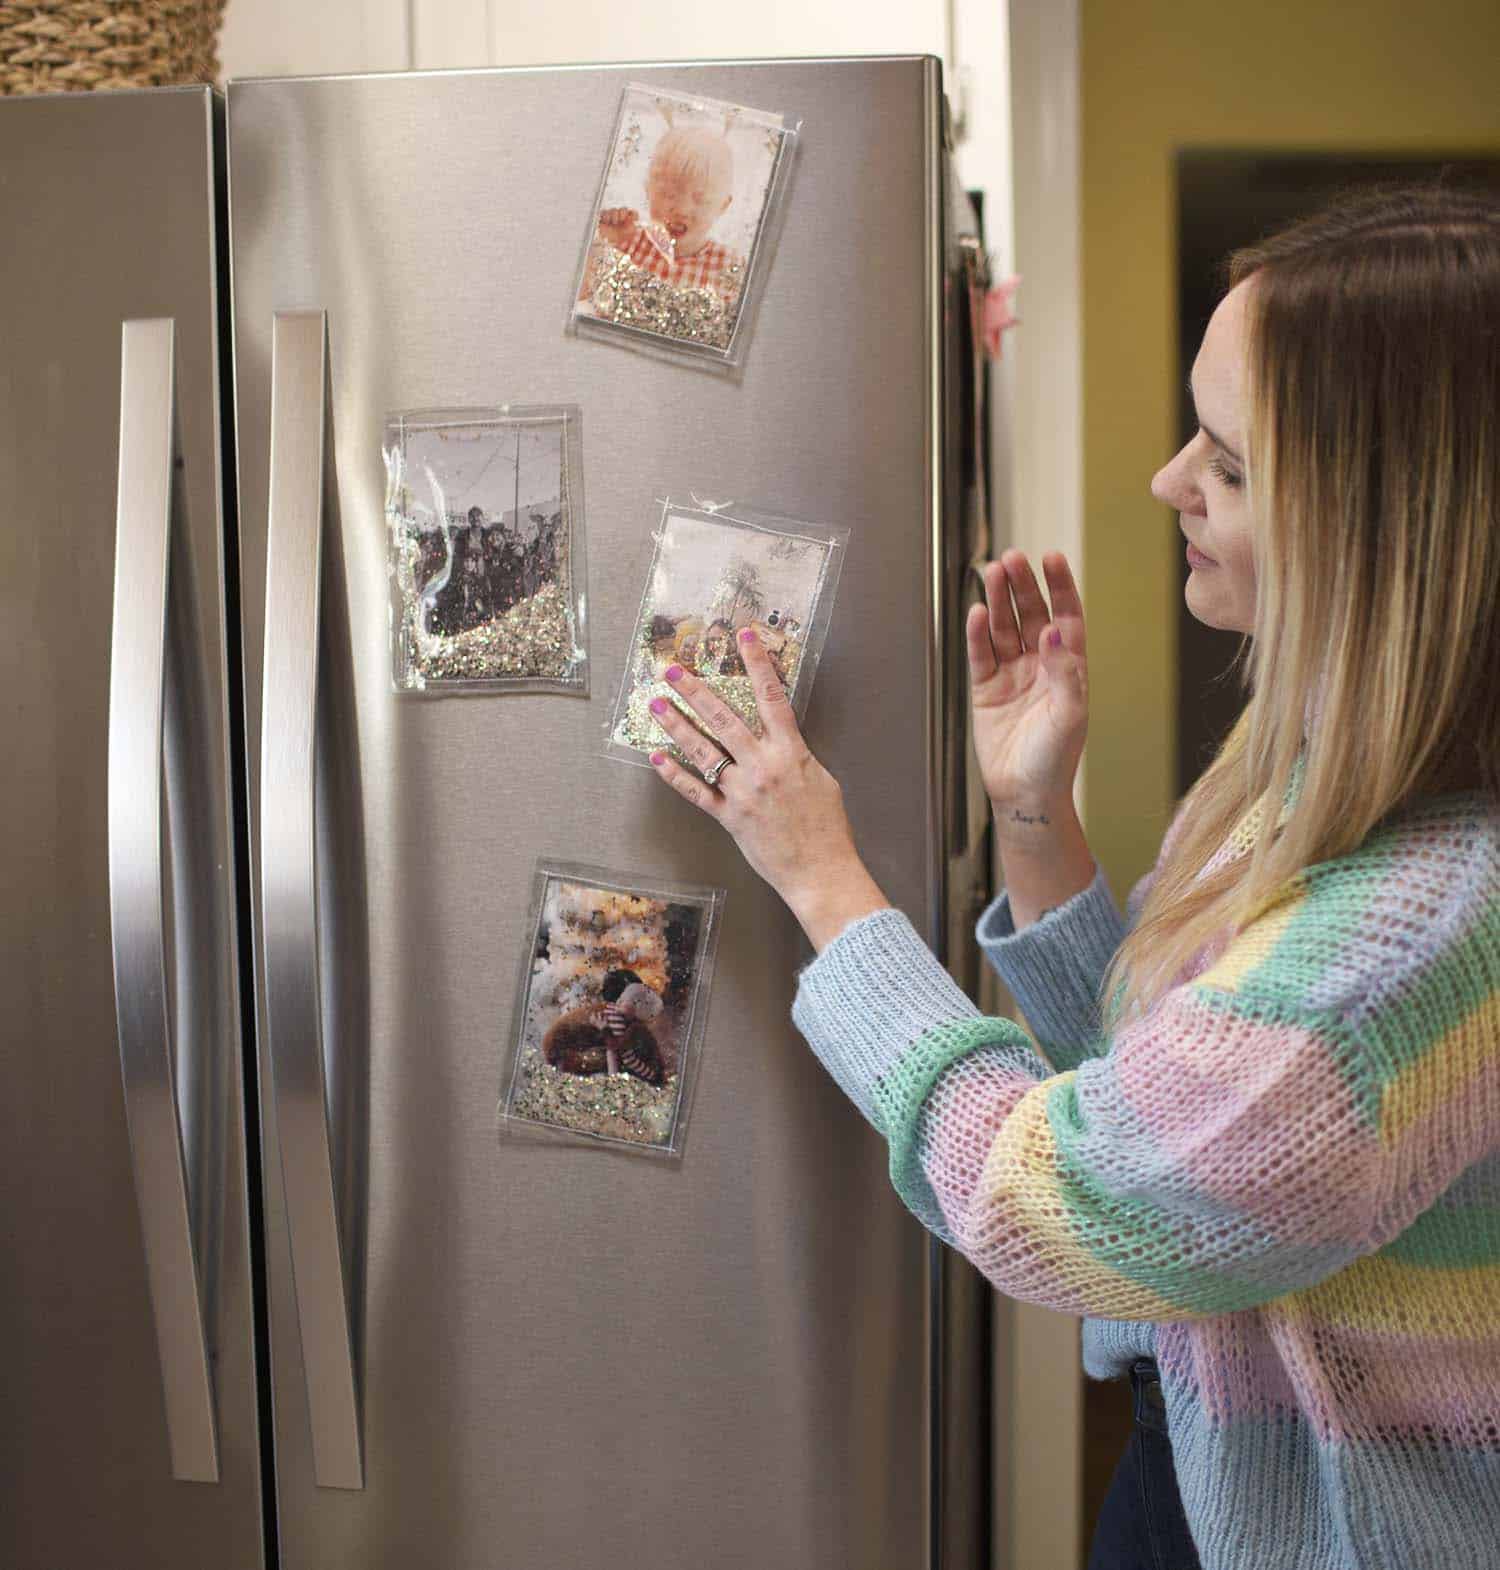 But, this project isn’t about organization. It’s about GLITTER. Ha. But for real, these little photo frames are sooooo easy to make. If you can sew a straight line, you can make these. I’ll explain how but I do think since they are made of clear vinyl it can be a little tricky to see and understand from photos and text, so we’ve also made a little video for you to watch. These are so cute on a refrigerator or any magnetic surface. And I think these would make a really cute homemade gift for a mother or grandmother … especially if she likes glitter. 🙂
 Supplies:
-glitter
-scissors
-sticker magnet
-3 pieces of clear vinyl
-printer + photos
-sewing machine + thread
I wanted my frames to hold a 4×6 photo, so I cut my pieces of vinyl to be 5×7 so there would be some seam allowance. You could create all sorts of different sizes though—just cut your vinyl at least an inch or two bigger than the final size you want.
Here is how to make the frames:
Step One: Print your photos (to determine what size to cut your vinyl).
Step Two: Stitch together two pieces of vinyl along one side. Then stitch the third piece of vinyl on top along two sides.
*Note: Vinyl is one of those materials that is kind of tricky to work with. I would recommend using a non-stick sewing foot or adding matte tape (like washi or scotch tape) to the underside of your sewing foot. I also laid a very thin piece of cotton fabric under my vinyl as I ran it through my machine. The goal here is to find ways to ensure the vinyl doesn’t stick to your sewing foot or machine as you stitch. You might also need to adjust your tension slightly, depending where you are starting from. I would just test stitch a piece of extra or scrap vinyl first so you can feel confident before you begin.
 Step Three: Add glitter to the outer pocket, between two layers of the vinyl. Then stitch up the final side. Trim any loose threads.
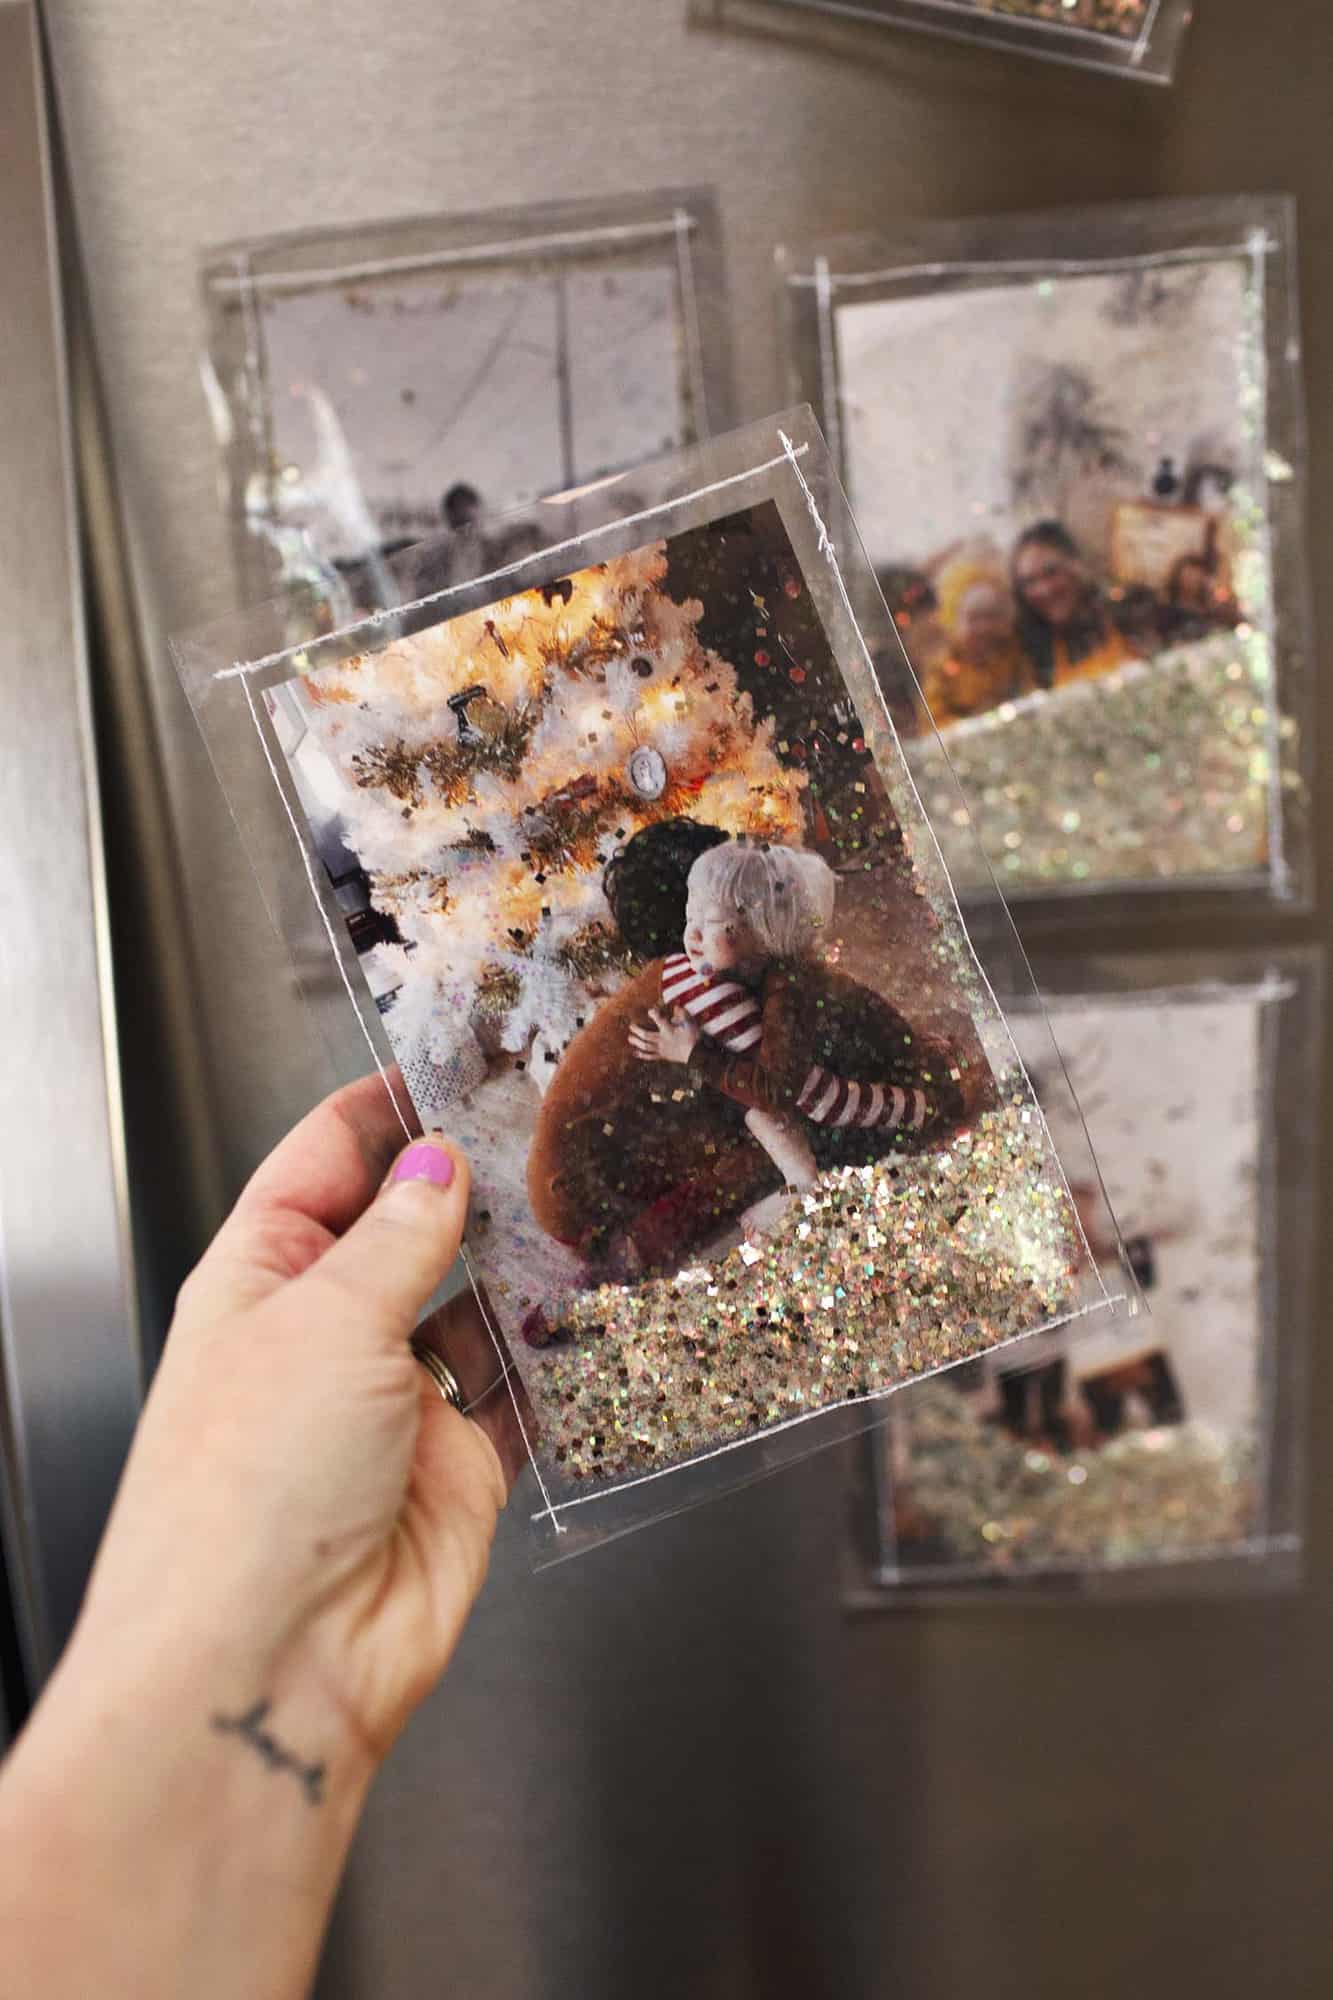
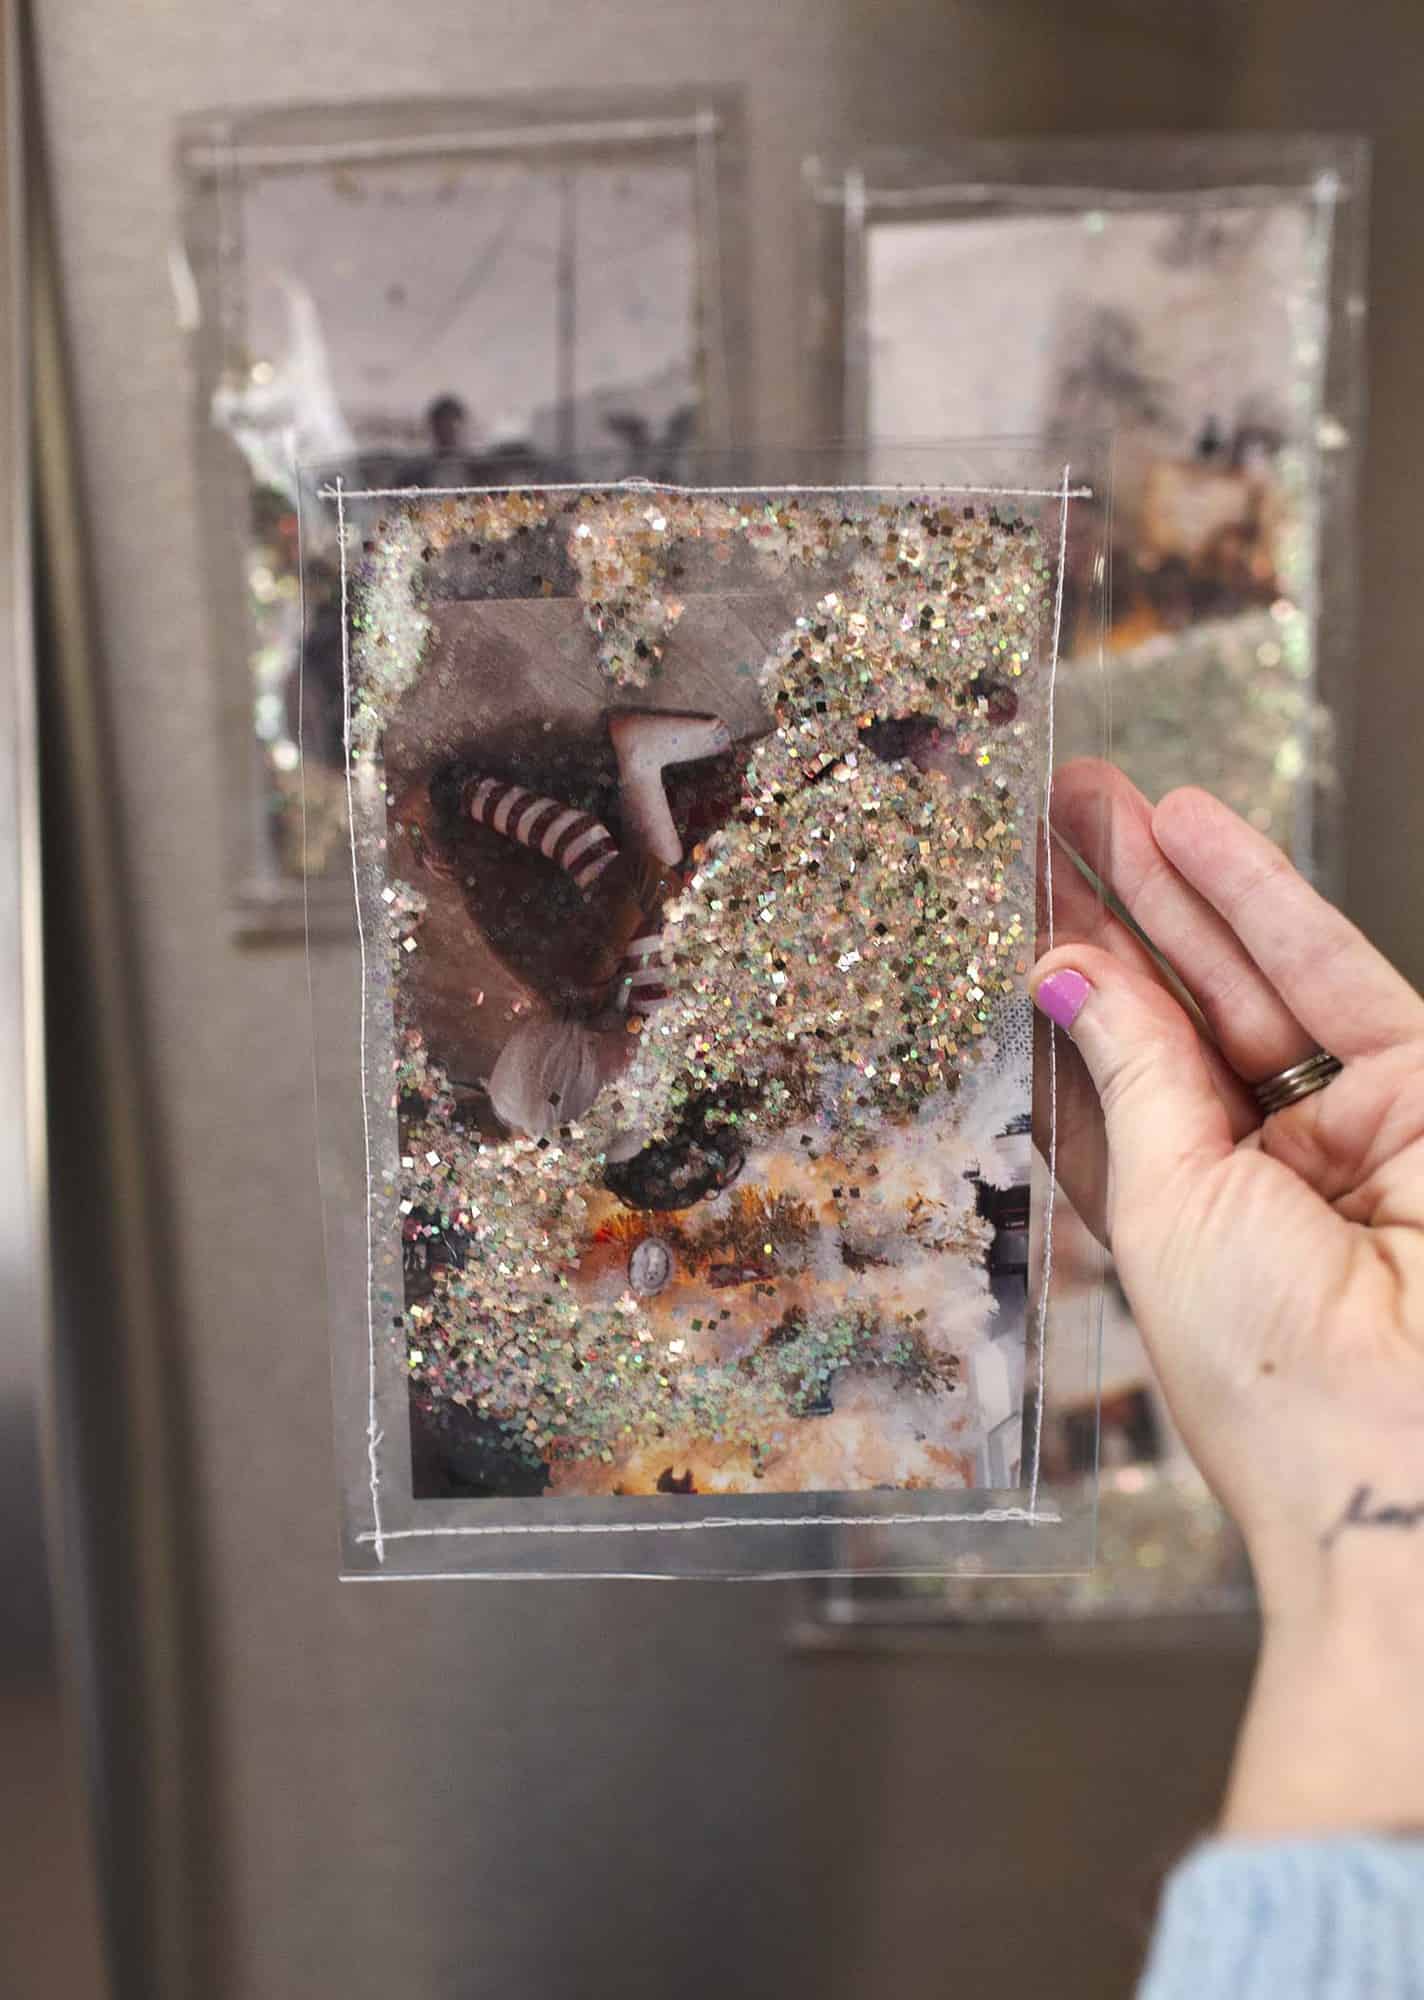 Step Four: Add a sticker magnet to the back then slip your photo inside and you’re good to go! I used an adhesive magnet sheet that I simply cut into small squares to work with my project. But any kind of sticker magnet that fits your frame will work.
 I added some photos from Halloween, Thanksgiving, and Christmas to my frames. Happy to have these memories hanging on my refrigerator where I can see them everyday. Makes me happy. Thanks for letting me share! xo. Emma
11 Comments
These are so cool. I need to make some of these and hang them on little pegs around my room. I think that would look cute!
Super cute! These glitter photo frames and your hairstyle! It looks like you’ve changed it up just slightly? I’m liking the shorter front layers and how they frame the face.
Awe-Thank you! I usually curl it but this day I just left it straight. It’s really VERY straight if I just leave it. 🙂
uhmmm super cute!!! I don’t know if I’m crafty enough to be able to do that but I love it!!
new post/ http://www.oliviaschueller.com
Always loving your DIYs! You guys are so creative, the photo frames look storebought! They’re super cute! 🙂
Charmaine Ng | Architecture & Lifestyle Blog
http://charmainenyw.com
What a great idea! I’ll have to try and make some of these soon.
Zoey | https://www.zoeyolivia.com
So cute! I need more frames around the house and these are perfect 🙂
These are adorable! Also – love your hair and sweater! Everything about this post is excellent 😉
These are sooo cute! I must try this for my house.
Arin | Happilyinspired.com
Yay a cute and fun DIY that I can actually do!! Thank you Emma.
P.S. I made your 3 ingredient fudge for Christmas and we loved it!!!
Thanks so much for this. I’m in charge of an activities group for girls 8-12 years old in my church. We taught them how to sew on a machine making rectangle burp cloth for new moms at our church as a service project. I wanted to do more sewing projects so their imaginations would catch fire about the possibilities. Simple skirts, pillowcases, lots of possibilities but none so great as a glitter photo frame. It’ll be perfect for them & of course with glitter they’ll love it.