 One of my favorite ways to usher in spring is by filling my home with fresh cut blooms from our yard. Tulips are a favorite, but they don’t last long, so I try not to cut many at once. Using a bud vase to display one or two at a time is a great way to make the most of tulip season! We partnered with Sculpey to show you how easy it is to make an elegant bud vase with just a little Premo Clay and a small juice glass.
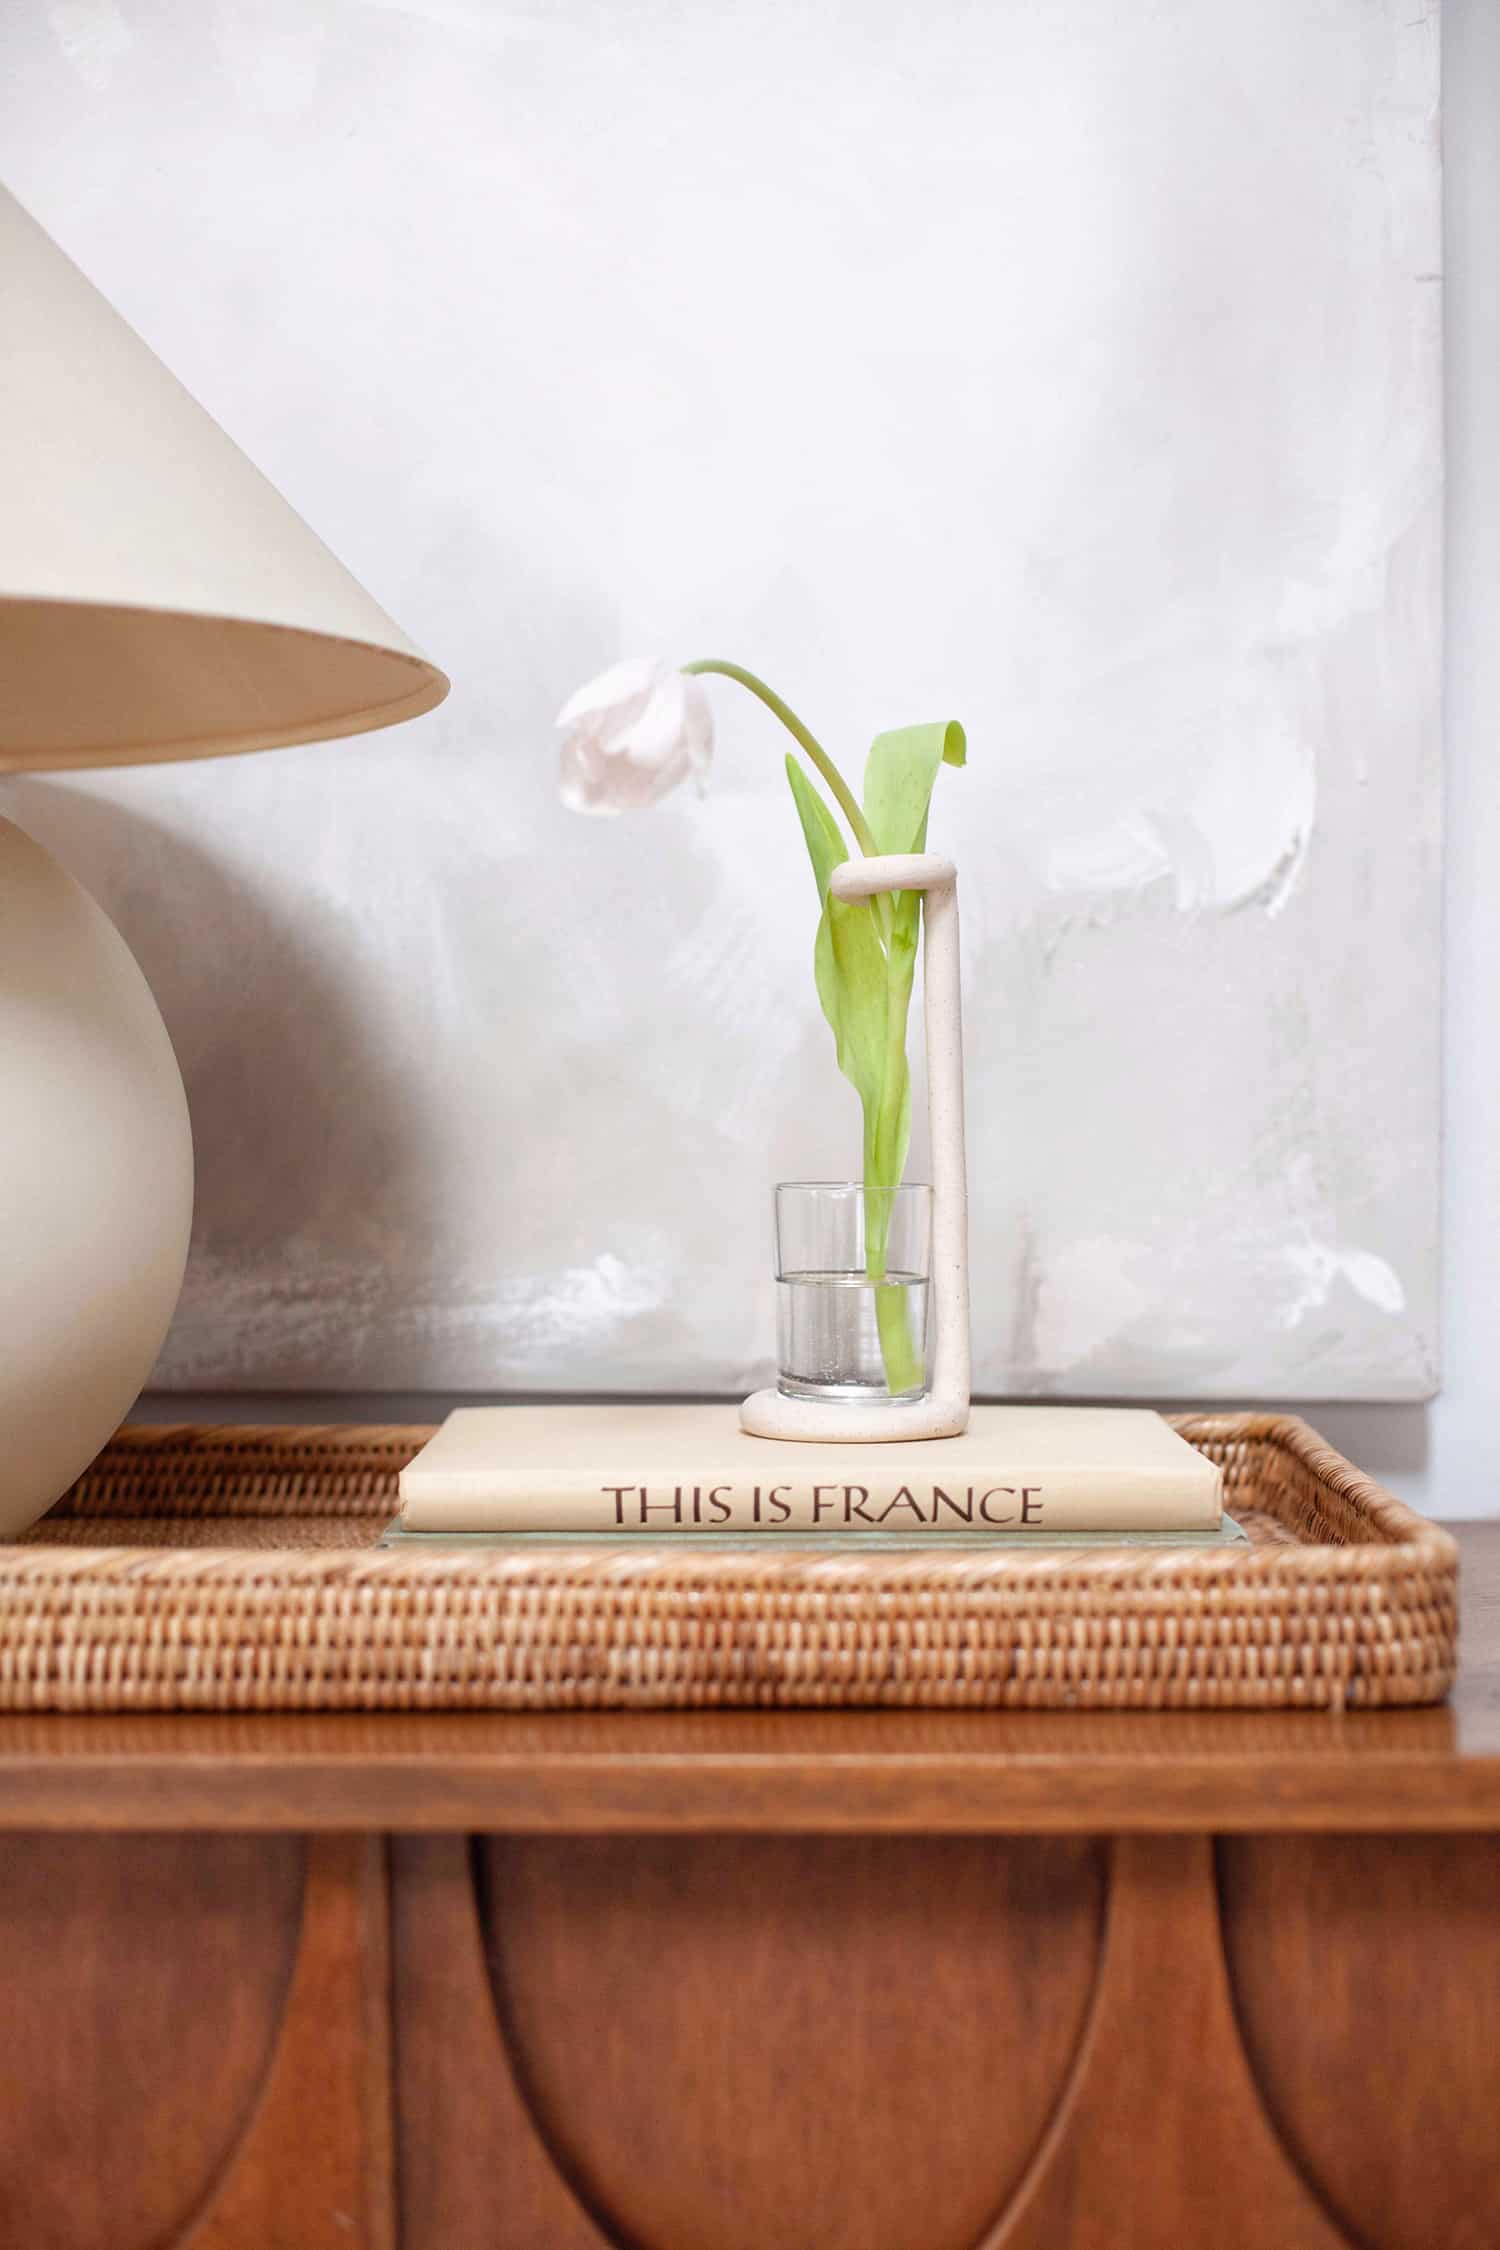
Inspired by doll display stands and a favorite candlestick holder of mine, I created this simple bud vase that helps support longer stem flowers. I wanted the polymer clay to resemble unglazed pottery, so I tried a couple of mixing techniques that did the trick. Read all about it below!
 Supplies:
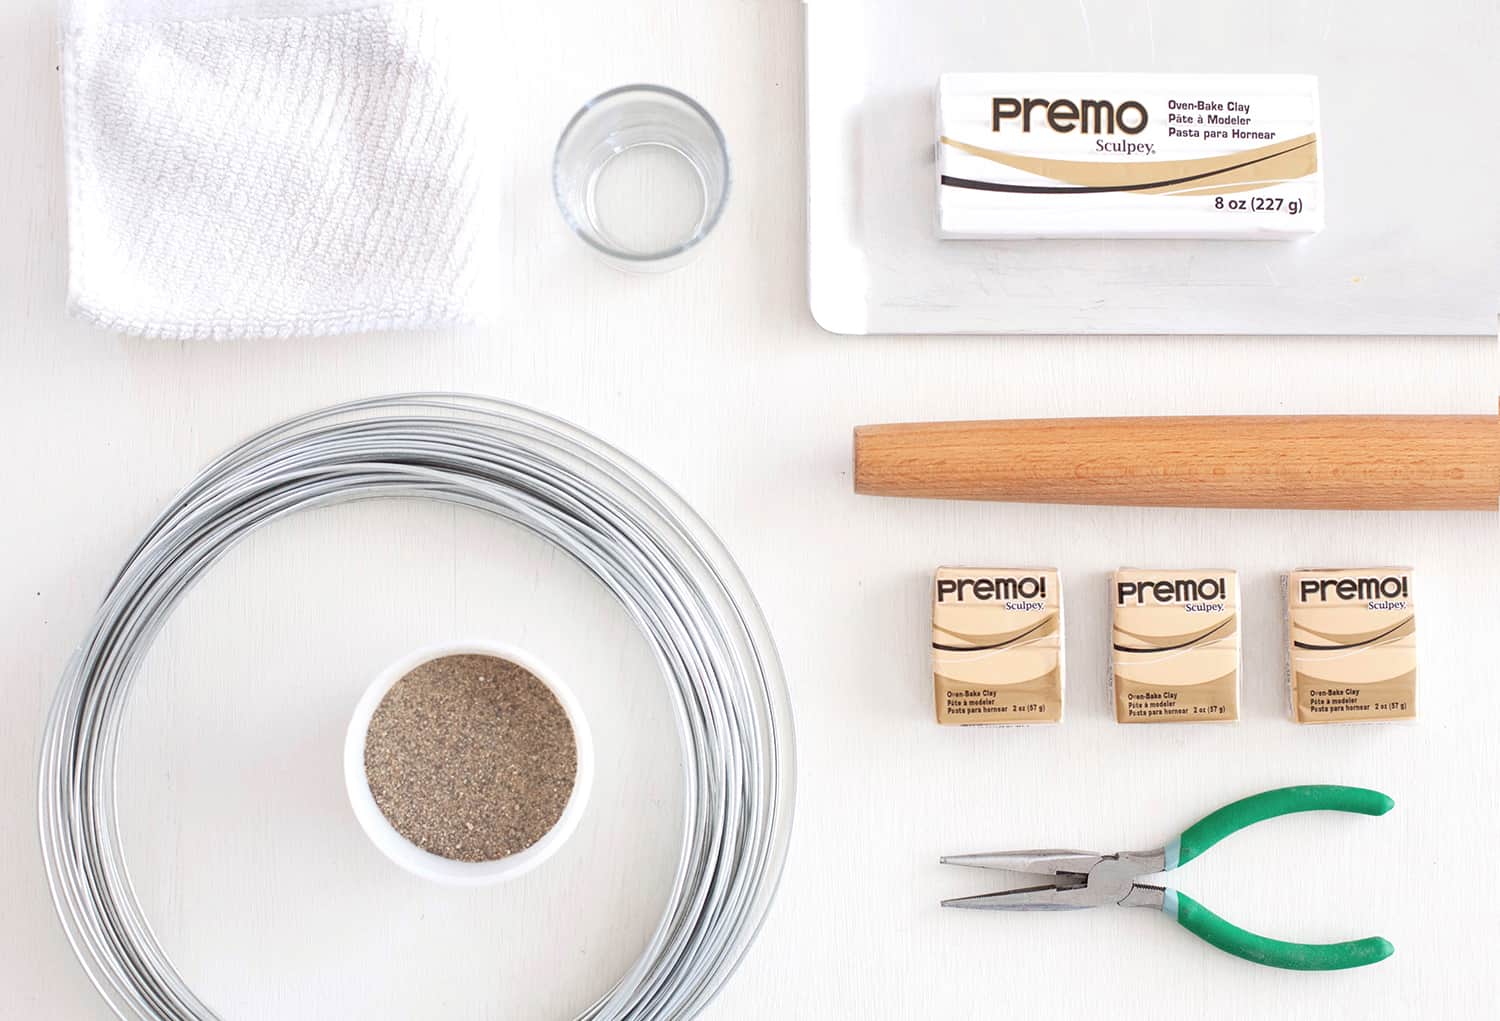
-Sculpey Premo clay in white, ecru, and a bit of gray granite
-12 gauge galvanized wire
-Small juice glass
-Coarse sand
-Wire cutting pliers
-Rolling pin
-Towel or textile (for adding texture)
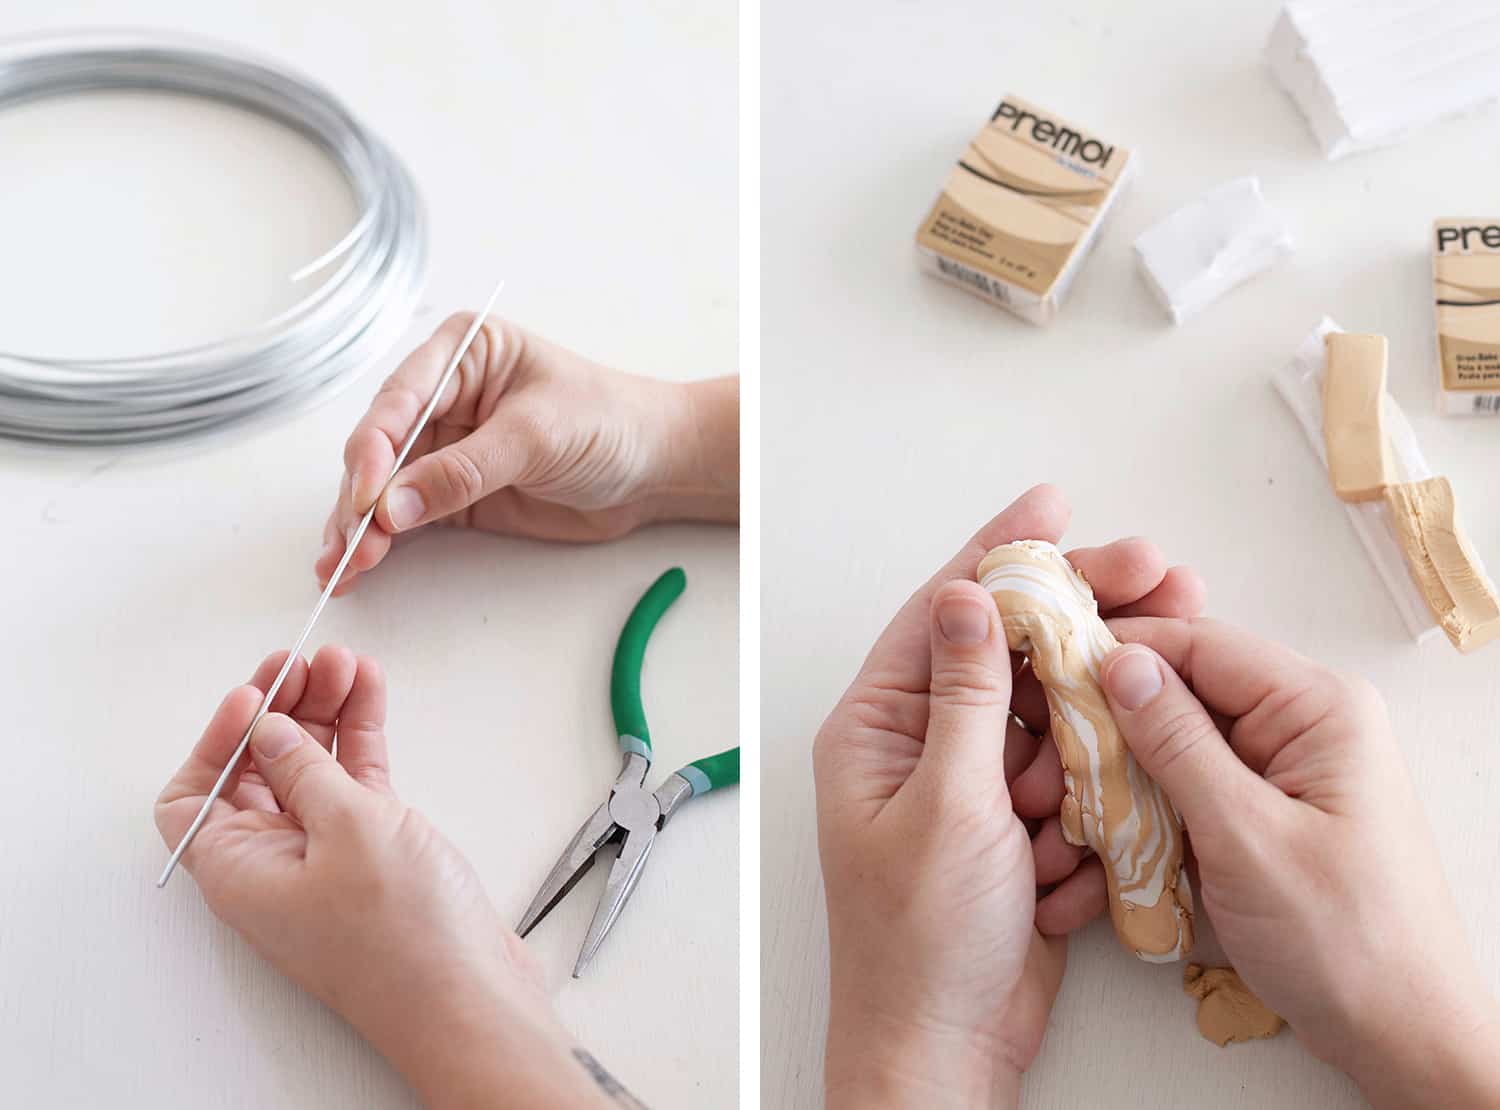 Step One: Cut a length of wire to the desired height of your bud vase. Use your fingers and pliers to straighten out the wire if need be. Don’t make it too tall or the delicate joints may not stay together after repeated use. The length of the wire I used was about 10 inches long.
Step Two: Mix together colors of Premo clay to achieve the desired tone. I used mostly white with a bit of ecru and gray granite. The gray granite has some speckled texture to it, and the gray tones help mute the color of the ecru so it is less flesh toned and more like fired clay. There are 25 colors of Premo clay to choose from, so you could really have fun with making this craft a fun and bold decor element for your home!
Premo clay is designed to be firm enough to hold detail work, but it can be a bit stiff when you begin working with it. Don’t worry, because the clay softens up quickly from the heat of your hands as you work with it. To mix the colors, just keep smashing and twisting the clay until the colors are thoroughly combined.
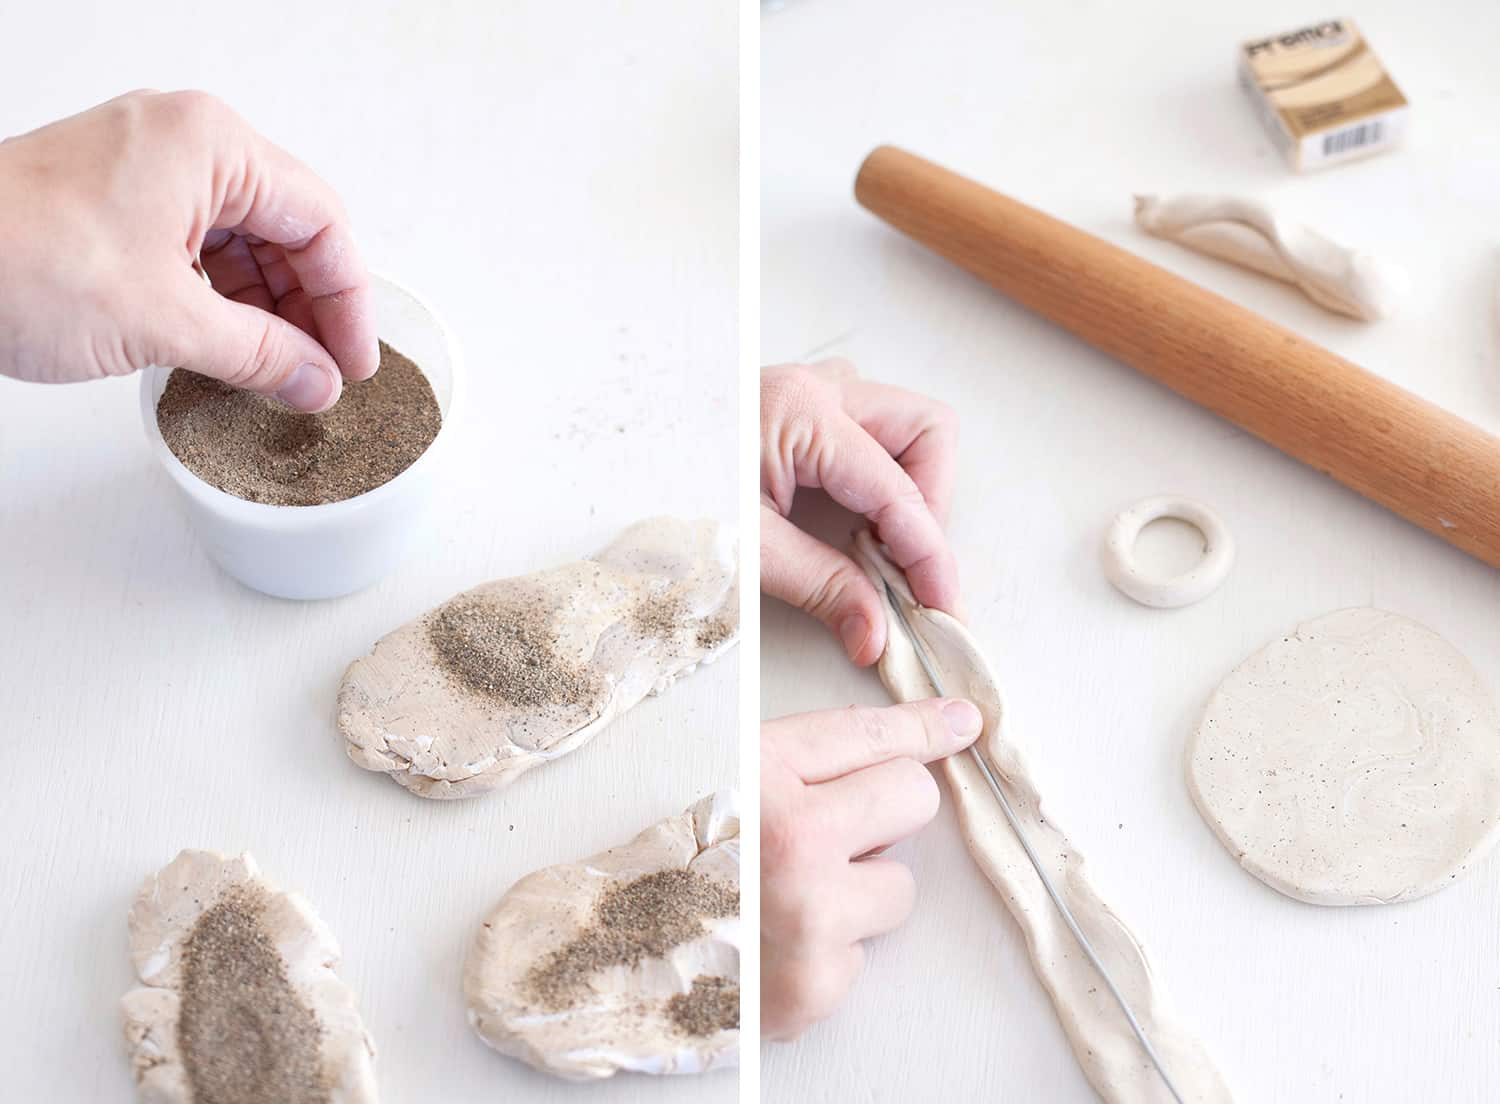 Step Three: Sprinkle some coarse sand onto the clay and continue to work the clay to incorporate the sand. Use as much sand as you want to give the clay a more natural texture and look. This step is optional, but it gave me the natural clay look that I was going for.
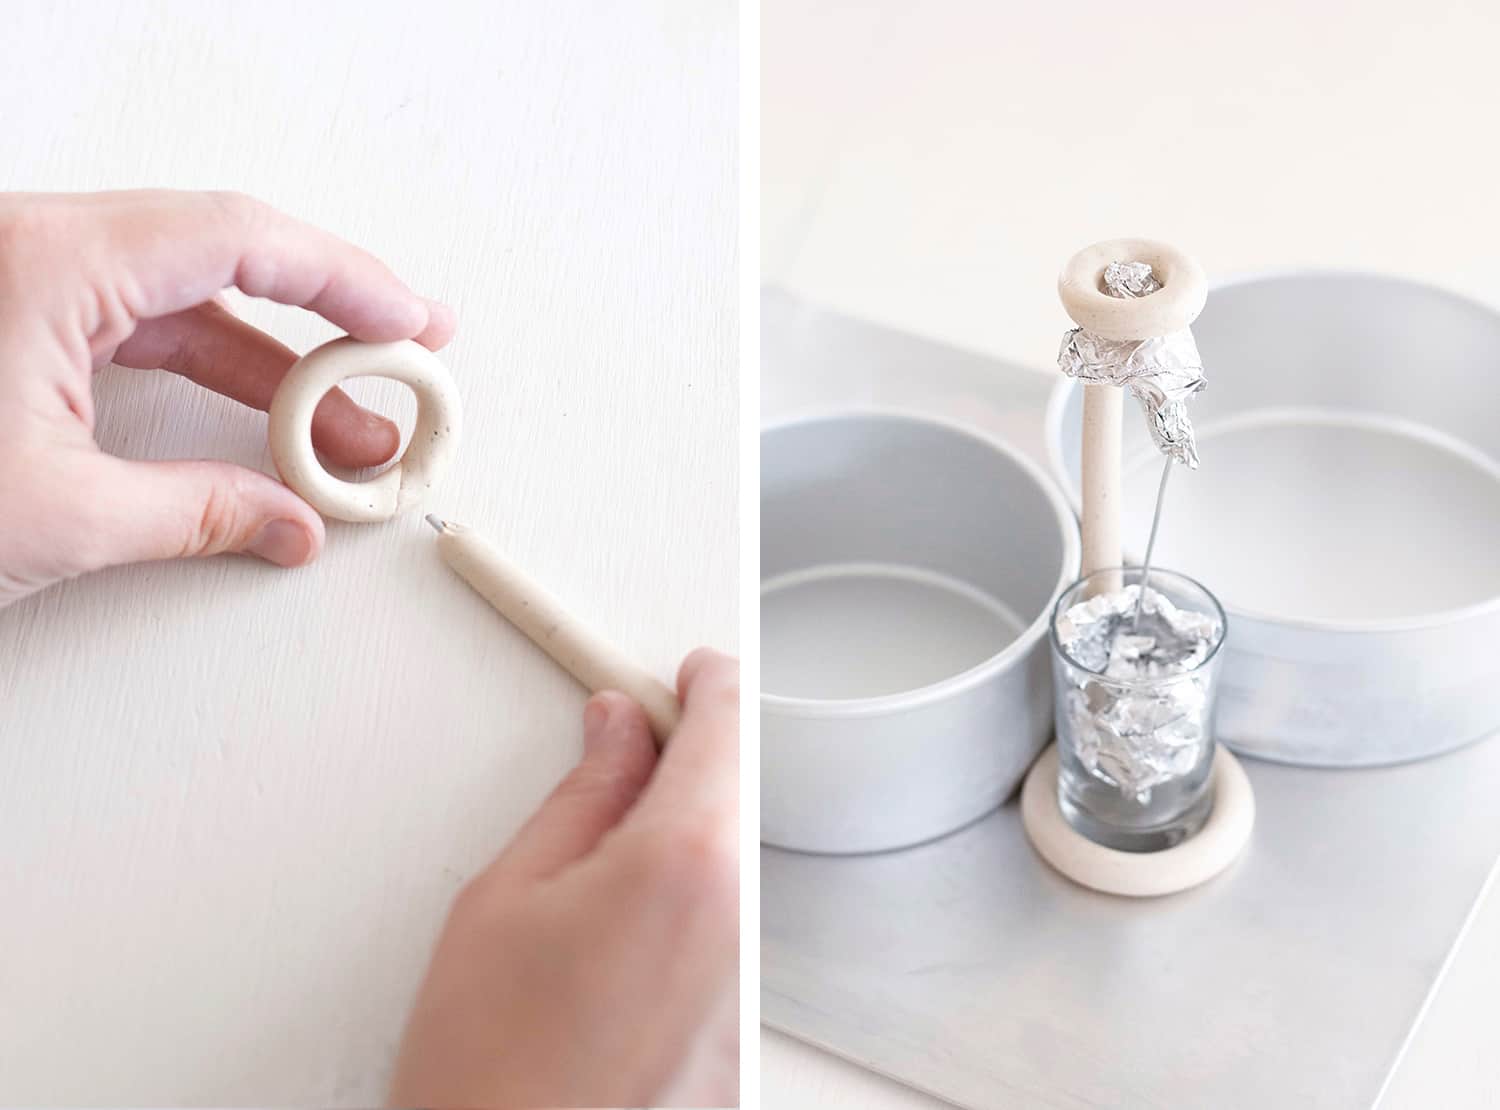
Step Four: Wrap some of your clay around the length of wire you cut in step one. Then roll it to make it smooth. Make one small and one large ring in the same thickness as the long string clay wrapped around the wire. Be sure not to make these pieces too thin or they will not hold up well. My pieces were around a half-inch thick.
When you make the small and large ring, you will need to use your finger to blend together the seams. You may also want to use a tiny pieces of wire inside the clay to help stabilize the connection points of the rings. The size of the large ring should be just large enough to fit around your juice glass, without leaving extra space.
 Step Five: Connect the two rings to the long wired piece of clay. The wire should poke into the rings to help stabilize the joints. Then use your fingers to blend the clay pieces into one another, without smashing the shape of the clay. Work slowly and carefully here until the pieces are neatly joined together.
At this point, if you want to add extra texture to the surface of the clay, use a textured cloth or rag to lightly press the surface of the clay to make it less shiny and a bit textured.
Step Six: Use extra baking pans, wire, and aluminum foil to hold your connected clay pieces in place on a baking sheet. If your clay is a half-inch thick as mine is, you will bake the clay for one hour at 275ºF. Be sure to check it frequently as it bakes, because it may shift position in the oven and will need to be repositioned immediately or the clay will set in a crooked position.
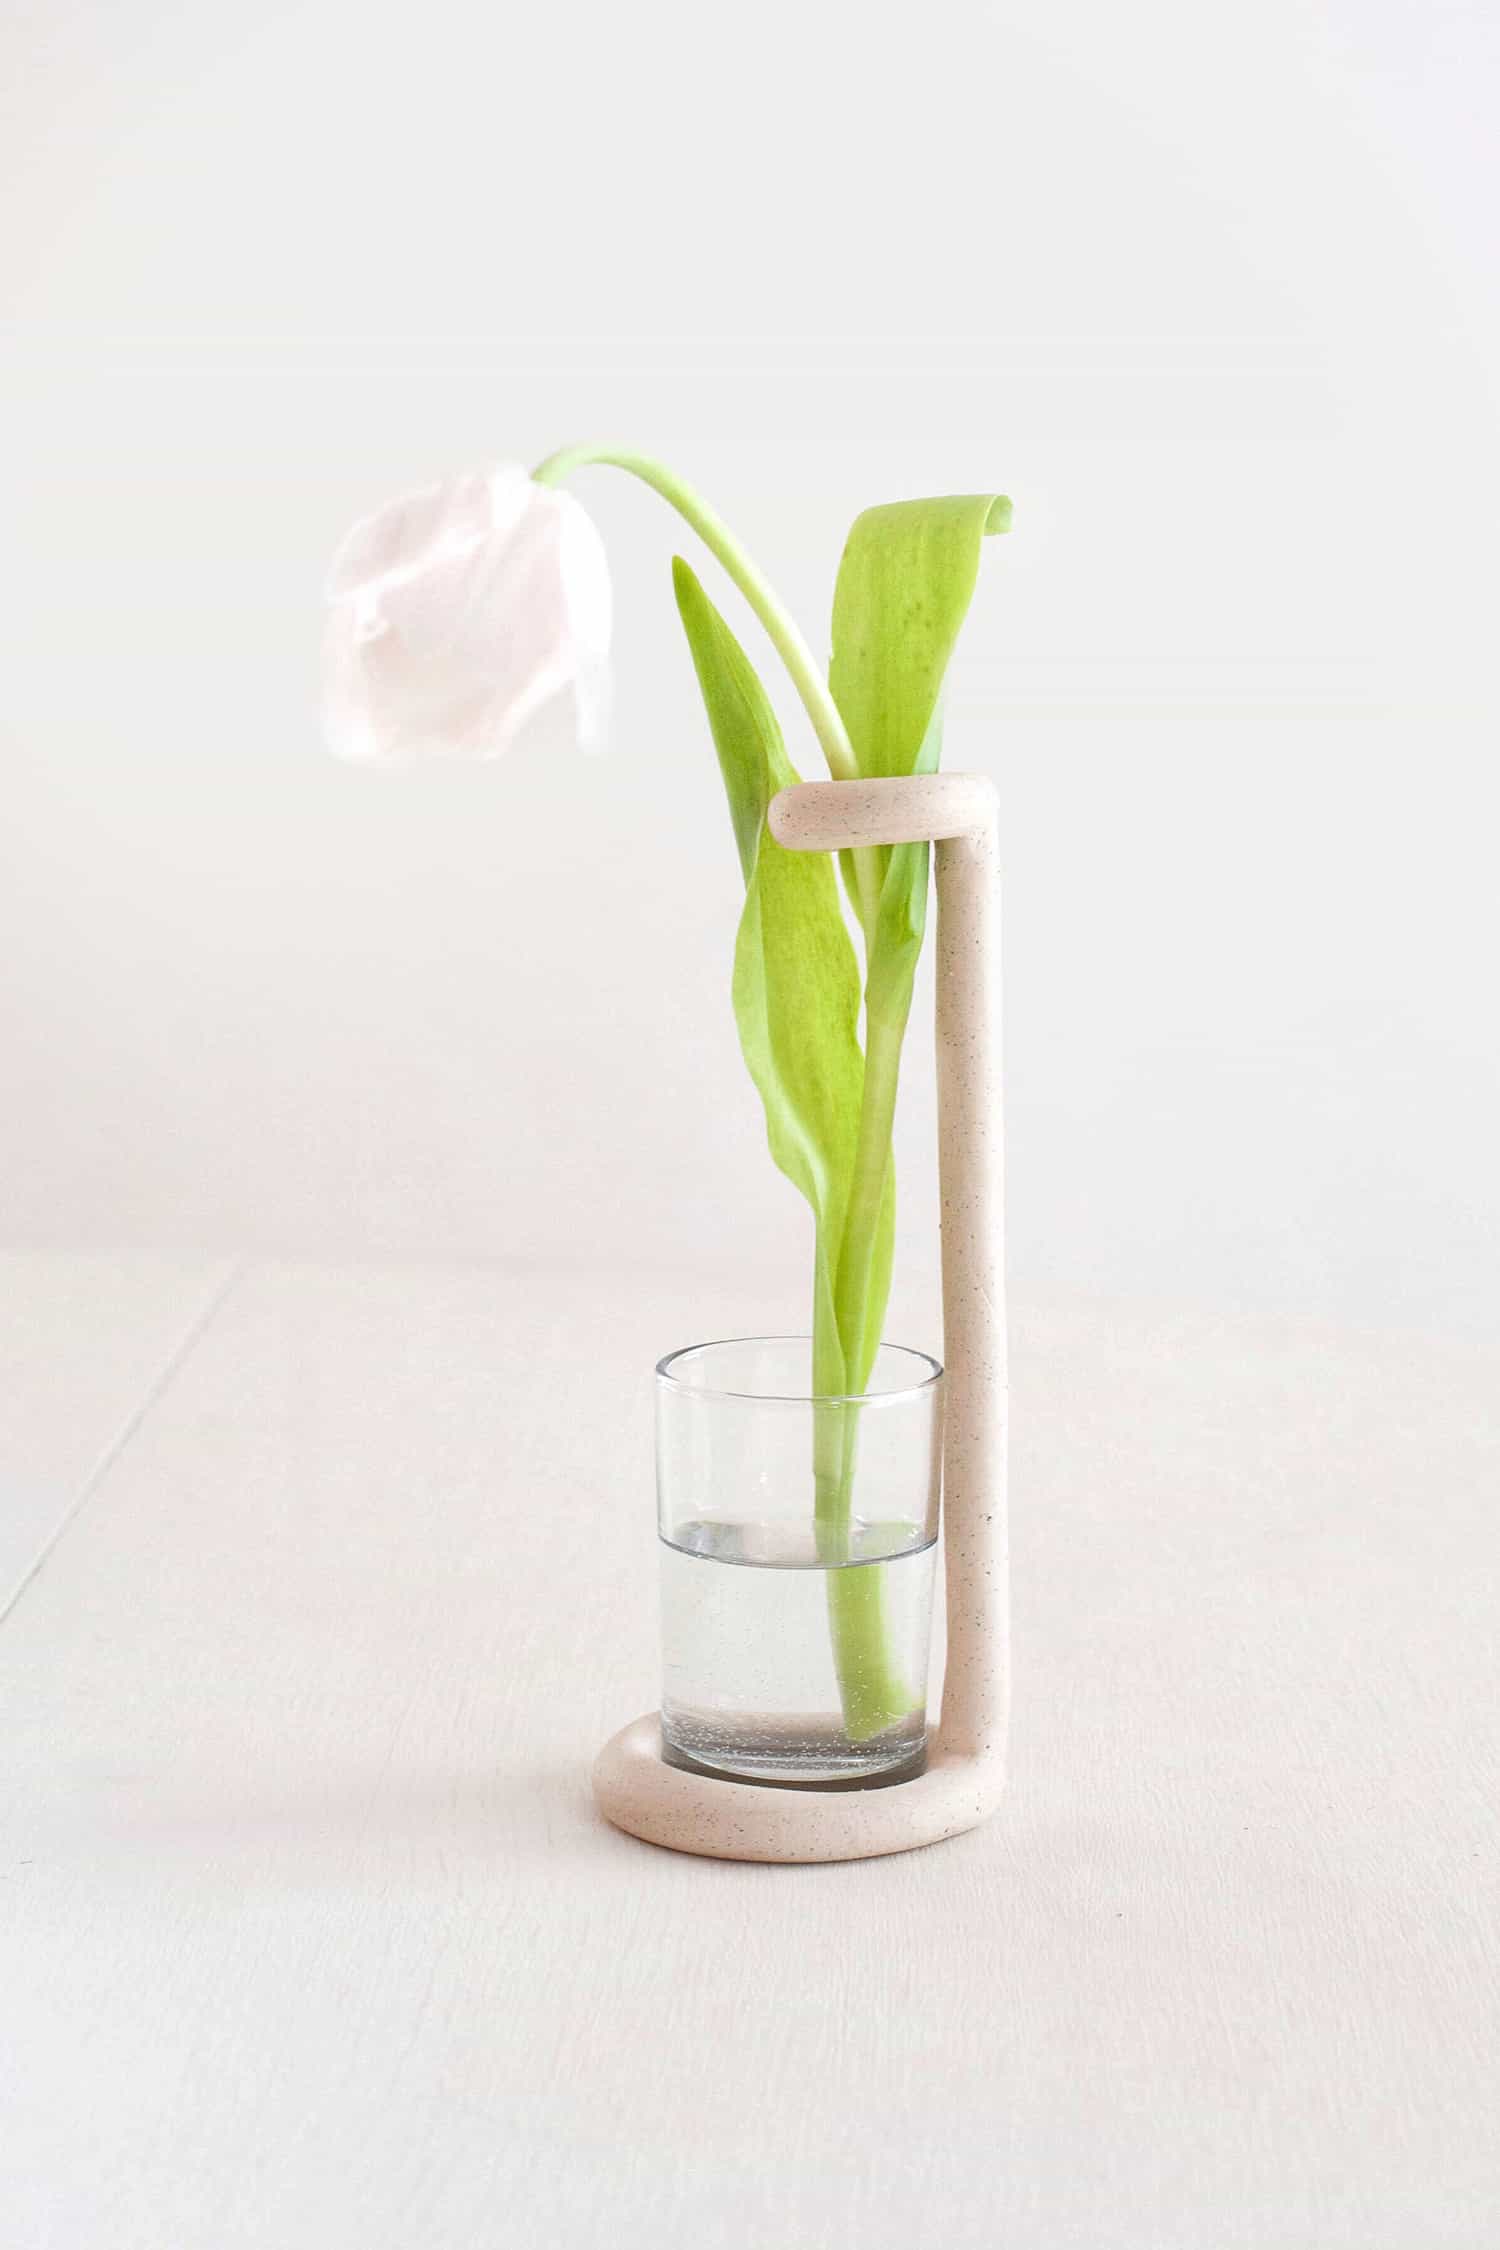 After the clay is cooled, you can fill the juice glass with water and select a stem or two to display in your new bud vase. Be sure to give your flower fresh water each day to prolong the life of your cutting.
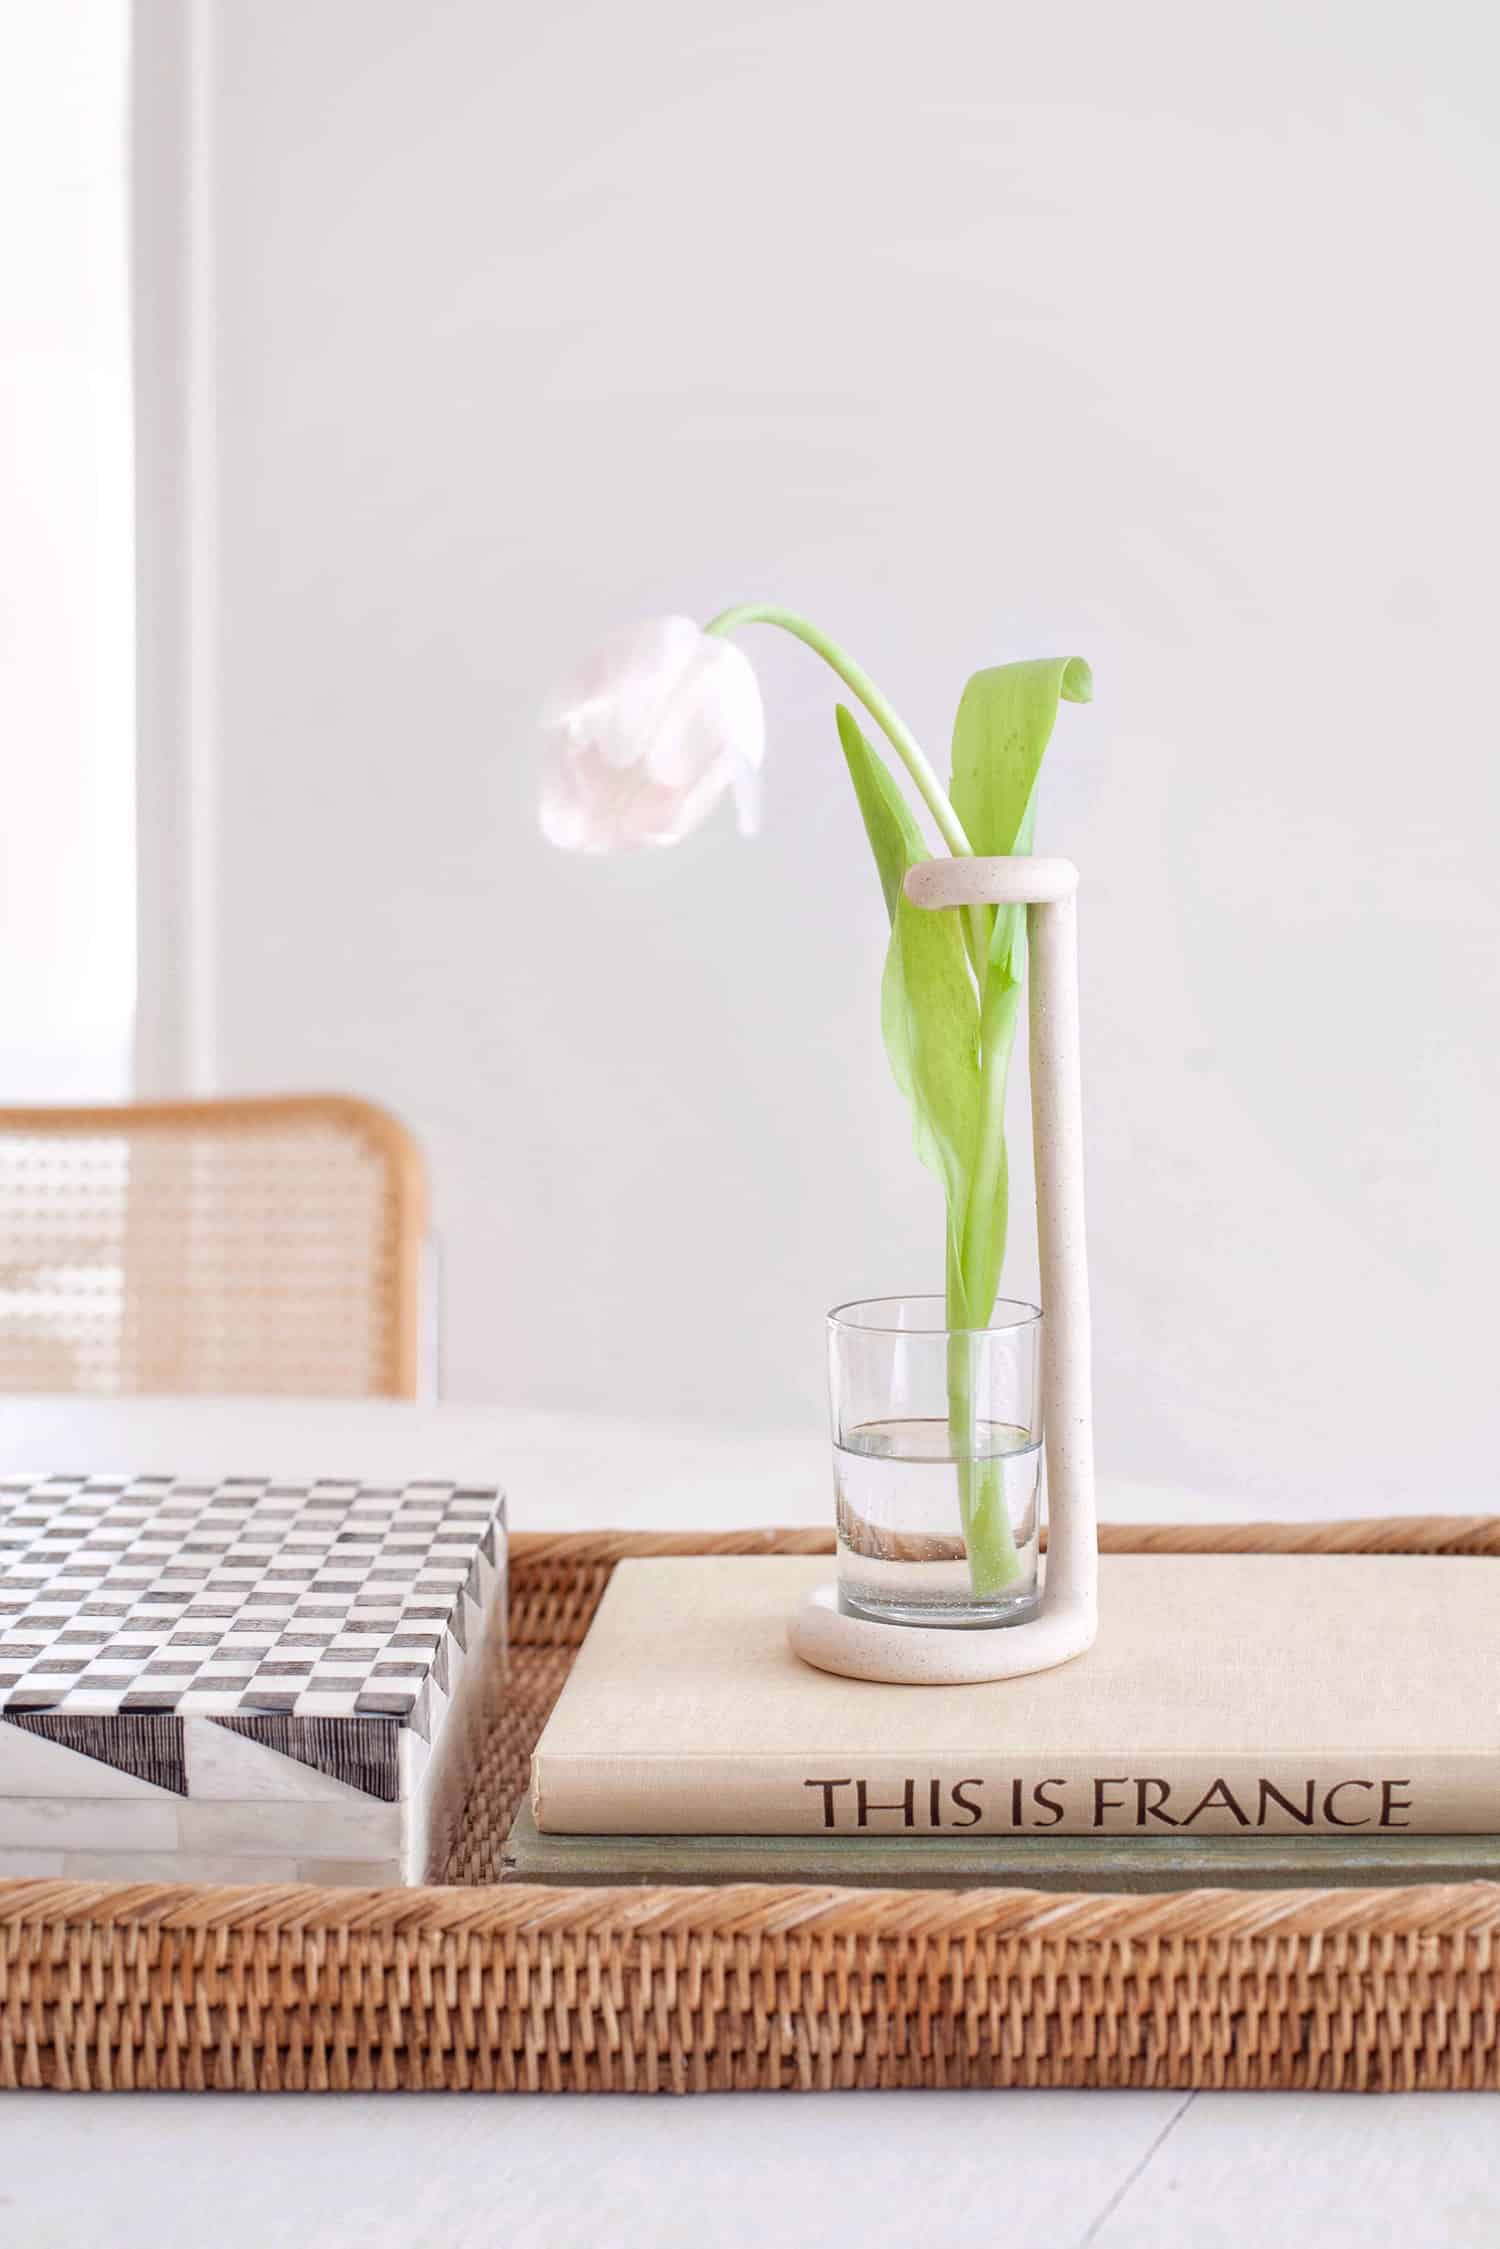
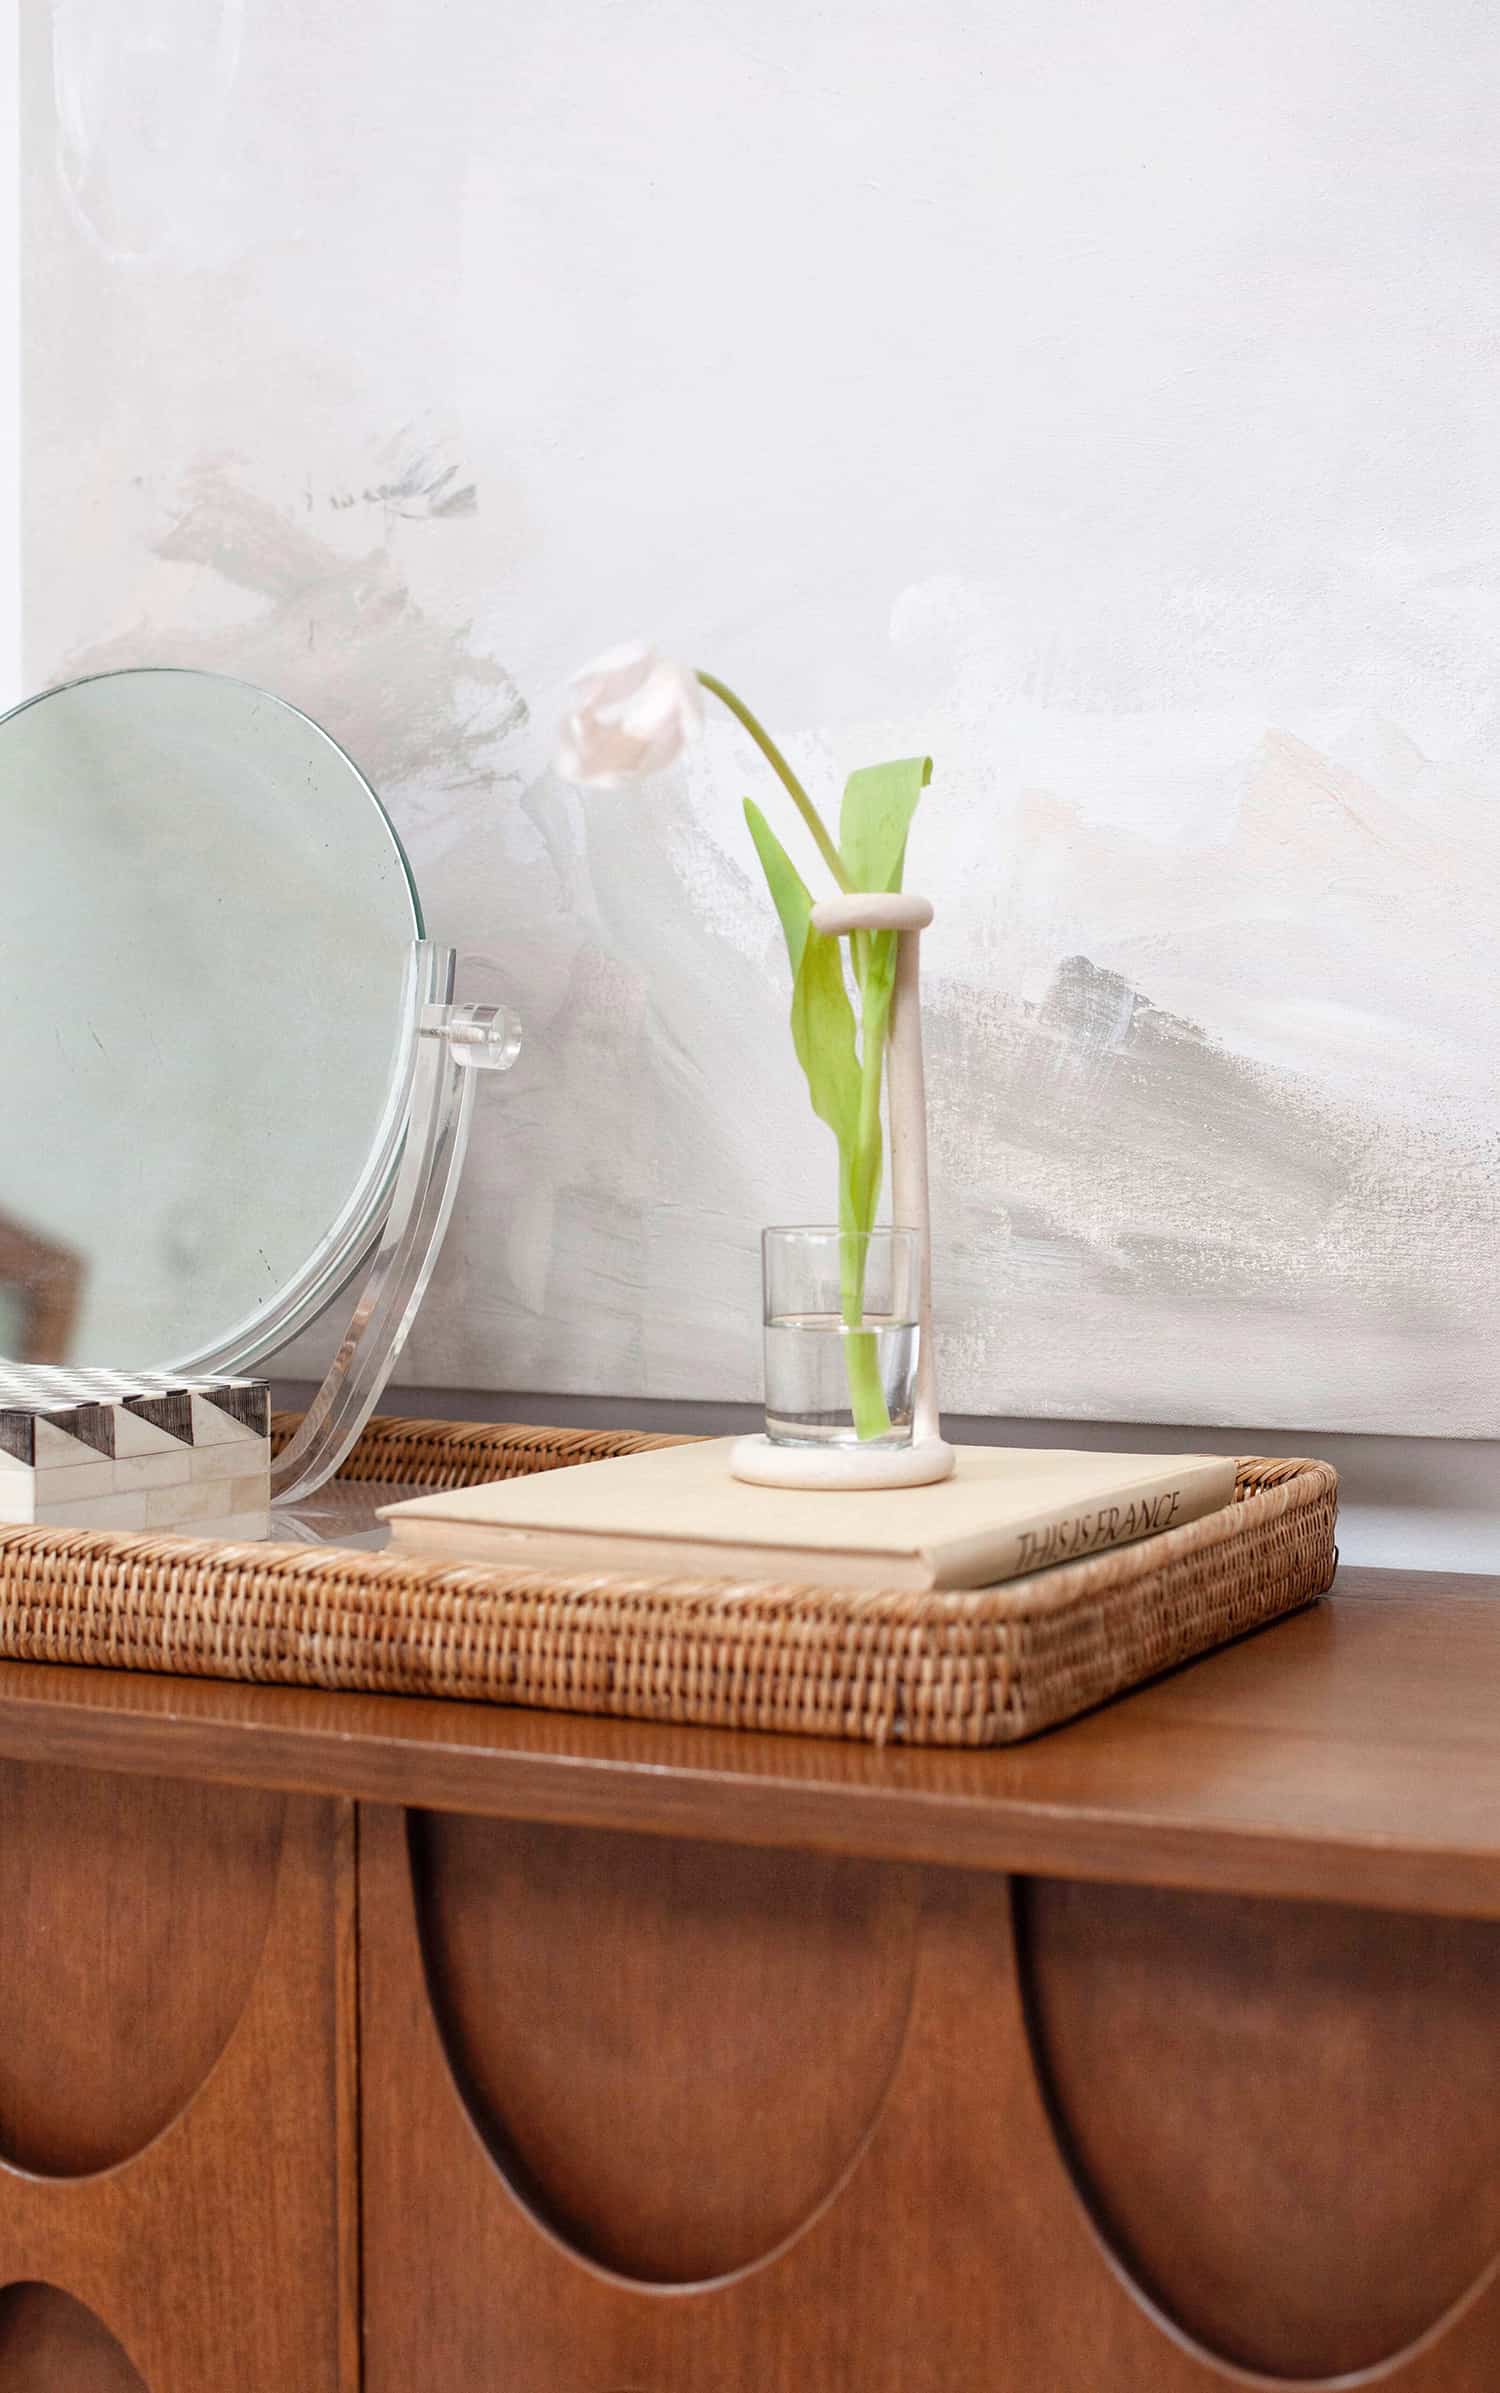 The bud vase has just the right combination of simplicity and elegance, letting the design of the flower really take center stage. I ended up making two of these bud vases, because it was really quick and easy once the clay is mixed up and ready to go.
 Sculpey clay is one of my favorite materials to work with, so it was a delight to partner with them on this project! My kiddos always enjoy making their own creations with Premo clay for their little dolls and figurines, so we had a nice little family craft time as I made these bud vases. I hope you’ll give it a try and let us see what you make! – Mandi
15 Comments
Mandi!!! This is off the charts good!!! I love how you made something completely unique and also showed us how to get a few different textures with your tips. Adding this one to a list of projects I need to make this summer!
I love this, I’m going to make a couple as propagation stations! How cute would this be with a cutting taking root?!
SUUUUUCH a good use of air-dry clay! I’ve made a zillion projects with it before, but this is a breath of fresh air – I’ve not see anything like this before!
– Mike, http://www.thecraftygentleman.net
Sculpey isn’t air dry. It’s polymer, meaning it must be baked in order to cure.
Such a sophisticated design! I love how natural it looks as well. 🙂
Charmaine Ng | Architecture & Lifestyle Blog
http://charmainenyw.com
This is really beautiful and seems like an approachable craft, thanks for sharing!
PS As I have been reminded, “flesh-tone” is a subjective term 🙂
Okay, that is actually super cute! I love the minimalist style you made!
I want to make some bud vases with this tutorial, but I’ve got a question. Does the juice glass go in the oven with the clay while it bakes?
Hi jessica! Yes, the glass goes in the oven along with the clay. You don’t have to put it in though if you’re concerned about it.
This is so beautiful and natural. I am definitely going to try this one. Thanks for sharing.
I was wondering about that too
Were you wondering about putting the glass in the oven? I put the glass in with the clay as it baked to make sure the glass would fit inside after baking too.
Definitely this weekend shopping list will include a polymer clay. My wife will love this project. Thanks for sharing!
I love this idea. A single flower doesn’t always stand up and look good in most vases.
This is so cute, ideal solution for a single cut summer flower and the tutorial looks pretty easy to follow, amazing idea, love it.