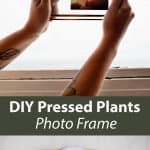
 As you probably saw from my home office update, I am a little obsessed with plants. And if you love plants as much as me, you might want to experiment with pressing plants. It’s super easy to do and the results can be absolutely stunning!
In this project, I am working with Canon USA. I’ve mentioned many times how much I love my PIXMA TS8120 printer. It’s a multifunction printer so I use it both for home office printing (like documents) and it’s also a great photo printer. It’s probably obvious by now (right?) that I love crafting and making projects at home. So being able to print just a few high quality photos anytime I want is a huge must for me. But I also love printing at home because it helps me keep up with my monthly goal of printing off memories I snapped with either my DSLR or just my iPhone. I love it! But this project is all about mixing photos with pressed plants.
 You could absolutely press flowers instead of green plants like the leaves and stems I chose here, especially if you want more color. I think the number one key to being successful with pressing plants of any kinds is to experiment to find the best results. Sometimes items will turn out much more vibrant (or less so) than I was expecting—which is all part of the fun, but it does require a little patience. Think of pressing plants like using a disposable camera. The results are unexpected but often beautiful and it’s part of the fun to see what you get. 🙂
Here is how I not only pressed my plants but put together this entire project:
I thought I would spell out the project in a bit more detail from the video as well.
 Supplies:
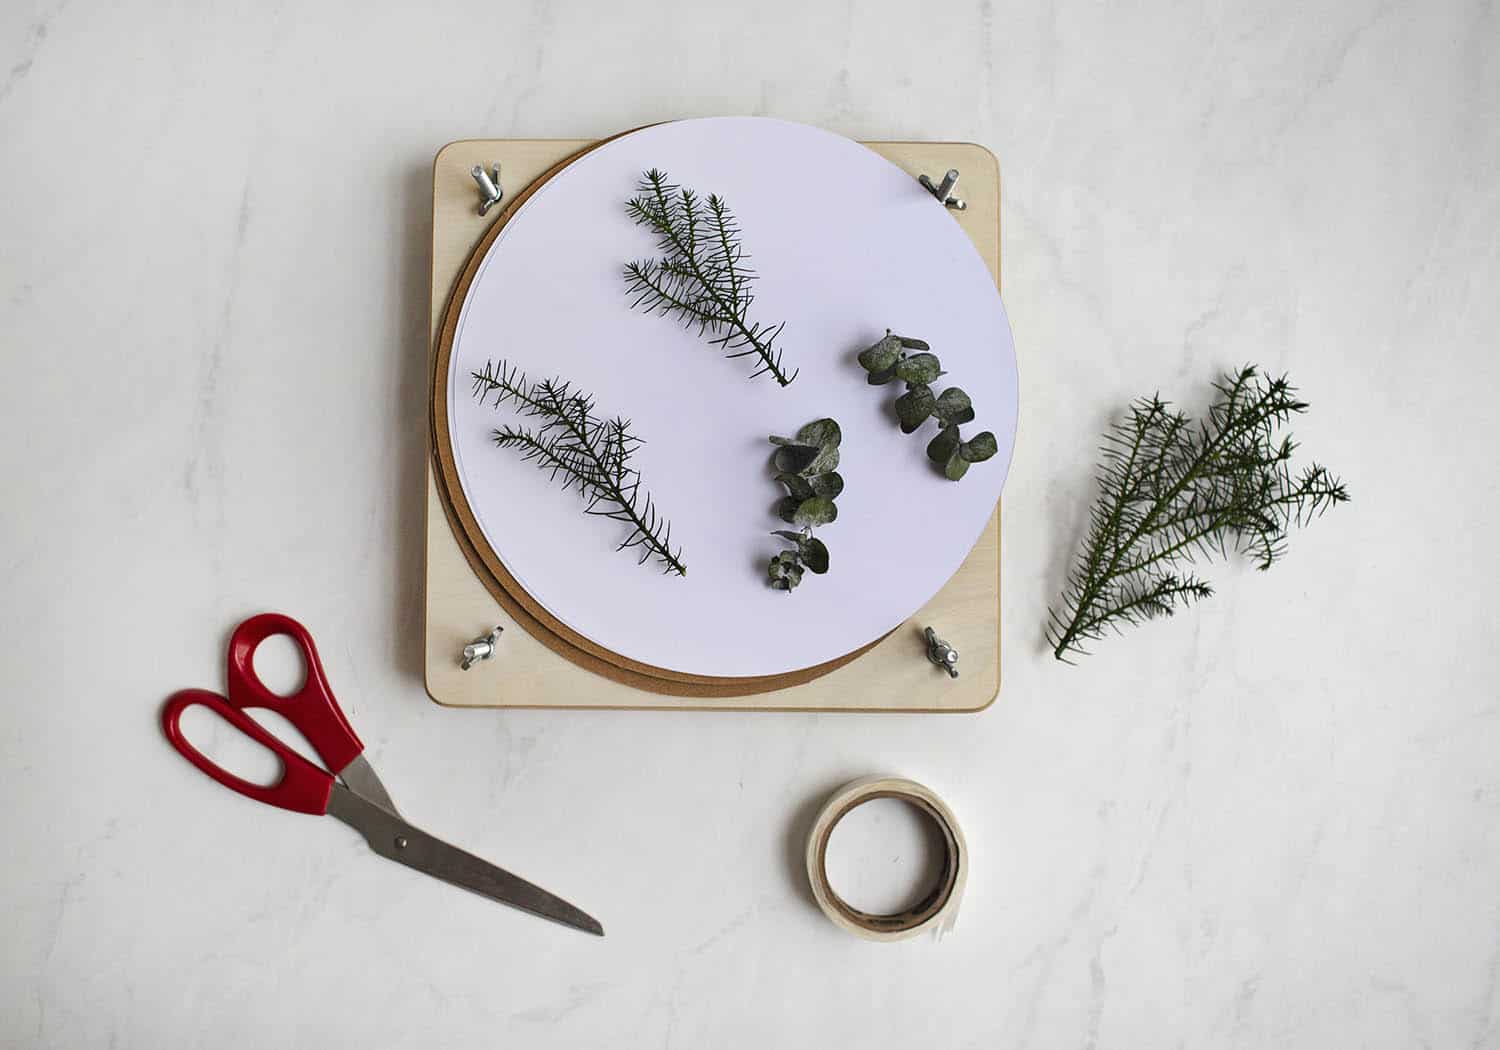
plant press*
plants
glue dots (or other acid-free glue)
scissors
tweezers
PIXMA TS8120 printer
glass frames
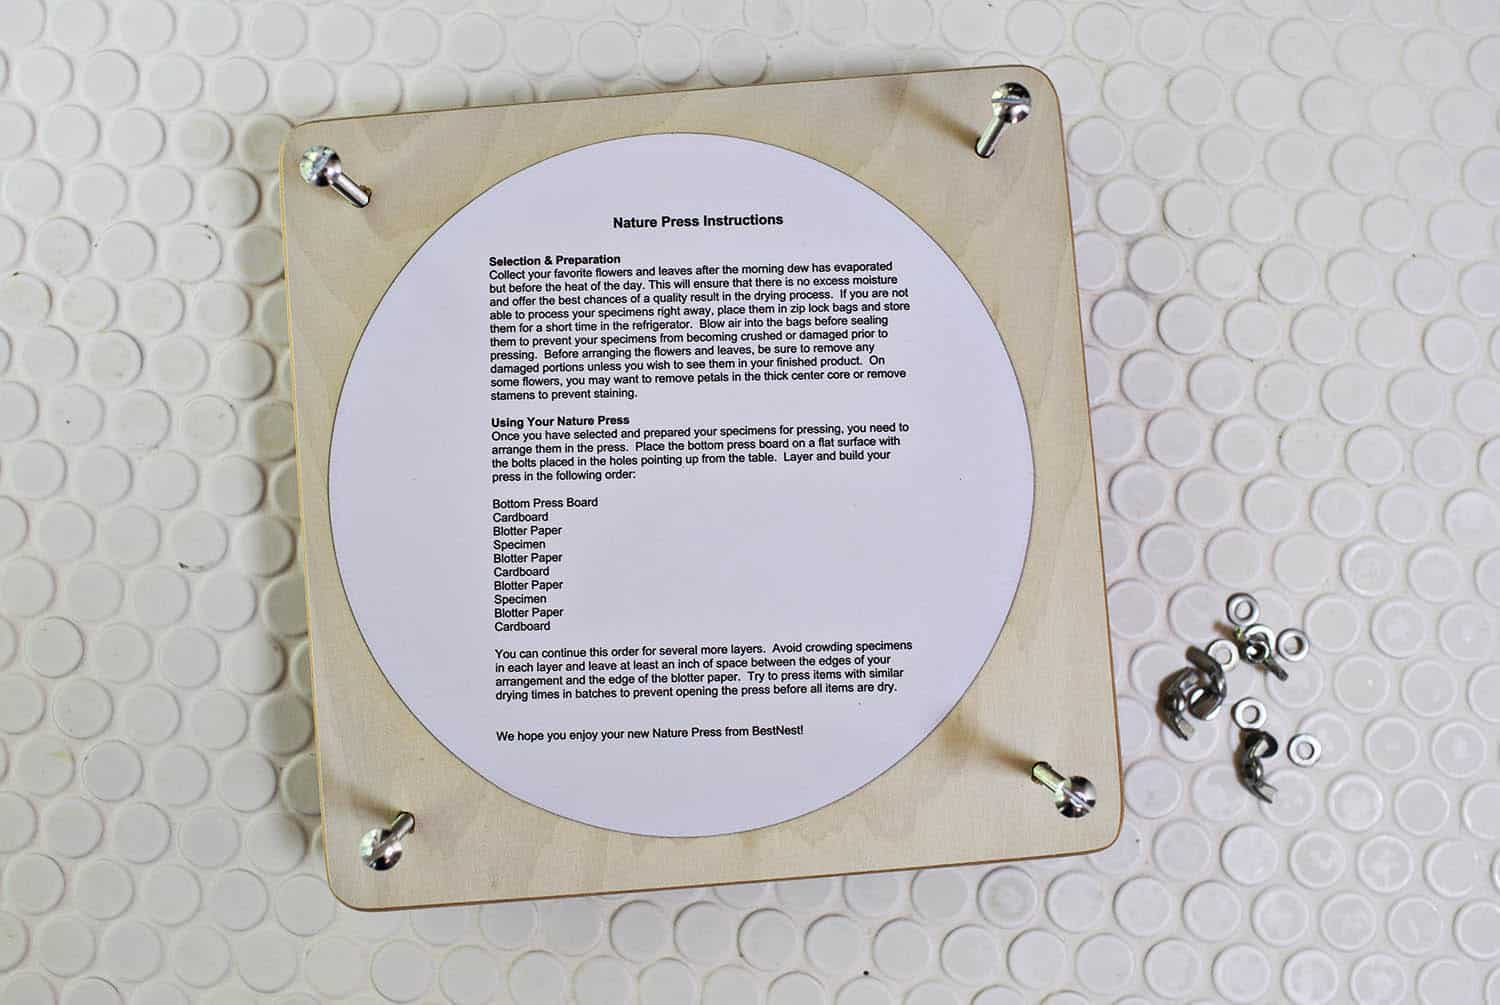 I do follow these basic instructions for using the press, but I don’t generally do the “preparation” steps. The main thing to keep in mind is that you want your plants or flowers to be as vibrant and free of excess moisture as possible when you add them to the press. So if you’re picking flowers or delicate leaves, make sure to pick them with a short amount of time before you plan to add them to your press so they don’t begin to brown or turn colors. And if you need to blot off excess moisture with a cloth or paper towel before adding them, do! Excess moisture in the press could result in rotting, so you don’t want dew or water from rinsing your plants on them before adding to the press.
Also, you don’t have to use a press like this. You can totally use a thick book or something similar. The goal is just to remove moisture (dry out) and flatten the plants. So while I do love a press like this because you can really tighten it well for pressing, it’s not 100% necessary. You could also easily make your own press; it’s a pretty simple wood project as I think you can tell from the photo.
I am not really an expert on pressing plants either. If you’re interested in learning more, check out this post from our friend, Kaylah. Super informative!
Step One: Gather plants and add to the press. Wait 2-4 weeks for plants to fully dry.
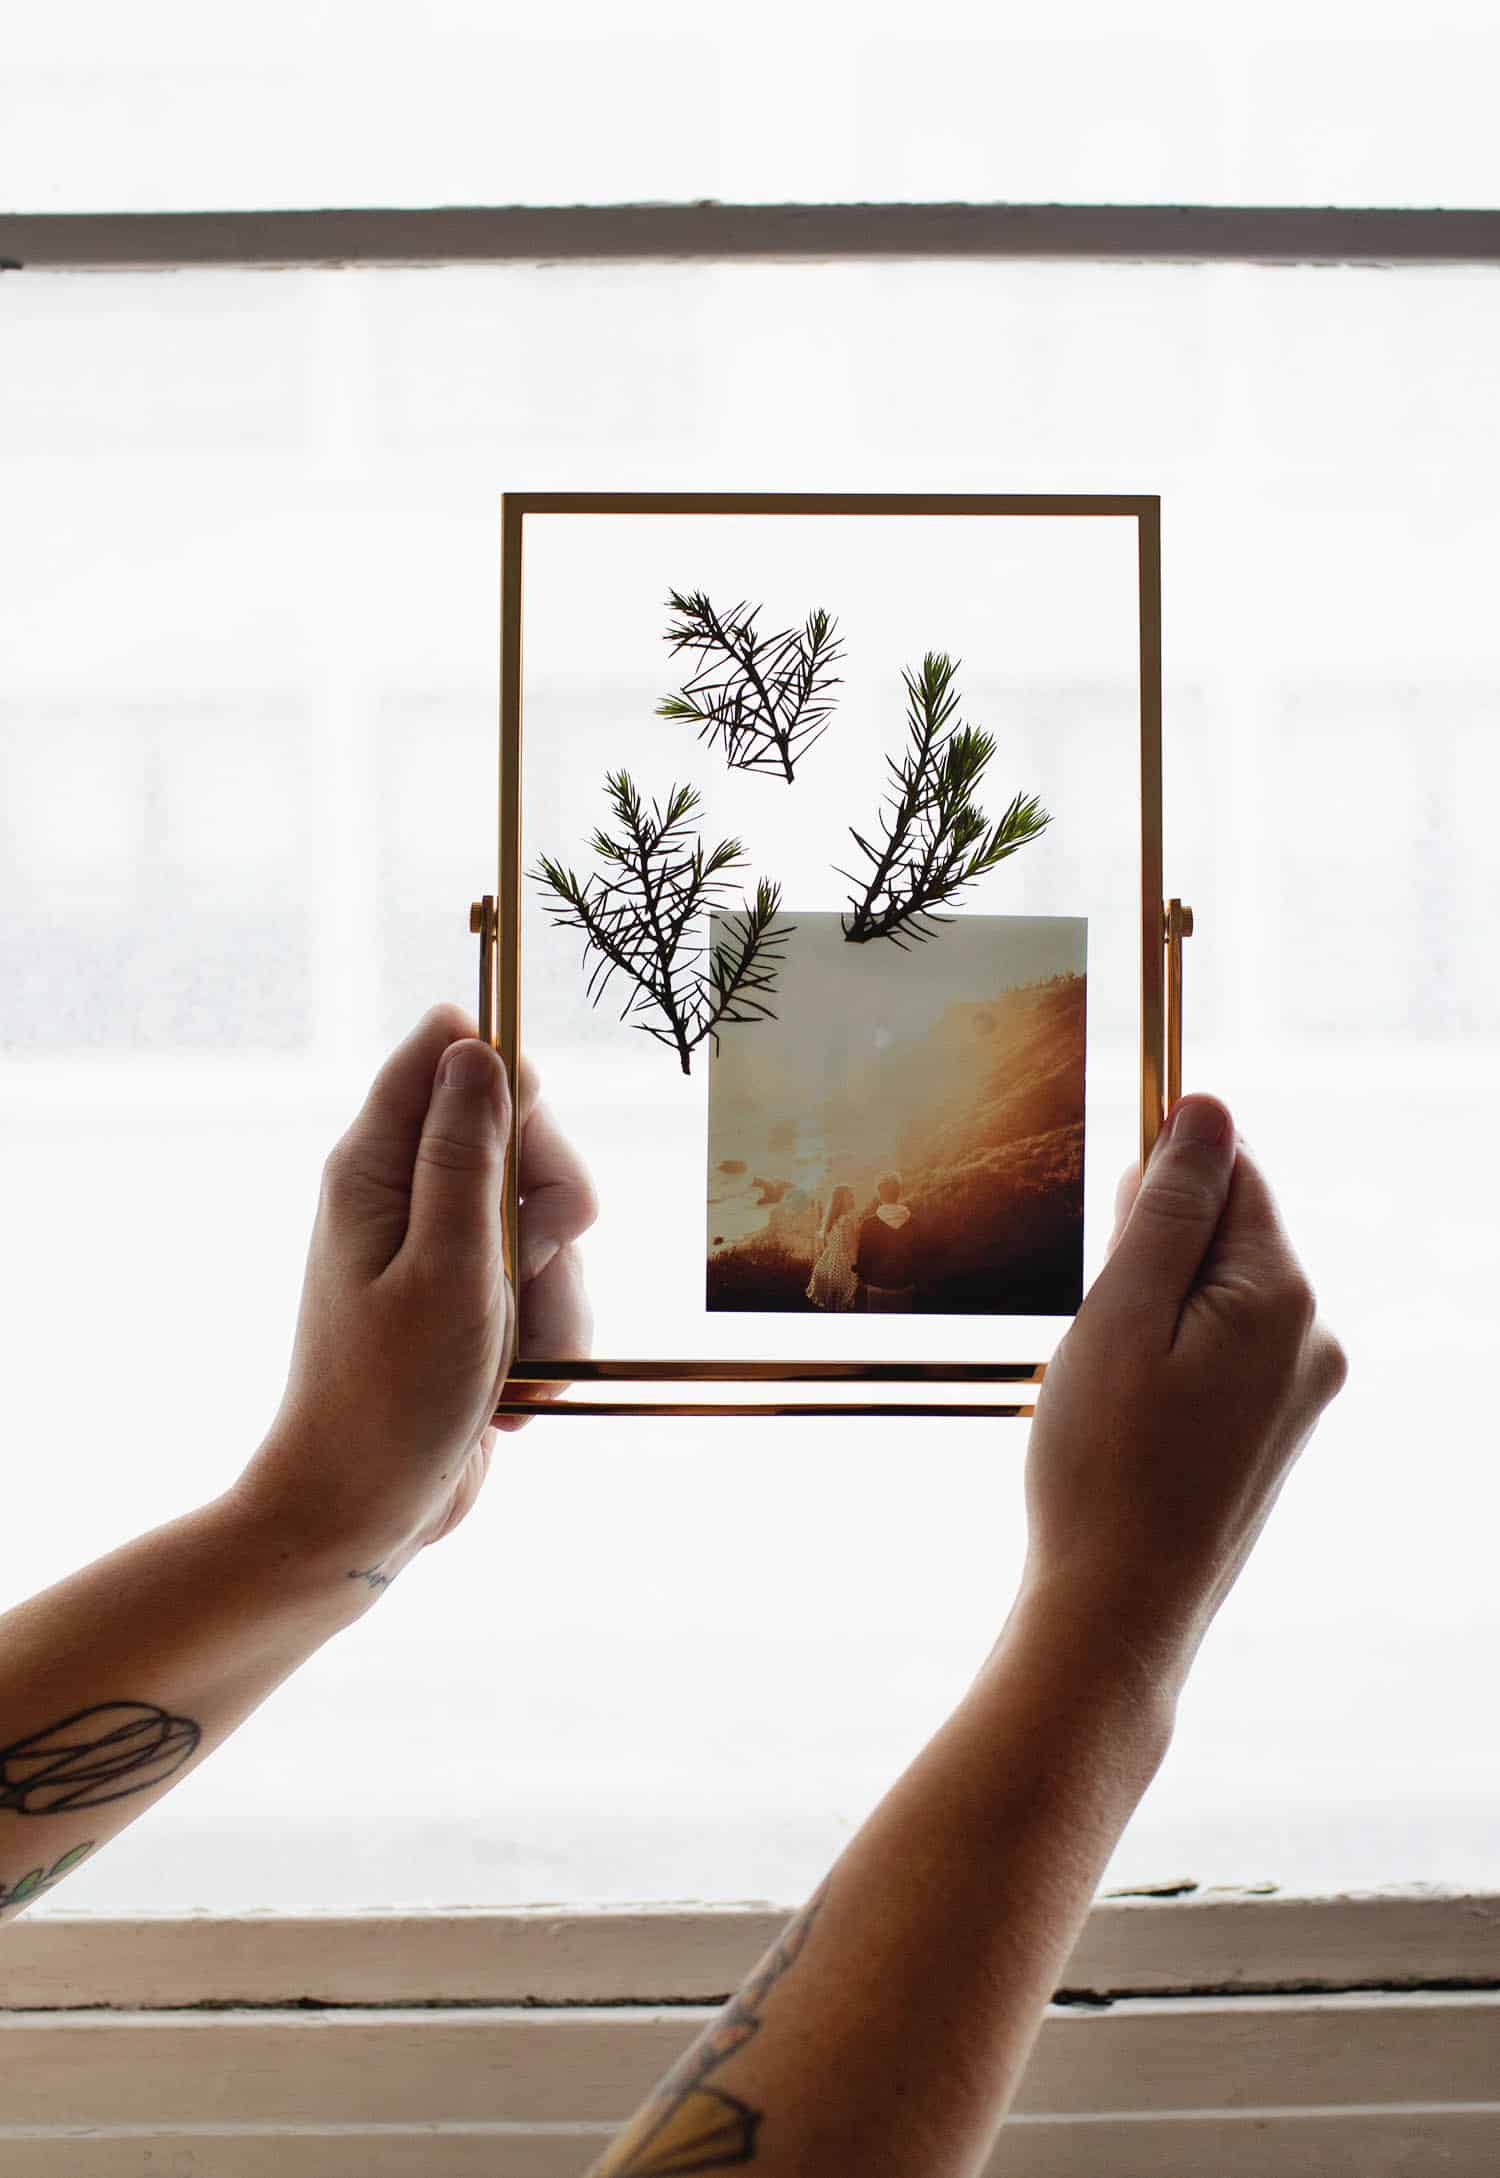
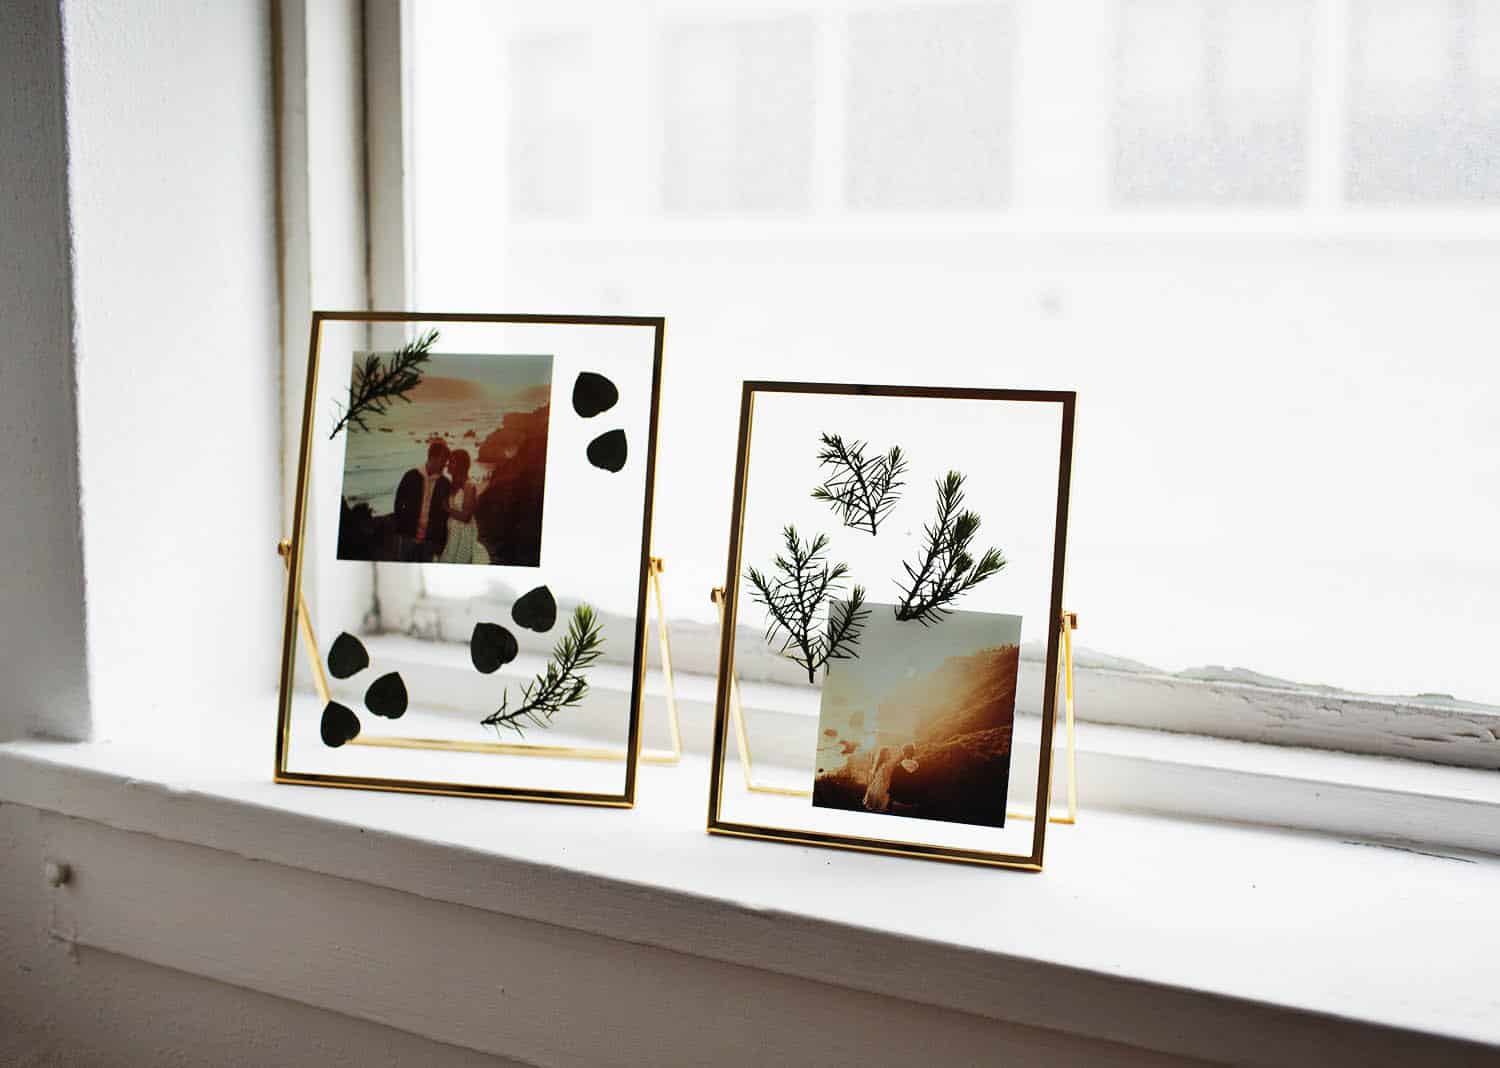
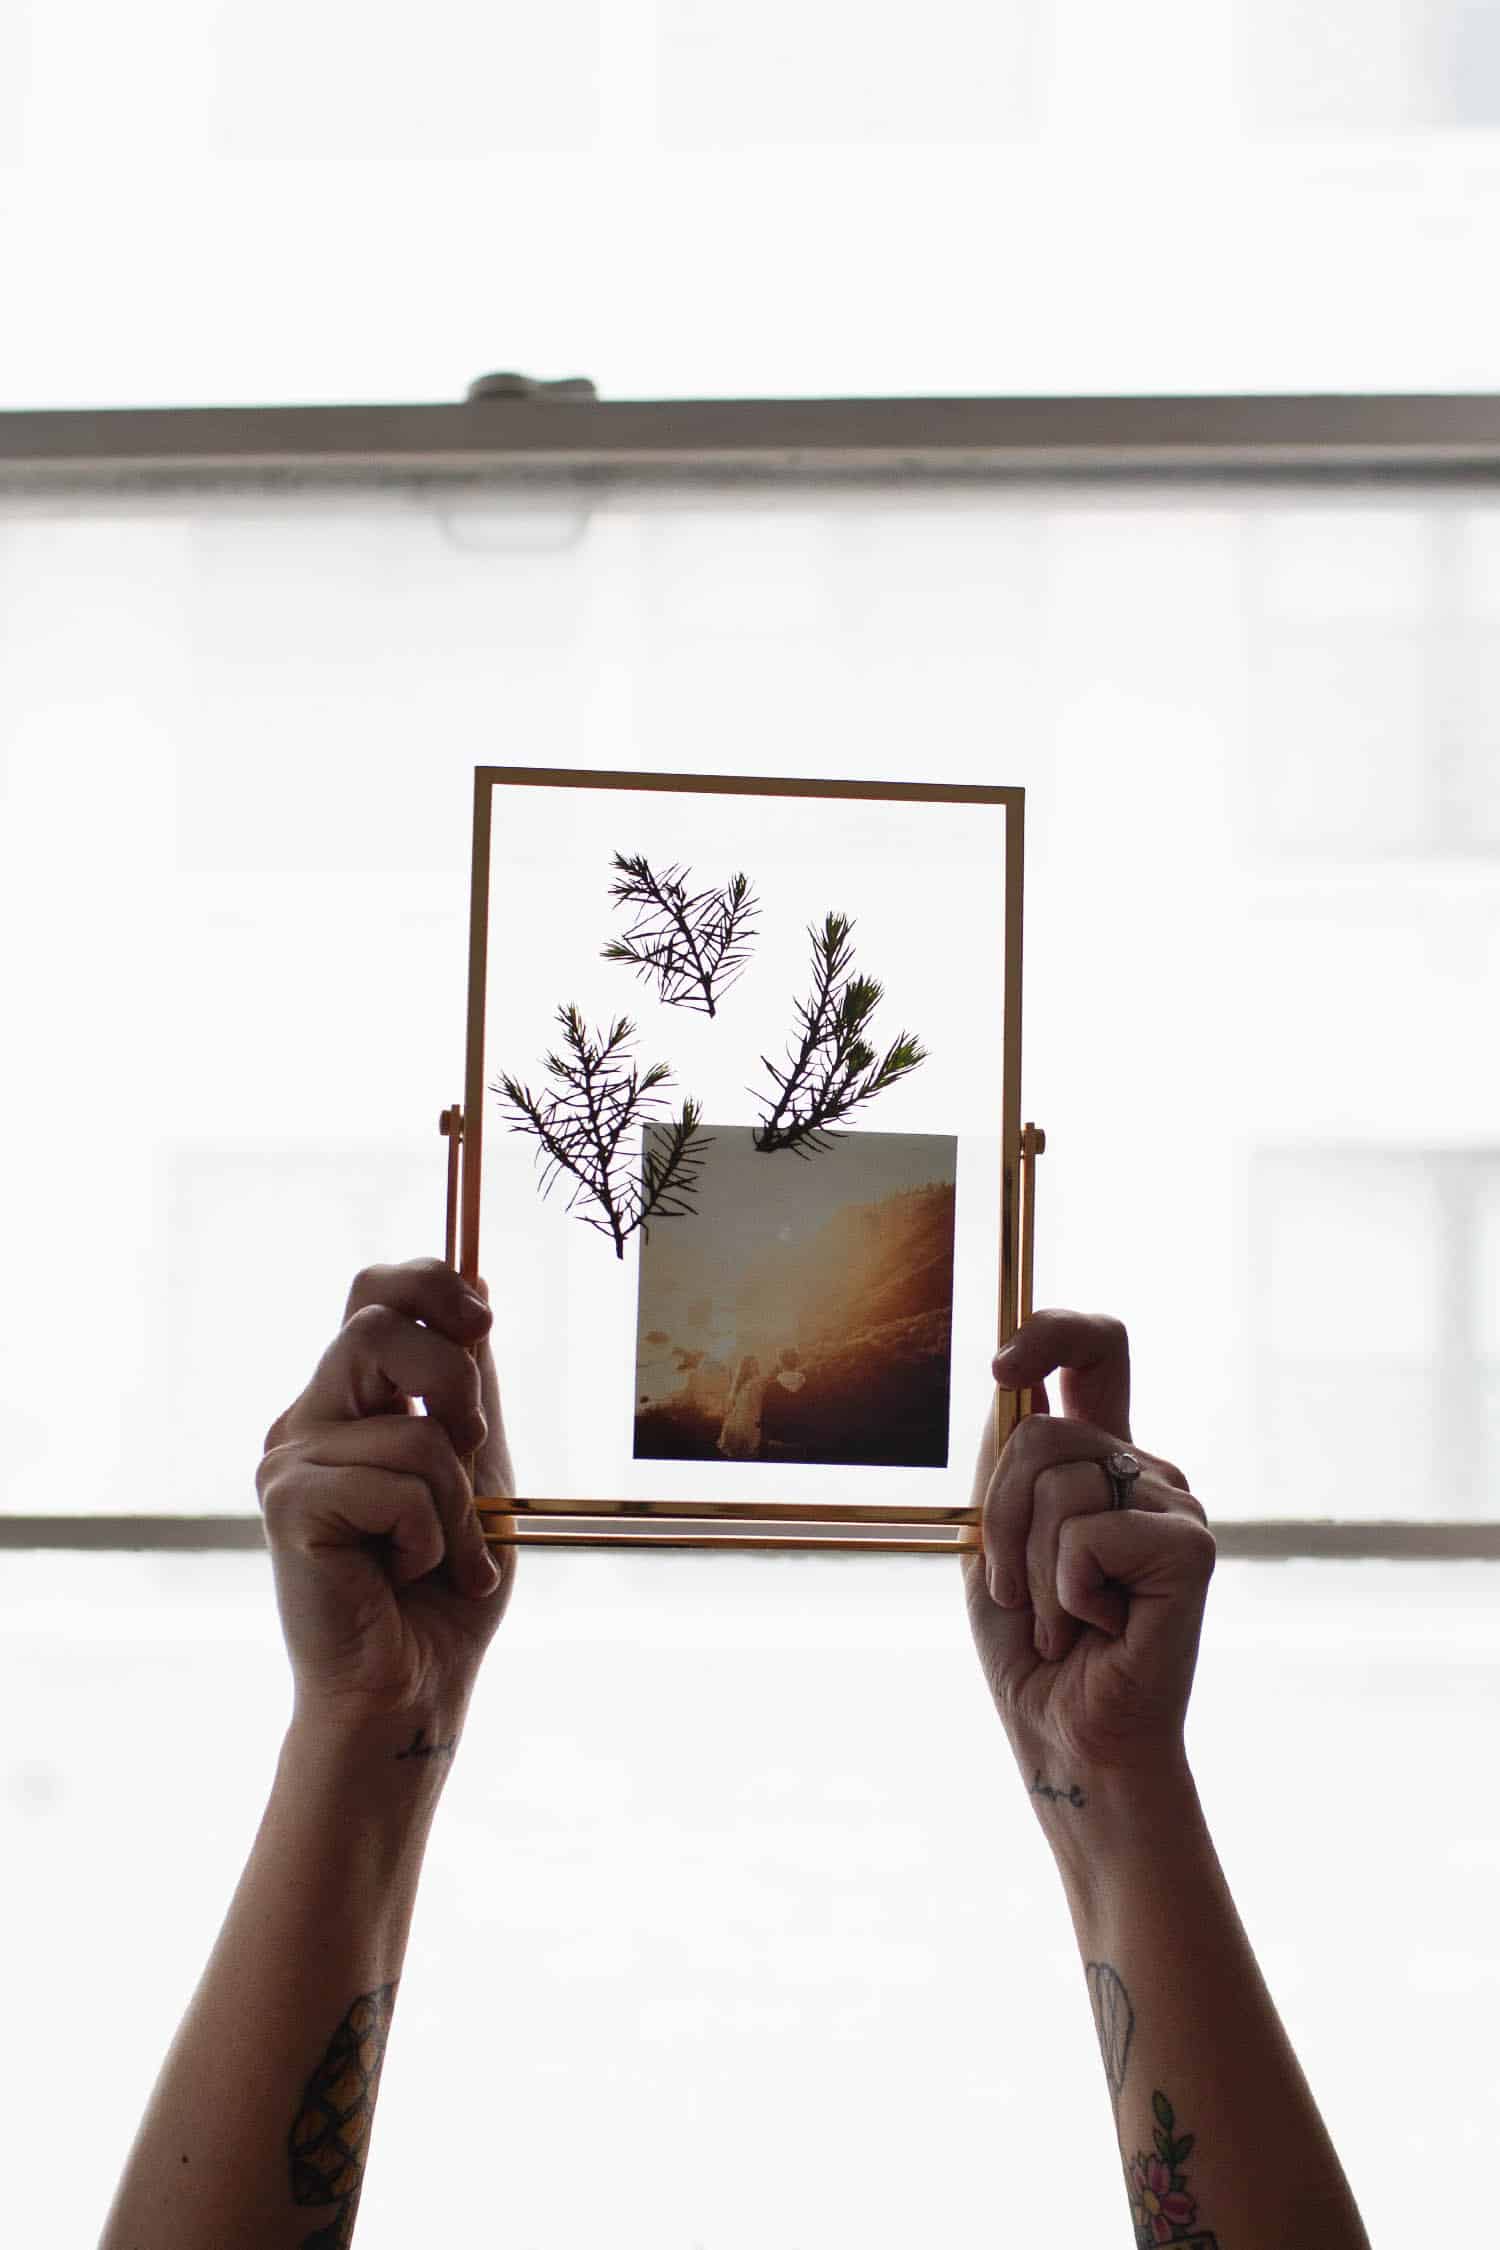
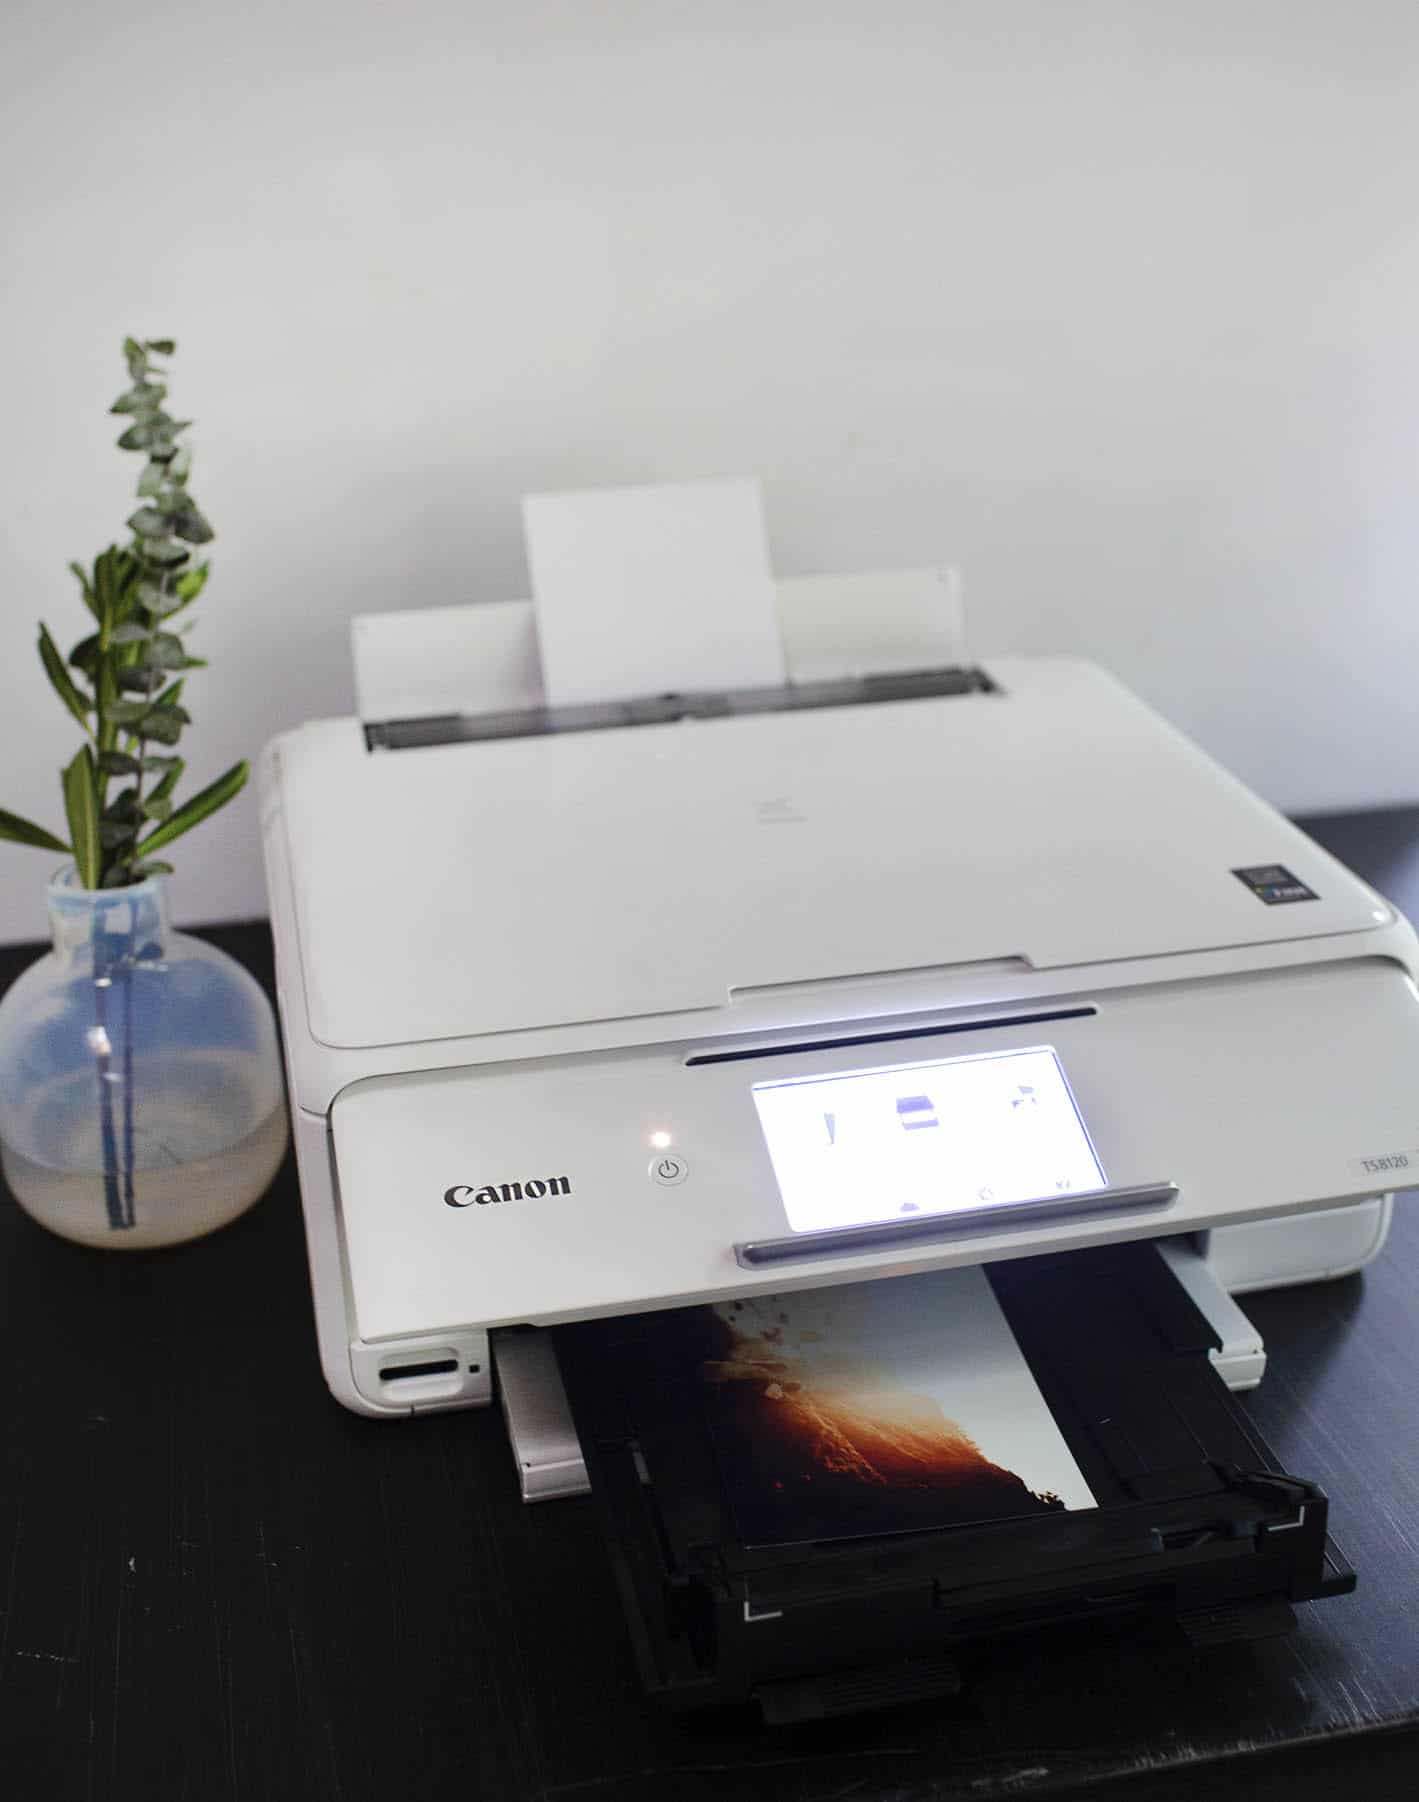 Step Three: Print your photo(s). Trim them down if you like, depending on the frames you plan to use. I printed my 4×6 photos and then decided to cut them into squares so there was more negative space in my glass frames for the plants to float in.
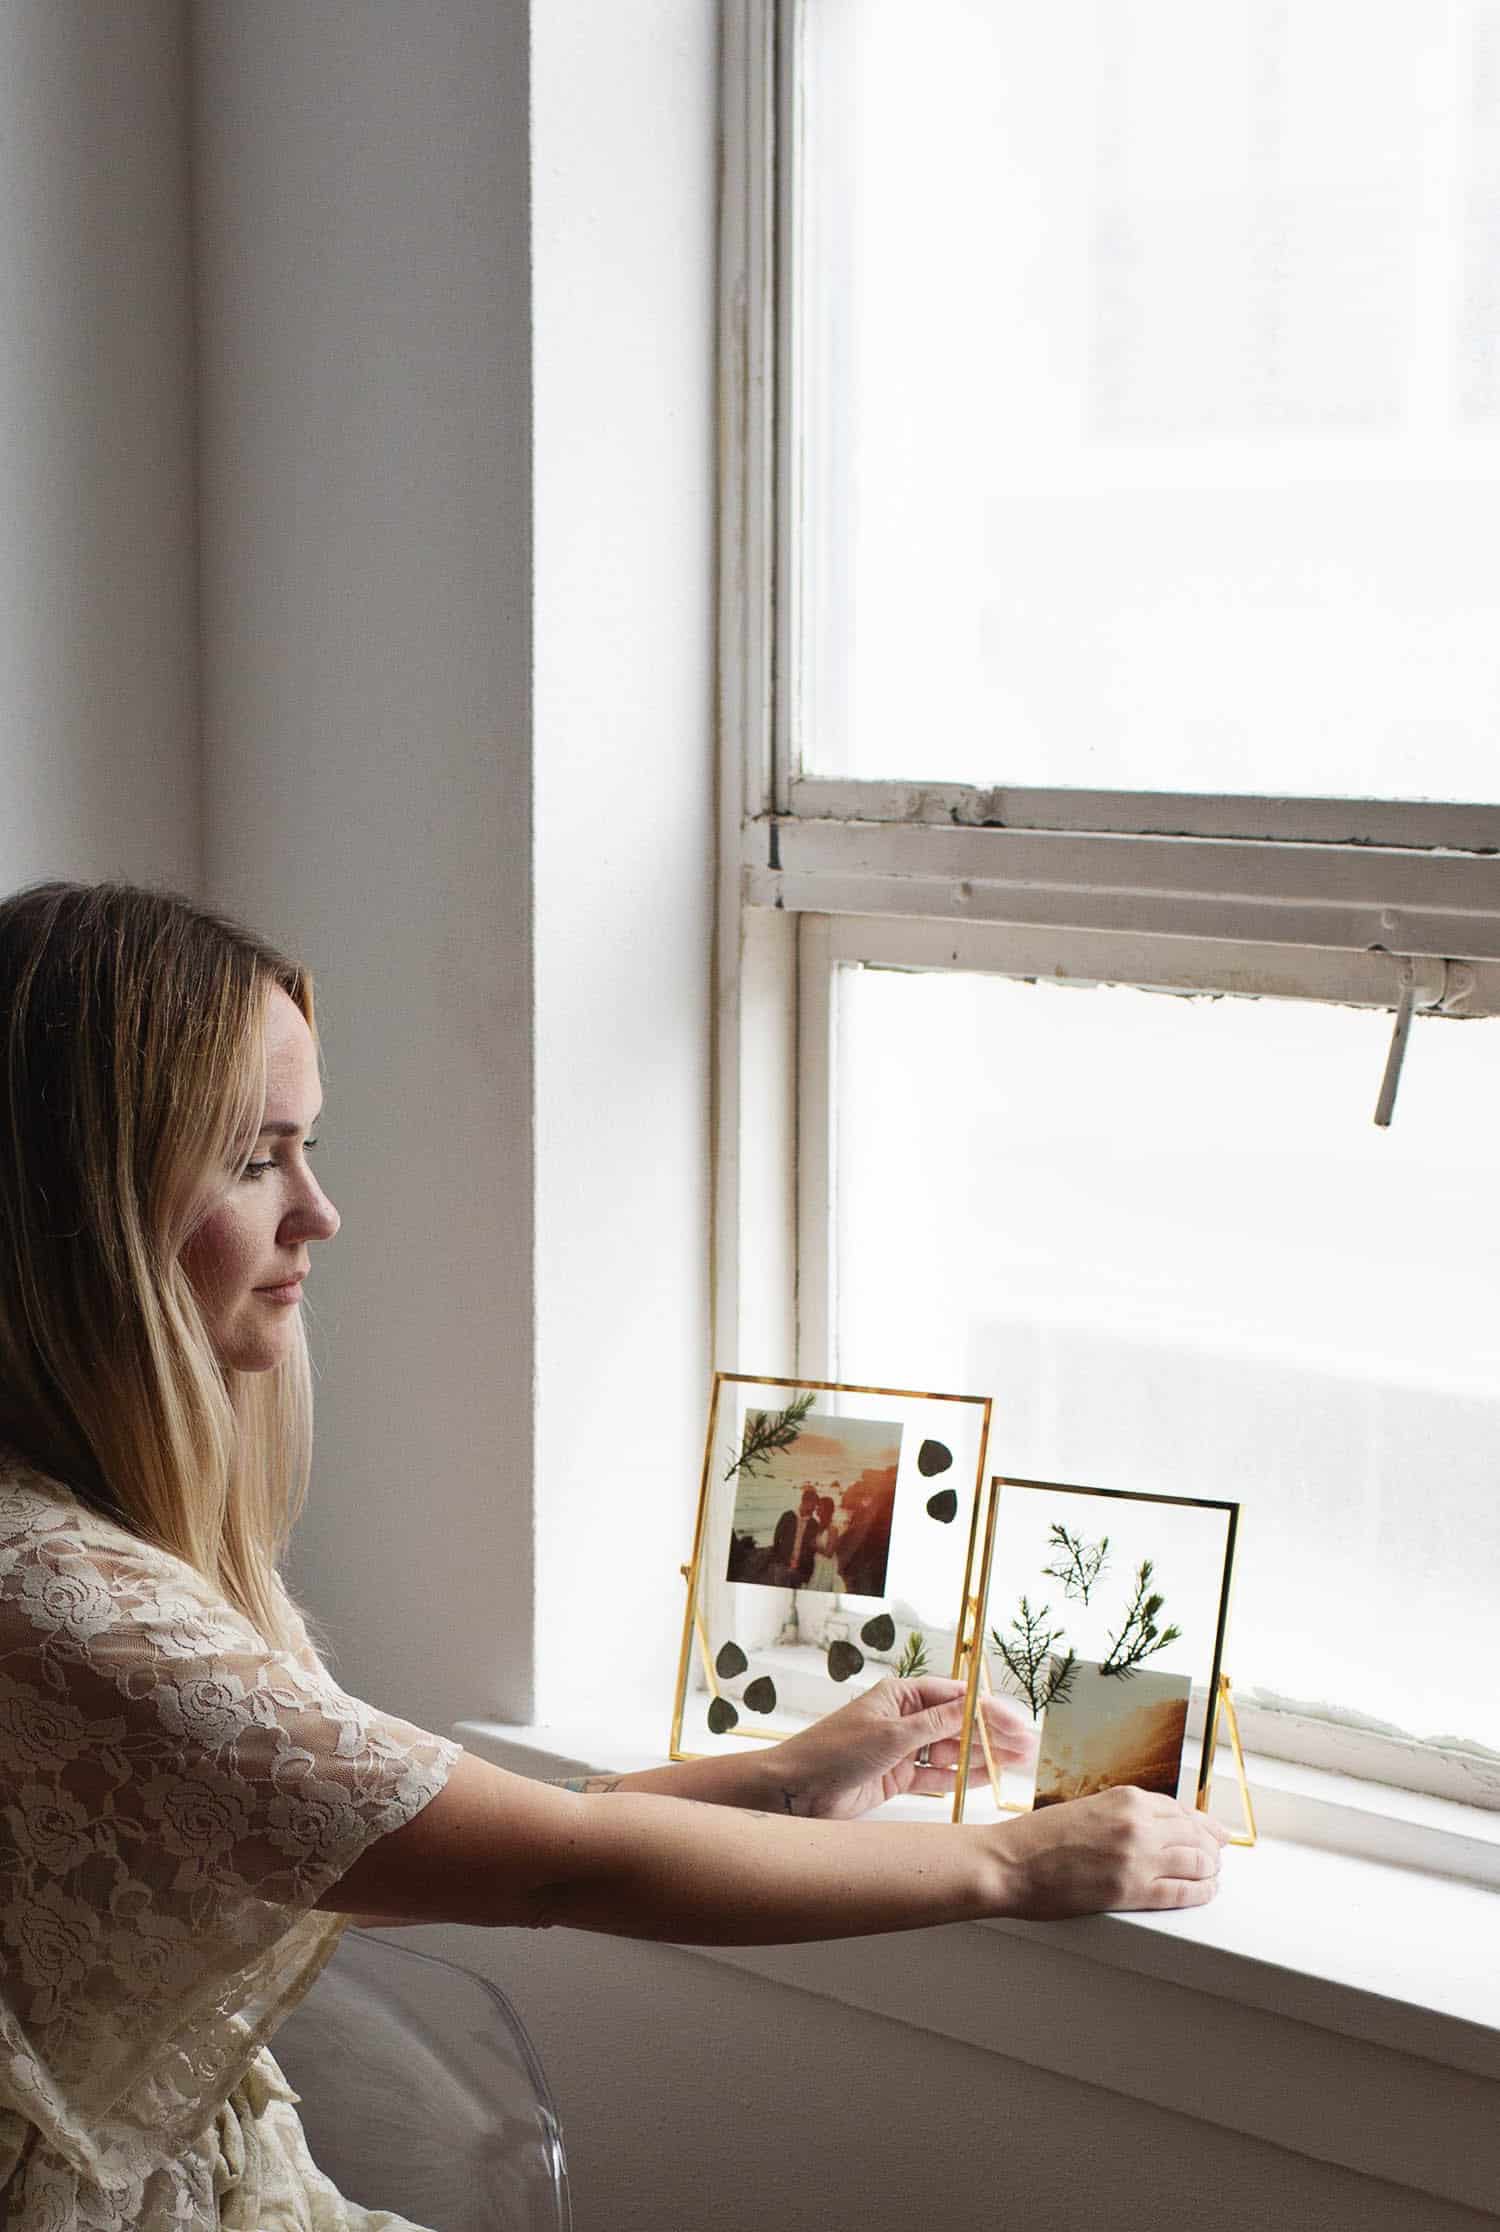
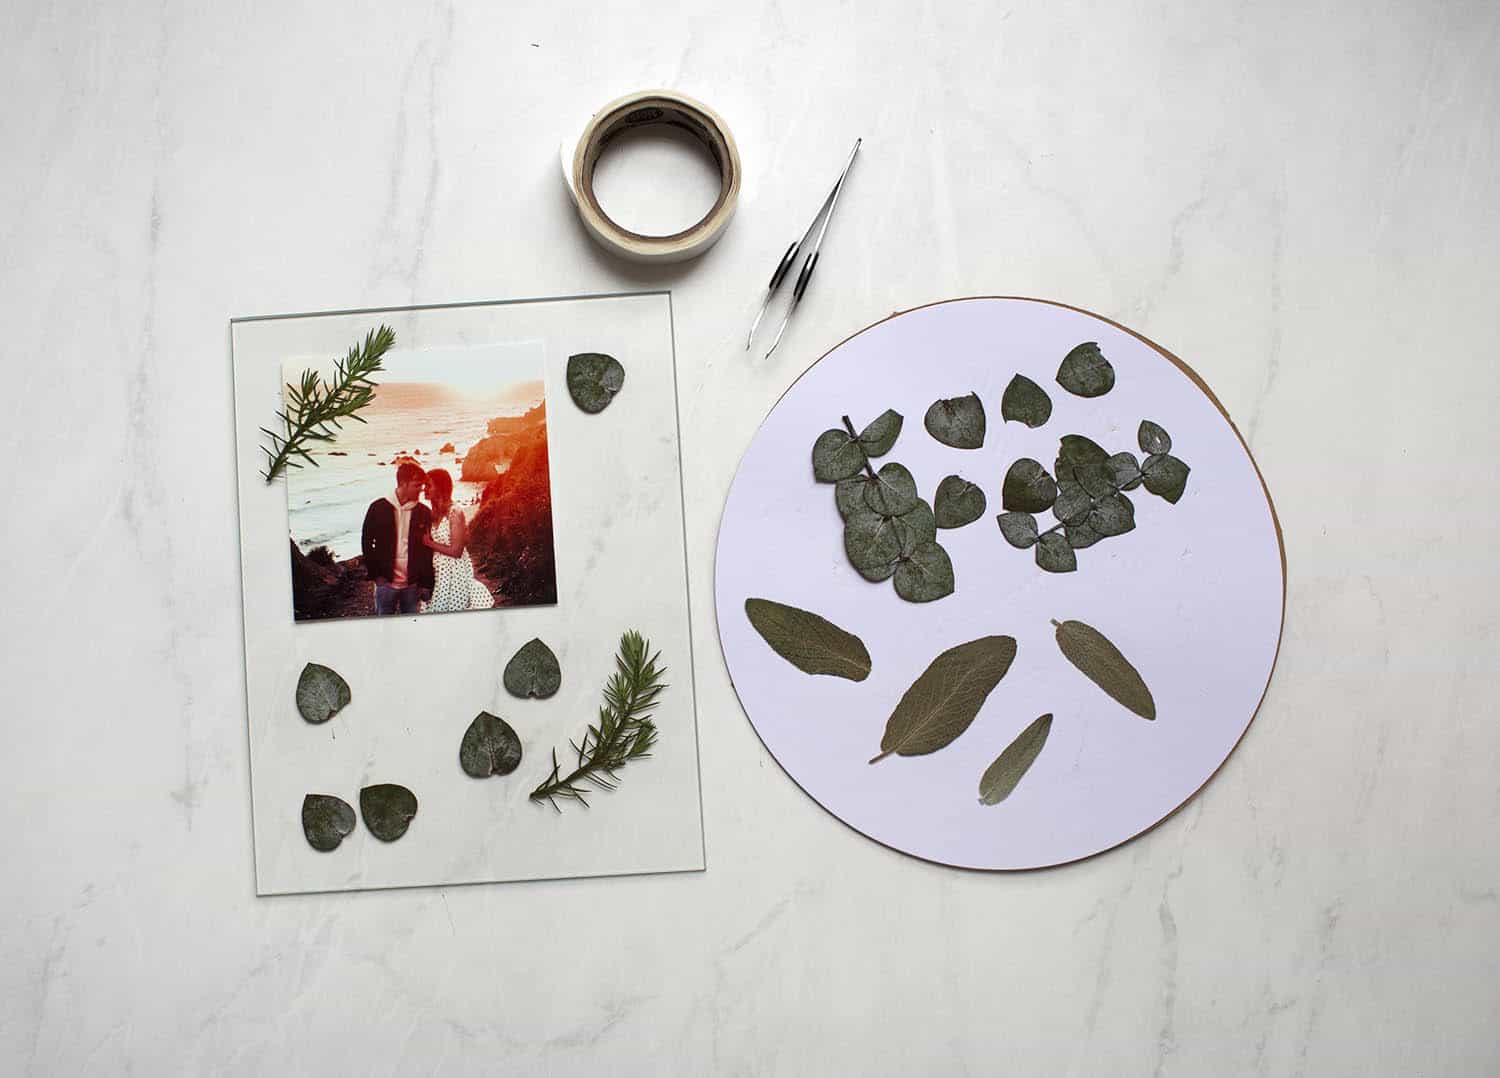 Step Four: Assemble your photo displays. I used acid-free glue dots to adhere both my photos and the plants to the glass so they wouldn’t move around in the frame. If you aren’t using a double glass frame like me, you could really use any acid-free glue that you want to adhere pressed plants to paper or cardboard. If you are working with super delicate plants (like very thin flower petals), you might thin the glue down a little with water so it doesn’t completely soak through and overwhelm your pressed plants. Again, a bit of experimentation based on the plants you end up using is best here.
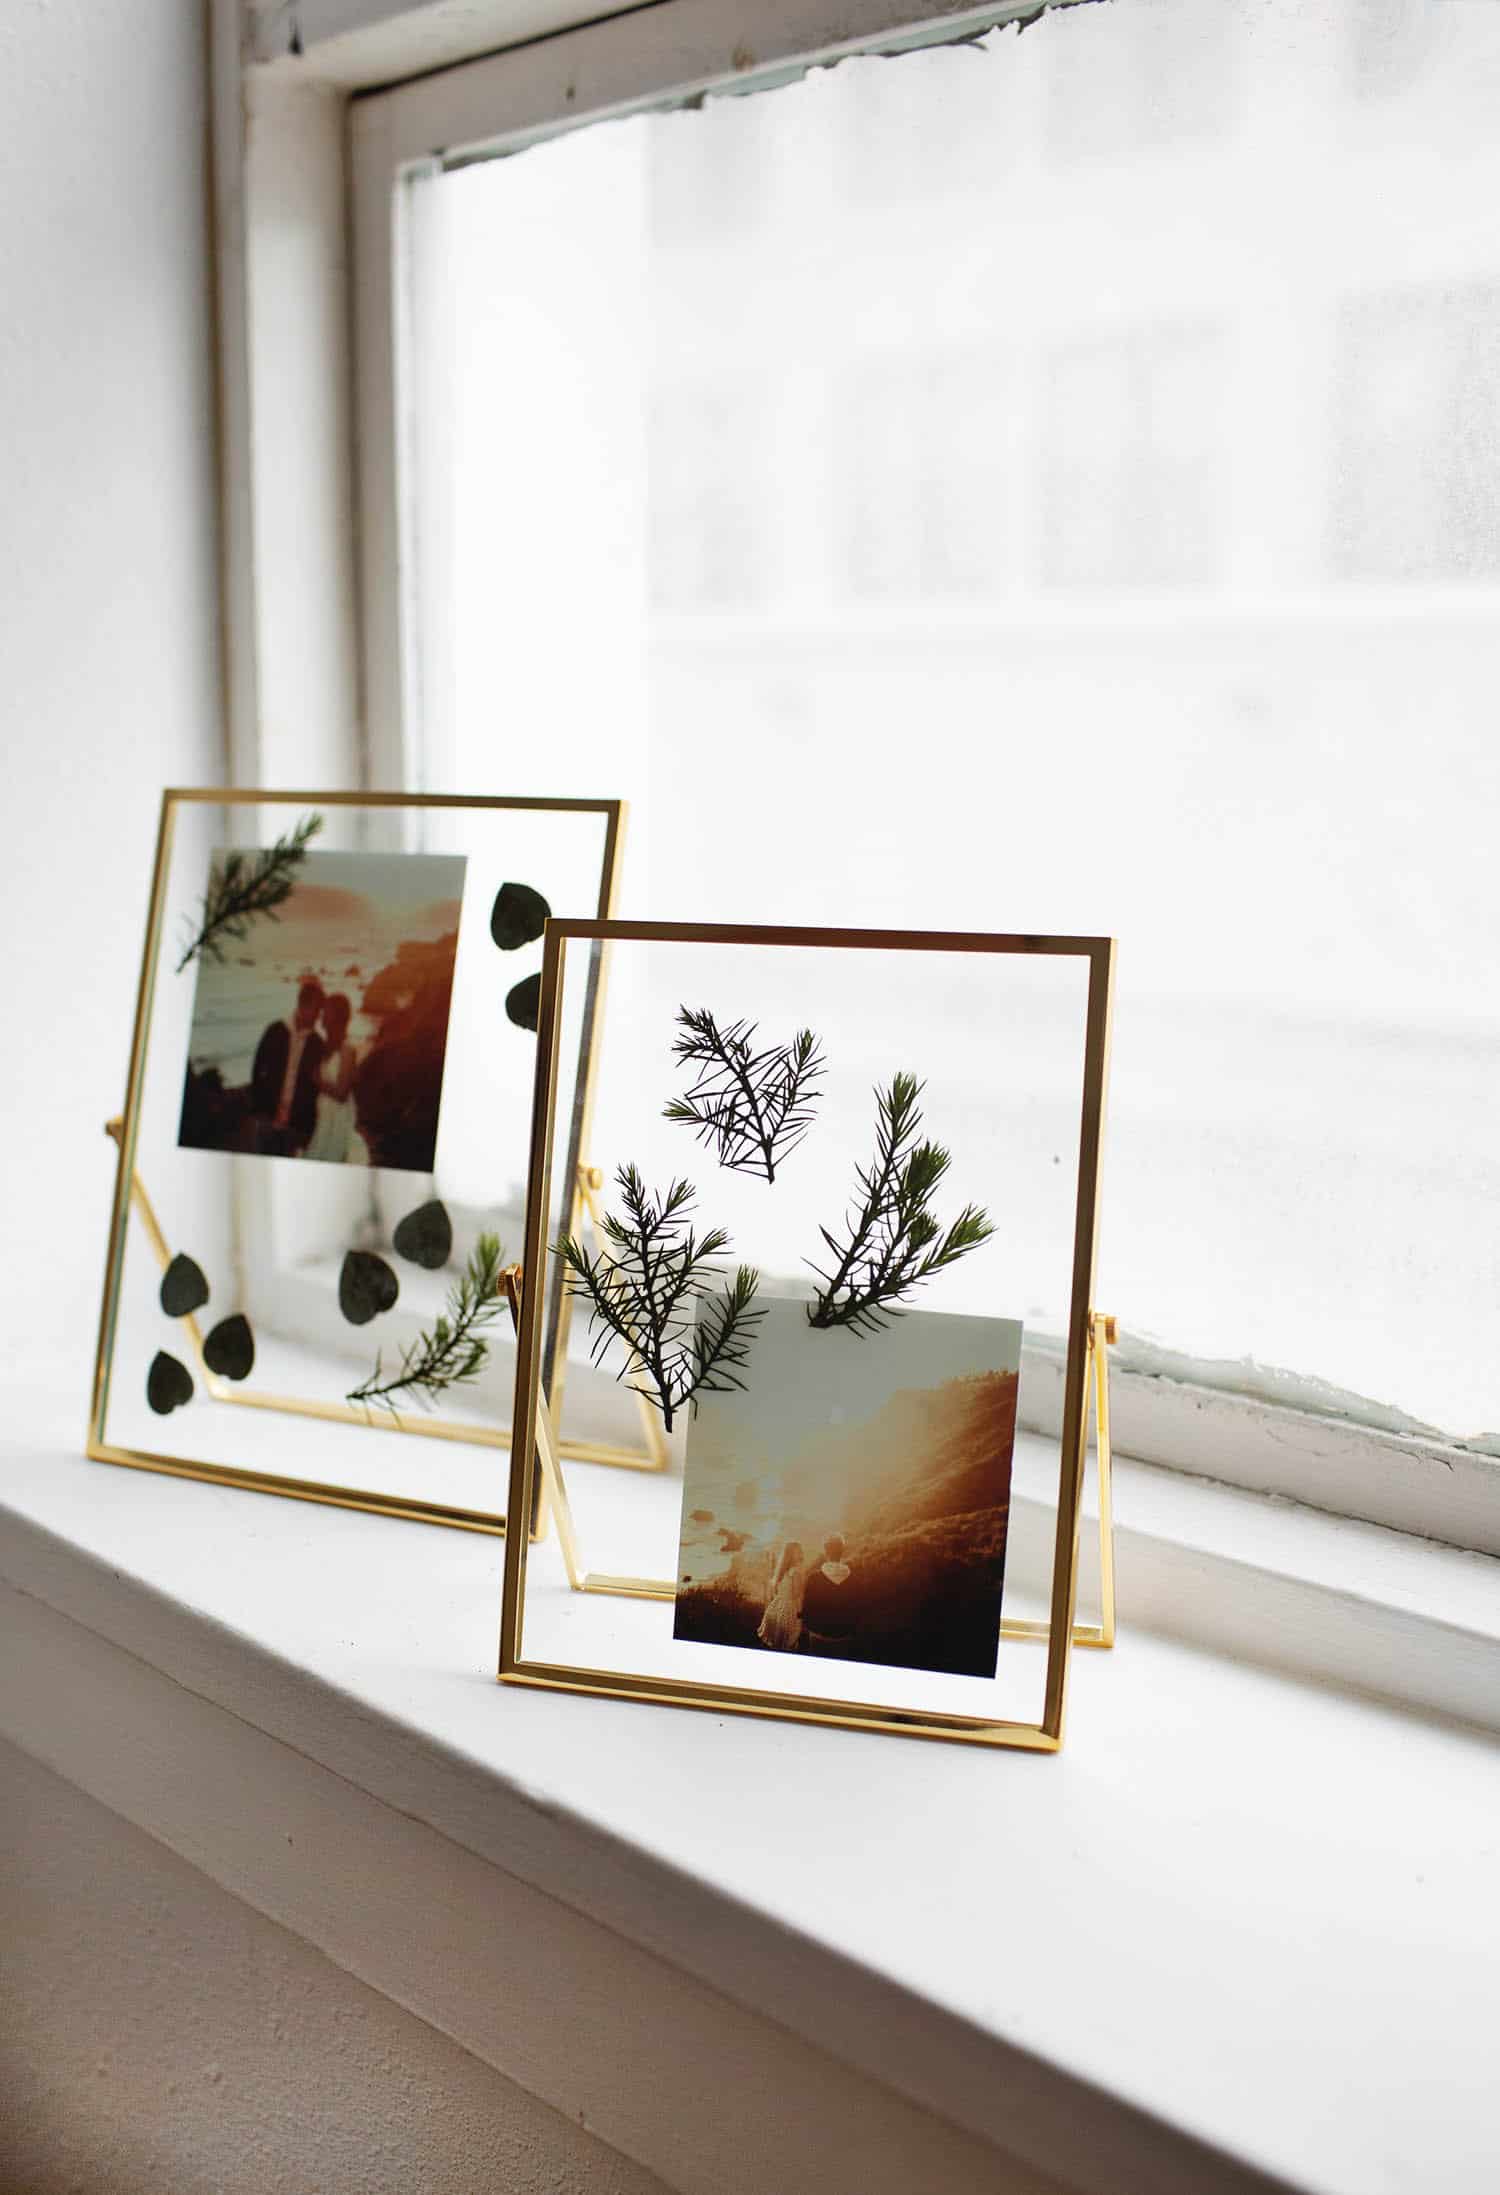
 The photos I used were a few of me and Trey from our trip to California a few years ago. I am still super thankful to my photographer friend, Elise, for the gift of these beautiful photos—they are so special to me! Thanks for letting me share. xo. Emma
12 Comments
These are gorgeous beyond words. I have a thing for dried and pressed flowers and plants, and this would look great on my desk! ????
Charmaine Ng | Architecture & Lifestyle Blog
http://charmainenyw.com
This is so pretty! I totally need to try this!
Paige
http://thehappyflammily.com
Where are the frames from?
They are from TJ Maxx 🙂
Where did you purchase these frames? I love this project ????
TJ Maxx 🙂
I love this! I have a couple pressed/dried flowers in shadowbox frames in my house. It’s what initially inspired me to start my business and now I press flowers ALL the time! Haha.
OMGOSH Finally a solution to making (nearly) dying plants look pretty. THANK YOU
What a beautiful idea, I love that it’s mixed media!
https://www.makeandmess.com/
These are really pretty! Would make an amazing keepsake if someone had an outdoor wedding and then pressed plants from where they held their wedding into one of these frames with a wedding photo <3
-Jacqueline | Jackieomy.com
This is such a wonderful idea. Definitely will have to try it.
Love this project! We were just looking to do a new family craft project around plants. We did this Terrarium Necklace recently and the kids loved it! https://stemeducationguide.com/terrarium-necklace-diy/
Thank you for sharing!