 I love to cook and bake. That statement probably doesn’t surprise any of you. Yes, I have my go-to recipes I make again and again, as well as old family recipes I love. But I am also one of those people who constantly experiments and loves to try new recipes. Of course I own (way too many) cookbooks filled with sticky notes on recipe pages I want to try, but I also find myself printing a lot of recipes off the internet. I often prefer to print (as oppose to just looking at the recipe on my phone or computer screen) so I can add notes to the page and save the paper recipe if I end up loving it.
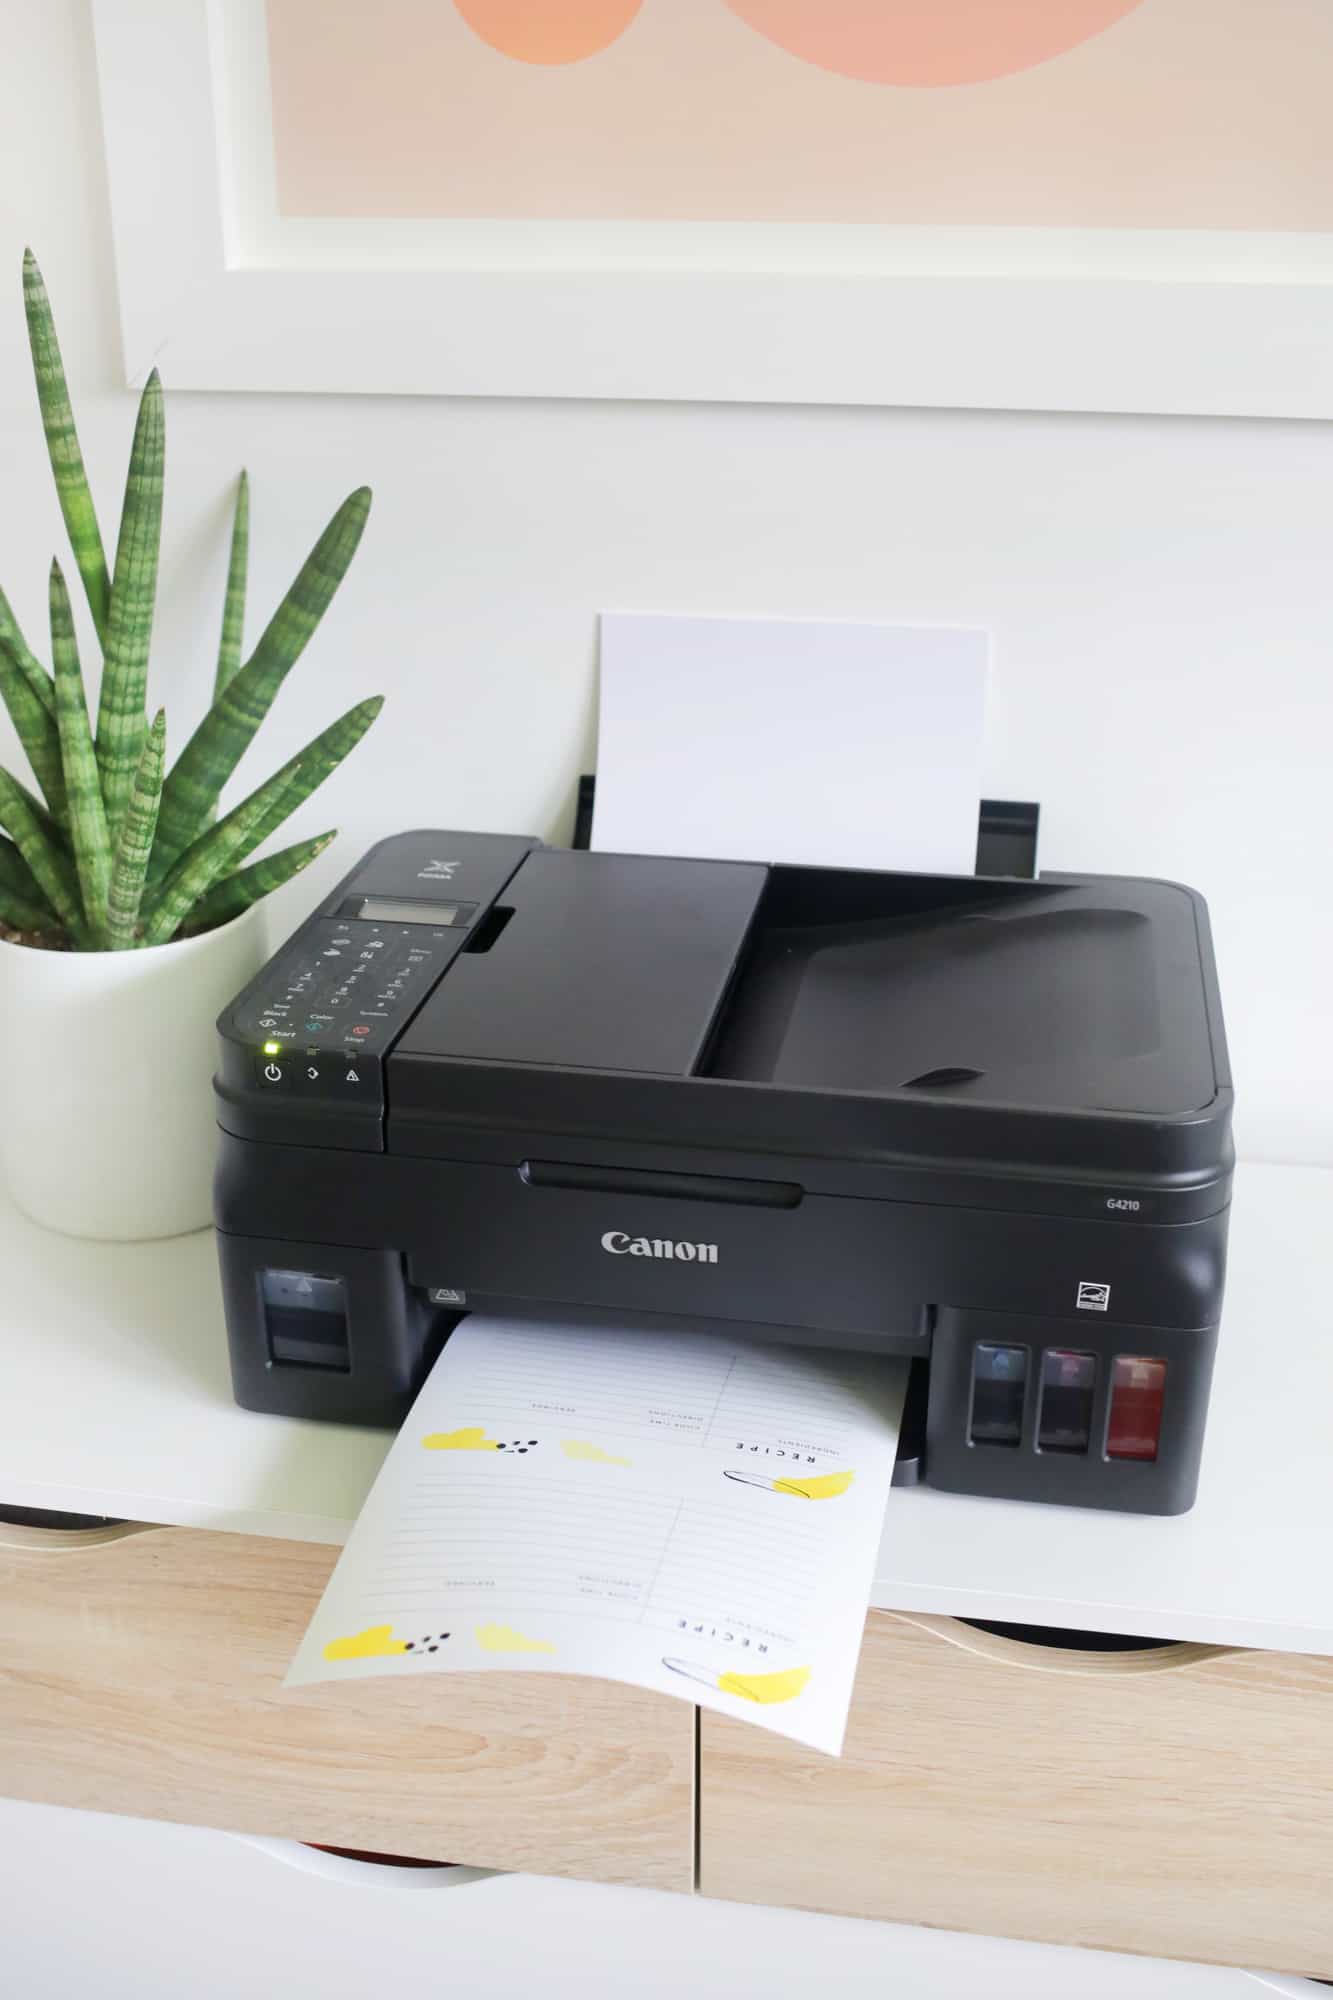
This project is how I organized my printed recipes. I worked with Canon USA to create this DIY recipe card box as well as the downloadable printable recipe cards you can use at home, too. I love being able to easily print at home, whether it’s a recipe I see online I want to try, or catching up on printing photos for my annual photo album. The one we used for this project is the PIXMA G6020 Wireless MegaTank, which has an amazing ink capacity and great printing quality.
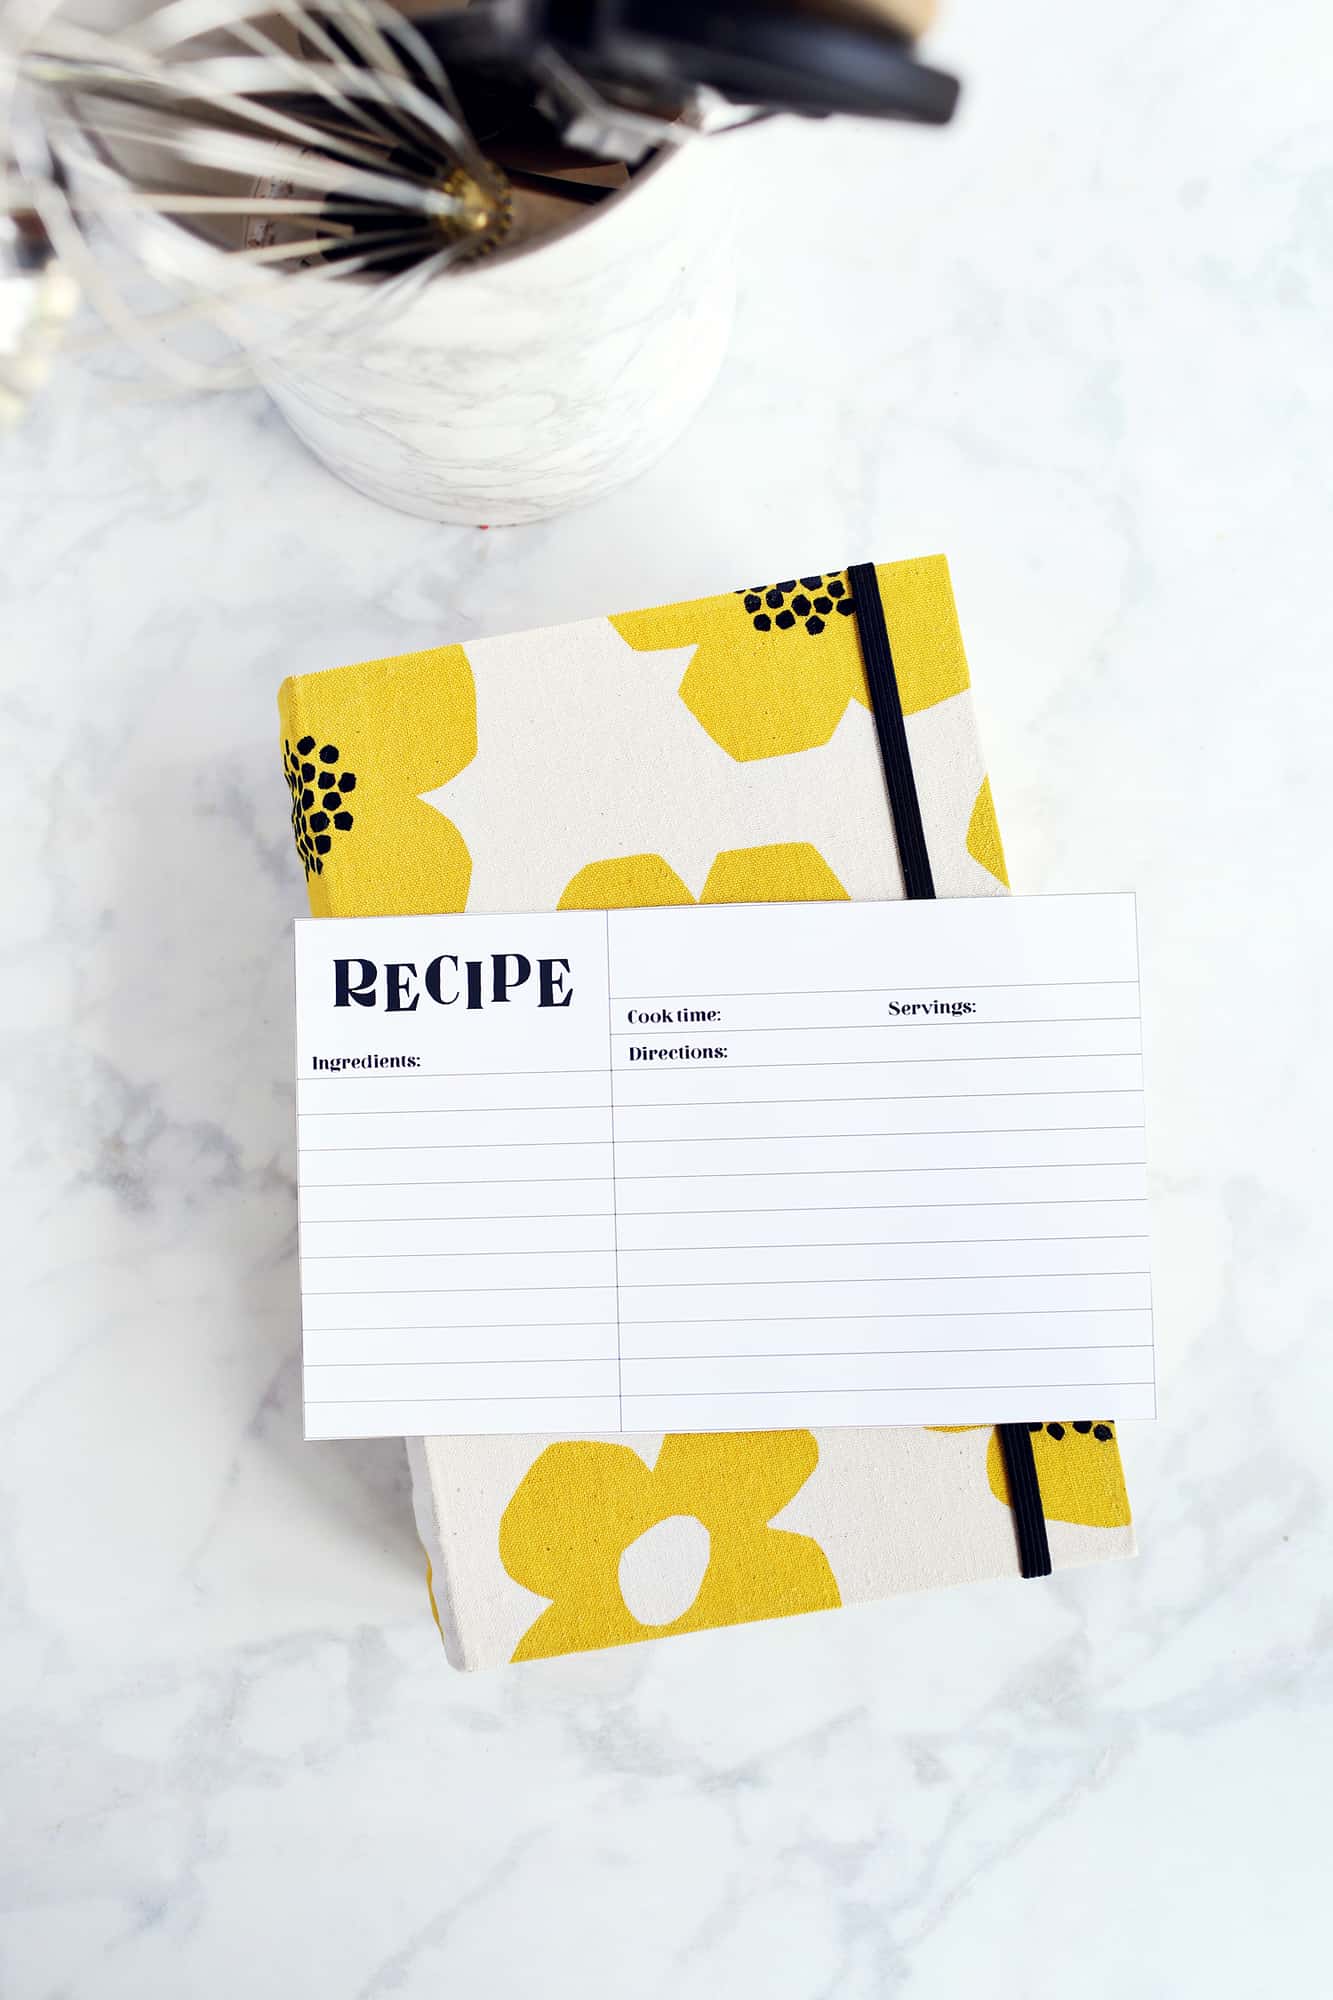
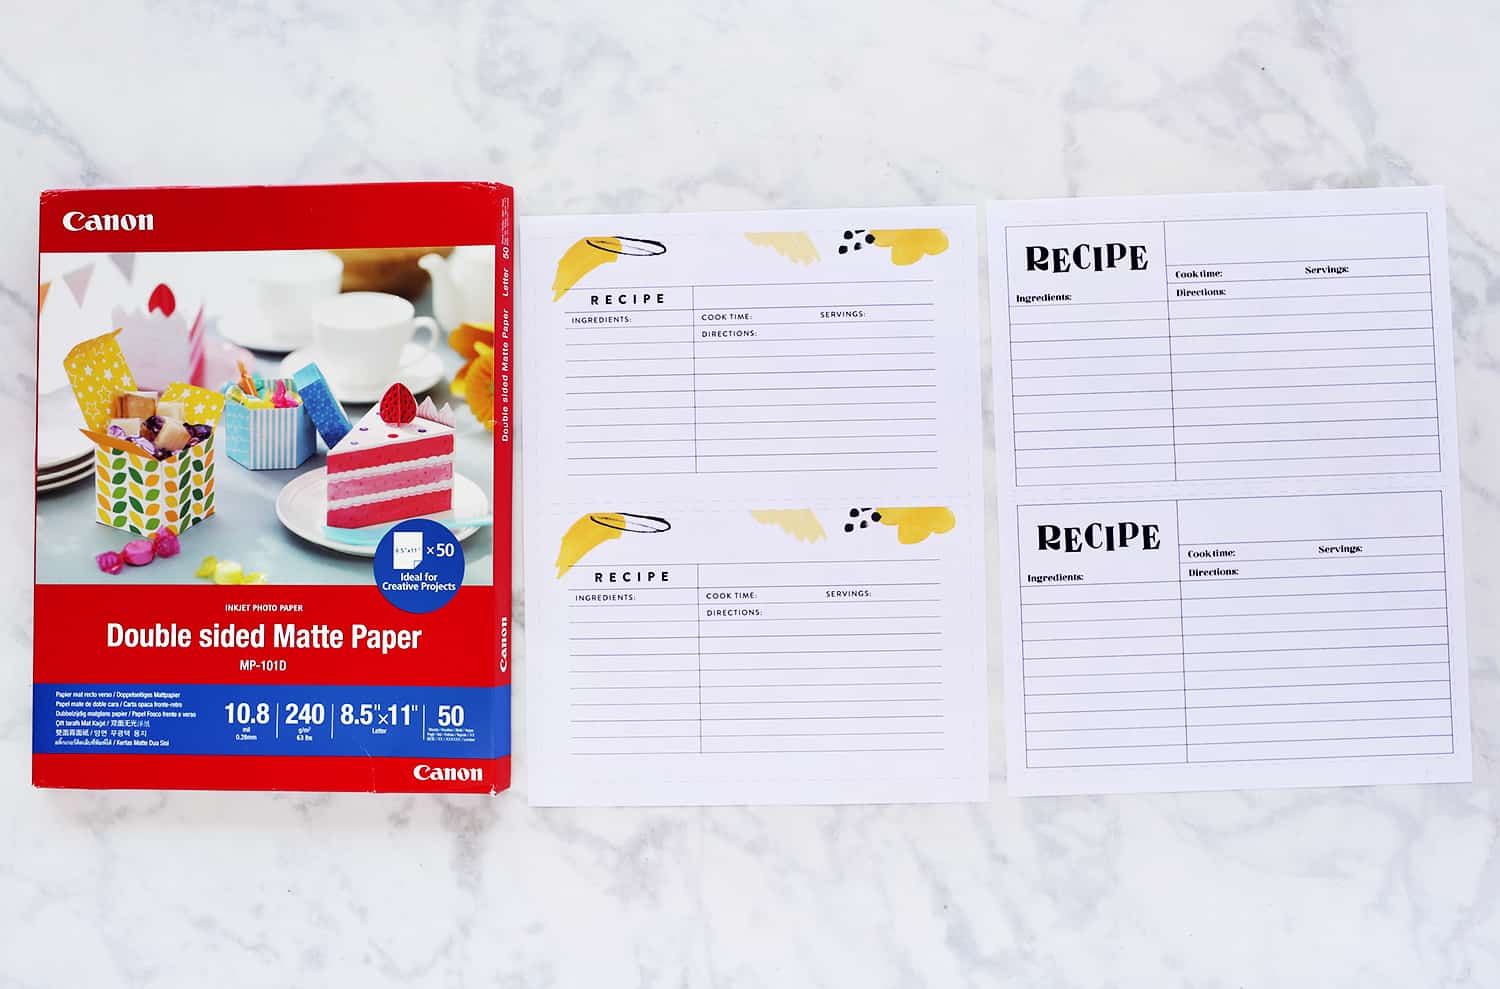 I also wanted to highlight Canon’s Double Sided Matte Paper, as it’s PERFECT for this project. It’s a heavy weight paper, so it’s ideal for printing things you actually want to last/save and I love that you could print recipe cards on both sides, using all the available space. Here you can see the two different design options we created for recipe cards.
Download to print them here.
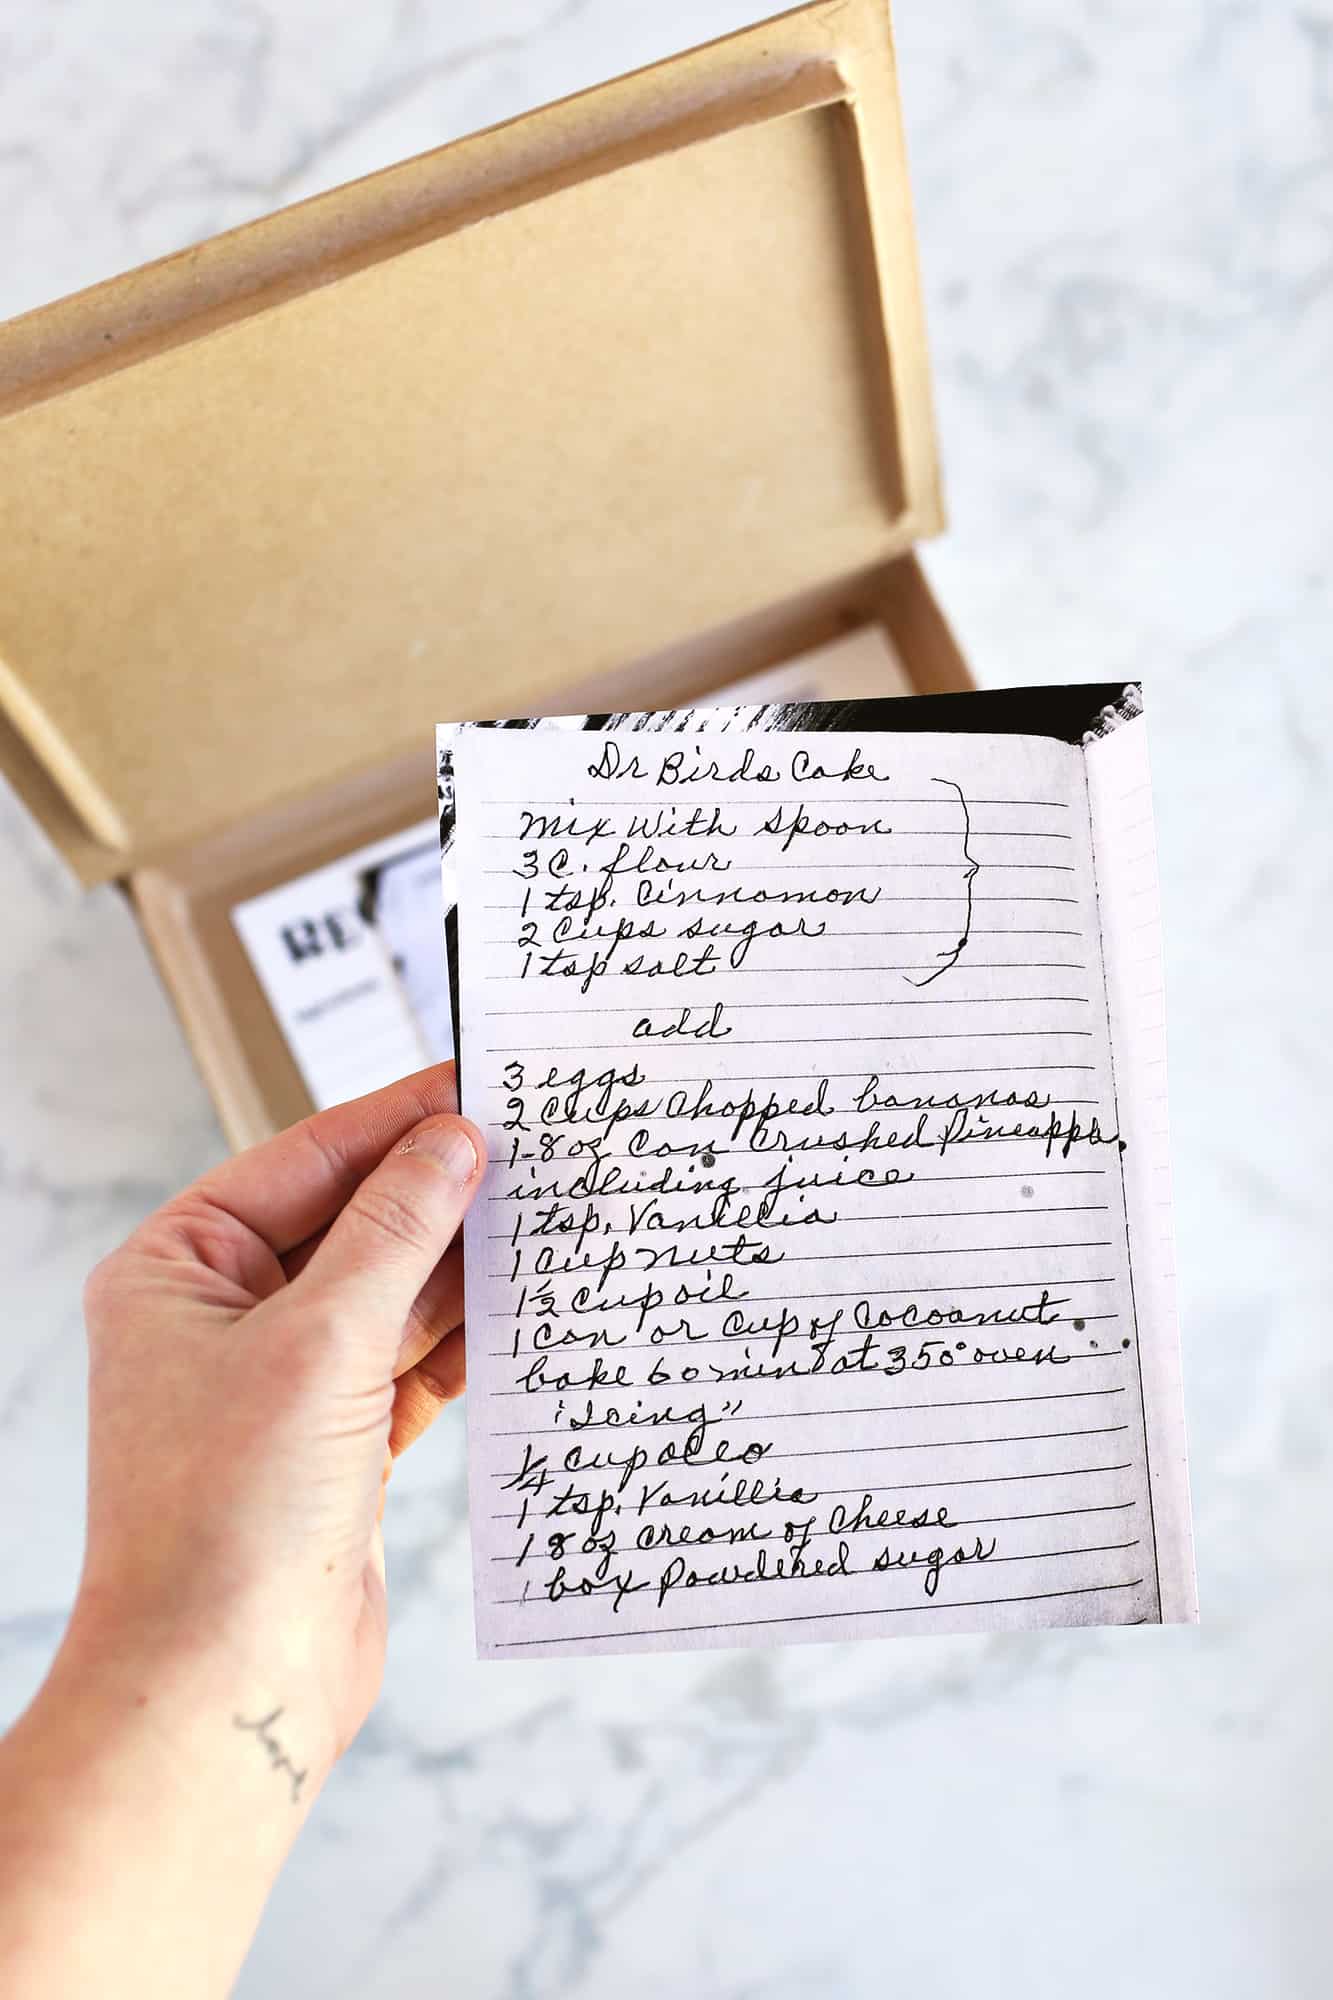 Another option is using your printer to scan and/or print family recipes. This is a recipe from my late great-grandmother, Lula. She was known for her kitchen skills and her love of good food. My mother has the original copy of this handwritten recipe, but she texted me a picture of it and I printed it with my home printer to save in my recipe card box. If you want all your recipe cards to be uniform, then you could add something like this to the templates we’ve provided. But, I personally like having a memento of my great-grandmother’s handwriting, so I don’t mind if my cards don’t all match. Once they’re inside the DIY recipe card box you can’t see them anyway, so it’s a great way to tuck away papers that may not perfectly match.
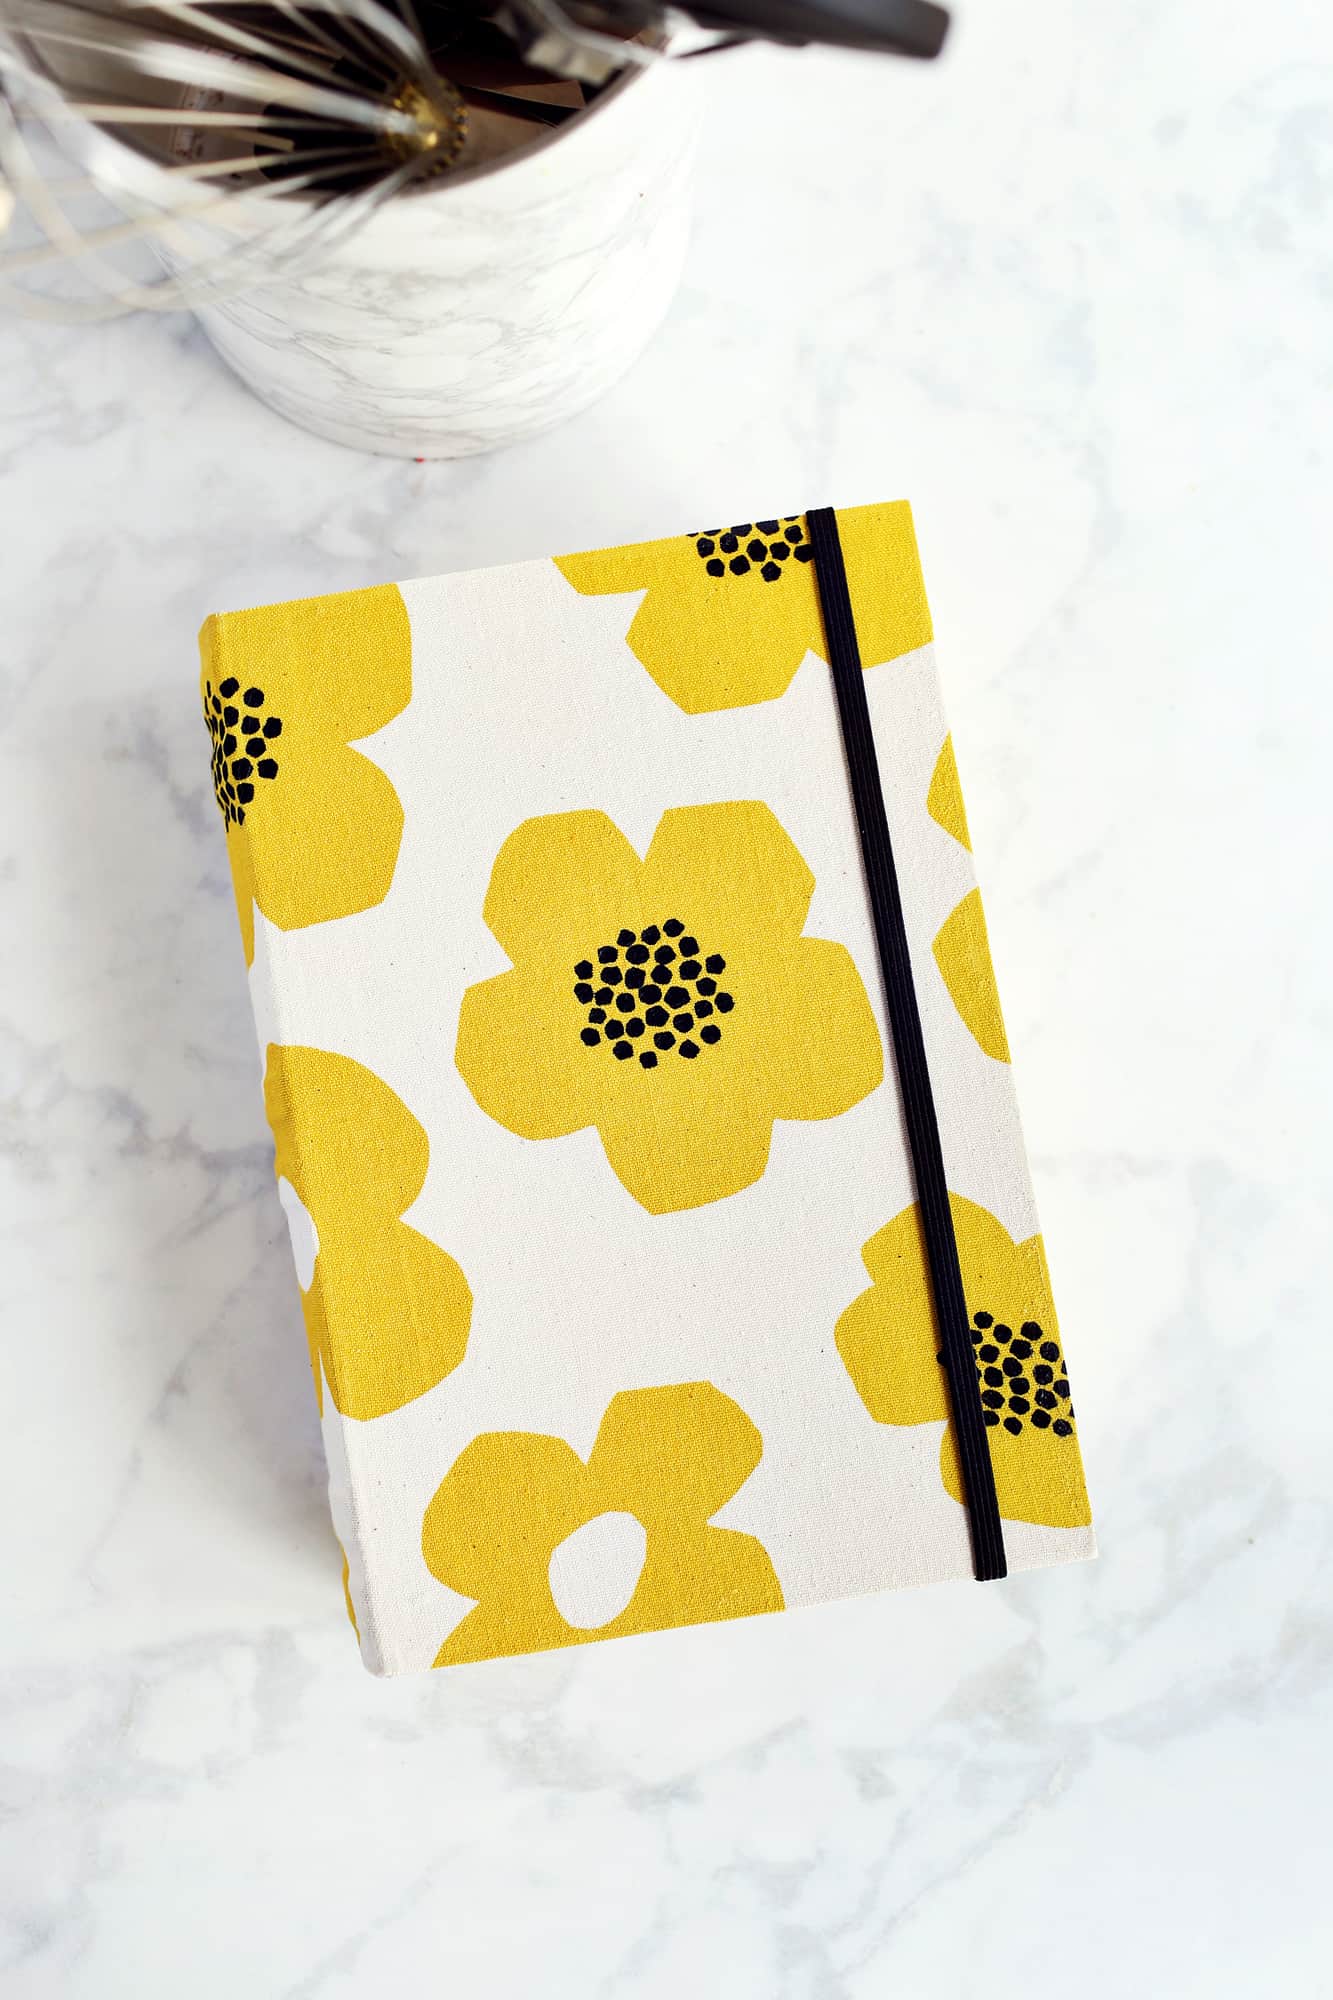
 As you can see, this DIY recipe card box looks like a fabric covered book. I love this, as I have it sitting on a shelf that contains many of my cookbooks so it just fits right in. Here’s how I made it.
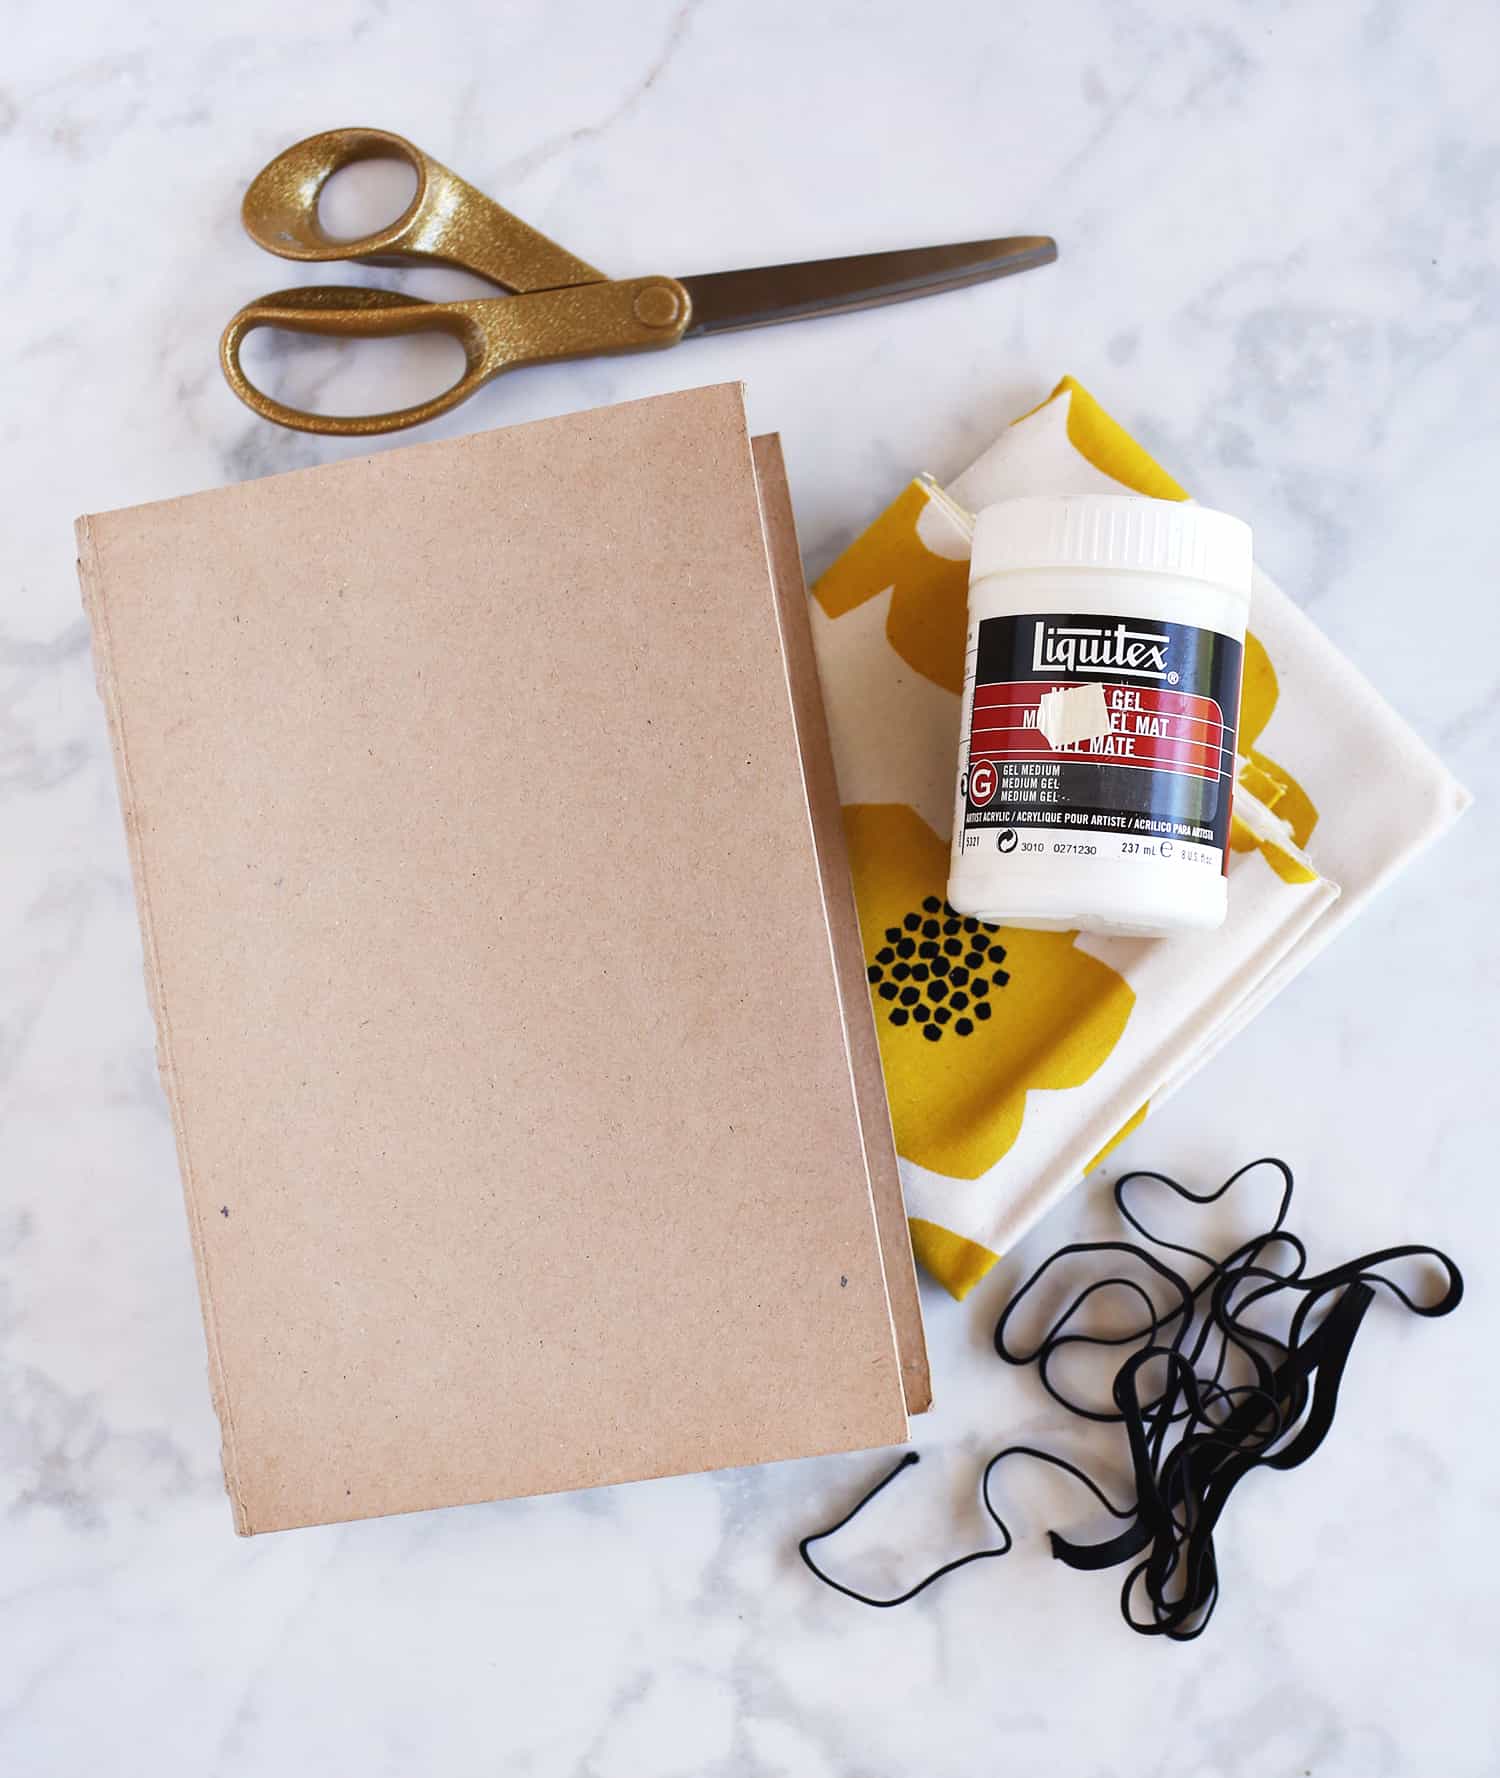
Supplies:
-paper mâché book box
-fabric to cover
-clear drying glue*
-elastic
-paint
-scissors
-paint brush
-stapler
*I used Liquitex medium gel mat glue for this project because it’s something I already had on hand, but it worked great. Elmer’s glue would likely work well too—you want something that won’t seep through the fabric too much and that will dry completely clear (without changing or running the color in your fabric.)
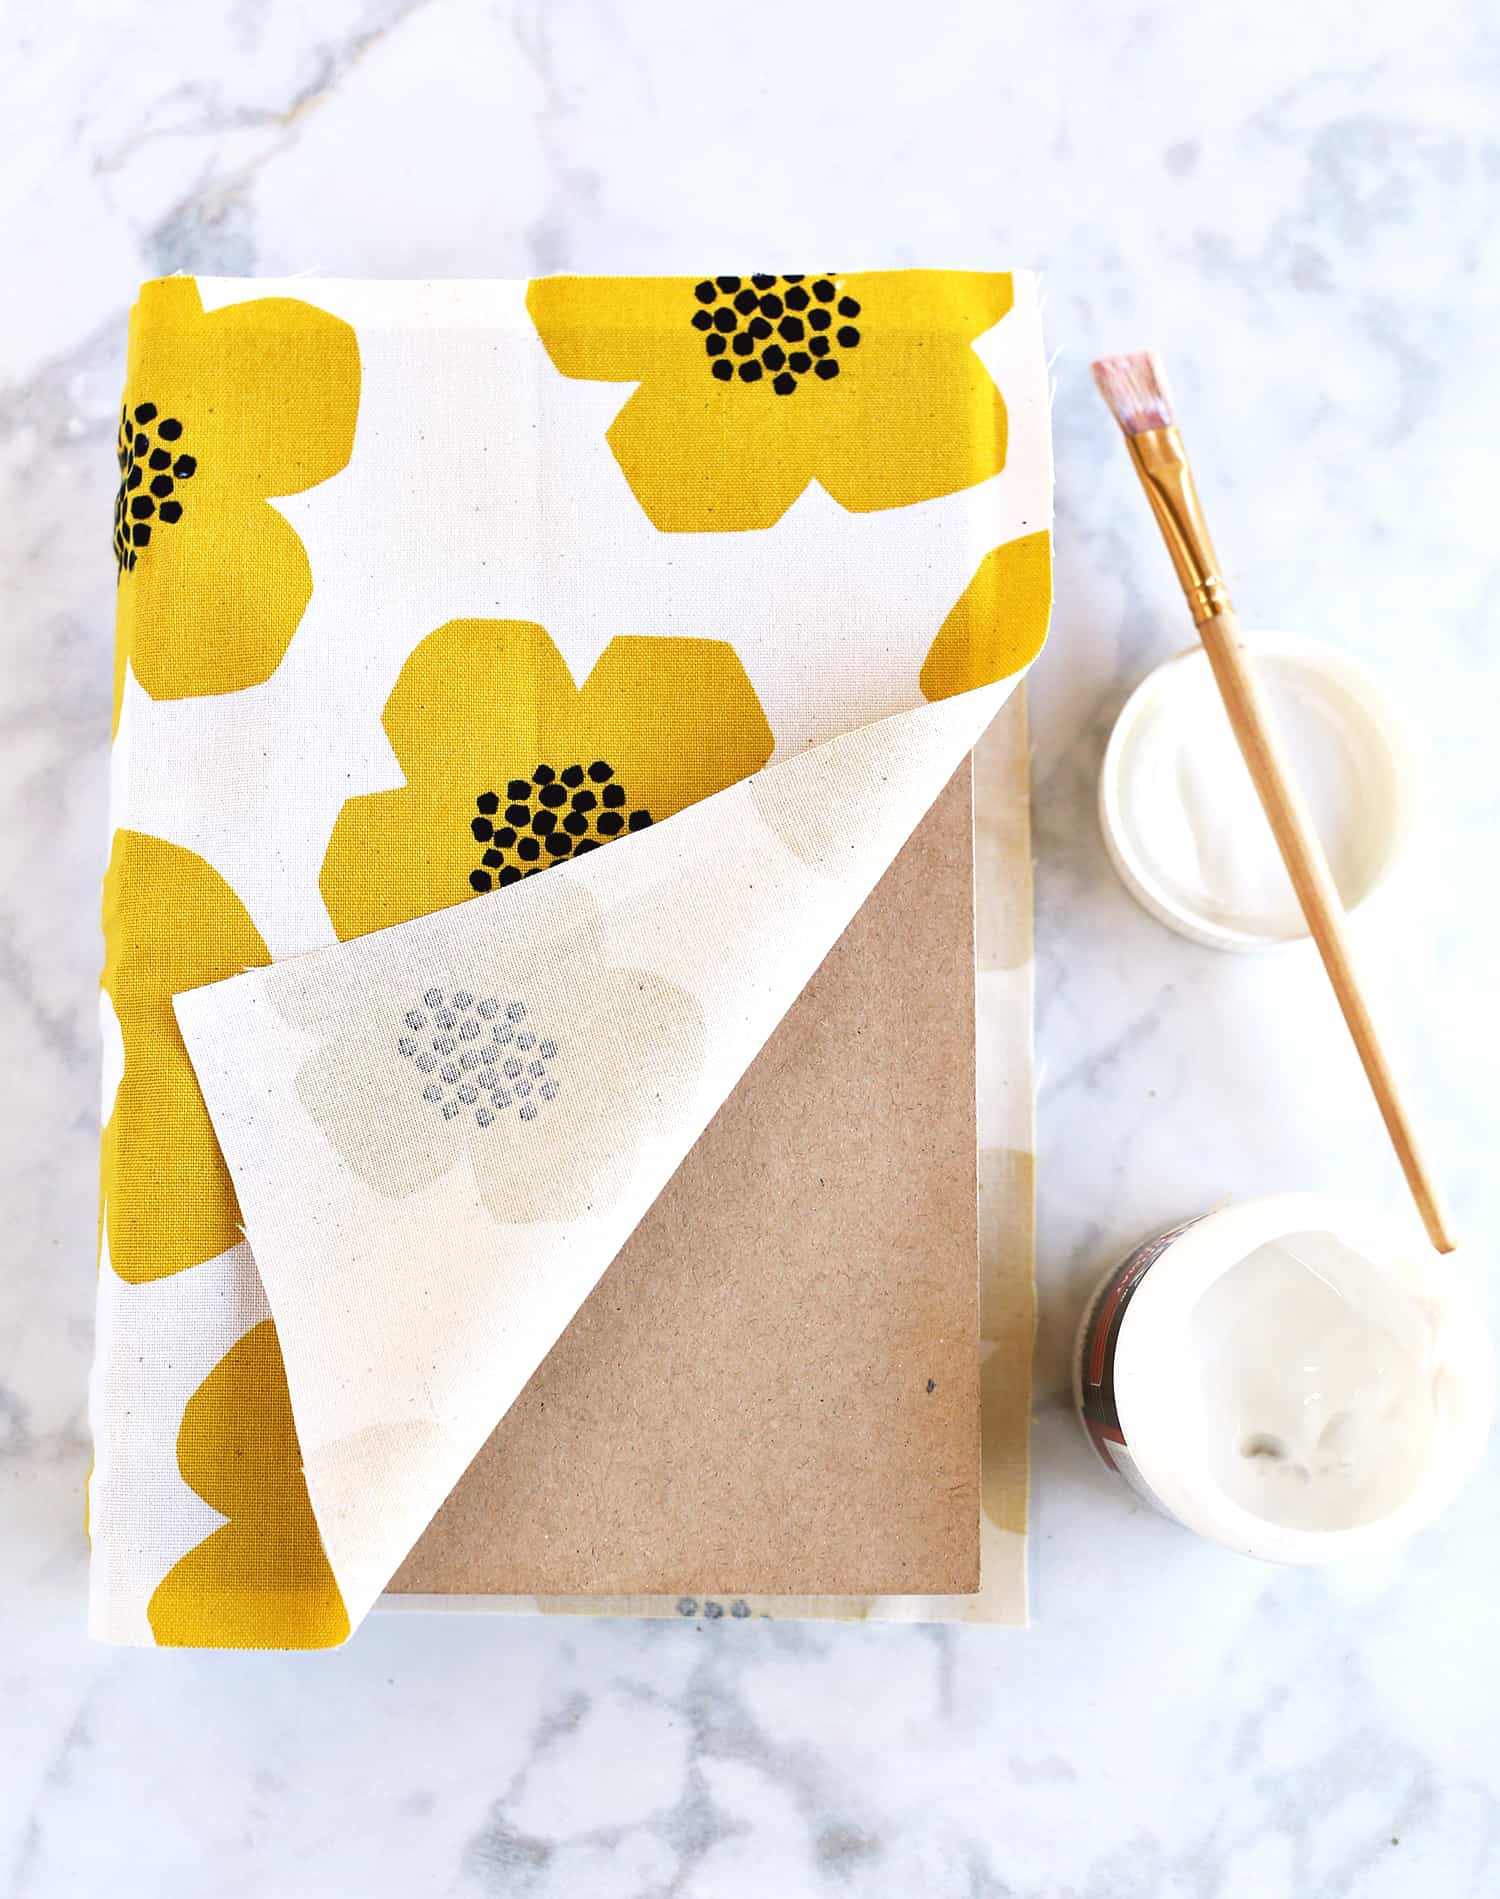 Step One: Add the fabric to the book cover. I did this by first cutting down my fabric to about an inch larger on all sides than the book’s cover. Then, starting at the spine, I used a paint brush to add the glue in a thin layer. I carefully stuck the fabric on the spine down first, then did the front and back covers.
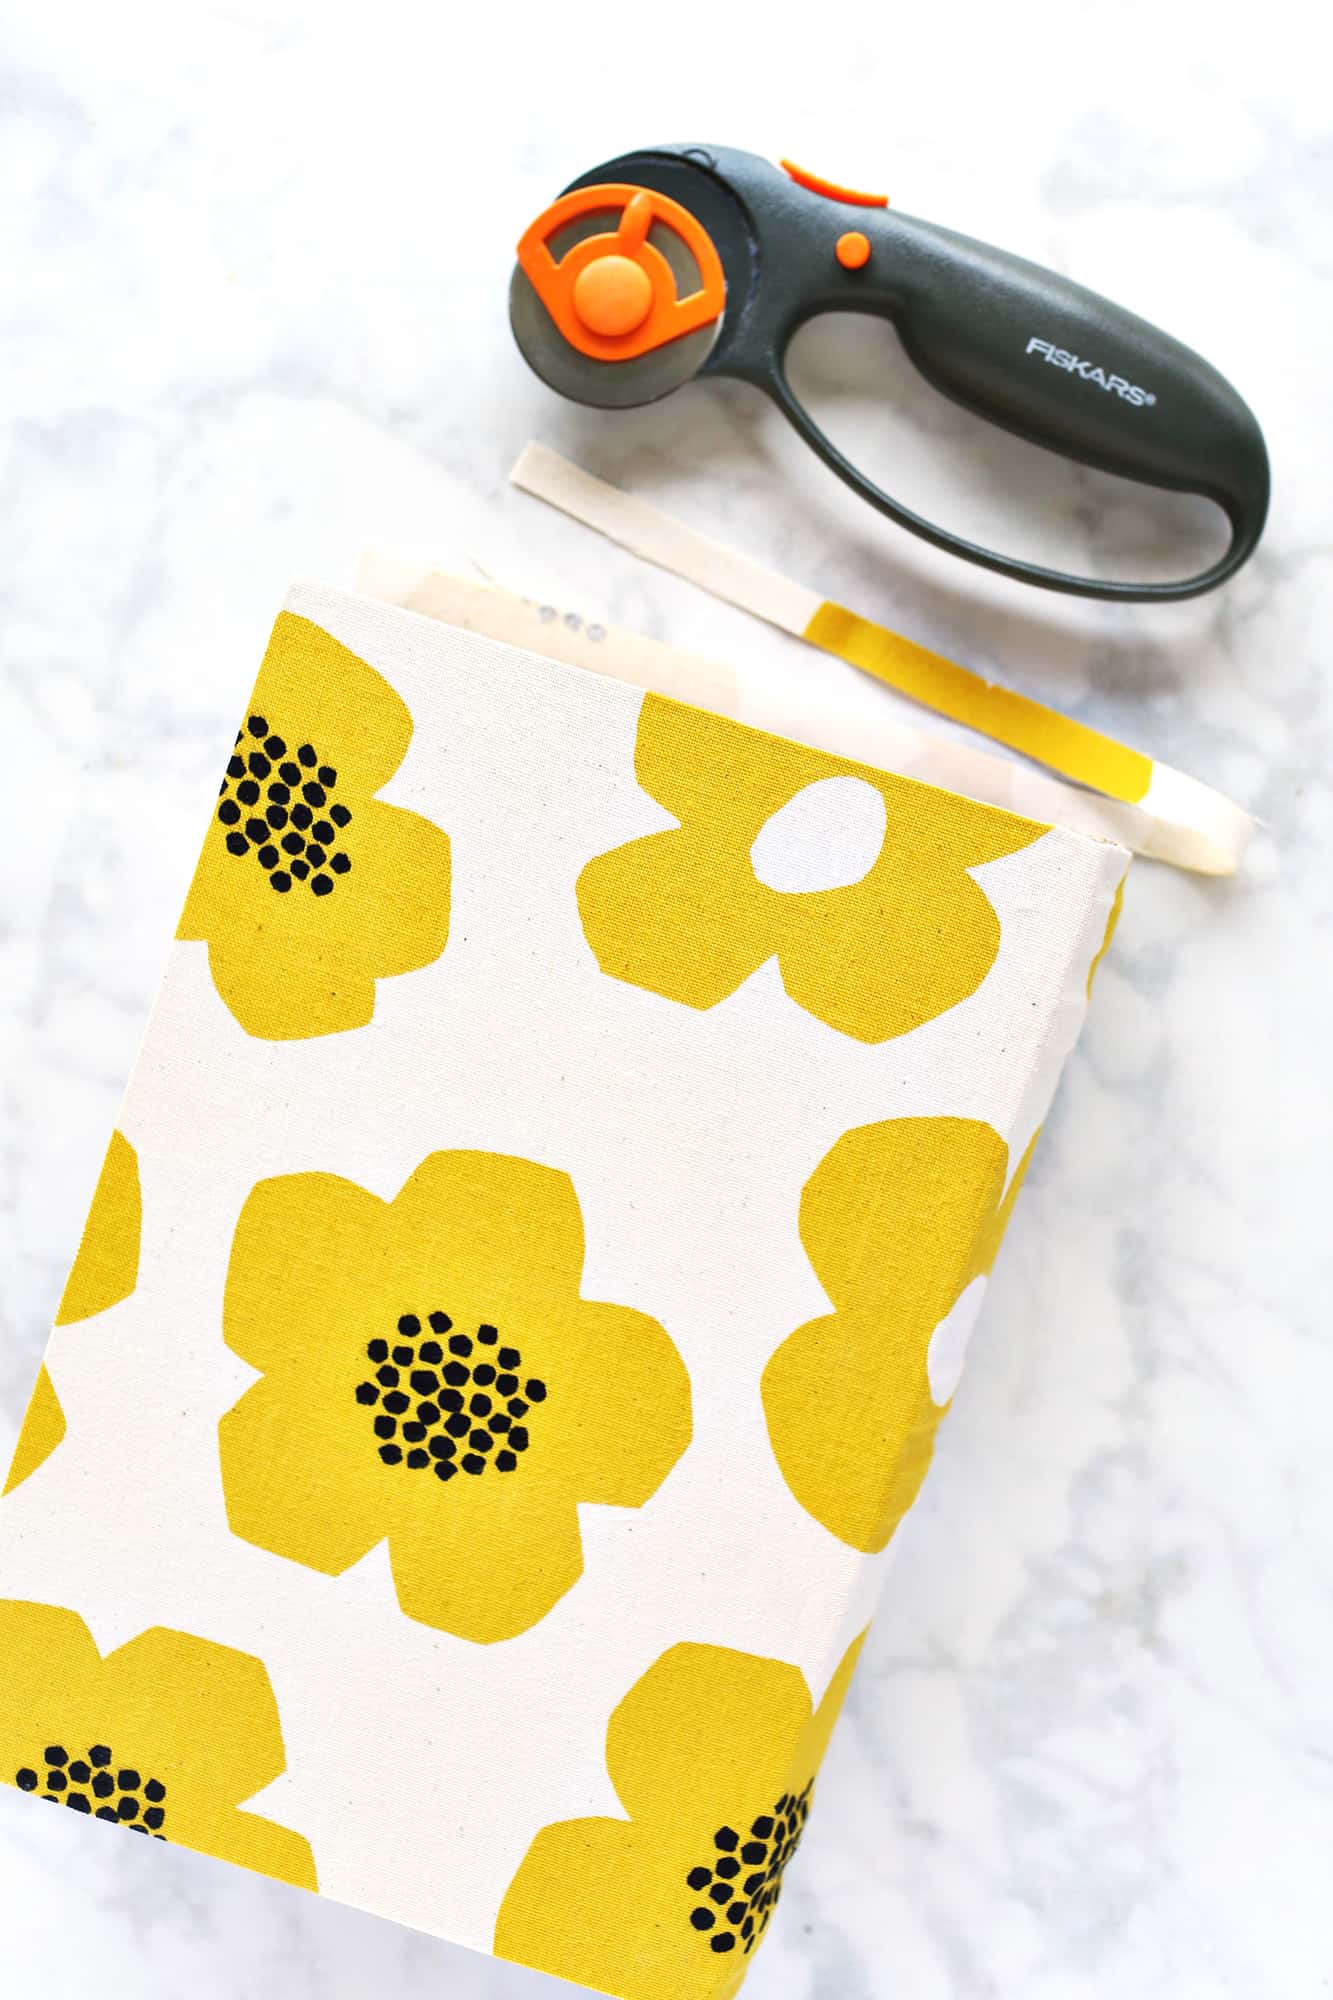 Step Two: Once the glue has completely dried, trim off the excess fabric. Take care so you don’t have any fraying edges on the fabric. Then, I used the glue and brush again to lightly coat the edges, to make sure they don’t fray in the future. If you wanted to you could give the entire book a thin layer of glue on the outside at this point too, just to project it more. Just an option!
 Step Three: Paint the edges of book, where the “pages” would be. I did this in a neutral antique white to go with the fabric I choose but you could paint it to look like pages or a bold color instead. Up to you!
Step Four: Add the elastic band. You don’t have to add this to your DIY recipe card box, but I like it because it will help to ensure the book box stays closed properly. I actually have a cookbook, Prune, that has one of these, and I love it, so that’s what inspired me to add one here. To do this, just add a very small slit on the back cover of the book to pull the elastic through. Then stable the elastic to the inside. If you want to clean up the look you could add a layer of fabric over this area, covering the stapled elastic on the inside.
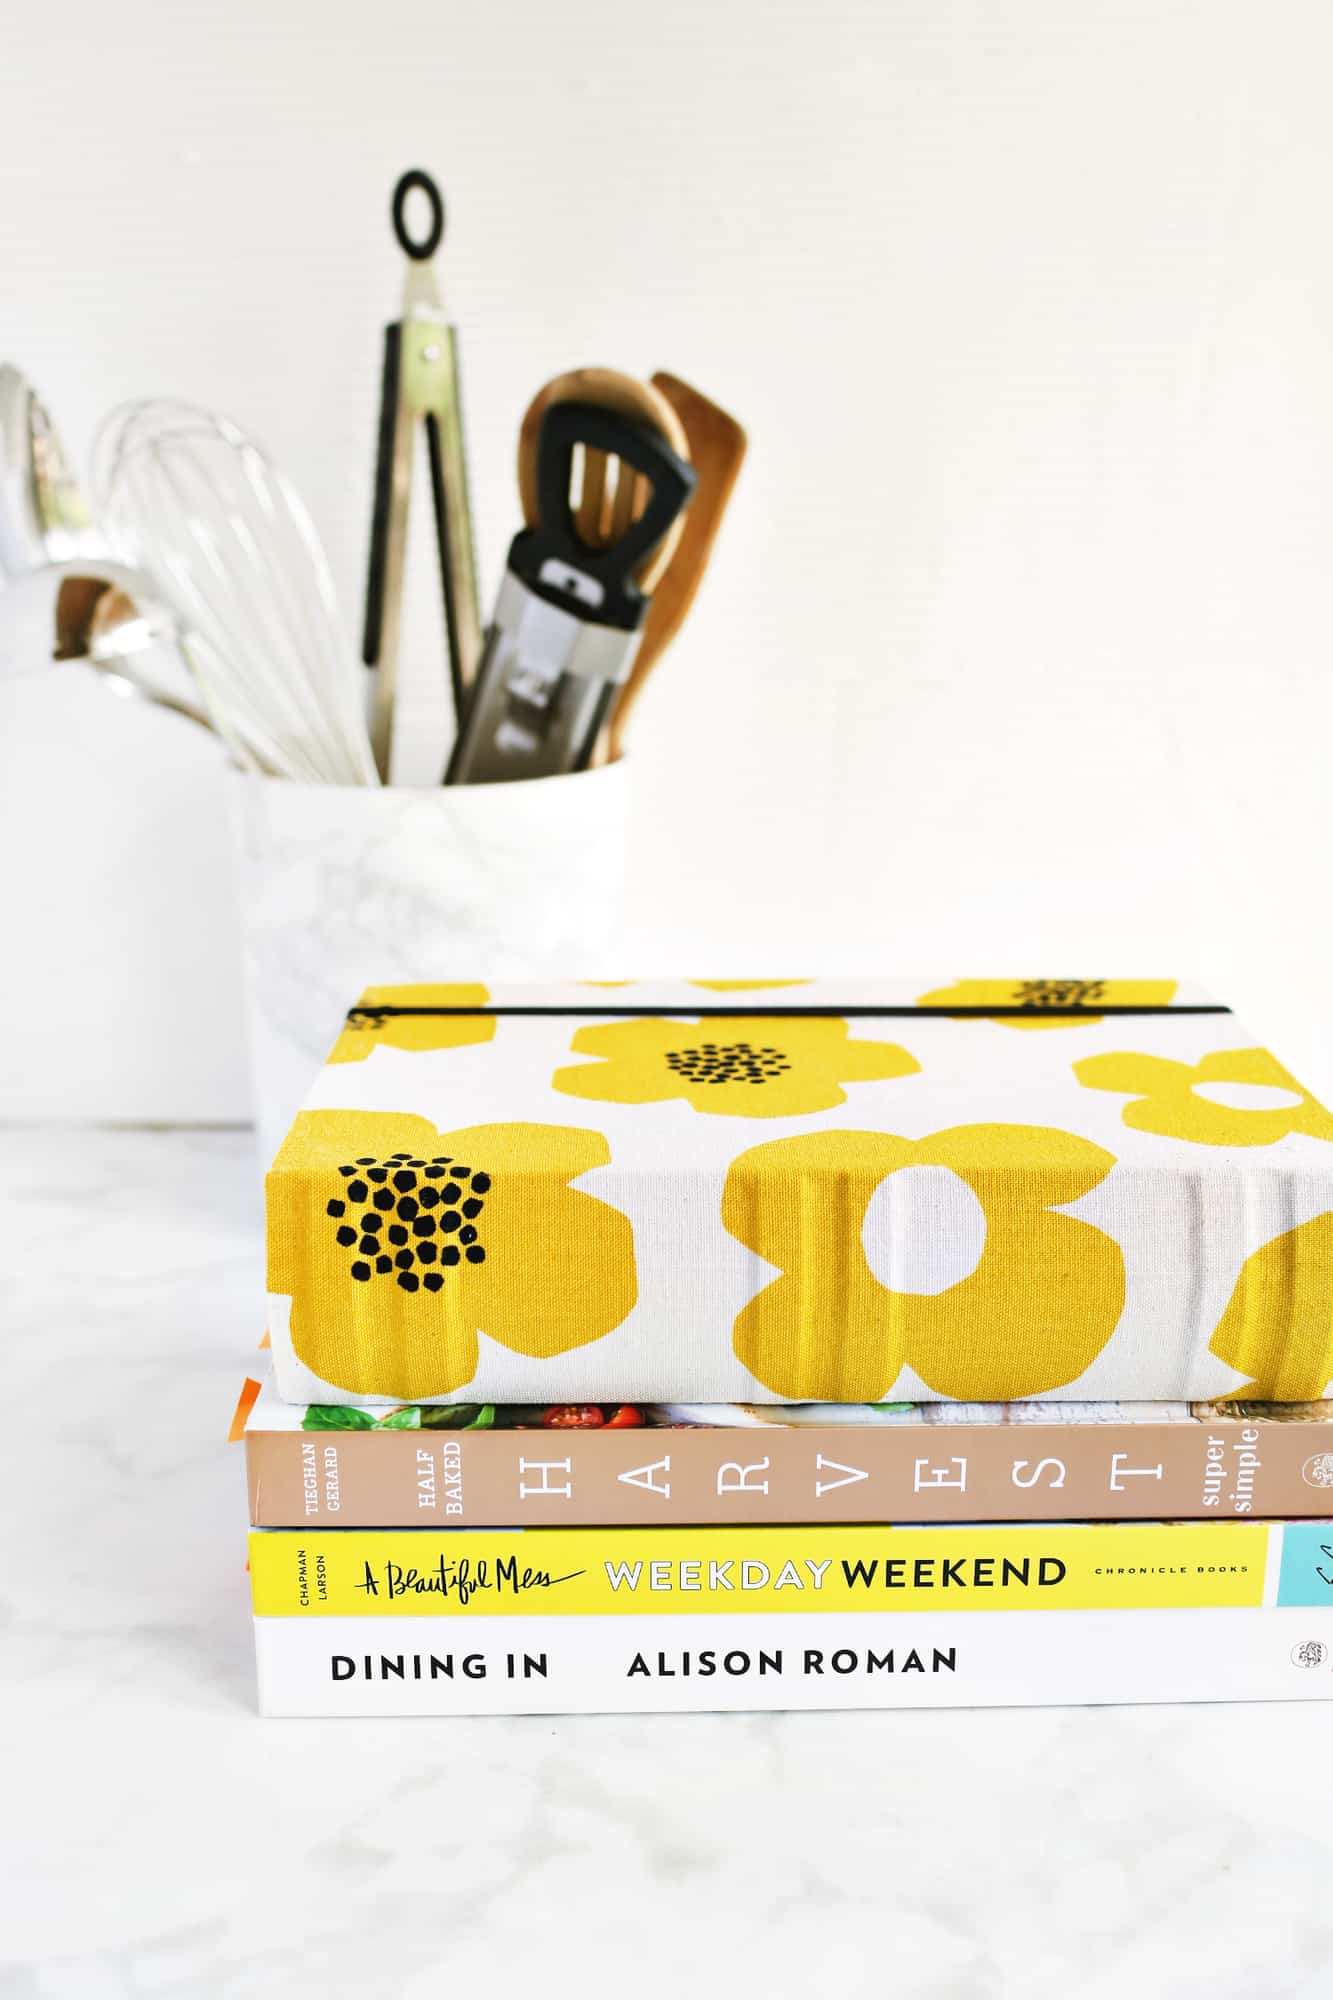 That’s it! A super simple project but a great way to organize your loose recipes. And here’s my DIY recipe card box sitting on my cookbook shelf.
  Depending what fabric you use, this project could look SO many different ways and fit different styles. This would make a really cute gift for a friend or family member who loves to cook or wants to get into it. Thanks for letting me share! xo. Emma
5 Comments
What a great fabric! And love that it’s another “cookbook” 😍
Yes, exactly! It’s just a different kind of a ‘cookbook’ on my shelf, with LOTS of different authors. 🙂
This is adorable! I love it! ❤️✨
Charmaine Ng | Architecture & Lifestyle Blog
http://charmainenyw.com
OMG! You’ve just solved my problem of loose pieces of printed out and cut/rip/torn out recipes from magazines!!!! Thank you, thank you, thank you!
This is such a cute idea! Now I want to start a tradition of keeping family recipes then passing them down in a custom box!