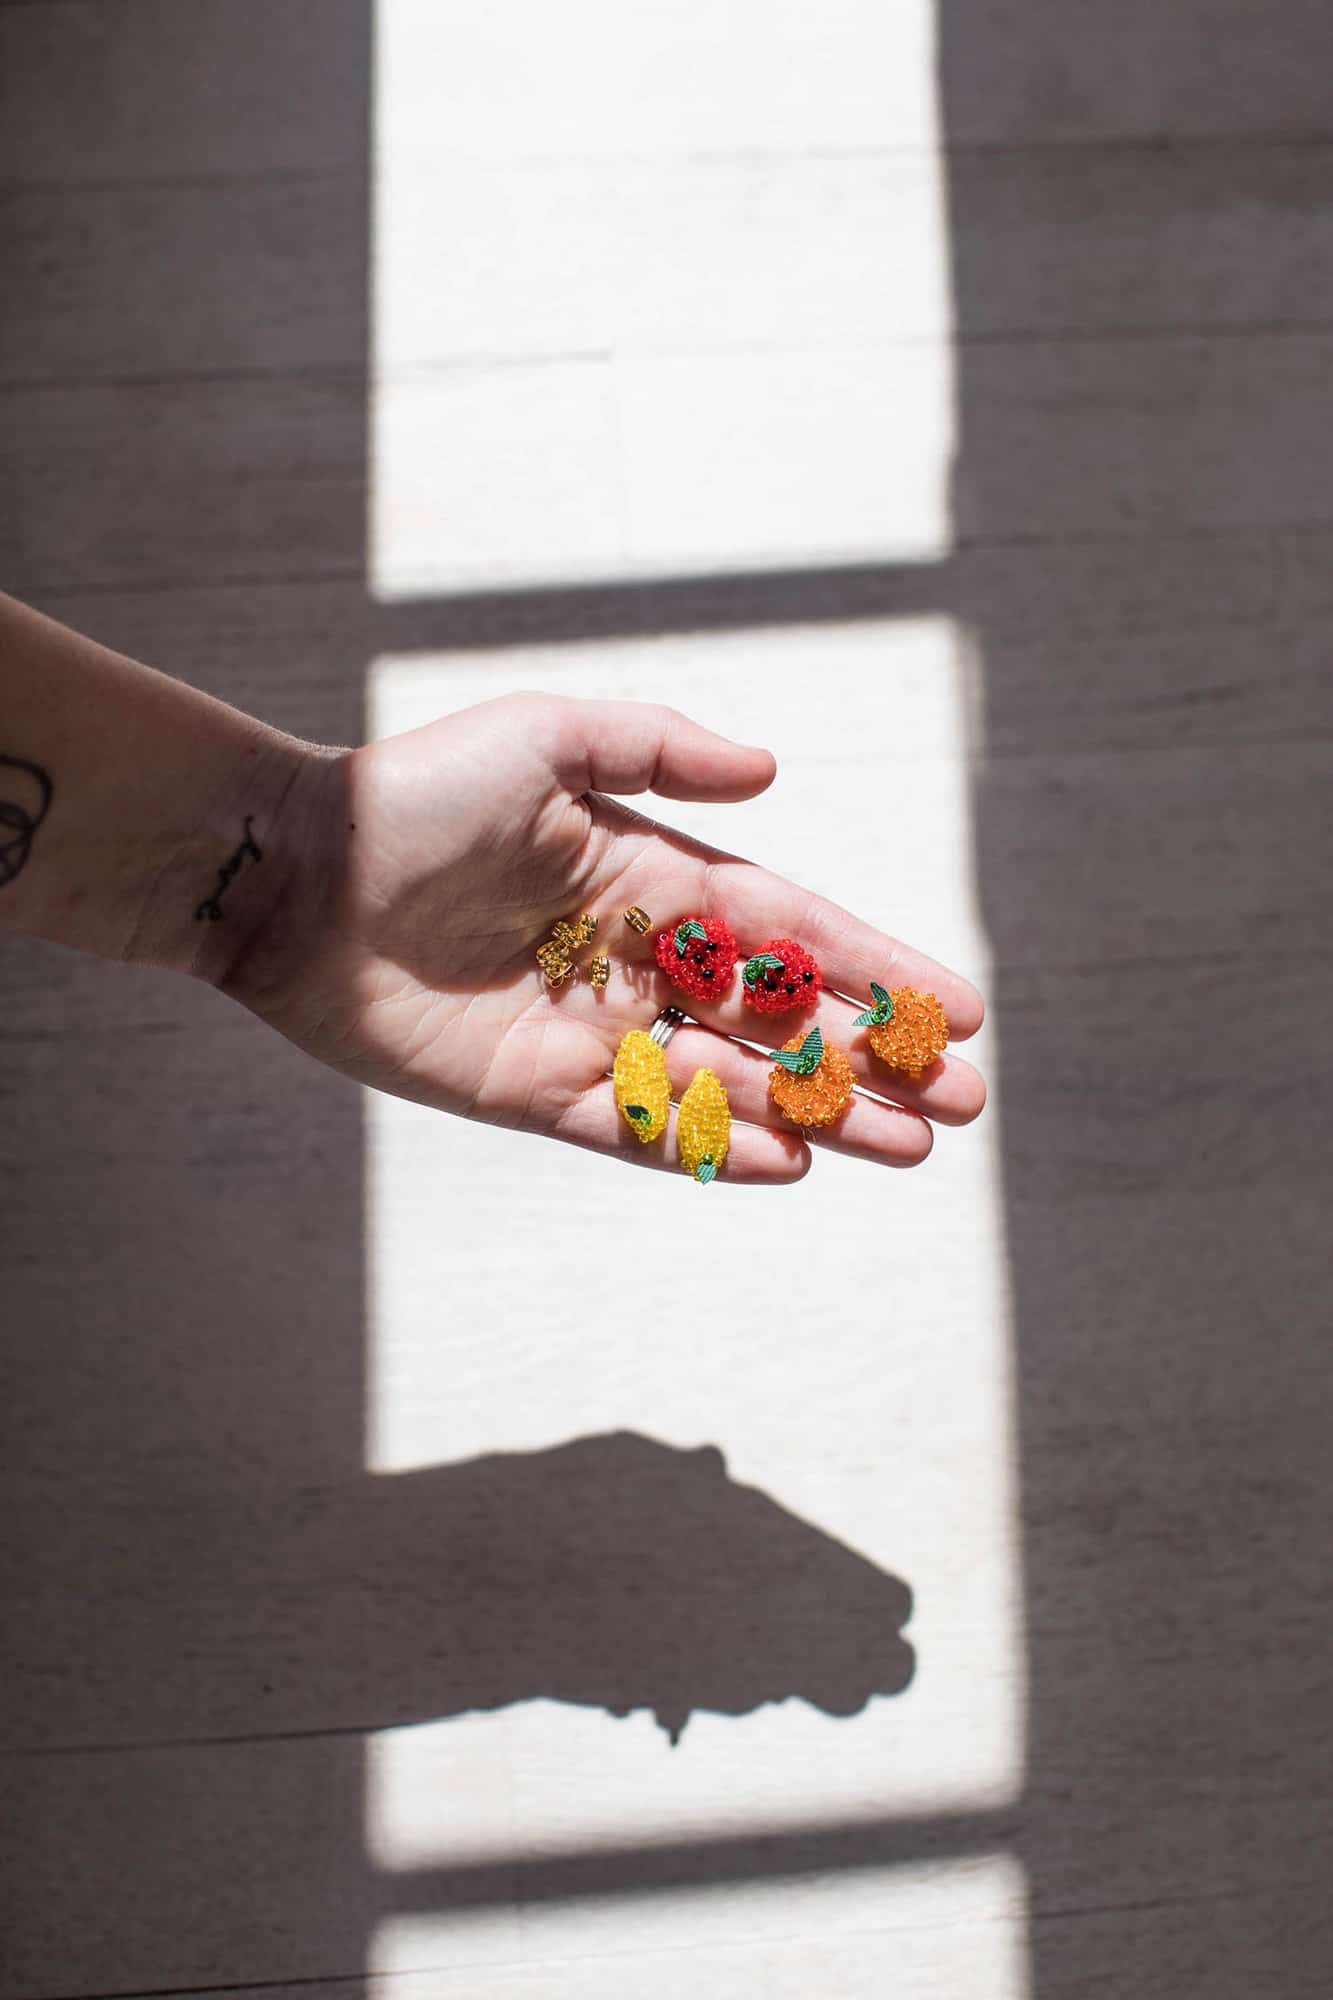
 Hi friends! Excited to share a really fun little craft project I worked on recently—these DIY seed bead earrings. Making jewelry from supplies I found at craft stores was my gateway into the craft world when I was in middle school and high school. I loved making jewelry and I still do. 🙂 This is a small scale project that anyone could make. I centered my designs around fruits, but there are about one billion design possibilities. I also love having something to work on like this while I watch TV or listen to podcasts. It’s really fun to make things, although I doubt any of you are surprised to hear me say that. Ha.
I partnered with JOANN for this DIY project. I bought all of the supplies from my local JOANN in Springfield, Missouri, where I live. You can also buy supplies through their app (download it if you don’t have it already!). I personally love the experience of browsing for craft supplies in store—I usually get inspired by all the colors and options and, I’ll be honest, I often buy supplies for more projects than I originally planned because I get INTO IT while I’m there shopping. But, I use the JOANN app to check for coupons. Not only will it show you coupons they may be running nationally, but you can also set your location and see any deals your store might be running that week as well.

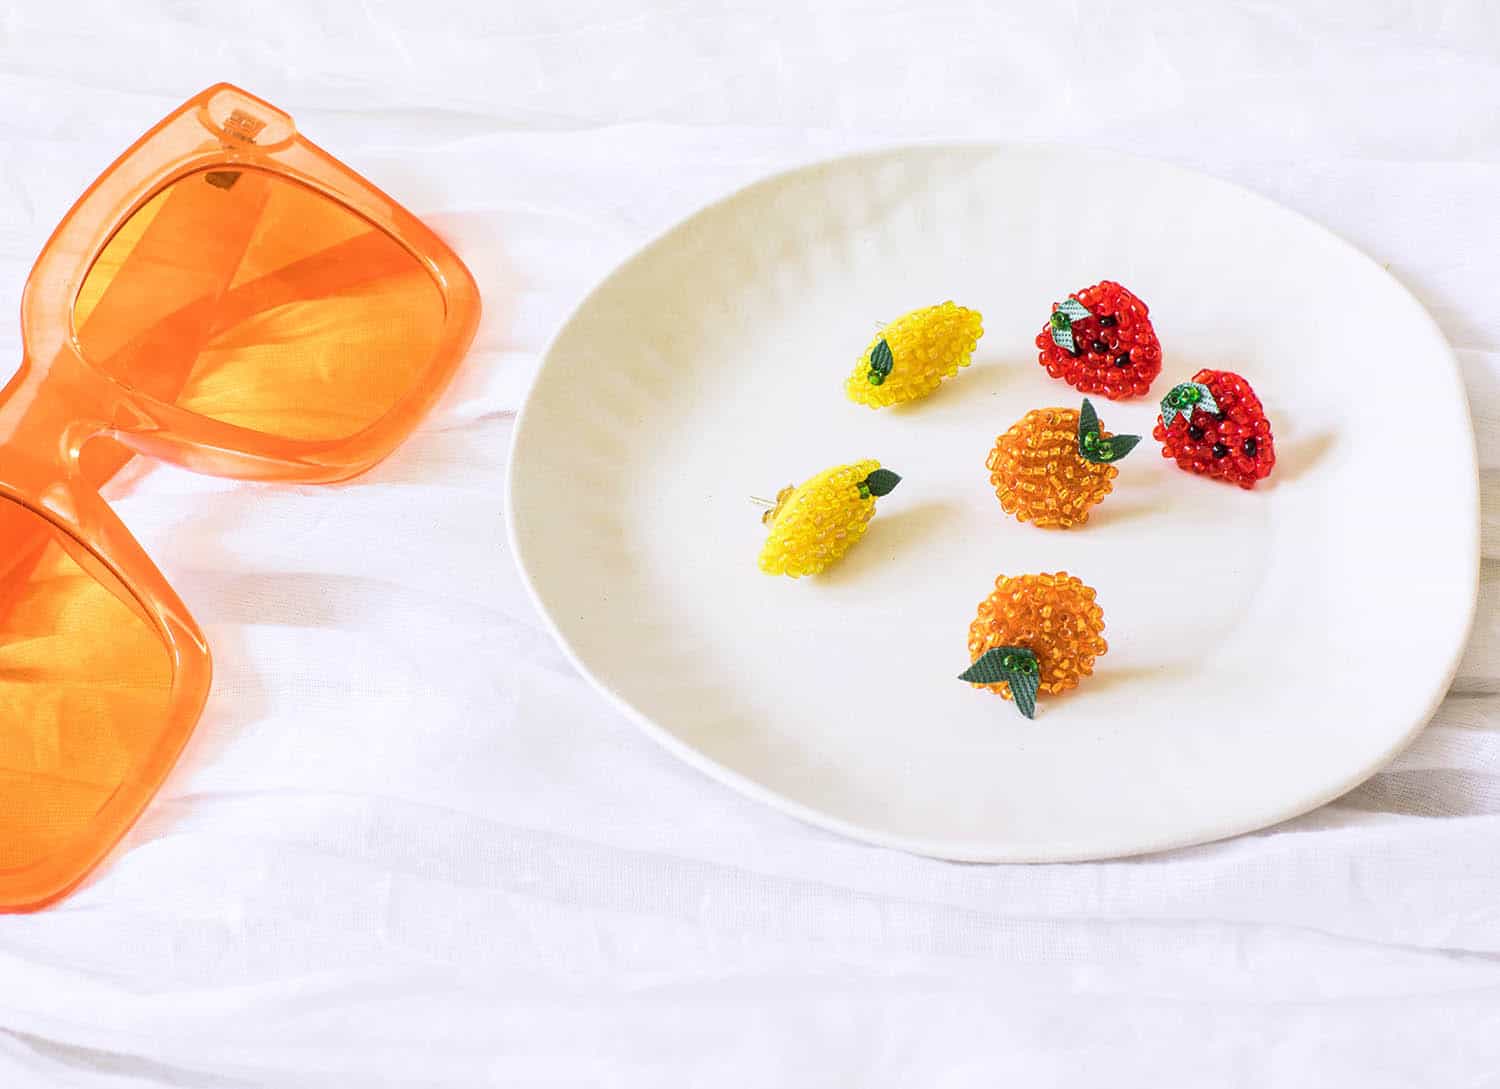
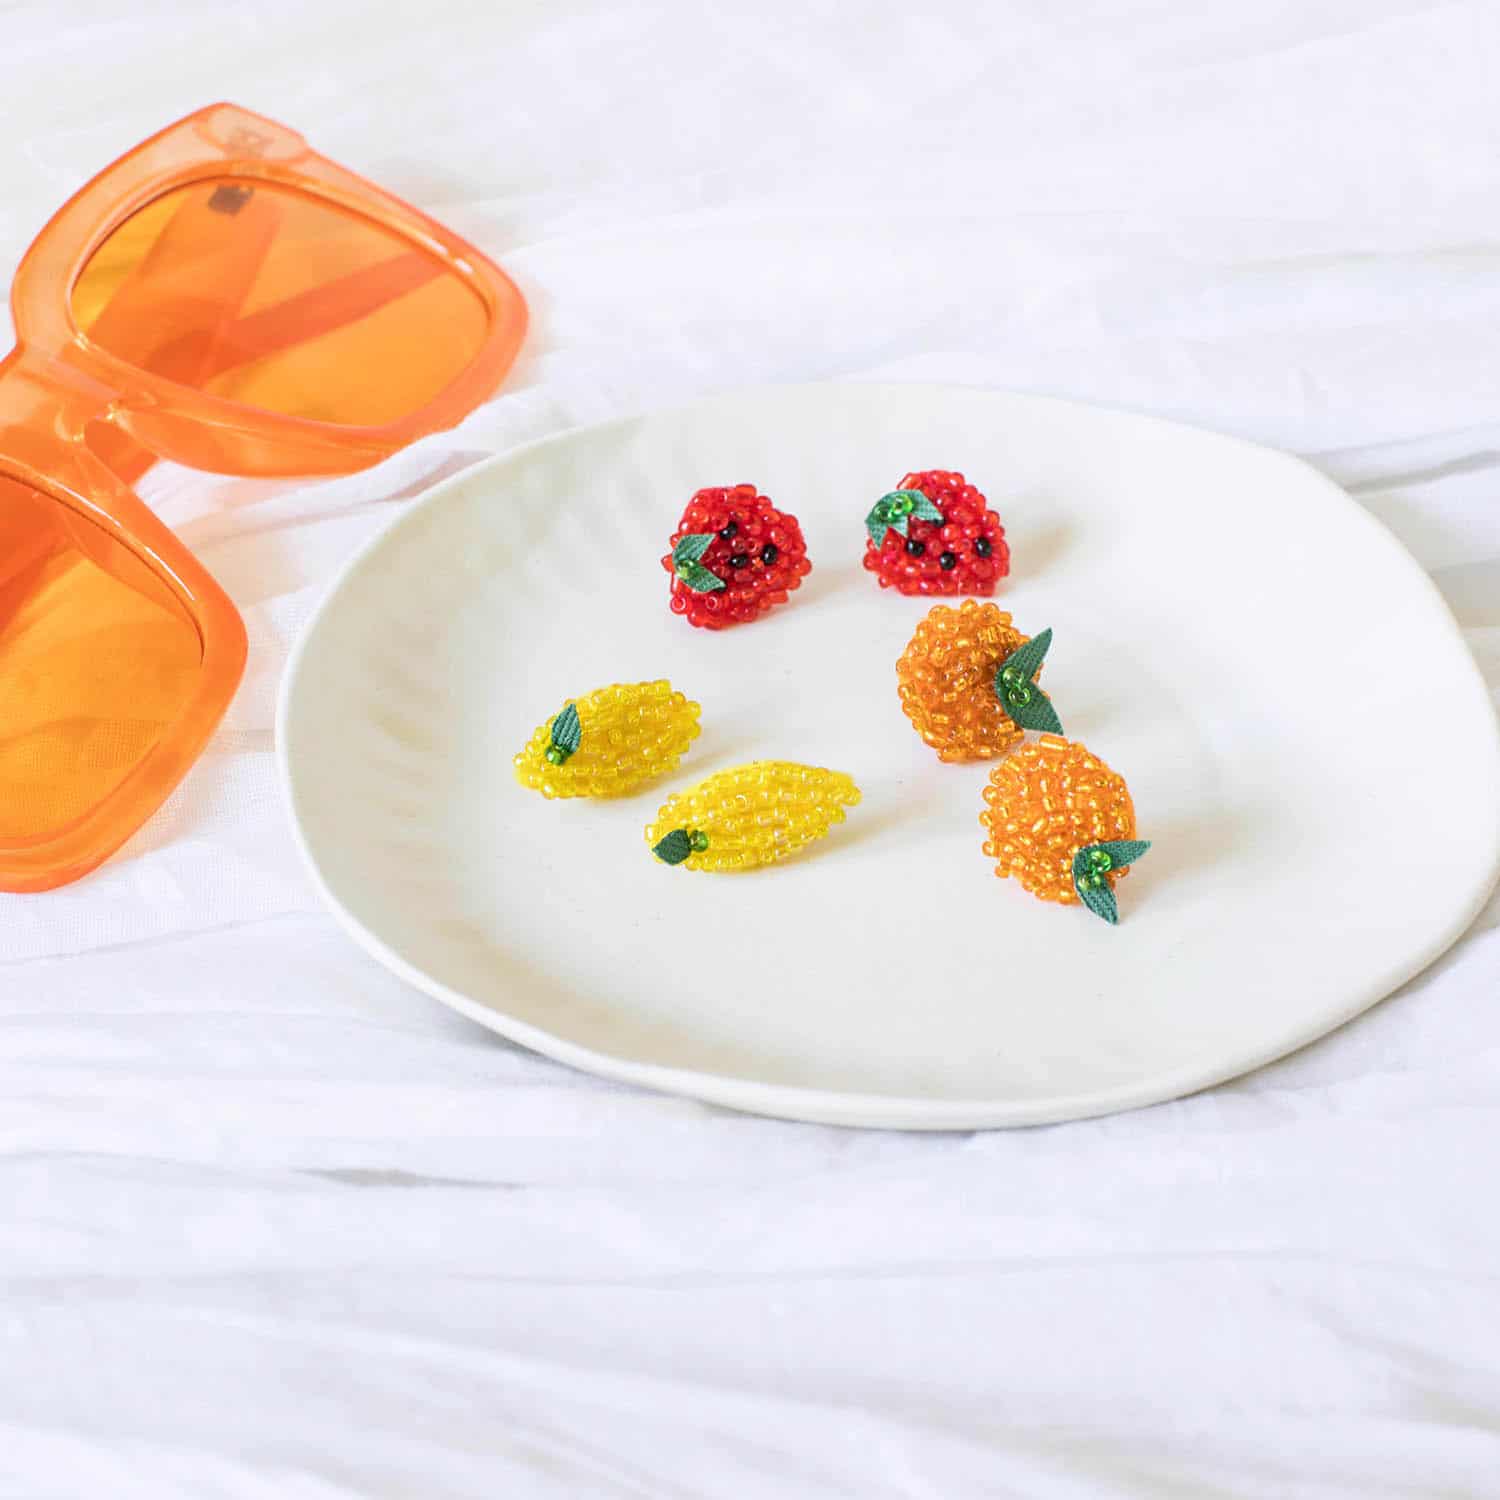
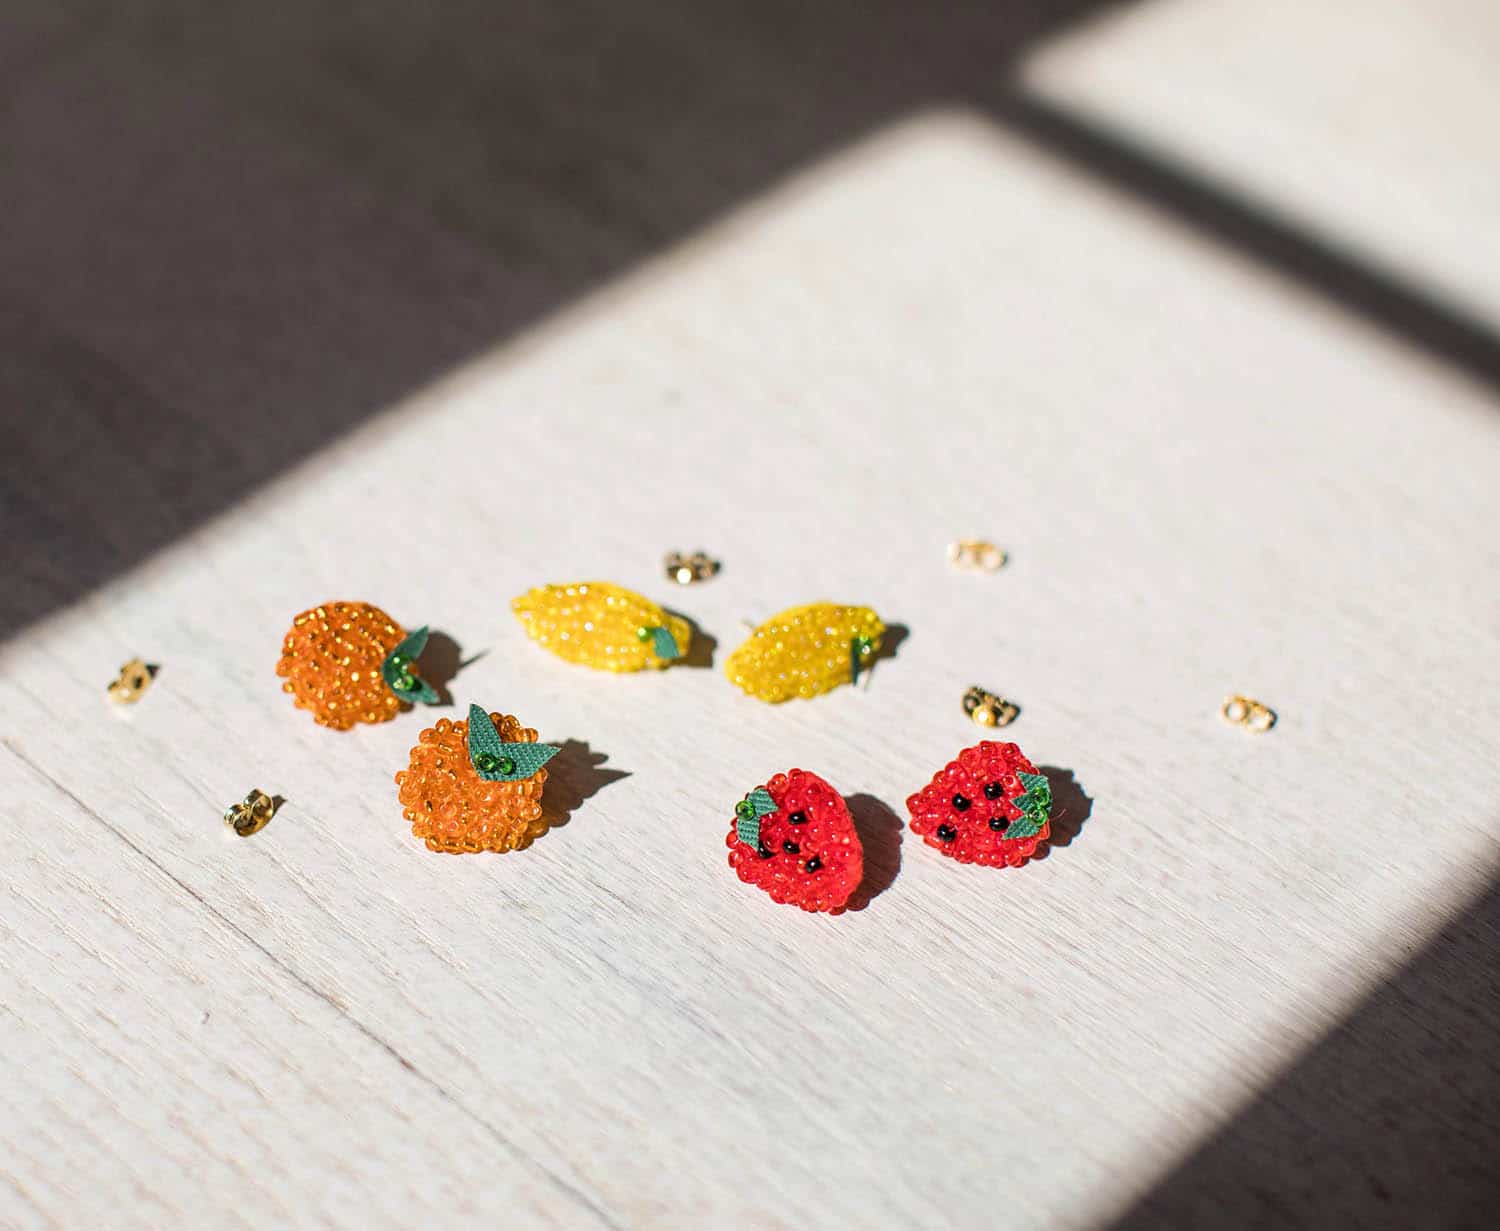
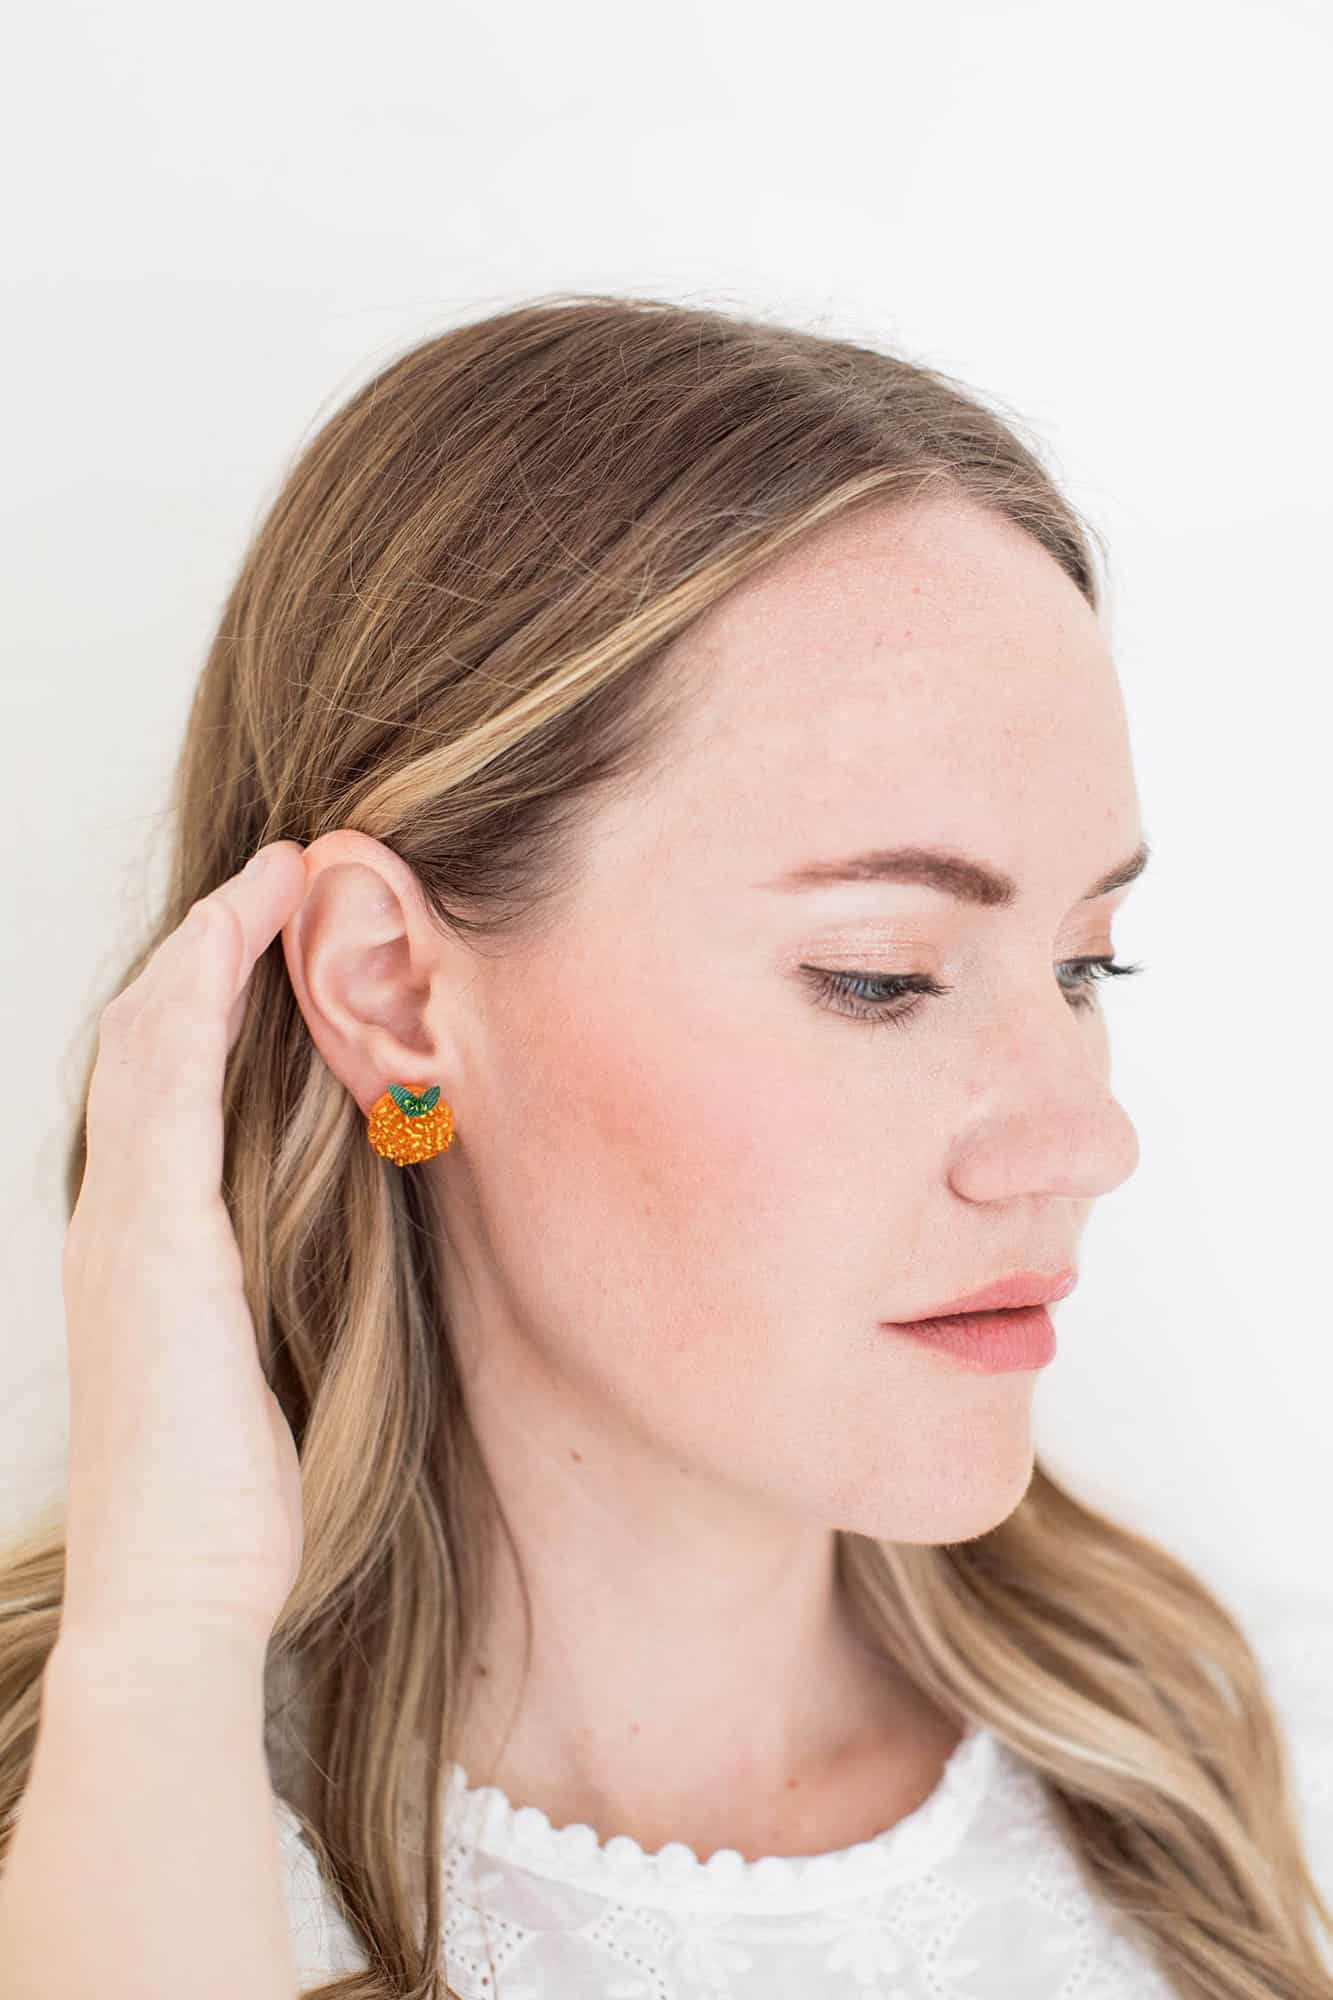 I love how these little fruit earrings turned out! As I was planning the designs, I thought I would like the lemons the best, but I think the little oranges turned out to be my favorites. At least those are the ones I’ve worn the most since making these. But like I said, there are a million different designs you could create because seed beads are VERY versatile to work with since they are so small and come in basically every color. I had thought about creating maybe some little cactus or split leaf designs, or warm toned rainbow with the ends being fringe. But then when the lemon popped in my head, I decided on a series of fruit designs. But if you make some seed bead earrings, please tag us so I can see! I’d love to know what you decided to create.
If you’ve never worked with seed beads before, the main thing I would say is that it can be a lot like embroidery, just with little beads. And if you’ve never done any embroidery, well it’s like very basic hand-stitching. Easy, but depending on the scale of your project and your design, it can be time-consuming. But as Miley Cyrus would say, “Ain’t about how fast I get there … It’s the climb.” Enjoy the journey. There’s your life hack tip for the day too. 🙂
 Supplies:
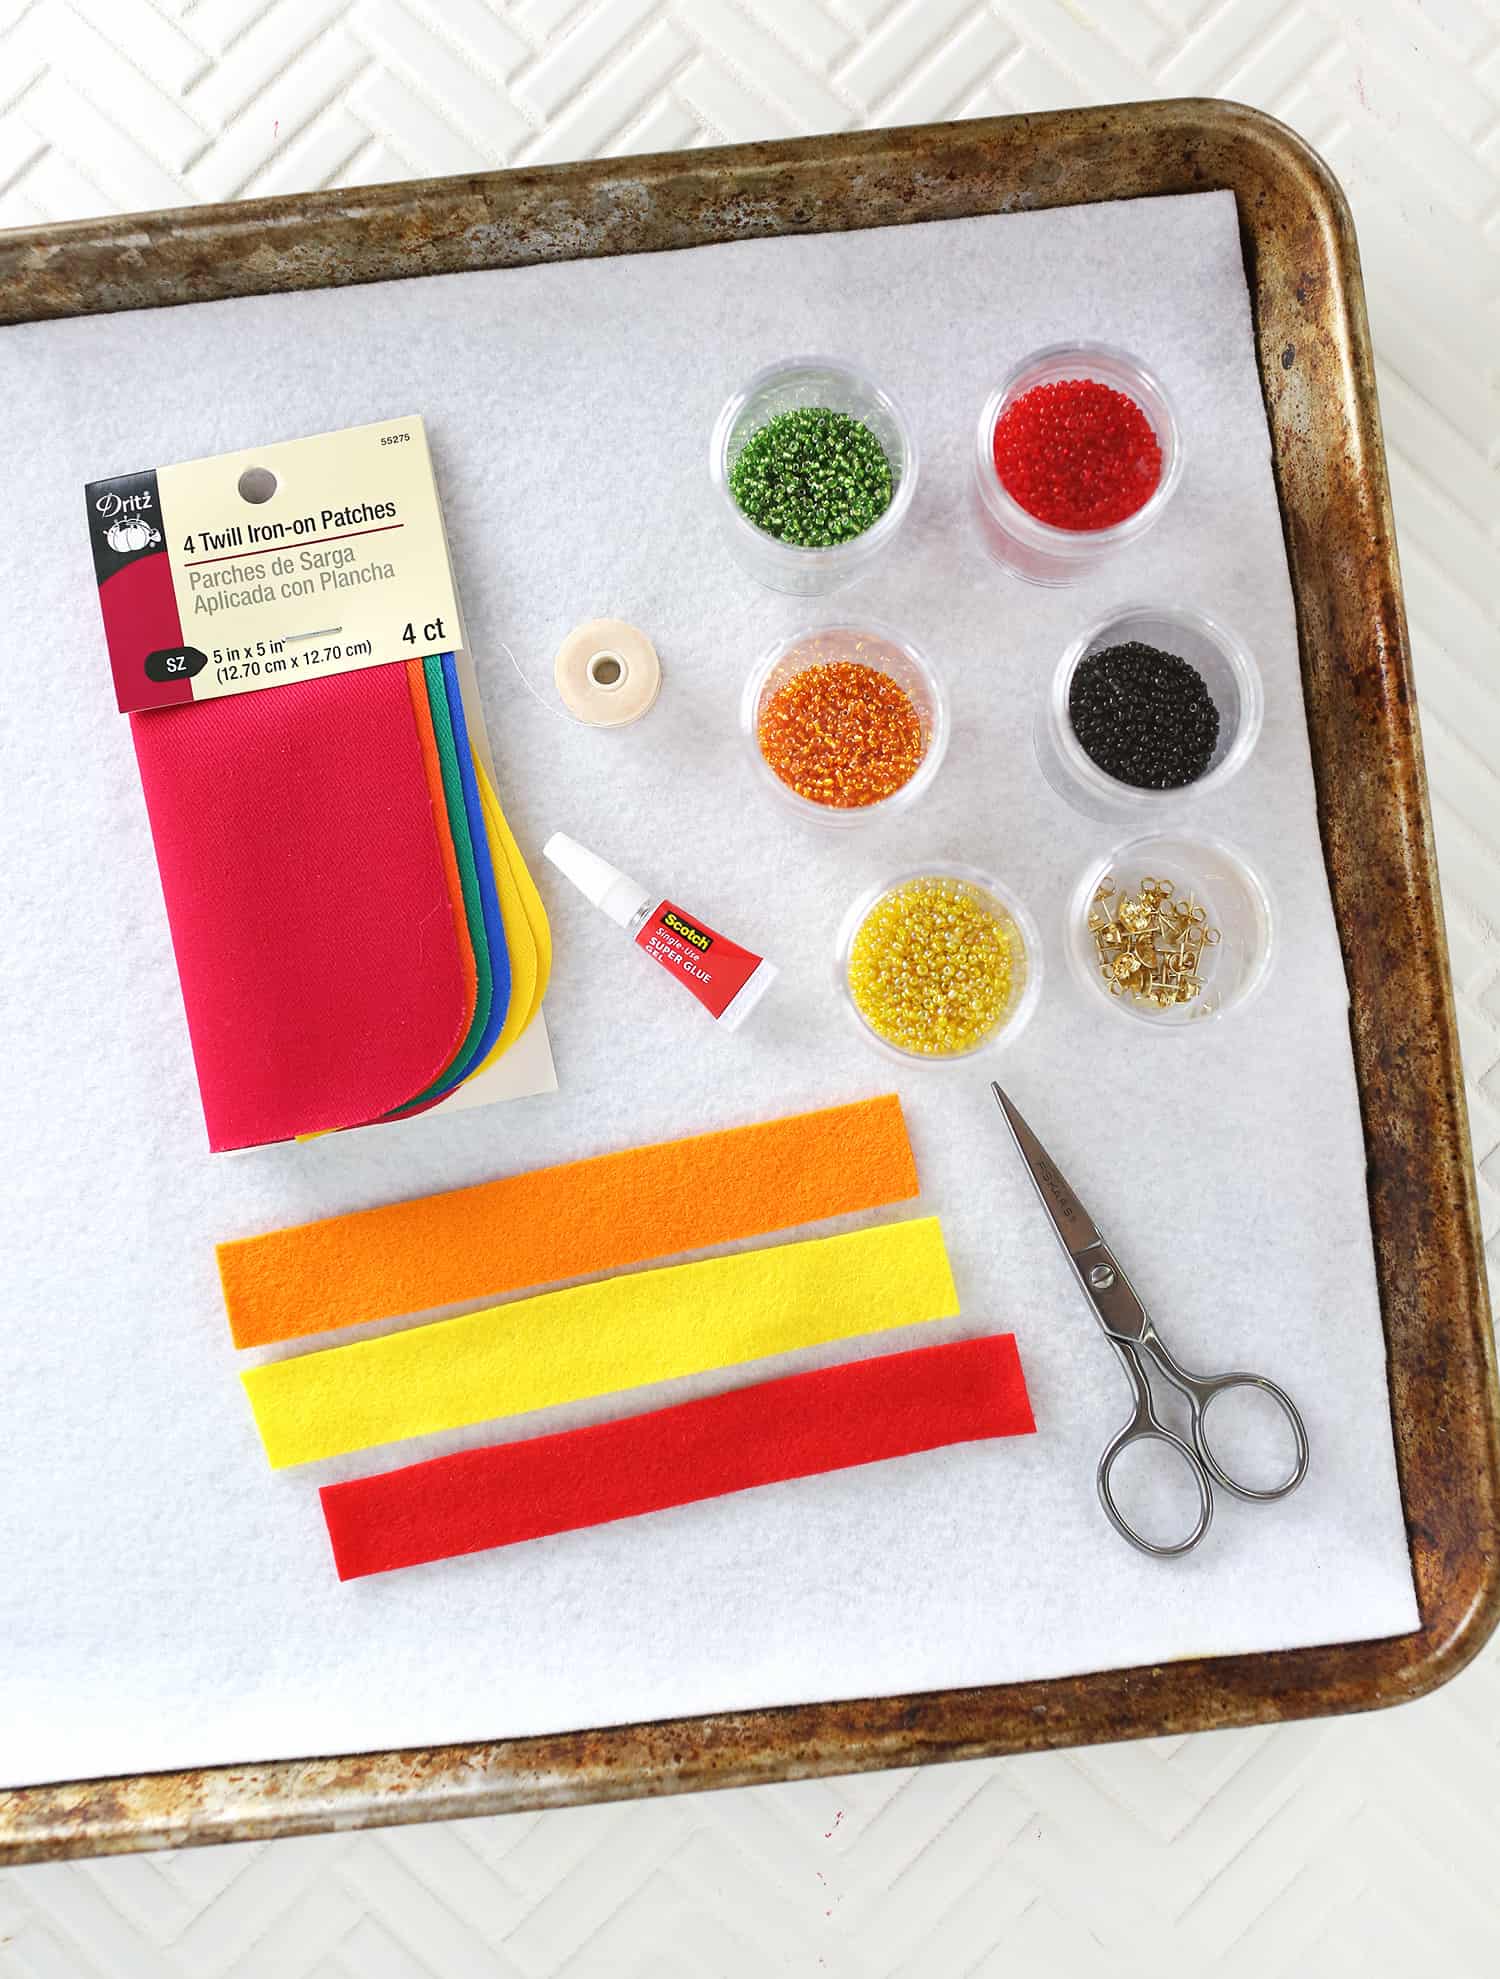
–seed beads
–beading thread or embroidery thread
–beading needle
–colored felt
-colored fabric that is sturdy and won’t fray*
–fabric scissors
–earring backs
–super glue (check the label, you want something that will work with fabric and metal)
I also like to line a cooking sheet (or something with a lip to it) with felt as my working surface. You will drop little beads from time to time, and it’s frustrating if they go rolling across the table and onto the floor where you can’t find them. So a set up like this helps. I also like to store and work with my beads from small containers (like these) because it makes it much easier than trying to work with them from the packing bags they come in. If the seed beads you buy were packaged in tubes or containers that work like this, then it may not be necessary.
*Any fabric that is sturdy and won’t fray will work for the backs of your earrings. I used the twill iron-on patches you see pictured because they ended up being perfect for this project even though it’s completely different than what they are sold for (patching jeans or clothing). Whatever works or you find is great! You may already have some fabric at home that can work for this too.
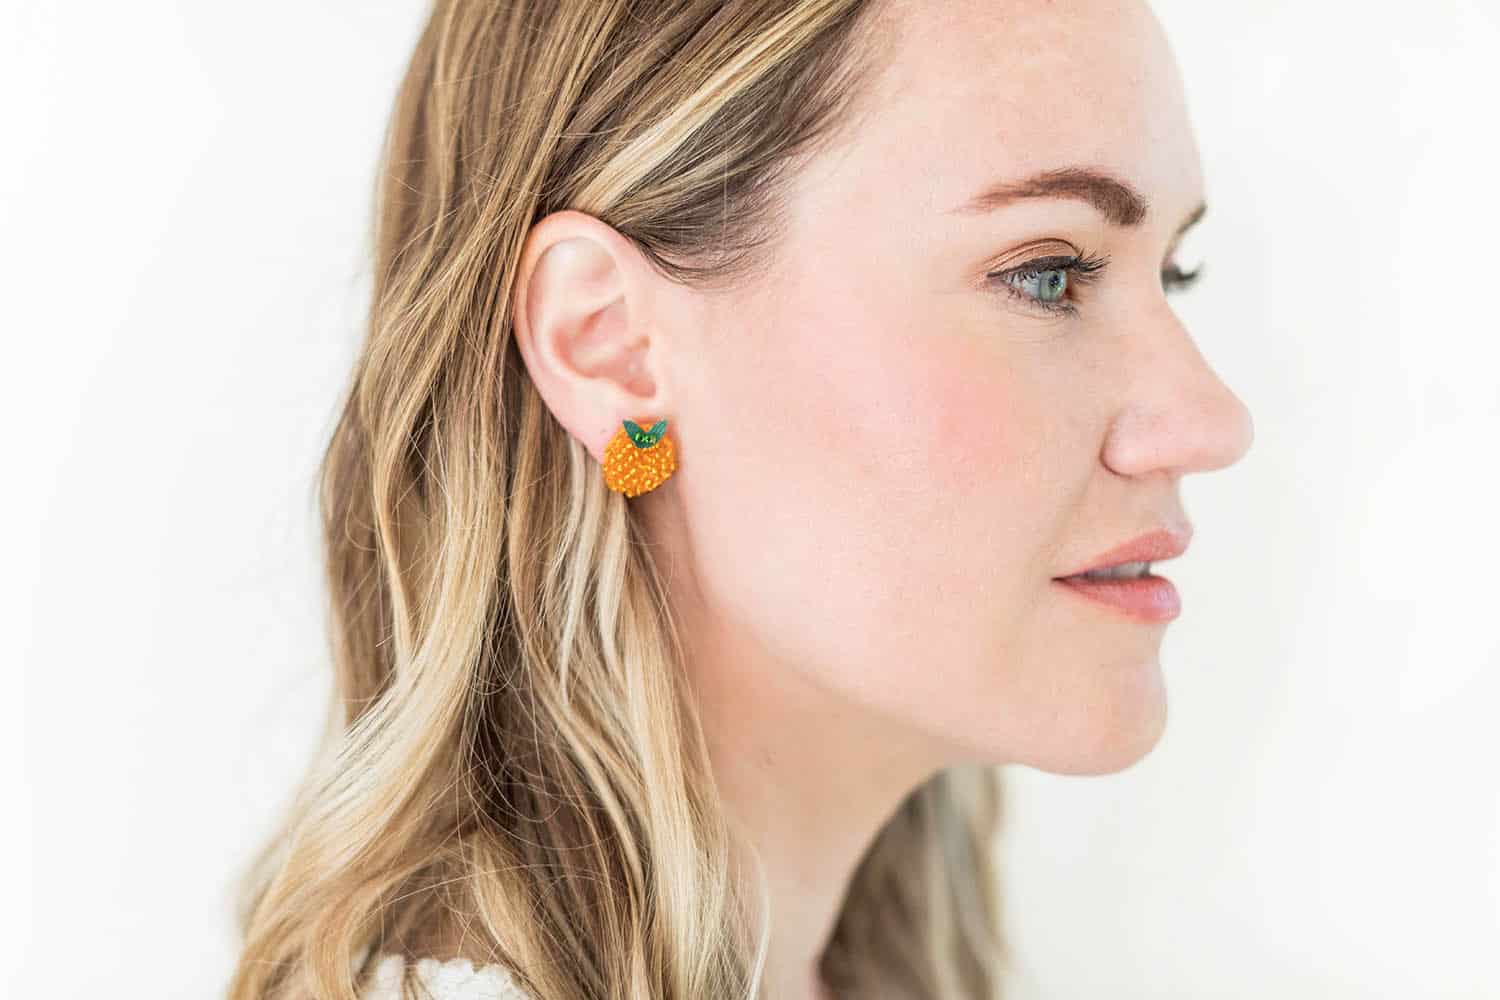
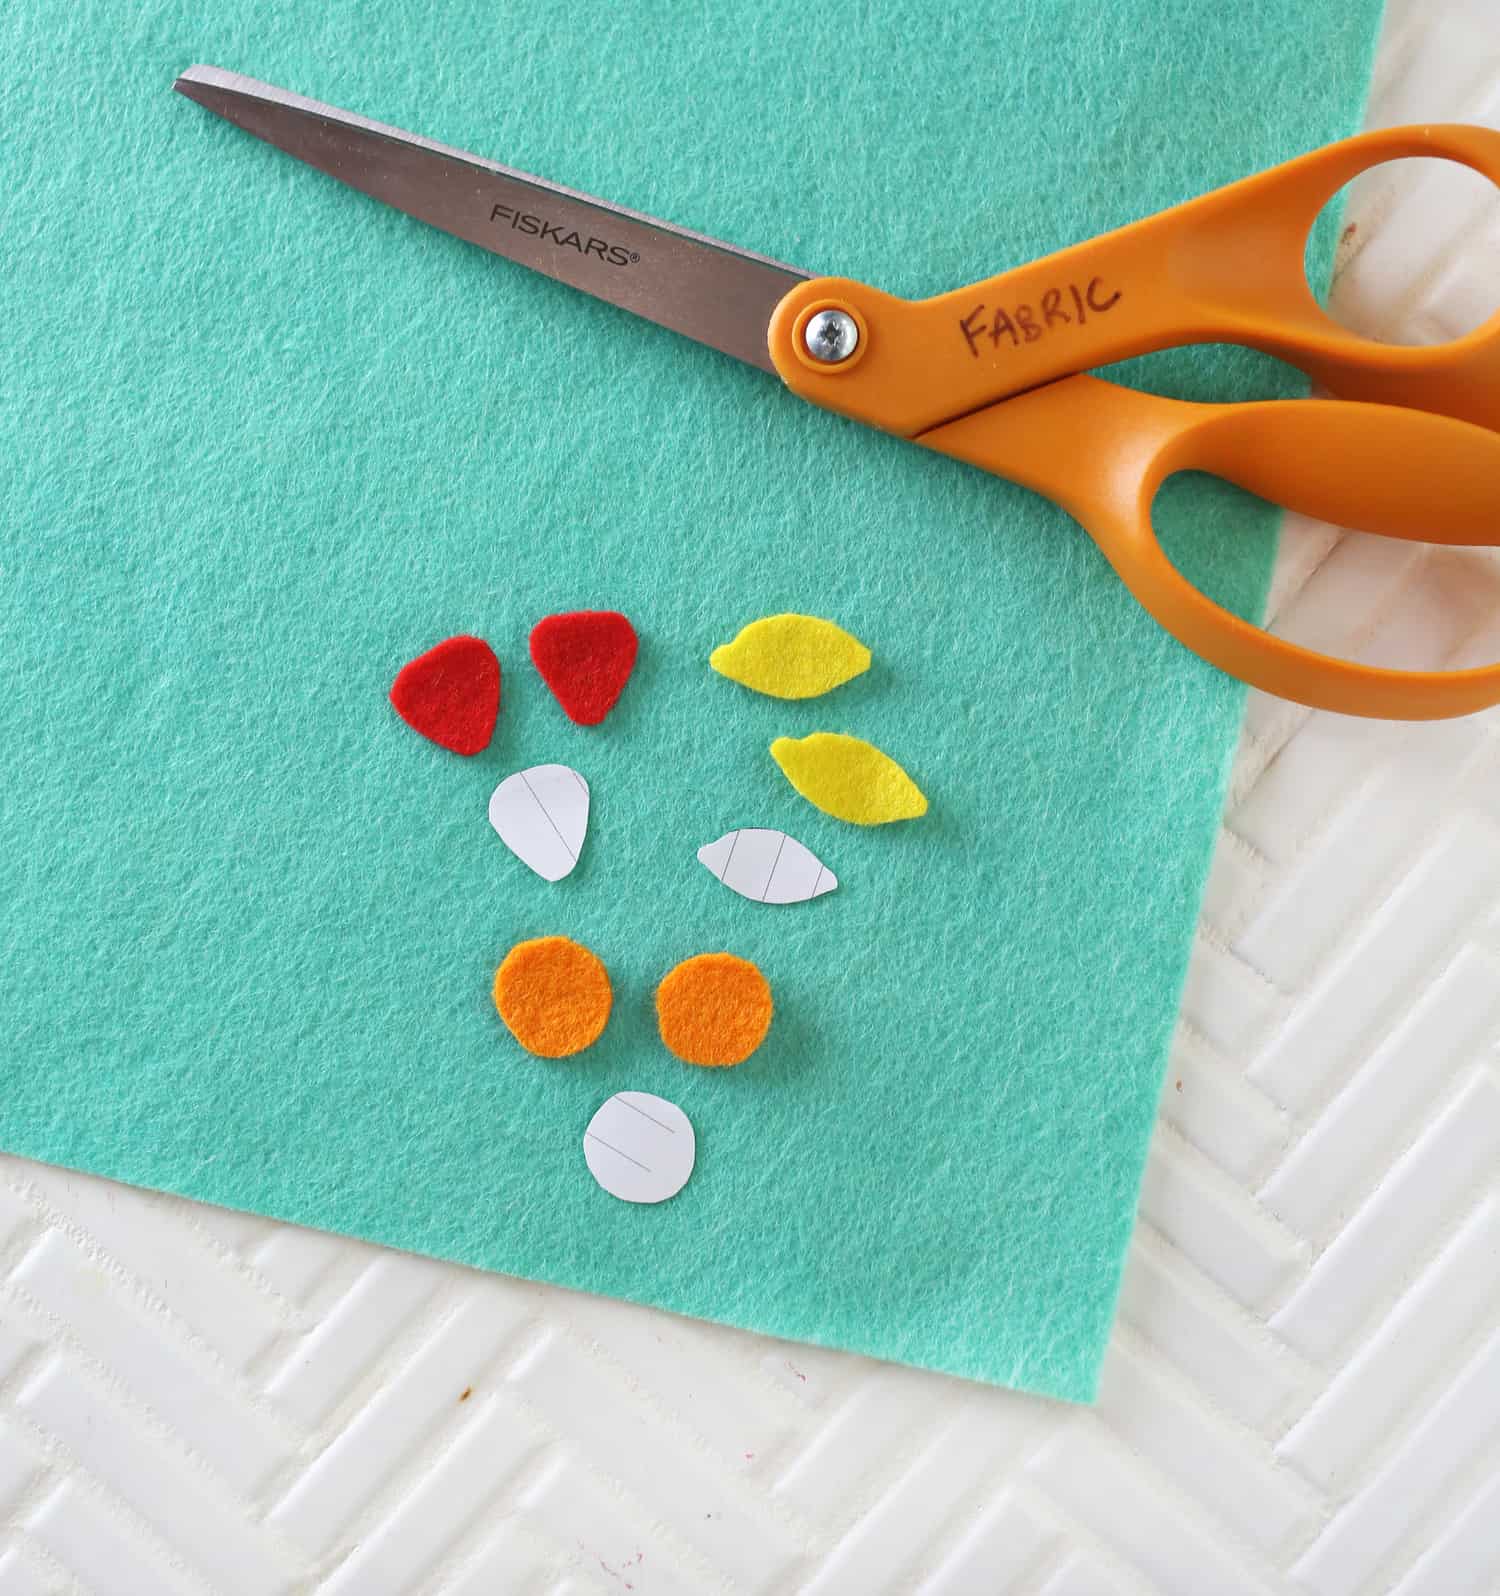 Step One: Create your patterns, if needed, and then cut out your felt. My designs were fruit shapes. I like making a very small pattern out of scrap paper before cutting the felt just because I like to hold the pattern up to my ear in a mirror to see how big or small the earrings will look on me. I wanted smaller, delicate looking earrings for this project, but I didn’t want them to be so small you couldn’t tell what they were. So making a paper pattern helped me, but if may not be necessary for you. Either way, once you’re ready, cut out the designs in the color felt.
 Step Two: Stitch the beads in place. Similar to embroidery, you want to add small amounts of beads to the thread and stitch them into your design. If your design changes colors often, you may be stitching just one bead at a time. But if you have areas that are all one color (like my fruit designs), you can add more beads at once and then stitch around them to hold them in place on your felt. Don’t worry about the back of the felt looking messy or having knots to hold things in place.
If your entire design is all beads, great, but I decided to add very small fabric leaves along with the seed beads to give a different texture. If you have other elements you’re adding then do that now as well. And if you are worried about your stitching showing, you can use colored thread that matches your beads or felt.
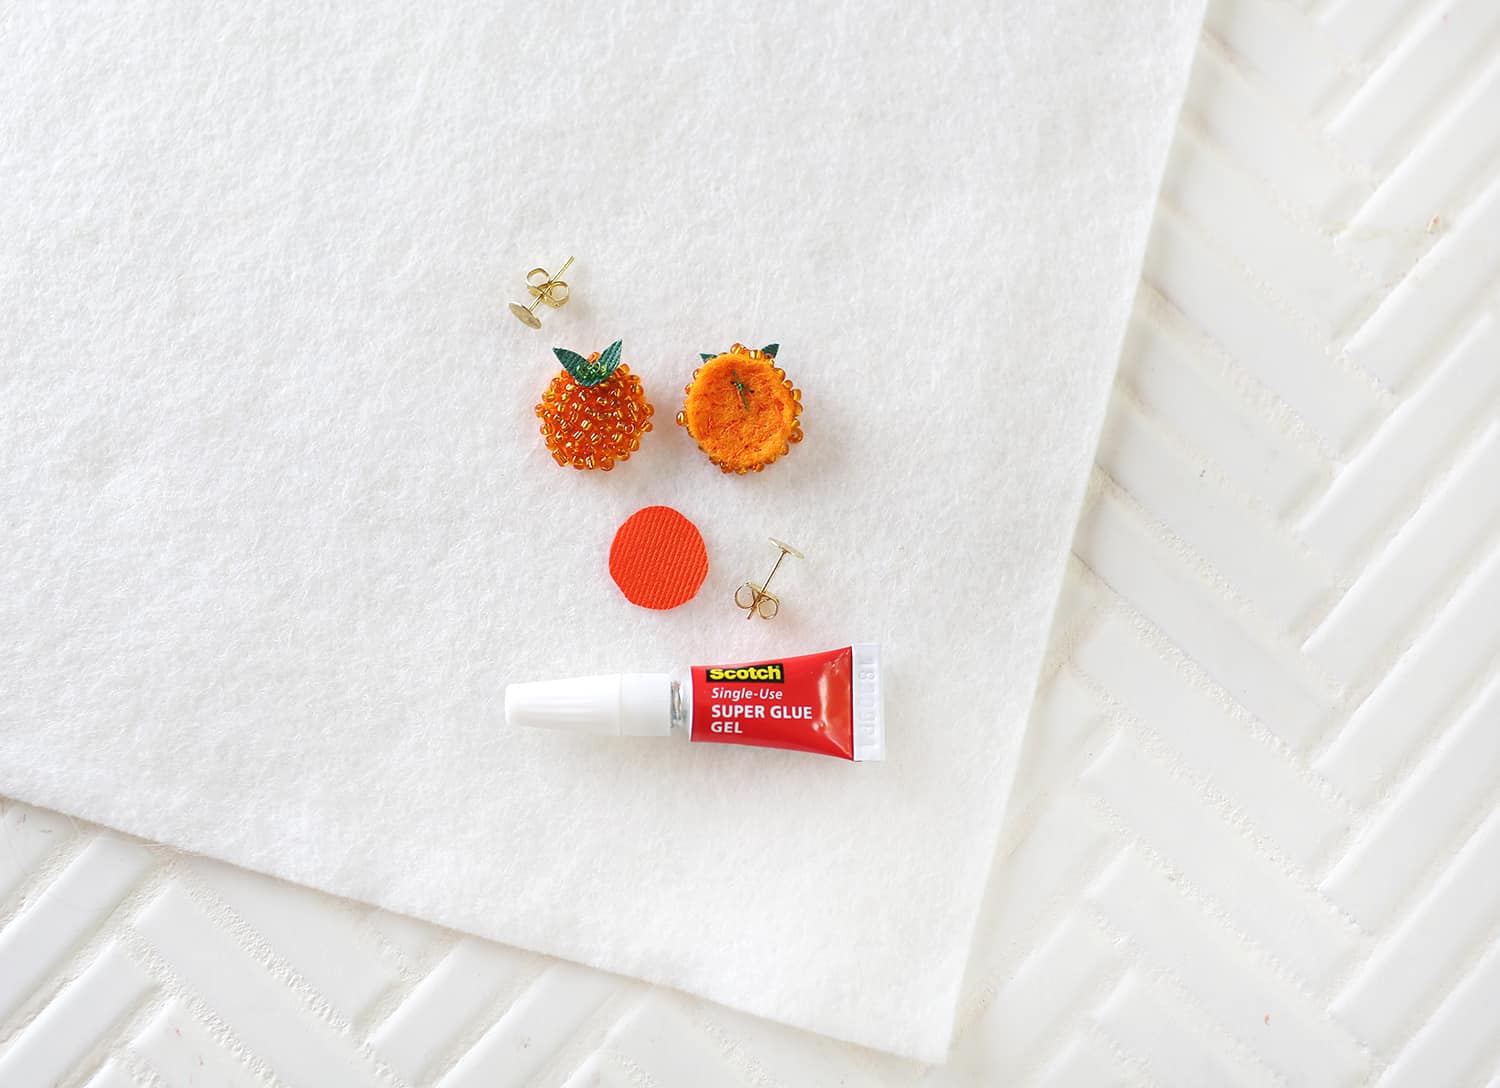 Step Three: Finish the earrings by glueing on a back piece of sturdy, non-fraying fabric as well as an earring post. Check the label on the glue you use and make sure to allow it to fully dry/set. I like to use quick drying glues so I don’t have to worry about the posts sliding around as they dry.
 That’s it! I told you it was pretty simple and, I think, really fun. Thanks for letting me share! xo. Emma
Credits // Author: Emma Chapman. Photography: Janae Hardy and Emma Chapman. Photos edited with A Color Story Desktop.

15 Comments
These are so yummy! Love them, Emma!
These are absolutely precious – I definitely need to try making these! I think my favorite is the orange pair <3
Okay–you got me with this post. I have a bunch of beads that I thrifted (which is so easy to do!), that I have been wanted to use for a while. Another style I’d love to see is the longer tapestry like ones from Free People.
Instead of cookie sheet that’s big… use a lunch tray from Walmart. they are clear and about $3 each. then you put your towel, felt, beading mat or whatever down so beads don’t roll… I’ve been using lunch trays for beading—-either wooden, a light metal like the ones made for kids from the 80s or plastic ones for about 25 yrs since I was a teen…. I now have a stack of these clear ones with different things on each tray ????????
And these fruit earrings remind me of the strawberry earrings that many natives make since there are wild strawberries all over the north… from those, a few native girls have branched off and made pineapple, grapes, and other fruits as earrings too.
Love love love the earrings but also, these are BEAUTIFUL photos!
These are so cute, thanks for sharing!!
-Kate
https://daysofkate.com/
They look SO CUTE! I see this kind of earrings all the time and every time I go look for them in a store the prices always drive me away and after a while, I started thinking “why don’t I just make my own?” and this is exactly the tutorial I needed. Do you think it’s possible to sew the beads on both sides and go for a dangly-style earring or would that be too hard to do?
If you want to do that, I would recommend making two pieces and gluing them together, far easier than trying to bead both sides at the same time, and you can sandwich in a tab with a hole or sew in a jump ring between the layers to hang it from.
for dangly earrings, I use an eye pin….cut it down to the size I need, then a jump ring.
i tack the eye pin down with a couple stitches and use a glue like e6000 or quick grip so that it doesn’t move.
I always back with a leather, then I edge the side onto the backing with beads.
dangly earrings are definitely in rn… I see a lot of native beaders making dangly earrings all over north america.
For sure! There are a million ways to change this simple tutorial up and make it your own. I think dangly-style would be really cute.
So freakin’ cute! These are totally A Beautiful Mess-style, haha!! 😀
Charmaine Ng | Architecture & Lifestyle Blog
http://charmainenyw.com
These are SO cute! Could you share a quick video of stitching on the beads? I think I get what you’re saying but would love to see it as well. Thanks for sharing this fun project!
That sounds fun! I’ll have to try one next time I have my beads out.
Lovre! My grandma used to do such lovely beads stuffs, what a great souvenir to me!
http://www.datcha.paris
I love that your grandma works with beads, as it was my favorite in middle school and high school. 🙂 Just makes me think about how universal the act of making really is, you know?