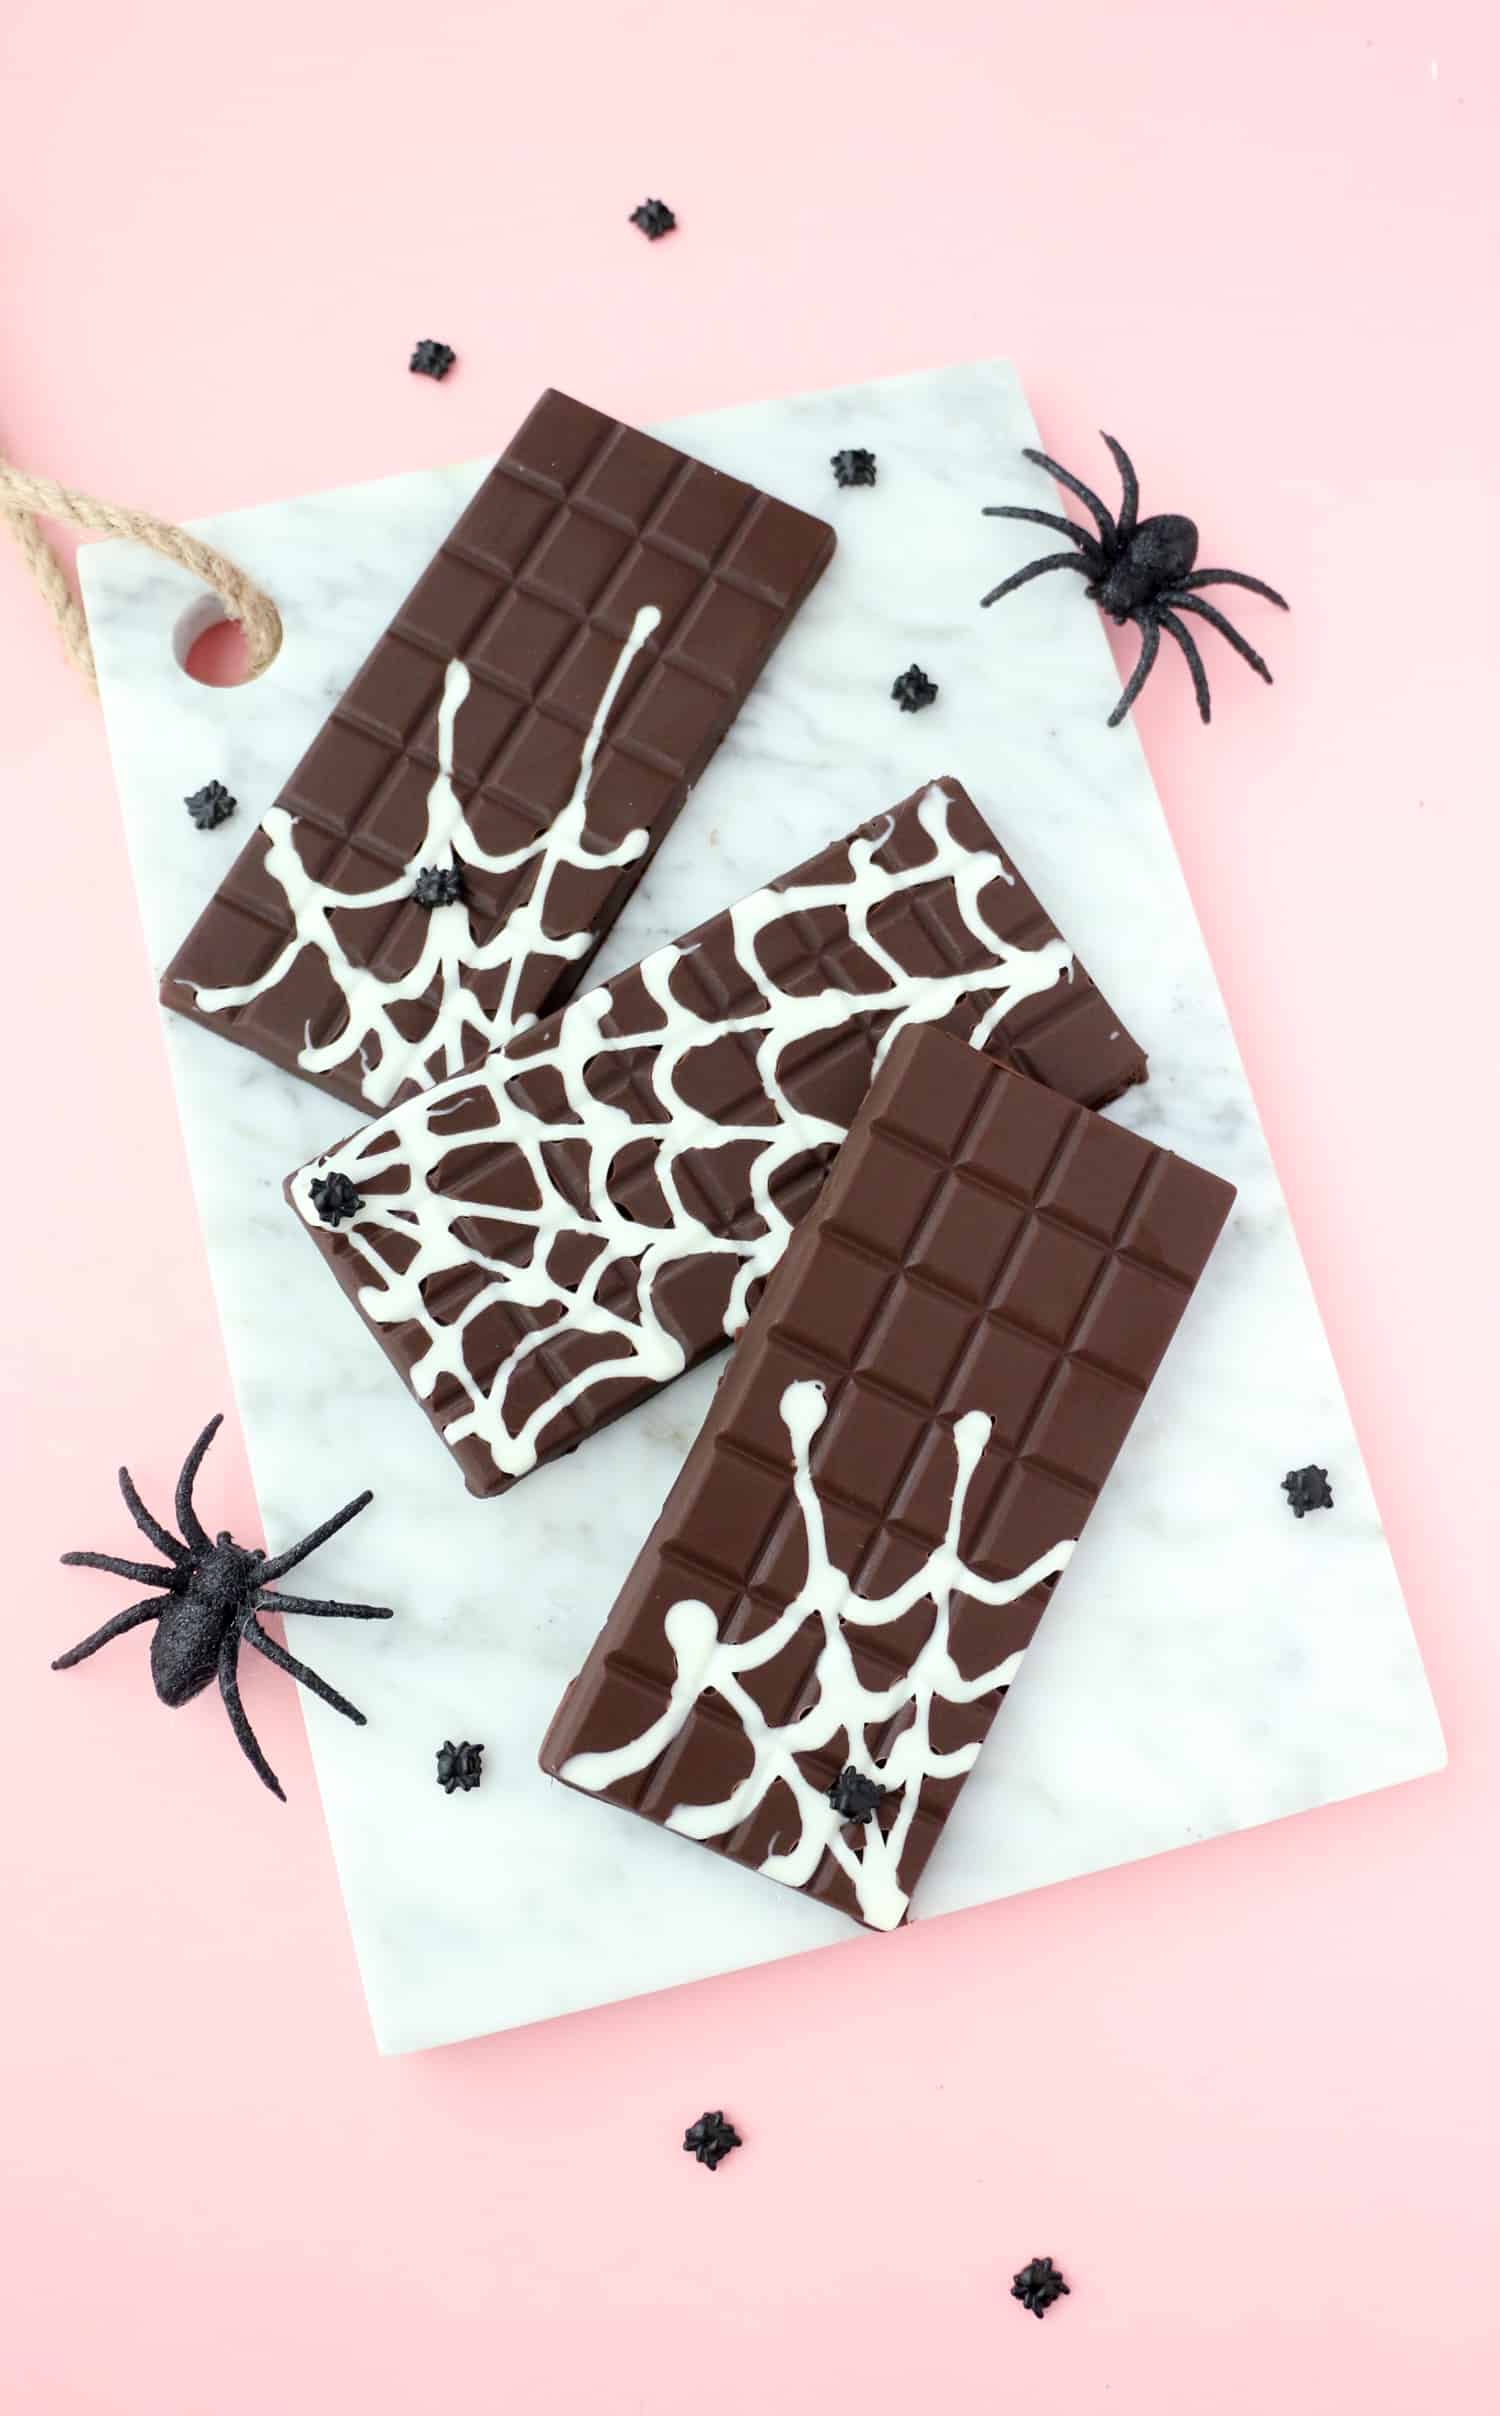
 Sure, Halloween has pumpkins, costumes, and creepy decorations, but we all know what the real star of the holiday is. Candy! This year, I decided to make my own Halloween candy and I’ve found out that not only is it easier to do than I thought, it tastes way better than the store bought kind. These DIY spider web chocolate bars were one of the easiest candies to make and they are just so festive! Plus, they are perfect for a Halloween party treat or to give out as gifts to your coworkers or kids’ classmates.
 Needed:
-white candy coating chocolate
-dark or milk couverture chocolate, the amount you need will vary on your mold size and the number of bars you are making (I tried this with chocolate chips the first time, and while they will work, you have to keep the bars refrigerated or else they turn soft. Couverture chocolate has more cocoa butter, so you can create shiny candy bars that snap.)
-food safe squeeze bottle
-microwave
–chocolate bar mold
–spider sprinkles
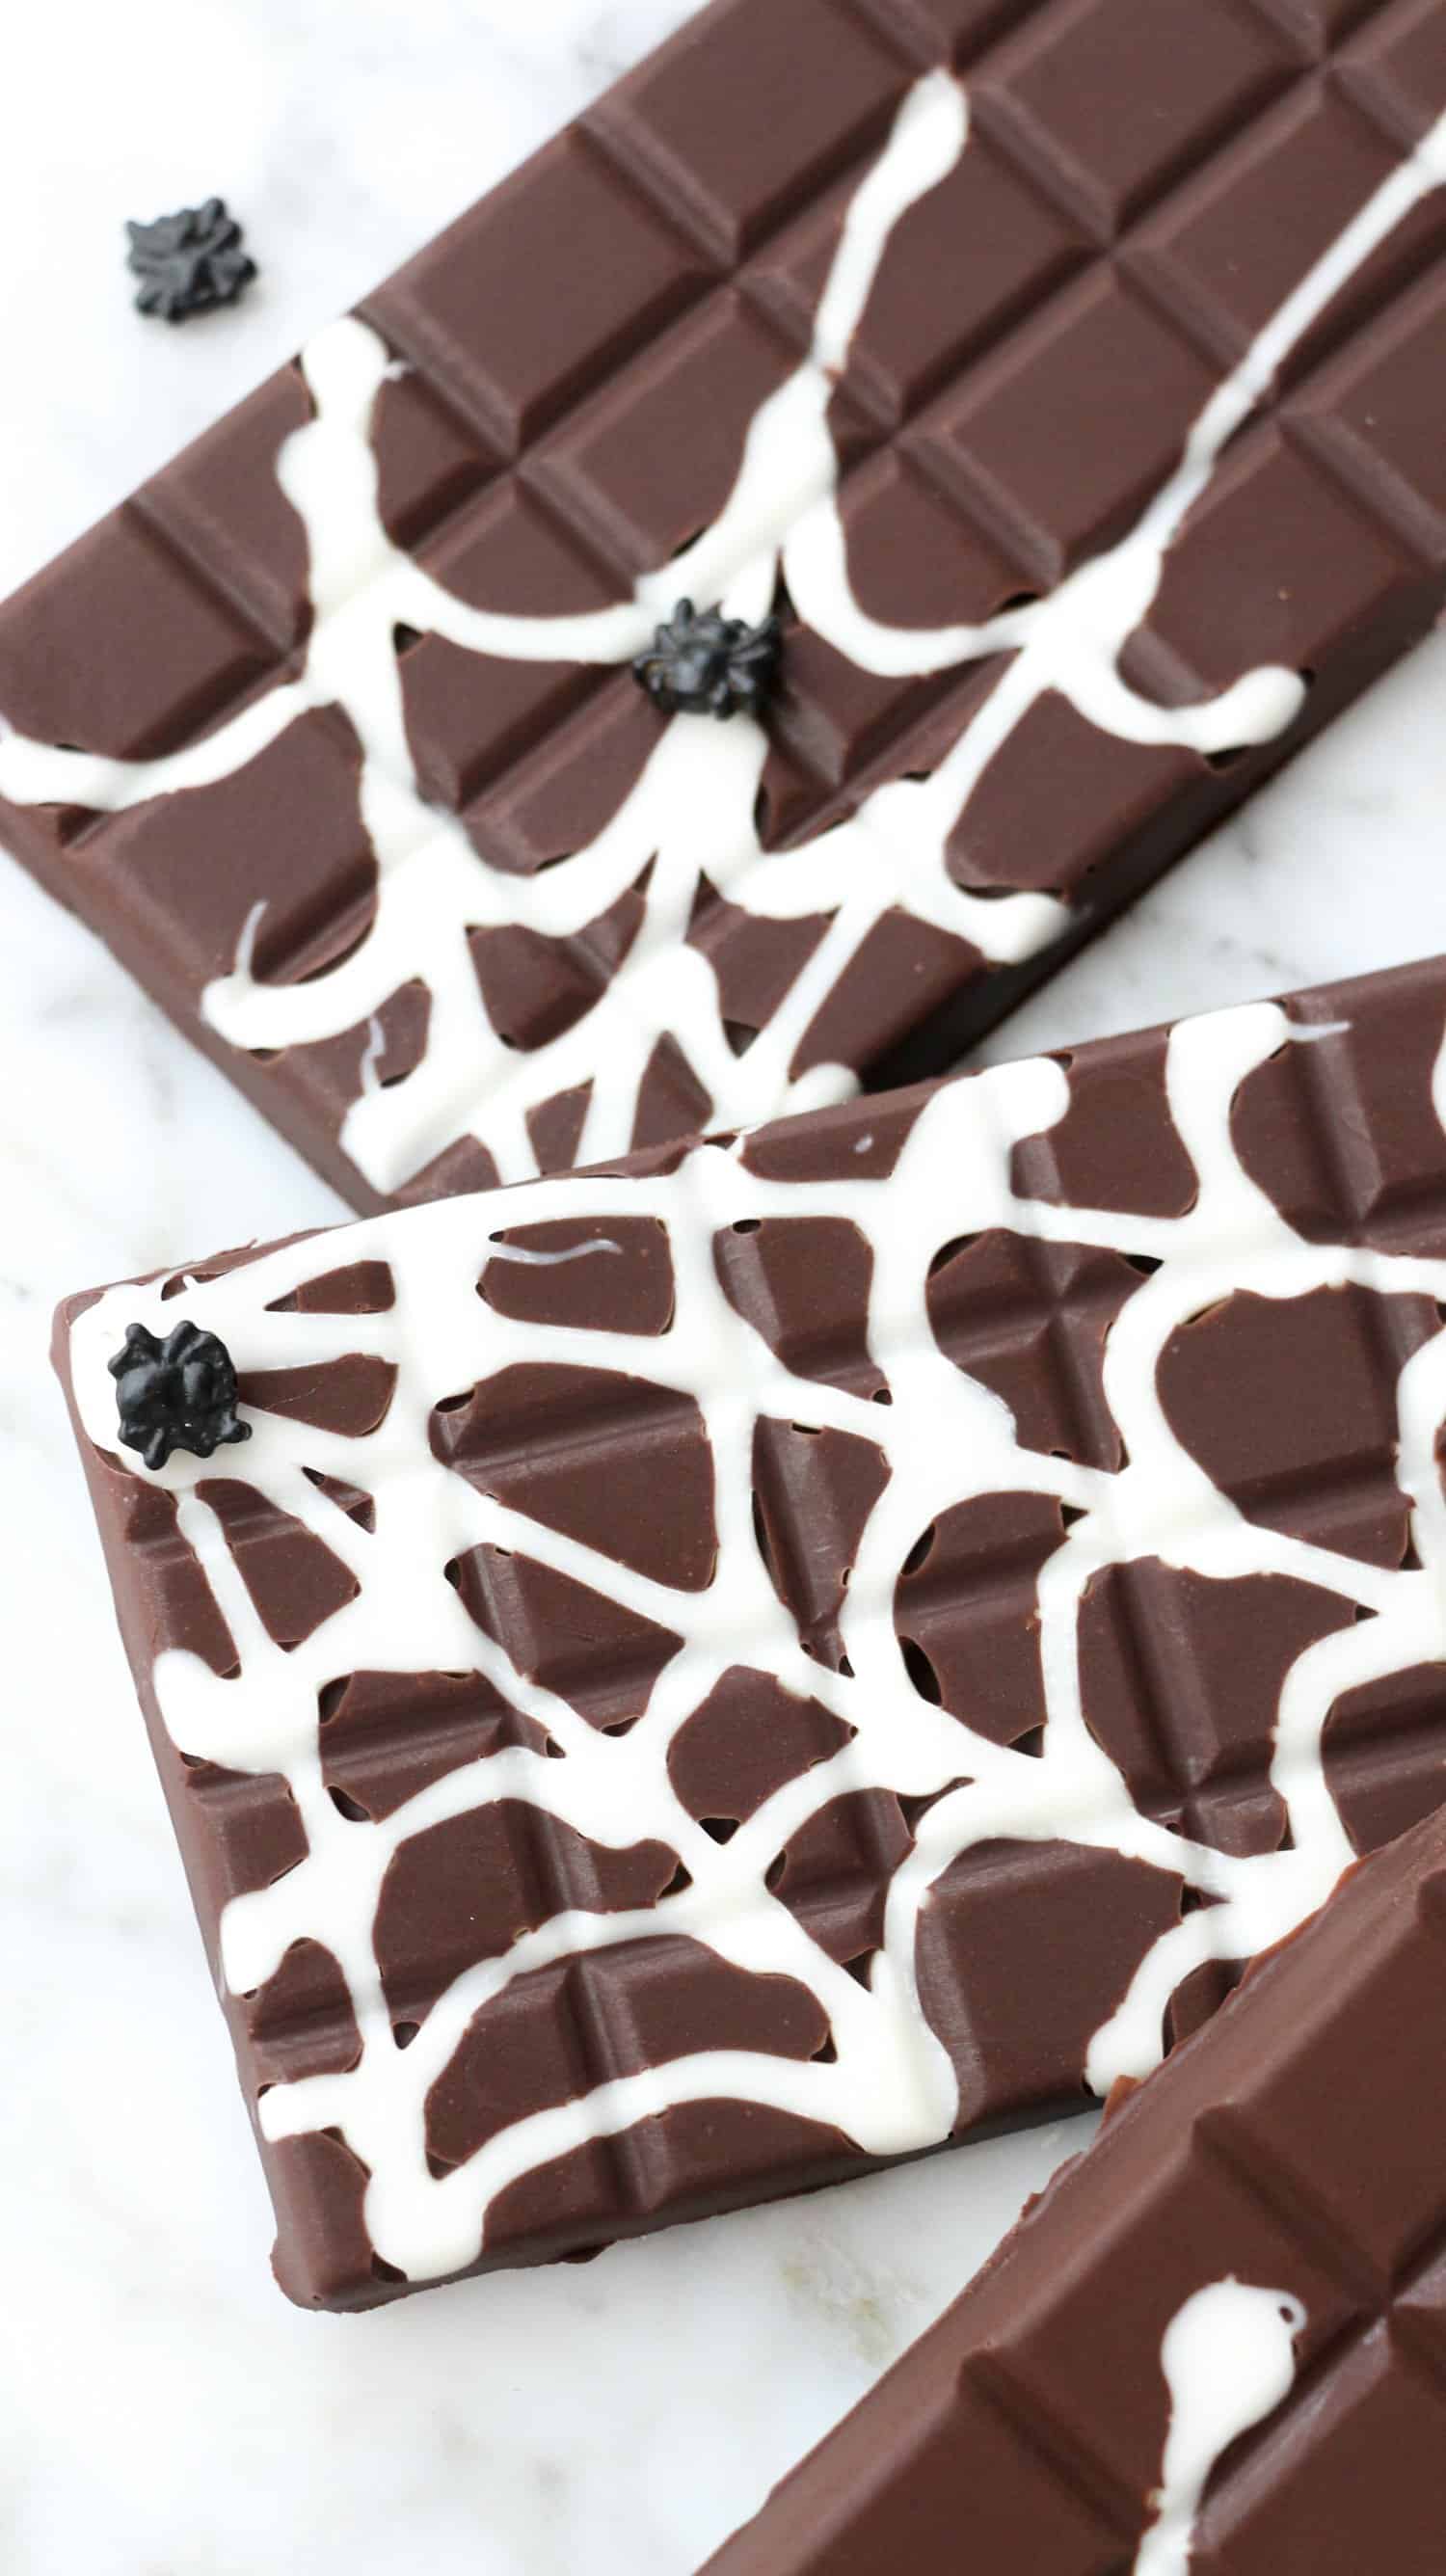
 Step One: Melt your white coating chocolate in a microwave-safe bowl until it just starts to soften. I recommend microwaving in 20 second increments. You want the chocolate to just start to soften. Then stir and microwave again until just melted. Remove from the microwave and spoon into the squeeze bottle. Use the bottle to draw out your spider web pattern into the chocolate bar mold.
Step Two: Divide your couverture chocolate into 3rds and place 2/3 in a clean and dry microwave-safe bowl. Microwave for 15 seconds, stir and then microwave again for another 15 seconds. Repeat until the chocolate has just melted. At this point, a dab of the chocolate on the inside of your wrist should just slightly sting from the heat, but not be too hot.
Step Three: Remove the melted chocolate from the microwave and add the remaining 1/3 of the chocolate chopped into 1/4-1/2″ pieces. Stir continuously until the chocolate pieces have melted. At this time, a test of the temperature of the chocolate should be slightly cooler than your body temperature when tested on the inside of your wrist.
Step Four: Spoon the melted tempered chocolate into the bar molds and gently tap and shake them to remove any air bubbles. Then let the chocolate sit to cool fully.
Step Five: Once cool, you can pop the bars in the fridge for a few minutes to loosen them from the mold and then remove them. At this point, you can use a dab of melted white coating chocolate to stick on a spider sprinkle or two. Then, they are ready to package in a clear cello bag for gifting.
 If the idea of tempering chocolate gives you a scare, then feel free to use chocolate candy melts instead. They don’t taste as good as real chocolate, but they are much easier to use. Melt in a microwave like the white chocolate until just melted and pour into your mold. Also, if you want to get fancy, you can even fold in cereal like crisped rice or crushed cookies for an ultra indulgent chocolate bar just perfect for Halloween! Happy chocolating! xoxo. Kara
10 Comments
I love how easy this is – makes a great Halloween gift! 🙂
Charmaine Ng | Architecture & Lifestyle Blog
http://charmainenyw.com
As first glance I didn’t realize the bars were homemade too! How perfect for a sweet treat for friends and coworkers!
I love how this turned out for a Halloween treat. Very cute!
Mona
http://www.artbymona.ca
Fabulously spooky!
Gemma
http://www.fadedwindmills.com
Ah these look so effective, and what a great idea! I’ve never made my own chocolate, I love getting into the Halloween spirit with baking though. All the baking posts online at the moment are looking good. Happy Halloween! 🙂 xx
Helen | Helen’s Fashion, Beauty & Lifestyle Blog
Nice 🙂 thx
http://belladotte.momster.dk/
Those are so cool.
What an incredibly easy way to decorate chocolate for Halloween, that’s brilliant!
https://www.makeandmess.com/
These bars are so cute!
Paige
http://thehappyflammily.com
Hi! I love this idea, they’re so cute! I was wondering how many bars you were able to make out of one bag of couverture chocolate? Thank you!!