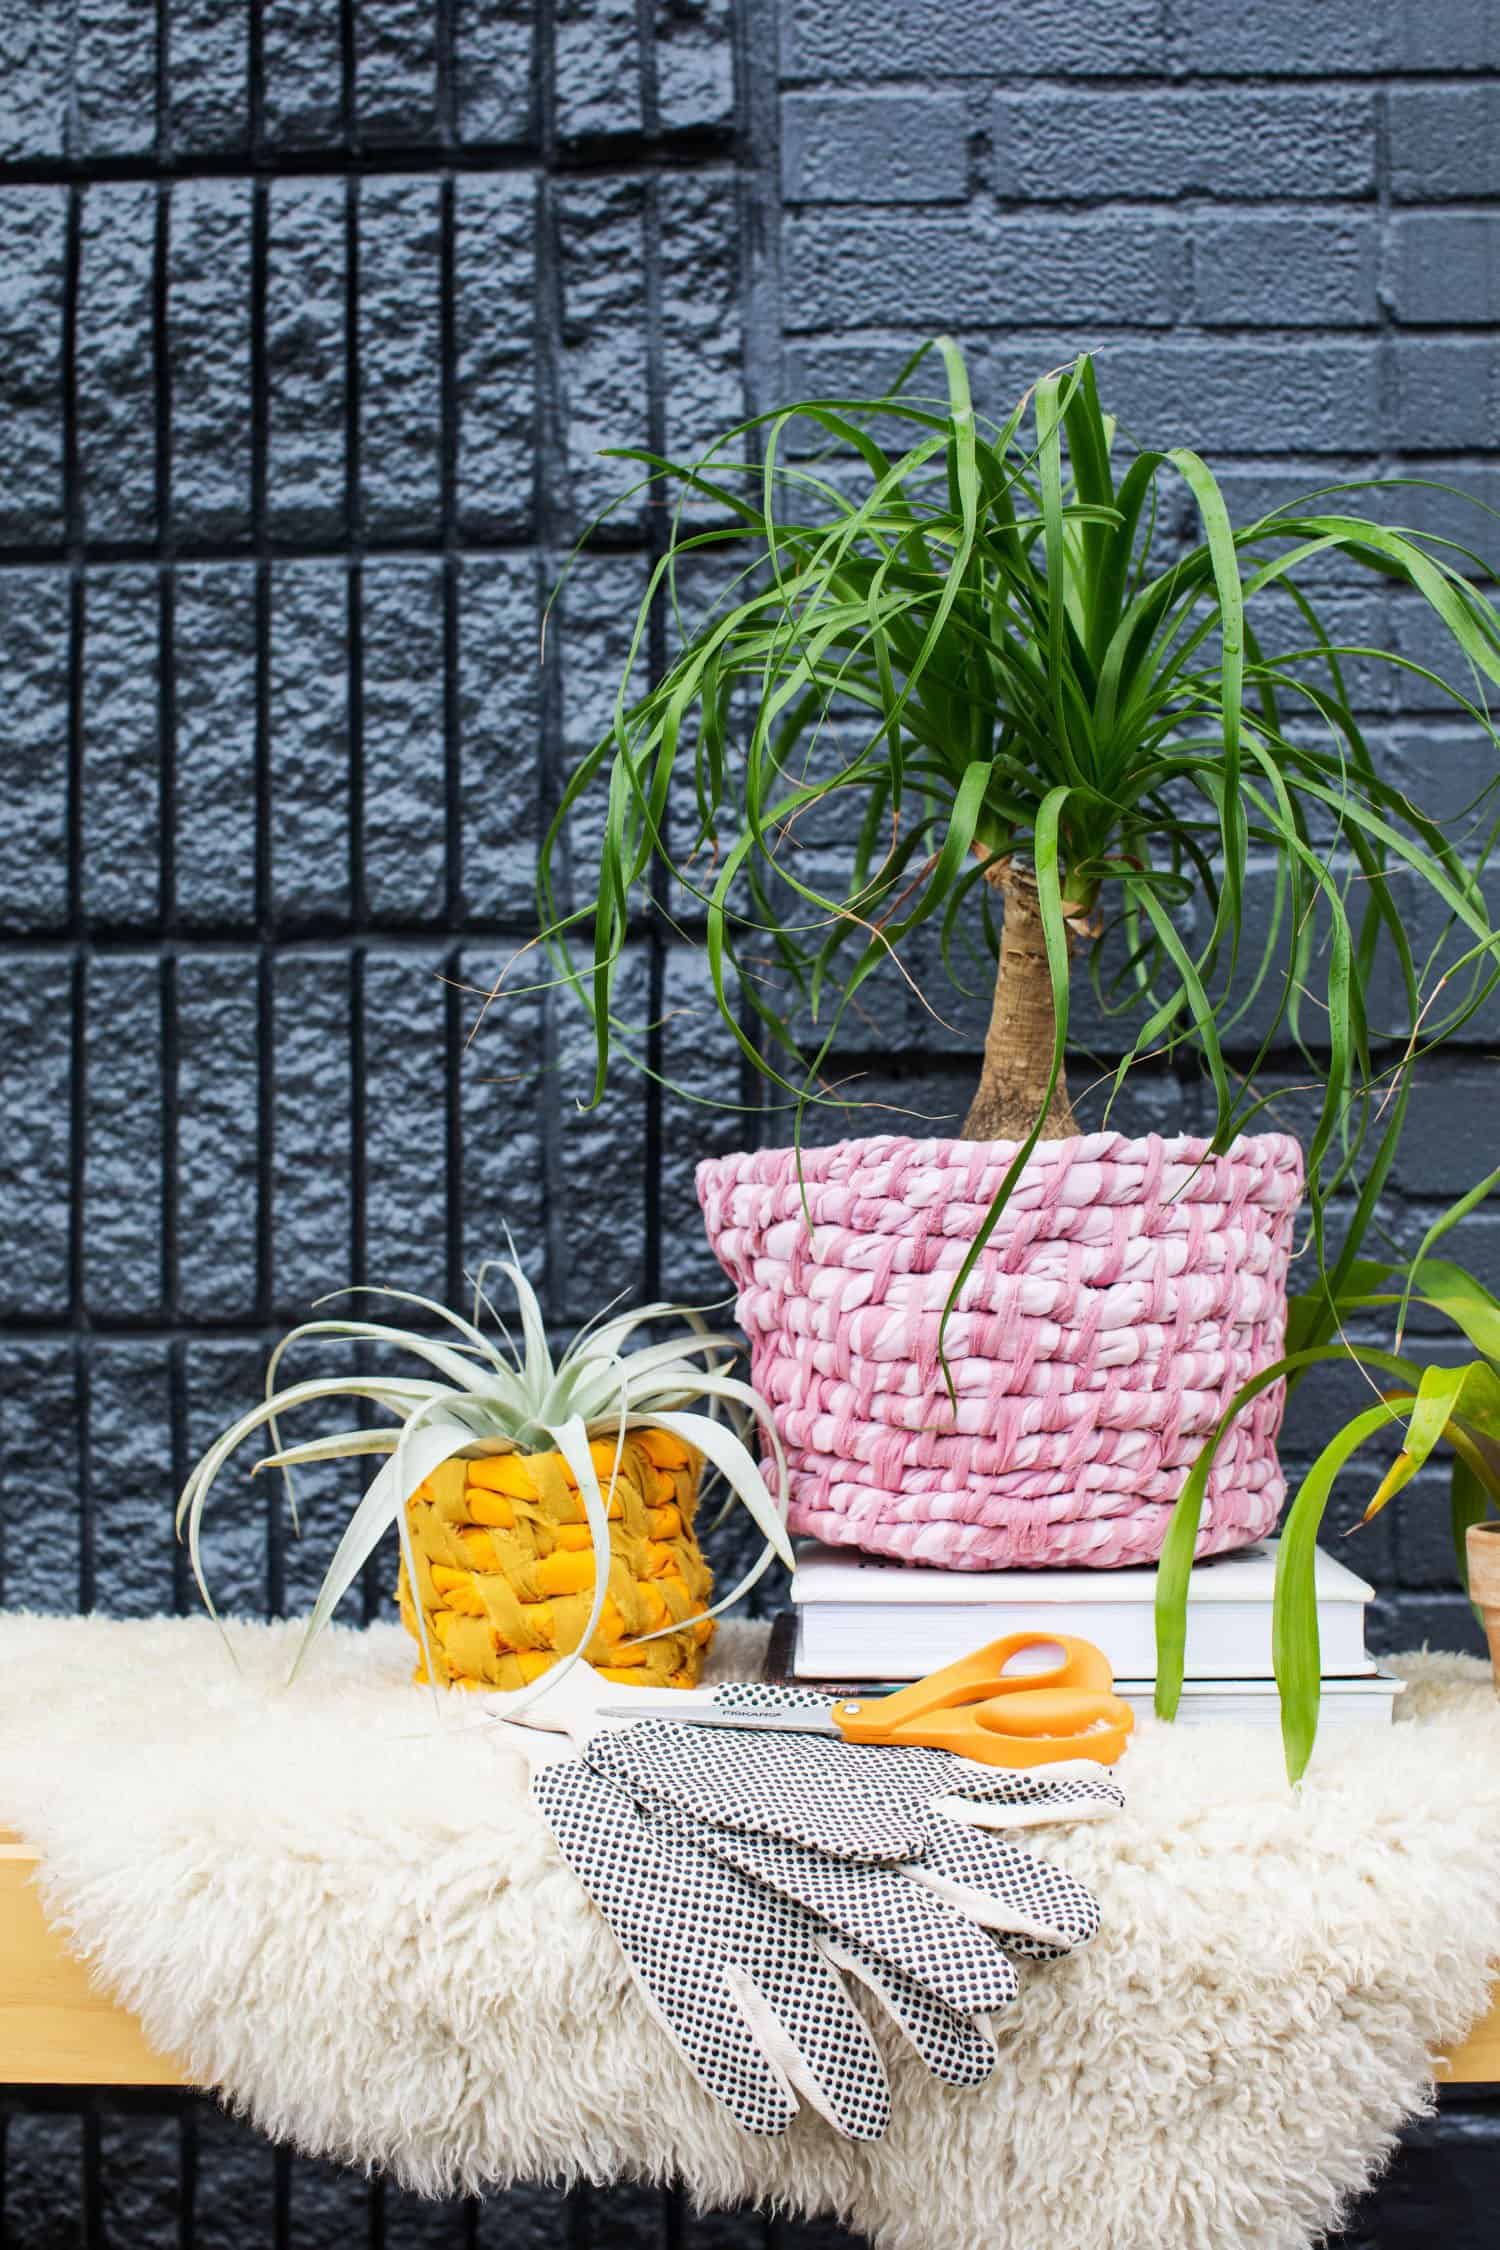
 Who else is always bringing new plants home and later realizing they didn’t pick up a cute planter to place it in? It’s a thing. I decided it was time to repurpose some canvas from my fabric stash and make a few coiled planters to add even more color and texture to our space. It’s been a great way to make sure not all 34 plants I own are plopped into white planters, too! I was able to make a trio of fabric planters that fit over the containers of three of my favorite plants and made sure to use colors that would work well by themselves or as a group to give me more styling options. Or in case I kill one of them. It’s a thing.
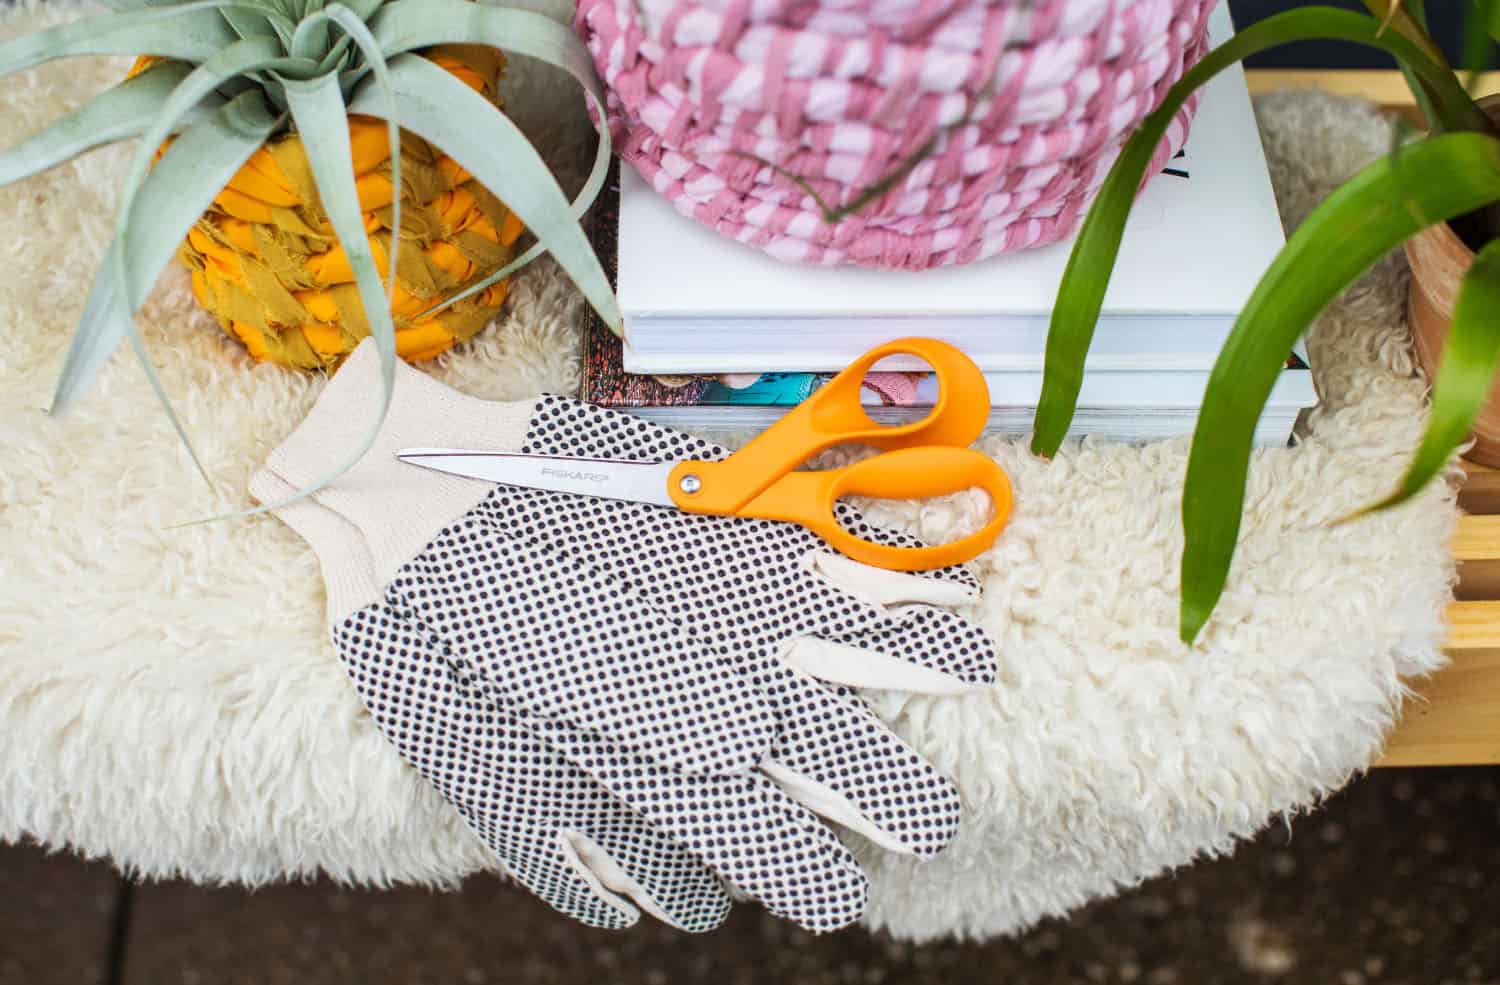
We’ve teamed up with Fiskars to celebrate their Orange Handled Scissors’ 50th anniversary and to share how their scissors help you easily cut through all kinds of fabric, even a few layers at a time! As a lady with a large collection of pretty scissors that aren’t always functional, I truly appreciate how these Fiskars scissors stay sharp and cut all the way to the end of the blade. No more thumb blisters for me! Keep scrolling to find out how to make your own fabric planters and sort of justify all of those trips to the plant store. Ha!

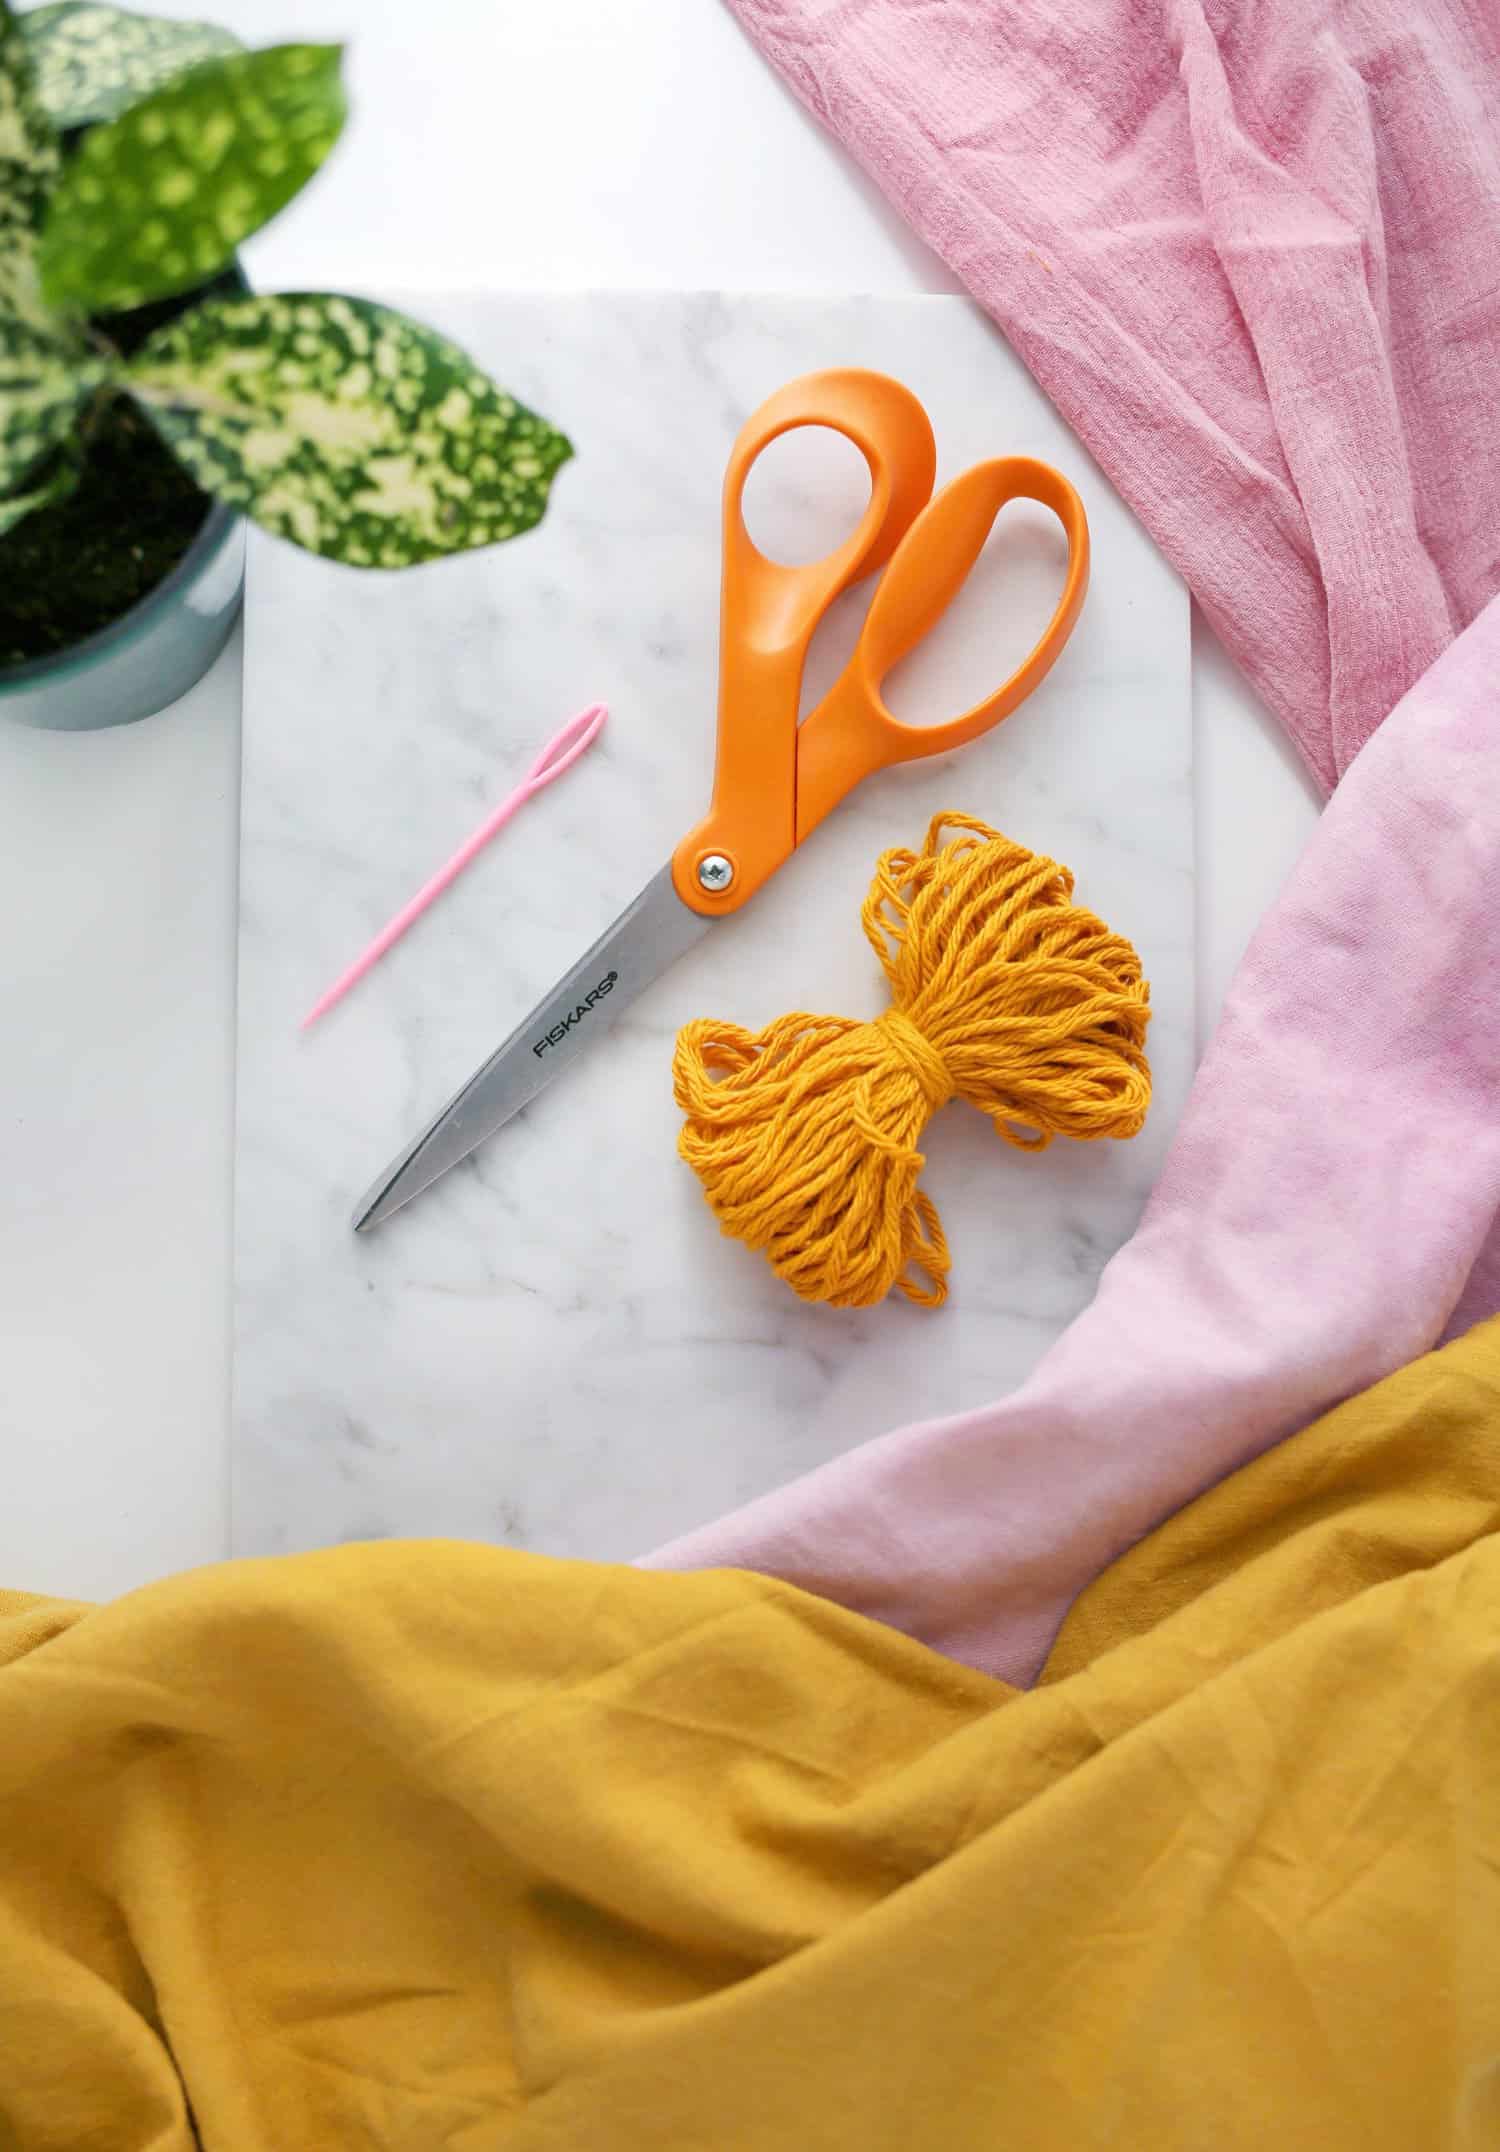 Supplies
– two yards of cotton canvas fabric for the coils (large basket)
– one yard of gauzy cotton fabric to wrap coils (large basket) or 20 yards of cotton yarn
– plastic tapestry needle
– Fiskars Orange-handled Scissors
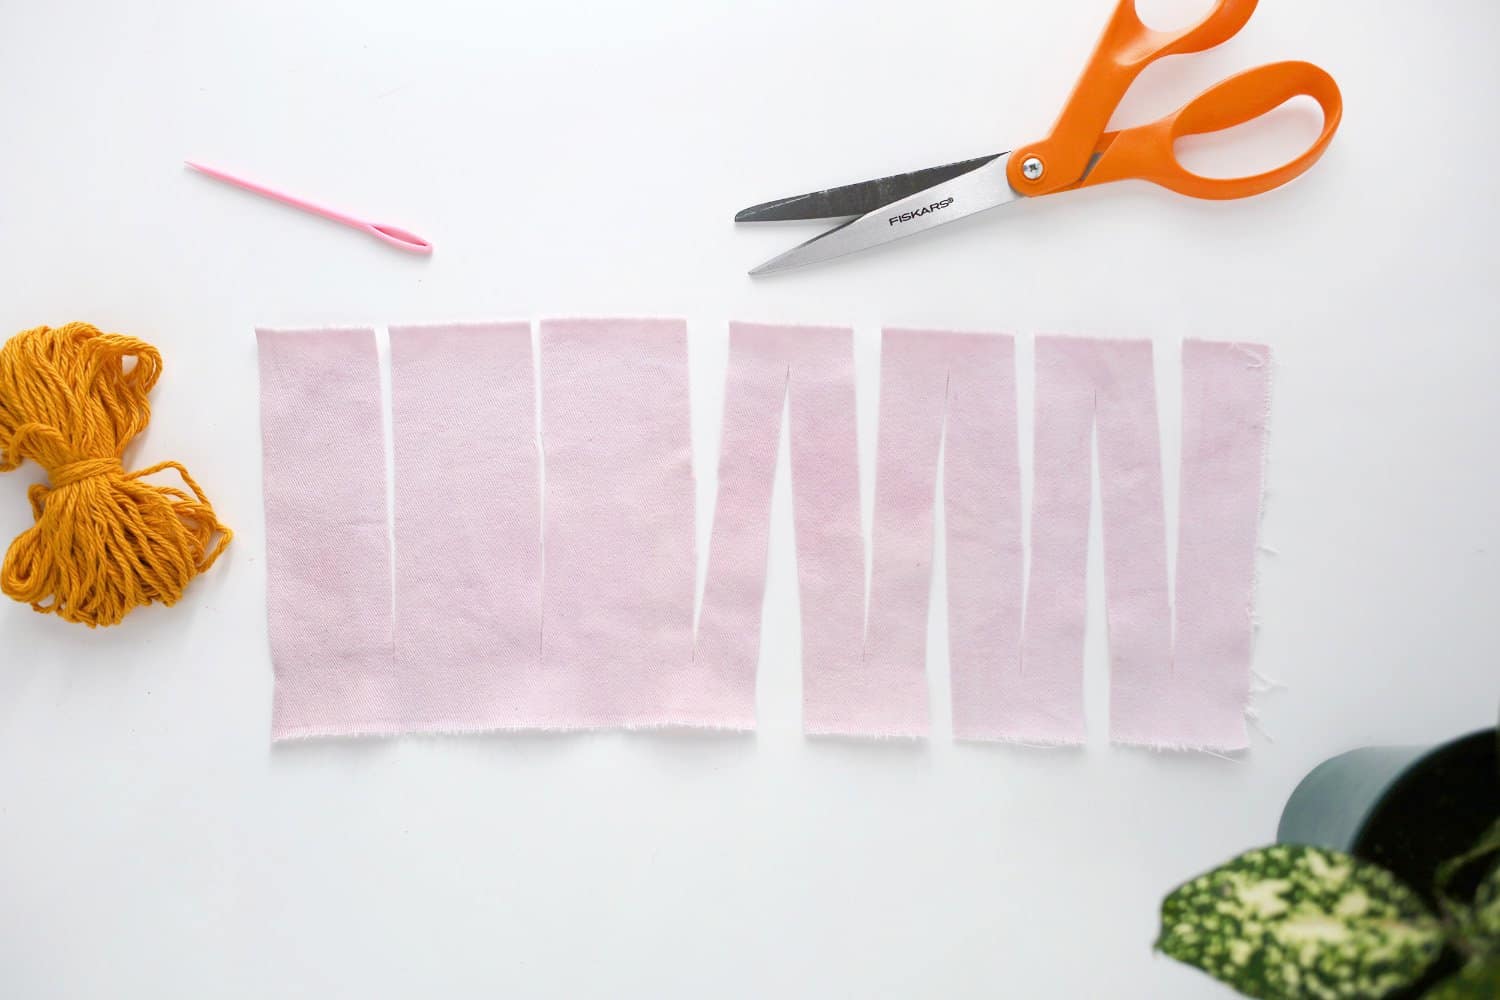 This is a smaller scale sample of how to cut your fabric. In order to get a rope-like effect from a yard of fabric, you’ll want to make cuts from one long side almost all the way through with cuts about 3″ apart. Then cut in from the opposite long side in between so that you cut almost all the way up. Once you pull this apart, it’ll expand into a fabric rope with awkward angles. When you twist it, those angles will get twisted in and disappear.
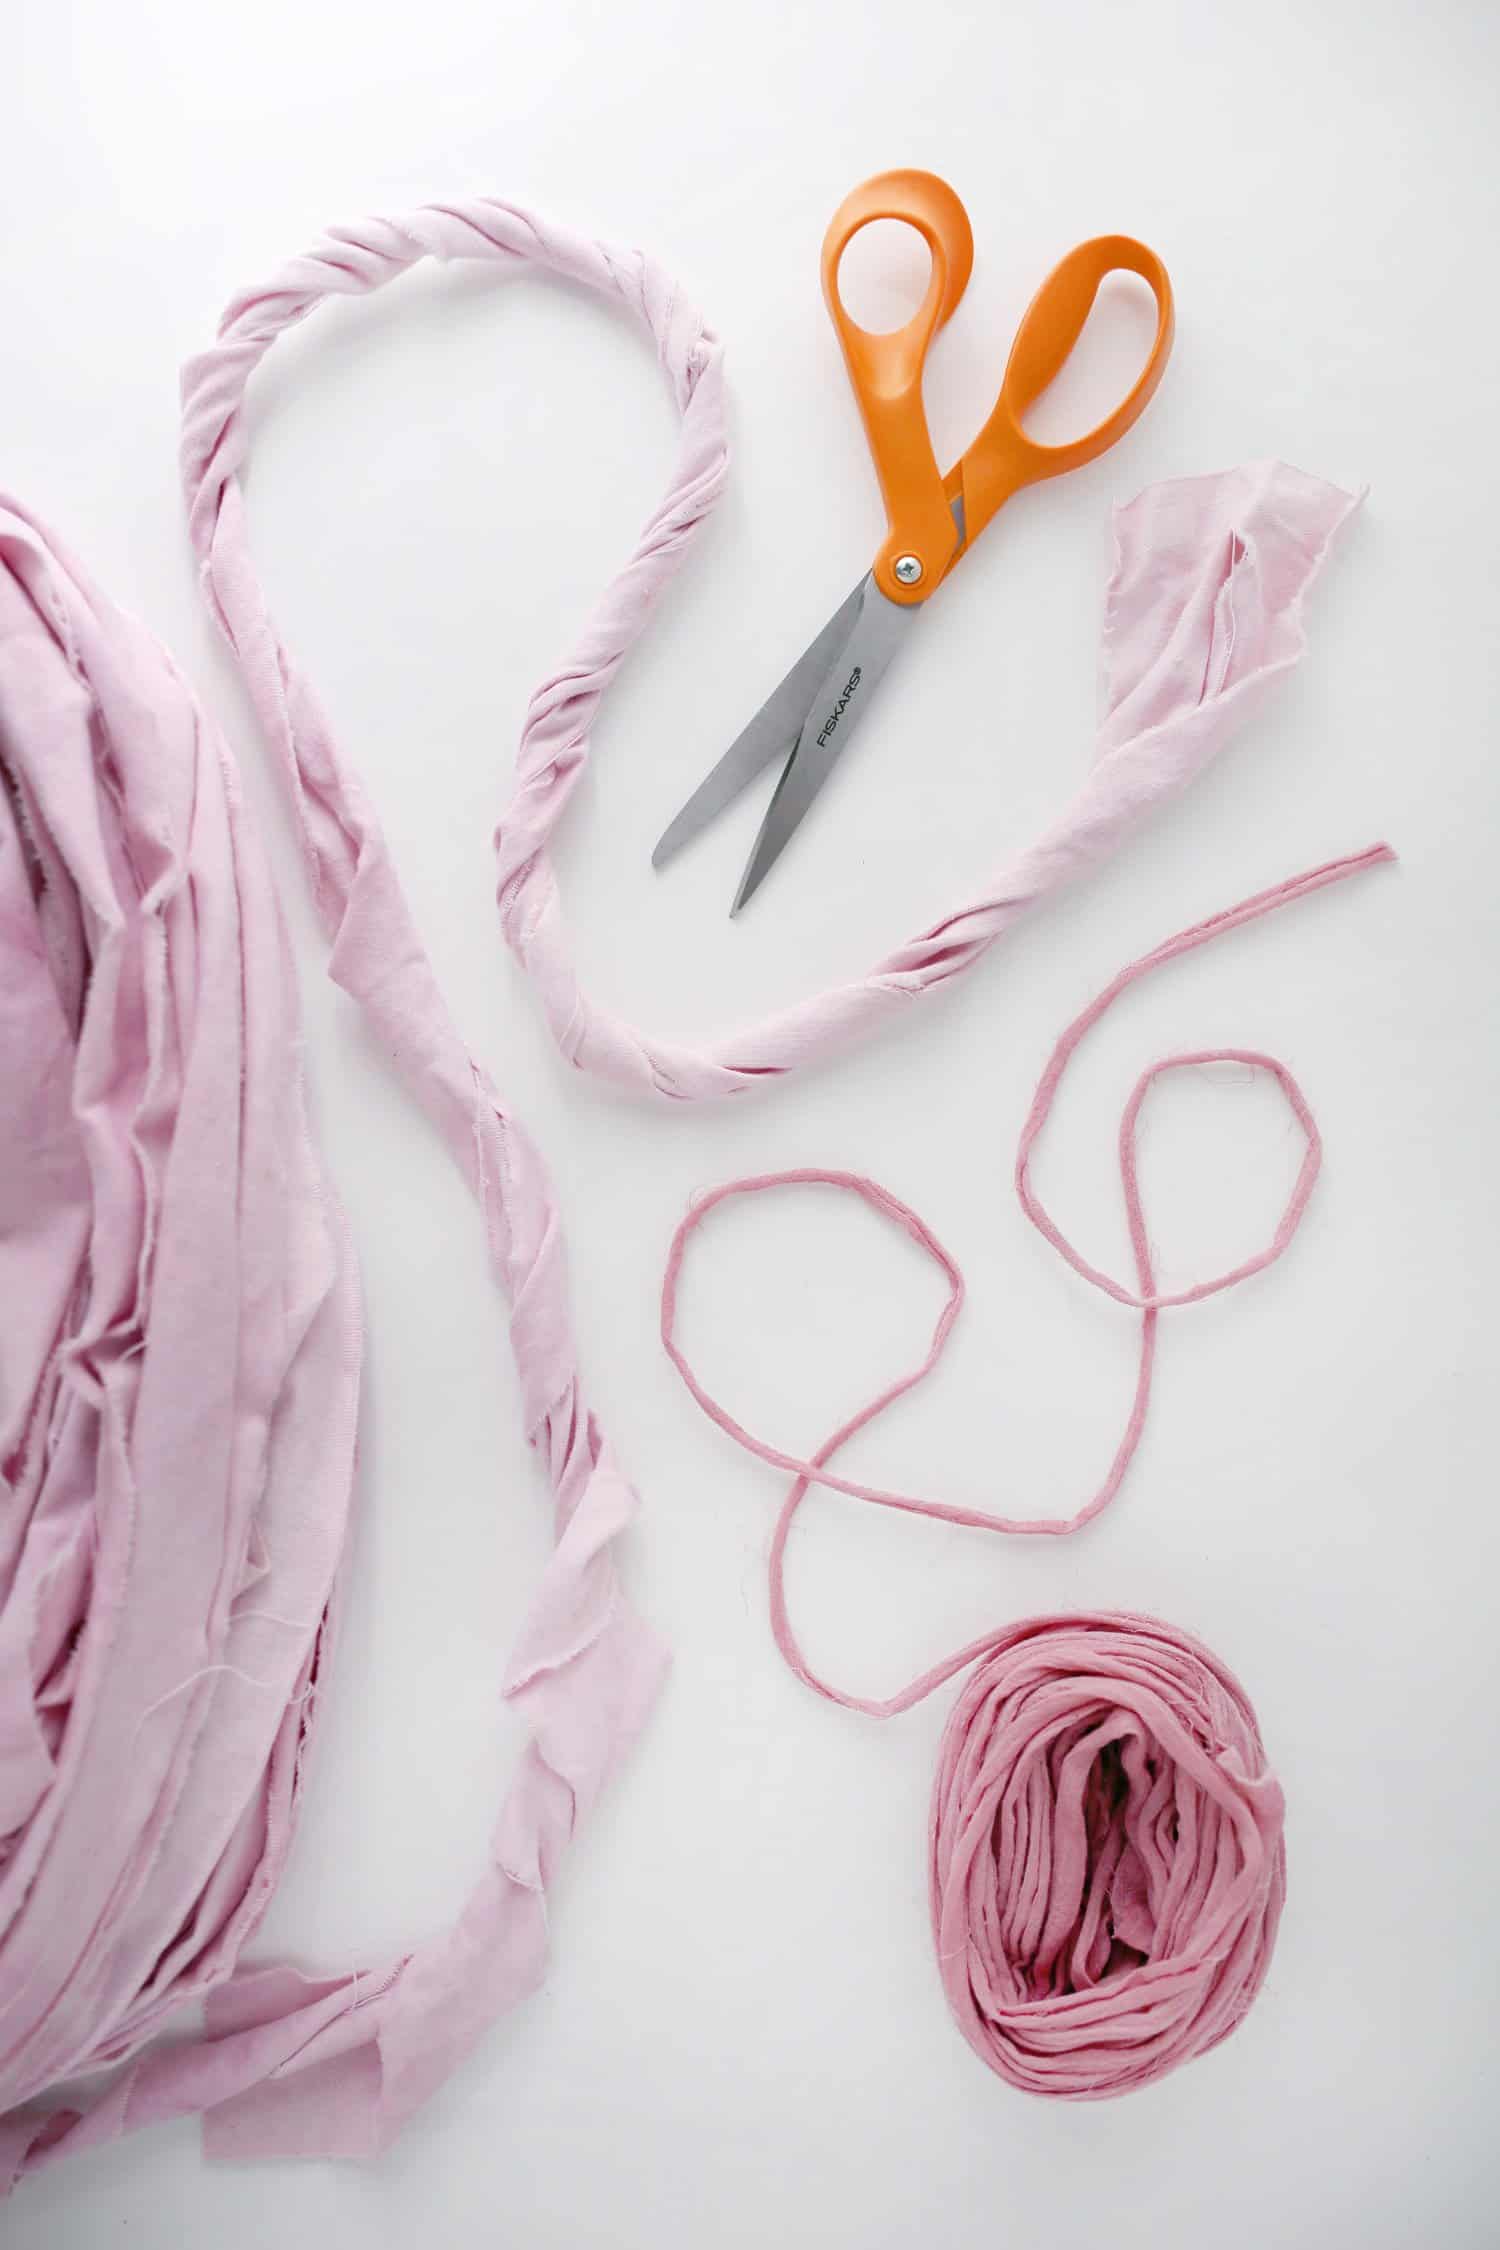 After you’ve cut all of your fabric, wrap it into a loose coil to keep it from getting tangled up. Then twist up your canvas fabric for about 3 feet.
 Step One: Cut 3 ft of gauzy cotton and tie it around the end of three strips of canvas cotton (make one longer than the others by 1 ft).
Step Two: Place the tail end of the knotted cotton onto the canvas cotton and wrap around both with the long end to cover it up.
Step Three: Fold your wrapped end in like you’re making a circle and use the gauzy cotton to wrap around where they meet one time.
Step Four: Wrap two more times around the canvas cotton and then thread your gauzy cotton with your needle. Stitch through the center of your coil and pull tight.
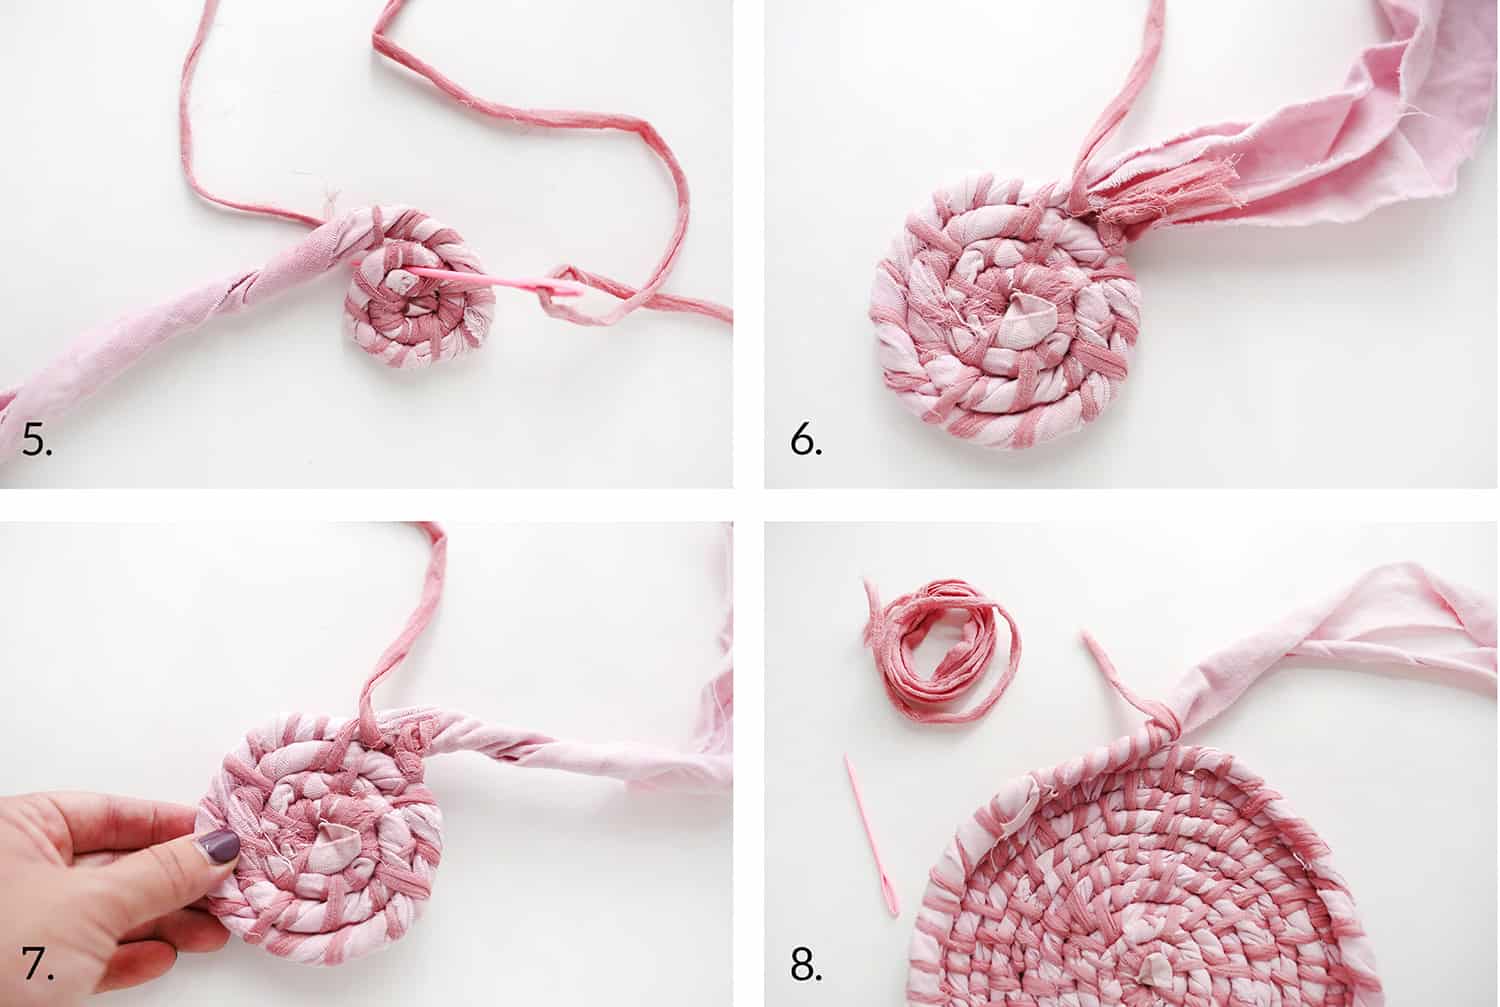 Step Five: Continue wrapping twice around the canvas cotton only and then stitch around both the outer layer of canvas cotton and the one underneath it. Keep twisting your cotton canvas as you go. This gives it shape as well as strength.
Step Six: When you run out of gauzy cotton, tie a new 3 ft. strip to the end and tie a knot. Open up the canvas cotton and place the tail ends of your gauzy cotton inside.
Step Seven: Twist the canvas cotton up again to help hide the tail ends and then keep wrapping and stitching.
Step Eight: Once your diameter is wide enough for your liking, start stitching your next layer of canvas cotton directly above your last one to build up the sides of your planter. You’ll continue wrapping twice around one layer of canvas cotton and then once around two layers of canvas cotton.
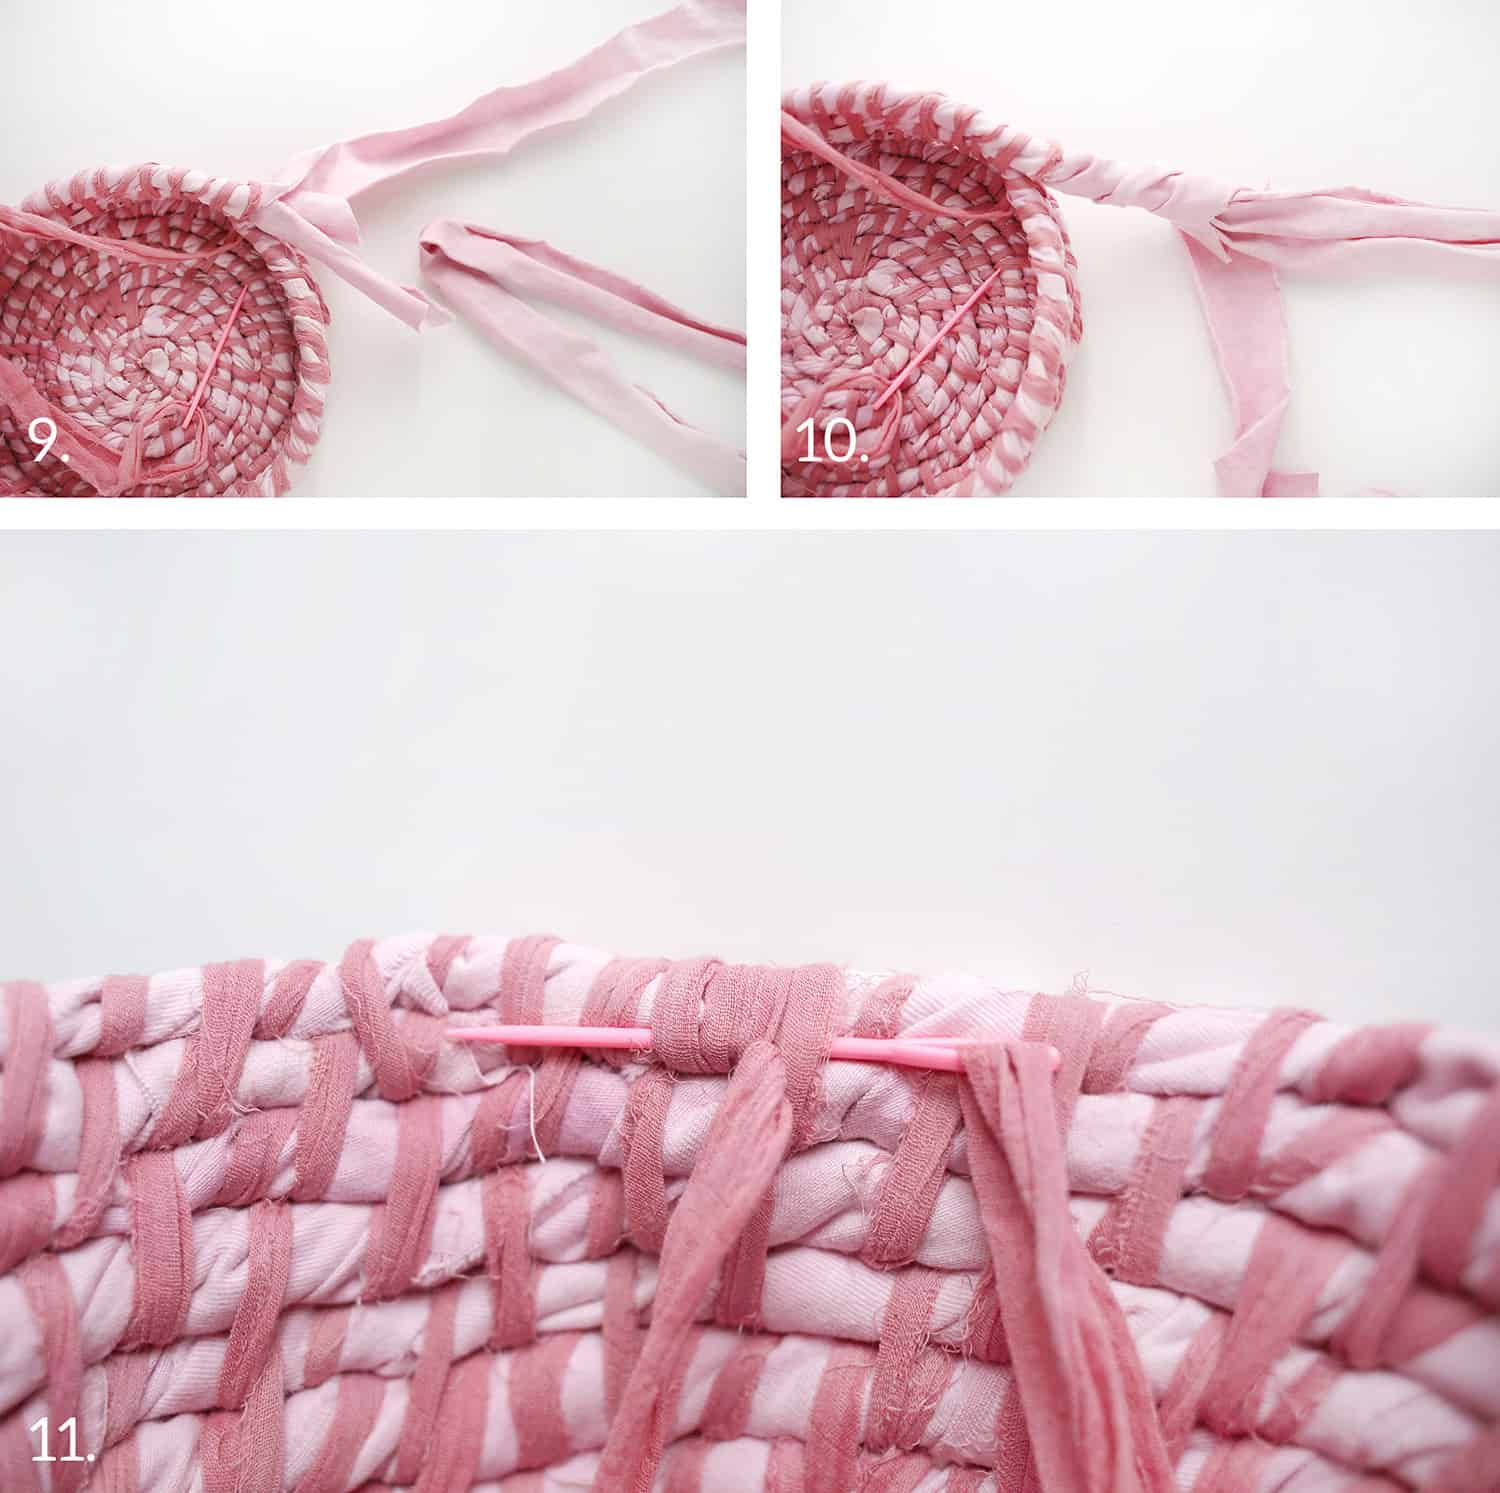 Step Nine: Whenever you’re about to run out of canvas cotton, cut another two strips and place them near the ends of the canvas cotton that is running out.
Step Ten: Use the longer piece of canvas cotton to keep wrapping around that section to help hide the ending and beginning.
Step Eleven: Continue coiling, wrapping, and stitching until your pot is as high as you’d like. Hide the tail end of your canvas cotton by wrapping around it 4-5 times with your gauzy cotton and then stitching through all five of those. Pull through, cut off the end of your gauzy cotton, and tuck back under.
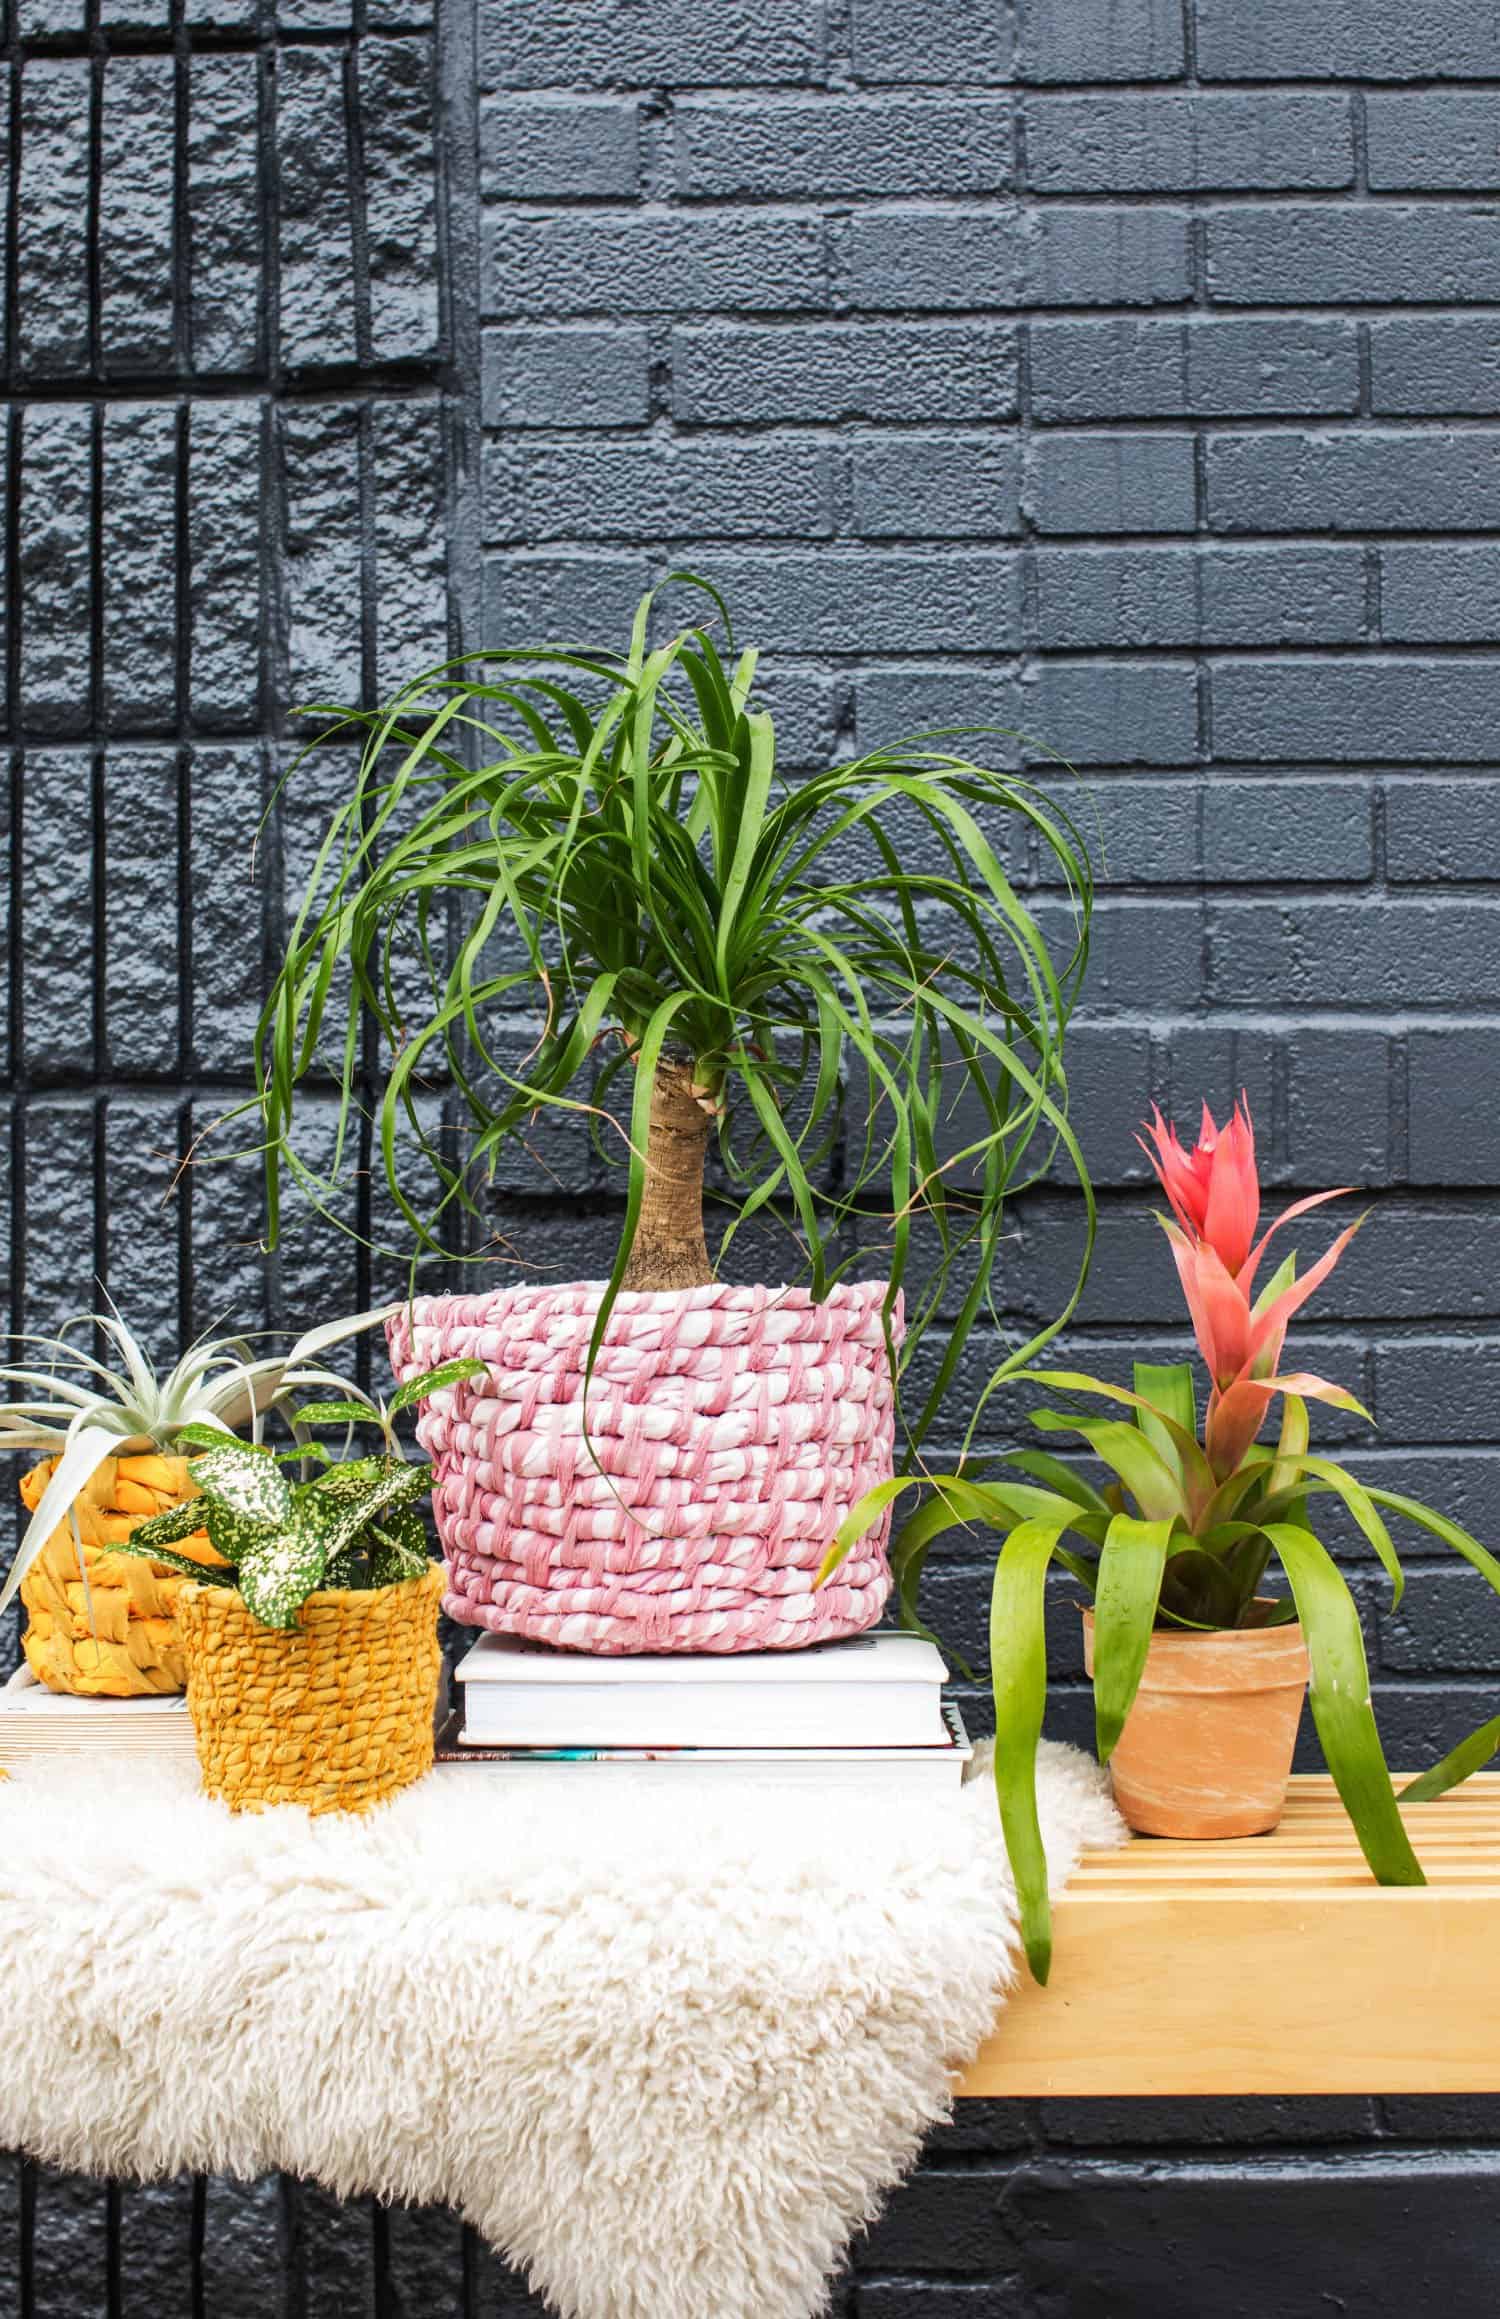
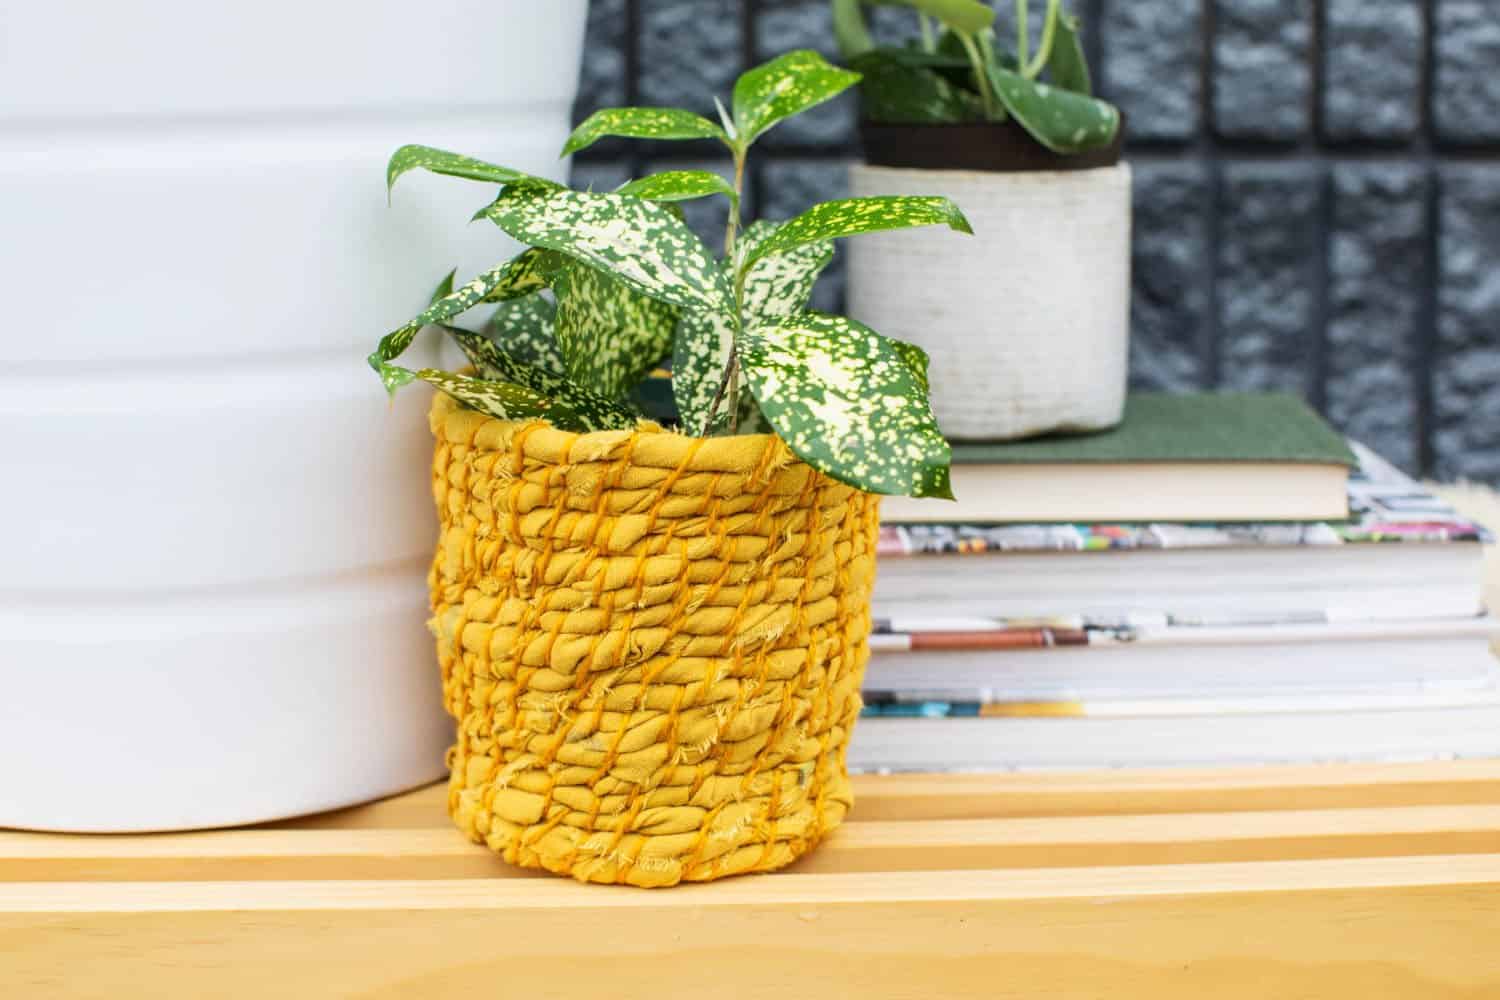
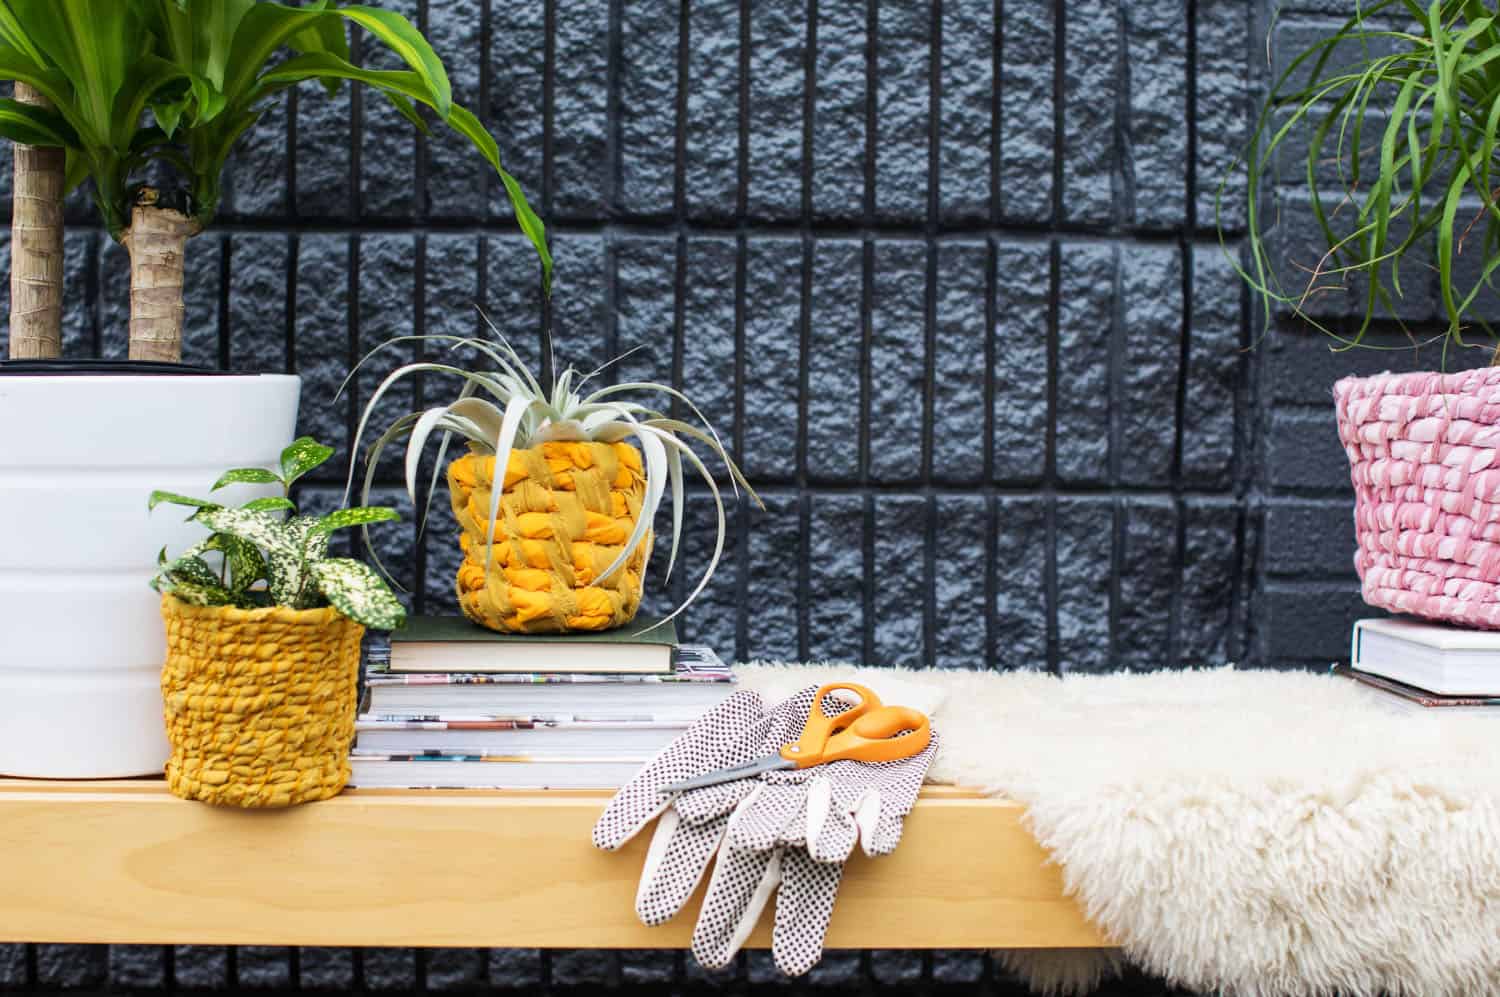 You can see how using only one thick strand of fabric in your coil will give you a completely different look than twisting up four strands of wider fabric. I made another thinly coiled planter below for a smaller plant and then made my third one with thicker coils. I finished it much quicker but still love having a variety of thin, medium, and thick coils in this trio.

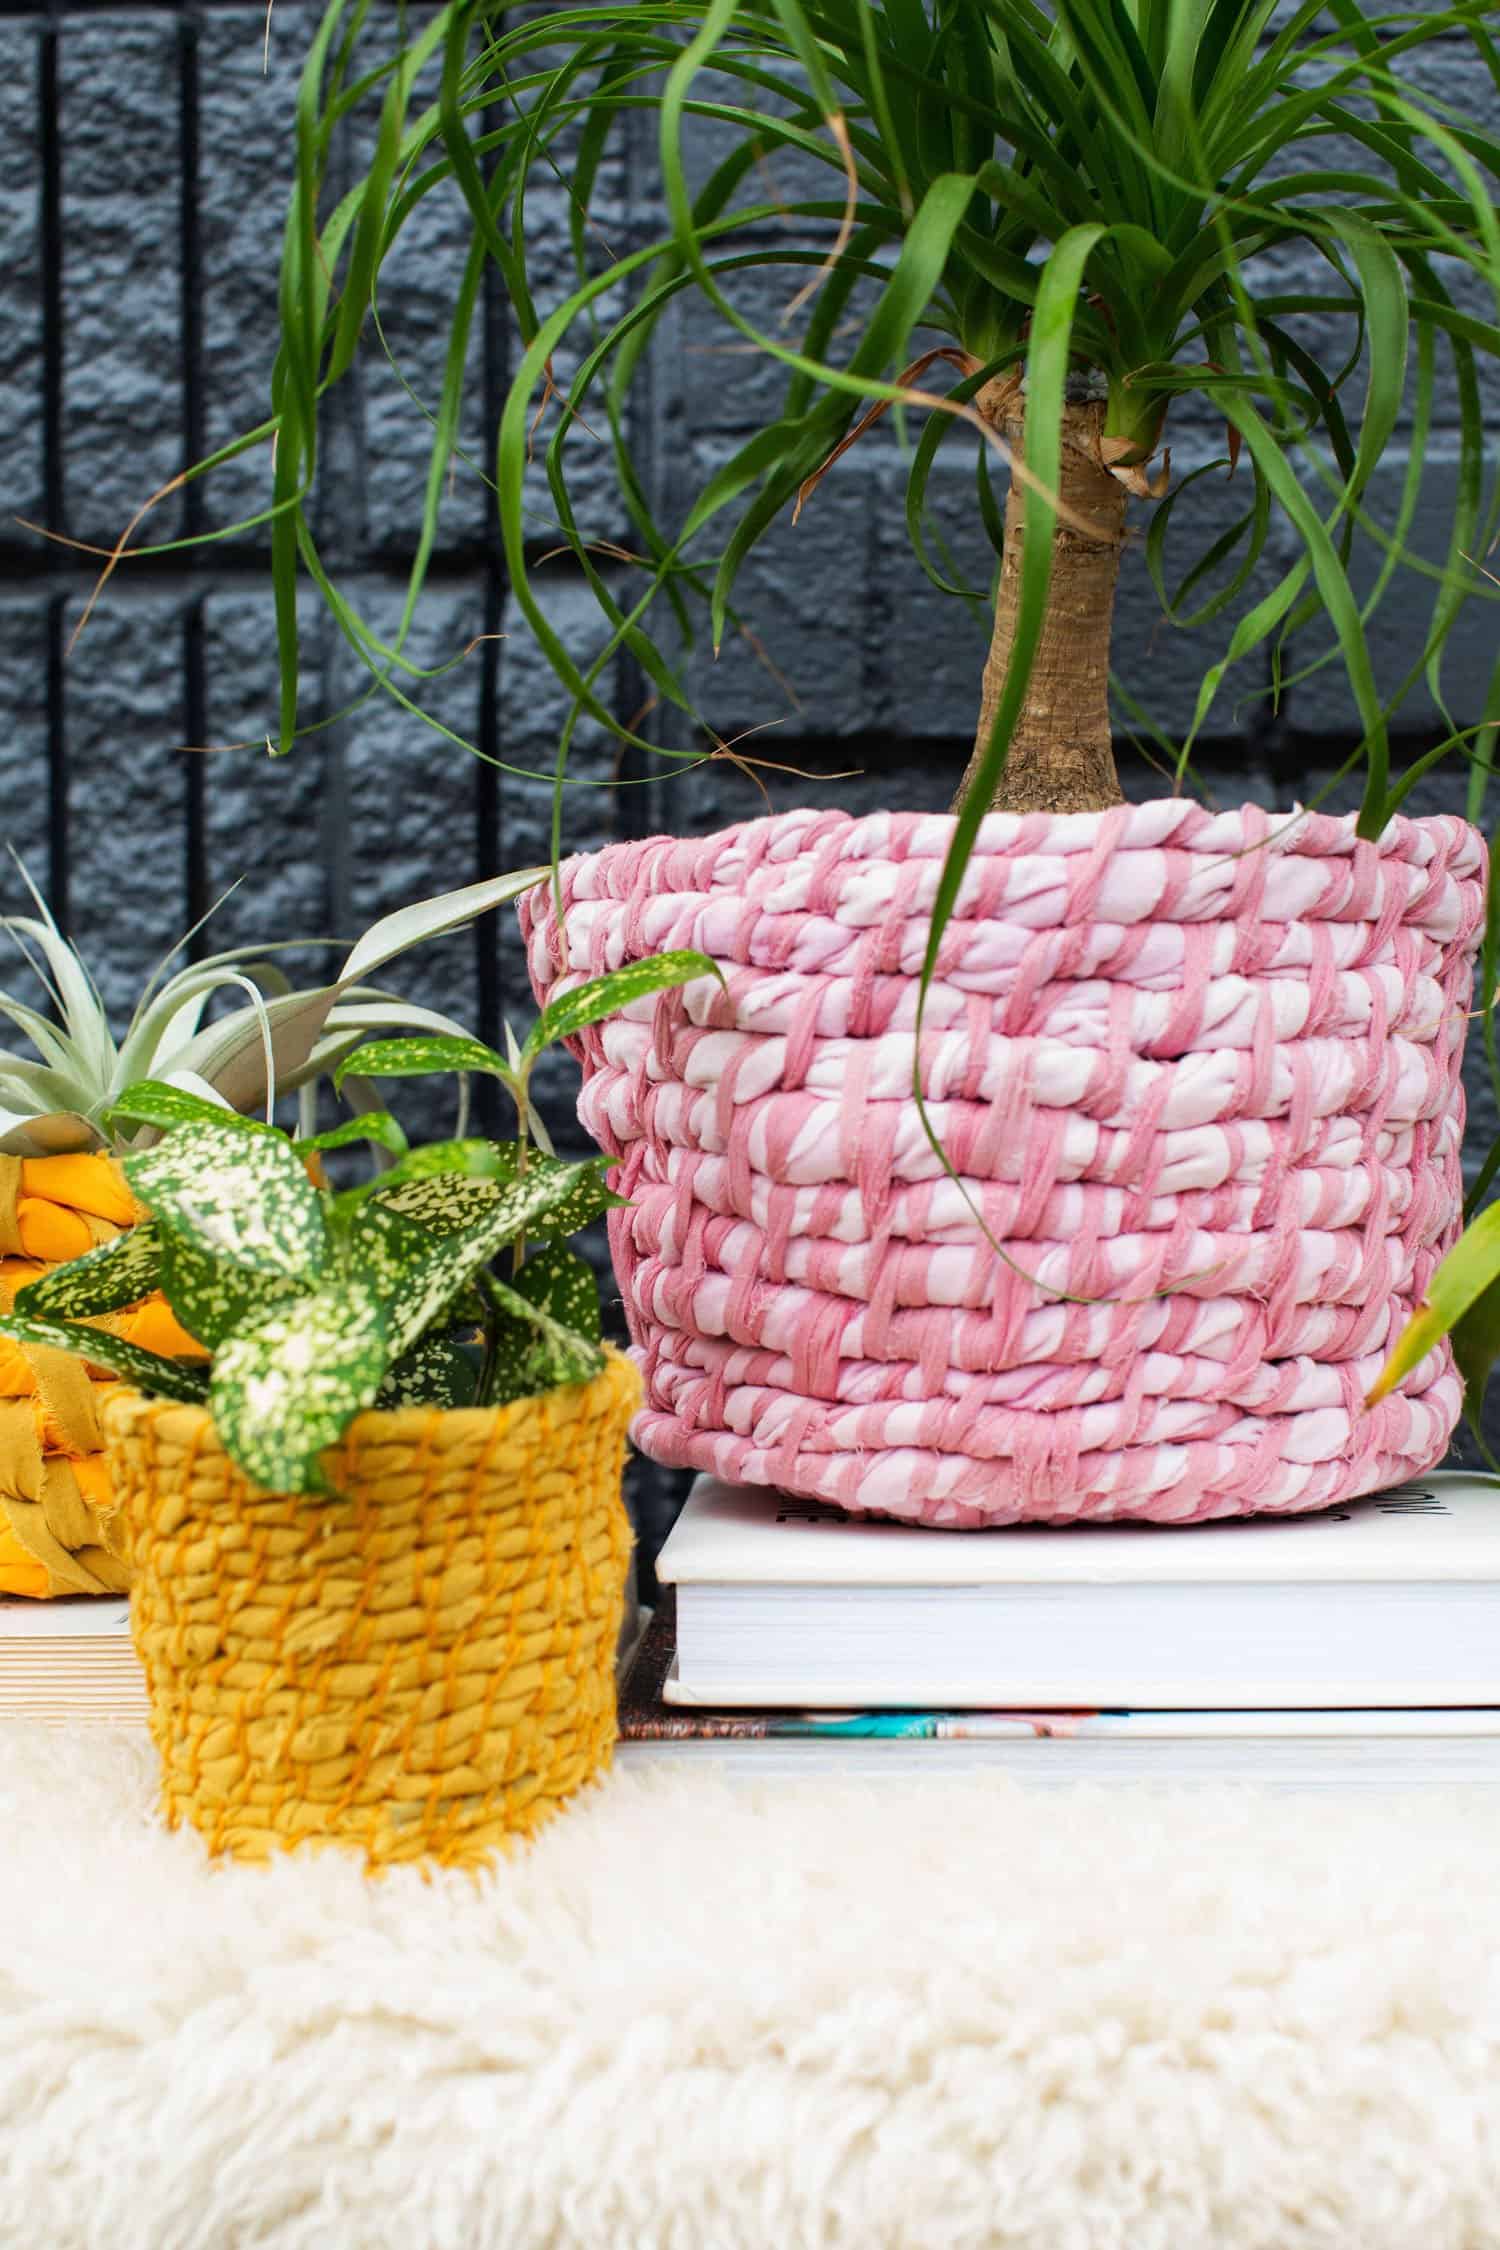
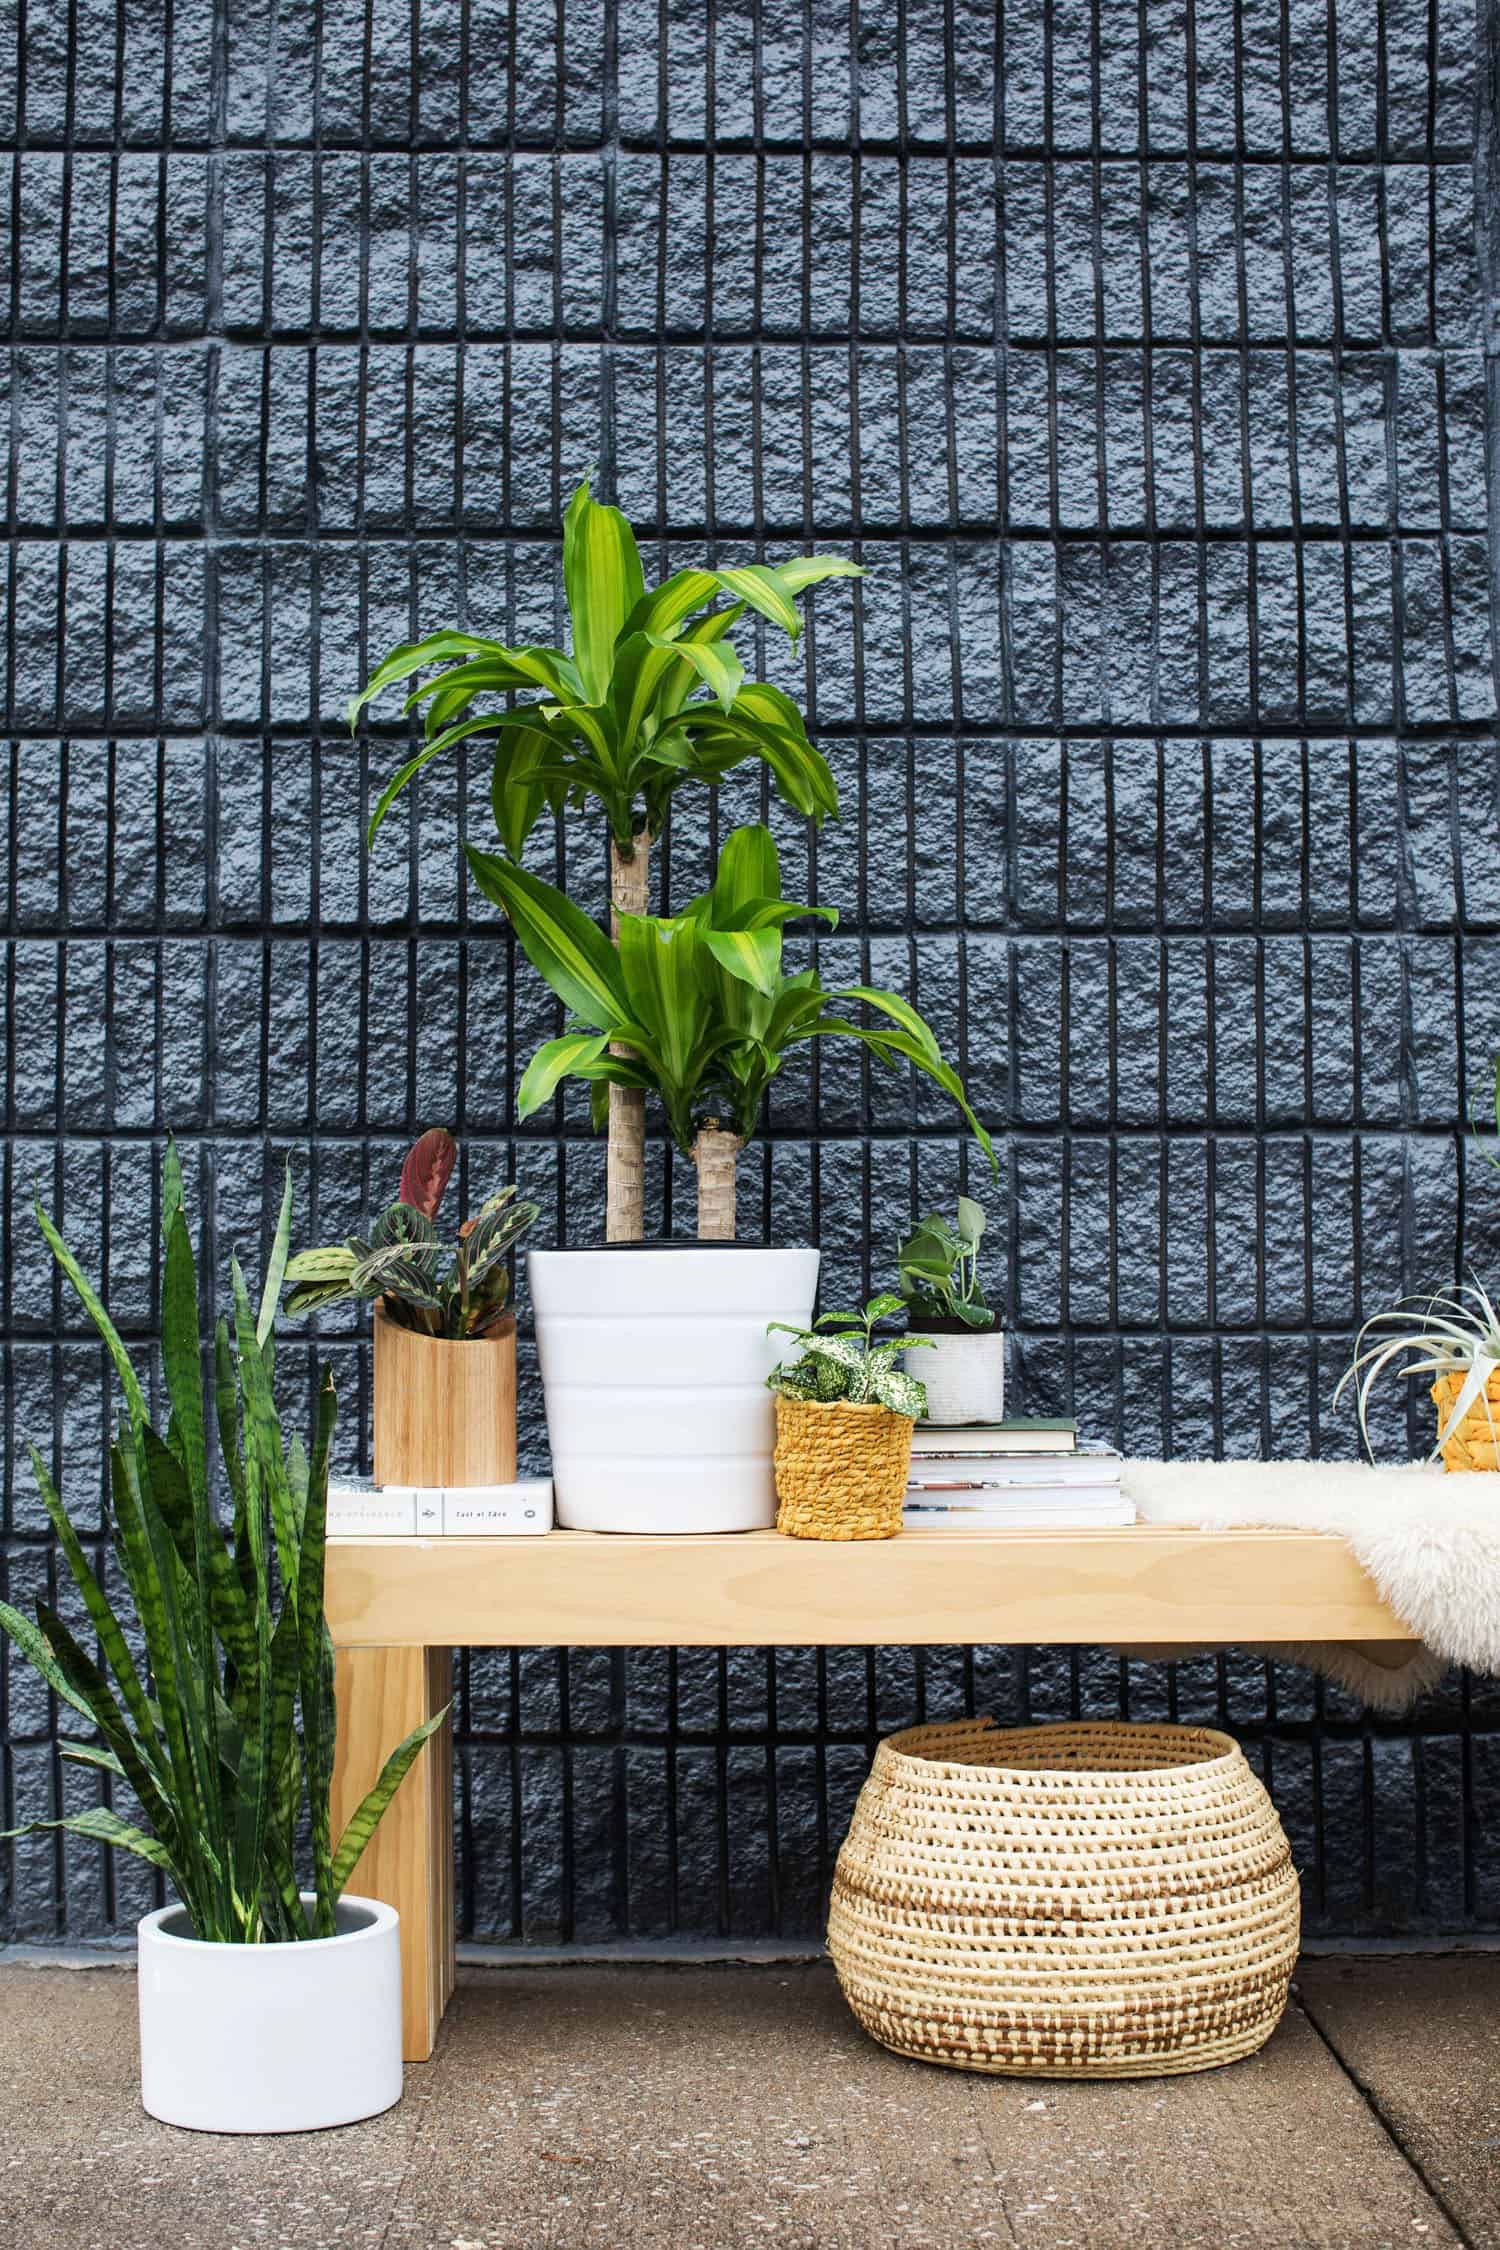
 If you’re not a plant lady and don’t share in the burden of always needing another cute pot, you can use these for cute baskets in any room of your house. Place a few on a side table to stash remotes and charging cords or make a large one to gather items that need to be put away as you pick up around the house. Three cheers for pretty baskets that you made yourself! – Rachel
33 Comments
This is really cute! I’d use them more as a basket!
Charmaine Ng | Architecture & Lifestyle Blog
http://charmainenyw.com
Yes! I’m thinking a big chunky coil for an organizing basket would be so useful! And cute! -Rachel
Nice technique and baskets! And great to see the Fiskars scissors. They are excellent and one of the most succesful brands in our country. Didn’t know that this is their 50th year though! Good to know. ?
Yes! We always had a pair in our house growing up! -Rachel
Awww this is just too cute! Thanks for sharing <3
https://www.myblackcloset.com/
You’re welcome!
wow, that looks incredibly cute! gonna try it out 🙂
xx Flora
http://www.florabugan.com
It’s such an easy project! And maybe addictive! -Rachel
This is exactly what I needed! Something to keep my hands busy and my wallet happy. Perfect way to make a dent in my fabric closet.
Can you give a rough estimate on how long each took to complete?
The larger one took about three hours to make but it was also my first one. The smaller chunky one only took about 45 minutes. -Rachel
Wow, guys – you read my mind. I was pinteresting for something just like this yesterday, but couldn’t find something perfect. This looks right up my alley.
Happy to be of service! Ha! I’d love to see what you end up making! -Rachel
These turned out beautiful! Love the colors you chose and what a great way to repurpose some fabric laying around that hasn’t been used yet.
Right?! I’m all about creative sustainability and not having to spend money when I can reuse what I have! -Rachel
I love your blog, and this is just another amazing idea! Totally trying this one out, so colourful and fun!
Mary | O Blog da Mary
https://oblogdamary.wordpress.com/
Yay! We’d love to see what you end up making! -Rachel
did you line these baskets with anything before putting a plant in them? or just drop the whole planter into it & go from there?
Ali,
I just dropped the planter in with it’s container at the bottom. It’d be easiest to use a plastic water catch dish at the bottom, though. The ponytail palm I used doesn’t need a lot of water so it made sense to use the fabric planter on this one. Good question!
-Rachel
I love idea
New post:http://thepinkpineappleblog.blogspot.com/2017/08/haute-couture-2017-street-style.html
What an awesome idea, they look so cool!
https://www.makeandmess.com/
Thank you!!! -Rachel
This is fabulous! Any chance you will do a video? (I must have a dominant male gene… I have the same reaction men have looking at Ikea instructions!).
This planter is so pretty! It looks amazing!
Paige
http://thehappyflammily.com
You’re so sweet, Paige! Thank you! -Rachel
Great idea ! DIY are a really good way to feel good in our environment and to feel proud of what we are able to do. Thank you for this exemple, I plan to test that this week… I’ll come back here to take a few ideas, it’s interesting and colourful 🙂
Exactly! I hope you get a chance to make your own soon!!! -Rachel
How cute! It amazes me how many lovely creative things you ladies come up with. Thanks for another great DIY share!! I love that wooden planter (or possibly vase?) you have in some of the pictures at the end. Where did you find that beauty?
P.S. This diy is forcing me to get a new plant just so I can try it, oh darn! ?
Lauren,
It’s a bamboo utensil holder I found at Tuesday Morning. We usually use it for holding our pencils and pens in the kitchen but I love it as a planter!
Mam… unable to follow ur steps… initial ones… how to fold it… also do give the cloth required for small baskets
These fabric planters are easy to make and they’re also versatile. You can easily choose materials that will work well with your existing décor. It is also a craft project that can be completed in no time at all!
This is exactly what I needed! Something to keep my hands busy and my wallet happy. Perfect way to make a dent in my fabric closet.
Can you give a rough estimate on how long each took to complete?
The instructions are very confusing…
You lost me at the smaller scale sample.
This is fabulous! Any chance you will do a video? (I must have a dominant male gene… I have the same reaction men have looking at Ikea instructions!).