

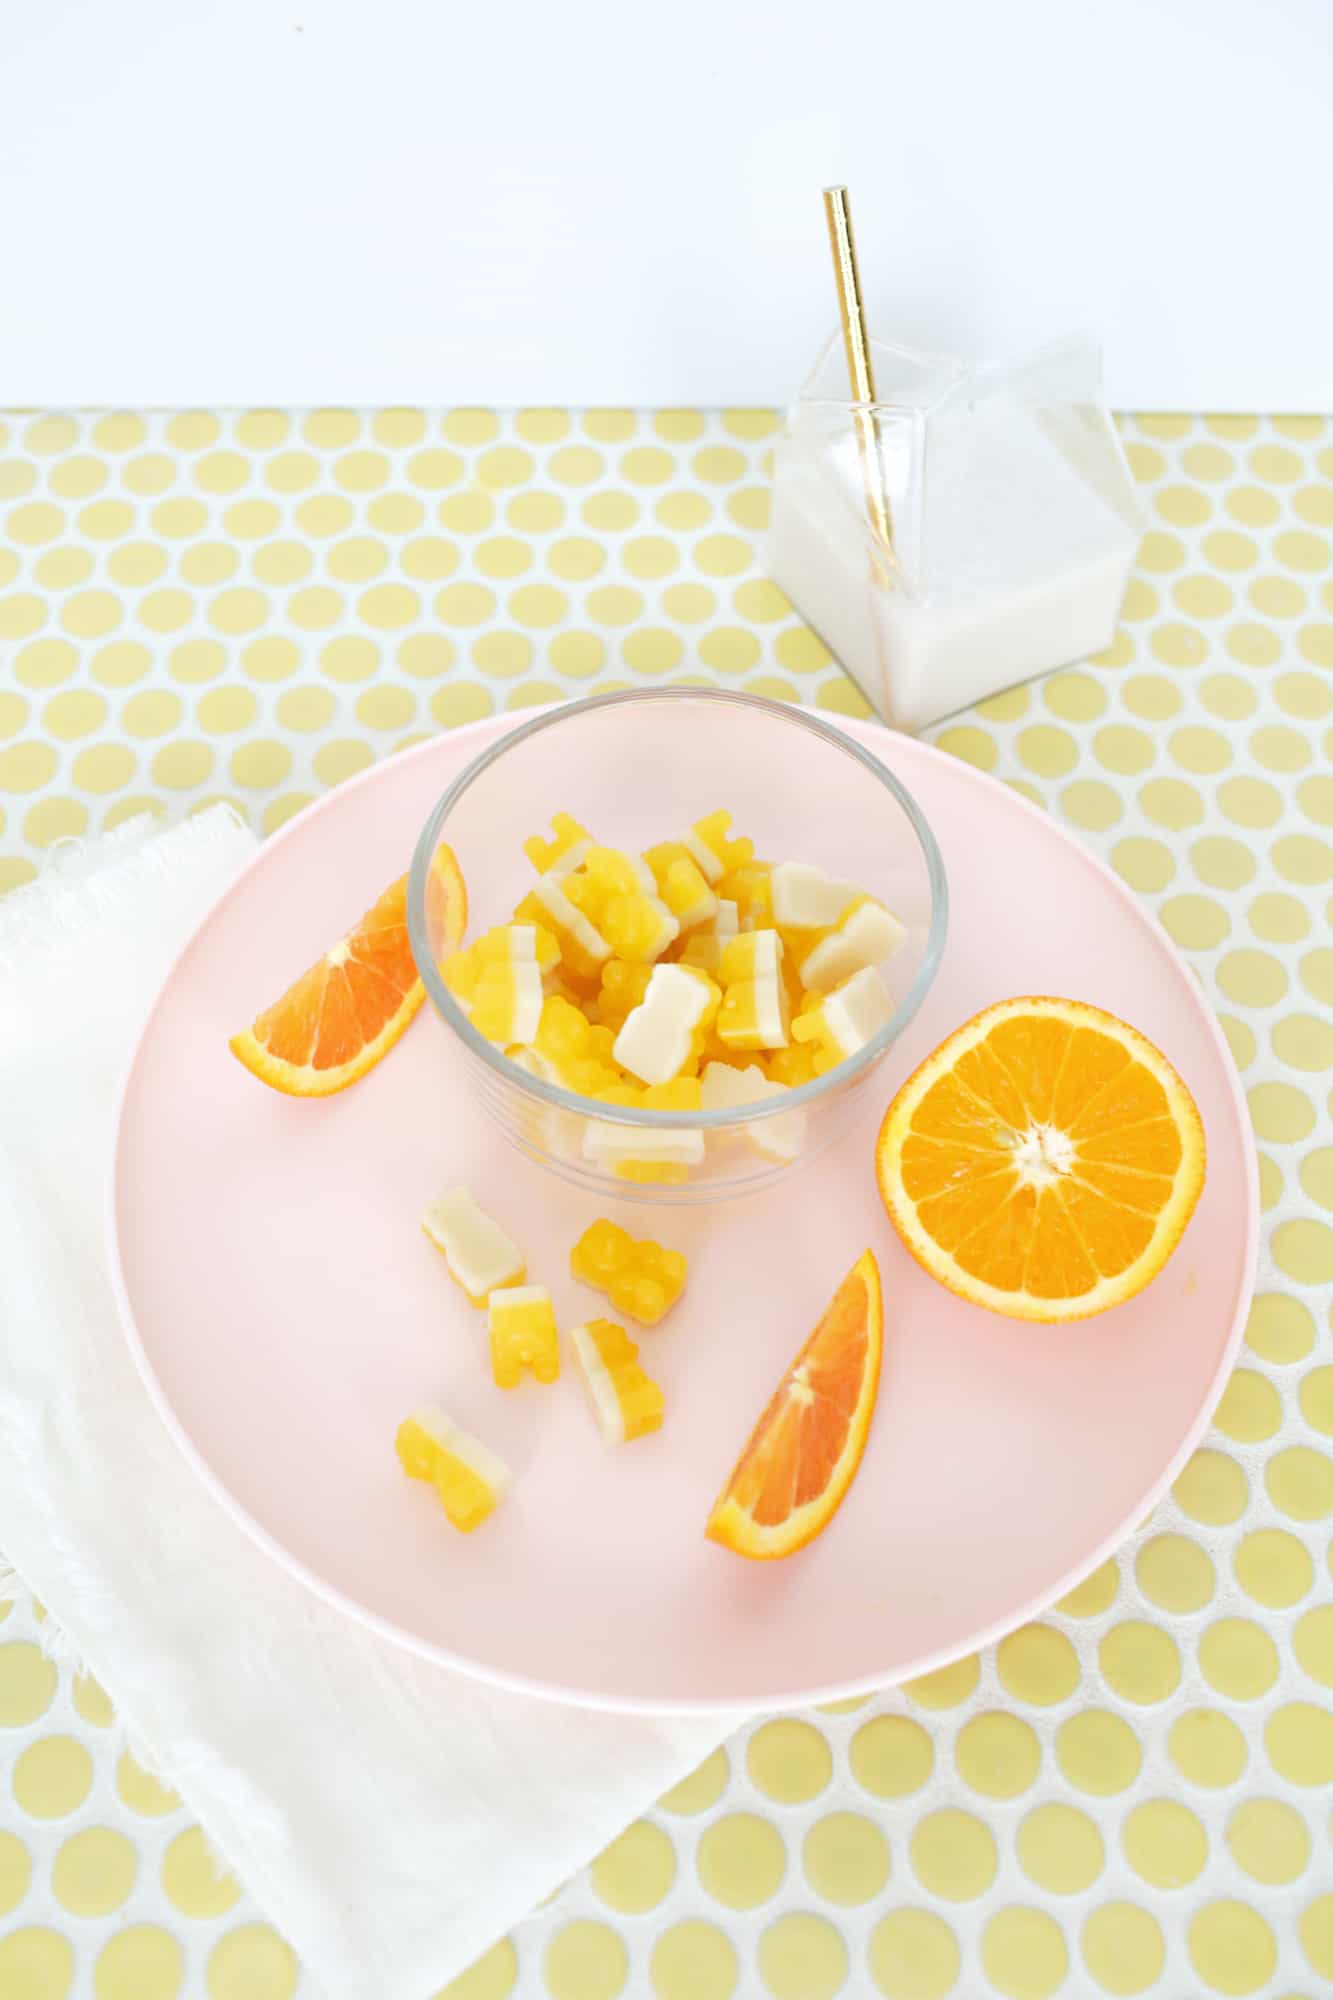
Have you ever made homemade gummies? While I’ve made my fair share of jello shots, gummies without alcohol isn’t really something I’ve tried in the past. But now that we have a toddler in the house, I’ve been making them a lot this past year and it’s so easy to do! These are great to pack in a lunch bag, have a handful for a snack at home, or use as a toddler incentive when you’re trying to get them to do something (hahaha). You can switch out flavors pretty easily with different juices, but right now this orange creamsicle is my favorite! I made the gummies in two layers because it’s extra pretty, but you can also save some time and make them in one layer as well …
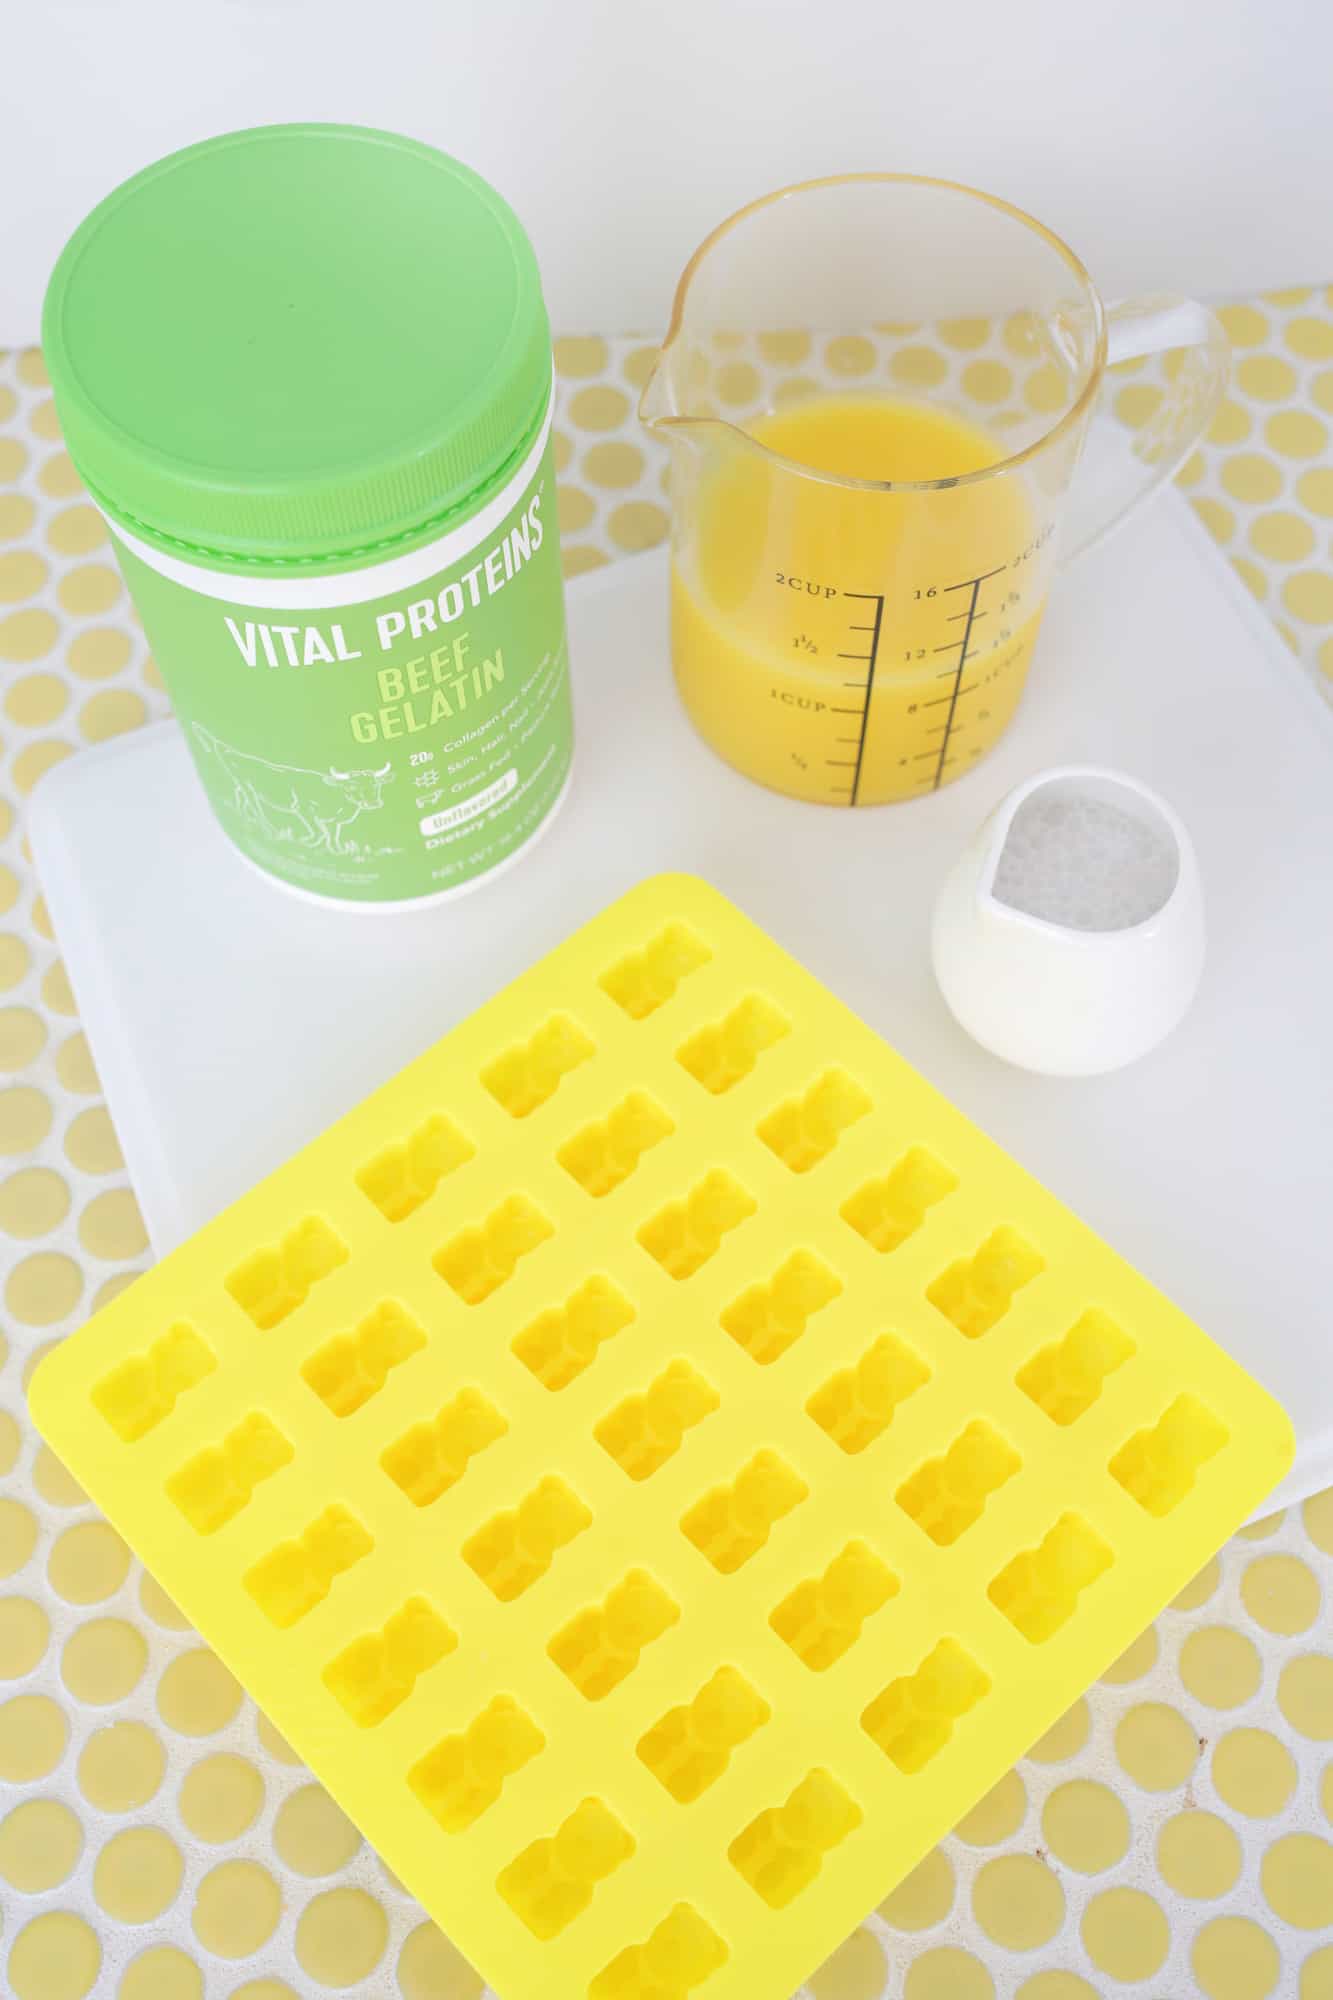 Orange Creamsicle Gummy Bears (makes about 40 with this mold)
For orange layer:
2/3 cup orange juice
1 tablespoon maple syrup or honey (you can add more or less to taste)
2 tablespoons gelatin
For cream layer:
1/3 cup milk of choice
1 teaspoon vanilla extract
1 tablespoon gelatin

Reserve about 1/4 of the orange juice in a cup, add your gelatin and give it a stir. Allow the gelatin to bloom in the cup so that the liquid solidifies (should take less than 5 minutes). Add the remainder of your juice to a small saucepan and heat on medium until hot but not boiling. Once your saucepan of juice is hot, add the bloomed gelatin to the pot and stir until the gelatin dissolves.
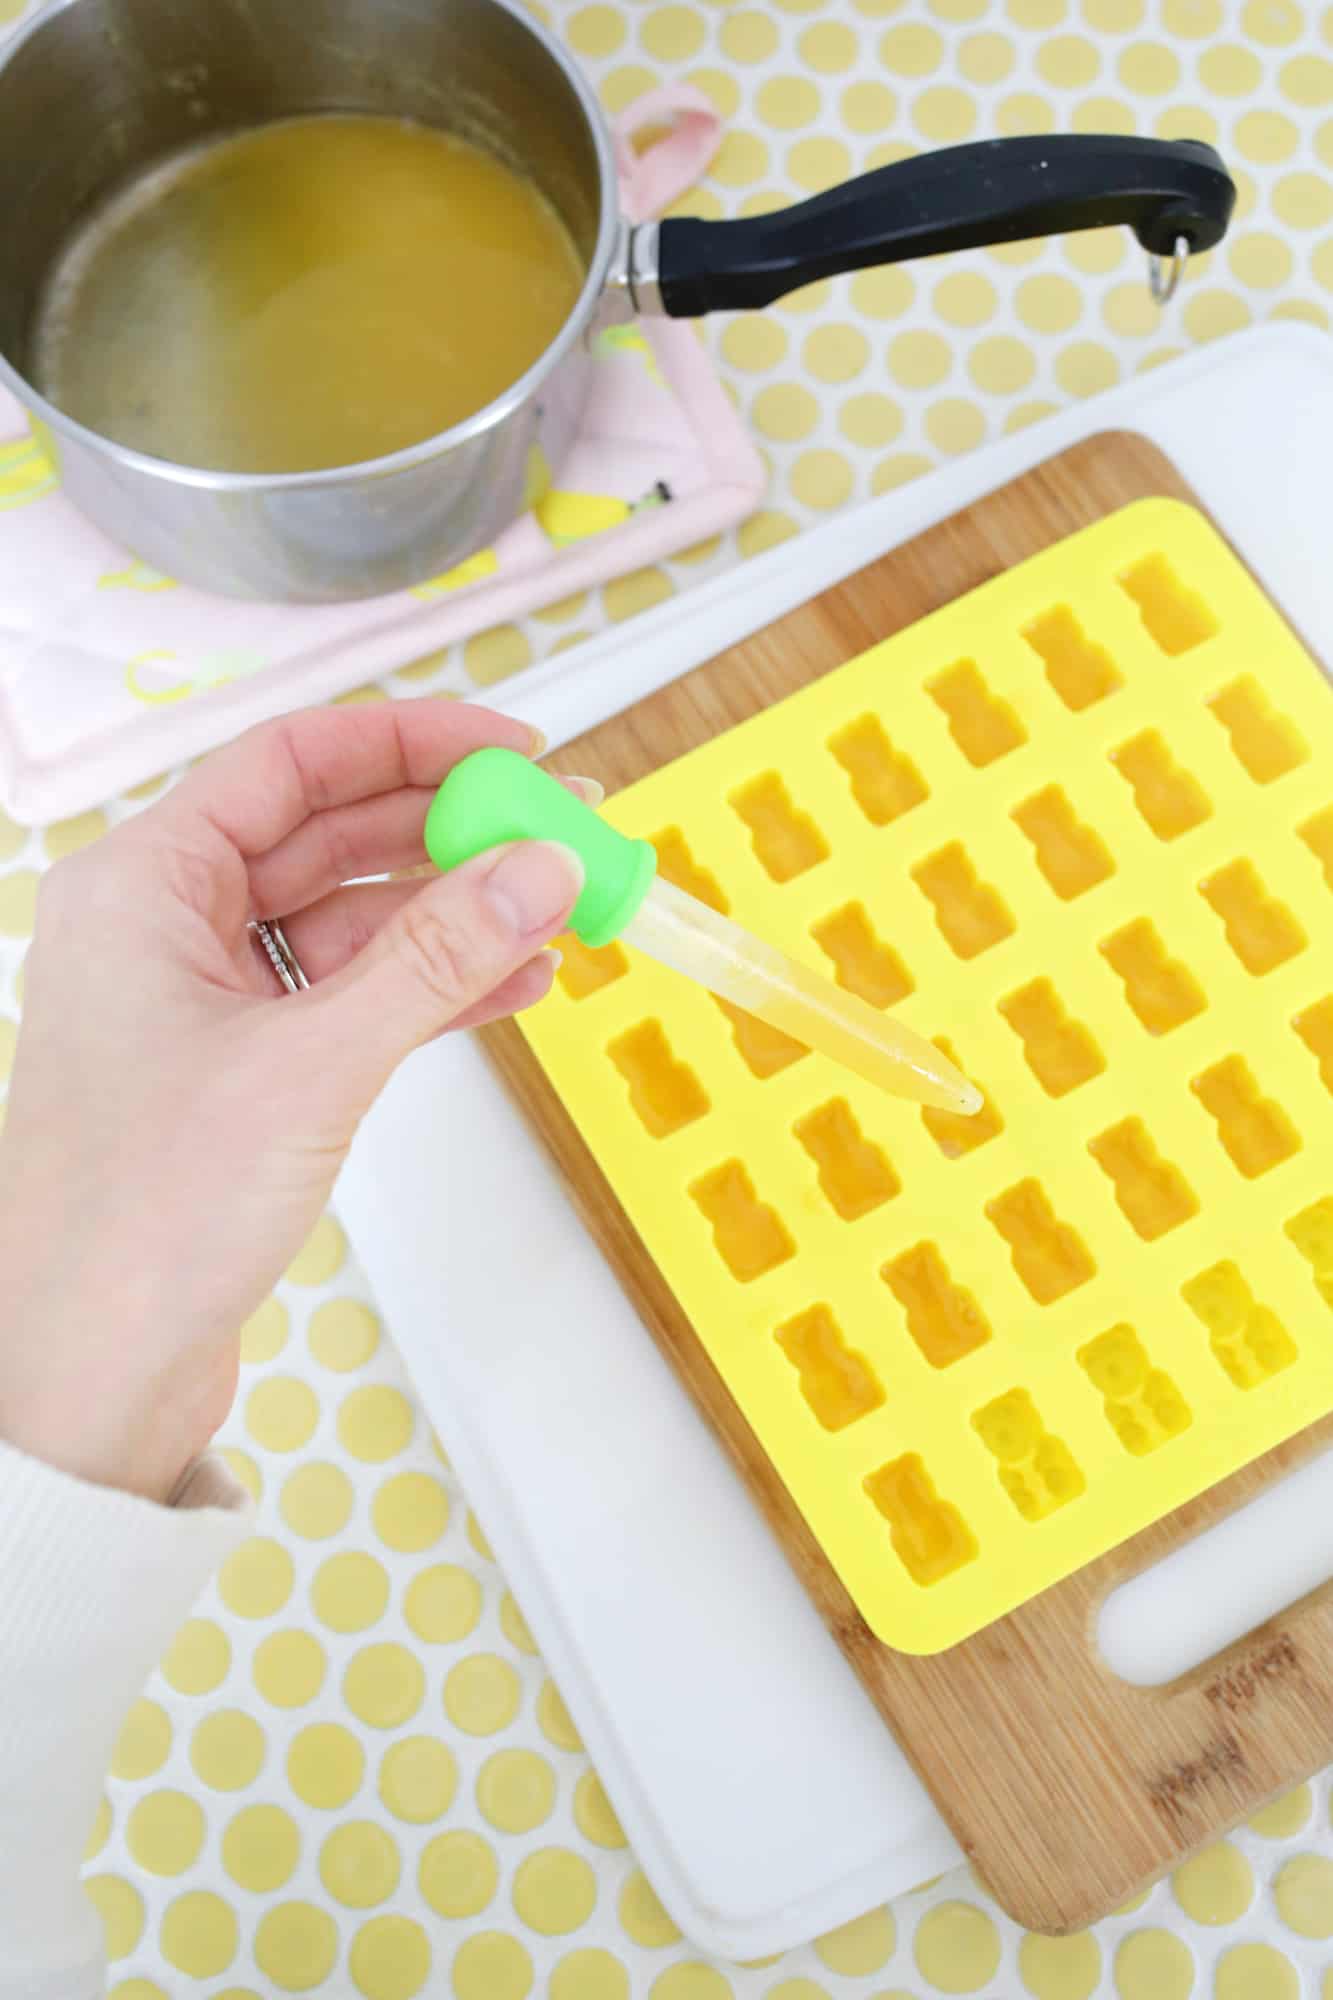 Mix in your honey or maple syrup and use a candy dropper to fill your bear molds about 2/3 of the way full (the molds I bought come with a candy dropper which was super helpful). Allow the molds to set a bit in the fridge for 15-20 minutes.
 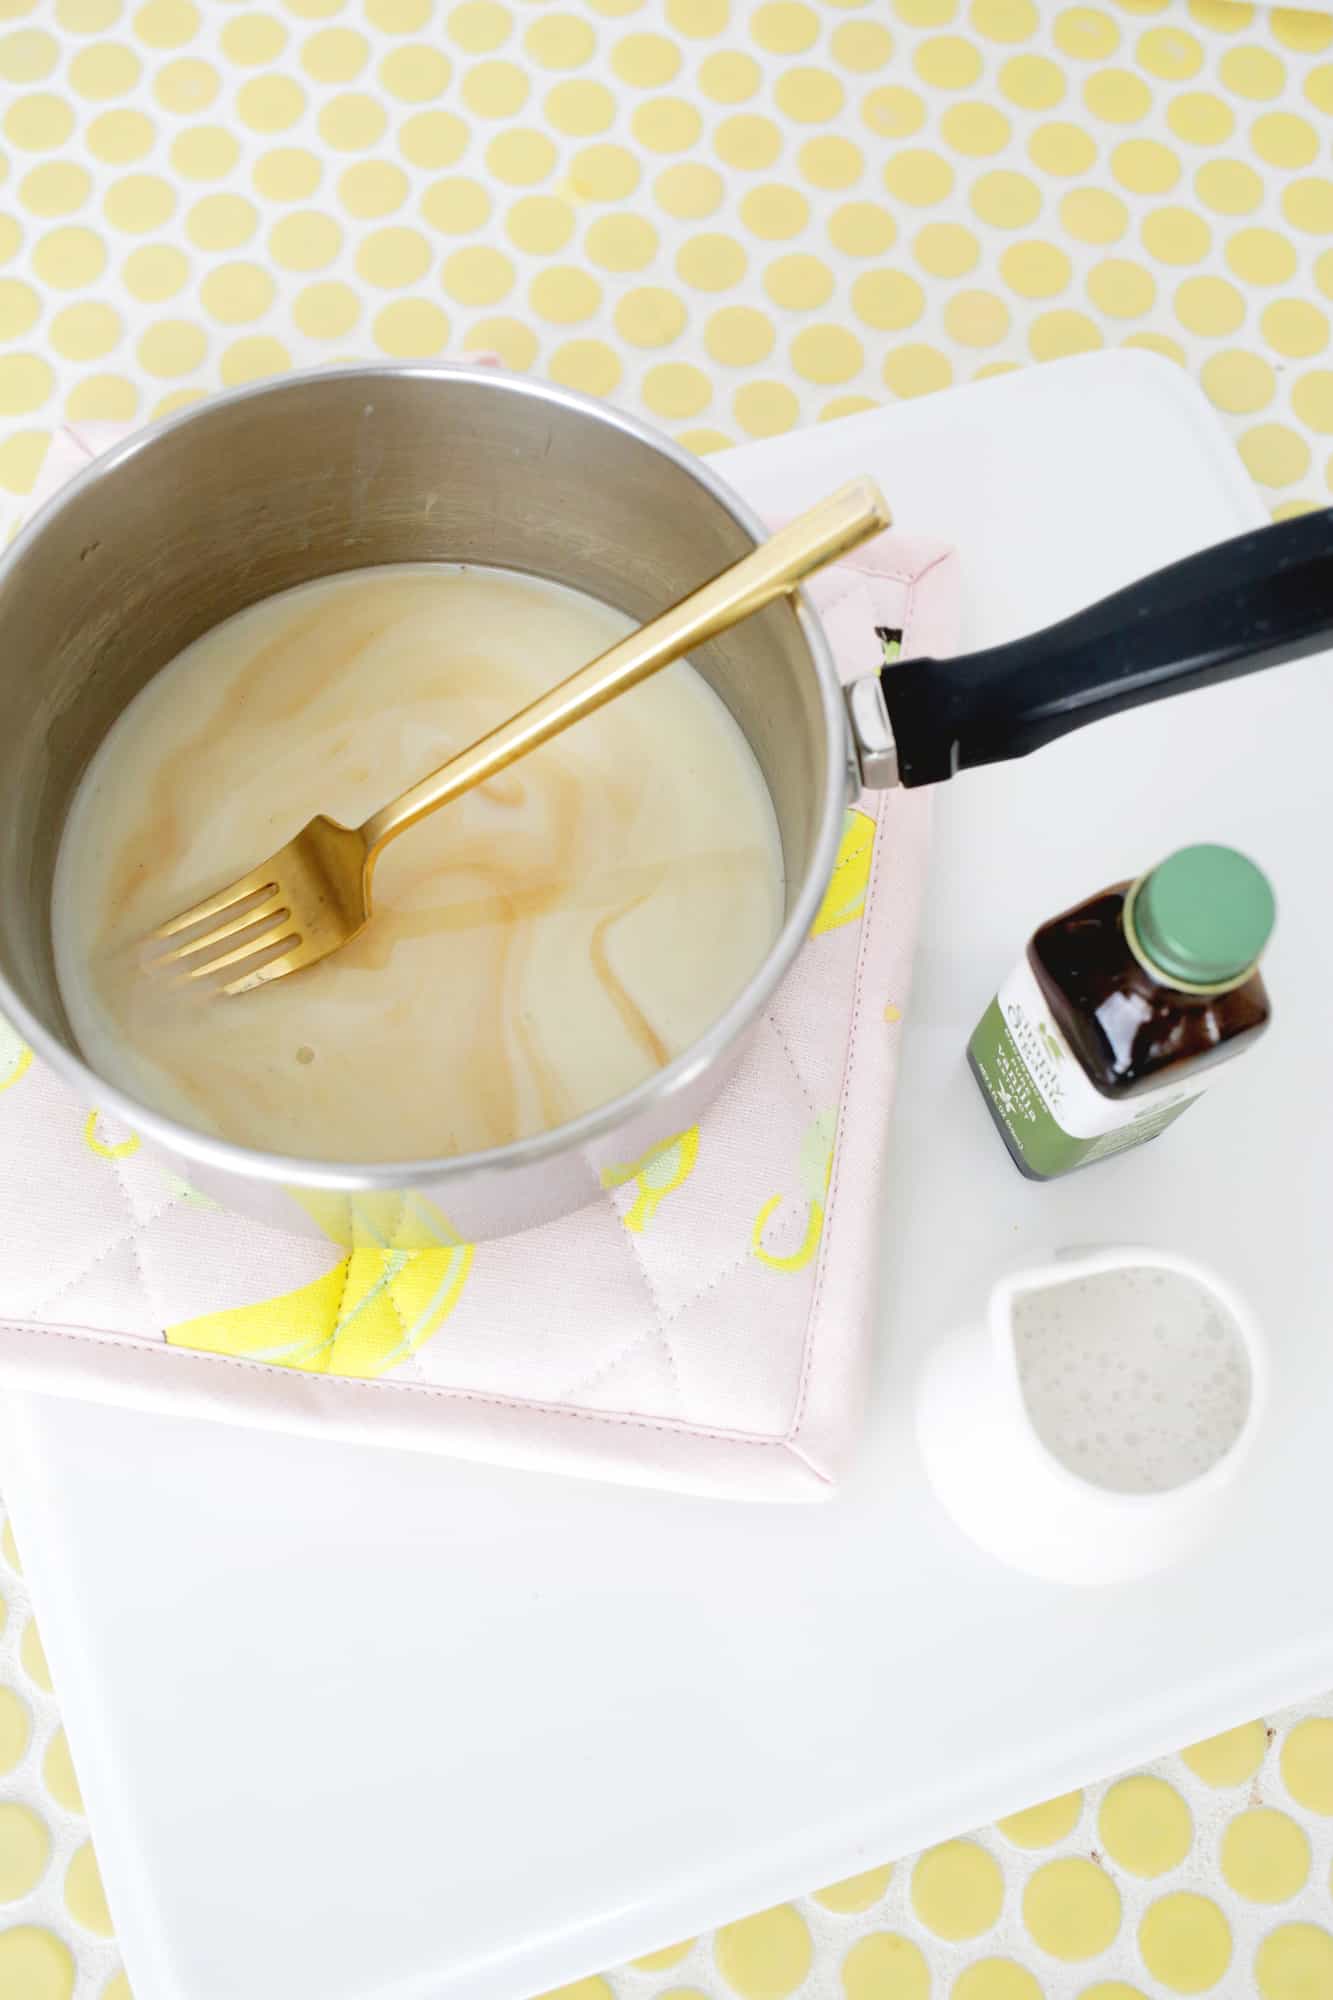 While that layer is setting, repeat the process of adding most of your milk to a sauce pan, but reserve a few tablespoons of the milk to mix with your gelatin and allow it to bloom and solidify. Add the gelatin to the milk once it is hot and stir until dissolved. Add in your vanilla extract and stir.
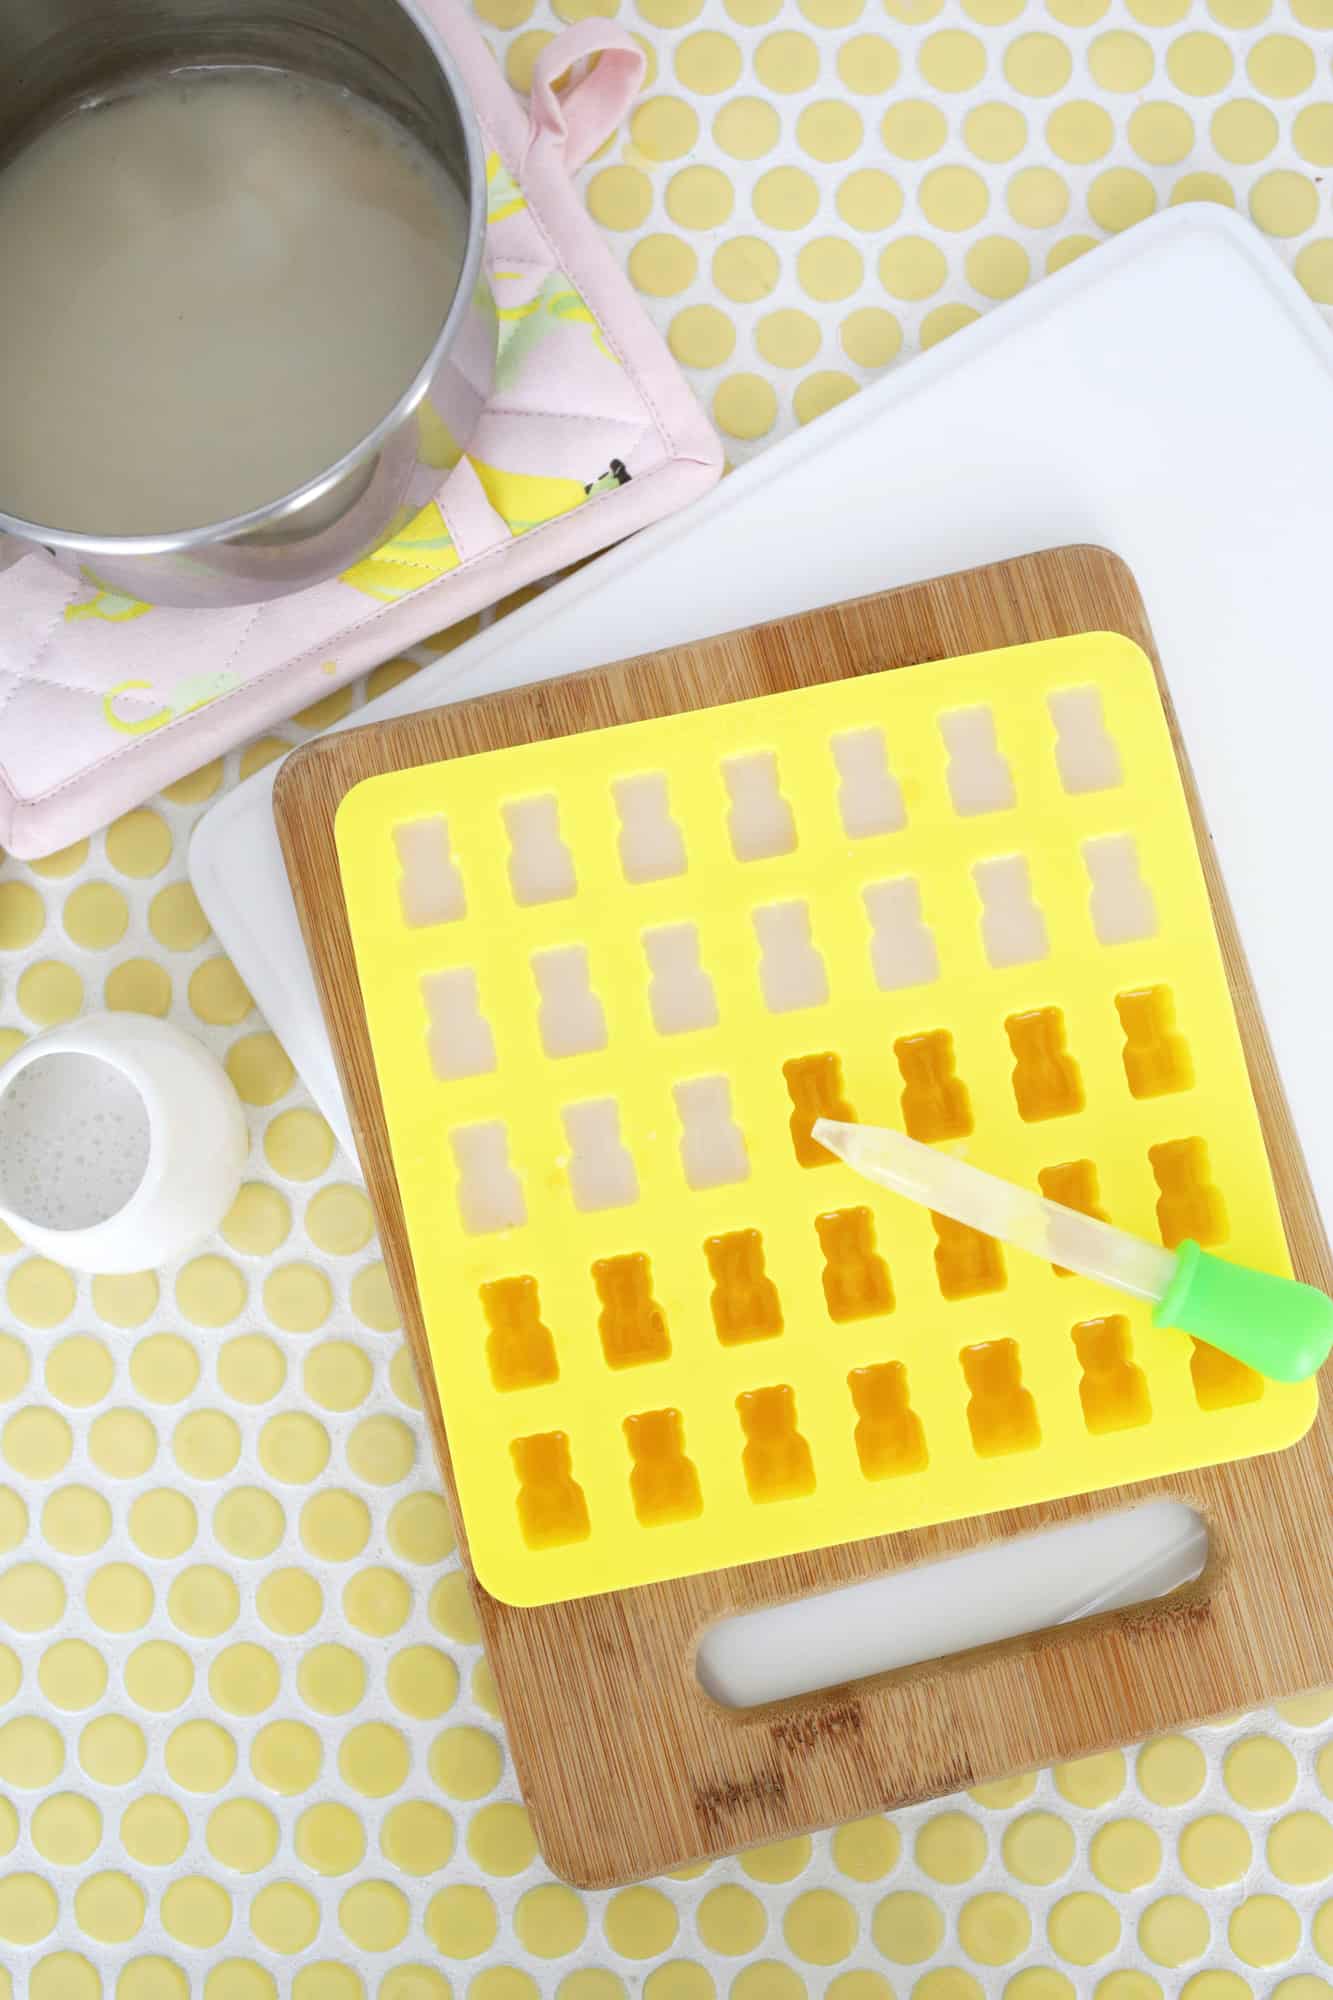 Once your gummies have partially set in the fridge, fill each mold to the top with your cream layer and place back in the fridge for another 2 hours to fully set.
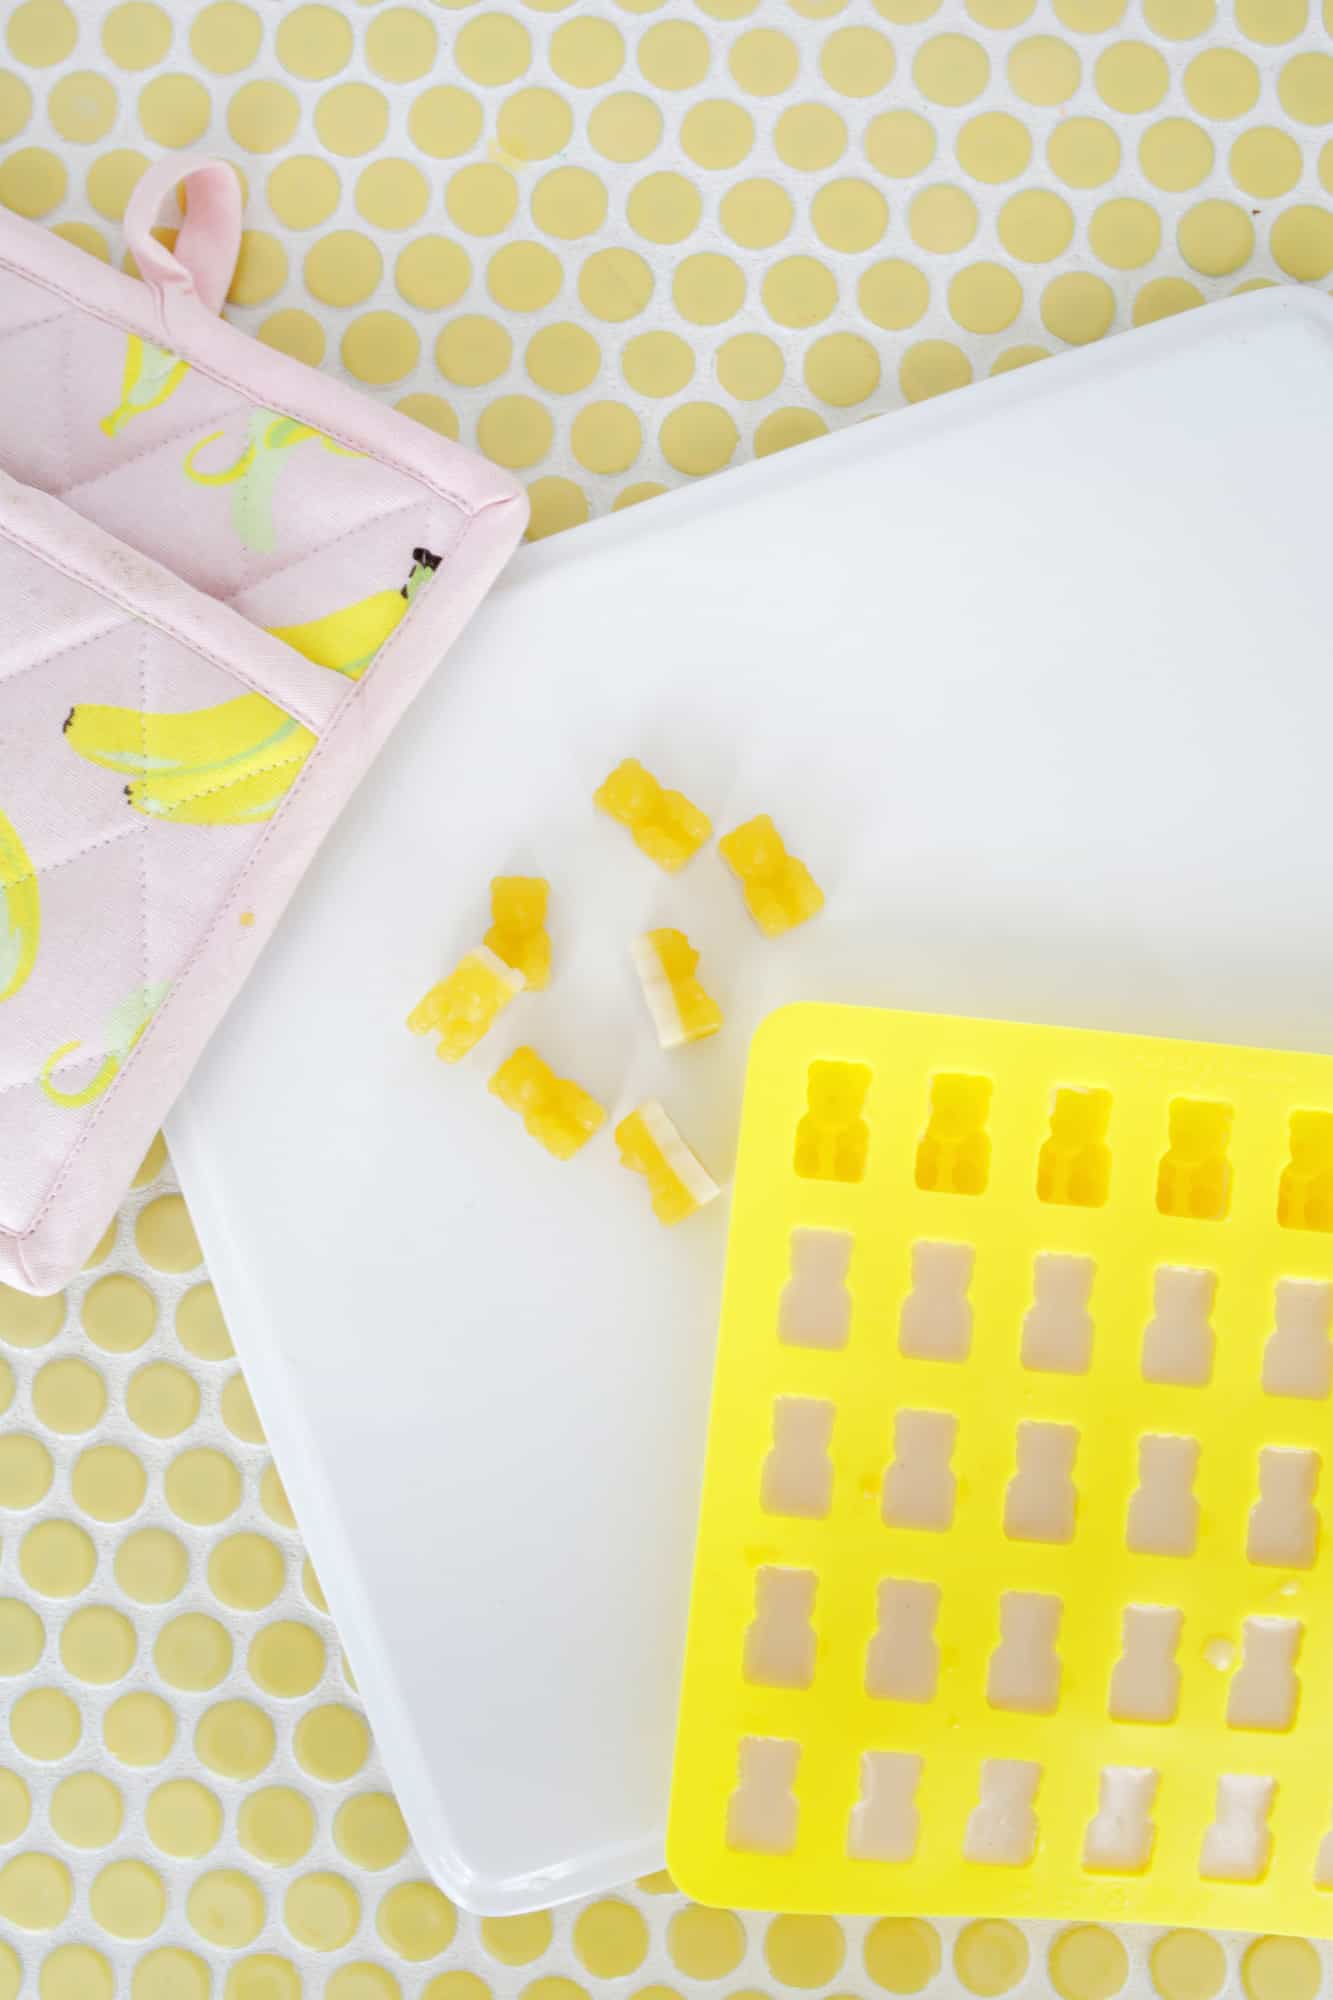 Once your bears are set, simply pop them out of the mold and they are ready to eat!
Store bears in an airtight container in the fridge for up to two weeks. I add these to Lola’s lunchbox all the time, but I probably wouldn’t take them to the beach or someplace where they will be sitting in hot conditions for a long time—they may start to melt a bit!
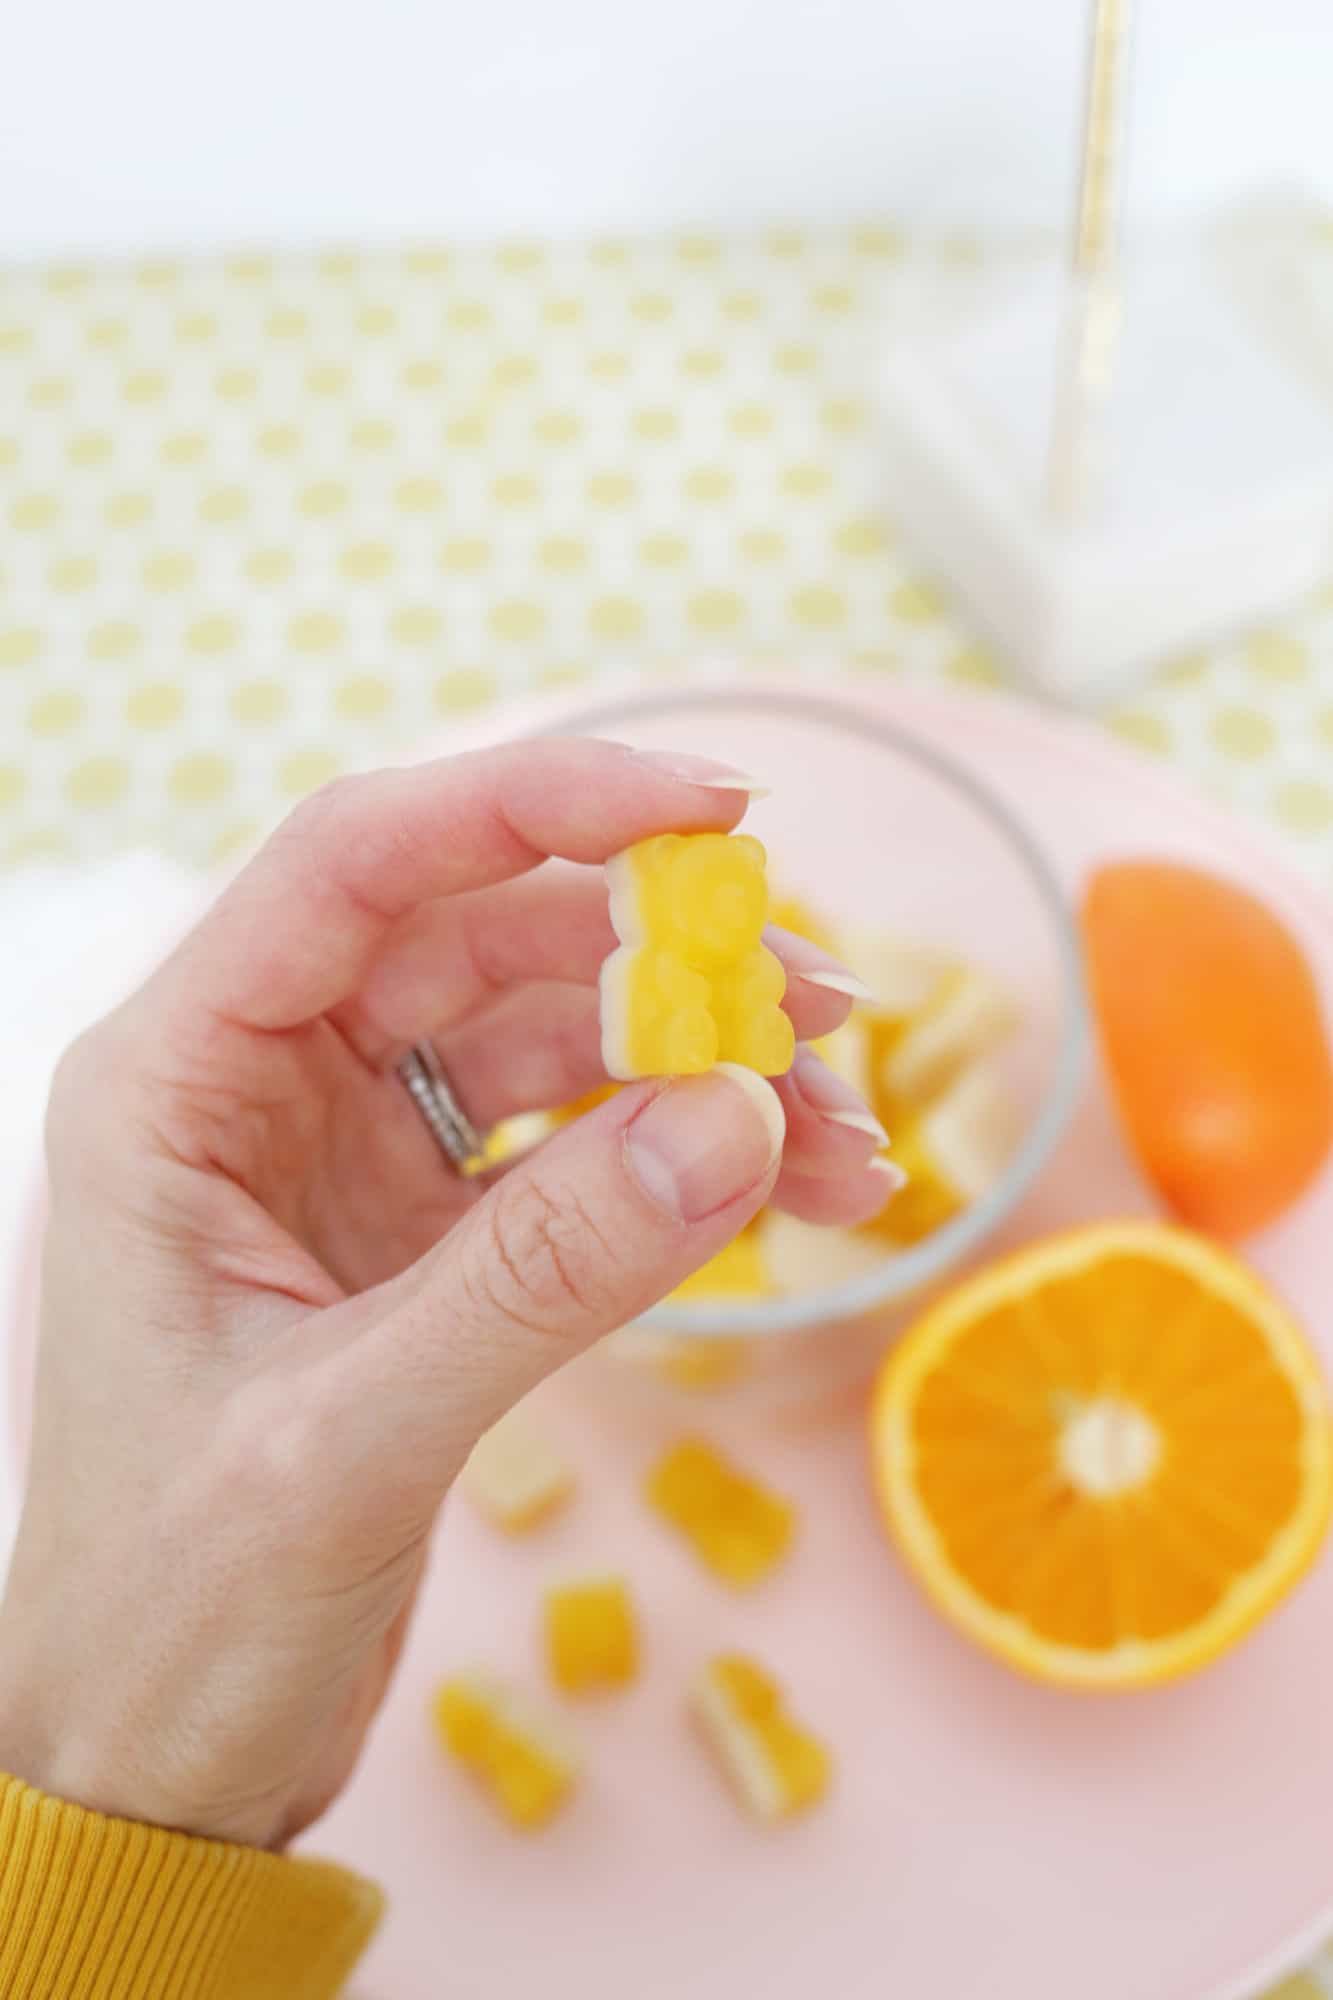
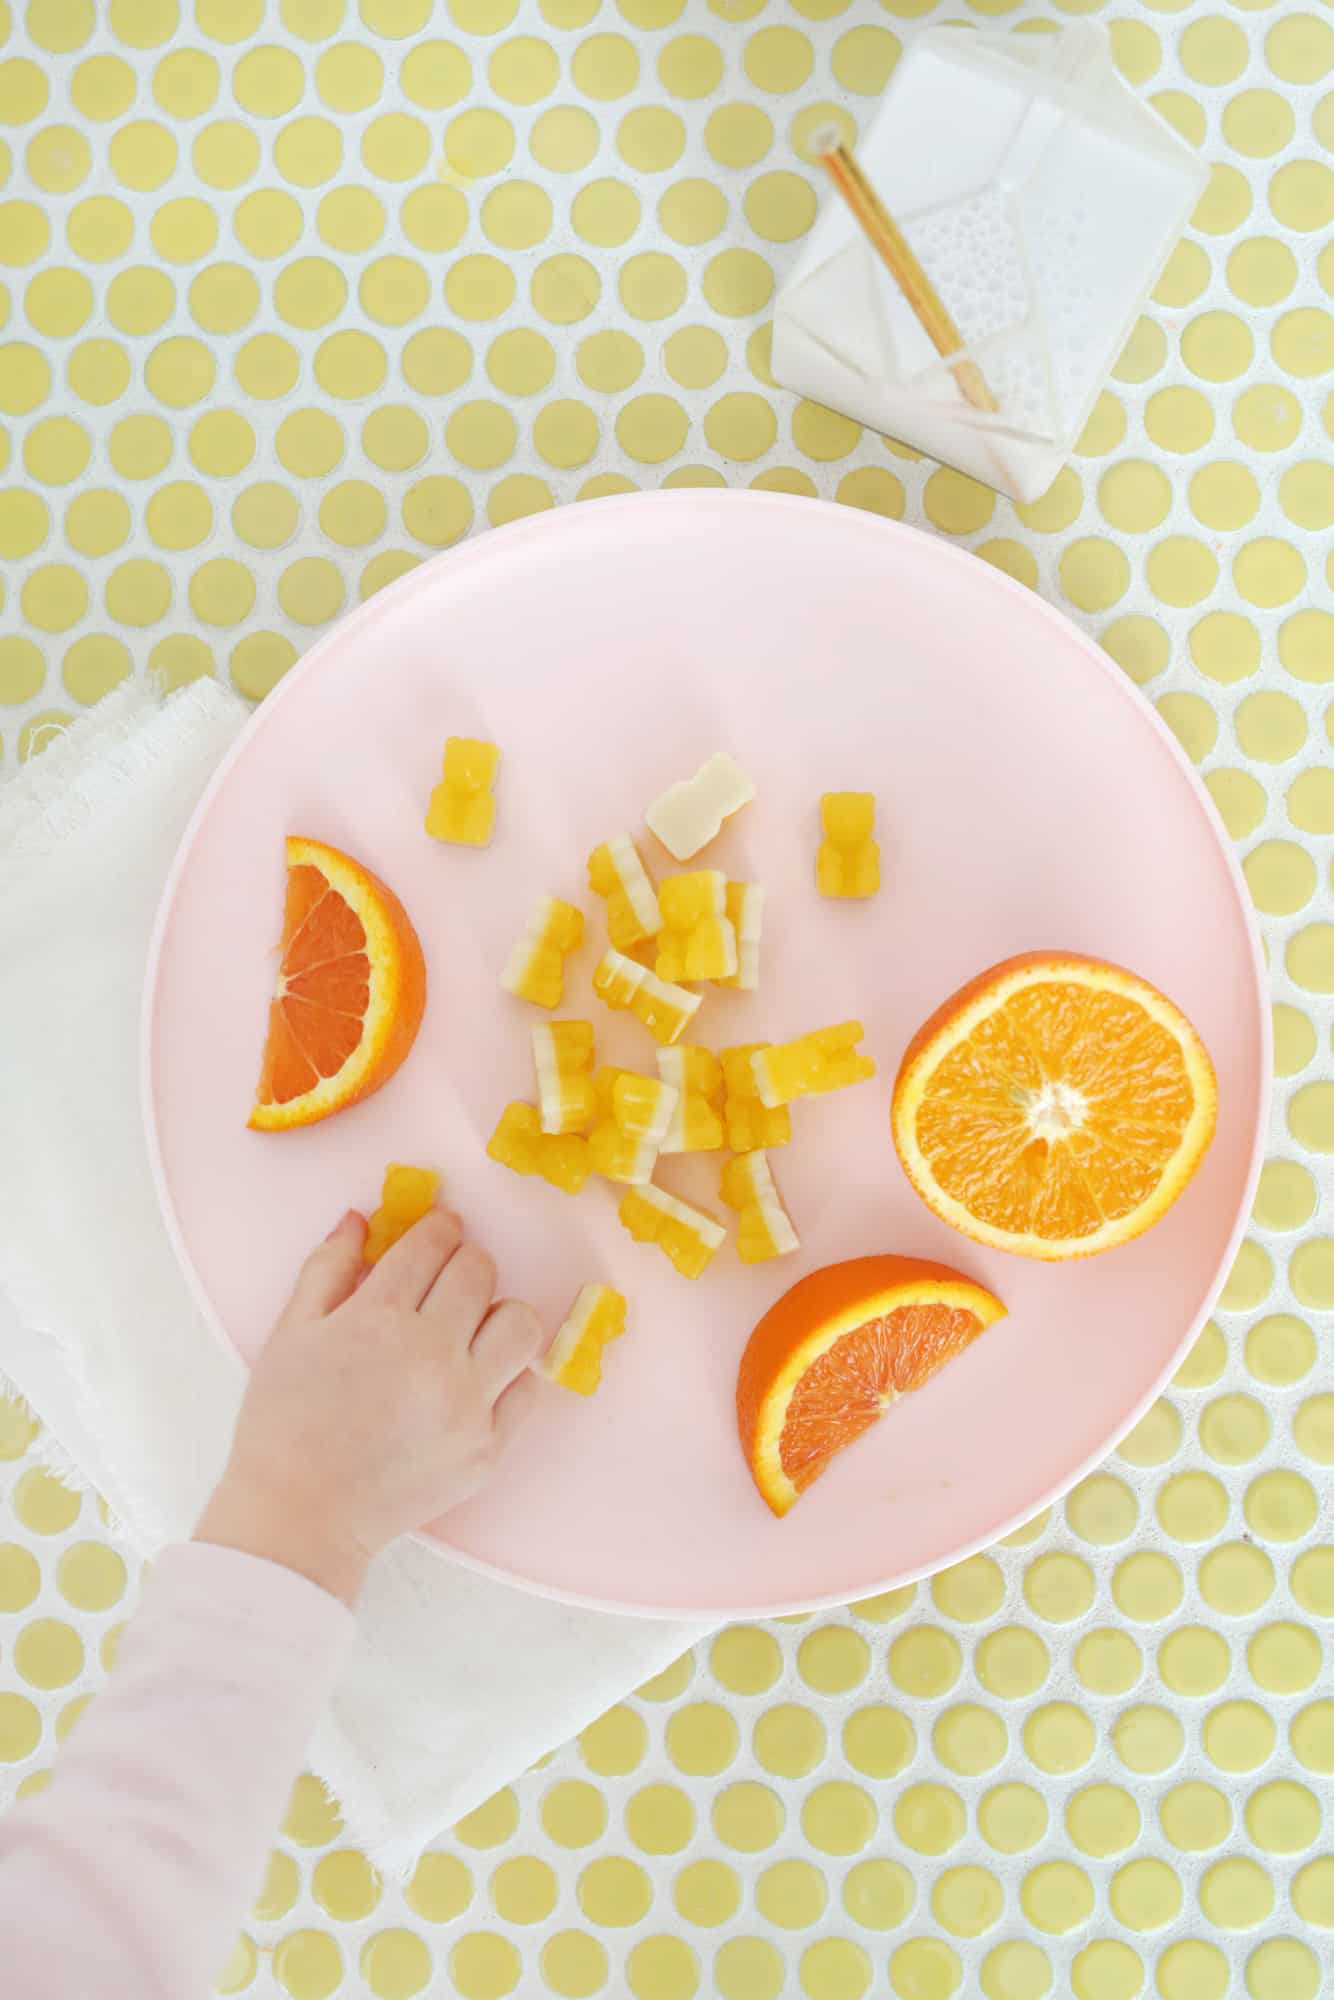 How fun are those?! You can make lots of flavors of gummies and all you really have to know is how much gelatin to use per cup of liquid (most of them are about 3 tablespoons of gelatin to 1 cup of liquid), and you can sub whatever kinds of juices/pureed fruits you want! You can also make gummies with agar agar for a vegan option, but you may need to play around with the amount to use as it’s a little trickier to get the right ratio with acidic foods like citrus or strawberries (and it may not work as well for intricately shaped molds). Don’t be fooled, just because these are in the shape of a bear and you can see that little toddler hand reaching for them, this mommy gets in her fair share when Lola isn’t looking … yum! xo. Laura
Orange Creamsicle Gummy Bears
Ingredients
For the orange layer:
- 2/3 cup orange juice
- 1 tablespoon maple syrup or honey you can add more or less to taste
- 2 tablespoons gelatin
For the cream layer:
- 1/3 cup milk of choice
- 1 tsp vanilla extract
- 1 tbsp gelatin
Instructions
-
Reserve about 1/4 of the orange juice in a cup, add your gelatin and give it a stir. Allow the gelatin to bloom in the cup so that the liquid solidifies (should take less than 5 minutes). Add the remainder of your juice to a small saucepan and heat on medium until hot but not boiling. Once your saucepan of juice is hot, add the bloomed gelatin to the pot and stir until the gelatin dissolves.
-
Mix in your honey or maple syrup and use a candy dropper to fill your bear molds about 2/3 of the way full (the molds I bought come with a candy dropper which was super helpful). Allow the molds to set a bit in the fridge for 15-20 minutes.
-
While that layer is setting, repeat the process of adding most of your milk to a sauce pan but reserve a few tablespoons of the milk to mix with your gelatin and allow it to bloom and solidify. Add the gelatin to the milk once it is hot and stir until dissolved. Add in your vanilla extract and stir.
-
Once your gummies have partially set in the fridge, fill each mold to the top with your cream layer and place back in the fridge for another 2 hours to fully set.
-
Once your bears are set, simply pop them out of the mold and they are ready to eat!
-
Store bears in an airtight container in the fridge for up to two weeks. I add these to Lola’s lunchbox all the time but I probably wouldn’t take them to the beach or someplace where they will be sitting in hot conditions for a long time—they may start to melt a bit!
8 Comments
Ooh, going to try making this in the weekend! Looks so fun! 🙂
Charmaine Ng | Architecture & Lifestyle Blog
http://charmainenyw.com
So fun! Do they really have the gummy bear texture?
Homemade gummy bears aren’t as “chewy” as store bought ones so that’s a little different but they are still good!
Laura
This is exactly what I needed to make tasty but healthy candies for my 3 year old. Do you have any lollypop recipes as well? Do share!
Hi! Here’s a fun lollipop recipe— http://abeautifulmess.com/2017/06/easy-diy-lollipops-with-edible-flowers.html
Ok this could be the best recipe I’ve seen on the internet…ever! LOOKS SO GOOD!
xoxo
Cathy, your Poor Little It Girl
https://poorlittleitgirl.com
These are so cute!
What a great receipe. Do you know how much 2 tablespoons of gelatine weights? We dont have beef gelatine but pork gelatine in leaves.