 Here at ABM, we love a good project that not only helps organize our lives, but is also pretty to look at, too! We did an office makeover for our friend Allison recently and she asked for an oversized calendar to help keep her busy schedule all in one place. I love the look of acrylic calendars, but this time we wanted to make something that was a pop of color. So we decided to feature a coral pink colored sheet and we are in love with how it turned out!
 Supplies:
–large acrylic sheet (I ordered a 1/8″ thick 36″x36″ square in the pink color)
–4″ white letter stickers
–1/8″ white vinyl chart tape
–wall mounting hardware and drill
-ruler, X-Acto knife, and painter’s tape for placement guides (a clear acrylic ruler is helpful)

First, cut your day of the week letters out of your sticker sheet, leaving a little bit of paper around each letter shape. This will allow you to place the letters in roughly the space they will go and give you some idea of placement. Cut out two of the parentheses as well and place then in the middle near the top where you want to write your month.
Take your painter’s tape and use a ruler to mark out a rectangle that is 28″ wide and 20″ tall on the inside edge of the tape. The inside edge of the rectangle starts 4″ in from each side and 3″ up from the bottom.

 Once your rectangle is taped off, take your ruler and make marks on the tape every 4″ so you have a row of 7 marks across the rectangle, and 5 marks down the rectangle. Use your thin vinyl tape to connect the marks across from each other so you end up with 35 boxes. You can either try and cut your tape with scissors to be as close to the blue painter’s tape as you can, or your can use an X-Acto knife to cut through the tape at the point where the tapes overlap.
  To close up the sides of your grid, mark on the bottom and top pieces of painter’s tape where the side tape should be, pull off the side painter’s tape, and run a piece of tape from the top to the bottom mark to close up the side. Repeat with the other side and then remove the bottom and top tapes and run tape across those lines as well to complete the grid.
I used acrylic rulers so I could easily see where the middle of each square was (and keep the bottom of all my letters at the same 1/2″ height from the grid line) for placing my letters above the grid.
PRO TIP! For projects like this, I like to peel off the backing of the sticker on just a small section of the letter, place it and adjust as needed, and then push down on the part that doesn’t have the backing to tack it down in place. Then I peel off the rest of the backing (while that one part remains stuck) and then smooth it all out. It’s way easier than taking off all the backing and trying to place it perfectly and smoothly on the first try!
 Once all the letters were in place, I centered my parentheses about 1 1/4″ from the top of the letters (and about 14″ apart) and did the same trick with peeling off part of the backing to stick them in place.
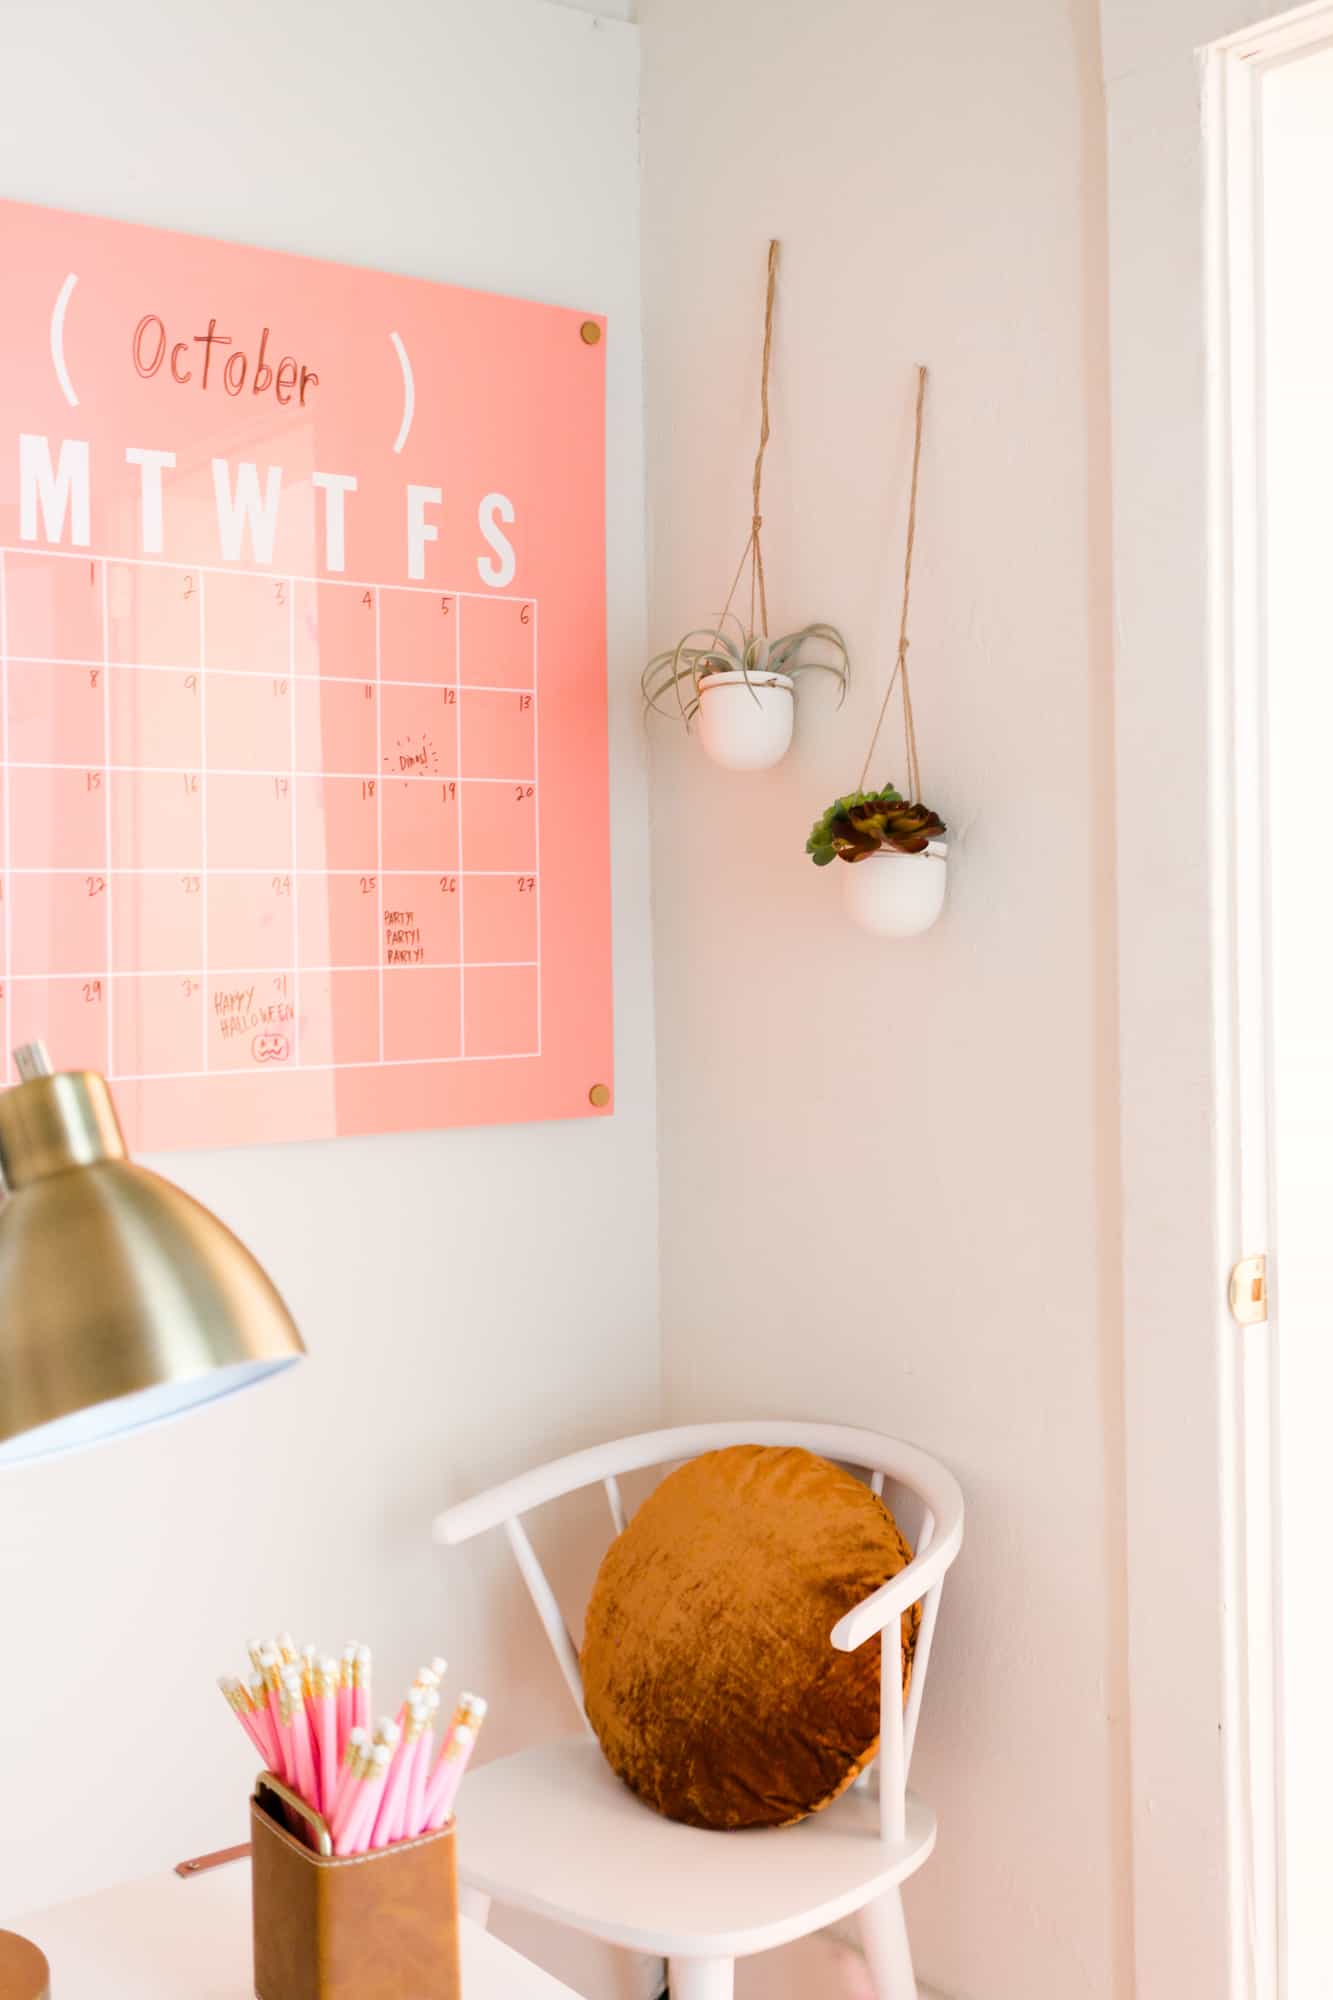
Once my month spot was set, the calendar was ready to hang!
 I painted the wall hardware gold and drilled 4 holes to hang the calendar. Some people recommend drilling backwards into acrylic while pushing down with the drill to drill a hole more slowly and avoid any cracking, but I’ve done that and the regular forwards way and haven’t noticed much difference. But try the backwards method if you are worried about it.
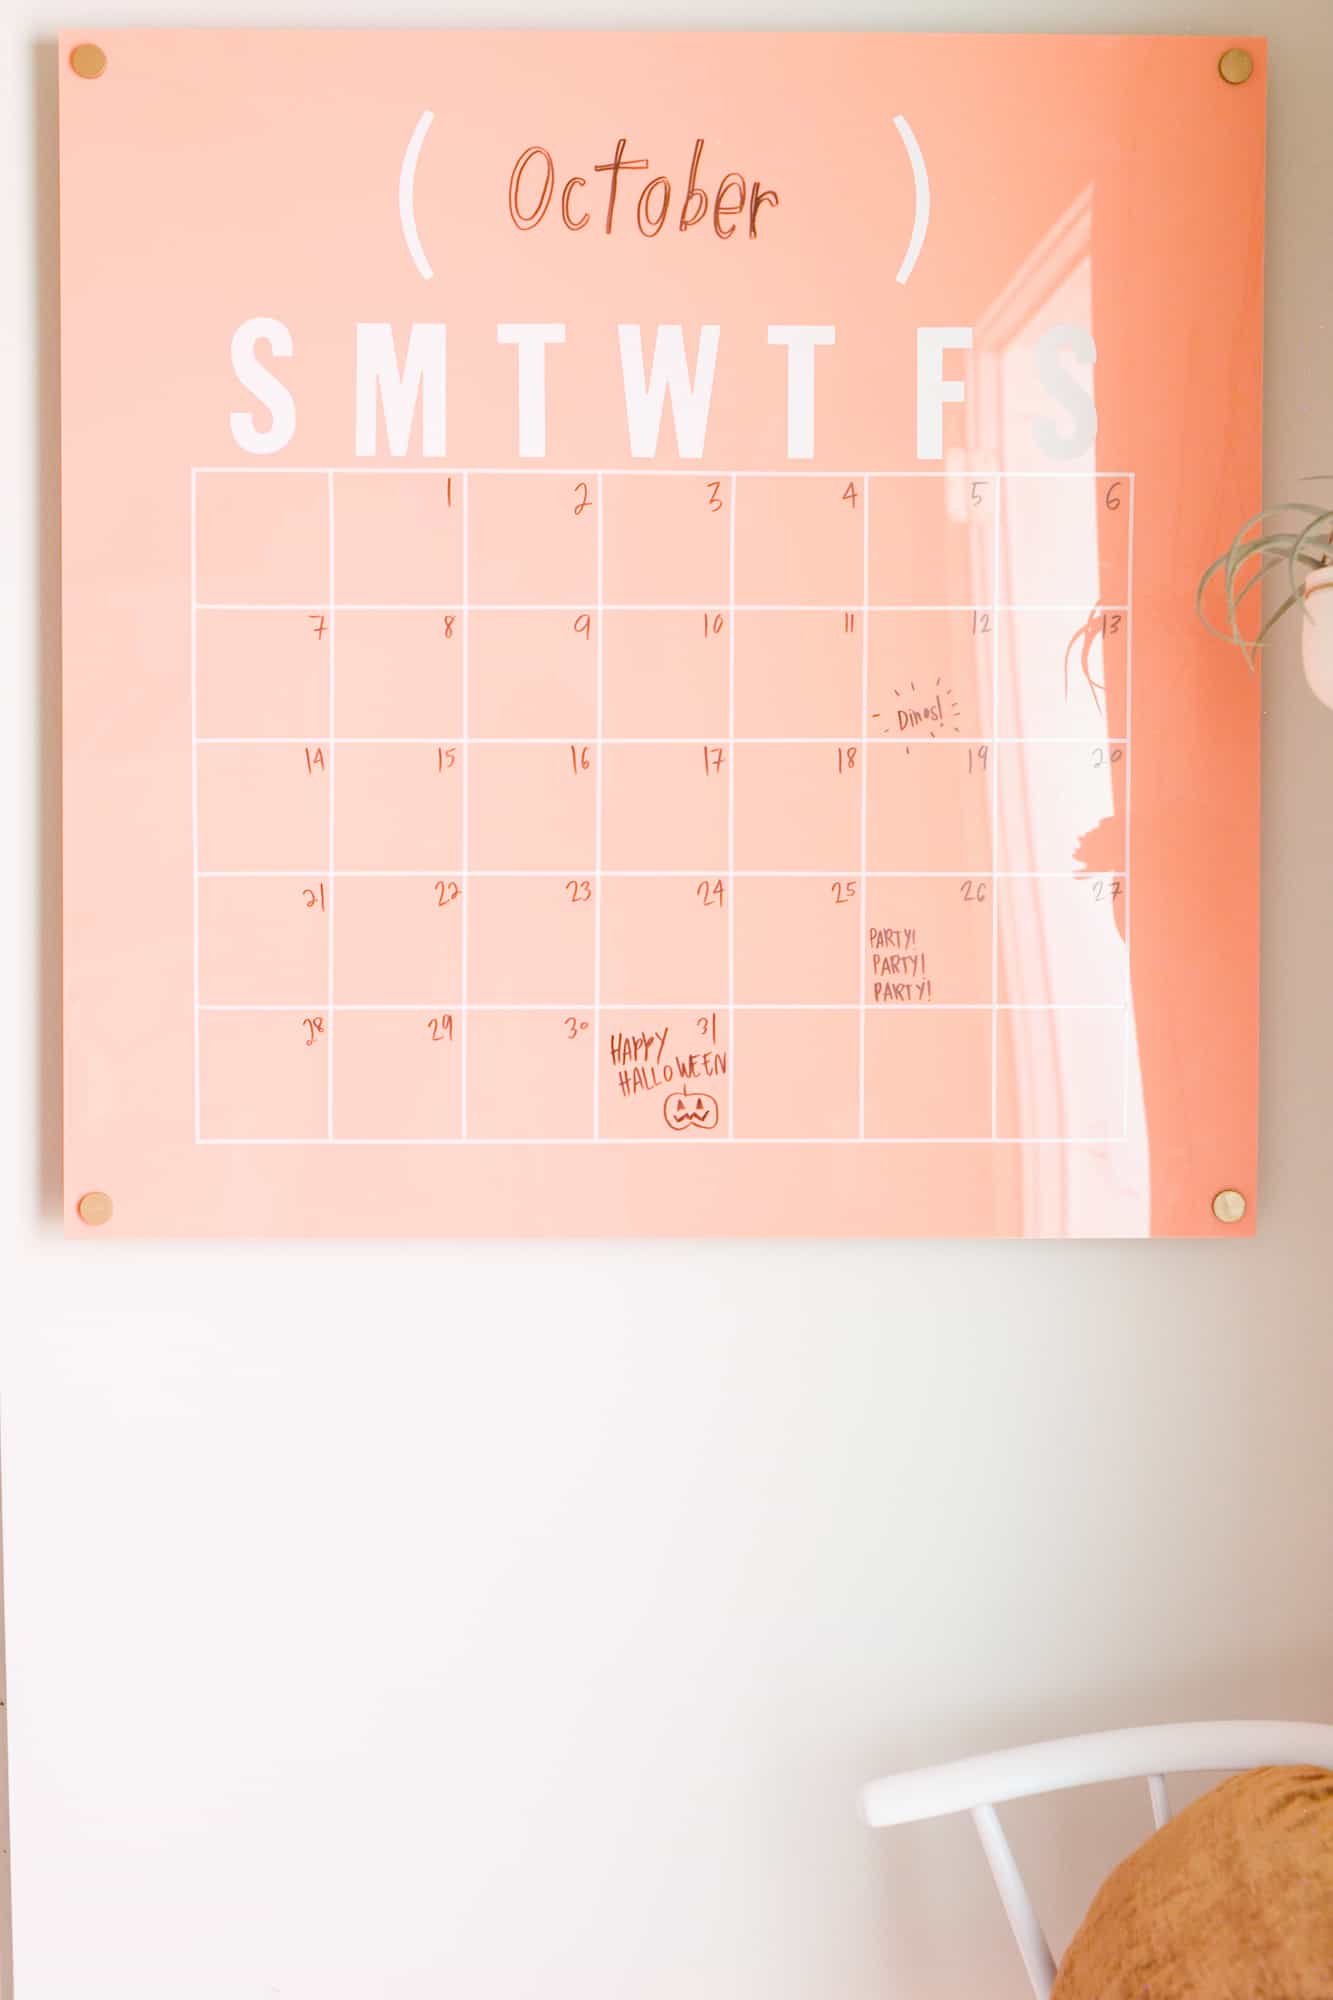

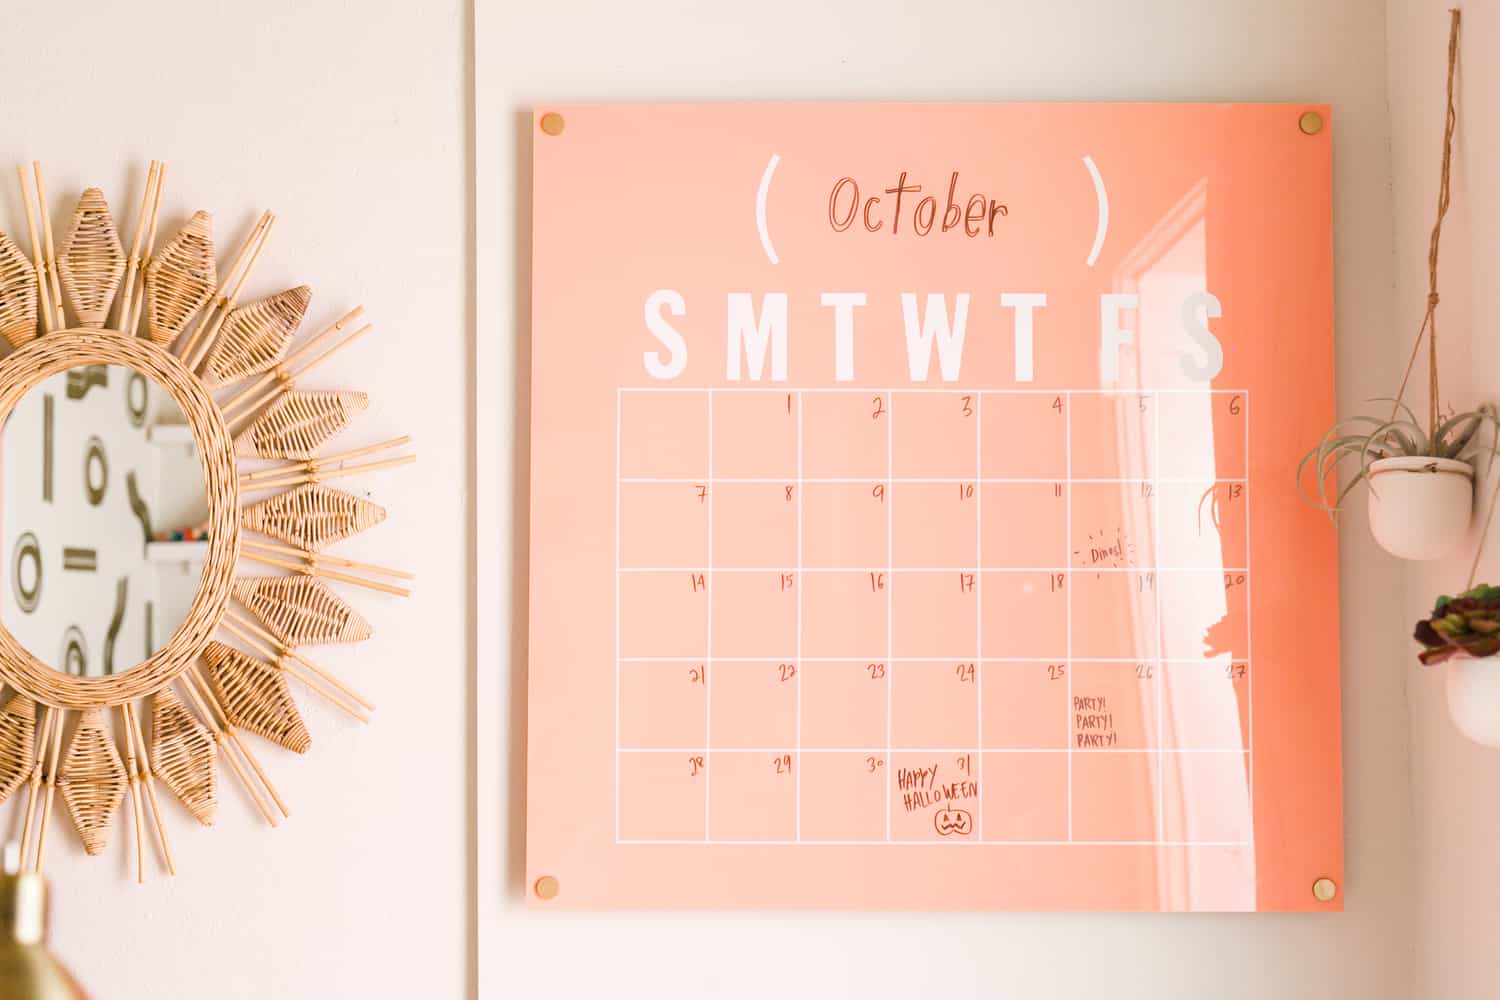 I love the simplicity of the calendar with the clean look of the tape and stickers, but the pop of color from the acrylic really makes it feel special. This looks so good in Allison’s office and now she can have a space to plan out her month and organize all the things a busy boss babe needs to attend to. If you’ve got a need for a chic calendar to organize your month, I hope this can help plan out your life too! xo. Laura
20 Comments
Been waiting for this DIY ever since I saw a preview of it a few days earlier on ABM! Thank you!! 🙂
Charmaine Ng | Architecture & Lifestyle Blog
http://charmainenyw.com
Acrylic sheets are so much fun to work with! Been waiting for this diy to hit from the office tour glimpse last week.
Cute! Will any type of acrylic and dry erase marker work for this?
Dry erase markers should work just fine!
Laura
This is amazing!!! I’m obsessed xx
https://wasabaex.wordpress.com
It looks great! But I would suggest a second layer of a thin, clear acrylic sheet mounted on top. I’m concerned there will always remain a little bit of dry erase marker at the edges of the tape when you erase the board.
Yes, that’s always something you could do if you think that small amount of residue would bother you!
Laura
Would the thin acrylic sheet idea but a thinner version of the main one and go directly on top of the colored one? Just trying to envision how this would look. 🙂 Want to get started on this project for my office and I like being able to write across boxes and don’t want to write on the sticker lines. 🙂
This is so amazing! I feel like if I tried to do this it would be such a fail though! I’m not patient enough to get all of the lines straight
http://www.coastalcuriosity.com
Love this DIY project! It’s definitely one I would try out 🙂
It looks so professional!
What a cool idea, it looks brilliant! I definitely need one too!
https://www.makeandmess.com/
Oooooh I like this a lot, a lot, a lot! Looks like straight from the store!
Hannah / Words & Latte
hand cutting letters and stuff makes me wonder why you guys don’t have a paid partnership with Cricut yet….
Who says home decor can’t be useful? Beautiful fully personalized acrylic calendar you have provided are LOVE.
This is so amazing! I feel like if I tried to do this it would be such a fail though! I’m not patient enough to get all of the lines straight
These will make me strive to meet my goals and make my deadlines! Thank you!
SIZE DOES MATTER! Perfect for staying organized and be inspired! Thanks for sharing!
What are you using (in your pictures) to write with? Does it just wipe off?
dry erase markers + yes it just wipes off! xx