 We have been working hard to finish our outdoor porch projects this summer, and I was almost done with decorating when I realized that I was in need of a cute runner to go behind our outdoor sofa in our converted carport patio. Now, I don’t know about you, but I find the “outdoor rug” category to be one of the hardest to shop in—I can never find what I want! I knew I wanted something with a pattern to bring a little interest to that walkway, so I decided buy a jute rug and stencil my own pattern so I could get exactly what I was looking for. It’s a super easy way to add some interest to a rug and I’ll show you what I did!
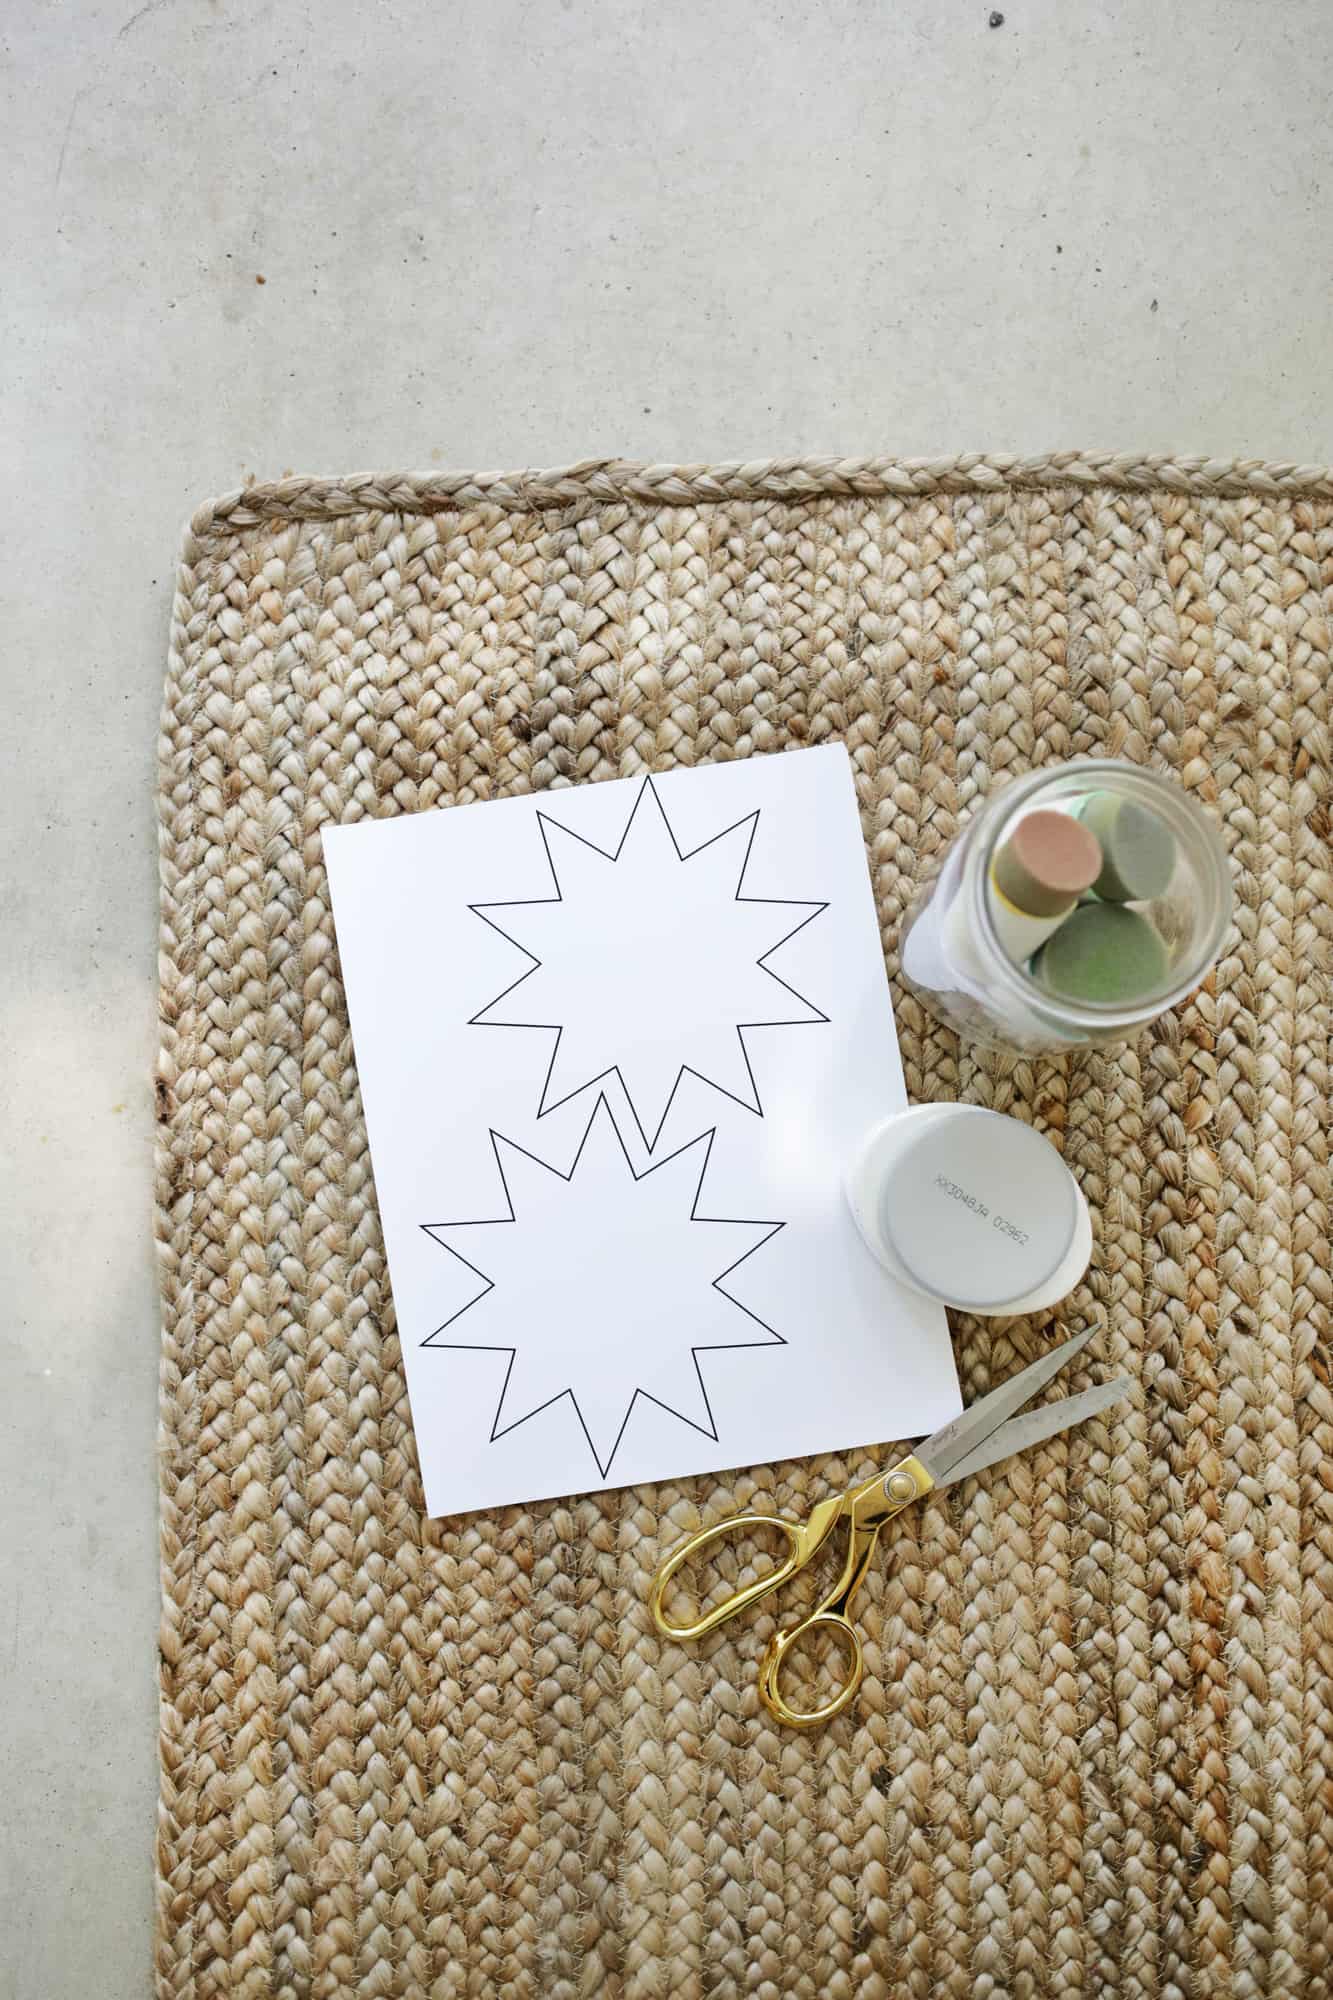 Supplies:
-outdoor rug (either a flat weave rug or a woven jute rug)
–stencil paper (or you can use overhead projector sheets like I did)
–acrylic paint
–pounce sponge brushes
–star template
-X-Acto knife or scissors
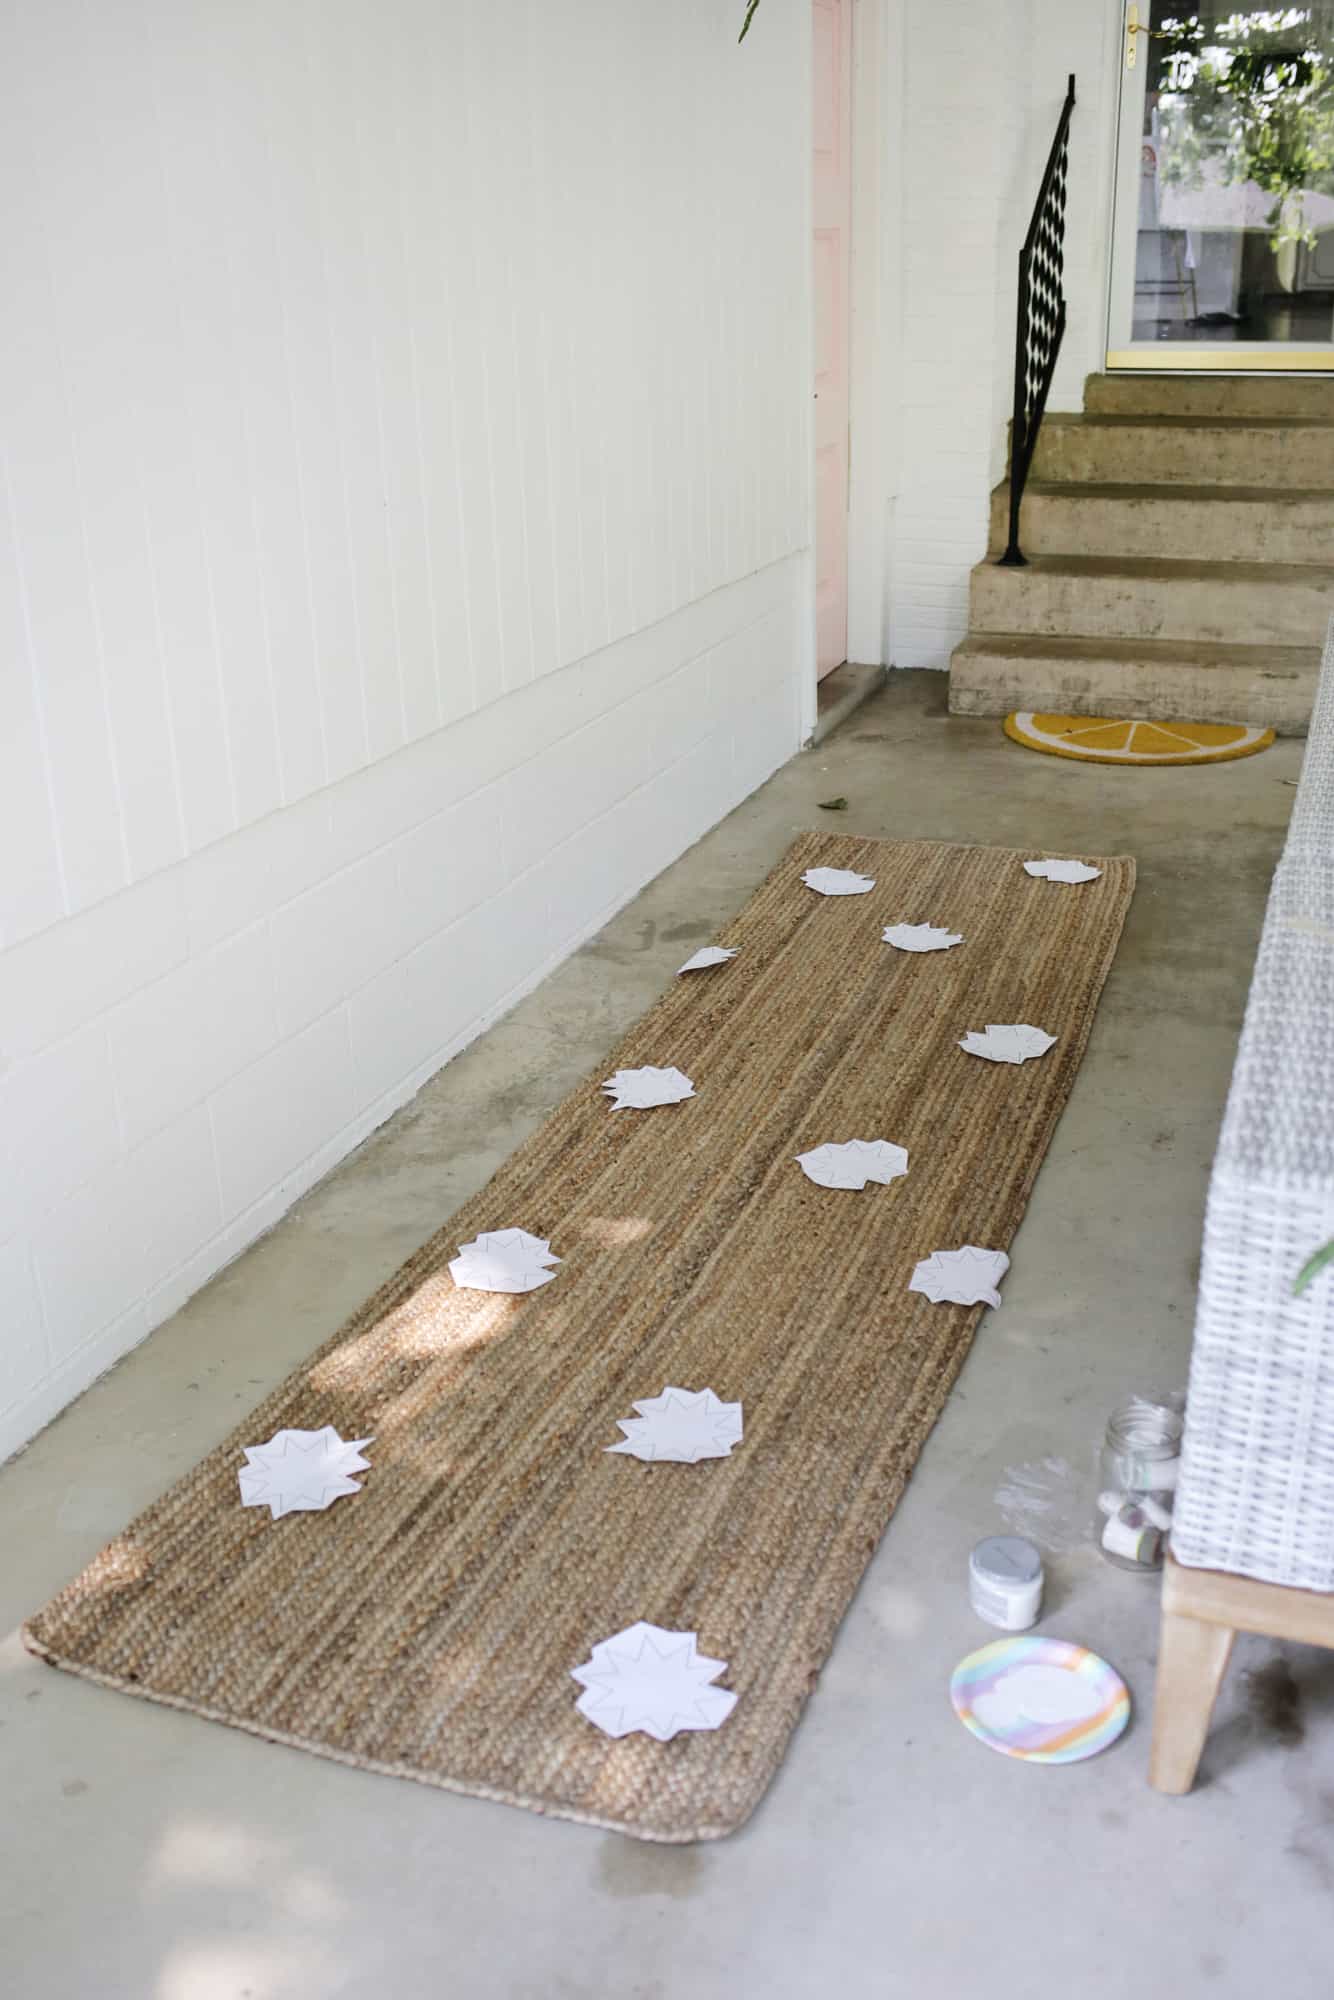 Print out your star templates onto several pieces of paper and roughly cut the stars out so you have 10 or so to place on your rug to determine pattern placement (print more if you have a large rug, less if you have a smaller rug). Tape your stars to your rug in whatever pattern you like to find your favorite placement. I would also suggest having some paper or cardboard under the rug as you stencil so it can catch any paint that comes out the other side.
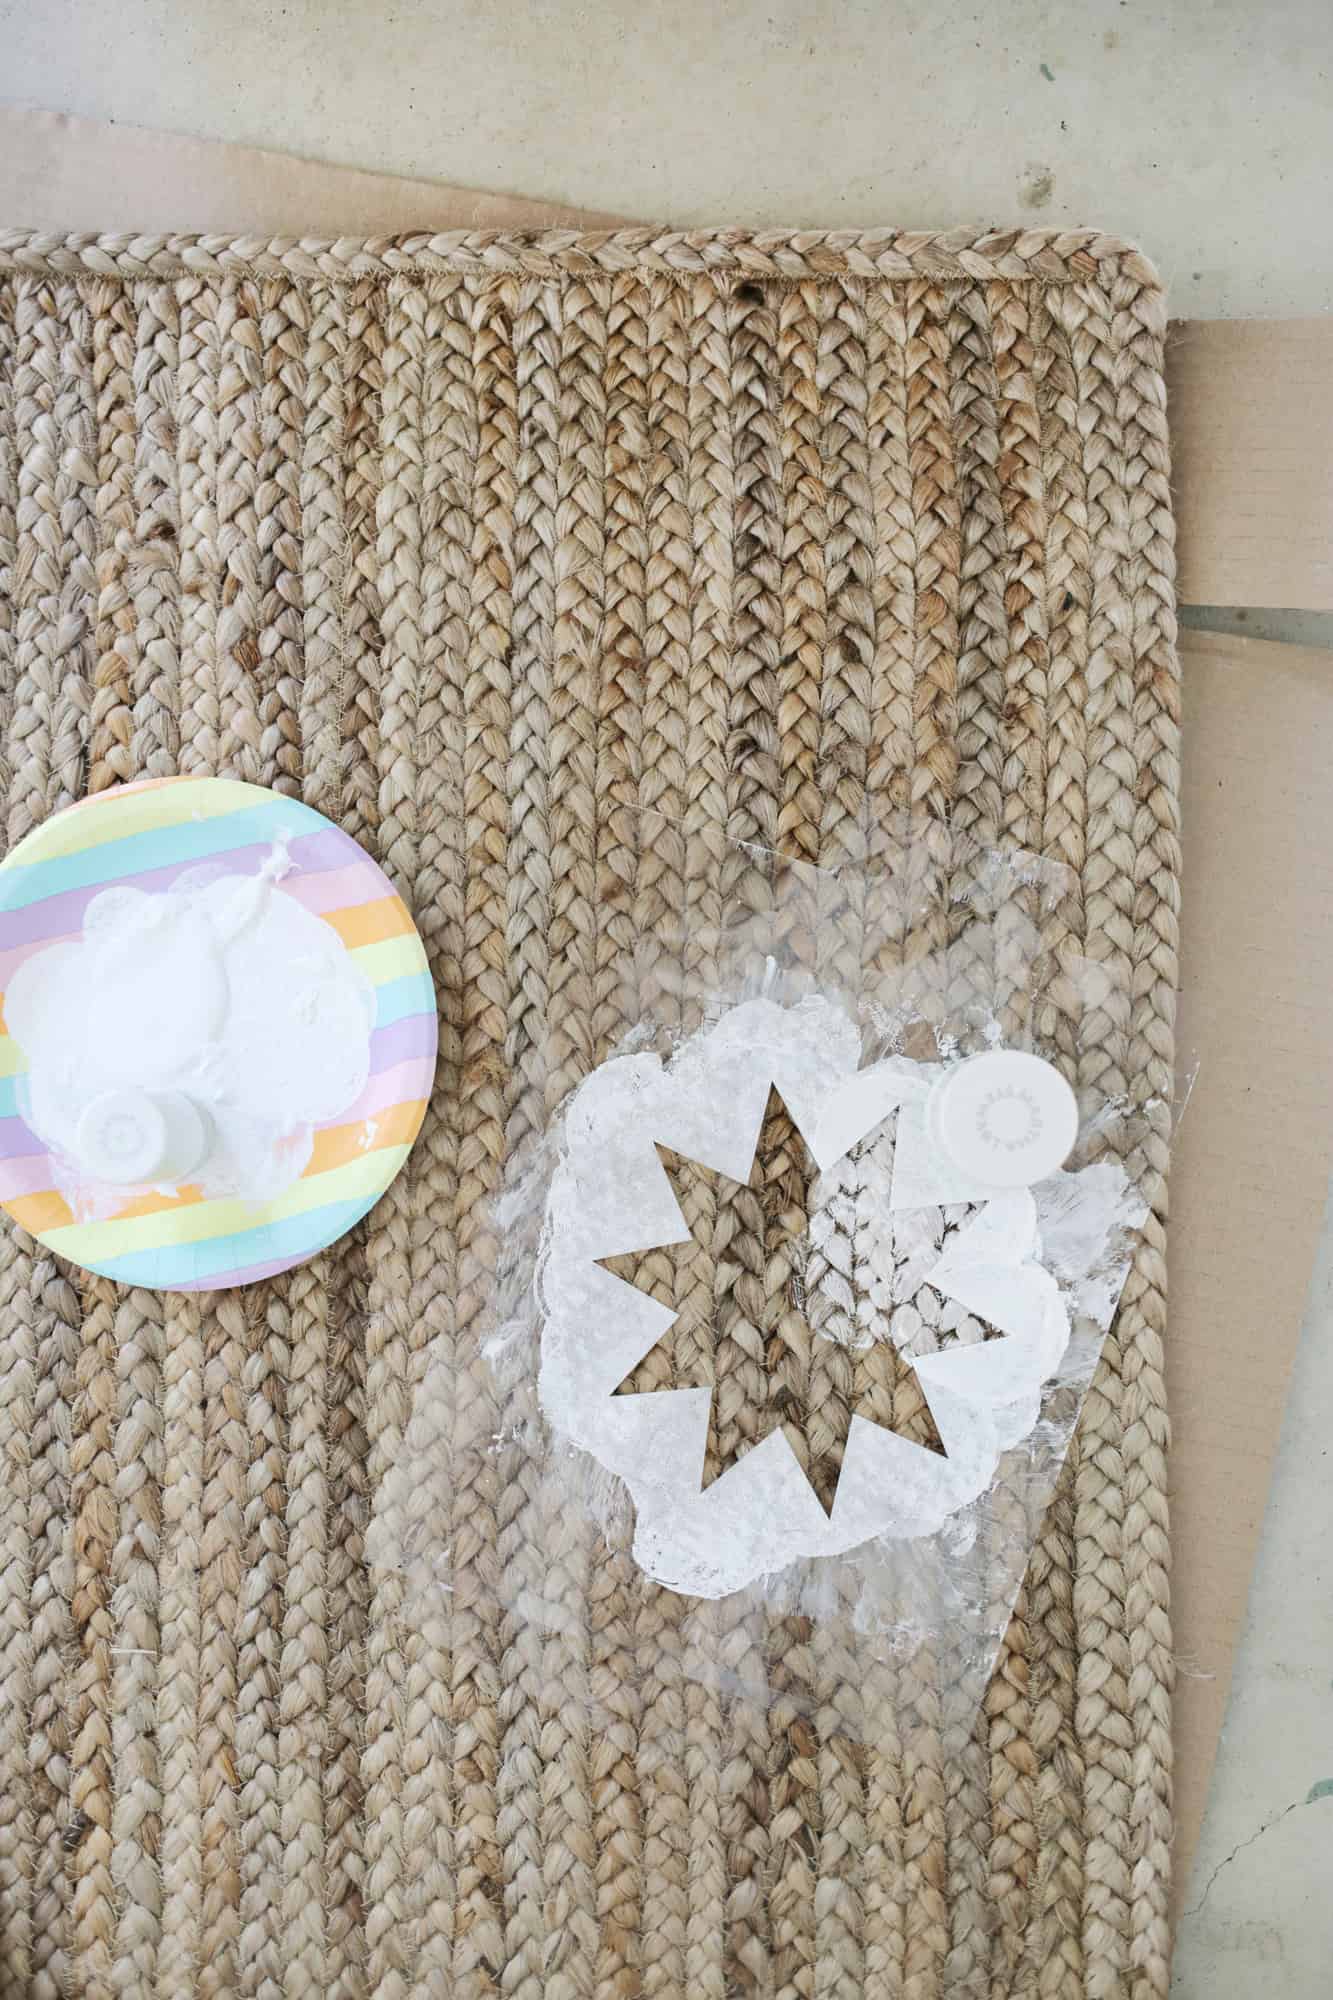 Use a marker to trace a star onto your stencil paper or projector sheet and use an X-Acto knife or scissors to cut out the star pattern. Place your stencil on top of one of the paper markers and remove the paper underneath. Use your pounce brush and paint to dab the paint into the stencil area. I found it best to do a large pounce first and then finish with a small one to get any areas the big one didn’t get. Try and just dab straight down rather than at an angle.
 Once your area is filled with paint, pull up the stencil, flip it over onto some scrap paper or cardboard, and wipe any paint off the bottom of the stencil with a paper towel or rag so that paint doesn’t transfer to the rug the next time you stencil (I found it easiest to wipe in towards the center of the stencil so you don’t bend the star arms when wiping).
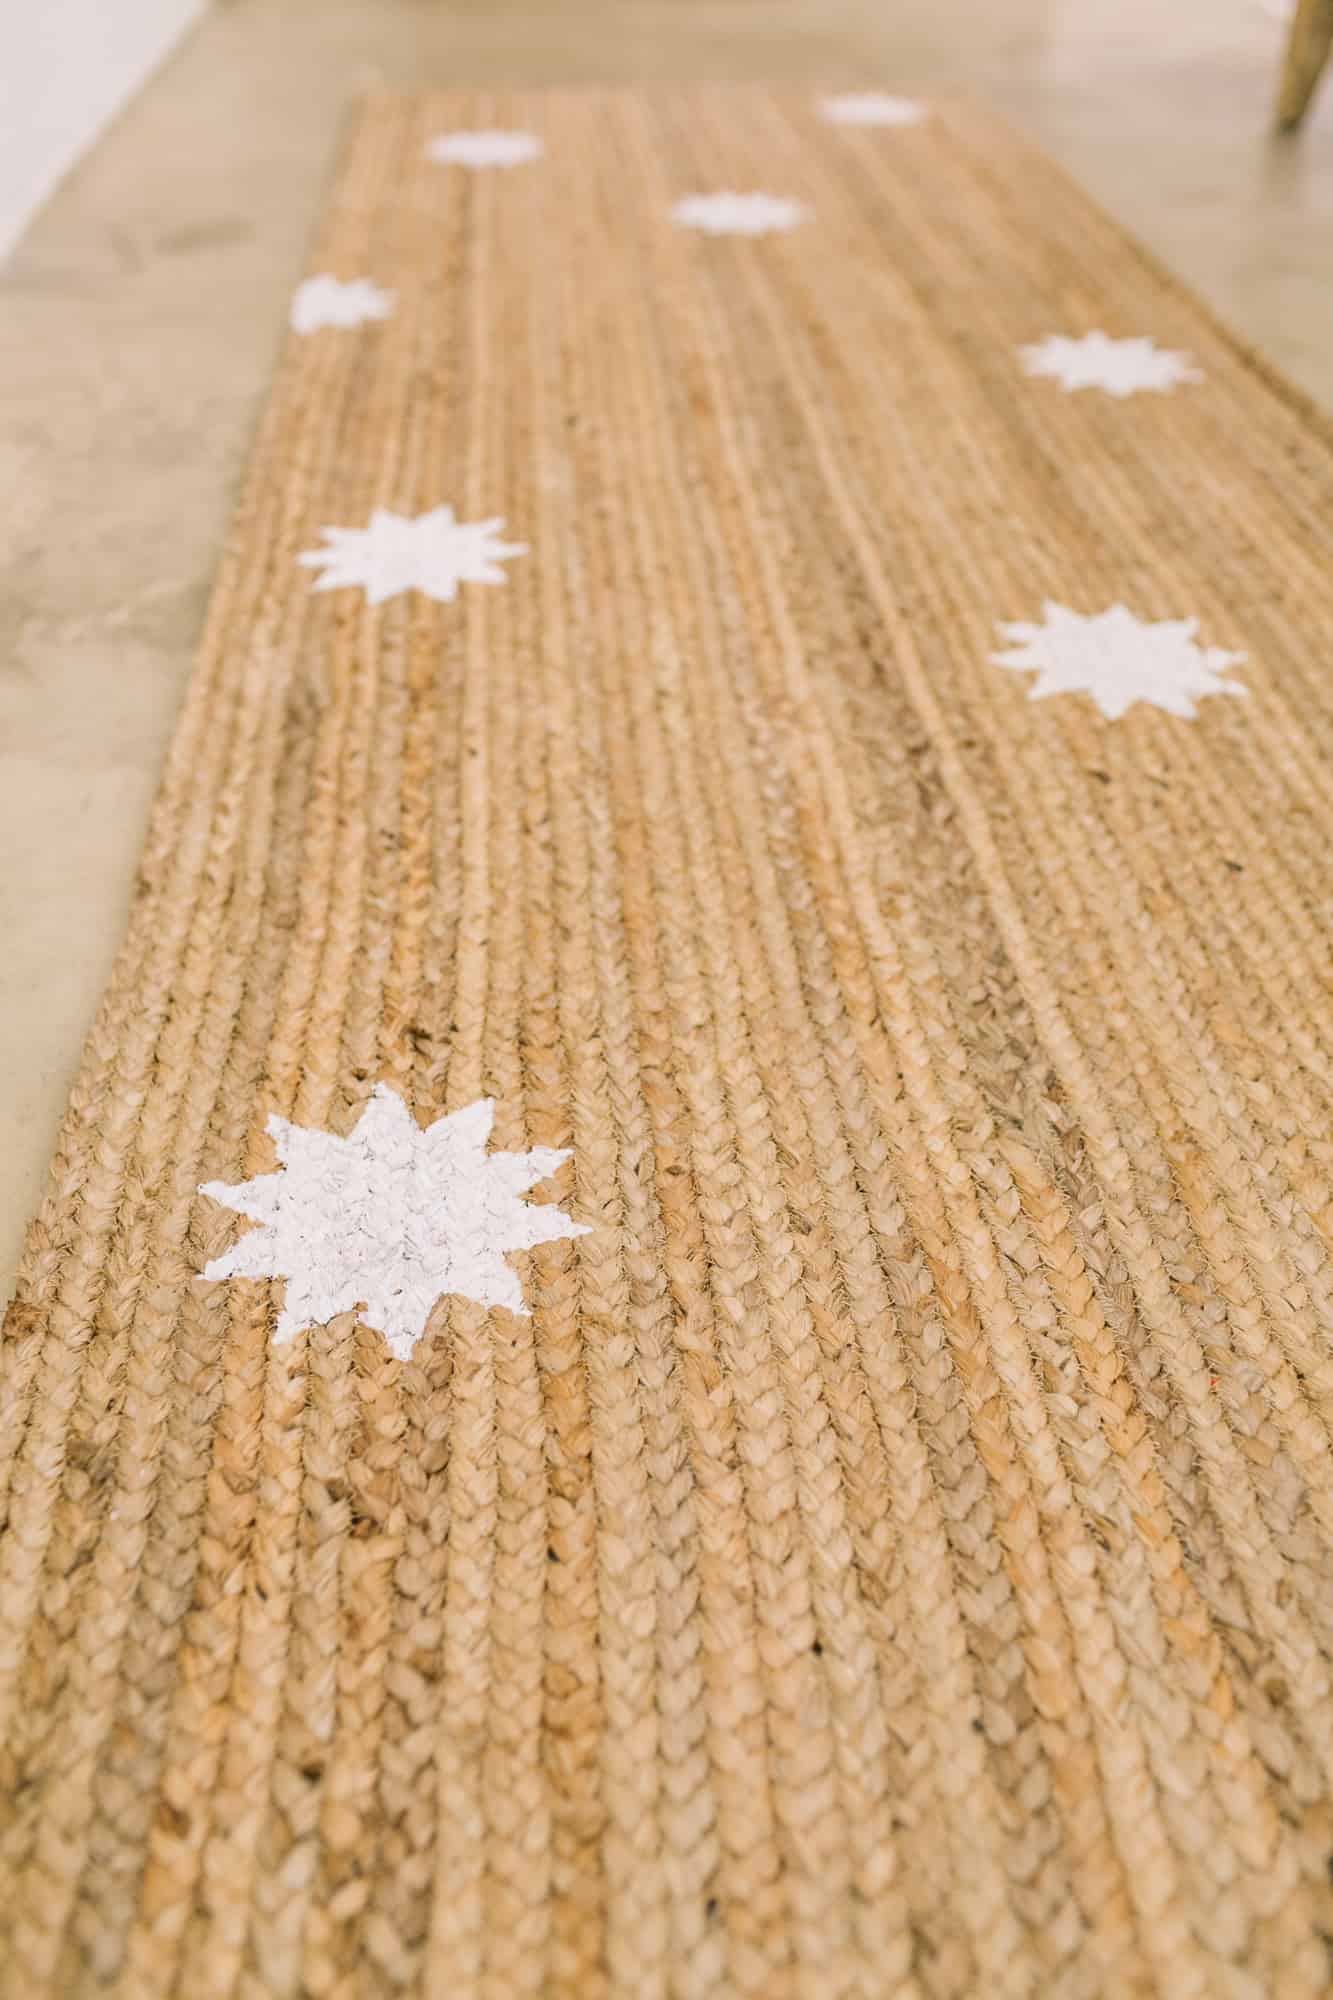
Move to the next star placement and repeat until you have each star stenciled. Depending on what color paint you use, you may like the look of just one coat of paint when it dries. It’s a lighter shade and a little translucent, so keep it if you are happy or you can repeat with another coat of paint by simply placing the stencil on top of the stars already there and repeating the steps (which I did). The second time goes a lot faster, but it’s up to you if you want just one coat of paint.
 That’s it! Once your paint is dry, your rug is ready to use!
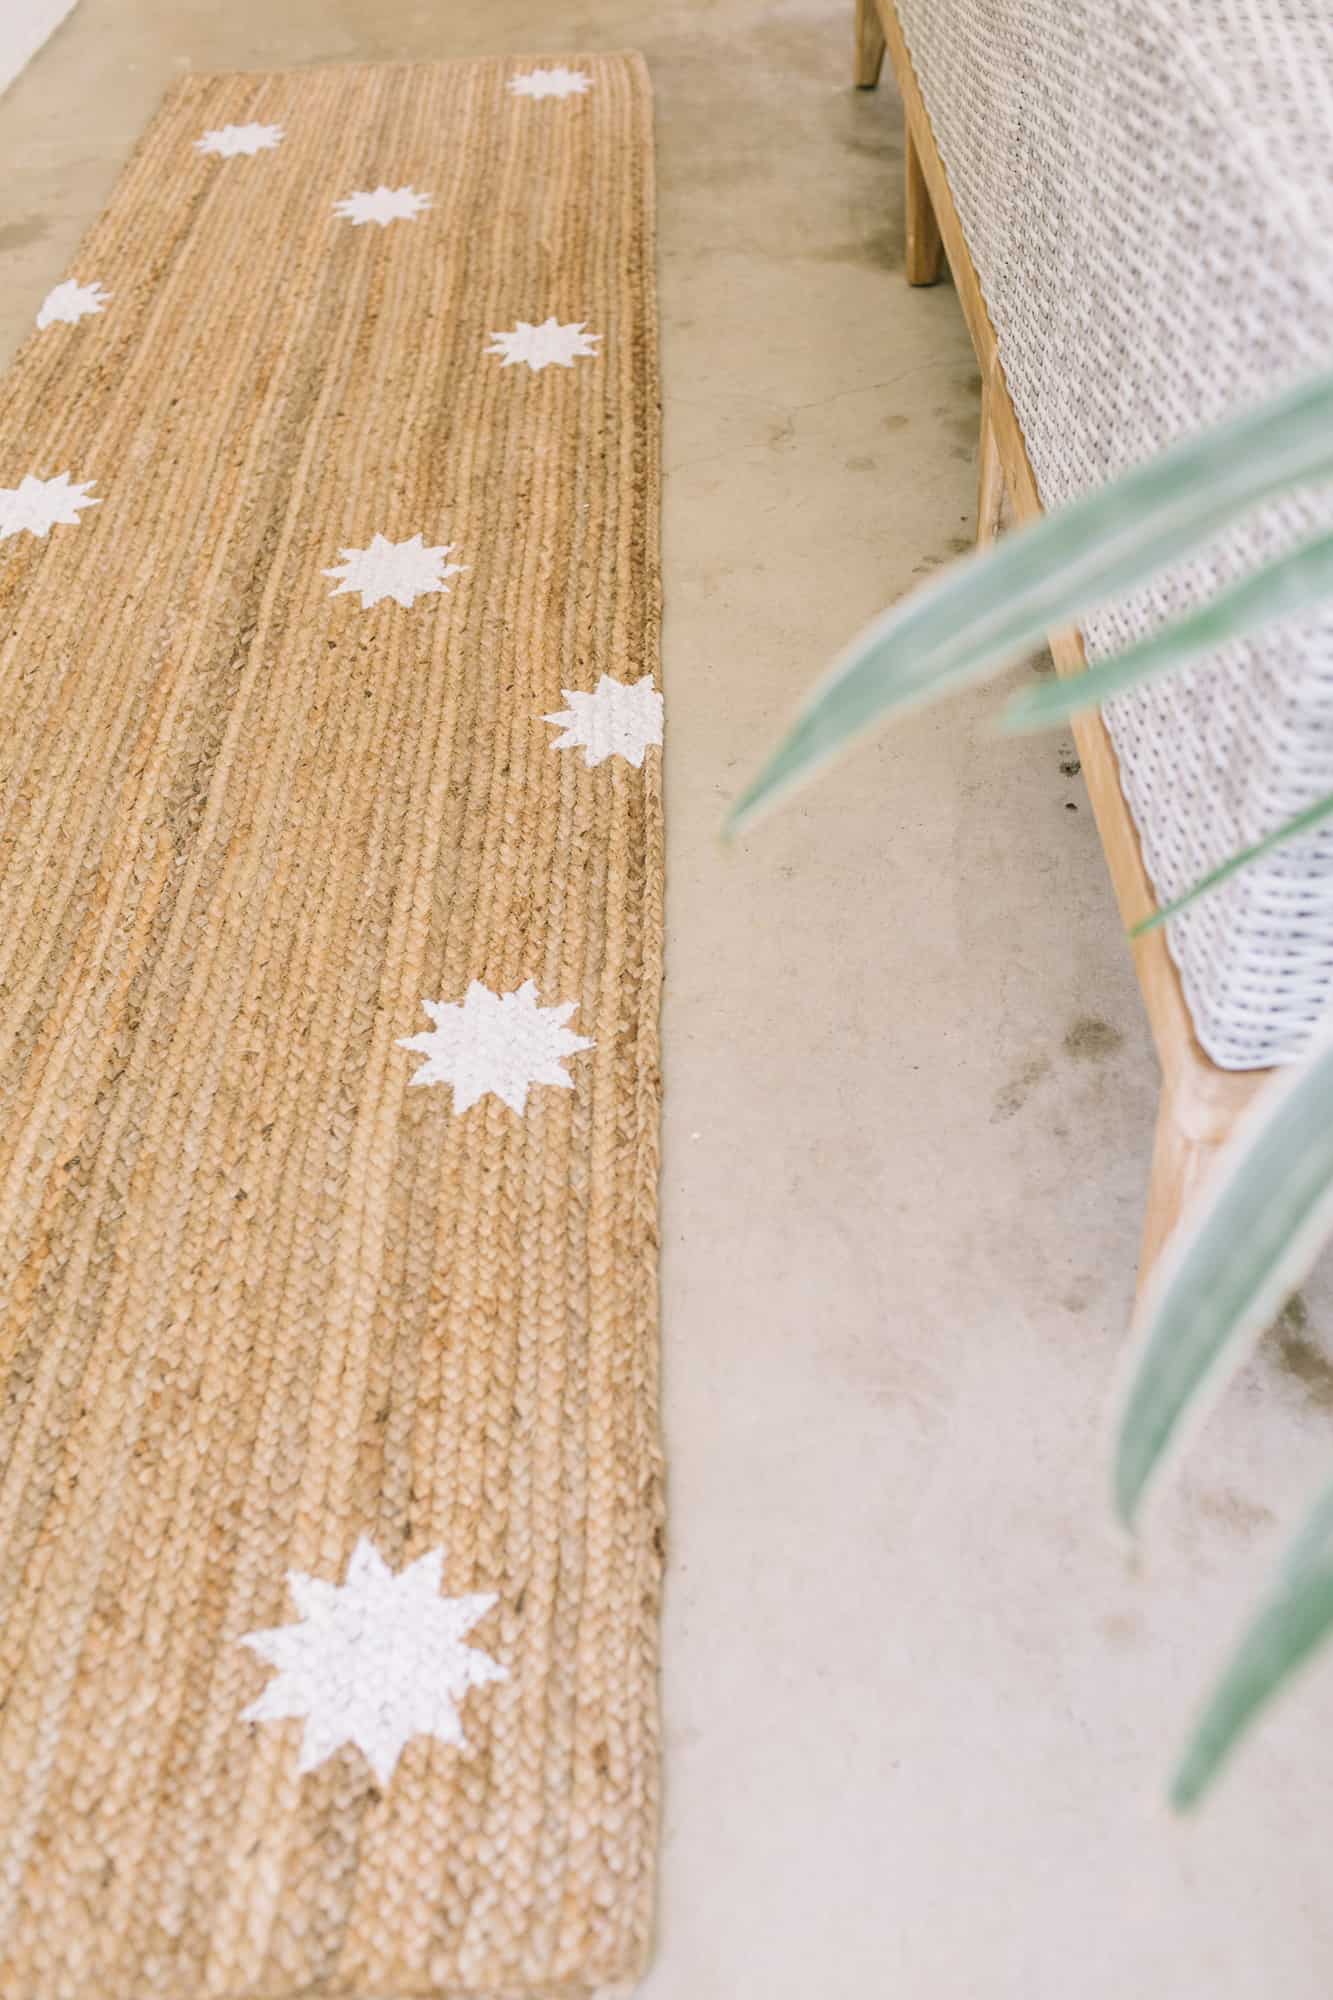
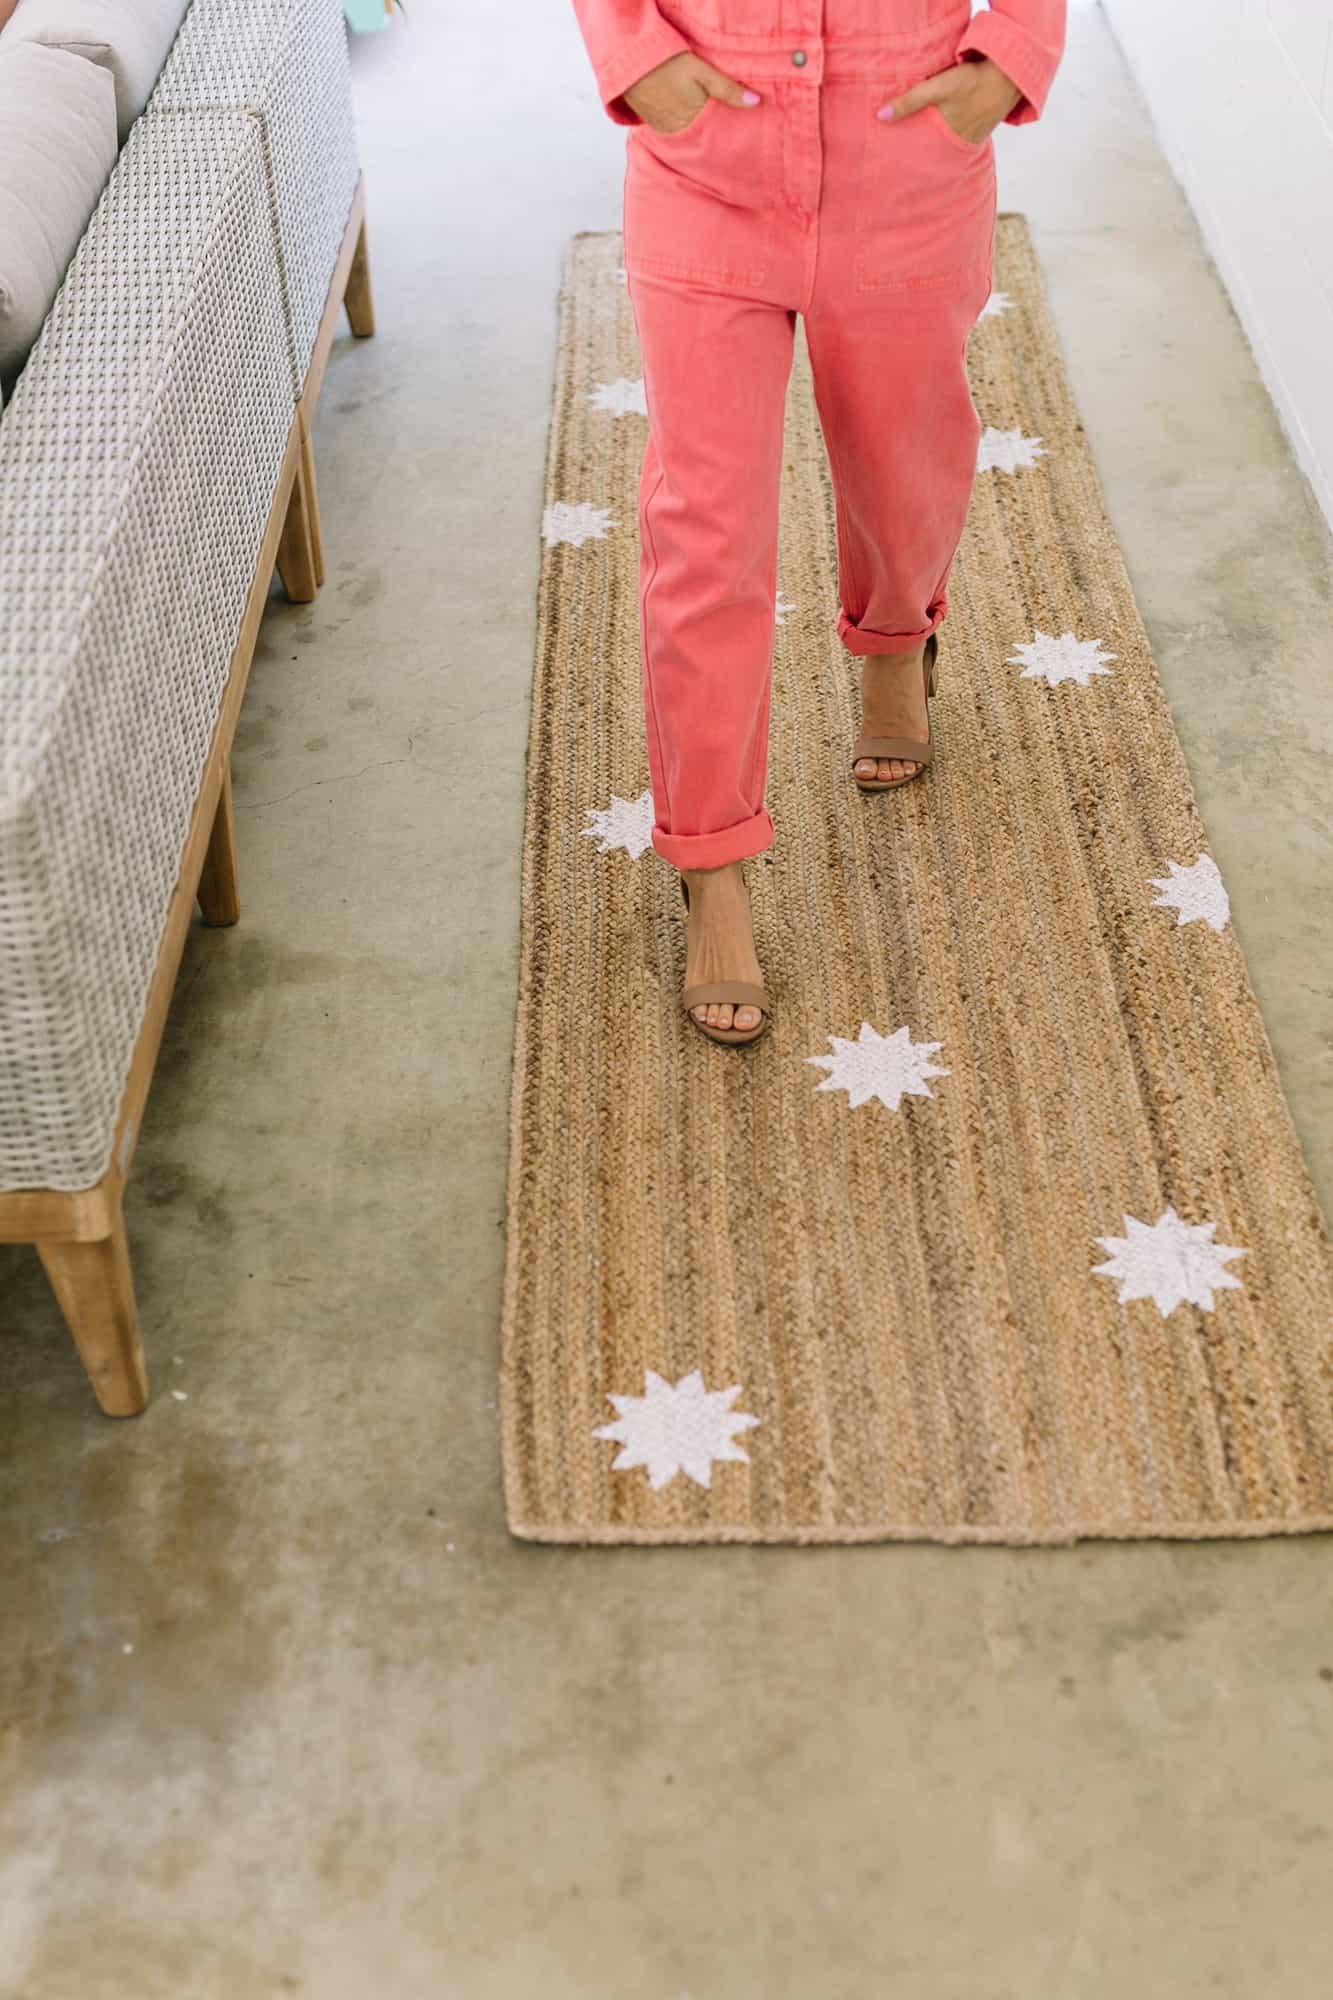
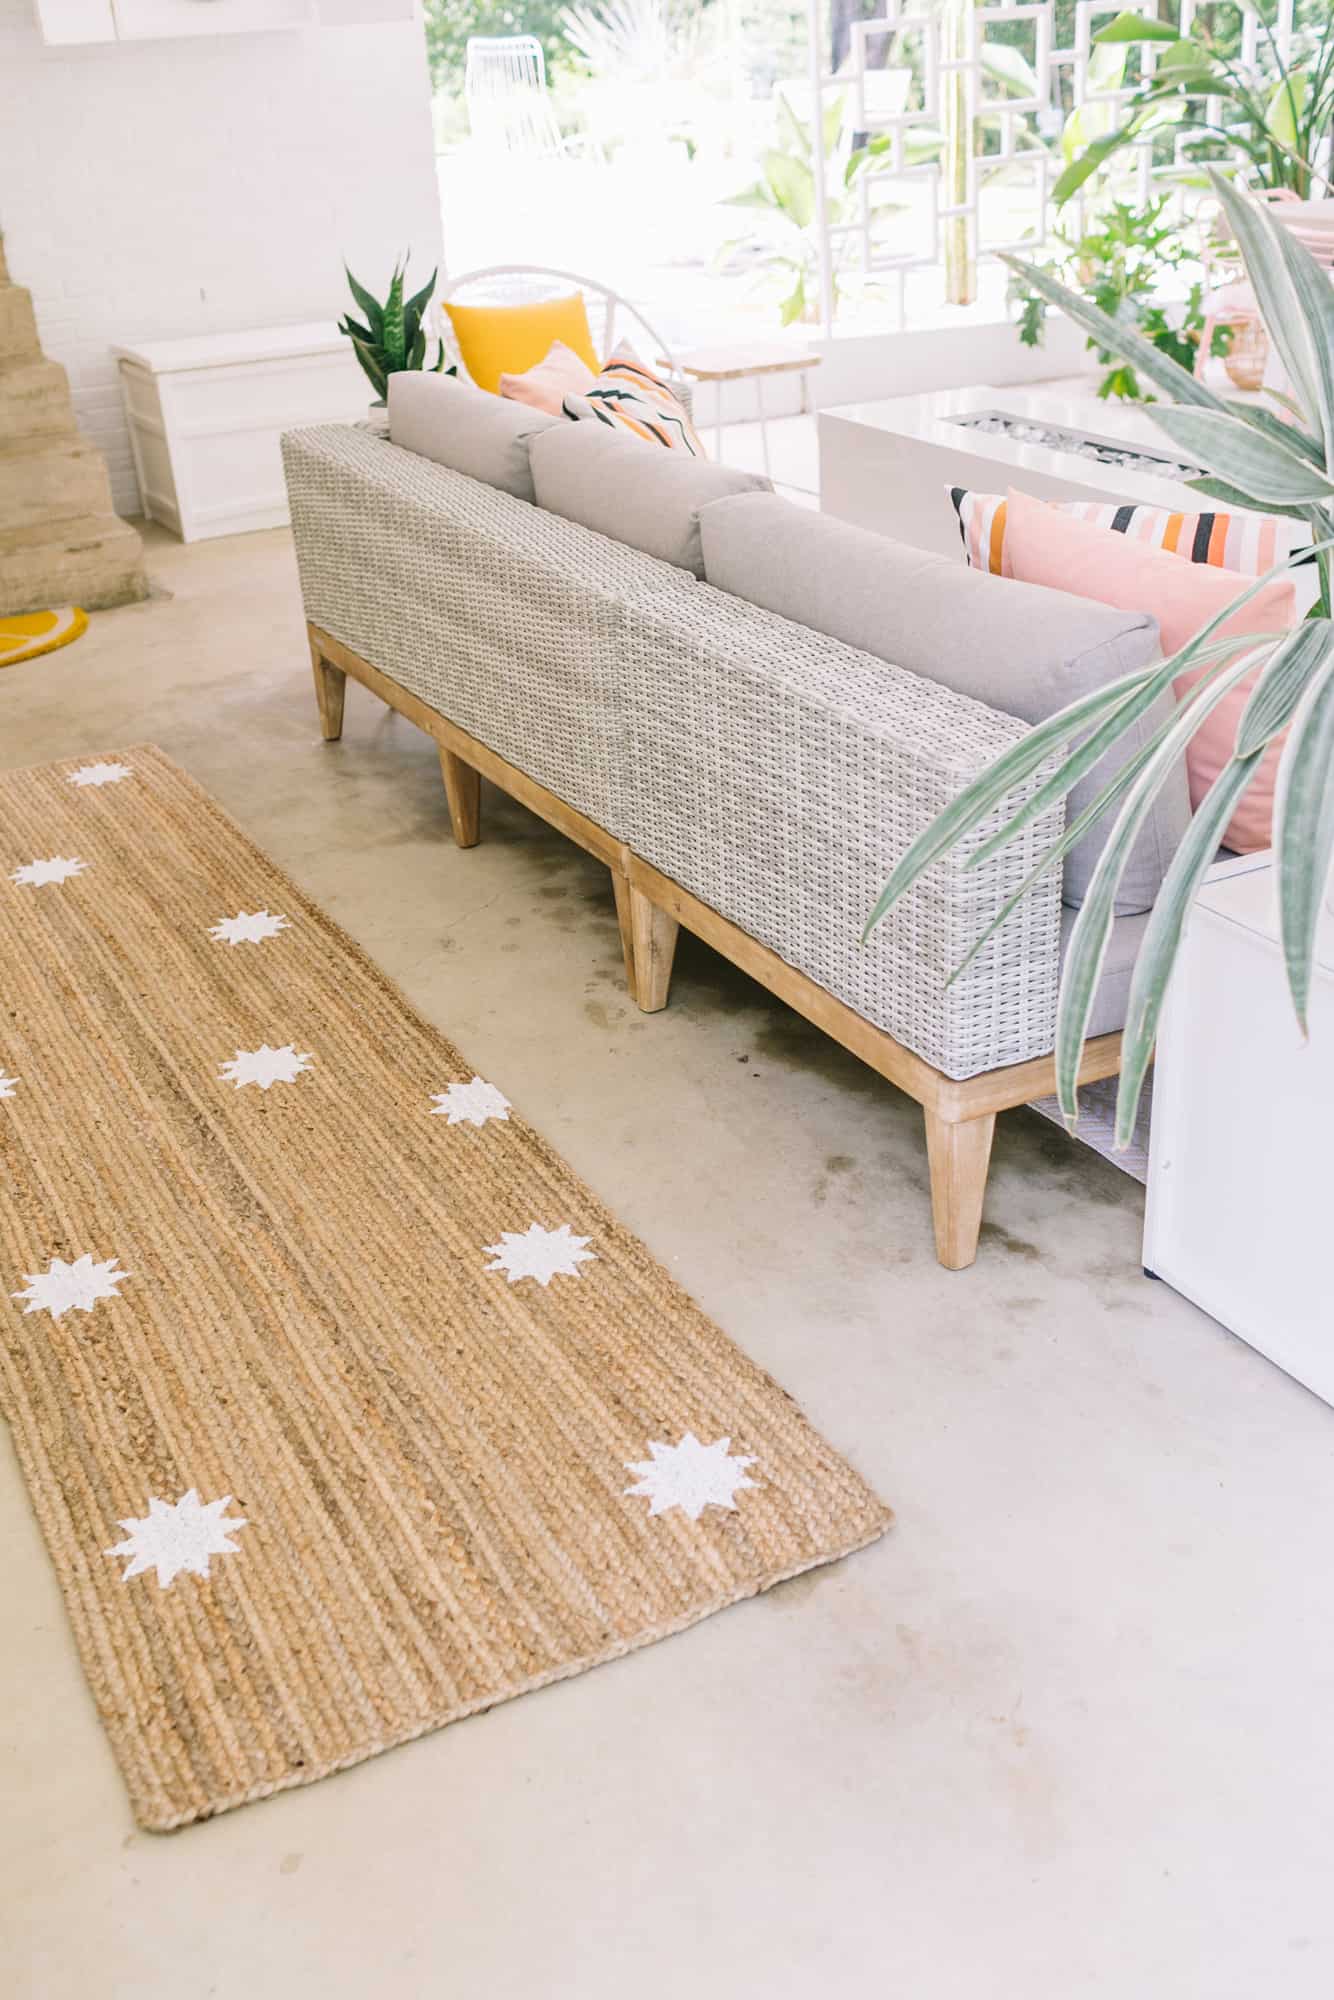
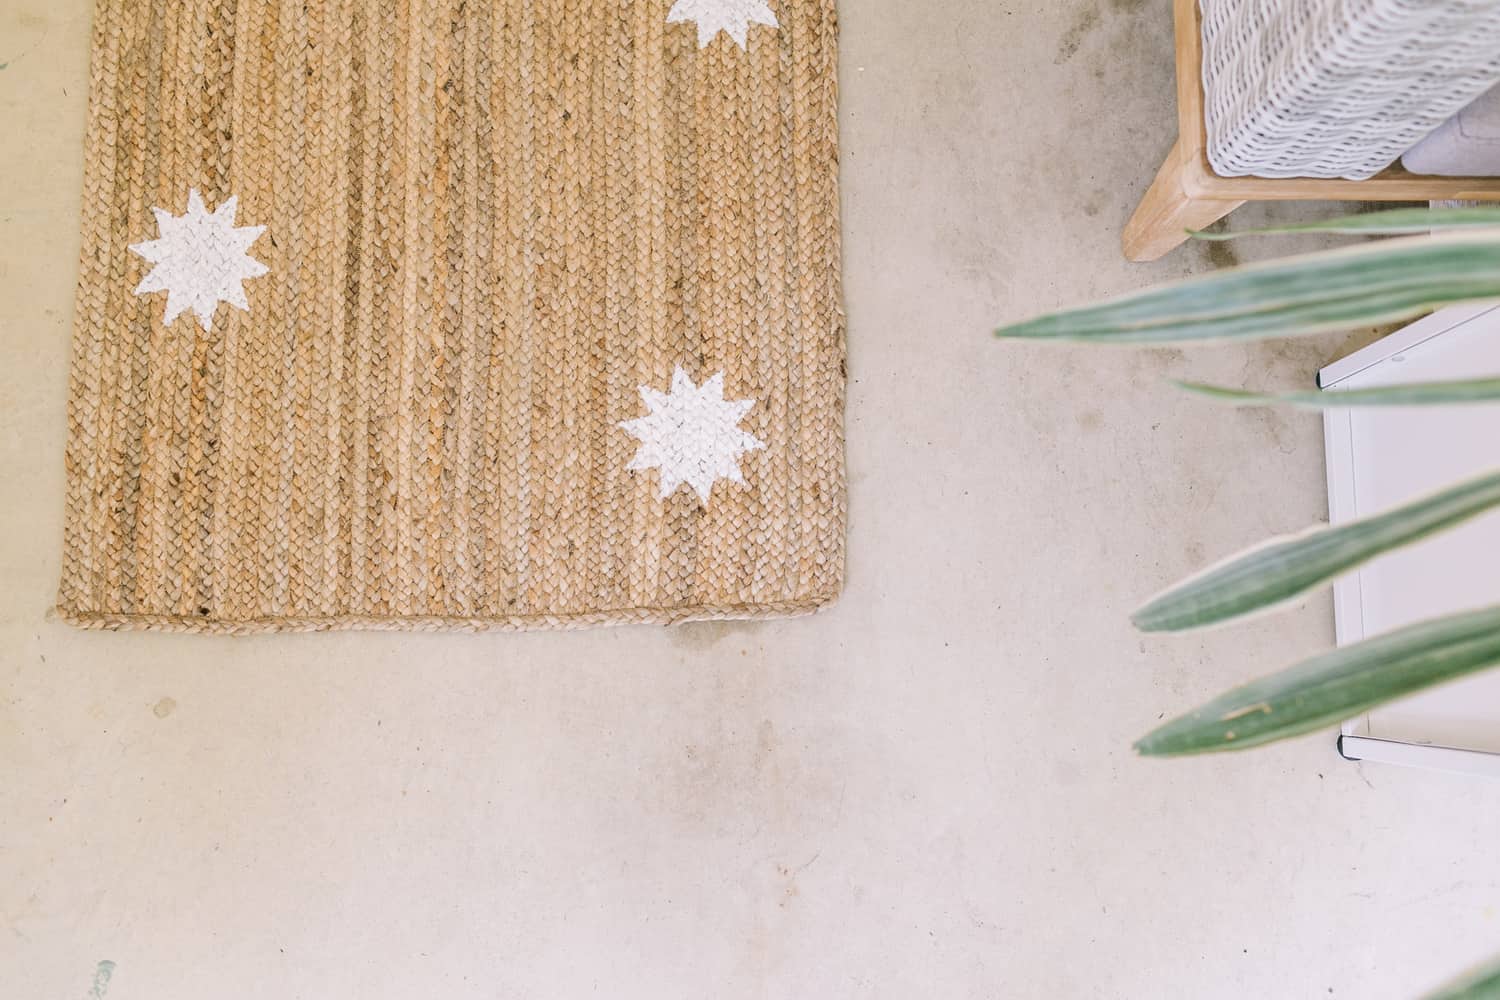
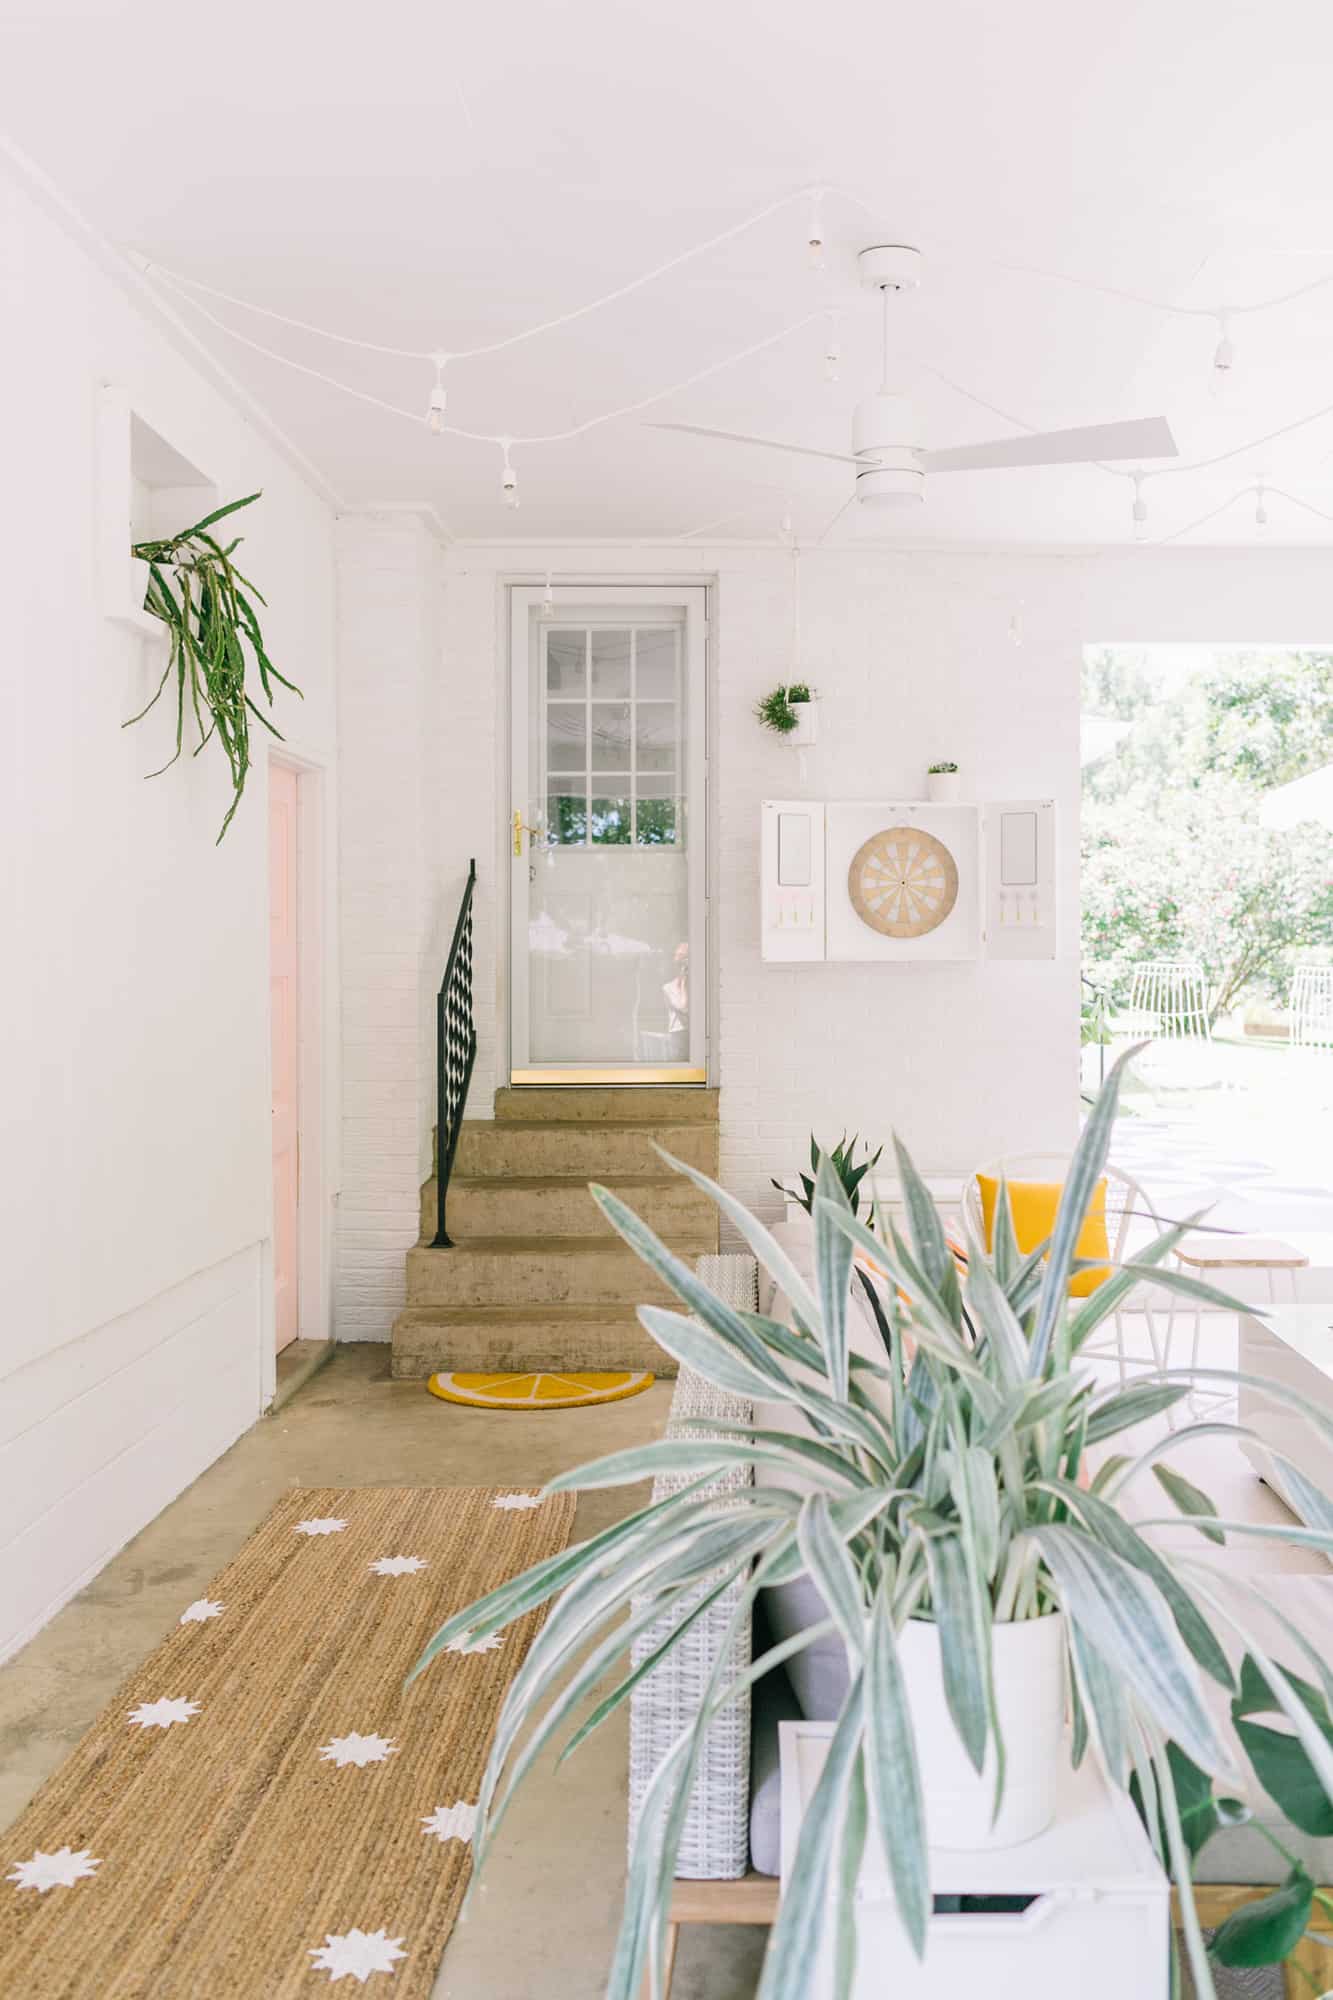 I love the little bit of pattern and pop of white that the star stencils bring to the runner—it’s just what the little hallway area needed! Now, this is something you can also do on an indoor rug as well, so don’t let the “outdoor” part of this DIY fool you. Cotton flat weaves are great for stenciling your own unique design for any room of the home! Have fun! xo. Laura
13 Comments
Cute! Really matches the whole A Beautiful Mess vibe, haha! 🙂
Charmaine Ng | Architecture & Lifestyle Blog
http://charmainenyw.com
I love this! It’s so cute and understated. I’m definitely going to have to try this, maybe on my welcome mat outside the apartment door!
K A T E L A T E L Y || fashion & lifestyle blog
http://www.katelately.co
I love how this turned out! The print is perfect!
Paige
http://thehappyflammily.com
Oh this outdoor rug looks really cute, and seems like it would be really easy to print the pattern on it. Great idea 🙂
Sarah xo Oomph London
Laura, does the rug slide around at all? Your carport concrete looks smooth. I’m wondering if you need to put any rubber underneath.
It moves a little but not enough to care about so I just left it as is!
Laura 🙂
Looks great! Can you tell me where the little citrus mat is from? Love it so much 🙂
Hmm, I think that was a summer JoAnns item!
Laura
I love this so much! I am going to have to do this before our next BBQ! I have also struggled with finding any outdoor rugs that I like and this is perfect!
xoKaelen | https://darlingmarcelle.com
This is so cute, I cannot wait to make it myself!! Thanks for sharing!
-Kate
https://daysofkate.com/
This is so cute! And looks so easy! I love this!
Shandel | babygirlsbible.com
I love this! It is so cute and so easy! I can’t wait to try this out!
Shandel | babygirlsbible.com
I am not crafty … no I truly am not, but this caught my eye. We have just finished the garden room/ office music room and being in wet Suffolk in the UK. No matter what else you have … you must have amat to wipe your feet; fact. I purchased a coir mat to capture doggys feet and damp shoes but ;as yours was, mine is plain. Maybe not stars but music notes and clefts could just work. Thank you for the idea I will give it some thought and see if it is doable. This could be the one that actually works. ????