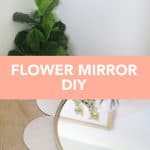
 I was going to call this “Kid’s Flower Mirror DIY” but then I realized that it’s so cute I would probably hang it anywhere in my house and therefore eliminated the word “kid” from the title. Let’s just say if you like fun mirrors, this may be the one for you! I’m finishing up a playroom for my daughter and I always add mirrors to rooms that need a little help with natural light as they help to bounce what light there is around the room. I was going to just hang a plain ol’ mirror, but then I realized that it may be the perfect opportunity to turn a round mirror into something a little more playful, and that’s when the flower mirror idea was born! It’s super easy to make—I’ll show you how!
 Supplies:
-round mirror (I used this 18″ one)
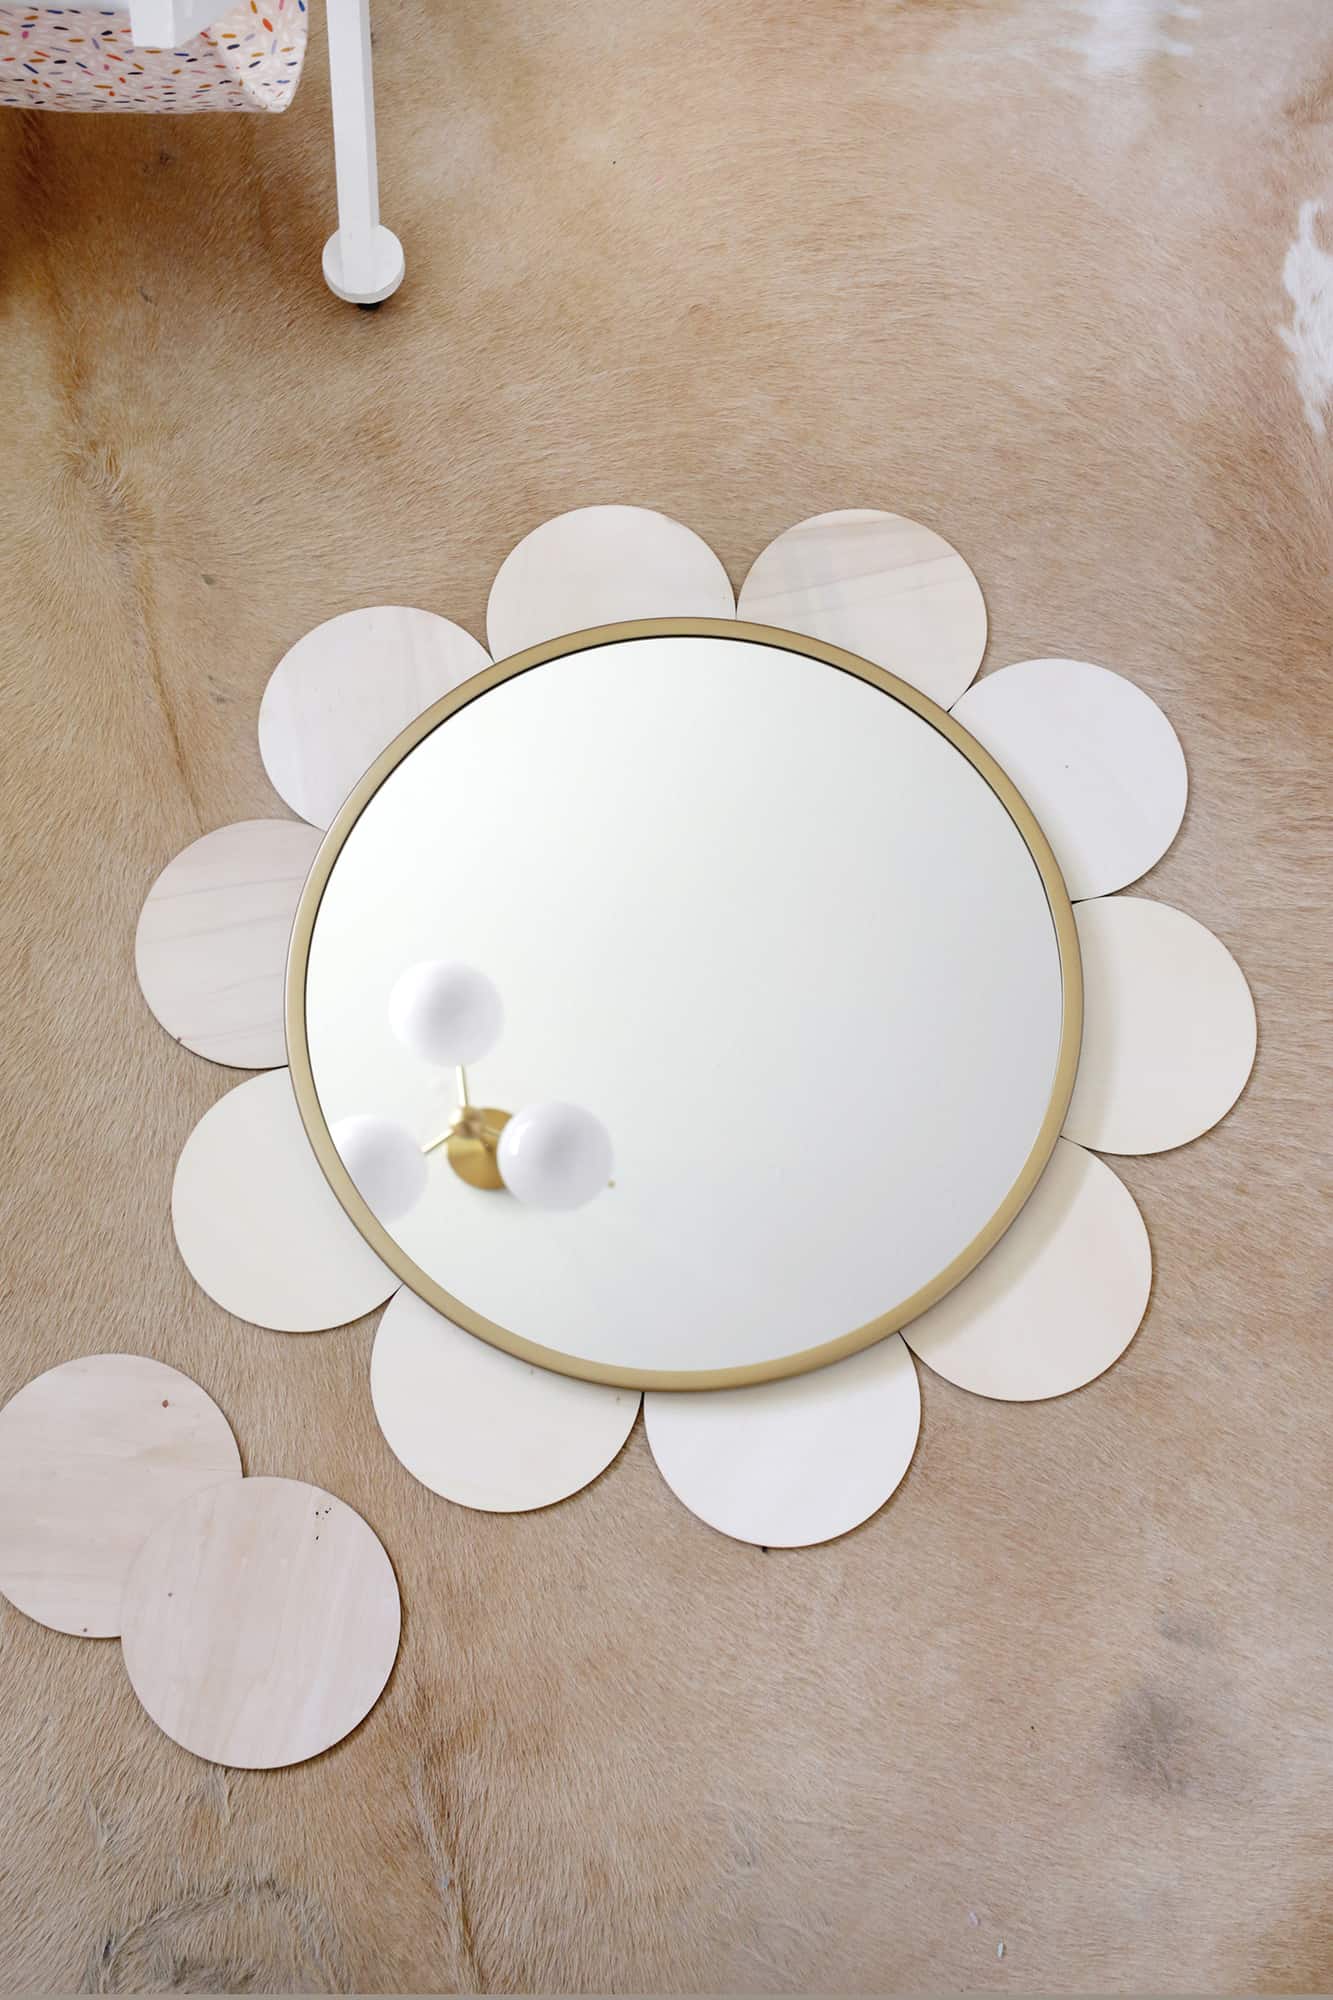
-wooden circles (I used these 6″ wide circles)
–epoxy for mixed surfaces (like gluing wood to metal)
-paint in your choice of color
-X-acto knife or utility knife
-painter’s tape
 First, you’ll want spread your “petals” out so that you can see how many you need (I used 10). It’s up to you if you want them all to be touching or have some space between them, but I spaced them so they were all as close together as they could be while being evenly spaced.
 Once you know how many you want to have, you can paint your petals your desired color! I actually think leaving the wood grain could also be pretty if you have a set of circles with a nice grain pattern.
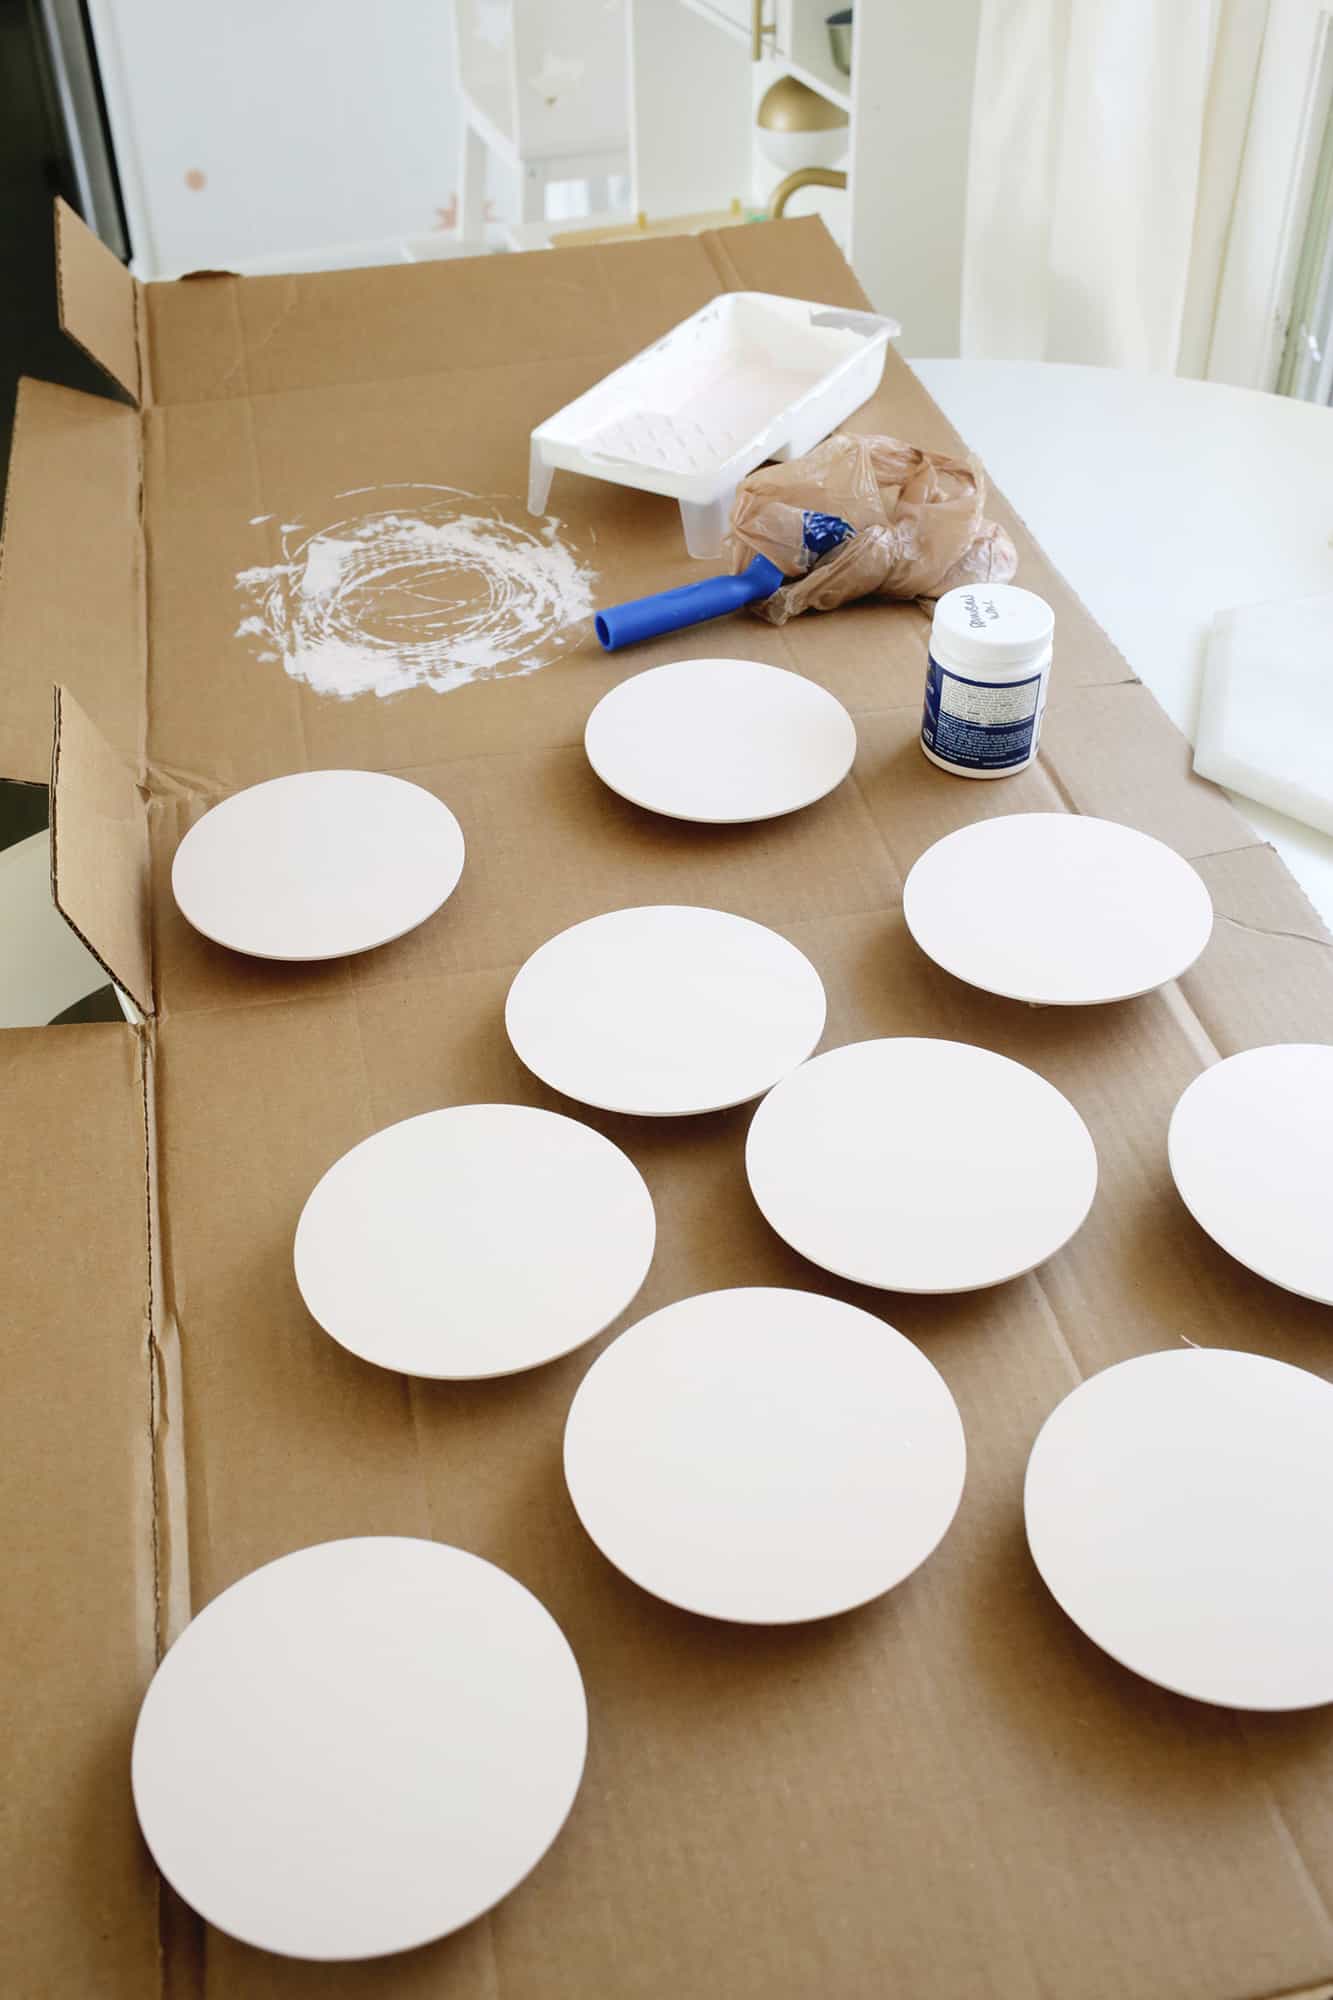
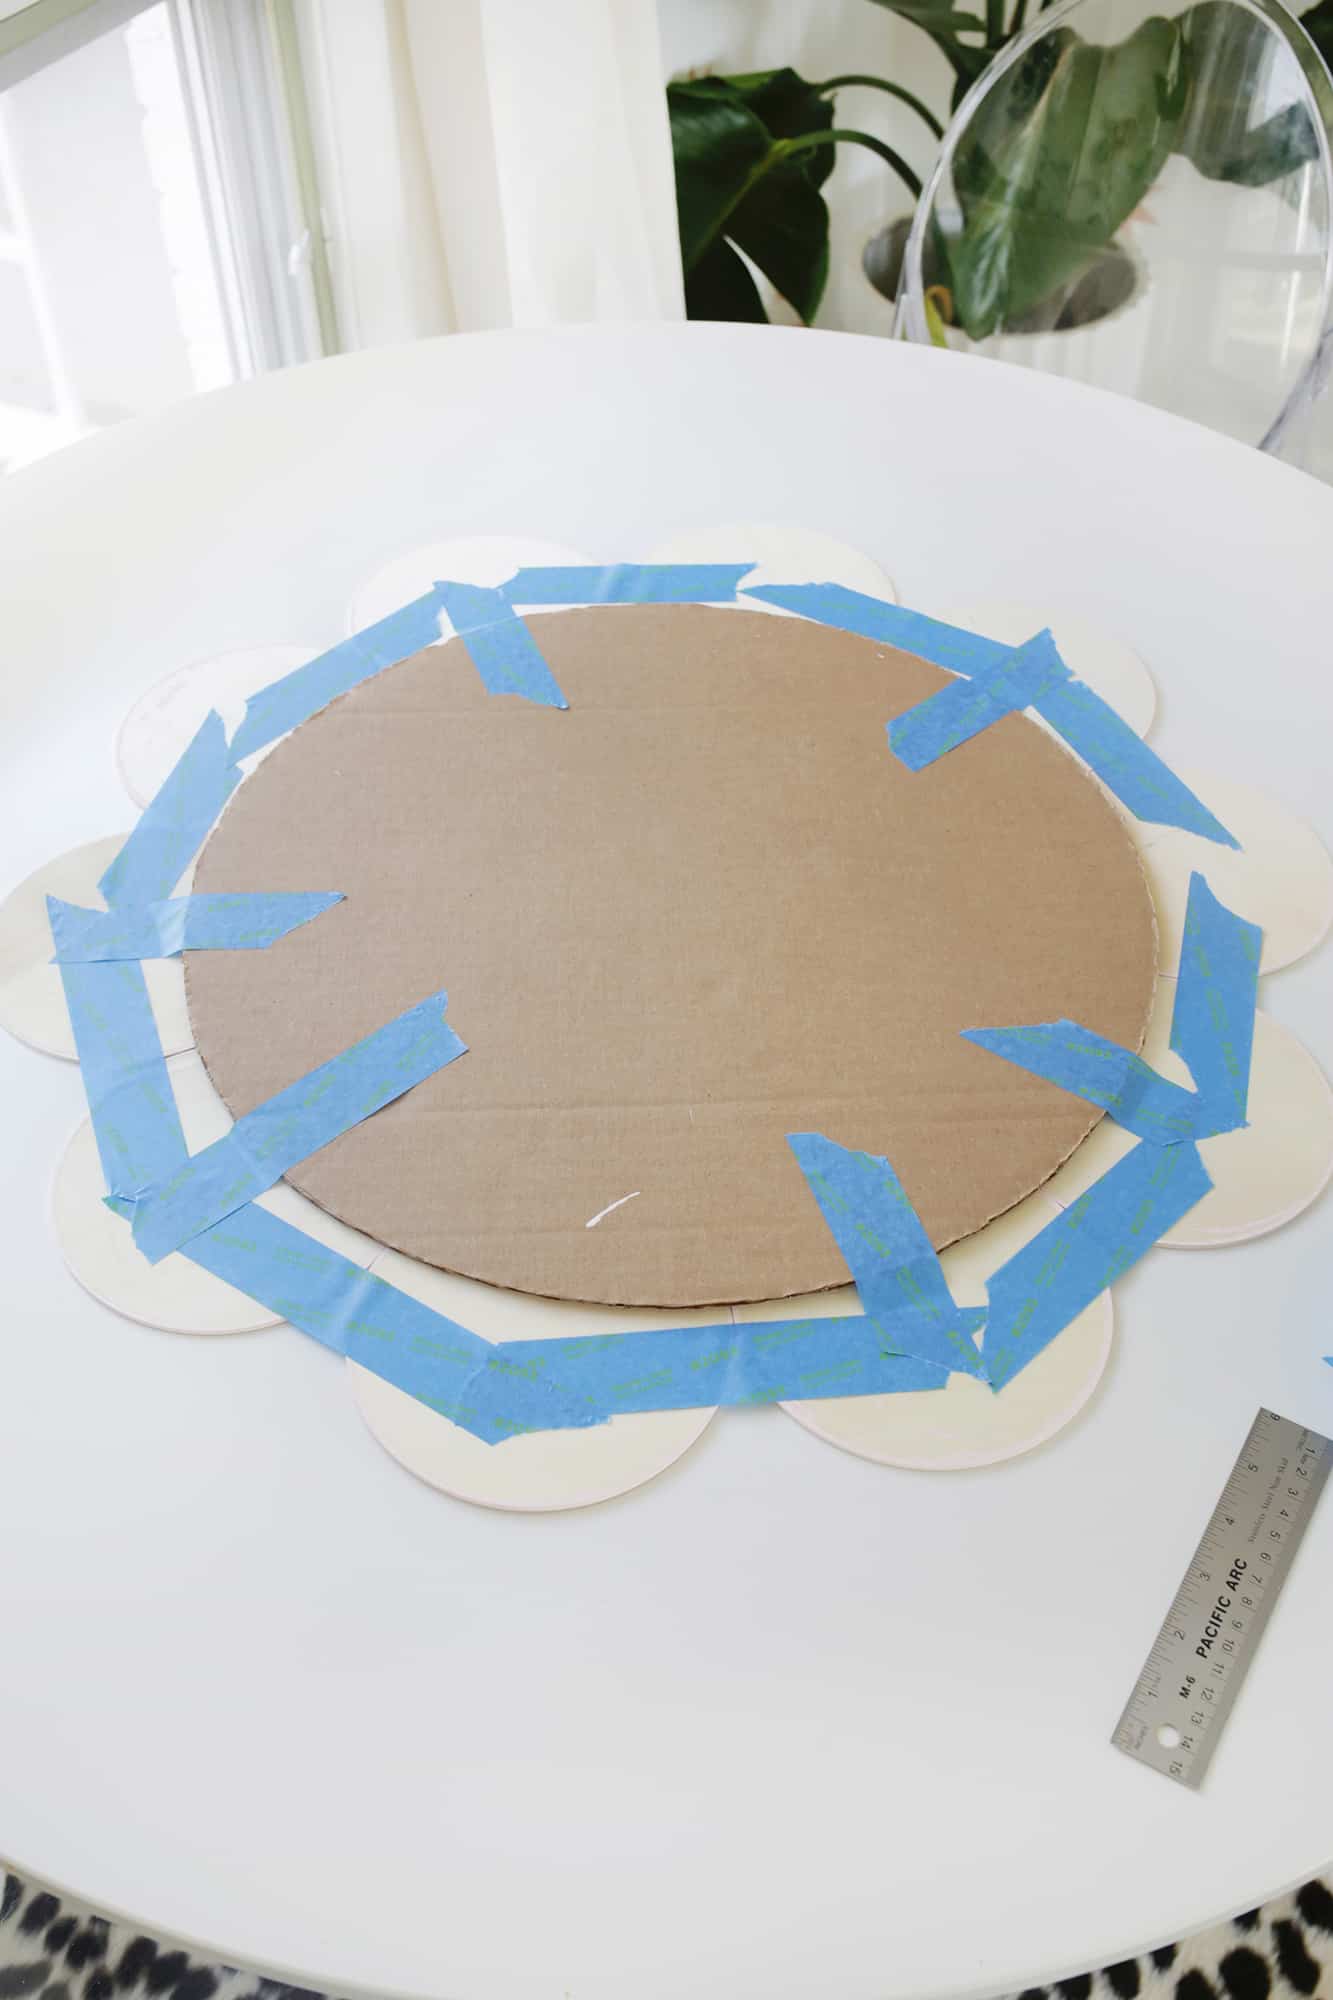 Once your petals are dry, use a piece of cardboard to cut out a circle the same size as your mirror. Flip all your petals over and arrange them in proportion to the cardboard mirror so they are where you want them to sit on the real mirror. Use painter’s tape to tape the petals together and tape them to the cardboard as well for stability. Gently flip the petals and cardboard over so the petals are right side up (you may want to slide it off the table onto a large flat tray or cardboard piece and then flip them all together to keep it more stable).
 Once the petals are right side up, place your mirror on top where you want it to sit and and use the painter’s tape to mark where the location of the mirror should be so you can easily see where to place it when the glue is added. Make sure to think about where the top and bottom of your mirror is so you can decide how the petals will sit in relation to how the mirror hangs! I also cut off a large chunk of the top middle petal (the part hidden by the mirror) so that I could still access the hanging tab at the top of the mirror when the petals were glued on. I suggest adding folded tabs of tape onto the top edges of the mirror so you have handles to hold onto as you lower the glued mirror onto the petals—super helpful!
Flip your mirror over and add your glue to the underneath edge of your mirror. Carefully flip your mirror back over and use the tape tabs (or hold onto the sides of the mirror) as you carefully place the mirror back within the tape guidelines. Place some heavy books on top of the mirror edges and allow the glue to fully set. Once the glue is set, carefully remove the painter’s tape and cardboard from the mirror and petals and your mirror is ready to hang!
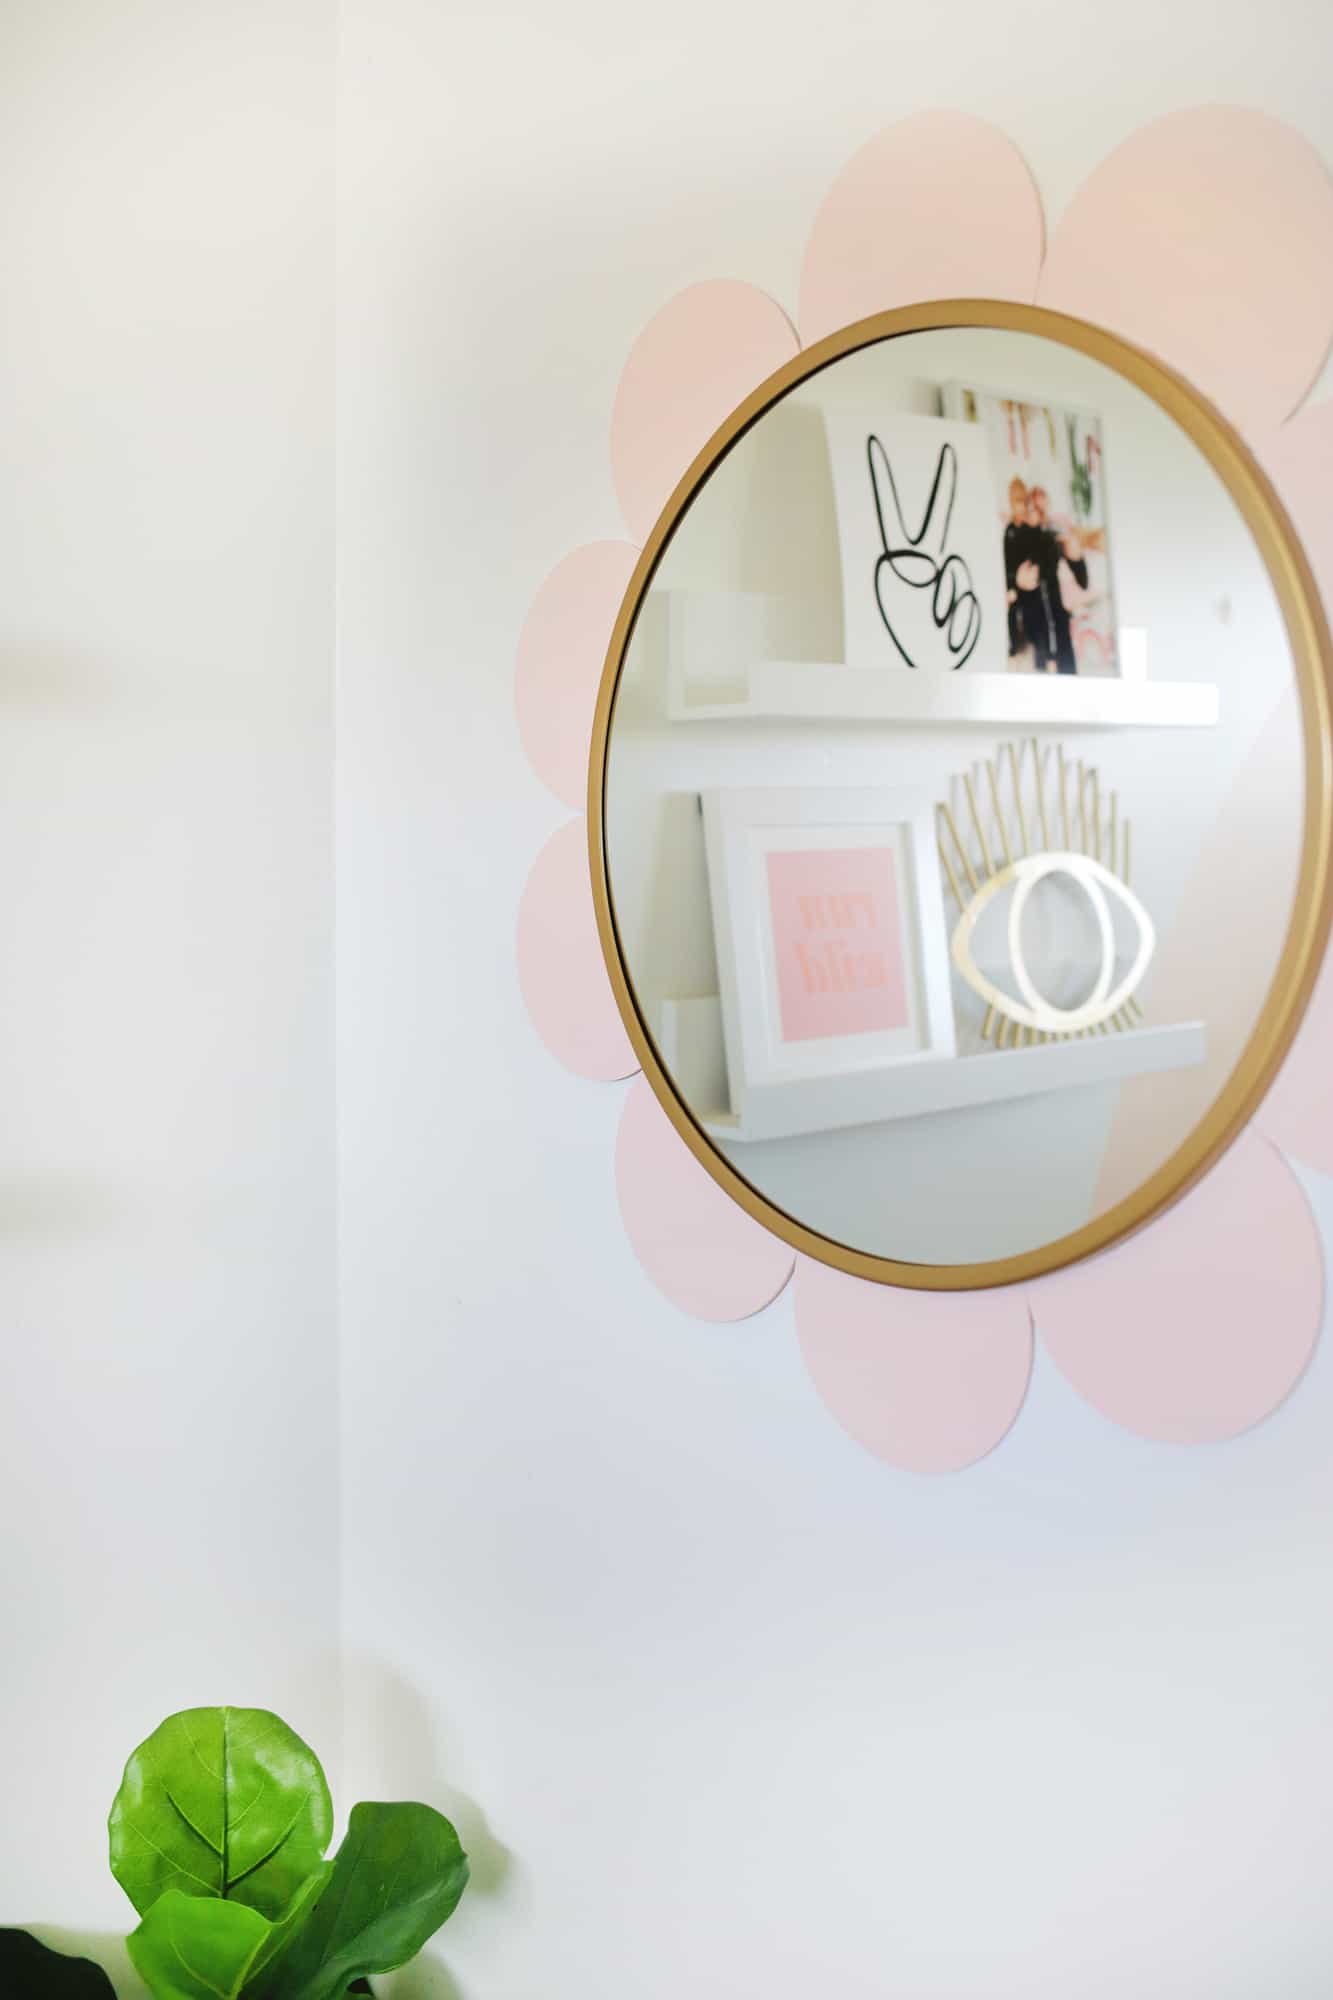
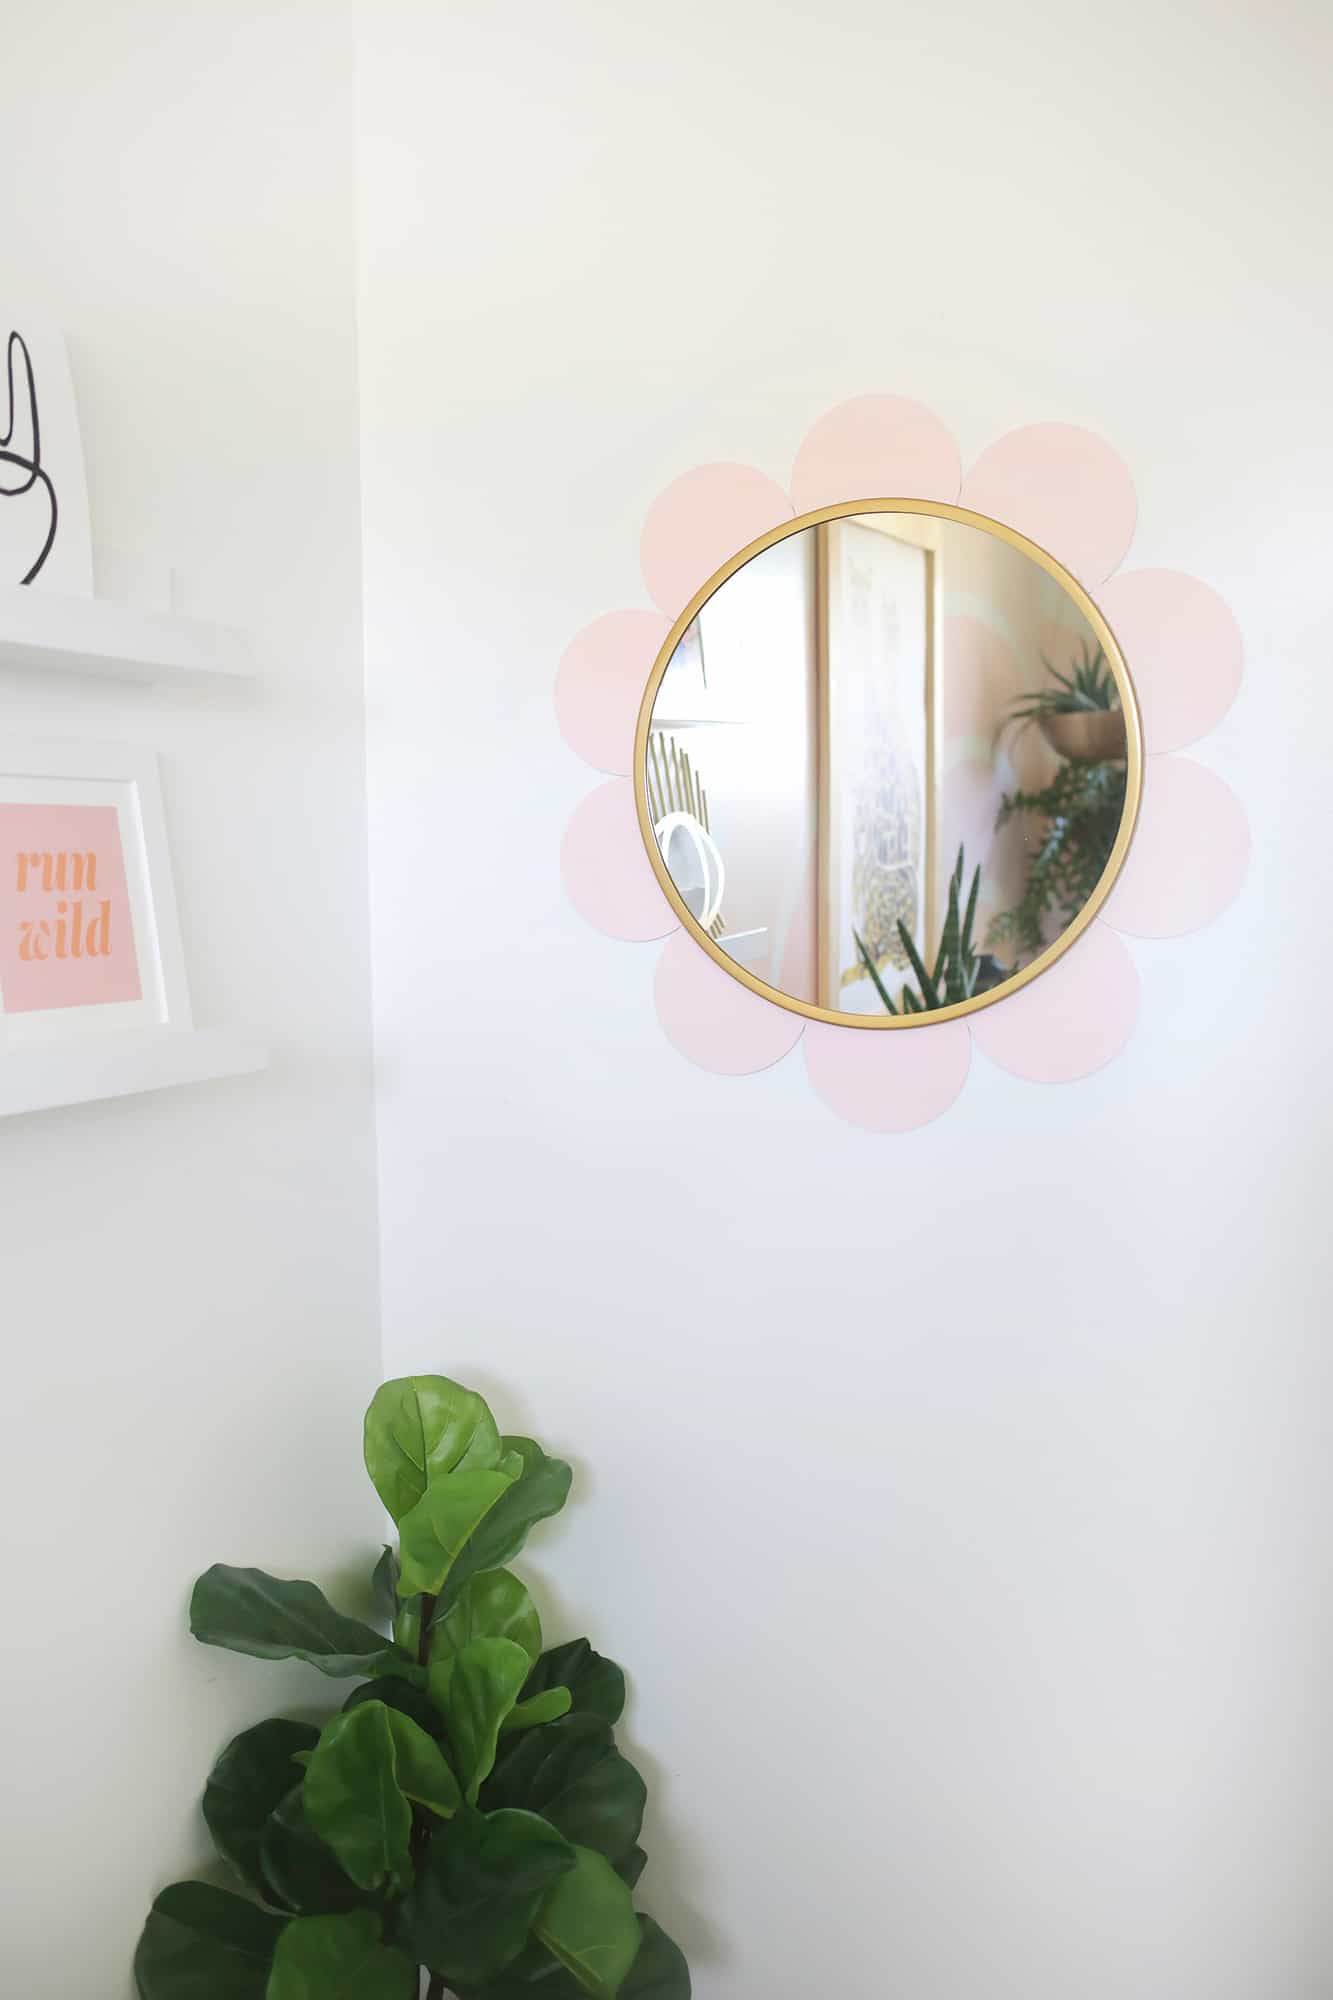
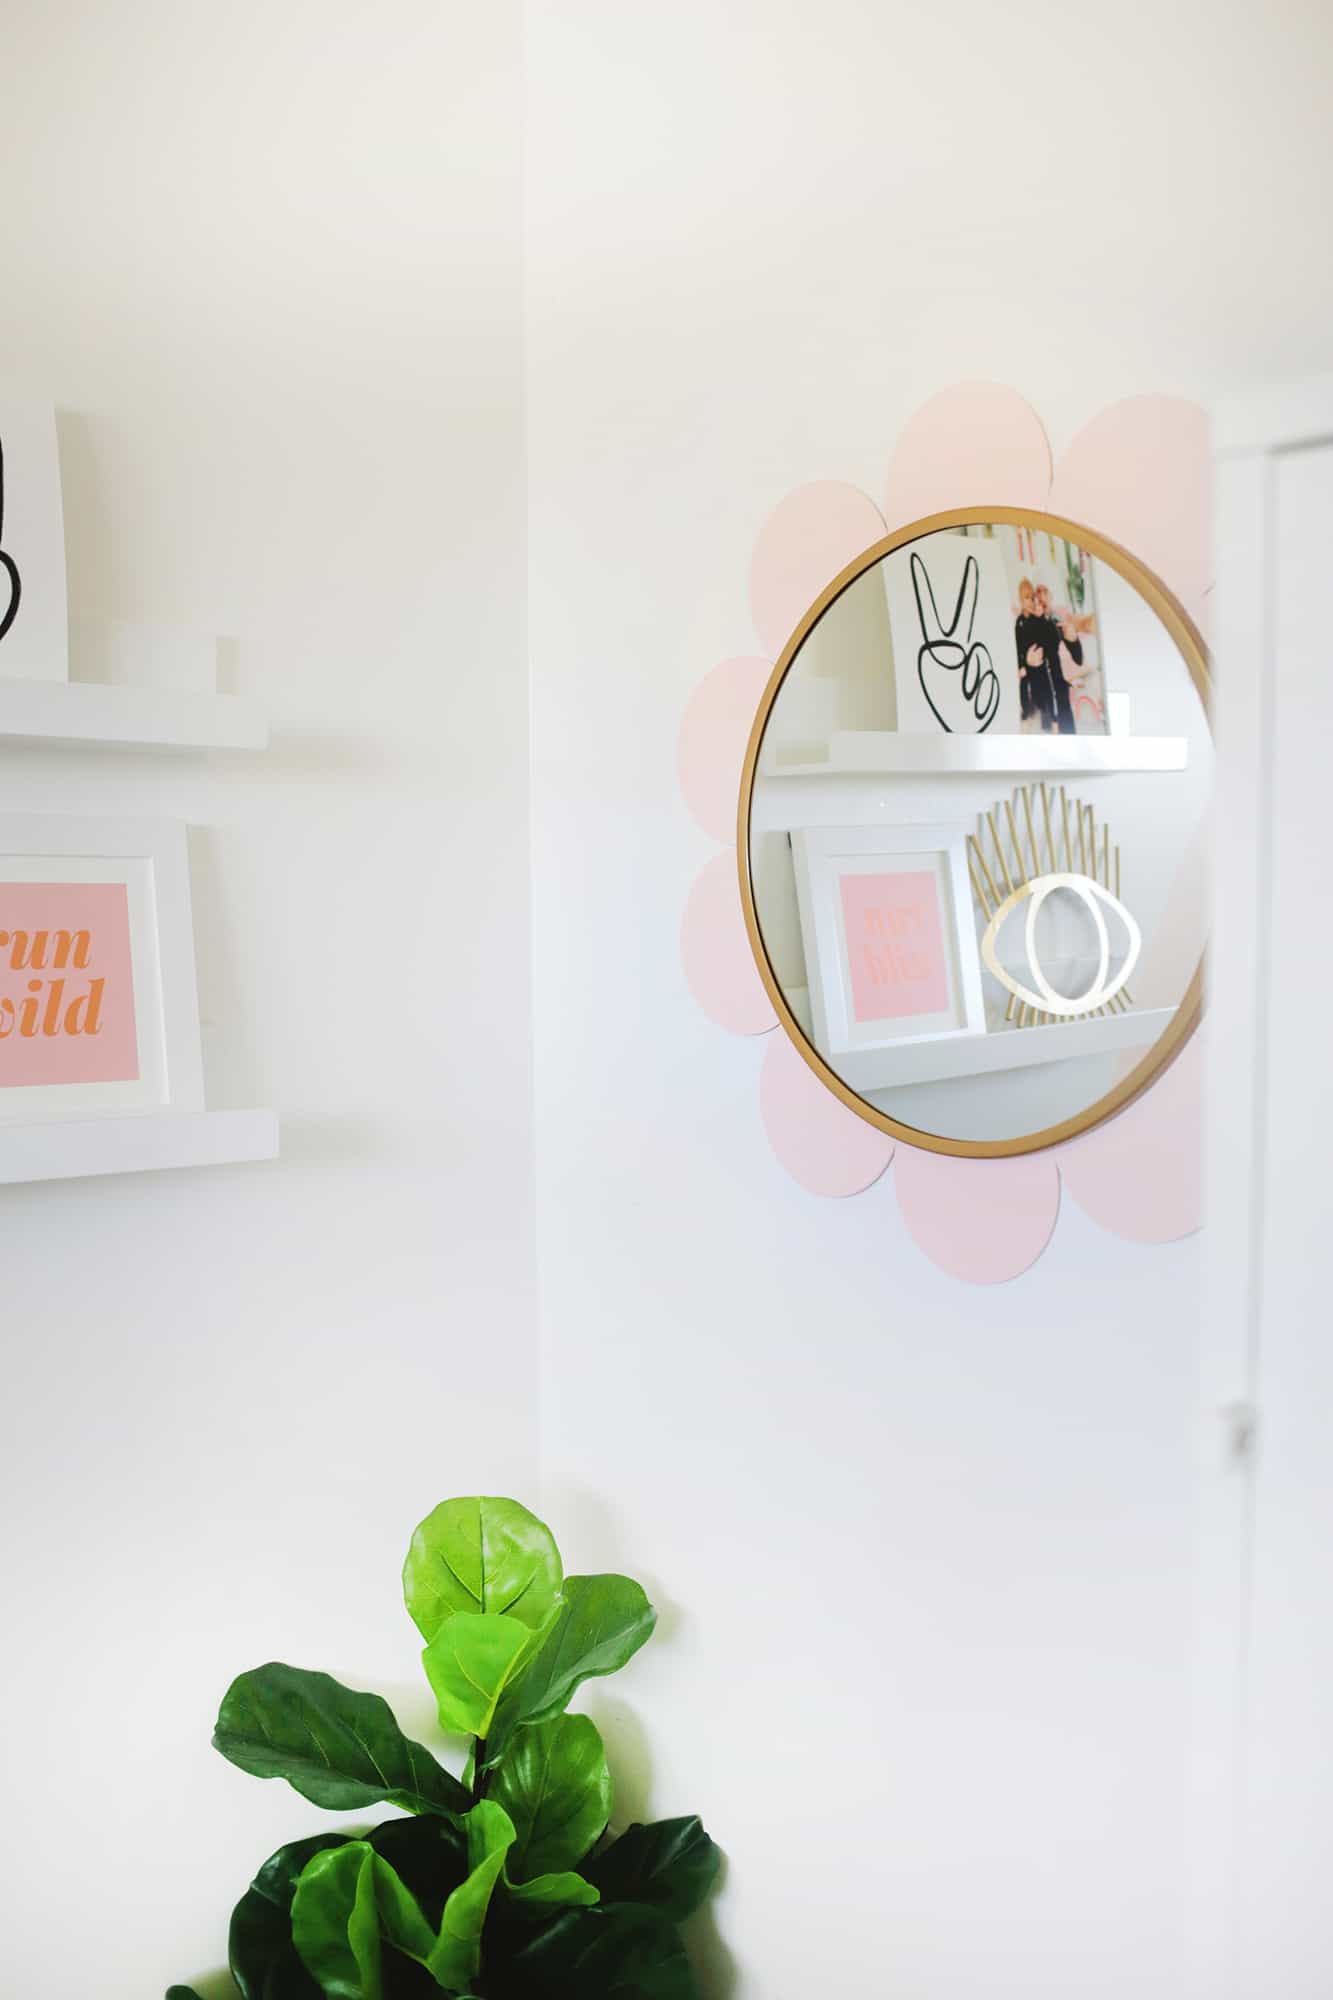 How sweet is that?! I love how it’s fun and whimsical without being super over the top. I think I’m going to make that area into a reading corner (that little white swivel chair is so cute) so it will be super cute to watch her read books under the flower. Whether you make this for a kid’s room or for a room where you’re a kid at heart, I hope this helps brighten your space! xo. Laura
8 Comments
This mirror is so cute!!! I’m moving house soon and I’m definitely going to give this DIY a go!! Thanks for the tip!
Georgia Rose
X
http://www.justgeorgiarose.com
The cutest DIY as usual! ❤️✨
Charmaine Ng | Architecture & Lifestyle Blog
http://charmainenyw.com
So cute and easy! I love the peace artwork on the shelf! ????
It looks perfect!!
http://www.thelisasworld.com
This is so cute! What a fun way to add a lovely touch of colour ☺️
OMG!! This is so cute!! I’m sure she loves it! I’m gonna pin this diy: you never know when you need this 😉
xx
Eli
http://www.curly-style.com
Sooo cute!! Perfect Diy to do at this time! Thanks for sharing.
-Kate
https://daysofkate.com
Love, love, love all your projects!! This, the rainbow corner and the cleaning supplies stand- all adorable!! Thank you for sharing the links too!! 😘👌🏼 Loving your blog!! xo! 🥰