 After being hidden away in thick socks for months, my feet are super pale at the start of sandal season every year. Throwing on a little nail polish is the quickest and cutest way to make them look a little less ghostly! And while I’m painting my toe nails, it just makes good sense to do my fingers too, you know?
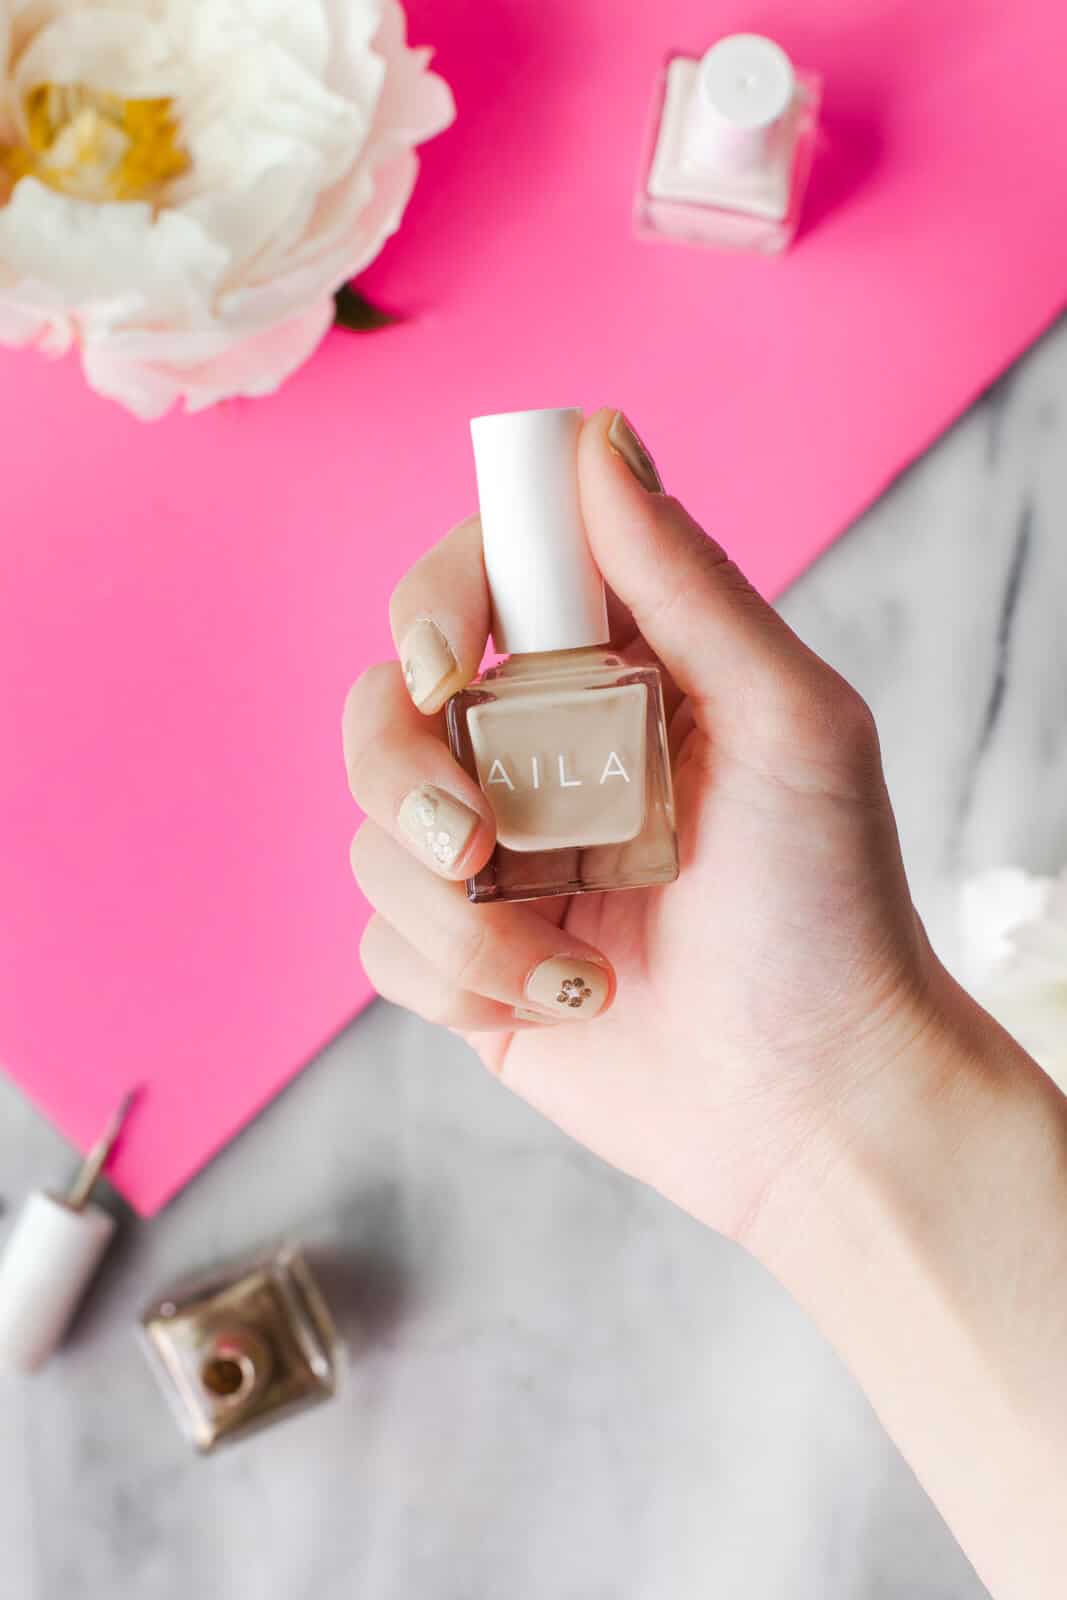
I usually just paint one color and call it a day, but then I found this inexpensive and easy-to-use dot tool that lets you add fun designs to your nails even if you have shaky hands! I decided to do a nude and metallic daisy for my first nail look of the season, and it couldn’t have been easier to pull off. People have literally been grabbing my hands and asking where I got them done!

Supplies:
–nude, white and gold nail polish
–nail dotting tool
 Start by painting an opaque layer of nude polish. It took a few coats for my nails to really look like the color in the bottle.
 Once the nude polish is fully dry, use the small end of the dot tool to add white daisy centers. I dipped the tool right into the polish bottle, and then dotted away! Start with just a little polish on the tool until you get a sense of how much you need—the tool is pretty forgiving and you can go over the dots a second time if they aren’t big or bold enough. Use the large end of the tool to add your petal dots!

 And that’s it! The tool is so simple to use. This look only took a couple minutes longer than painting one color nails. I’ve never gotten so many questions/compliments about my nails—I can’t imagine ever painting plain nails again! Next time I want to make little sunflowers on a white background. What designs would you add to your nails? xo, Kayleigh
15 Comments
I love how easy this manicure is. It’s doable for someone like me who never bothers with her nails!
Charmaine Ng | Architecture & Lifestyle Blog
http://charmainenyw.com
That’s so pretty and cute! The choice of colours is so elegant and chic.
So simple but so chic! Going to a wedding this weekend and this would be subtle enough to pull off, but still add some spunk. Lovely!
I like it, it’s really elegant and simple!
https://www.makeandmess.com/
These are so cute.
May just have to rock some daisies for National Nail Polish Day on June 1st
Amy | http://www.bucketloadofjoy.com
That color is gorgeous!
Paige
http:///thehappyfammily.com
I’ve used one of these for about 15 years to do different designs on my nails. If the polish is low and the tip won’t reach the polish, just use the brush and dab a little polish on a piece of tin foil or parchement paper and dip the tip into that. I actually do that all the time – easier to dip. Also, can use this tool for polka dots, dot French tips, Minnie/Mickey mouse – the list goes on and on. I even use it to wipe the polish off my cuticles while painting my nails.
I love this design have been doing them for ages 🙂 if you don’t have a dotting tool, the end of a bobby pin works just as well
This is such a cute manicure idea, perfect for spring and summer.
Your nails look super cute!! x
Abi | abistreetx
Love how gorgeous they look. Best part is it’s effortless and fun to do!
OMG these colors are so cute! I have never used Aila before, I might check them out <3
https://www.myblackcloset.com/
That looks really lovely! I like the color combination and that the design is a simple but elegant one. 🙂
Super cute!!
http://hyggewellness.com/blog
Love this nail art. So stunning!