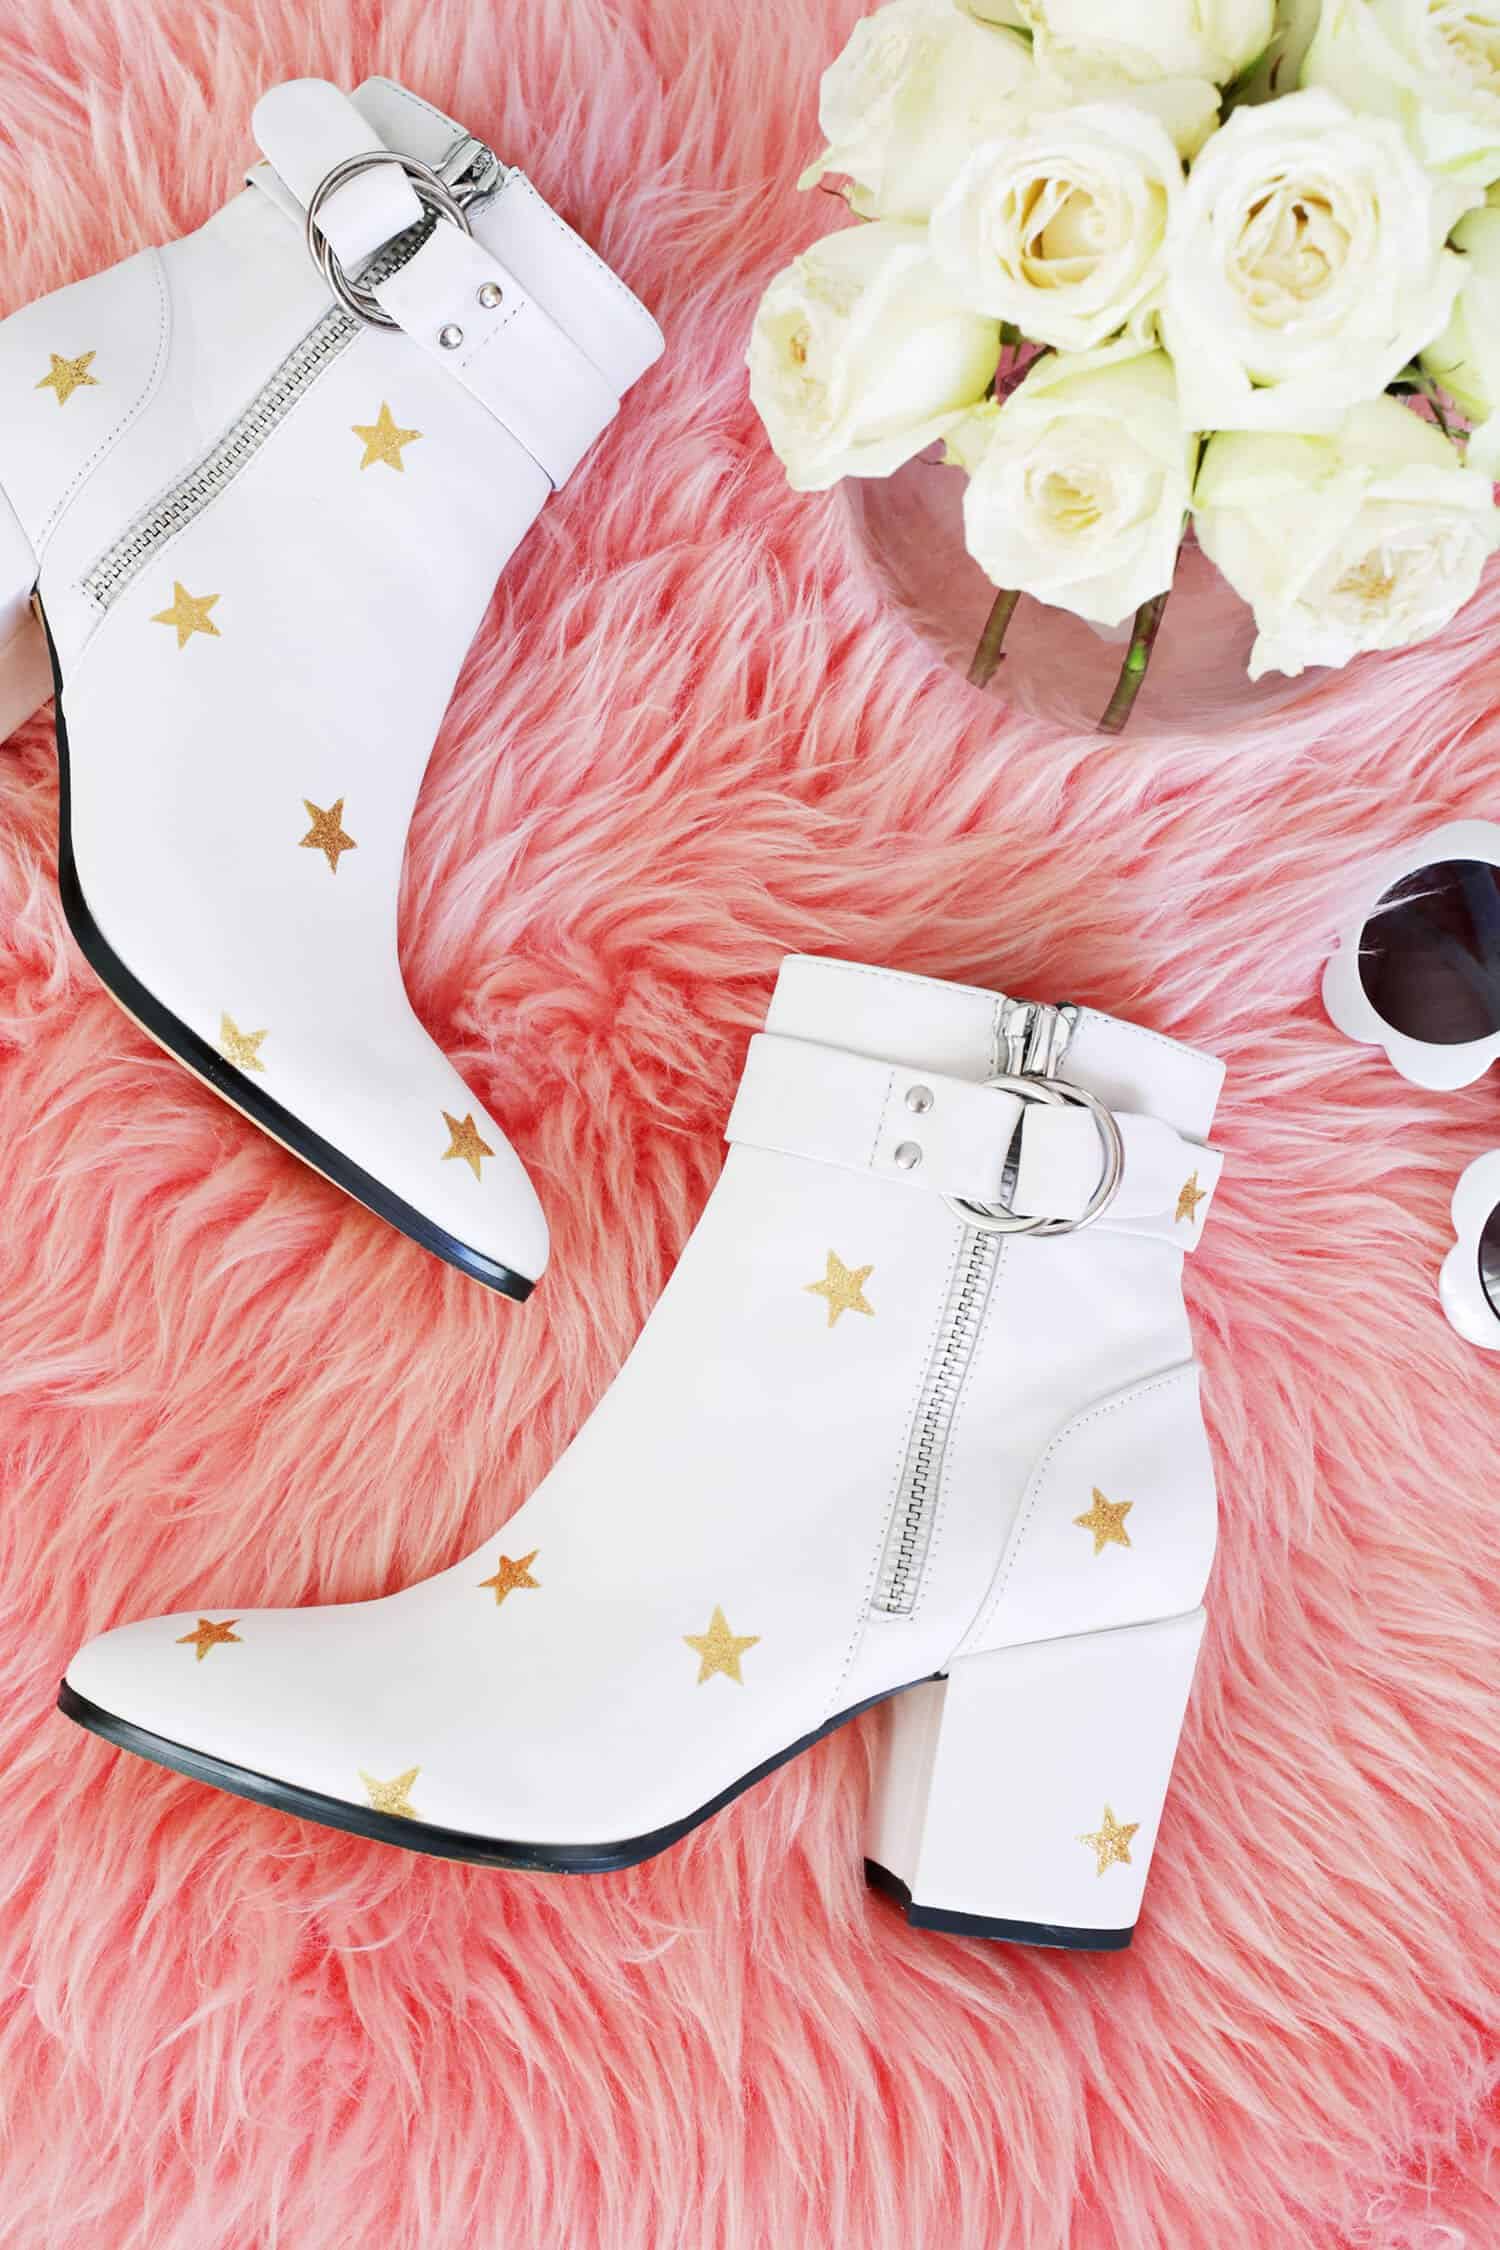
 While it can be so fun to make wearable items totally from scratch, my favorite DIYs tend to be the ones where you get to add something special to an existing item. Leather paint can be a great way to transform or add to leather items and I thought that a gold glitter star shoe would be the perfect accessory to add a little sparkle to my spring wardrobe!
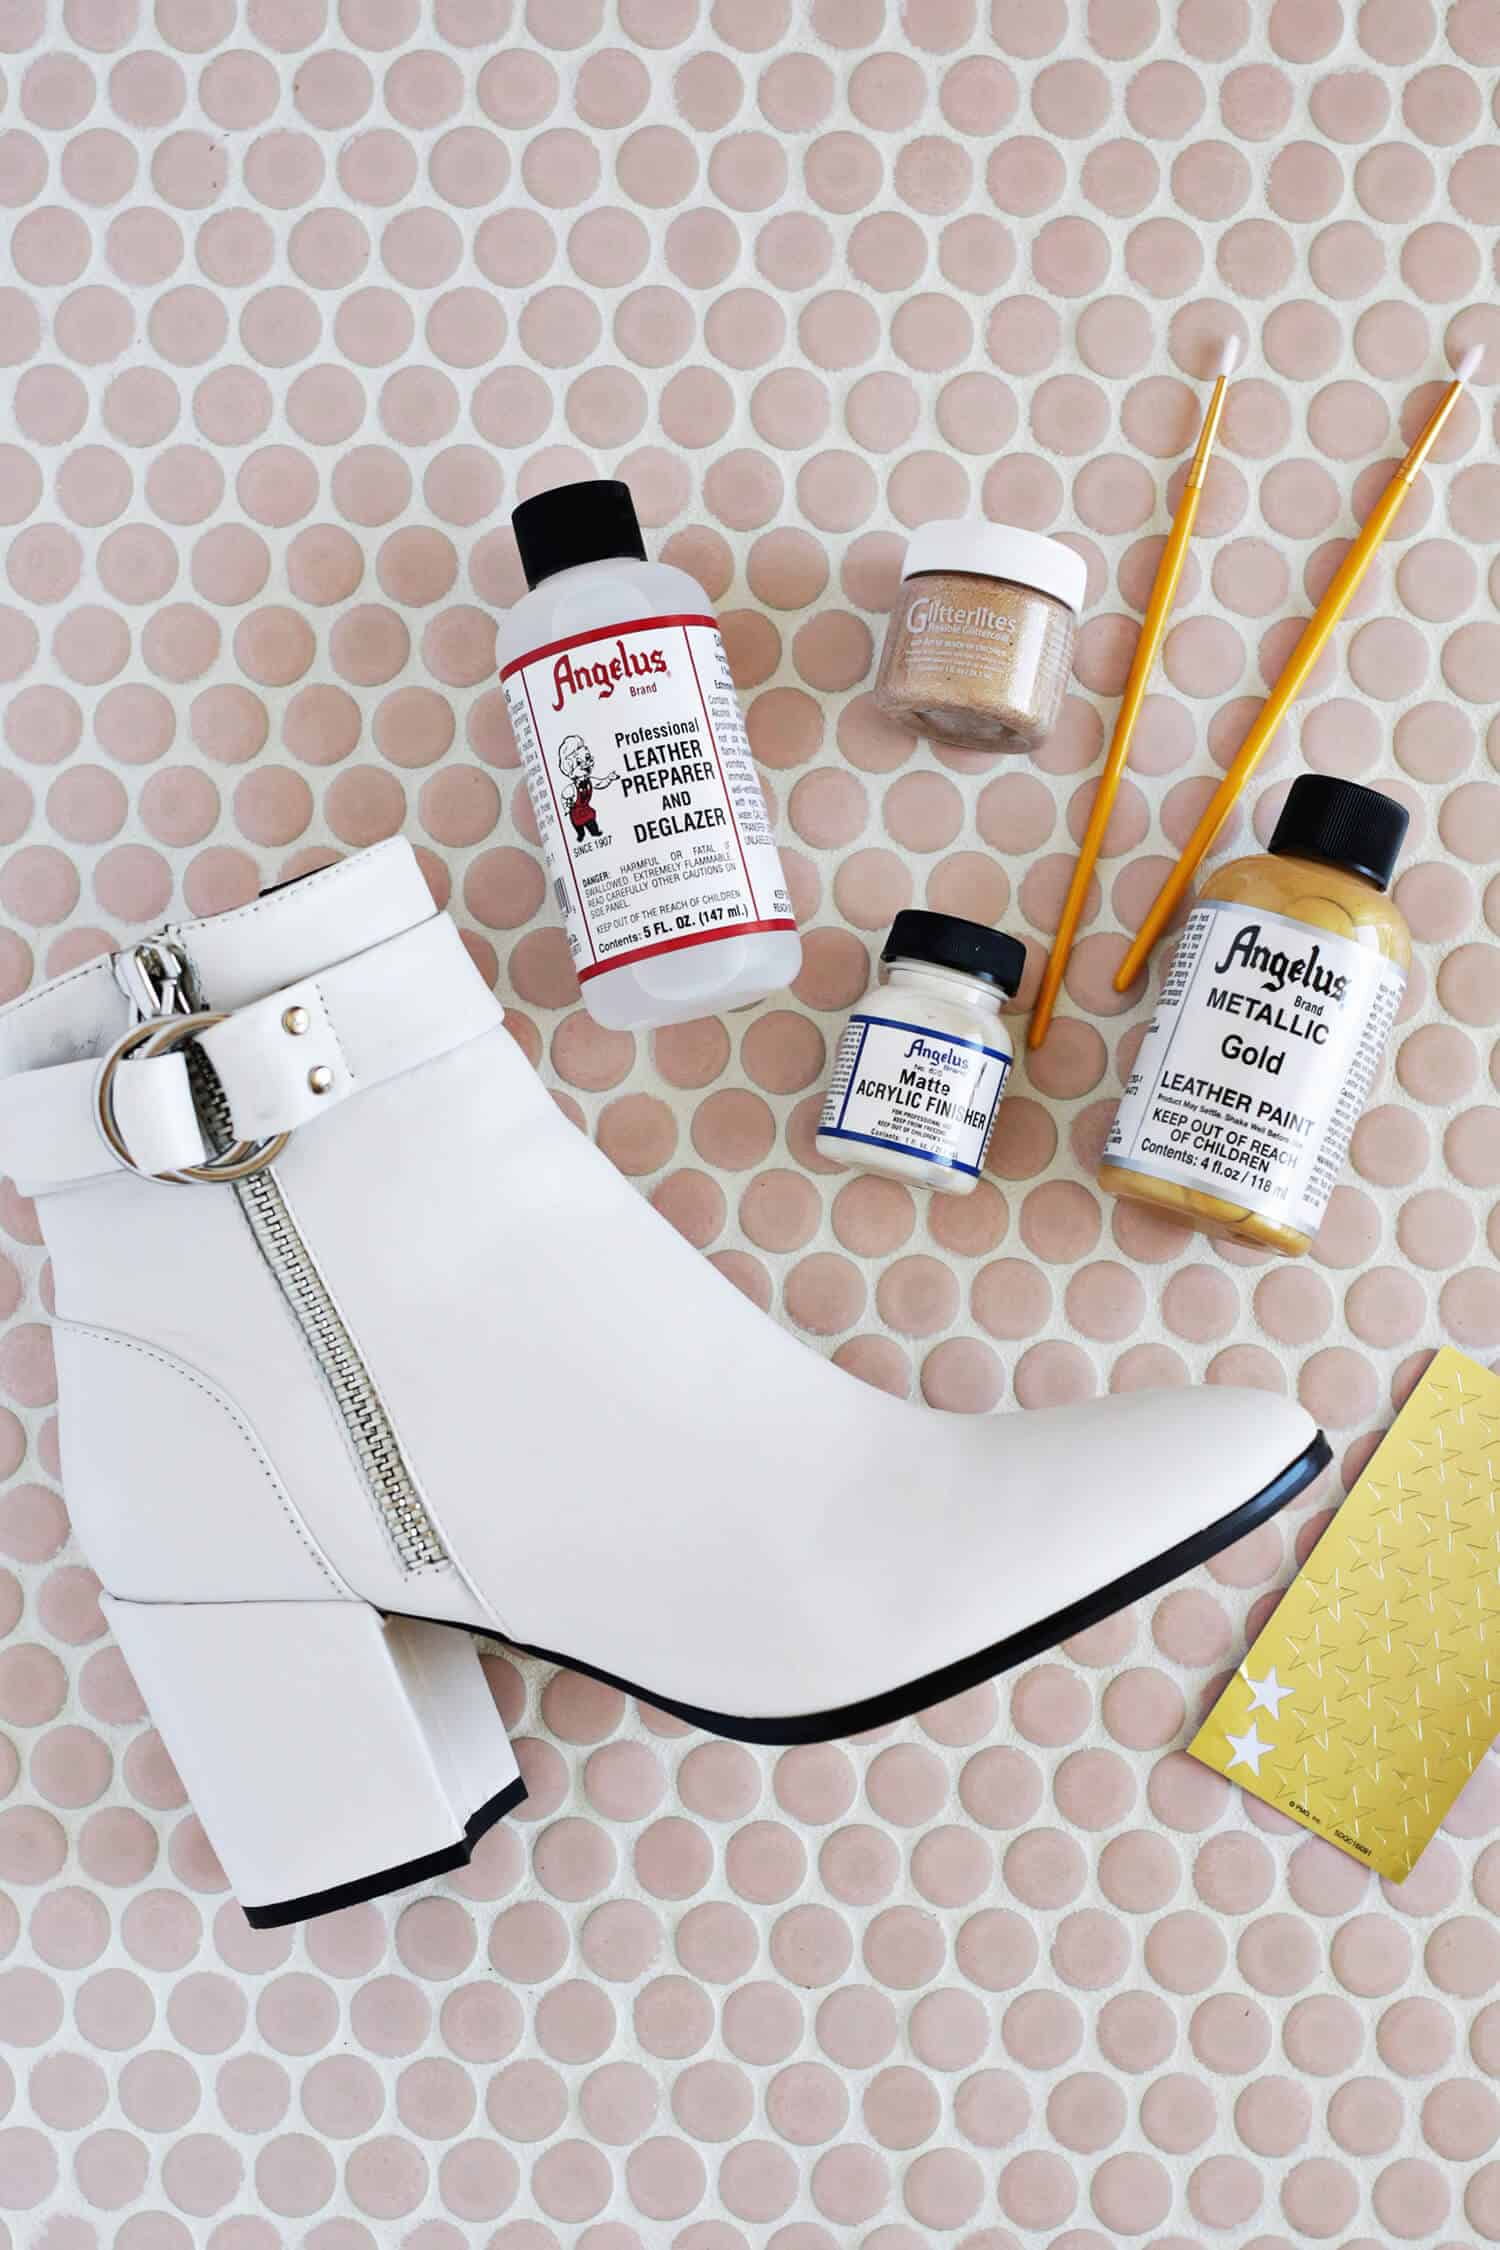
Supplies:
–gold leather paint
–leather deglazer
-small paintbrush
–matte acrylic finisher
–gold glitter paint
–star stickers
-yellow colored pencil to mark light leather and a white marking pen for darker leather
-cotton balls/pads or soft rag
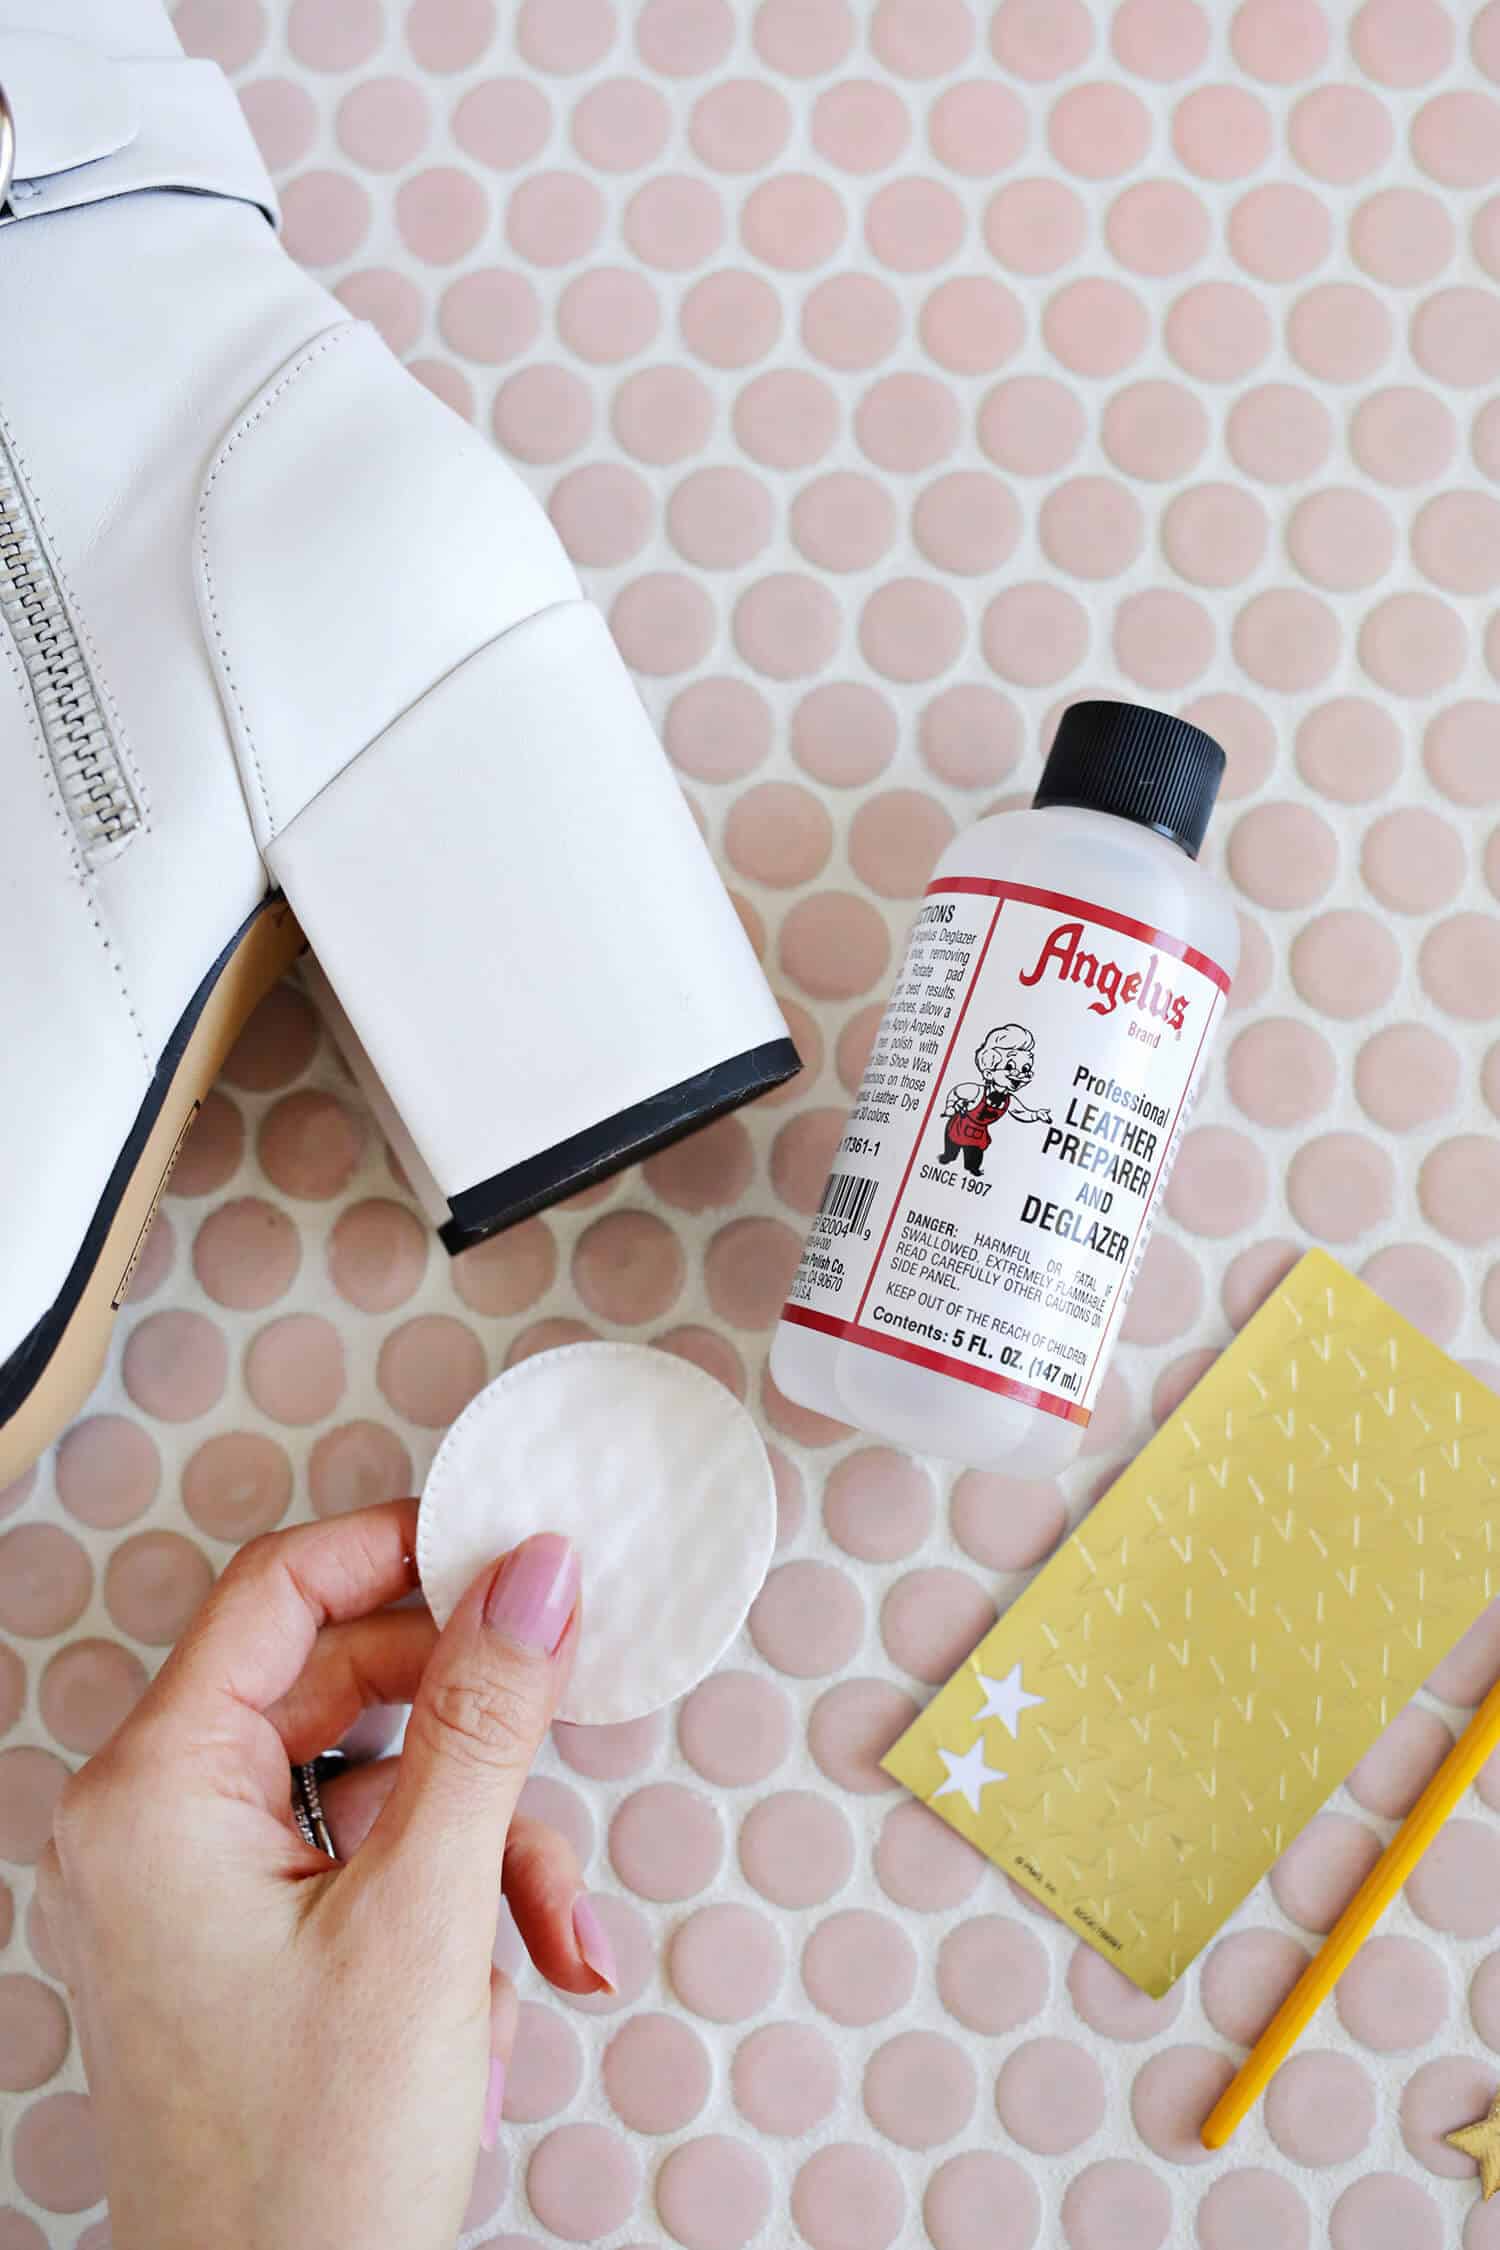 First, you can use a leather deglazer and prepper to remove any glaze that may have been applied on top of your leather so your paint will stick better to the leather. HOWEVER, some leather shoes may have been finished with a different kind of finisher that will melt if you try to remove it with a deglazer and, unfortunately, you can’t tell just by looking at the shoe which kind of glaze was used. SO you can either test the deglazer on a small hidden part of the shoe to see how it reacts, or you can skip the deglazer and just apply the leather paint on top of the shoe. I saw that my leather wasn’t reacting well to the deglazer when I tested it, so I just put the paint directly on top and it adhered really well.
 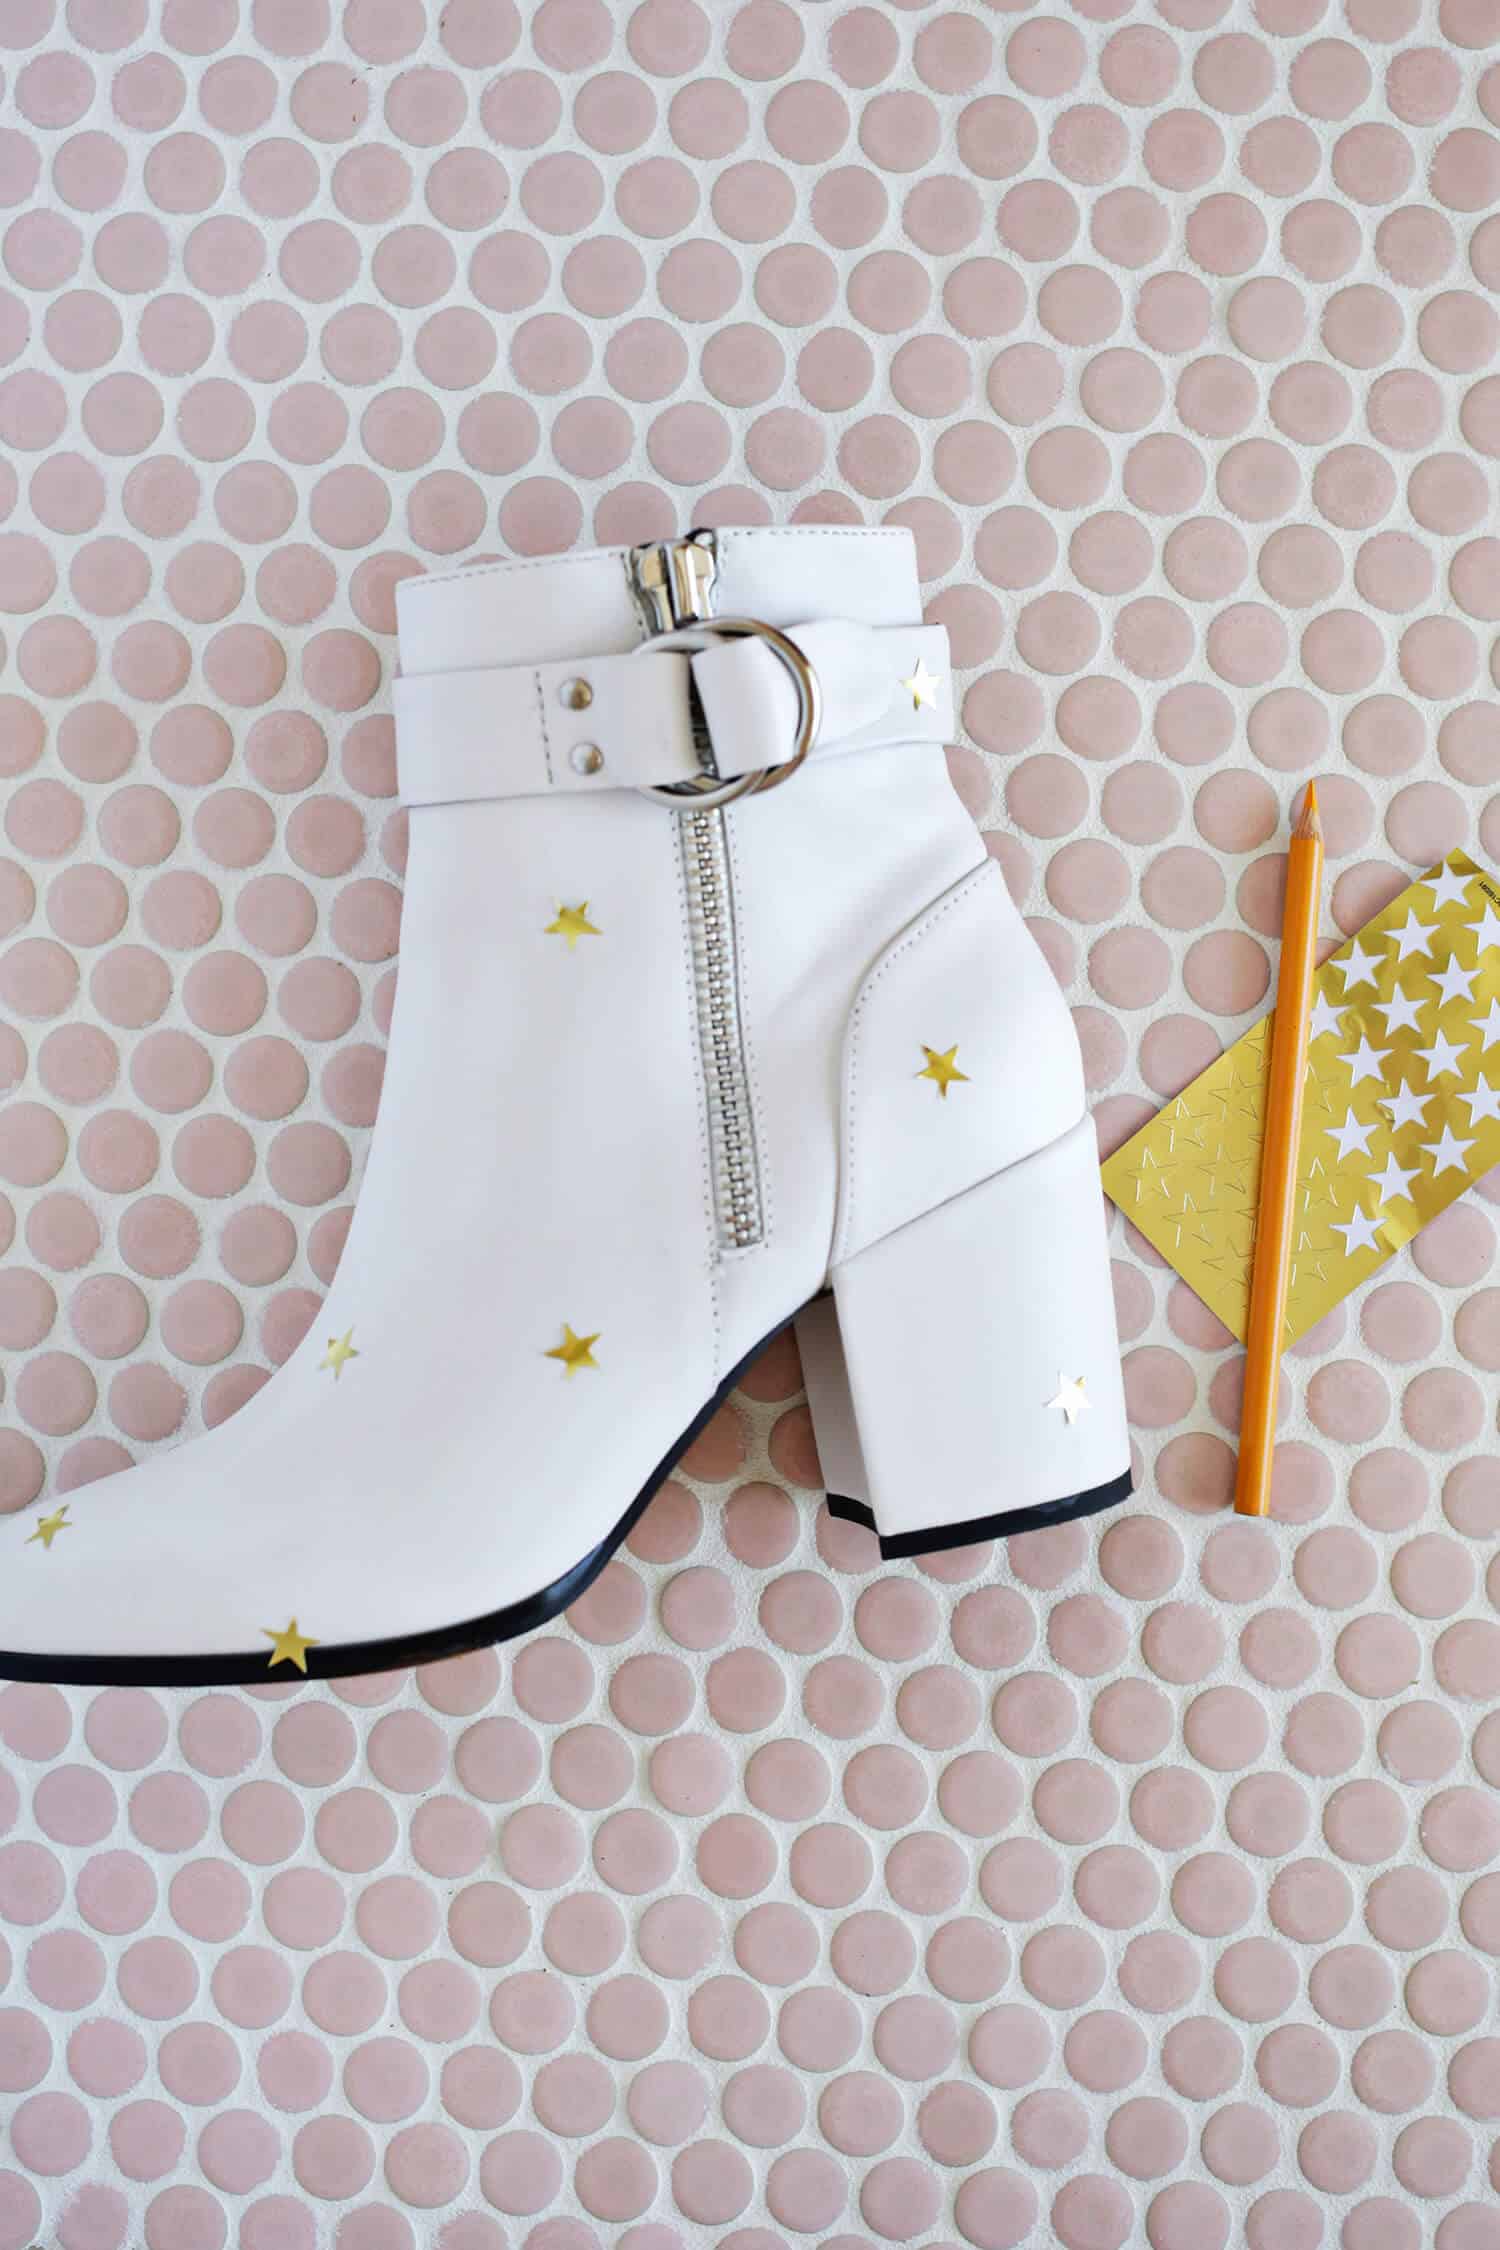 Once you are done prepping your leather if you choose to, place your star stickers all around your shoes in whatever pattern you like! You can use bigger or smaller stickers or mix sizes, and you can also cut stickers in half if you want to place them right on the edge of the boot so it looks like the pattern goes all the way to the edge. Next, take a yellow colored pencil or white marking pen and trace around each star sticker so you know where to fill in with your leather paint.
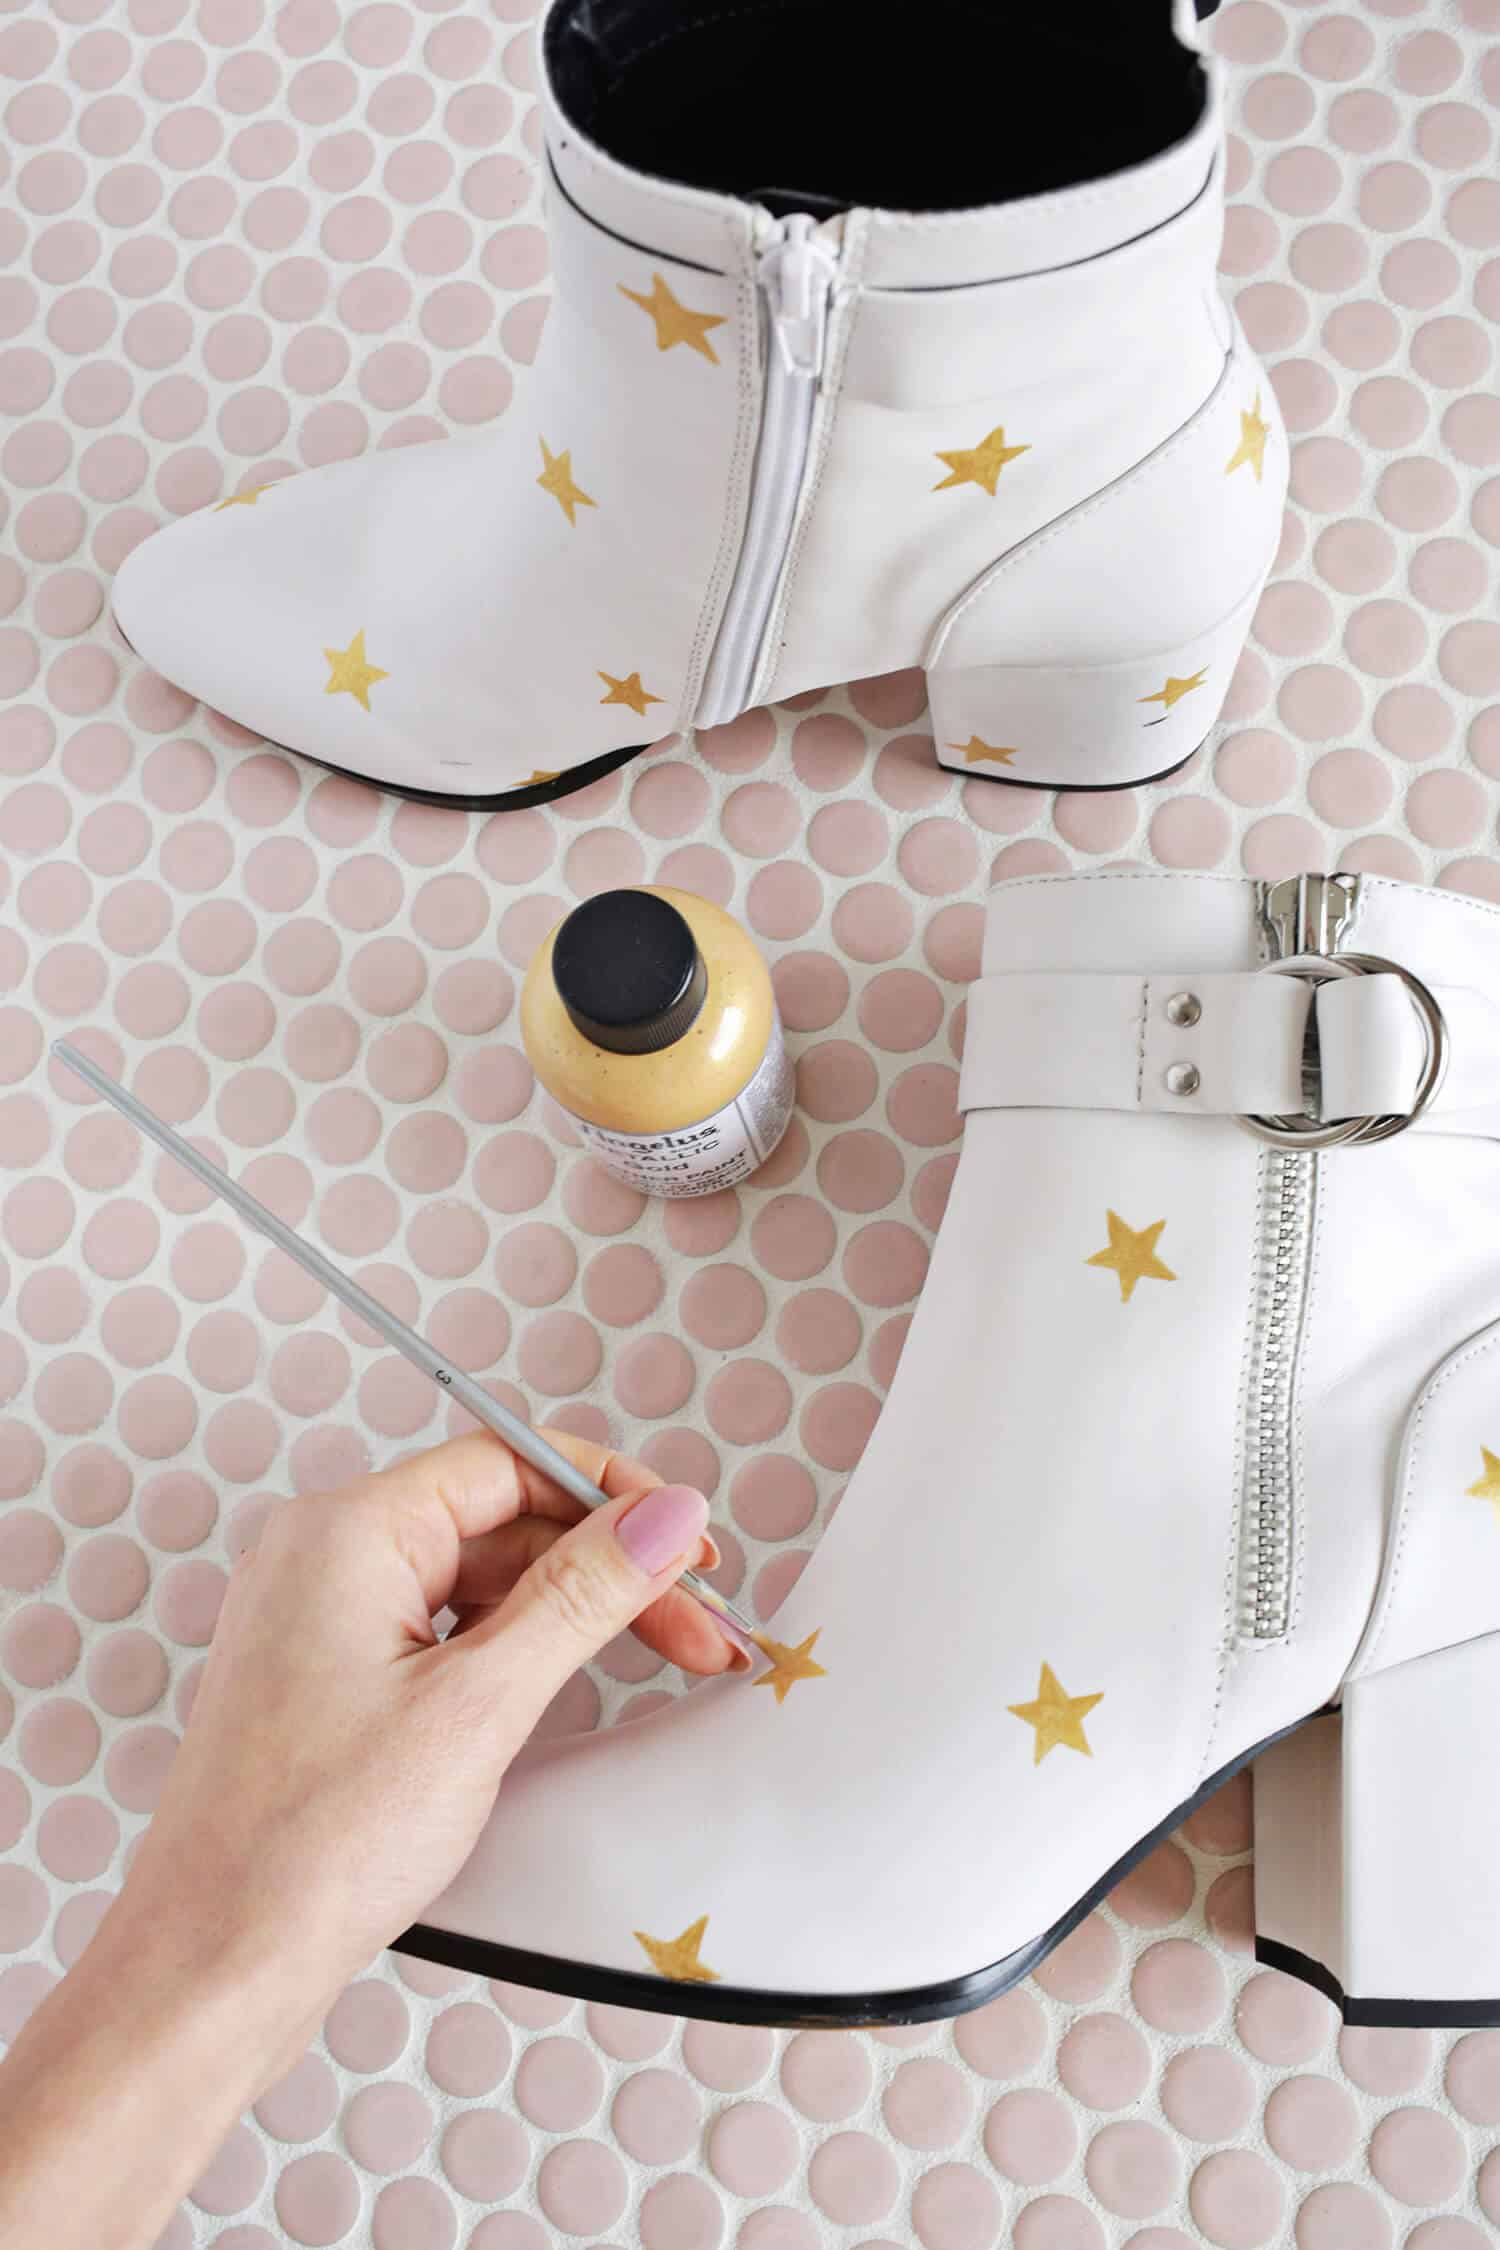 Remove your star stickers and use a small paintbrush to fill in the outline of your stars with a thin coat of paint and allow your paint to dry (it should dry rather quickly). Keep building up thin layers of paint until you have an opacity that you like (I did four coats but three would probably have been fine).
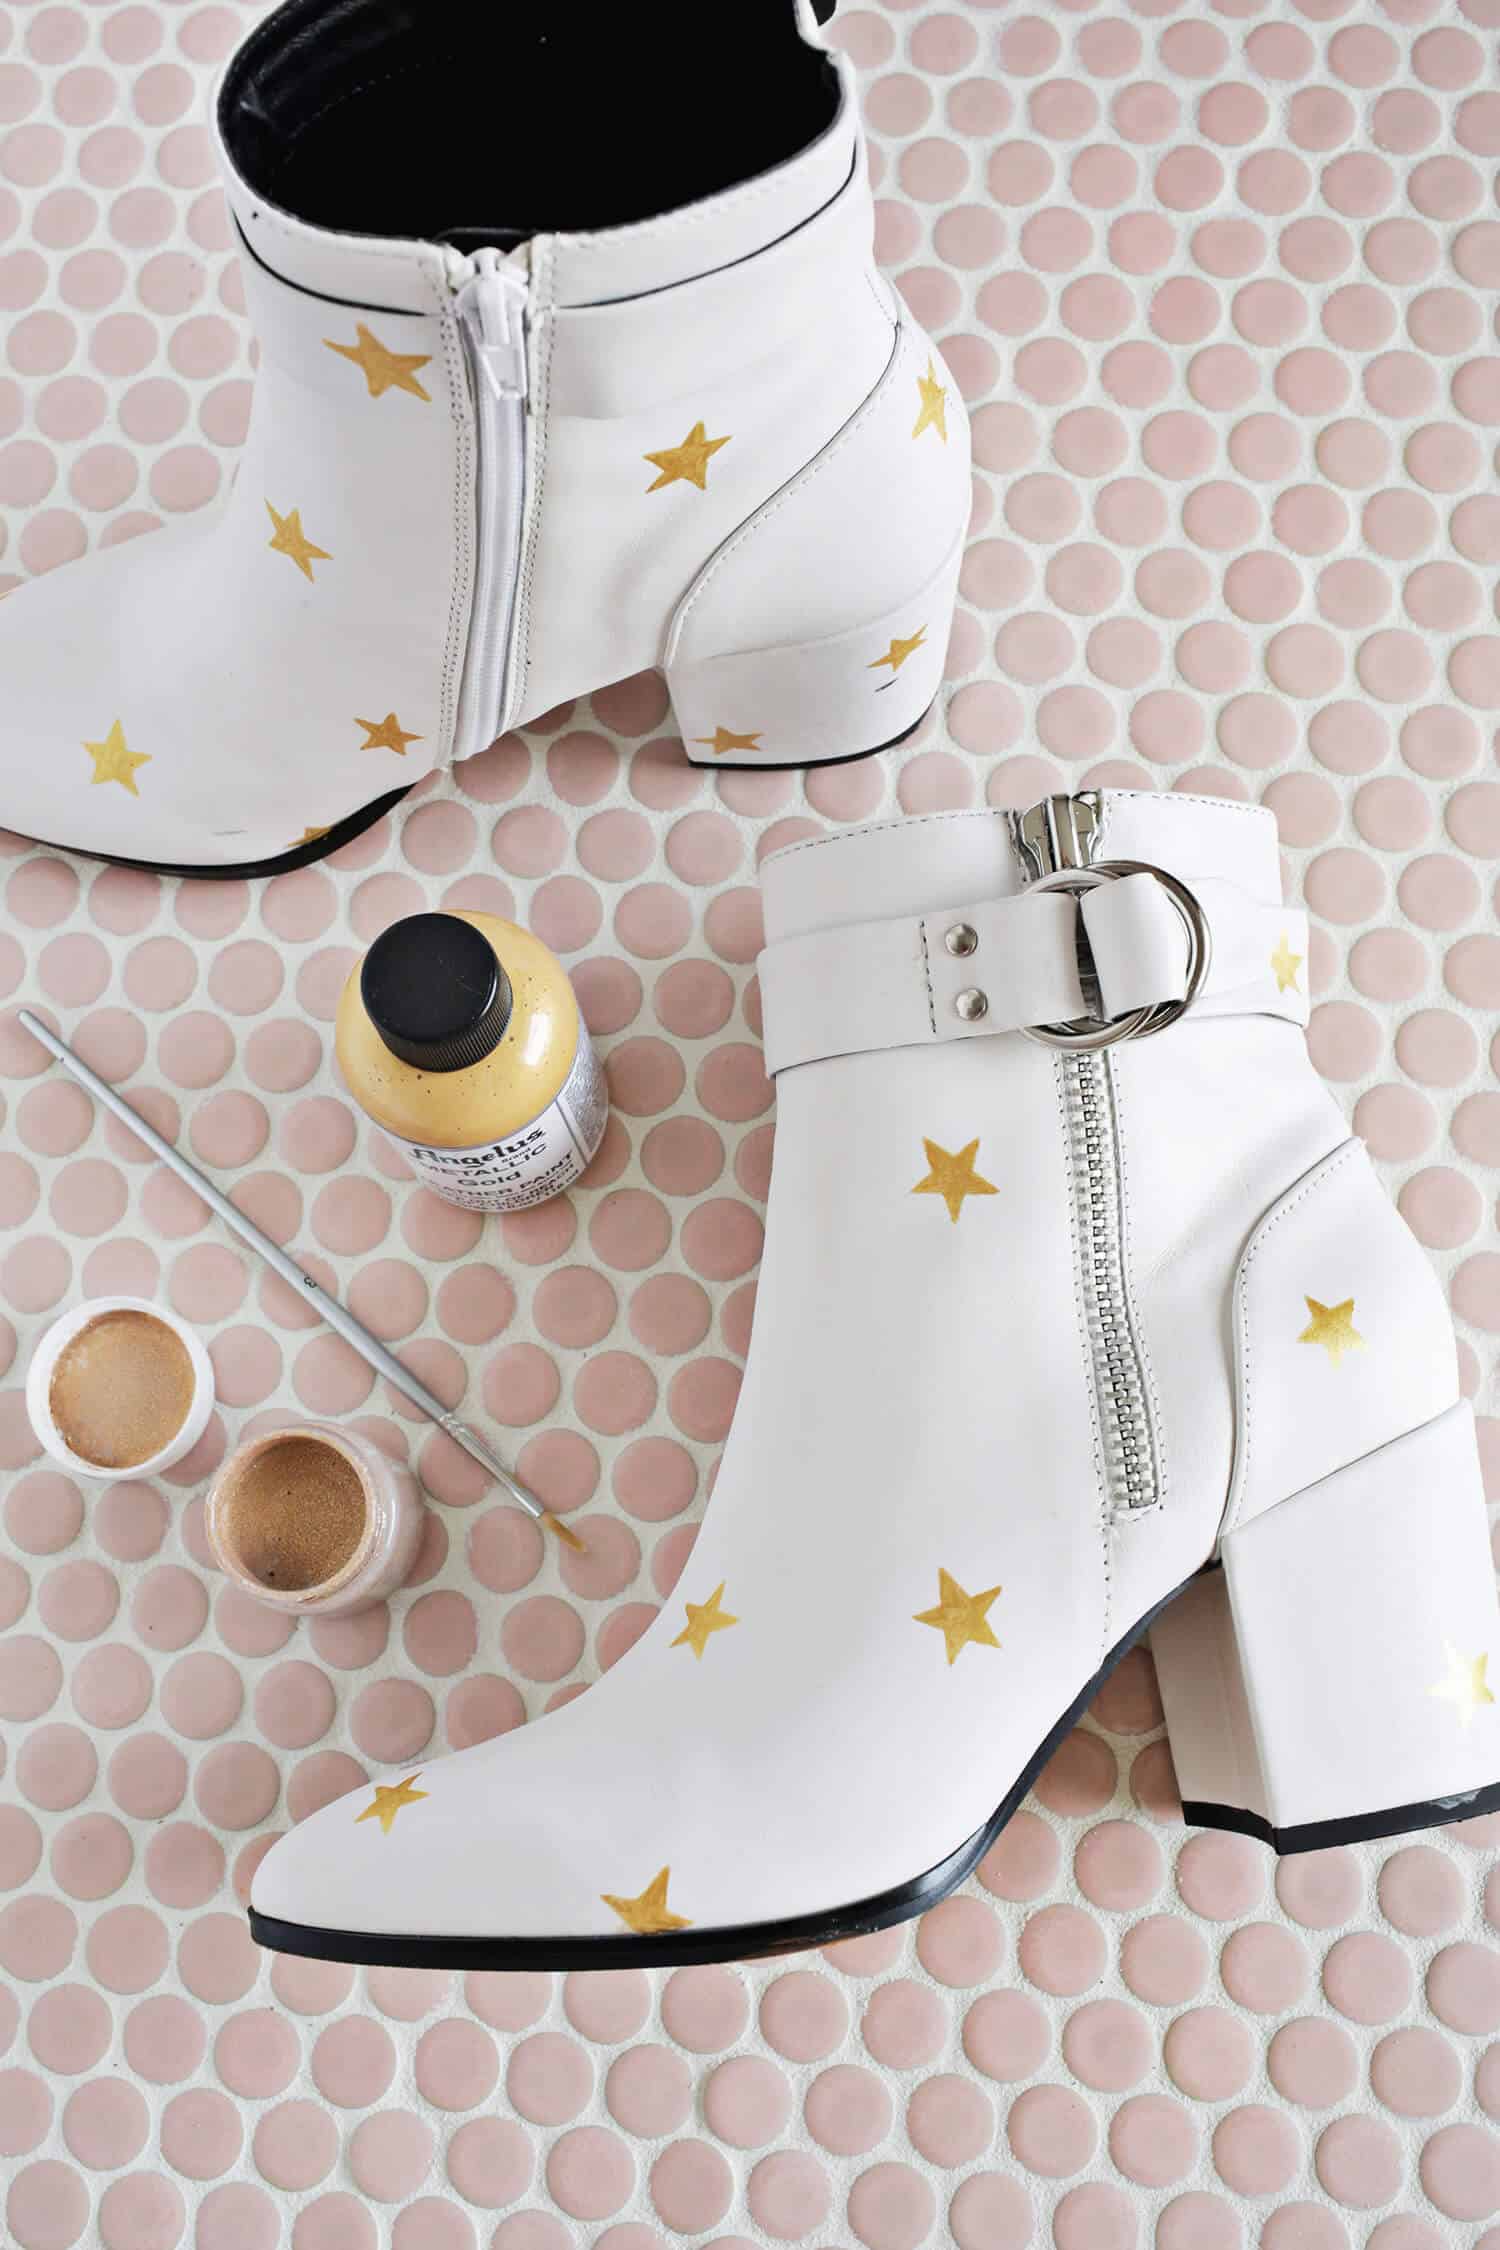
 Once you have your layers painted and dried, paint 2-3 coats of a gold glitter paint on top of your stars with dry time in between each coat.
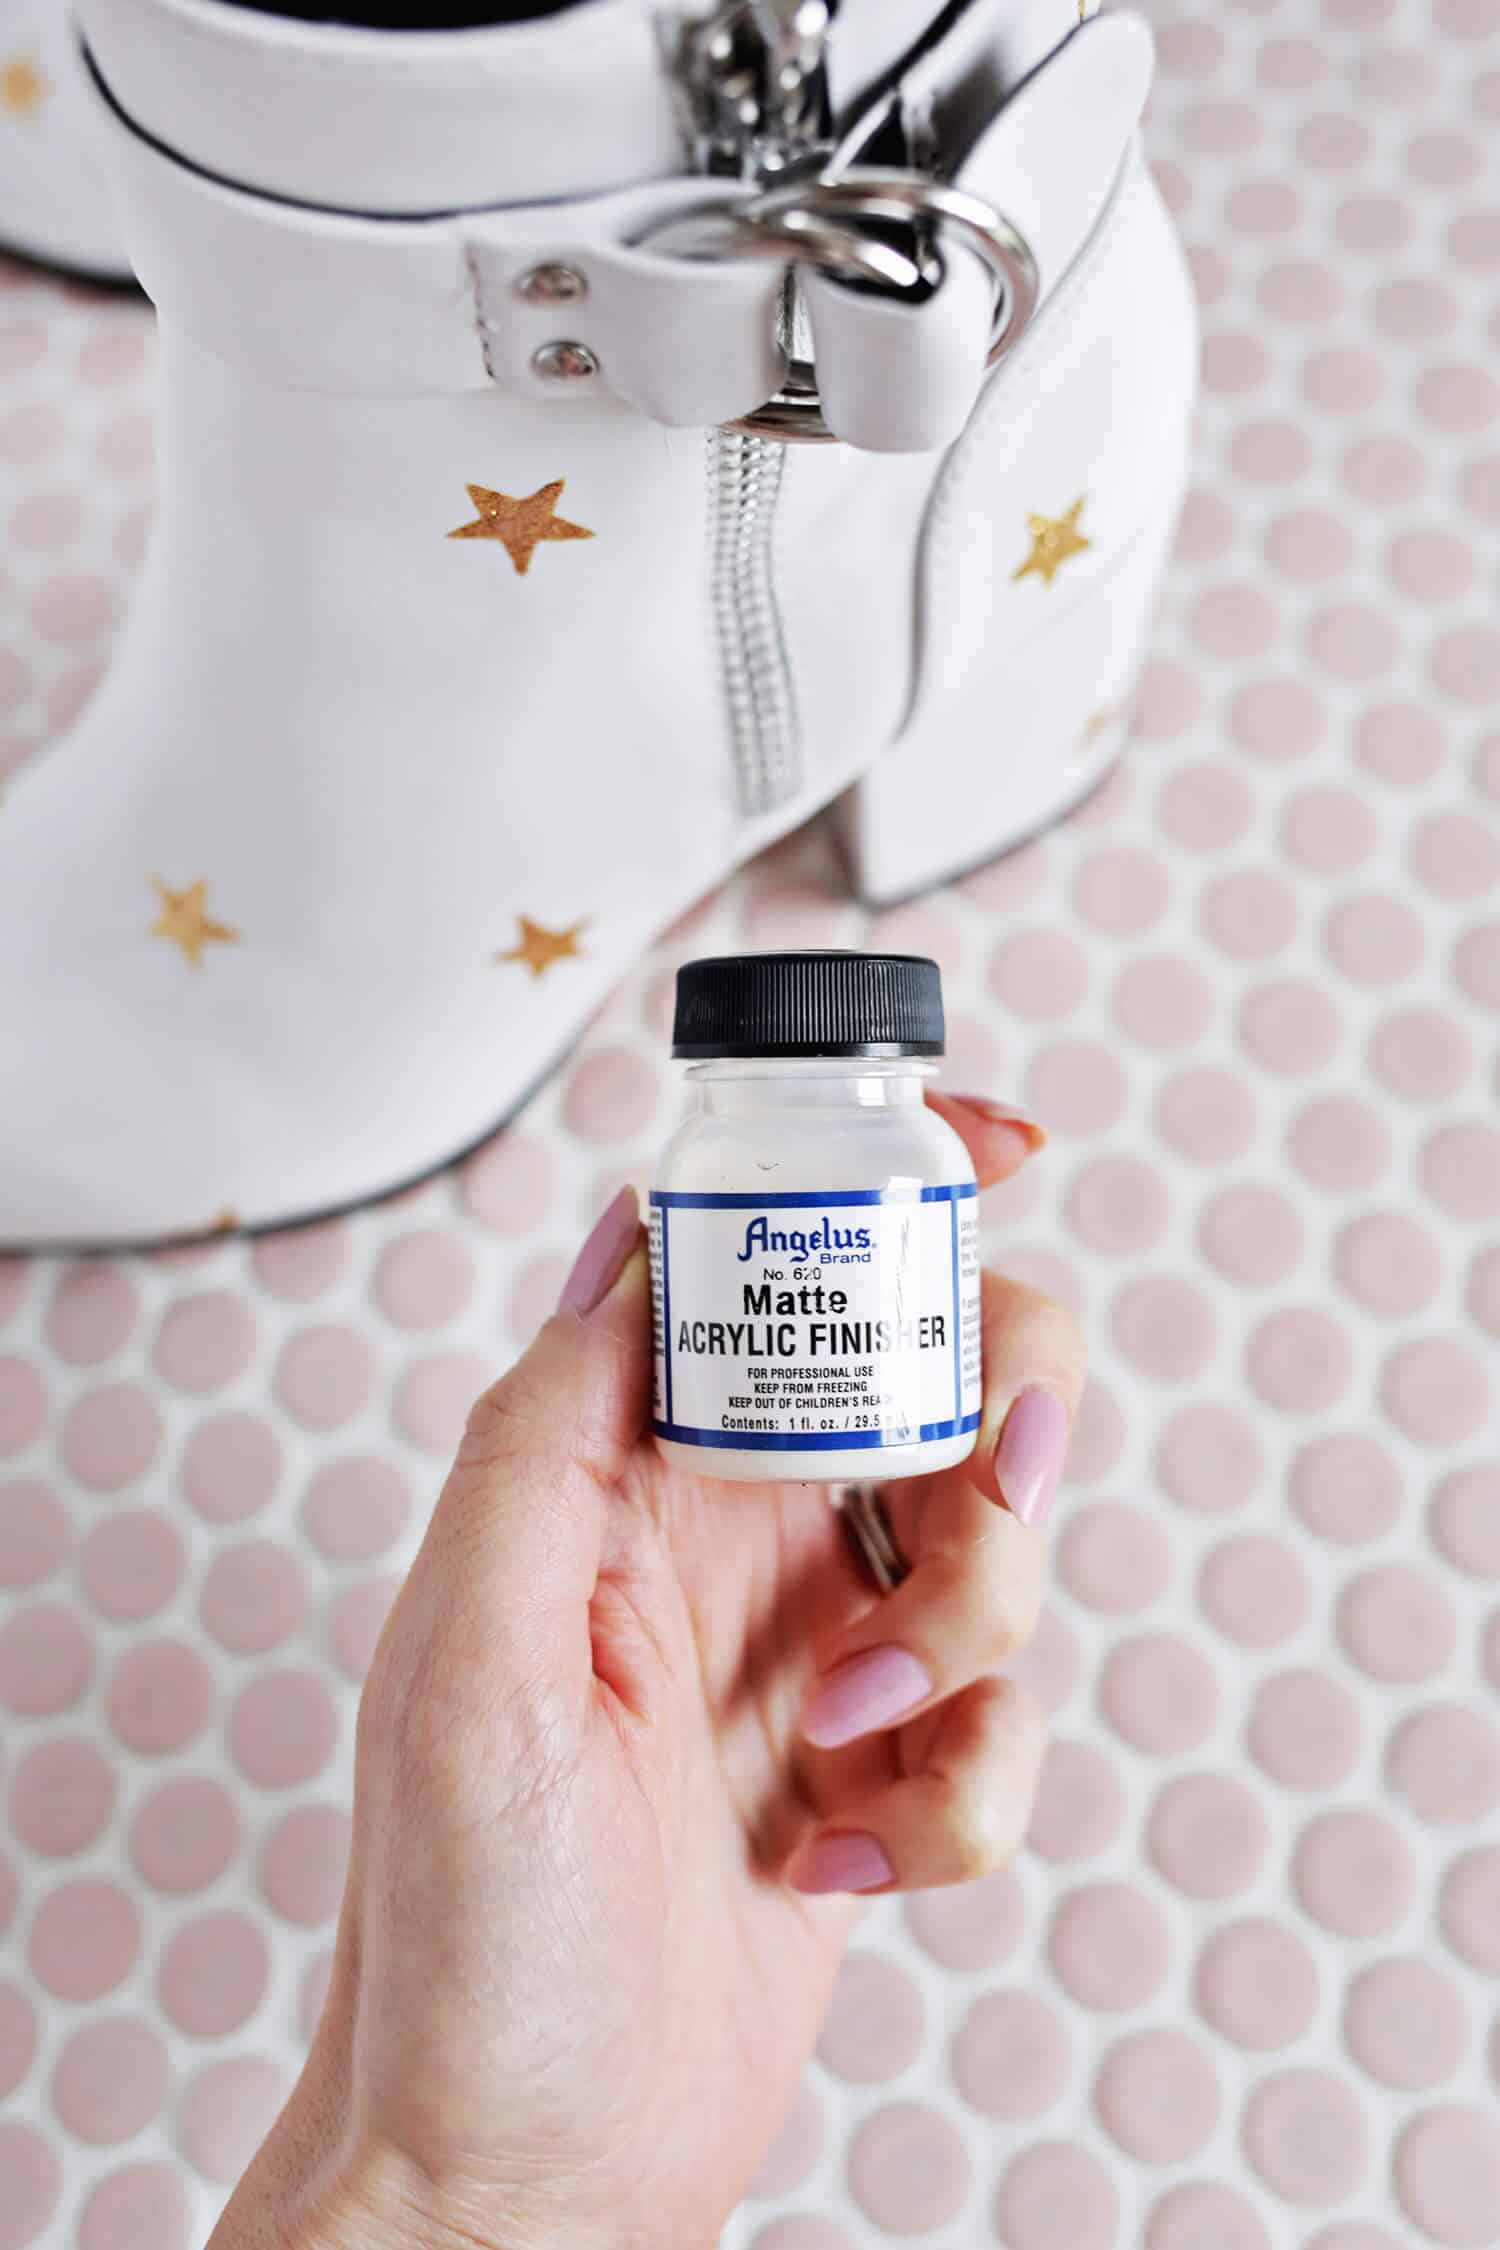
To finish your shoes, use a rag and an acrylic finisher to seal your shoes, let it dry, and you’re ready to wear your creation out on the town! 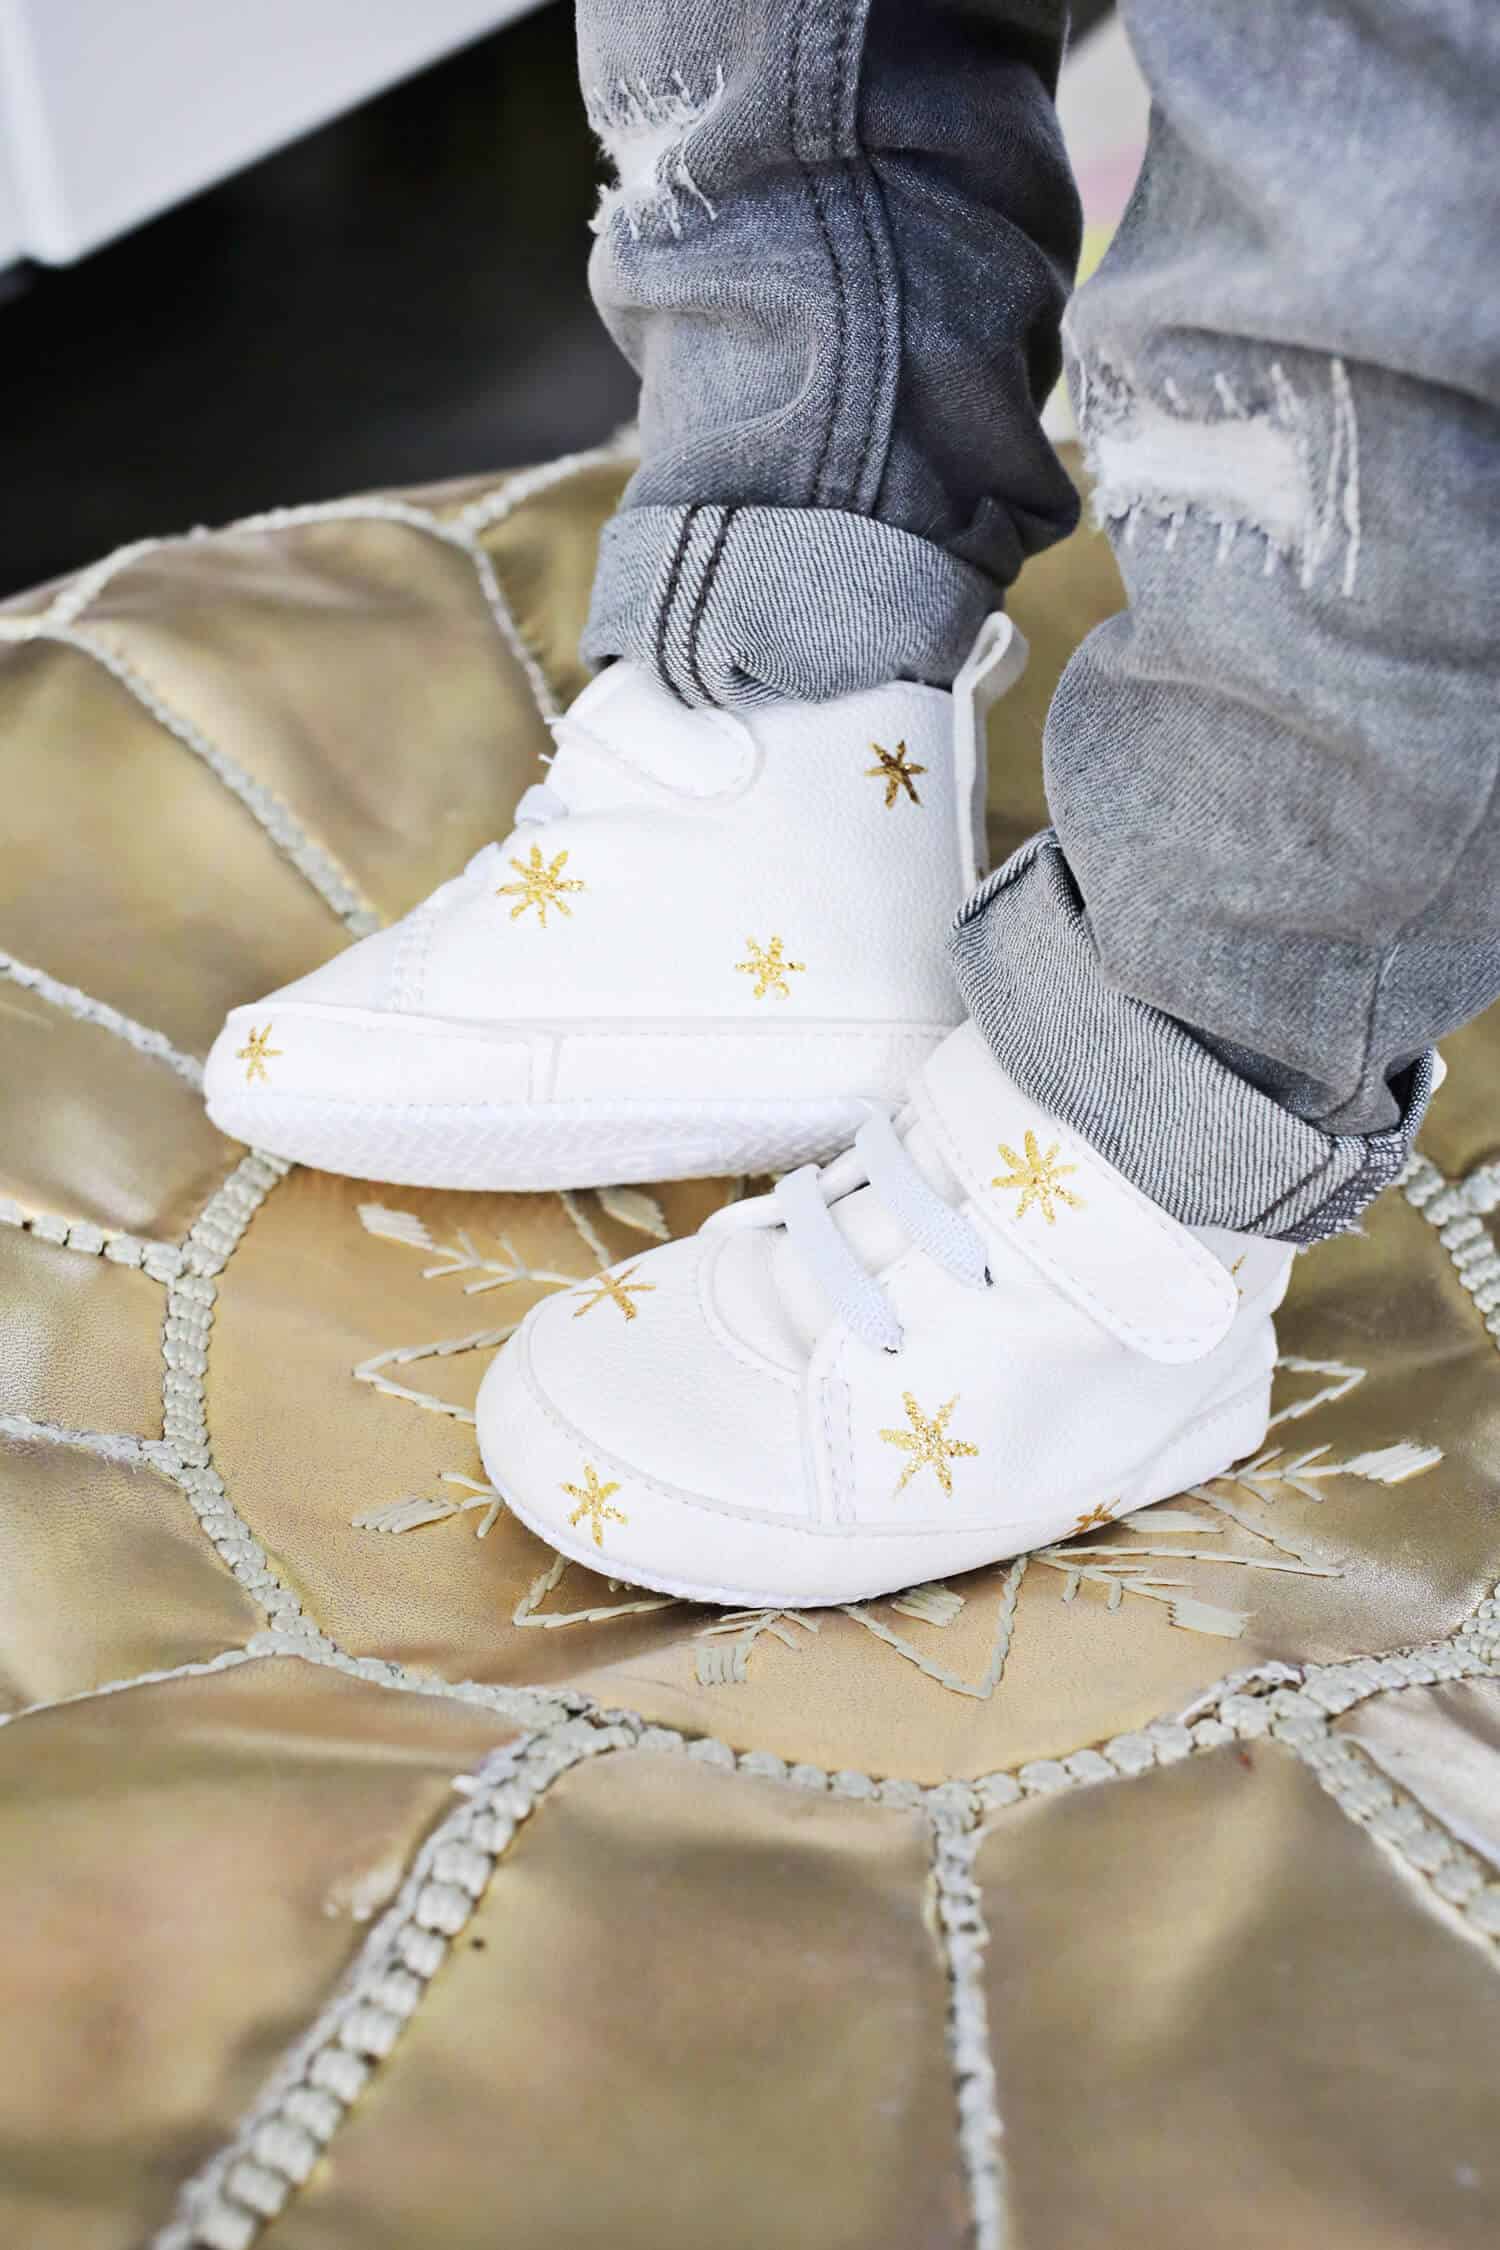 Since the paints that I linked are non-toxic, this could also be a cute idea to use on kid’s shoes as well (just skip the delazer and finisher for a kid shoe project since those are not listed as non-toxic). Even though the gold and glitter paints are non-toxic, I would suggest not doing this for a baby that’s still in the phase of putting their shoes in their mouth (so just wait until they aren’t interested in that anymore). But this is a super cute way to do a Mommy/Kiddo matching idea.
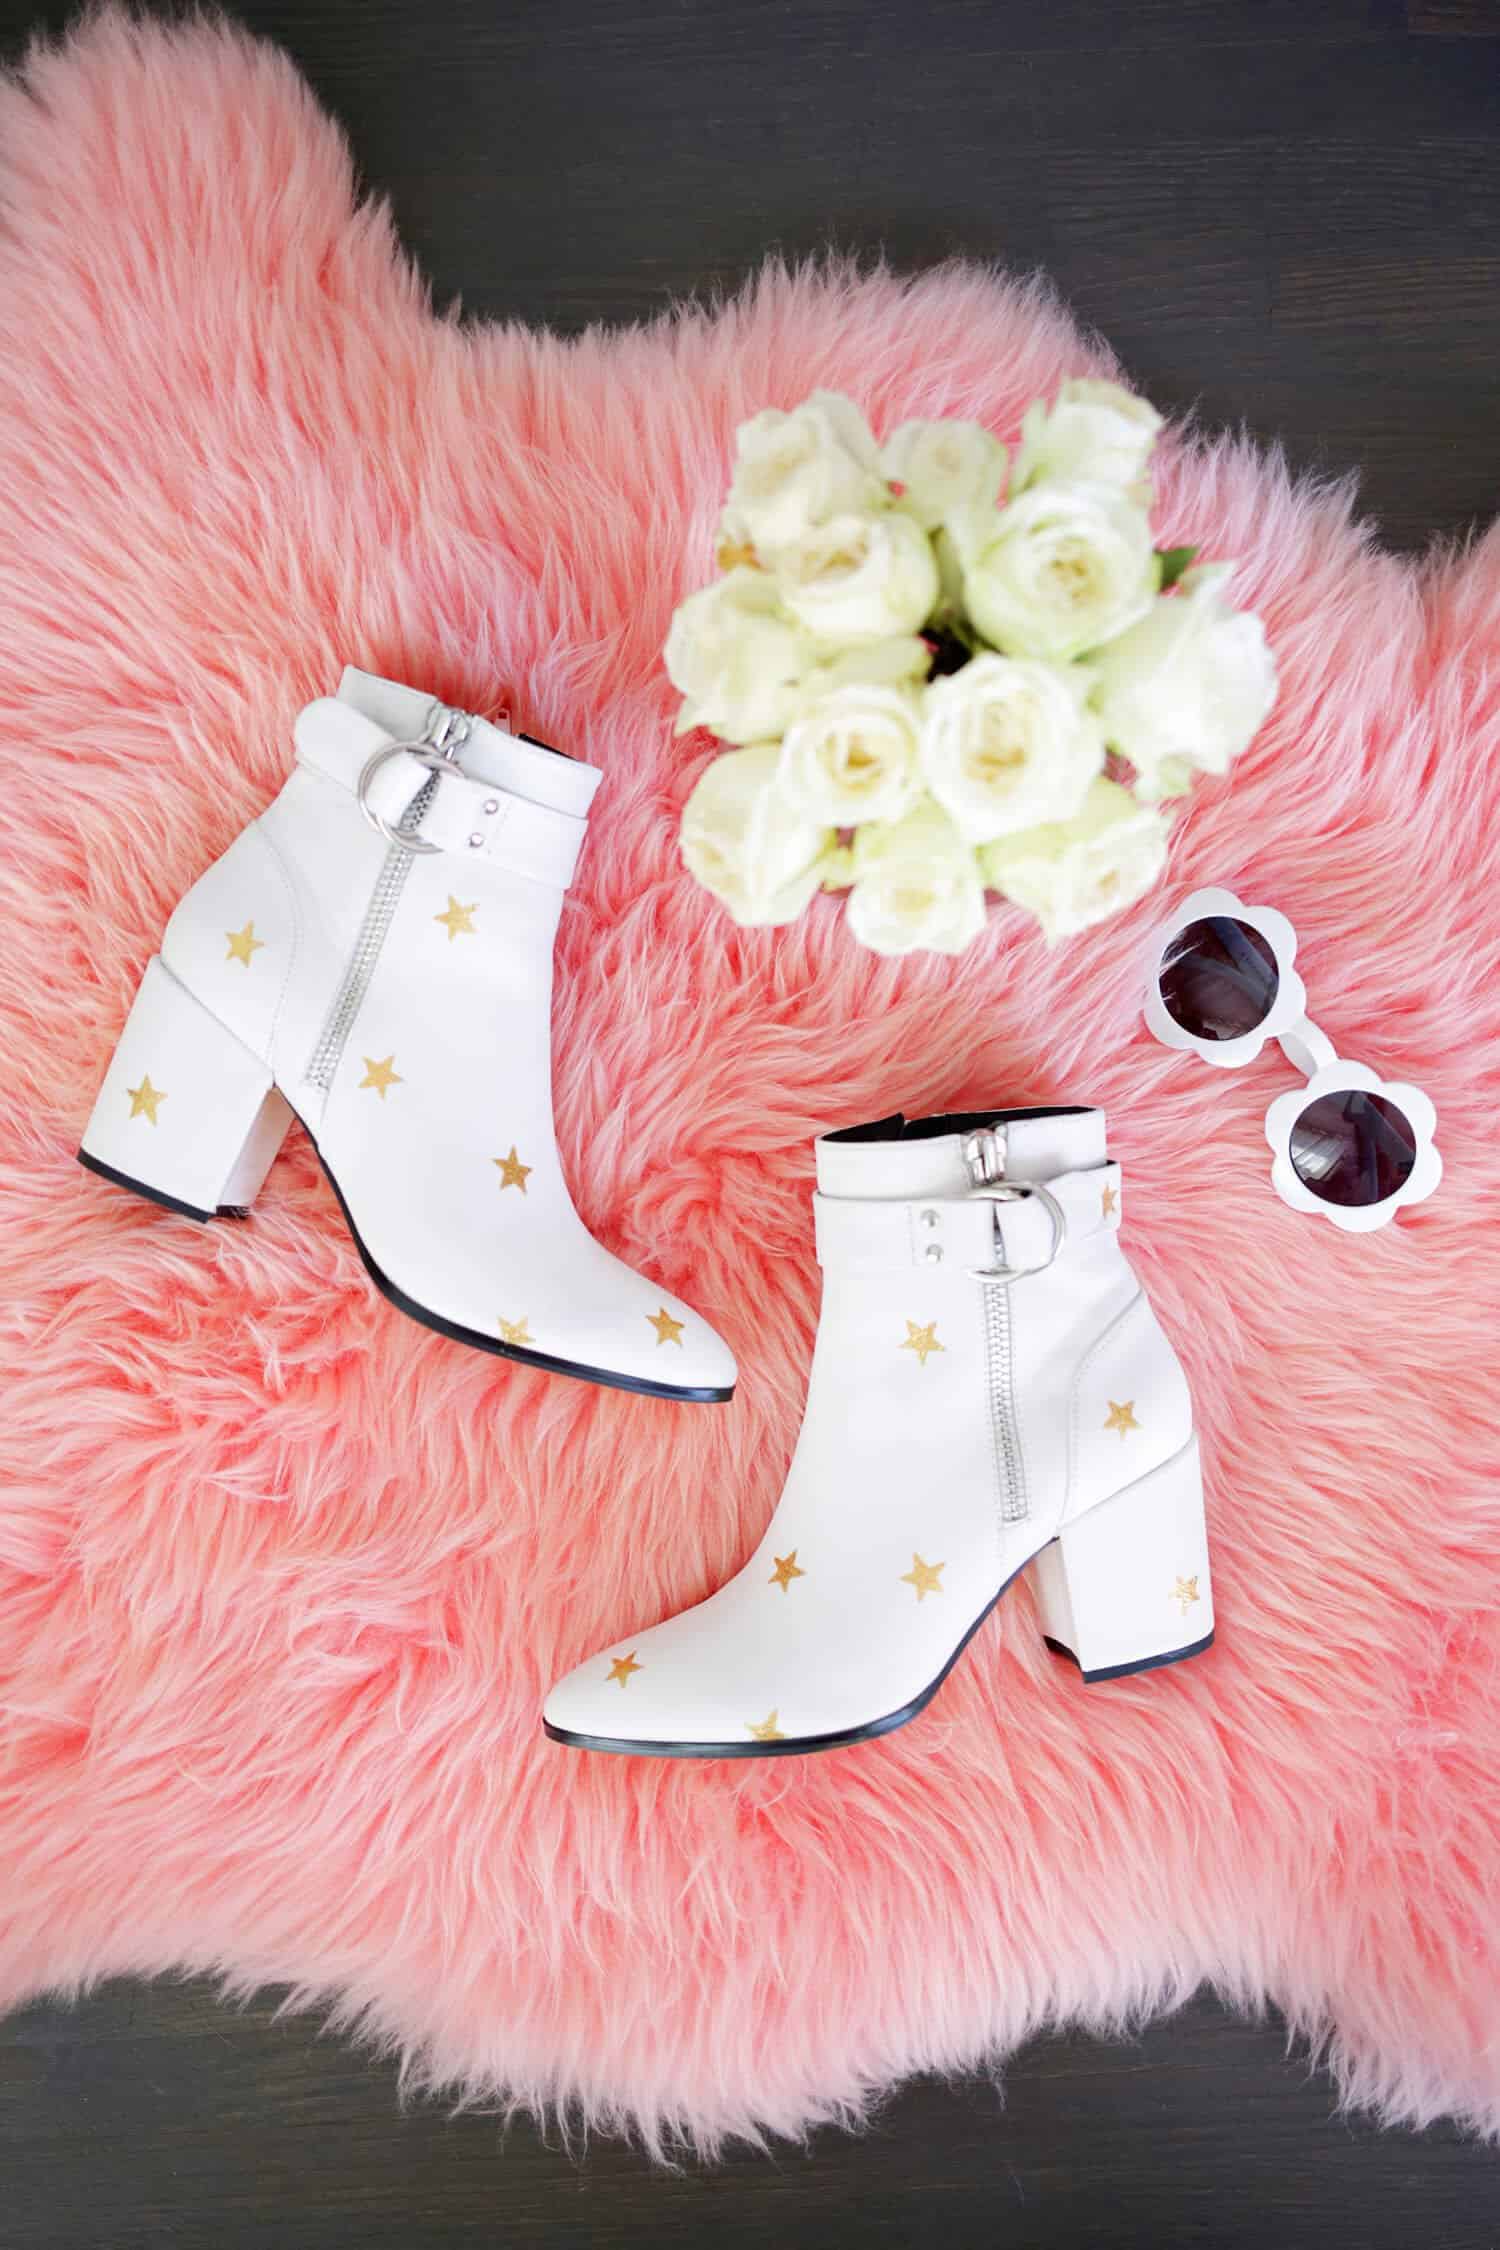
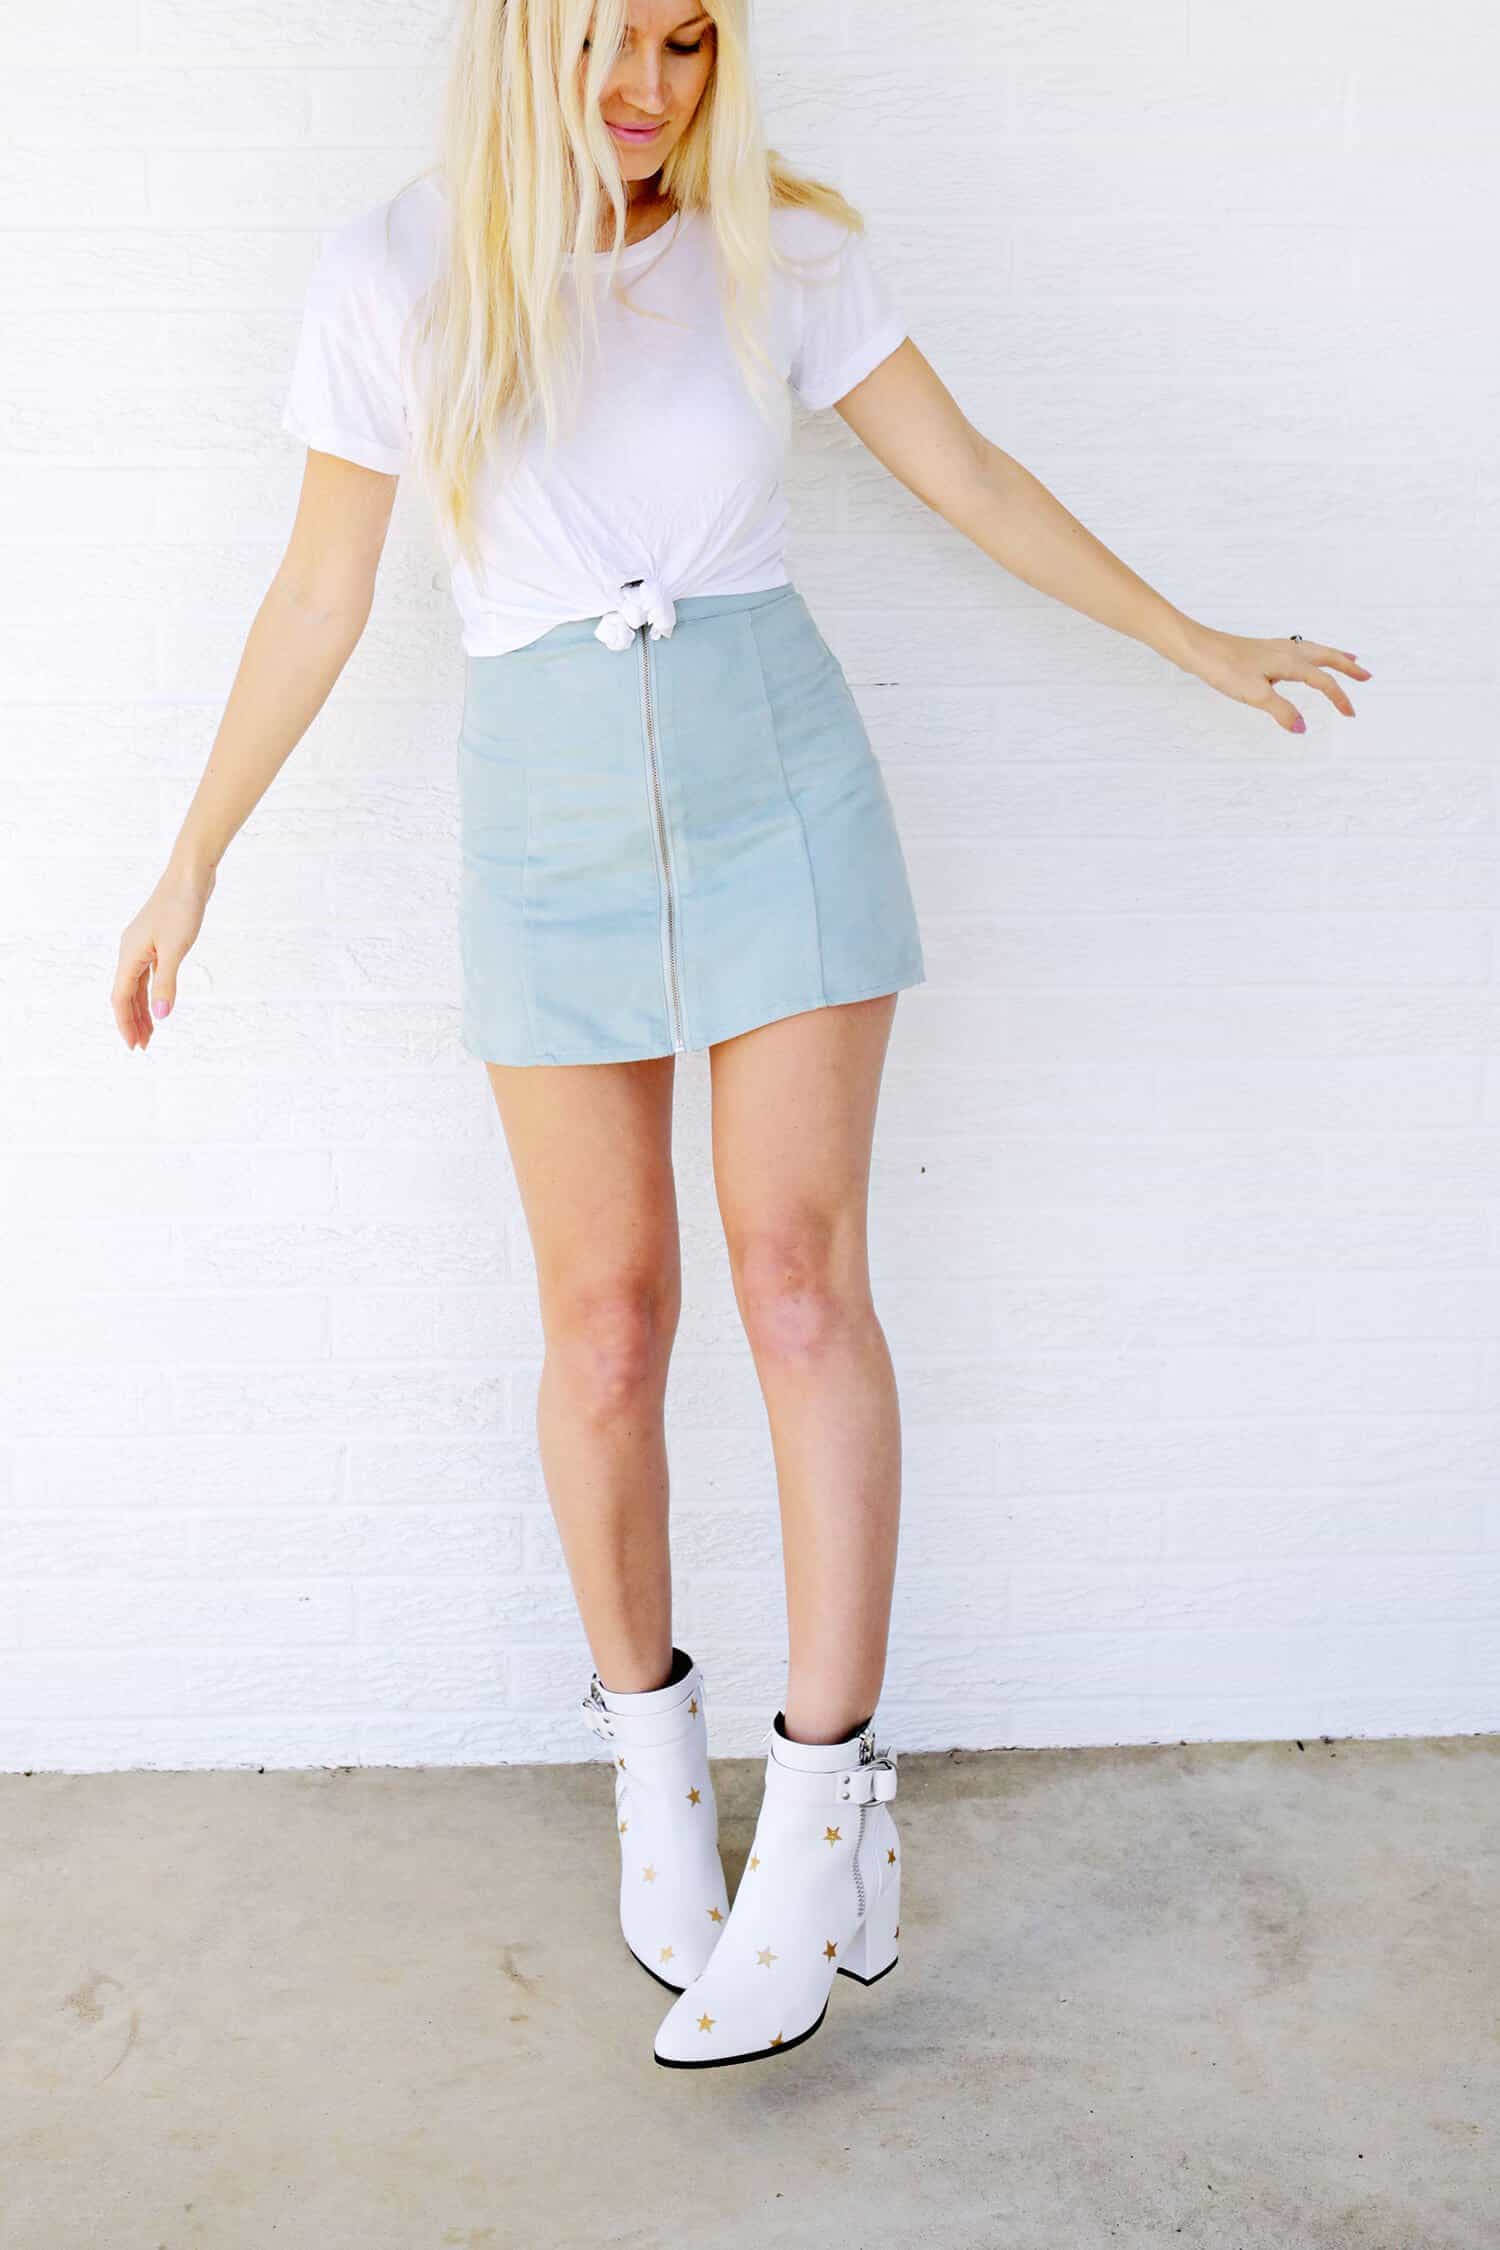
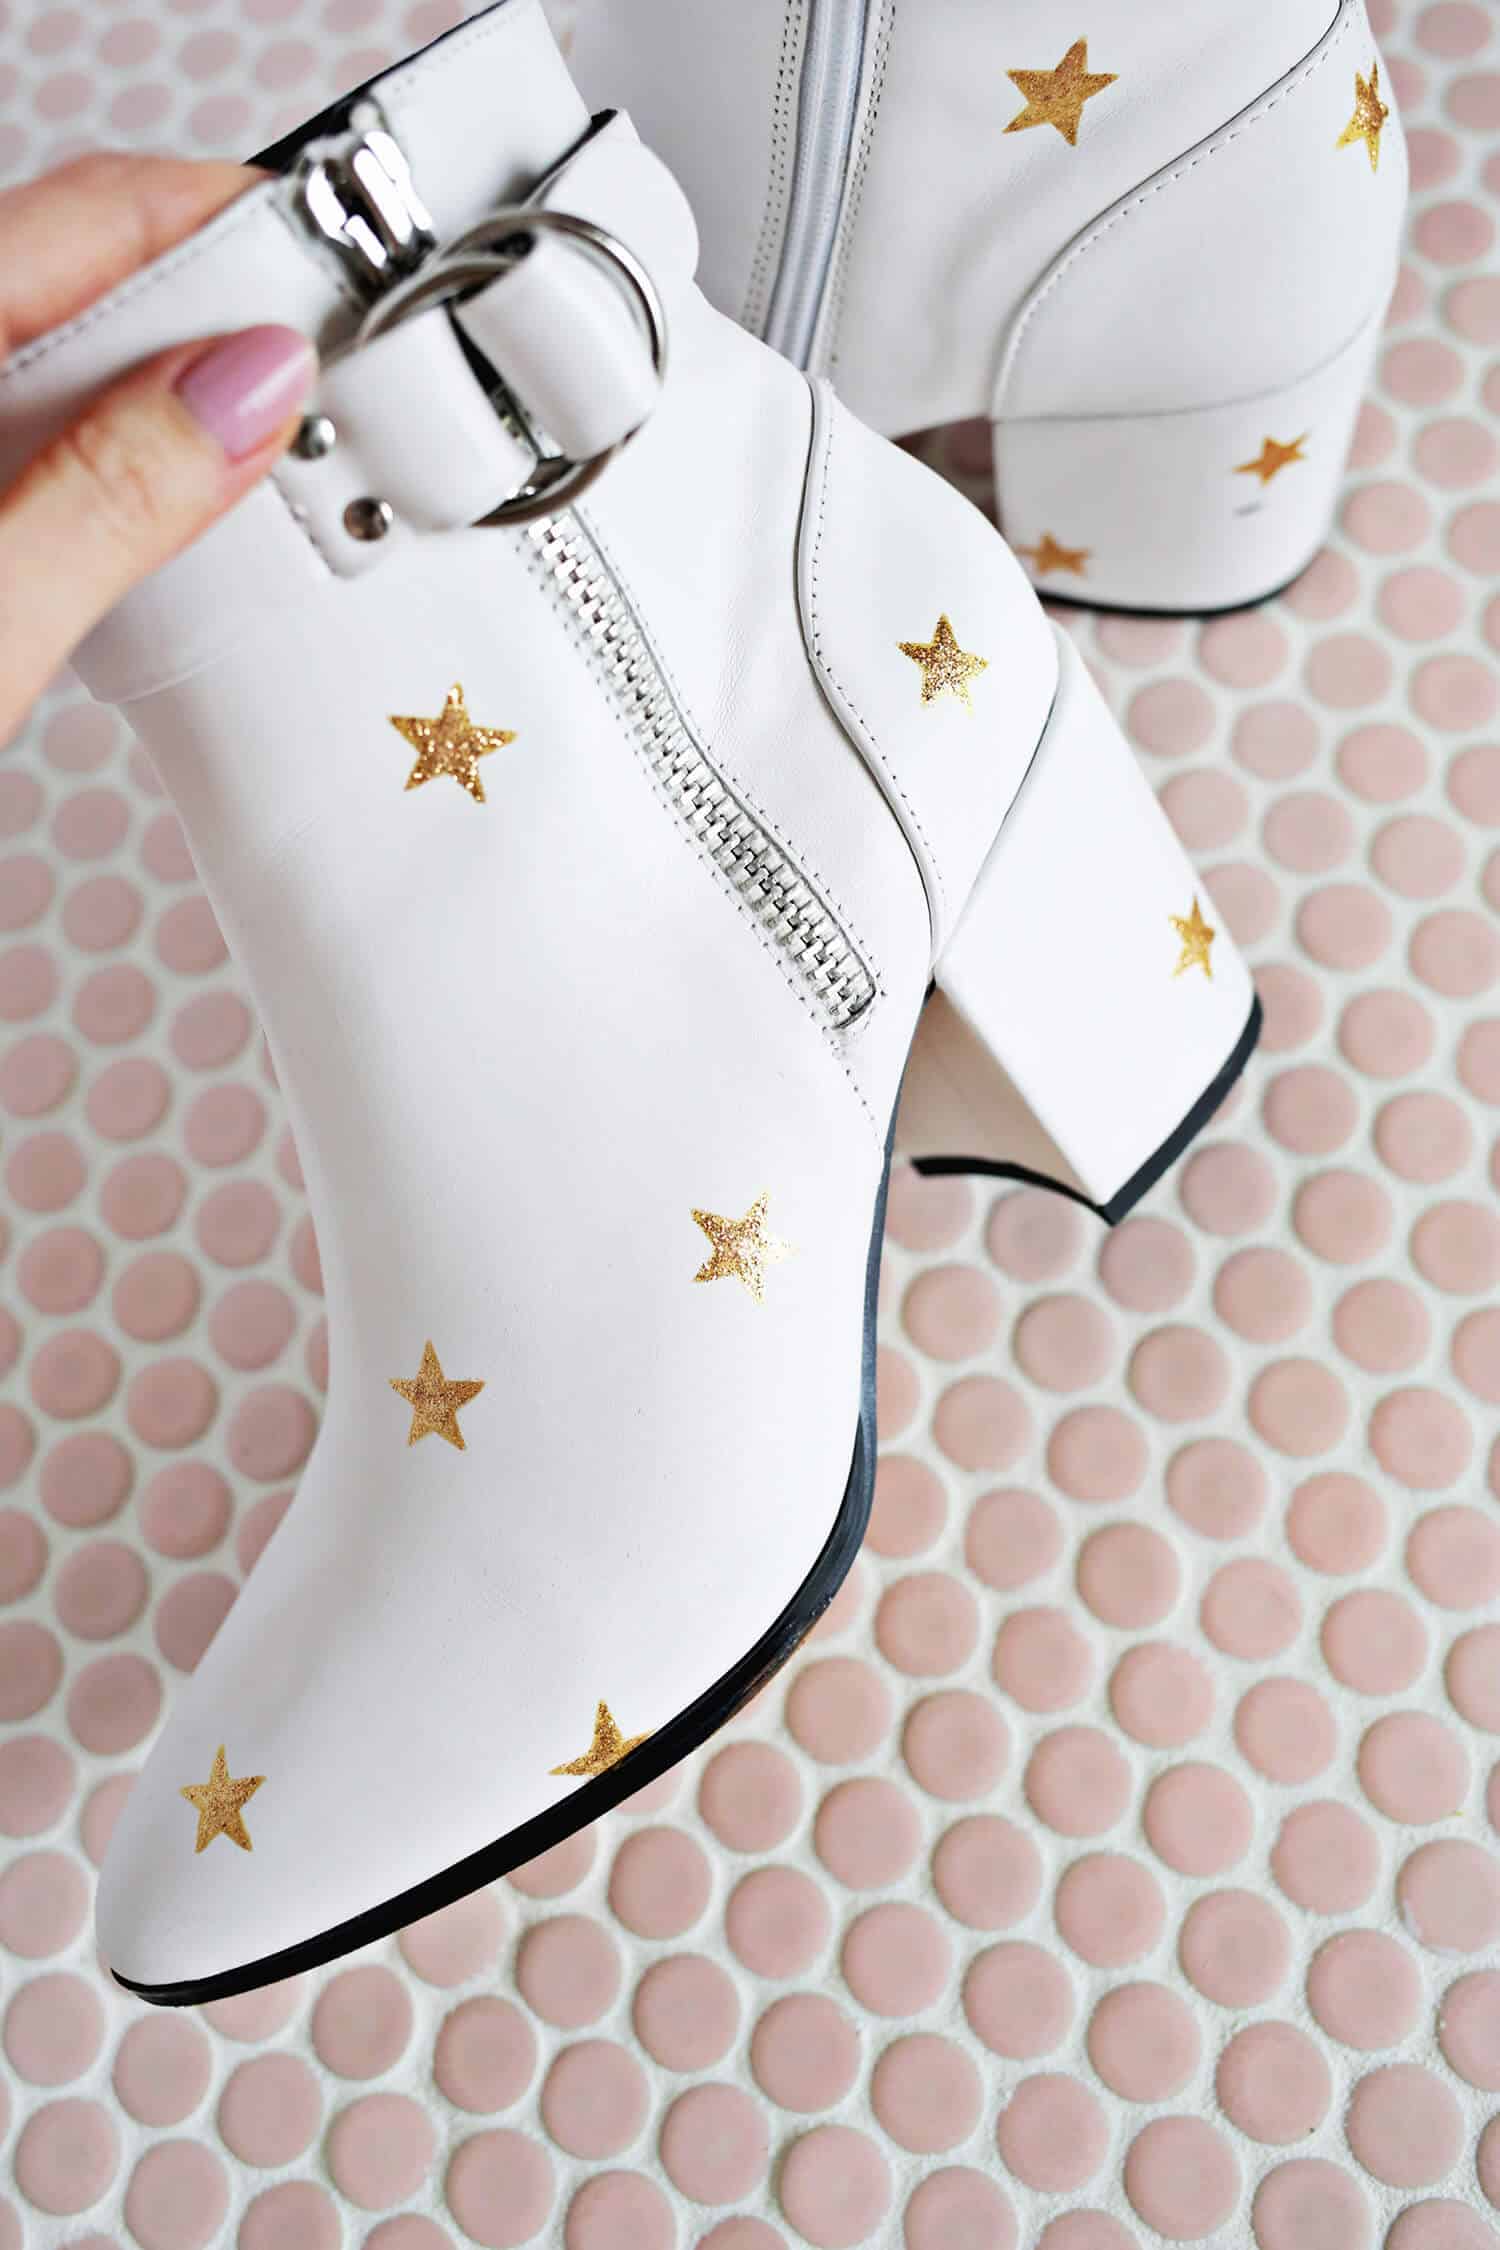
I love that these glitter stars (especially paired with these boots) feel like an item from a David Bowie music video! They are special enough to stand out as a unique item but they don’t totally take over whatever outfit you decide to pair them with. And the glitter paint adheres really well so you don’t have any glitter flaking off on anything.
As a side note, to do this DIY a little differently if you don’t like to hand paint shapes, you could remove the star sticker, put the negative area of the sticker in its place, paint the exposed star and peel off the negative at the end of all the coats. If you choose to try that method you would really want to test the stickers you have on a similar material to your shoes to see how it adheres and if it creates a tight seal or not. It’s possible that the paint could bleed right through though and that might be harder to touch up, especially with doing multiple coats—I’ve definitely had painter’s tape and that sort of thing fail me before so it’s good to test it out first! Either way, give this a try and make some shoes that will be the “star” of your wardrobe this spring! xo. Laura

10 Comments
So easy to make, Laura. Would’ve never thought of the star sticker tip myself! 🙂
Charmaine Ng | Architecture & Lifestyle Blog
http://charmainenyw.com
You should have put the negative of the sticker and just paint inside it. It is easier than that process
I thought the same thing. Lol! Too many steps, I would’ve made a mess of them ????
They are pretty though ????
Definitely, you took the words right out of my mouth!
You could do that! It’s totally possible that it could bleed right through though and that might be harder to touch up, especially with doing multiple coats, so you would really want to test the stickers you want to use on a similar material to see how it adheres and if it creates a tight seal or not. I’ve definitely had painter’s tape and that sort of thing fail me before…
Laura 🙂
These are gorgeous!! I absolutely love them!! xx
https://zoe-ware.blogspot.ca
Aw, so cute! I will make this for my lil’ girl. XO
http://www.cantiquejoice.com
What a cool idea, they look so extraordinary!
https://www.makeandmess.com/
Haha, now that is something extra 🙂
adorable idea! Shoes looking so cute! Loved making. The instructions are really easy to follow and the photos help! Thanks for sharing the great tutorial.