 I love pretty nails in general, but what I love the most are manicures that are easy to execute too! I found some small circular hologram confetti and I realized it would be so pretty attached to the base of a nail for a simple DIY manicure. I’m obsessed with all things holographic, so why not add some to my nails as well, right?
 Supplies:
–nail glue
–small and medium hologram dots
-base color (I used this color)
–top coat
–wax pencil
-toothpick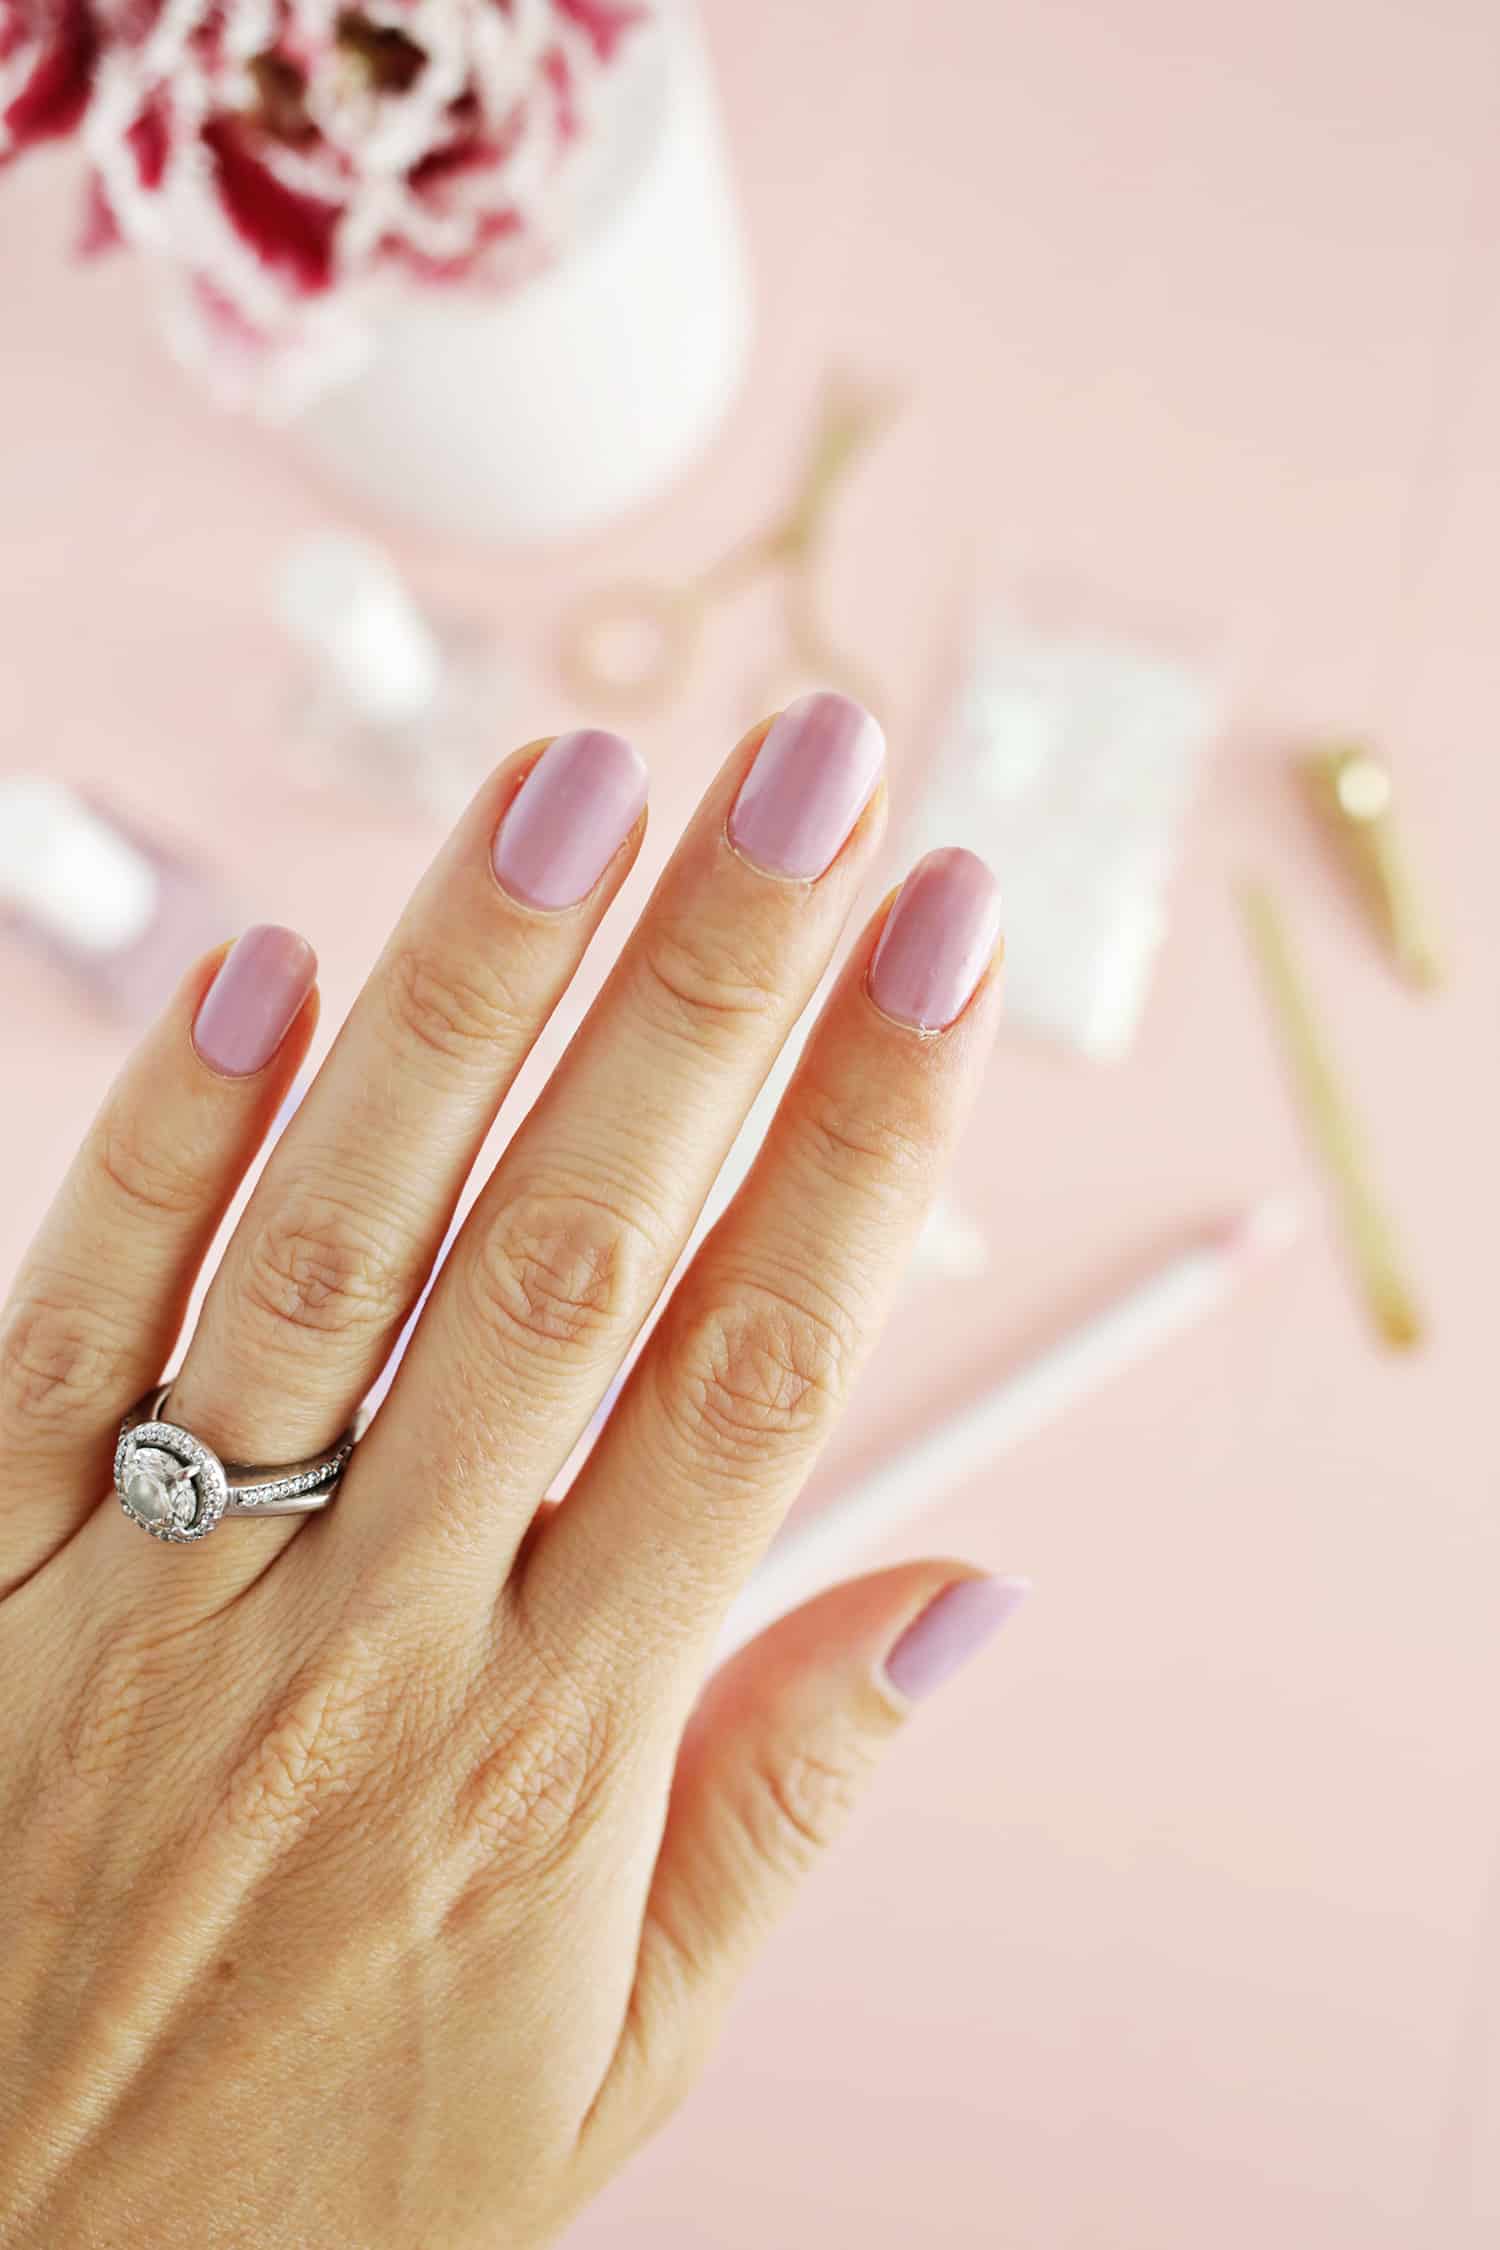 Start off your manicure with a base coat. This hologram glitter mostly has pastel tones in it, so I chose a complimentary light mauve color.
  Spread out some of your dots onto a piece of paper and add a little bit of nail glue to the paper as well.
  Take your toothpick, lightly dip it into the glue and dab a bit just above the base of your nail and then again about 1/4″ above that. Use your wax pencil to pick up and place a medium size dot on the bottom glue spot and a small dot on the top glue spot. Repeat for each nail. Try and find a balance of using as much glue as you can for stability, but not so much that it all spills out the sides of the dot.
 Once your glue is dry, add two layers of a top coat (with dry time in between each coat) and your new mani is ready to go!
 See? Simple but pretty. You could just do one of the medium size dots on each nail or do a row of three small ones as well—it’s up to you! I definitely suggest rocking this with another holographic accessory (like this fun bag) to really make a statement. It’s kind of addicting to look at your nails and watch the dots change colors with the light, so I would make sure to get outside at some point with this manicure and watch it shine! xo. Laura
11 Comments
Such a simple and easy way of adding a bit of hologram to your nails – cute!
Charmaine Ng | Architecture & Lifestyle Blog
http://charmainenyw.com
So chic! And looks like something I’d actually be able to do on both hands! And wow, your rings are gorgeous!
These nails are so cute!! Such a simple thing to do, but makes such a difference
Abi | abistreetx
Cute manicure
New post: http://thepinkpineappleblog.blogspot.com/2017/09/nyfw-day-2.html
Blog:http://thepinkpineappleblog.blogspot.com/
I love this. I currently have gold glitter right, but my next trip to the nail salon I will see if my nail tech can do this. It stands out. And I’m the only woman at work with long nails.
Love the design!
https://www.makeandmess.com/
I love this idea, its something that’s so different yet chic!
I always want to do crazy designs, but this is proof that less is more. Simple and cute! I need to try this!
This is super pretty and looks simple enough to do. Will definitely have to give it a go.
This is such a cute idea.. I will have to attempt this for sure!!!
Sincerely Miss Ash
Start off your manicure with a base coat. This hologram glitter mostly has pastel tones in it, so I chose a complimentary light mauve color. …