 If you’ve ever hosted a party and wanted to serve adorable, individual sized desserts but didn’t want to buy a bunch of tiny supplies, this post is for you! I made these single serving cakes using a sheet pan and a few other supplies you almost definitely own already. No tiny cake molds required!
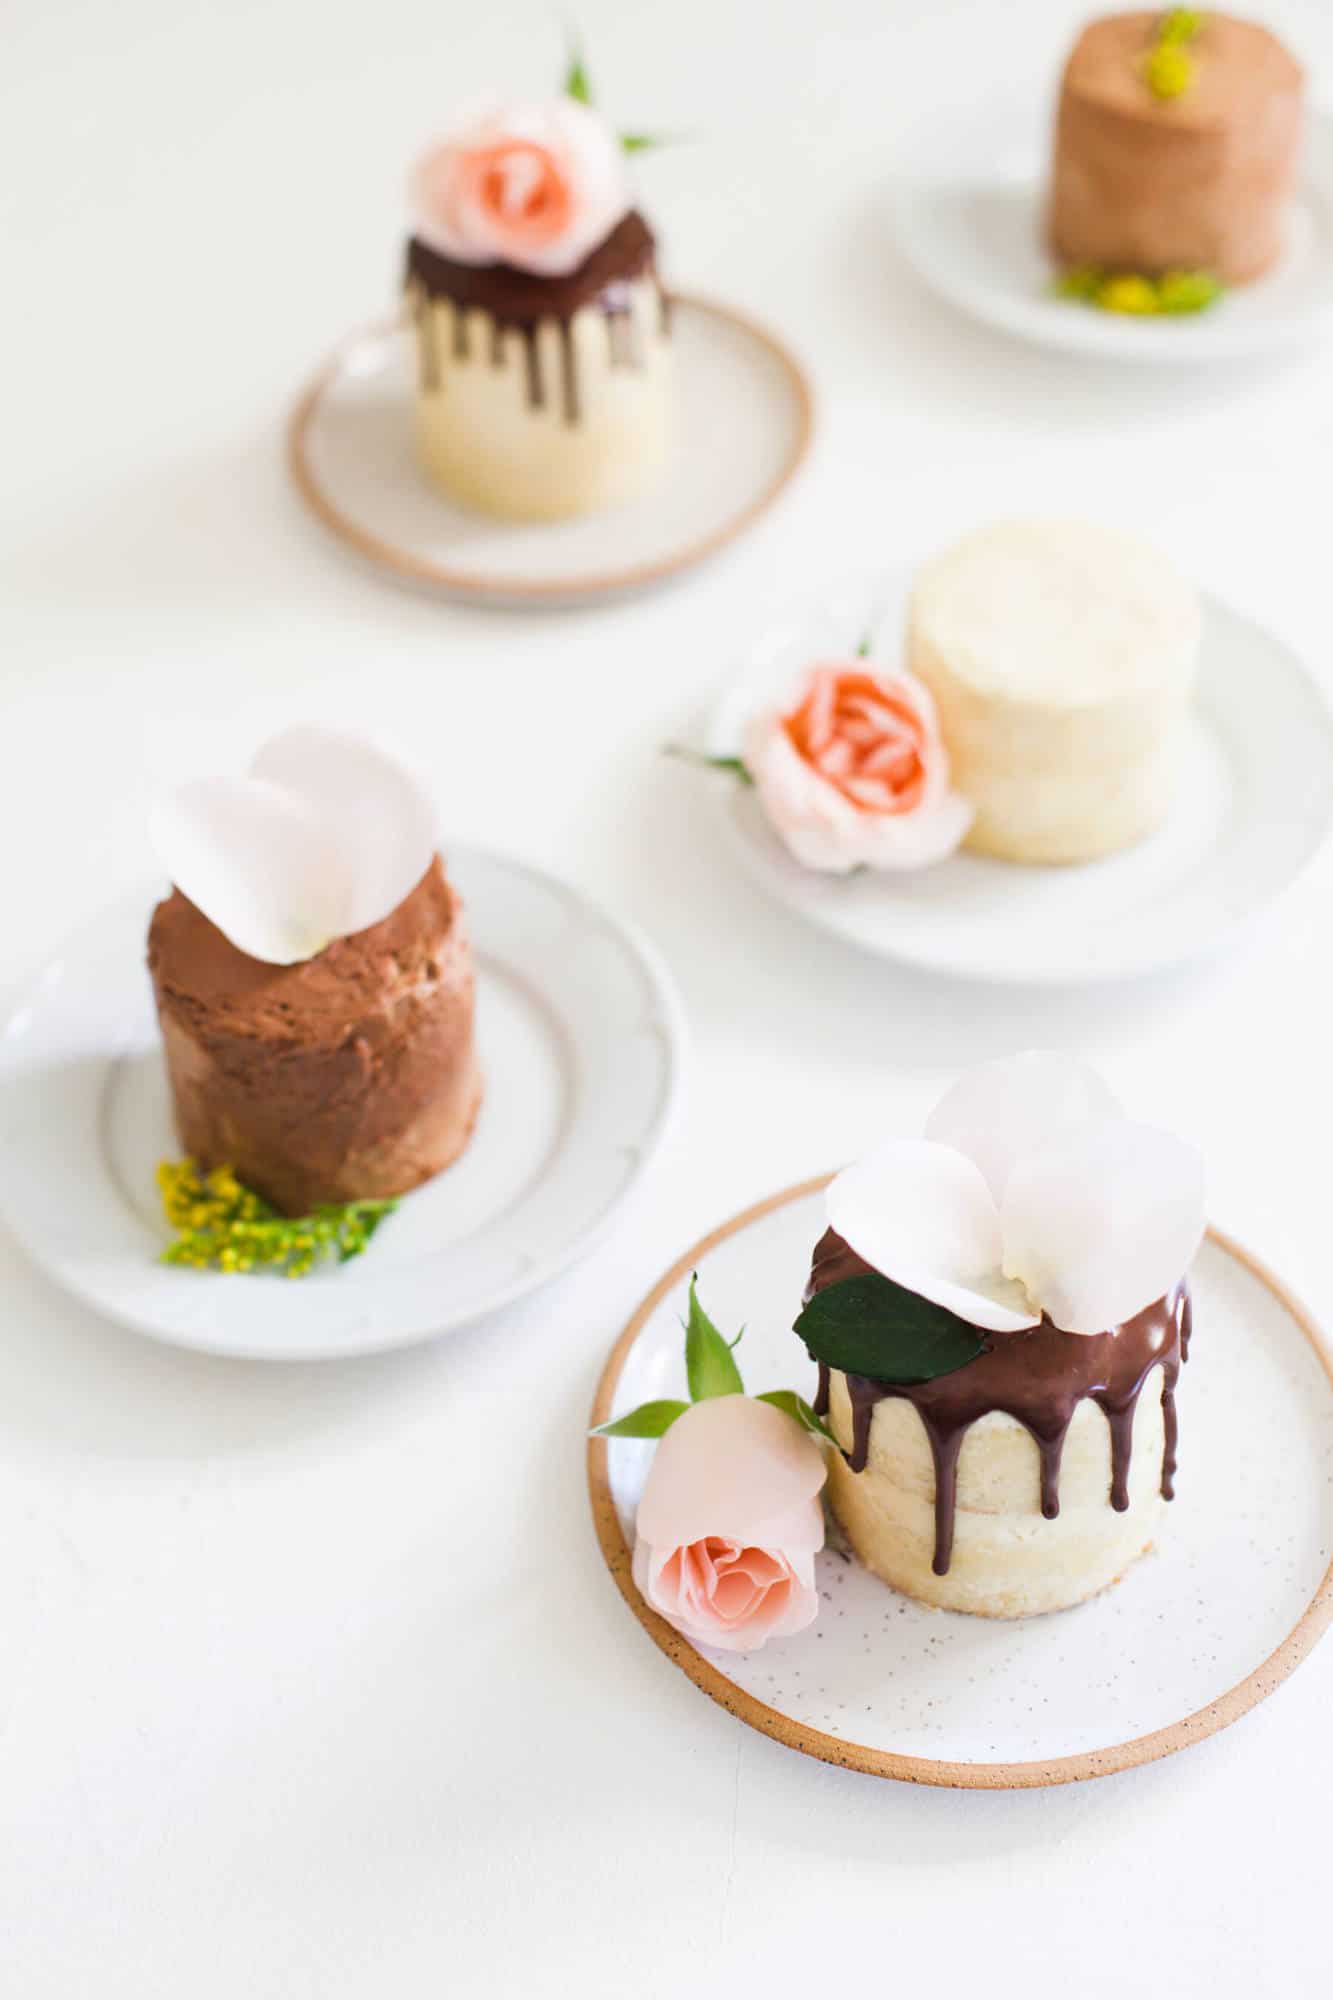
I covered my cakes in vanilla and chocolate buttercream, filled some with jam, and drizzled a couple with drippy chocolate before adding flowers for fun. These would also be really cute with some personalized toppers for a bridal shower or filled with colored frosting for a gender reveal party. So much more fun than a single large cake in every way! And easier to decorate, too.
 The cake is baked in a single layer using a half sheet pan (18 x 13 inches) lined with parchment paper. I used a biscuit cutter to cut out my cake layers but if you don’t have one, you could use an empty can with both ends removed in a pinch.
  Set the baked cake on a cooling rack and let it cool completely. Using your cutter, press down all the way, twist and lift straight up. The cutter should come away easily with the mini cake layer inside. Repeat until you have all the layers you need. You can set aside a couple to practice decorating, which is another perk of minis versus big cakes!
 For filled cakes, fill a piping bag with frosting (scroll down for the recipe for this Swiss meringue buttercream) and pipe a circle on top of your cake. I find it easiest to use metal tips but if you don’t have them and really want to fill your cakes, they aren’t necessary. You can even cut the tip off a plastic baggie in place of a piping bag if you don’t have those!
 Spoon in some jam or any other filling, making sure the filling is as high as the frosting barrier. This is where you’d put pink or blue frosting for that gender reveal cake I mentioned above! And now I’m really hoping I get to make some for someone.
 Press another cake layer firmly onto the frosted layer. Continue frosting as desired. I like piping buttercream on top of the cakes in a spiral then smoothing it out for a tidy and even look. You could leave the sides bare, or add a crumb coat to the sides before adding more frosting.
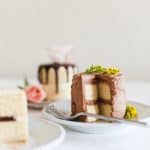
 I added a thin crumb coat—literally a layer to hold in all the crumbs and moisture—of buttercream then decided I liked this semi-naked cake look for the vanilla-frosted mini cakes. I chilled the chocolate ones after this step for 15 minutes then added more buttercream with an offset spatula.
 You can leave the cakes as they are for an elegant and understated look, or keep decorating with glazes, flowers, sprinkles, fresh fruit or toppers so they fit your party’s theme or color scheme. I made my drippy chocolate ganache by whisking equal parts heavy cream and semisweet chocolate together in a heatproof bowl over simmering water, then added more cream a little at a time until it seemed thin enough to drizzle (here’s where your practice cakes come in handy!). I used a spoon to drizzle it onto the top of the cakes and down the sides.
 There are so many great cake recipes out there that can be adjusted to fit a sheet pan. Multiply any 9 x 13 inch cake recipe by 1.5 and it will fit a sheet pan exactly, or just search for Texas sheet cake recipes, which are usually sized for a half sheet pan. Just make sure to spread your batter evenly, including into the corners of the sheet pan, and watch it closely in the oven. It bakes quickly because it’s thinner than most cakes. Below is my recipe for Swiss meringue buttercream in milk chocolate and vanilla!
Swiss meringue buttercream for mini cakes
Ingredients
- 8 egg whites or 8 ounce pasteurized egg whites
- 2 cups granulated sugar
- 1 1/2 cups unsalted butter room temperature
- 1/4 teaspoon salt
Instructions
-
Add the egg whites and sugar to the bowl of a stand mixer, making sure the bowl is very clean first. Place over a pot of simmering water (but don't let the bottom of the bowl touch the water). Whisk constantly until the sugar is dissolved and the mixture is very hot. If you used regular egg whites, use a thermometer to make sure the mixture reaches 160º. For pasteurized egg whites, you don't need a thermometer.
-
Place the bowl back on the stand mixer fitted with the whisk attachment. Whisk on medium high speed until the mixture turns into voluminous, glossy meringue and the bottom of the bowl has cooled to room temperature. The meringue should be stiff enough that it won't slide out of the bowl if you turn it upside down.
-
Switch to the paddle attachment and begin incorporating the butter, one tablespoon at a time, on medium low speed. Wait until each tablespoon is mixed in before adding another. Don't worry if it looks curdled or separated.
-
Once all the butter is added, scrape down the sides of the bowl and mix on medium high speed until the buttercream is smooth and fluffy. If it hasn't come together after 5 minutes, it may be too warm. Refrigerate for 5 minutes then try mixing again. Mix in the vanilla and salt.
-
For vanilla buttercream, beat in 1 tablespoon of vanilla extract. For milk chocolate buttercream, melt 8 ounces of milk chocolate in a heatproof bowl over simmering water. Stir constantly and remove from heat when the chocolate is half melted. Continue stirring off heat until the chocolate is smooth. Allow to cool, then beat into the buttercream.
14 Comments
Fantastic post!
Totally love that this is all about handcraft;-)
OOOOOH! This is too clever. I love serving individual desserts. When you cut a beautiful, big cake or other dessert, it becomes a mess after the third piece. (The time I made a pinata cake, the kids went from oohing and aaahing to crying.)
PLUS you have all the remnant cake to snarf up! Win-win!
I love this fun yet simple idea! You can personalize each cake in so many different ways! The options are endless! I am definitely putting this as something I need to try in the near future.
They look so gorgeous, I love the small size! Thanks for the tip!
https://www.makeandmess.com/
Wow, I love how cute these little cakes are! Tiny desserts are the best because I often tend to overindulge!! 😉
Charmaine Ng | Architecture & Lifestyle Blog
http://charmainenyw.com
It looks so tasty that my mouth is full of saliva. I just have to cook it for my groom. I will definitely write about this recipe in my article on baking. I will wait for your new recipes.
Good luck and inspiration!
Best regards,
Karen
Unbelievably cute and definitely a notch above cupcakes with just a tiny bit more work! Thanks for sharing!
These individual servings are great and they look so pretty on a tray. Your guest have different taste buds and this serves the purpose for all. I have used the petit-four many times with great success. But, I have never stacked them…..A GREAT IDEA
Aw these are adorable! What pretty little cakes!
Pretty and fun! This would be a great activity for kids, too (I would’ve loved having my own cake to decorate as a child).
How many mini cakes could you make from one half sheet pan?
It depends on the size of your cutter. Mine is 3″ and I had enough rounds for 7 two layer cakes with one layer leftover!
For the sheet cake did you use a recipe that would ordinarily make two rounds?
I love these plates – where did you get them from?
Many thanks!